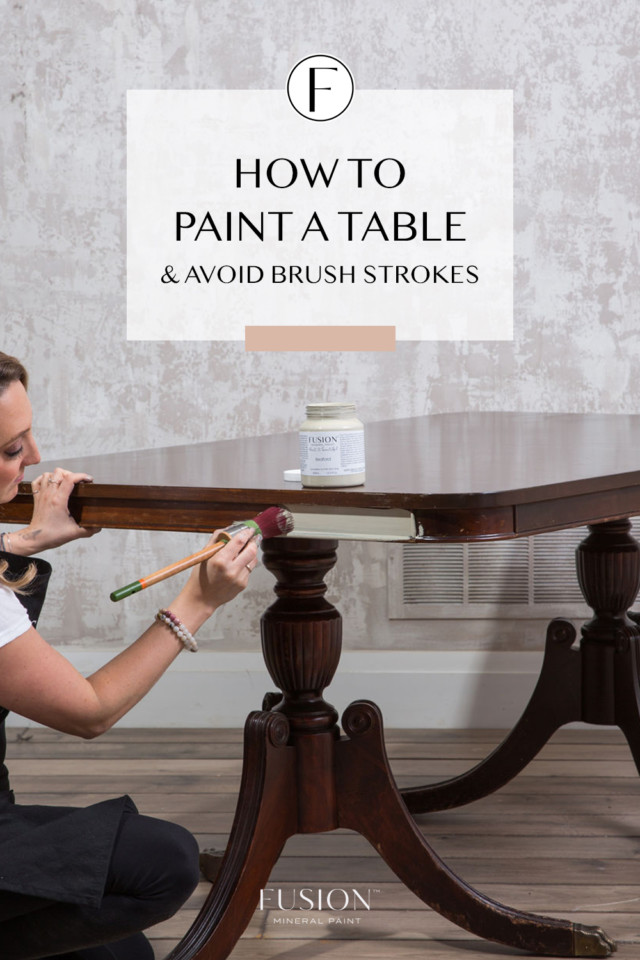
Expecting company this holiday season? We’ve put together this special series, Company’s Coming, to get you ready to host! In this post, we’re focusing on how to paint a table. We picked up a Duncan Phyfe-style dining table from our local restore for only $150! With plenty of great tips, you’ll see how easy it is to transform an old table to fit your style!
(Looking to keep it natural? Check out our tutorial for Reviving a Tired Table with Stain & Finishing Oil )
SUPPLIES
- TSP
- Sanding Block
- Fusion Mineral Paint (we used Bedford)
- Microfiber Roller
- Staalmeester Brush
- Depending on the colour you choose, either the Tough Coat or a Gel Stain to seal.
STEP 1
HOW TO PREP YOUR TABLE FOR PAINTING
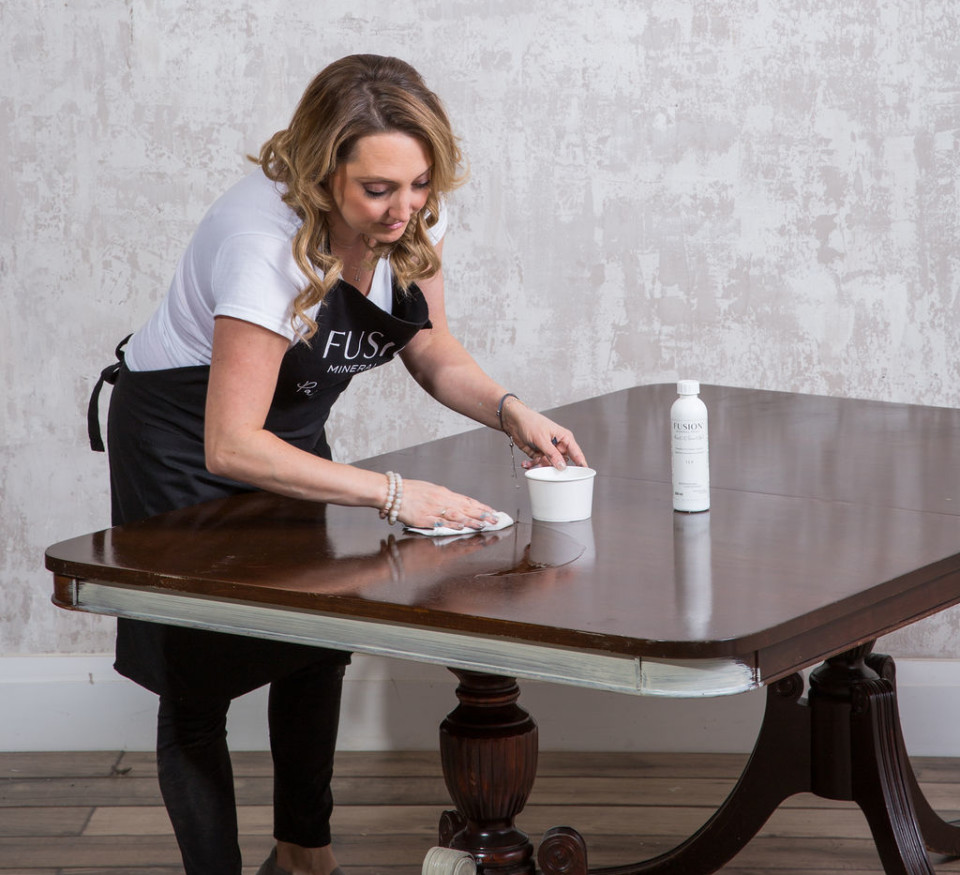
Dining tables may be covered in years of dirt and grease, and cleaning agents usually leave some sort of residue. As a result, preparing your table for painting is the most important first step you can take.
Fusion’s TSP should be the first thing you use. Mix with water in a basin (usually a bottle cap worth will do), and then give the entire table a solid wipe-down.
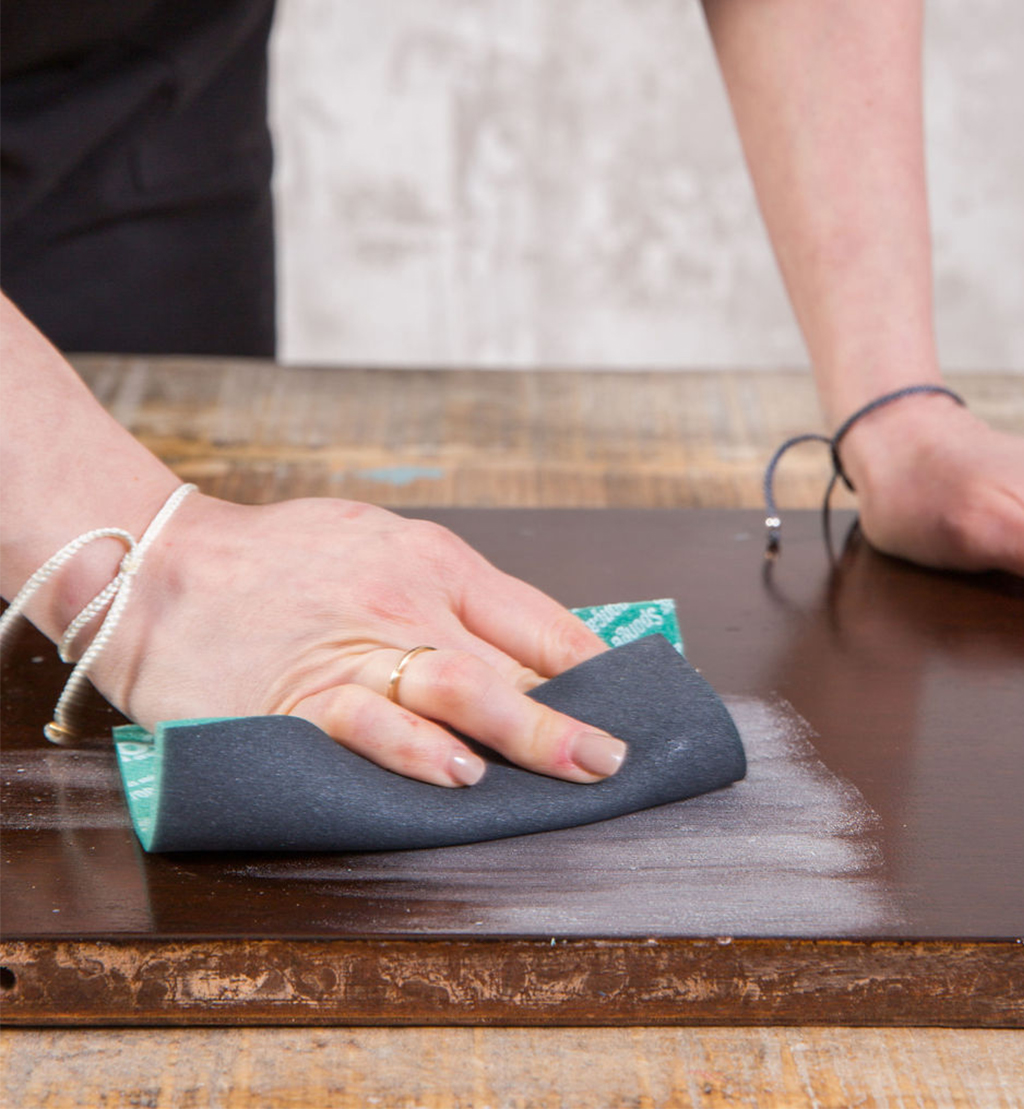
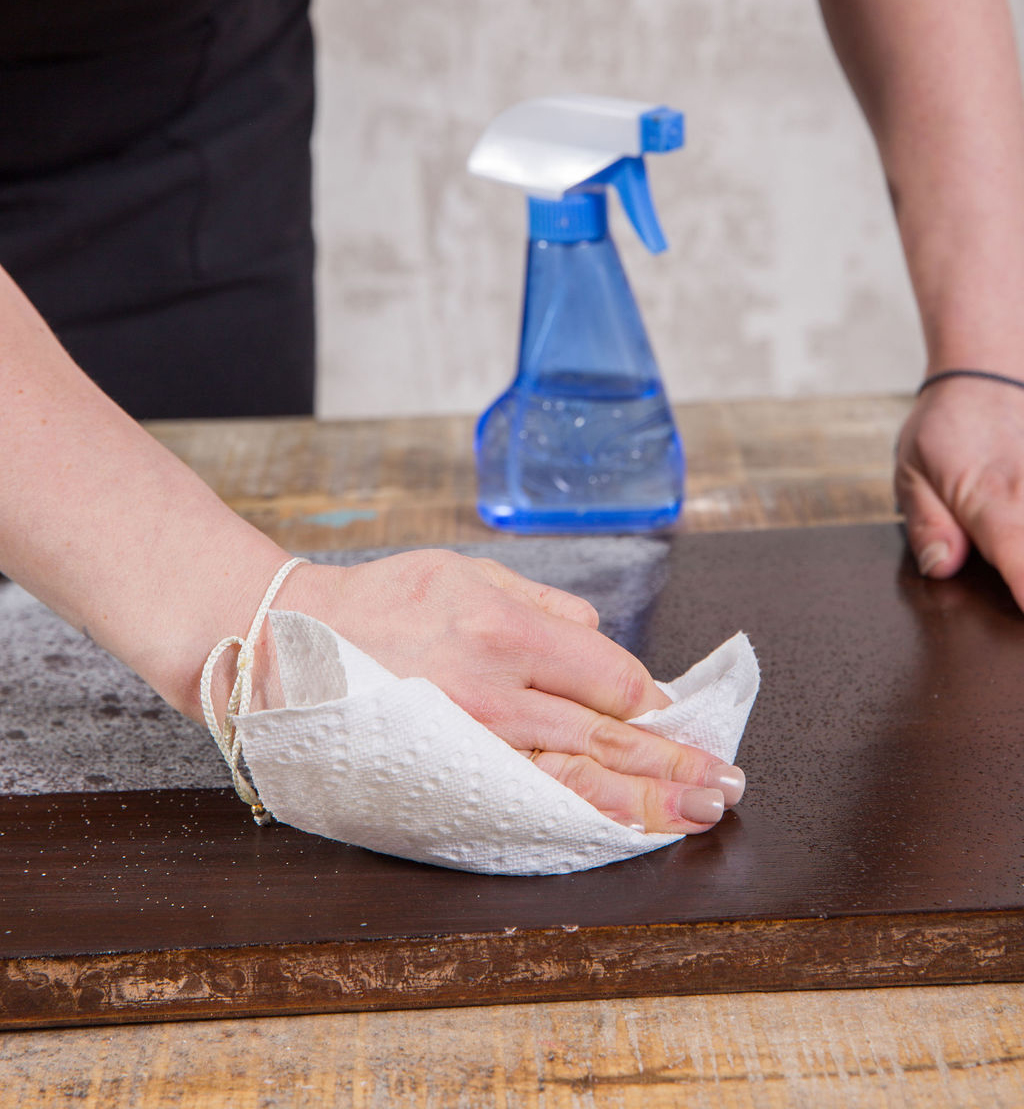
You should always sand furniture before painting. Even though fusion will adhere without it, it’s a safe way to remove the protective coating and give the paint better adhesion. To remove the resulting dust, spray on a bit of water and wipe it away.
STEP 2
PAINTING THE TABLE
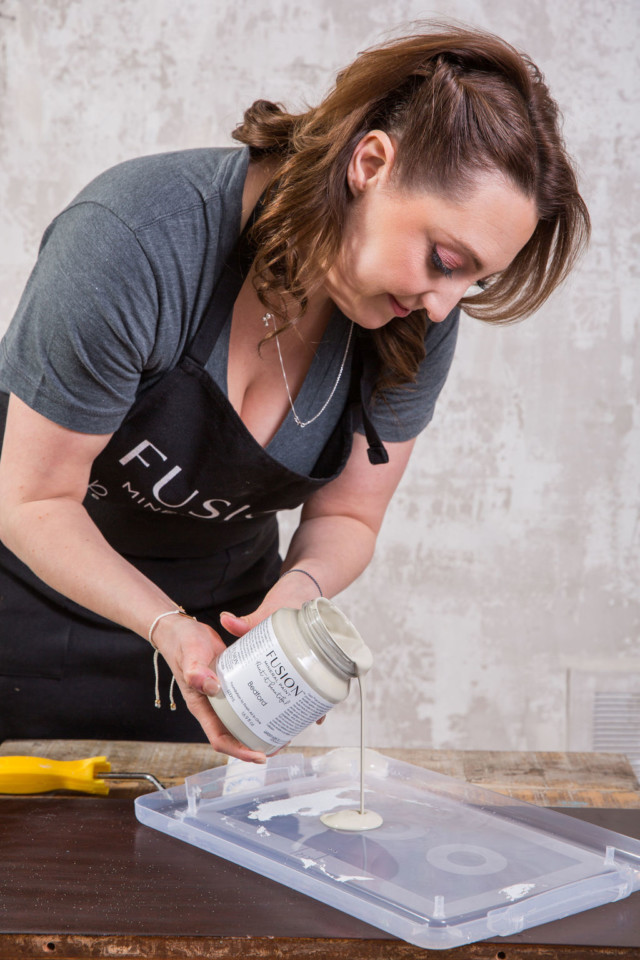
For this project, Jennylyn chose Bedford! It’s a great neutral with a hint of green, perfect with soft interior decor.
How to Avoid Brush Strokes
Painting a large surface can sometimes be tricky, and with Fusion Mineral Paint’s self-levelling properties, using a roller on a surface like the tabletop will help get a super smooth & even look. For more details, we’ve got a great post about painting to avoid brush (or roller) strokes.
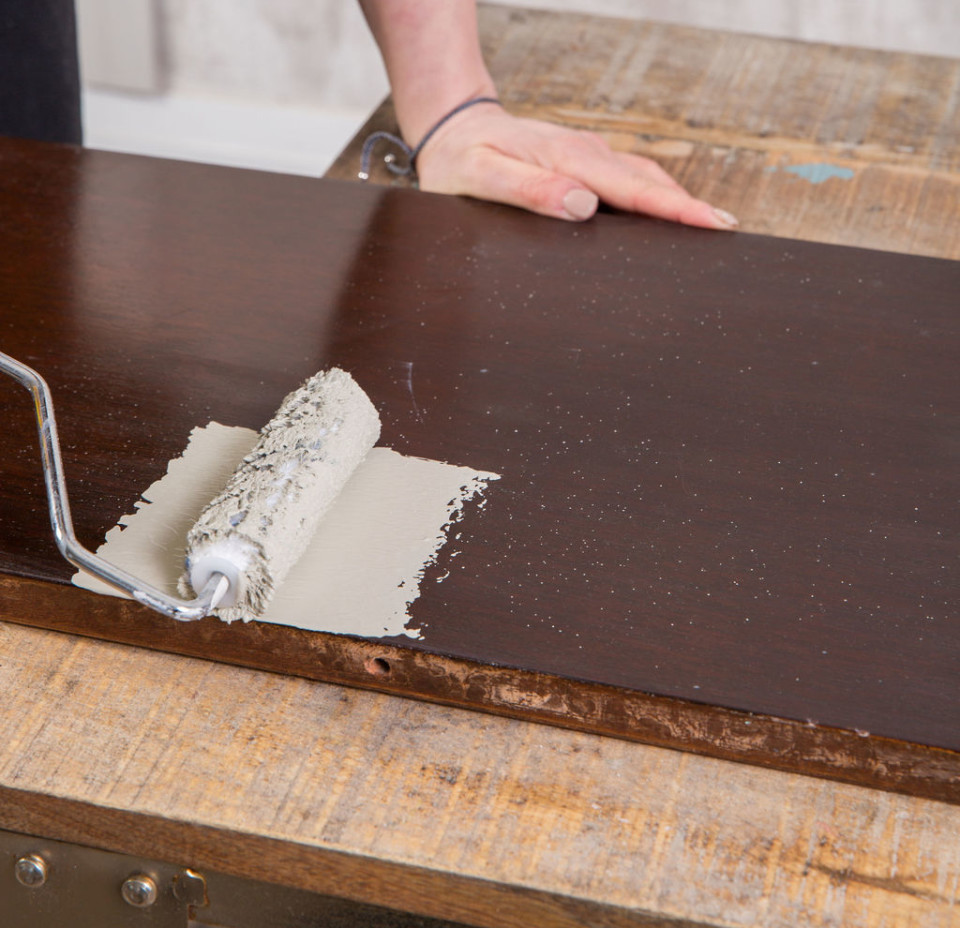
If you’re getting stippling with the roller, it could be one of two things: too much paint on the roller or the wrong kind of roller.
We recommend our MicroFiber rollers (sold with a handy-dandy tray). These are different than what you find in the hardware store, and can be used and re-used as long as they’re properly cleaned.
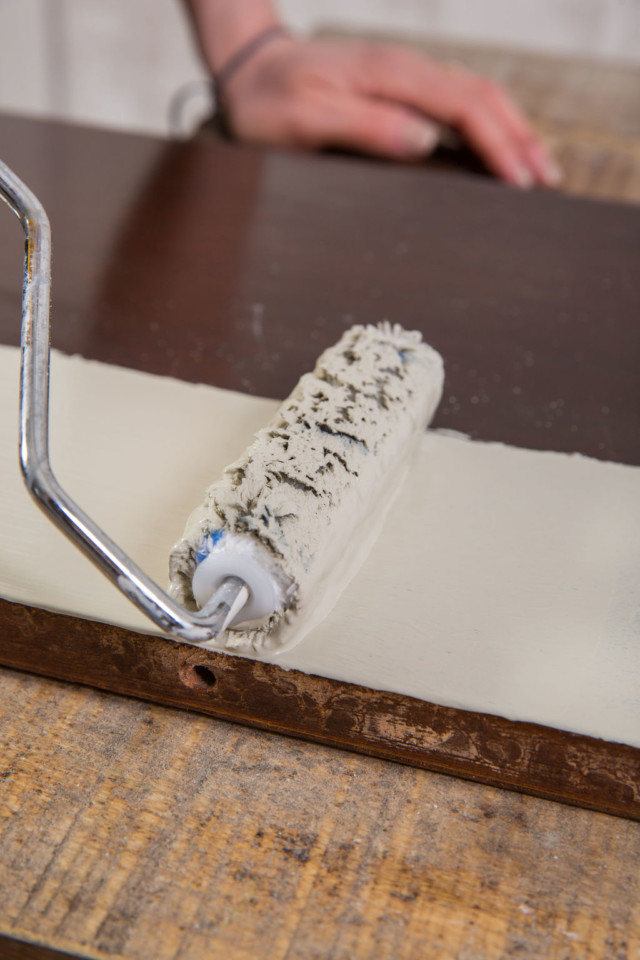
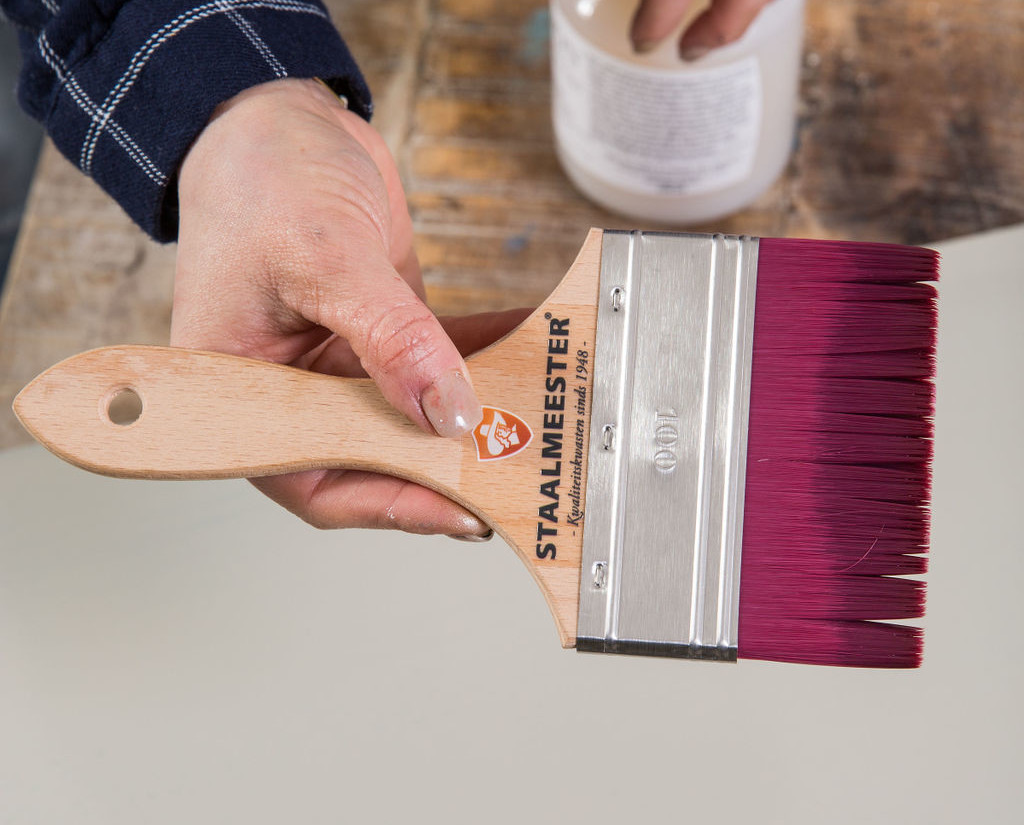
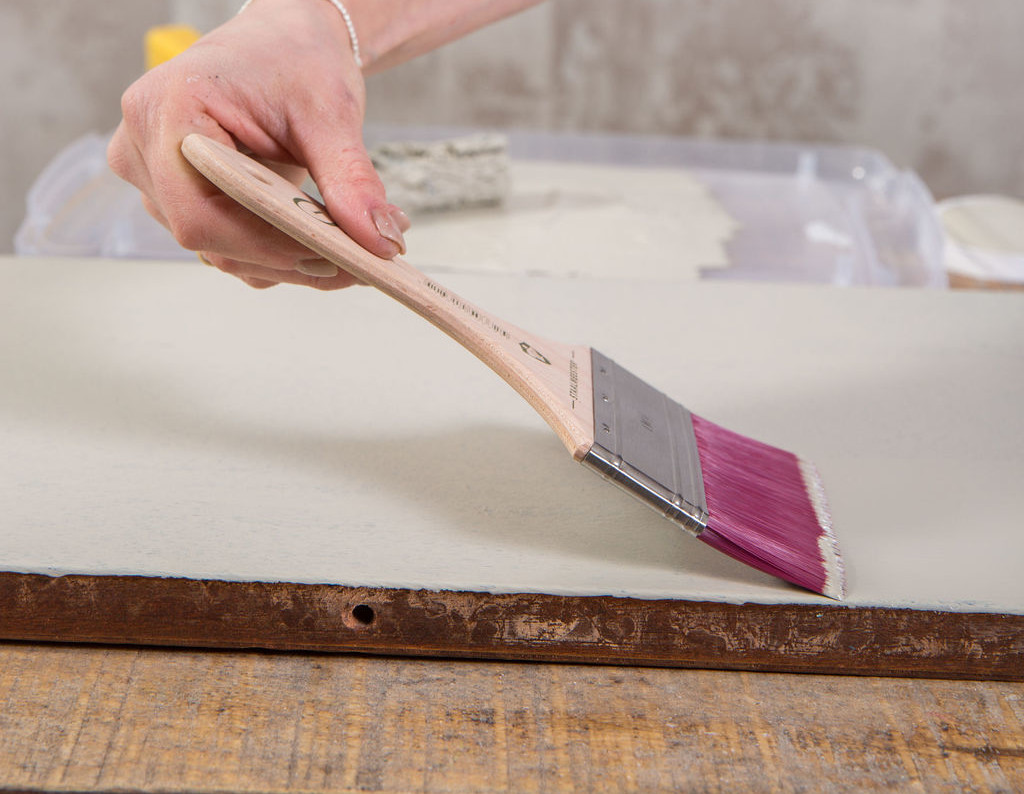
For an extra smooth finish, try this trick: Roll the paint once, and no more than a minute later brush with the super wide Staalmeester One Series. With the finest bristles, it’s known to be the one & only brush you’ll ever need! This brush is indeed an investment, but if you’re an avid painter it’s an absolute must to add to your kit!
How Many Coats Do You Need?
We recommend 2 coats for full coverage, but the total number may depend on a few things, such as the colour you are covering and the colour you are using. If you have dark wood and white paint, you may need 3-4 coats. The more prep work you do, the better the coverage will be.
A tip to help with painting dark surfaces is to use a transition colour. For example: use one coat of Lamp White (which has a lot of pigment and is a light grey colour), then move to your white for coats 2 and 3.
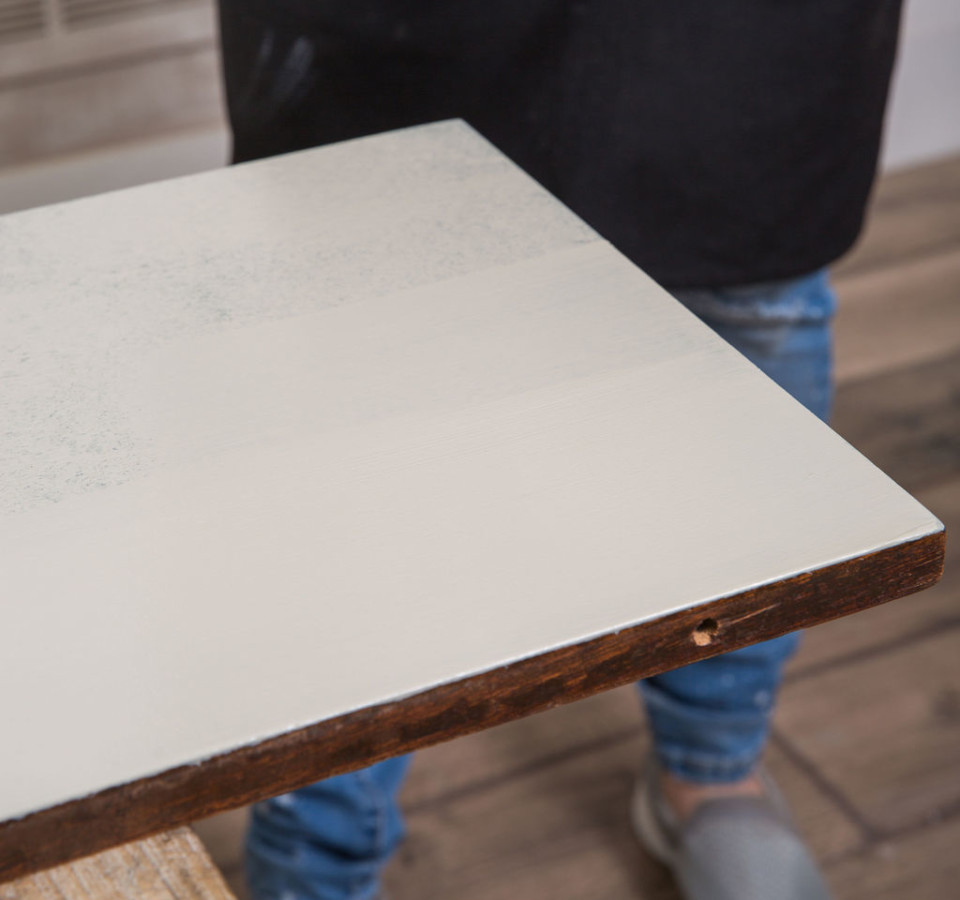
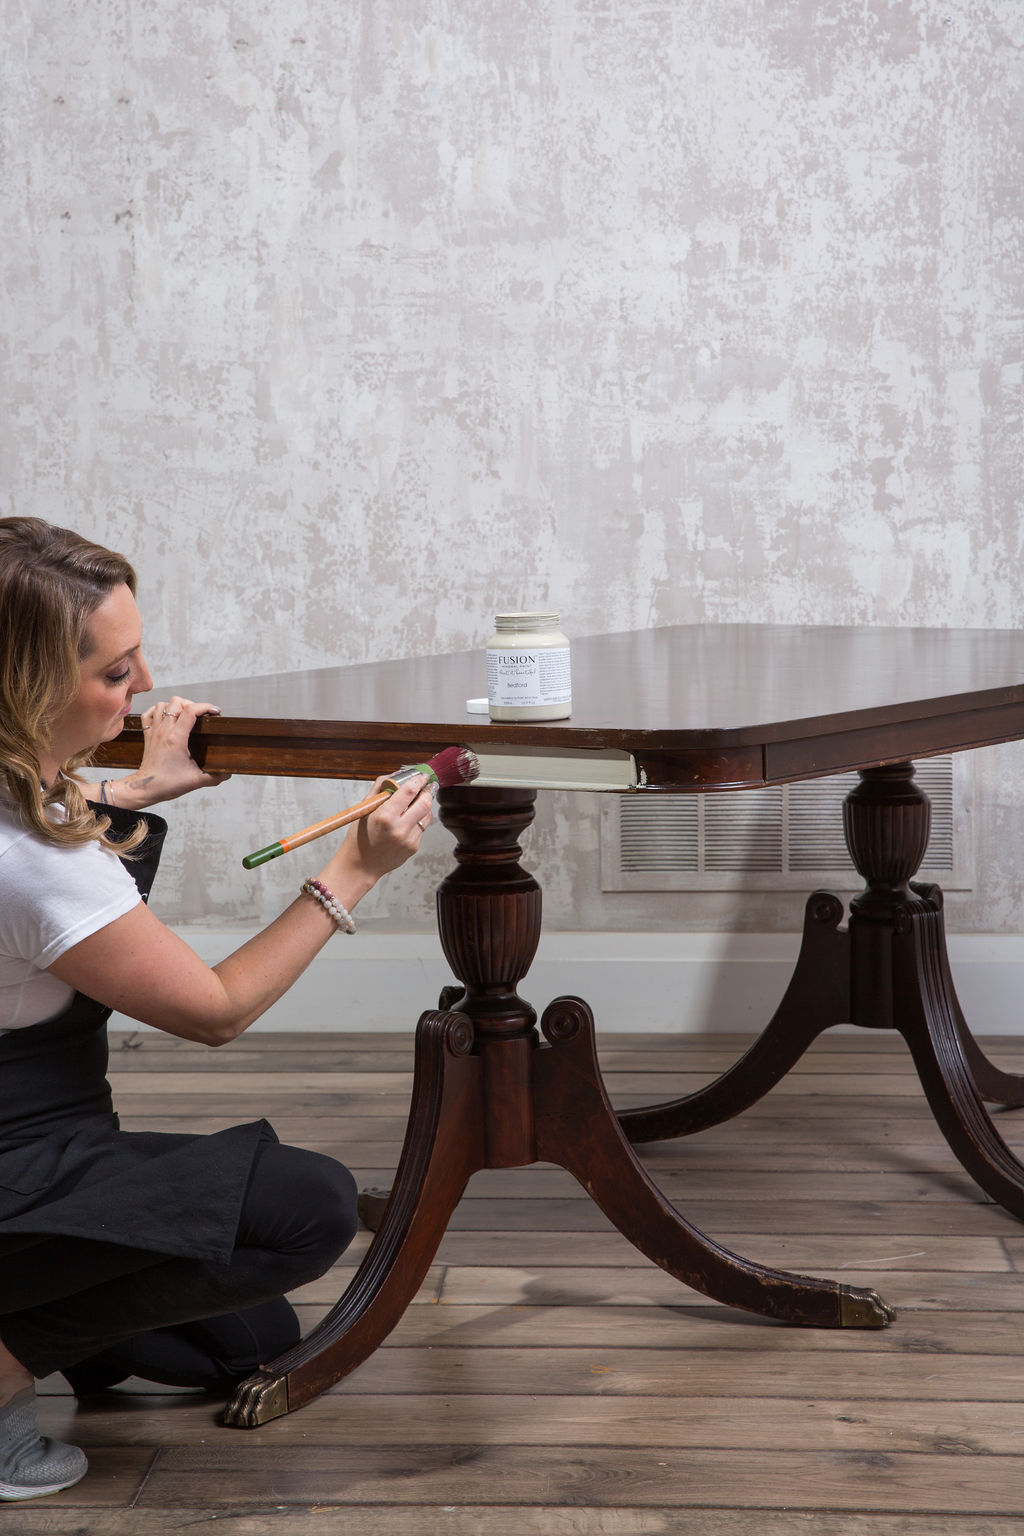
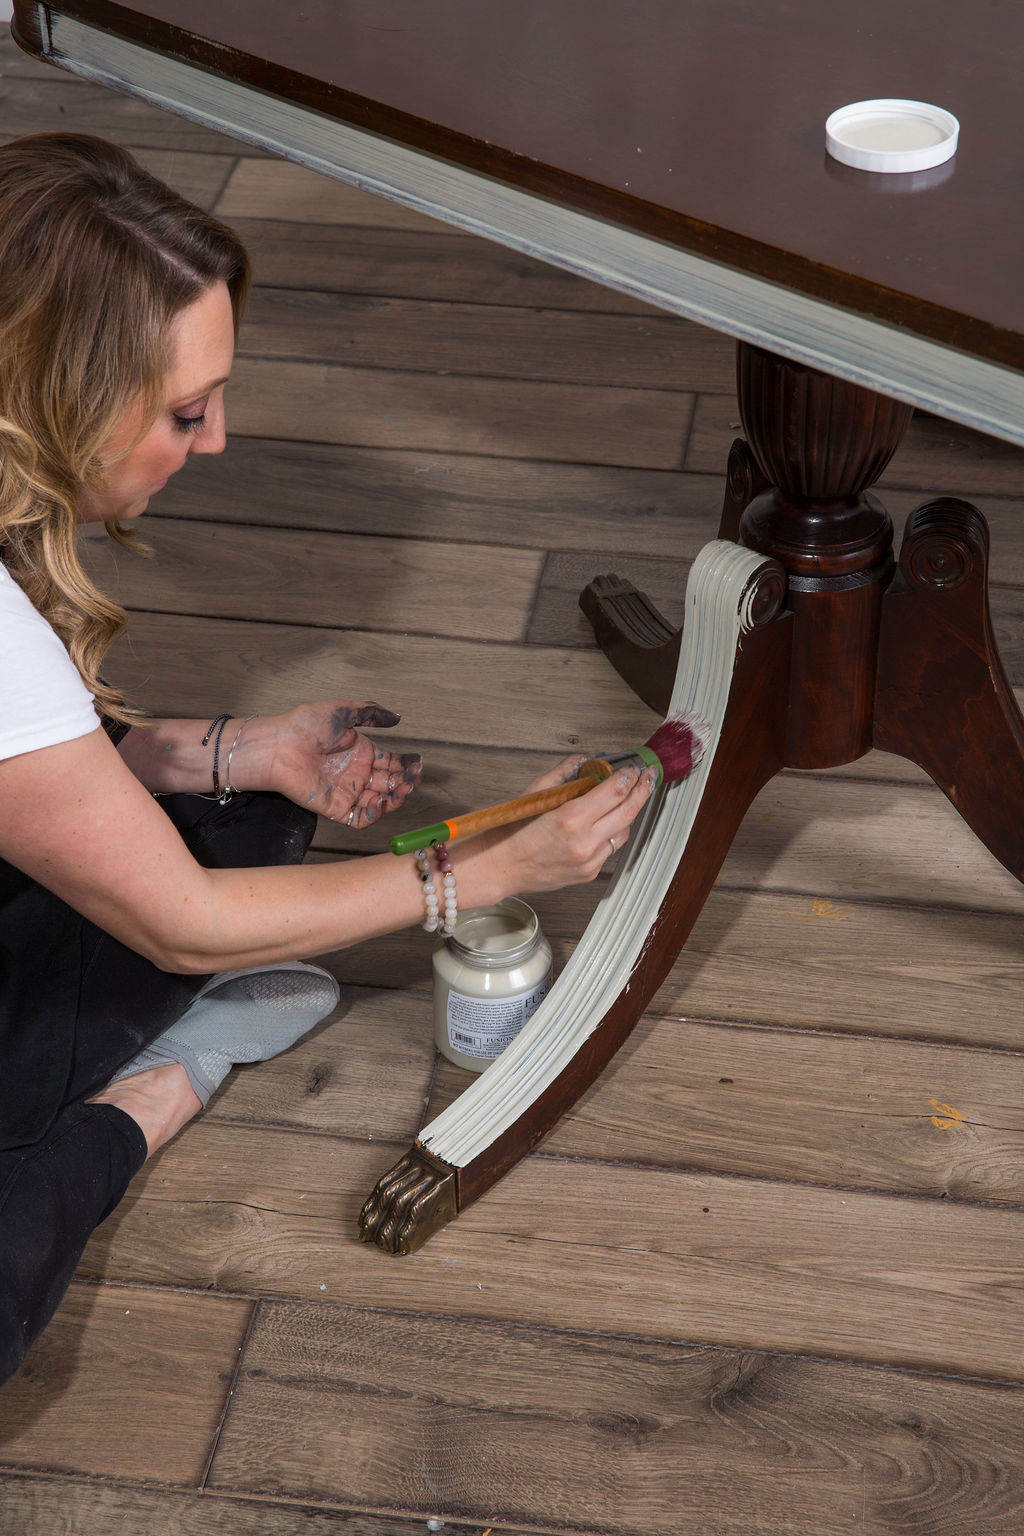
For detailed areas like edges, legs and decorative trims, we recommend one of our Staalmeester brushes. The finish and coverage that these brushes allow are incomparable, and they work really well with Fusion’s self-levelling qualities.
STEP 3
HOW TO CHOOSE THE RIGHT TOPCOAT
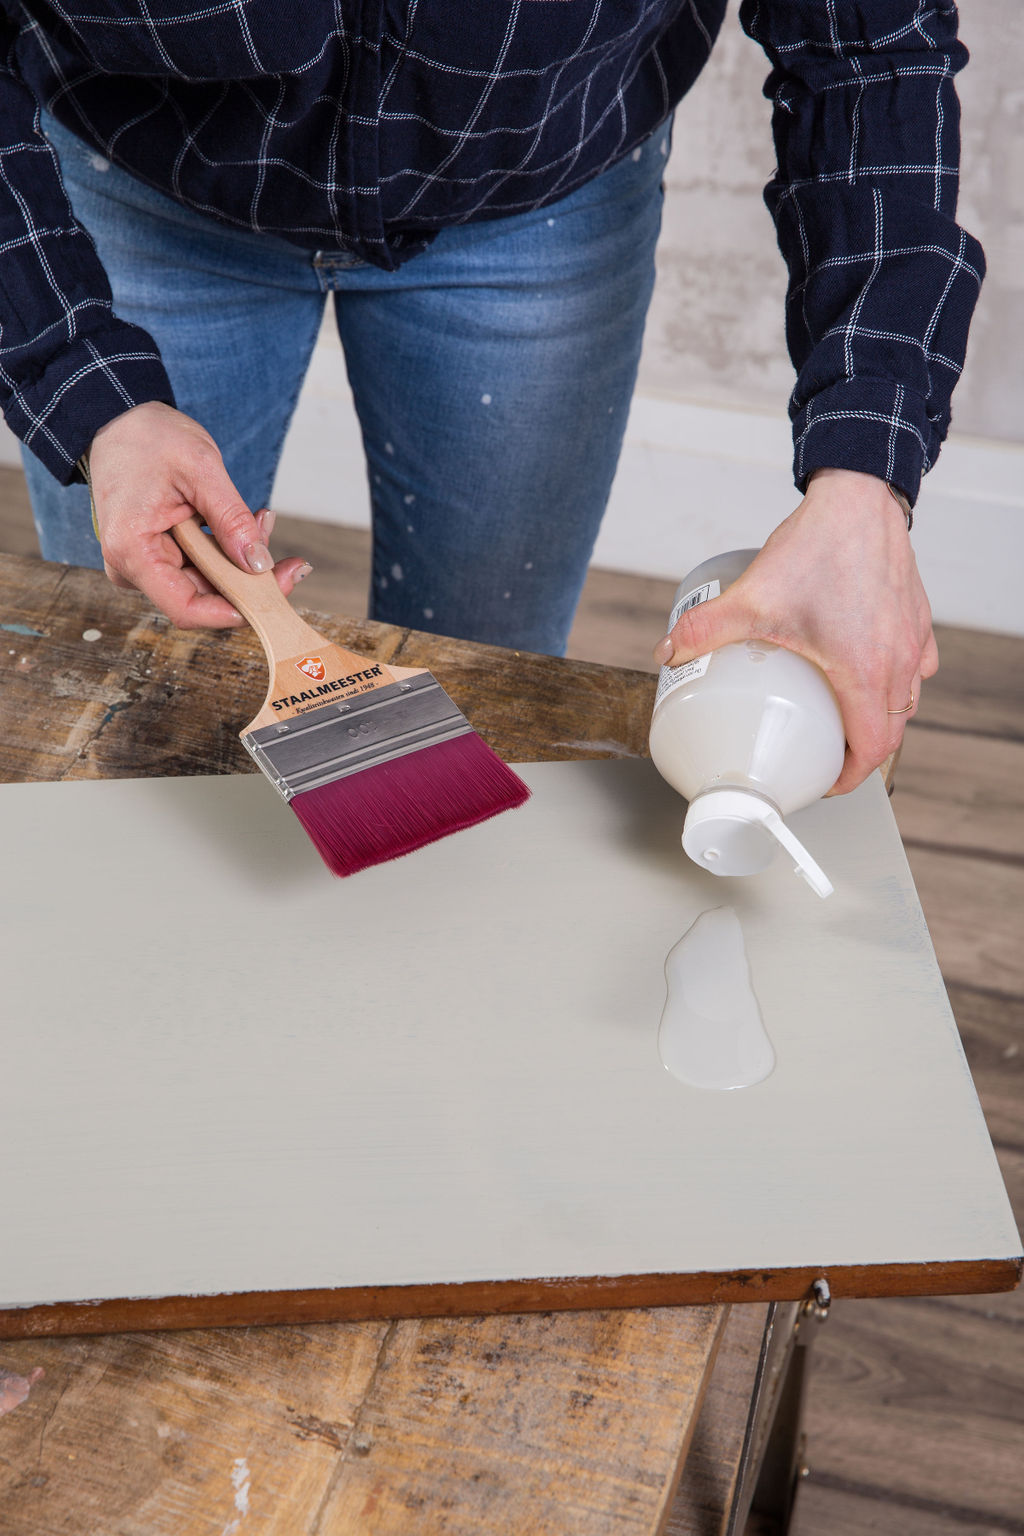
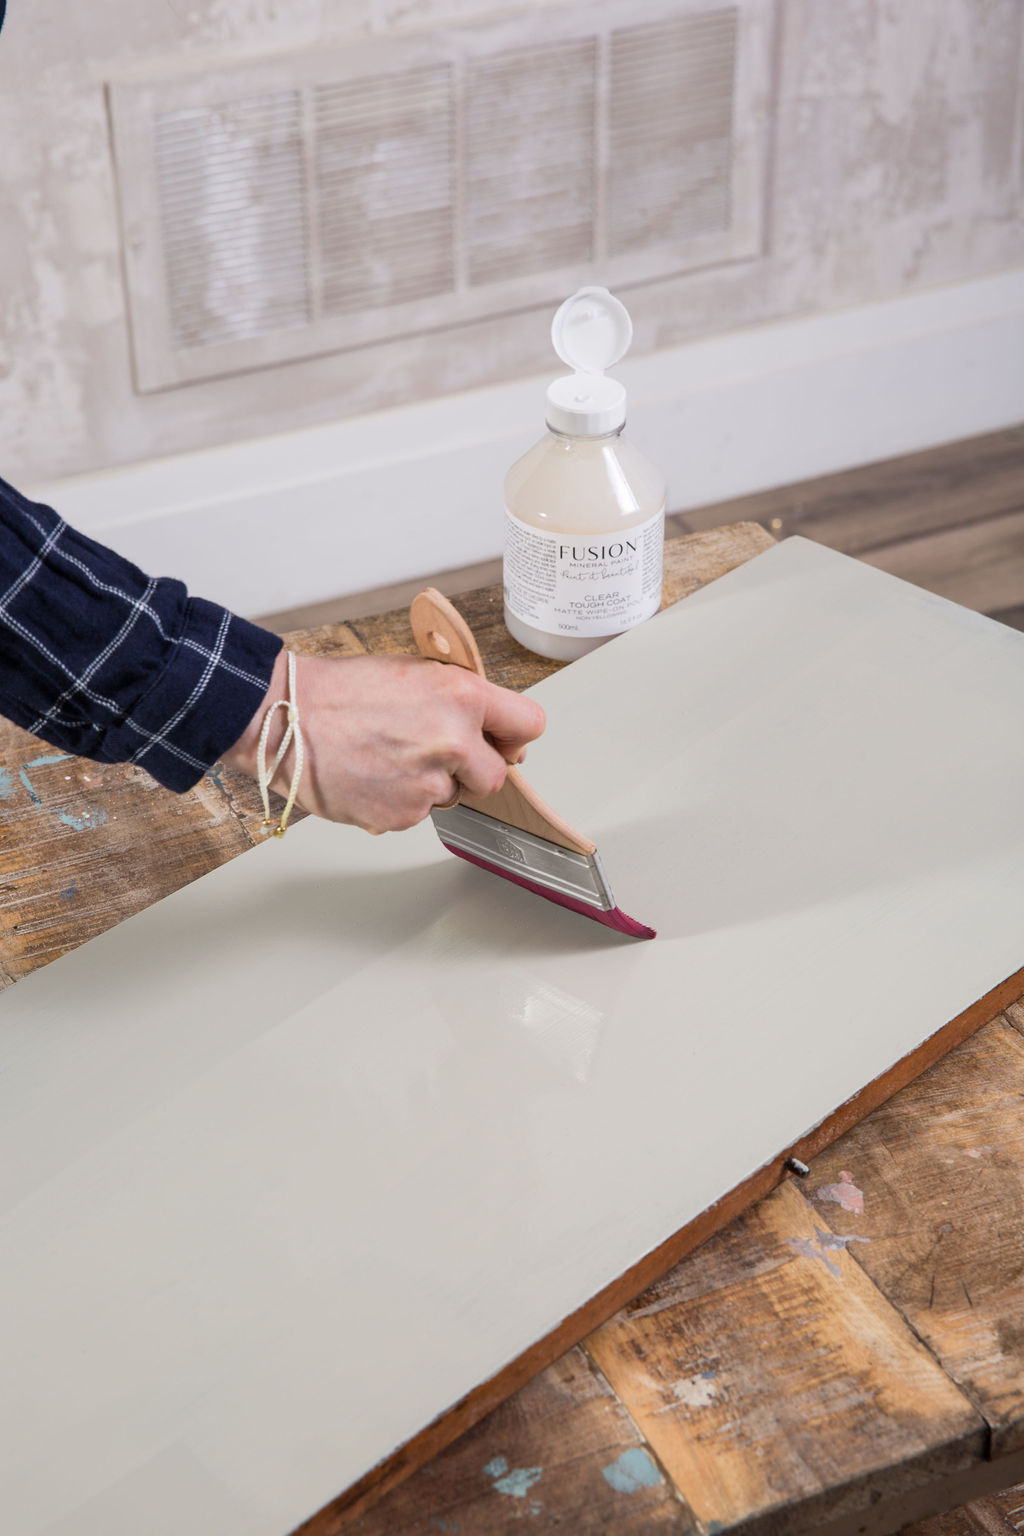
Fusion Mineral Paint is so durable, however, surfaces like a table will see more wear and tear than a dresser. For a dining table, we recommend our Tough Coat.
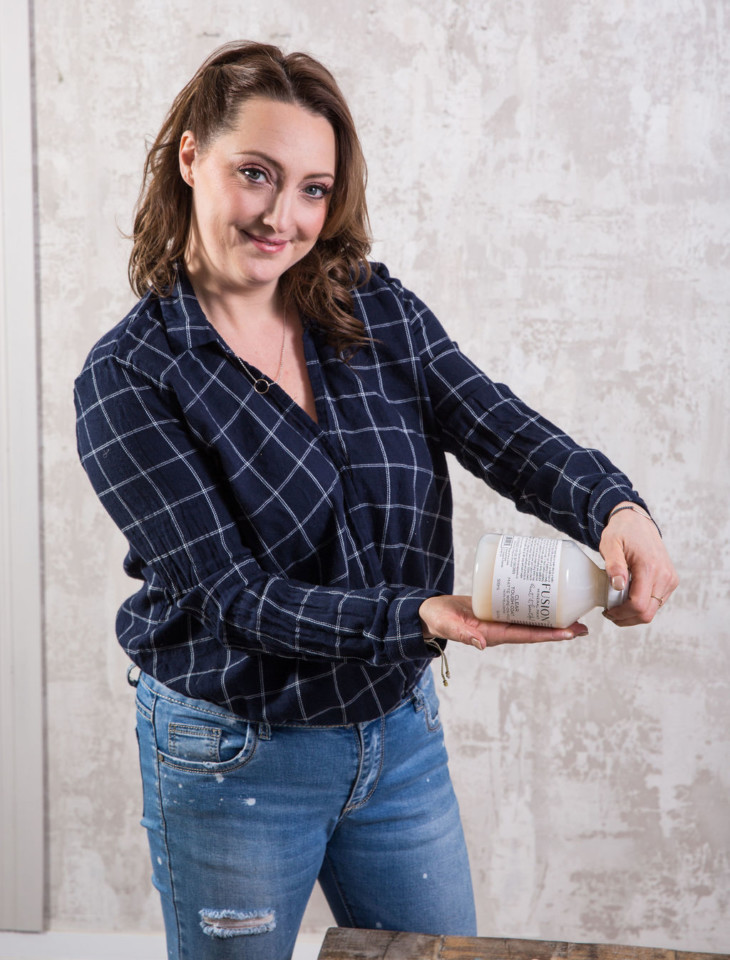
Fusion water-based clear Tough Coat is non-yellowing and great for maintaining the colour you painted. While there is minimal odour, it dries quickly so you need to work fast to avoid start-and-stop marks. You could add Extender to the mix to increase the open time.
All water-based coatings can take 21-28 days to cure, so we recommend lighter use during that time.
How to Avoid Hazing With a Topcoat
Hazing can happen with water-based coatings over dark colours, so typically we recommend an oil-based coating. Our Finishing Oil in Natural (that has no pigment) will make the colour a bit richer and deeper and may slightly increase the sheen of the paint. You could also use the brush-on Gel Stain Topcoat which is polyurethane.
If you have a colour that’s mid-range, you most likely won’t have difficulty with either water-based or oil-based or notice any yellowing or hazing. In this instance, the best thing to do is to test a small area and see what you like best.
Both are durable in their own rights, so really the choice comes down to which colour you’re covering, and the product you prefer working with.
What’s the Difference Between Gel Stain Topcoat and SFO?
The biggest difference between our Gel Stain & Topcoat and the SFO is that SFO is typically a penetrating stain and, depending on what you apply it to, is very easy to work with. The Gel Stain is a self-levelling poly-coating but looks more like a coating whereas the SFO is very thin. Gel Stain only dries matte, whereas SFO can increase in sheen with applications.
STEP 4
SETTING THE TABLE
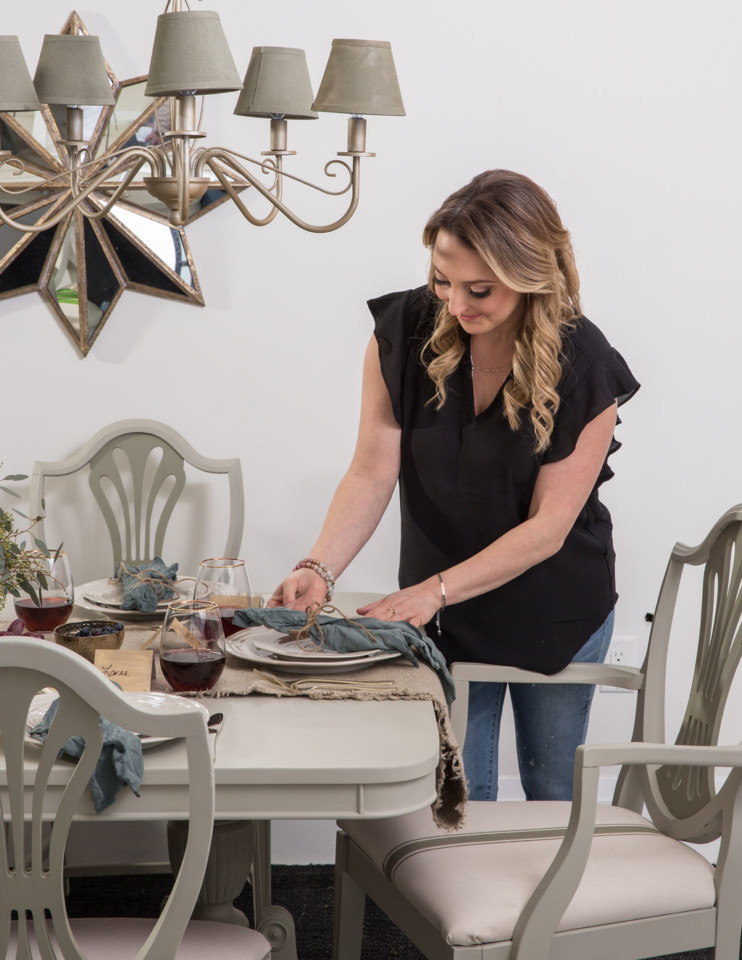
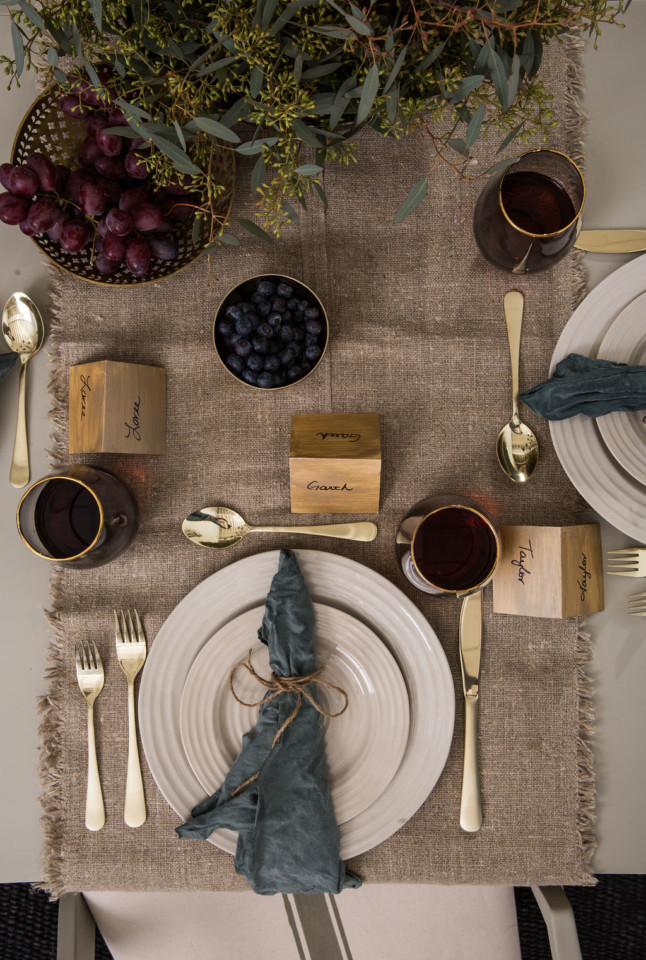
After all the hard work you’ve put in, it’s time to set the table, because the company is coming! For this completed look, stay tuned for the rest of the series featuring the following DIYs:
Paint Dyed Napkins, Painted Place Cards, Metallic Painted Chandelier & Lamp Shades, and French Linen Stripe Chairs.
What kind of projects will you be tackling ahead of the holiday season? Share with us in the Paint It Beautiful Facebook group.


8 Responses