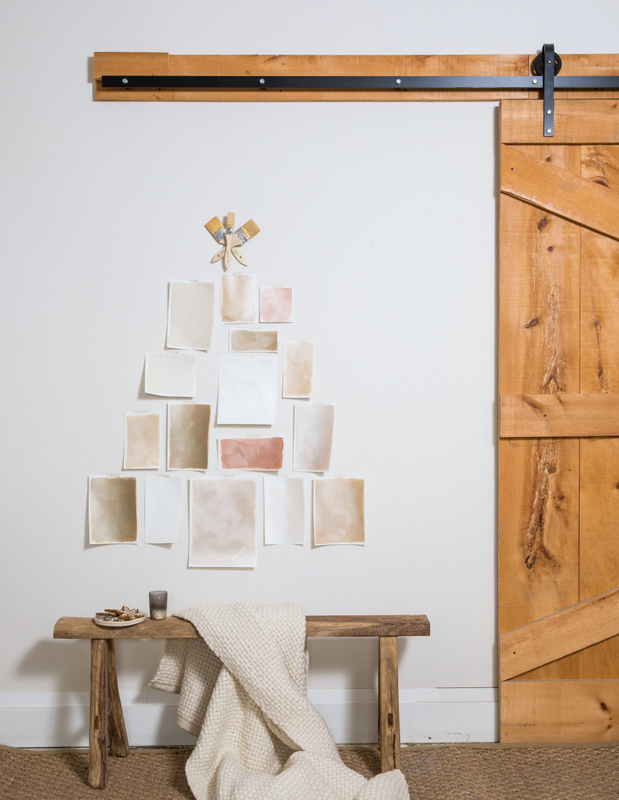
We love to see the inspirational projects you all share with us in our Facebook group Paint It Beautiful, so we wanted to share some crafts of our own for the holidays made with Fusion Mineral Paint! So are you ready to get your holiday craft on (if you haven’t already!). We are sharing this super simple holiday craft (perfect for when you don’t have a ton of time) – DIY Painted Paper Christmas Tree.
New Metallics
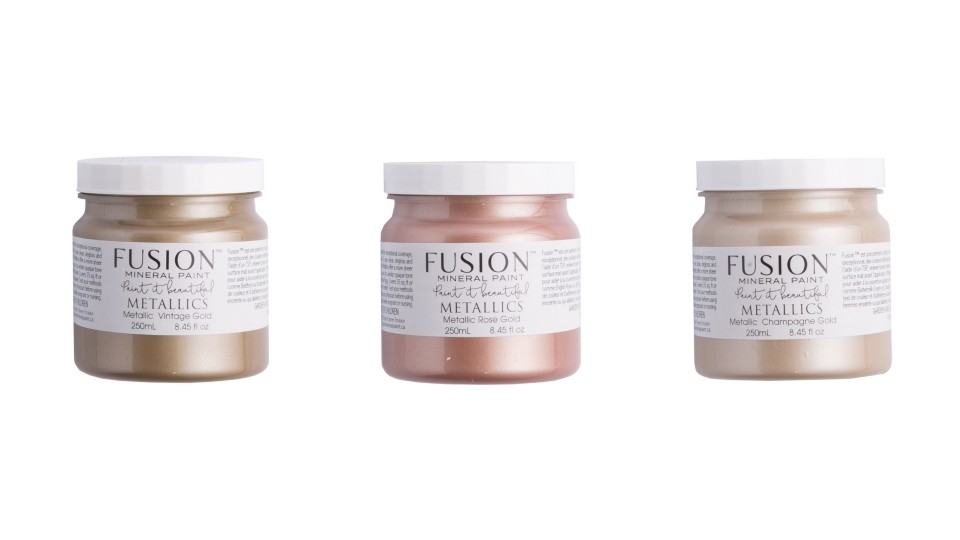
This year we launched three new Fusion Metallic paints – Vintage Gold, Champagne Gold and Rose Gold – and the response to them has been incredible! They’re these beautiful, shimmery shades that blend so well with each other and are practically begging to be used for your holiday crafts and handmade gifts. We cannot get enough of them and have already done a few other tutorials using them, including a DIY Christmas garland and a DIY holiday floral arrangement.
We are big fans of Scandinavian decor and one of the things we’ve seen over the years is the different ways Christmas trees are presented in Scandinavian countries. One of the most well-known are the wall Christmas trees objects have been hung on the walls to form a tree shape. These can be made from twigs, wood pallets, felt, branches of greenery and all covered in lights and decorations. And of course, their printed Christmas tree collages and patterns on cards and textiles are just breathtaking!
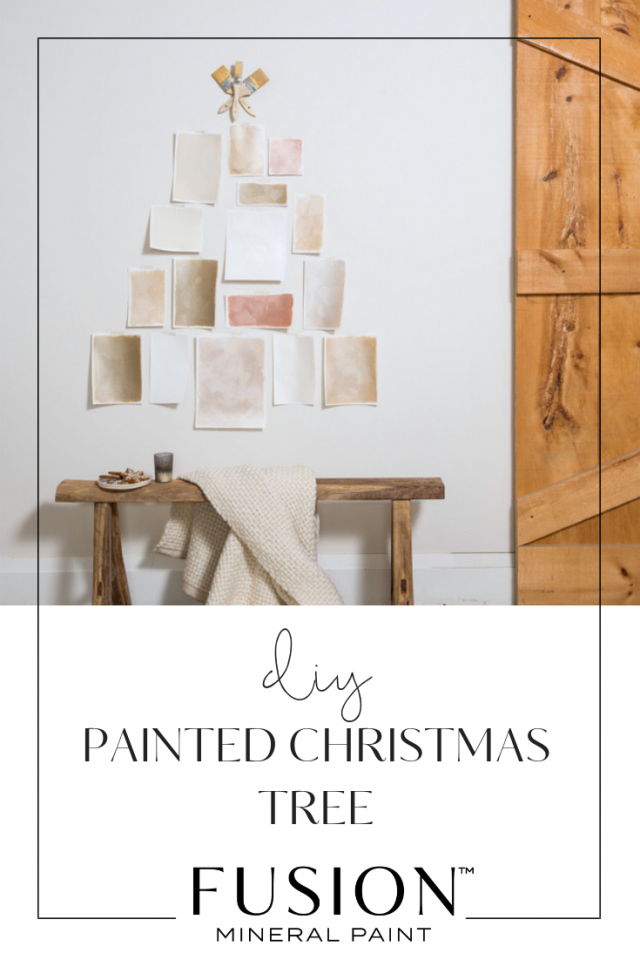
So we wanted to make our own DIY Painted Paper Christmas Tree. This is the perfect accent to your space if you’re hosting a fun party, have a small space that doesn’t have room for a huge tree or even an advent calendar (as long as you do this with 25 shapes).
WHAT YOU’LL NEED FOR YOUR DIY PAINTED PAPER CHRISTMAS TREE:
- Fusion Mineral Paint Metallics in Vintage Gold, Champagne Gold and Rose Gold
- Paint brushes
- Thick cardstock paper
- Ruler
- Exacto knife
- Double sided tape
STEPS FOR MAKING YOUR DIY PAINTED PAPER CHRISTMAS TREE
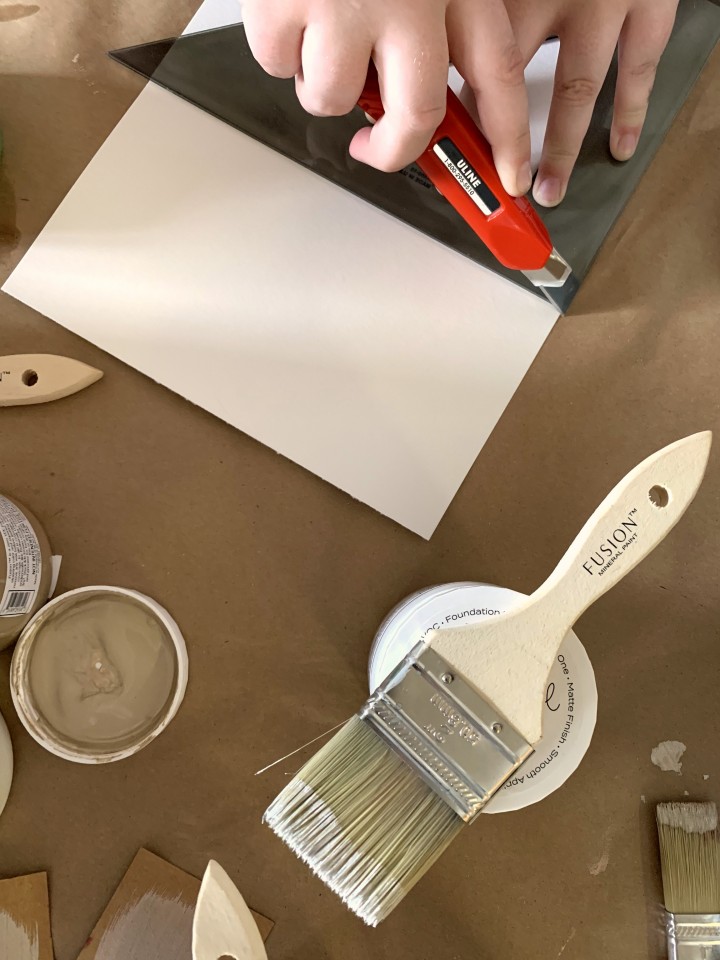
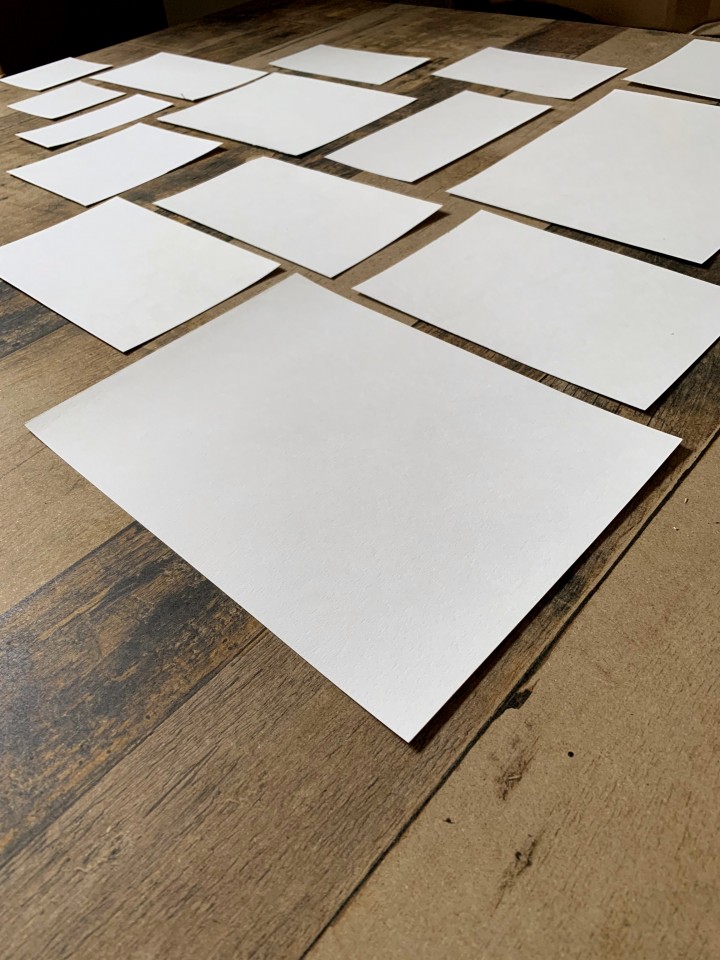
First, cut out different sizes of rectangular and square shaped pieces of paper. You can use scissors or a paper trimmer for this as well, but we used an Exacto knife for this as our paper was very thick. The goal was to make this paper look intentionally shaped like a tree but not intentionally symmetrical (if you get the idea) and it took a bit of trial and error to create a tree shape that flowed well.
You’re more than to use this look as your template to save you the time!
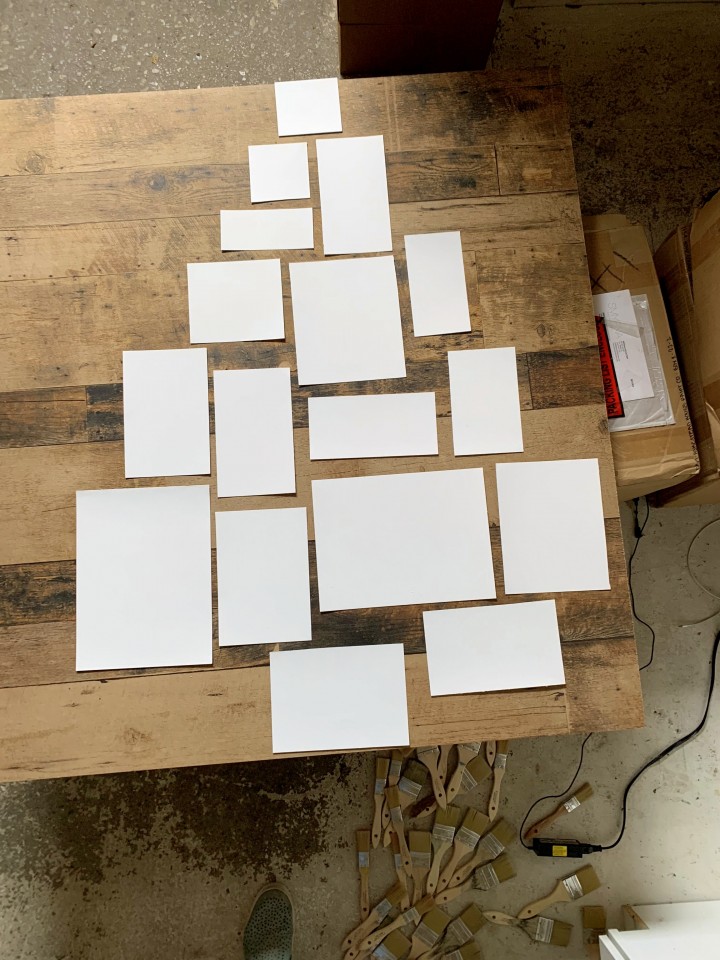
We laid them all out to make sure the order of the shapes was where we wanted it to go. Then we took a photo so we could remember where all the shapes went…just in case they got blown away or accidentally moved.
Leave your paper tree shapes as is on your surface for this process.
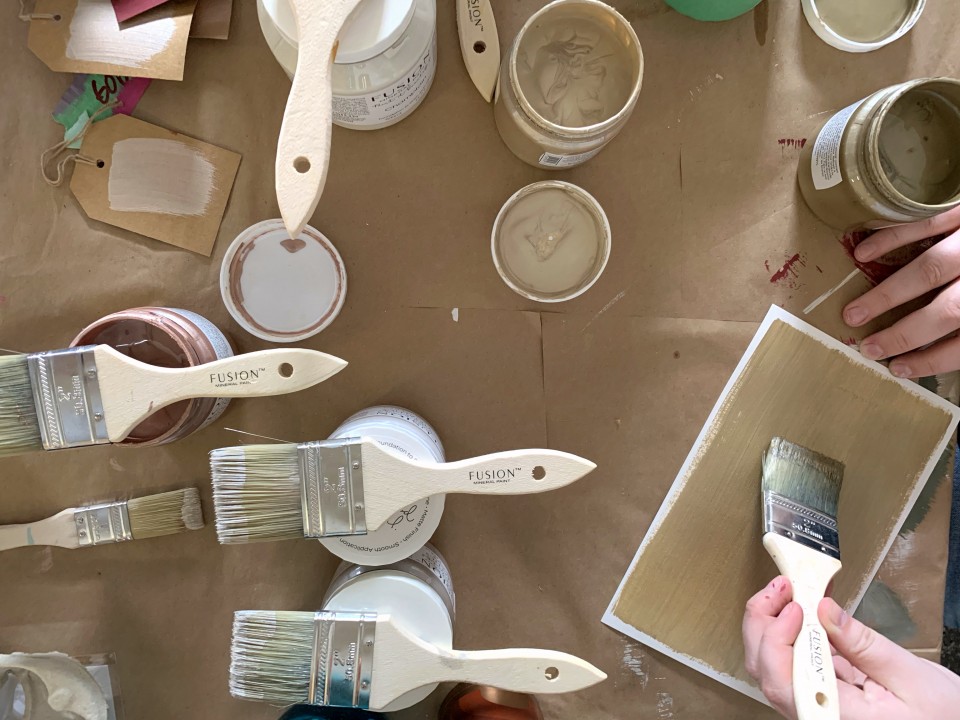
Then using our Fusion Metallics paints, we painted each shape in a different colour, one at a time.
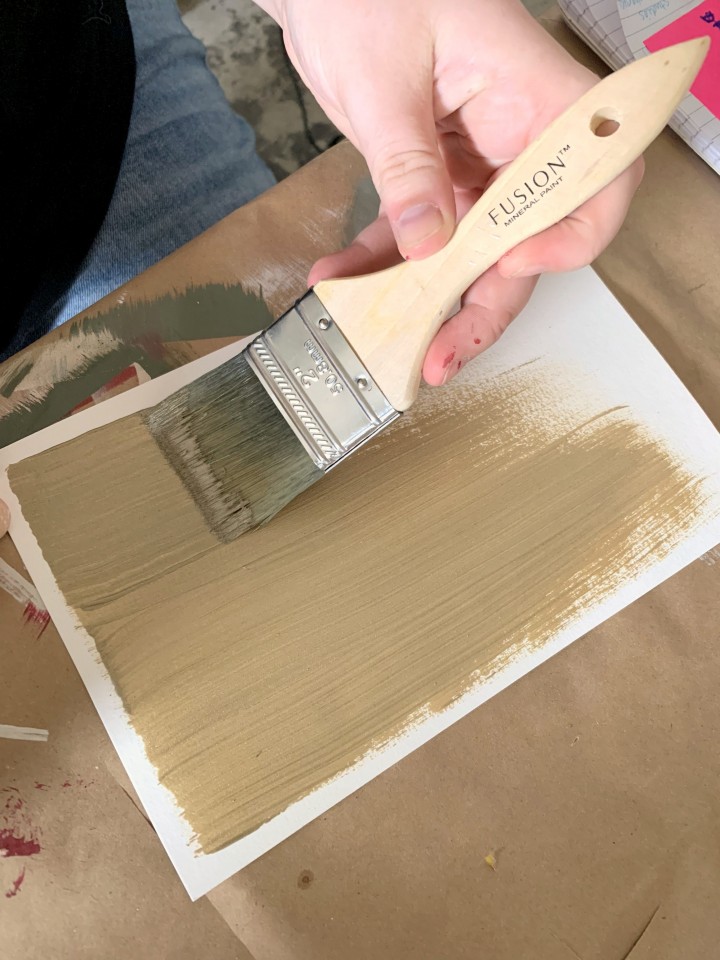
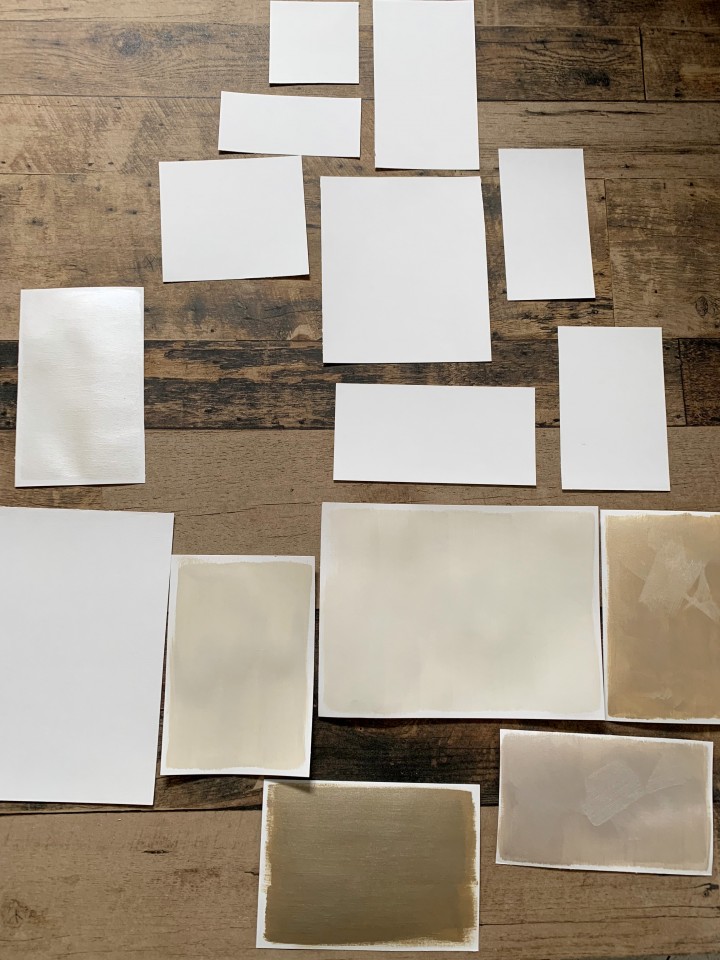
Once you finish painting, place your painted piece of paper back and go to the next one.
This will also help you to decide on what colour to do next. You want to have a natural colour blend for the entire tree. Instead of having too many gold pieces side by side and so forth.
After your tree paper pieces are dry, starting at the bottom using double sided tape, stick them to your wall.
Jennylyn and Loree had way too much fun making this one!
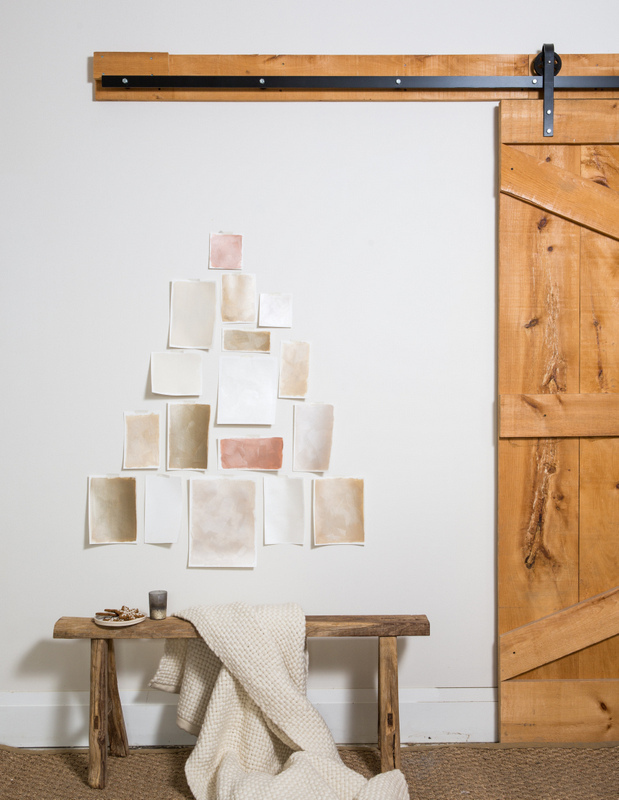
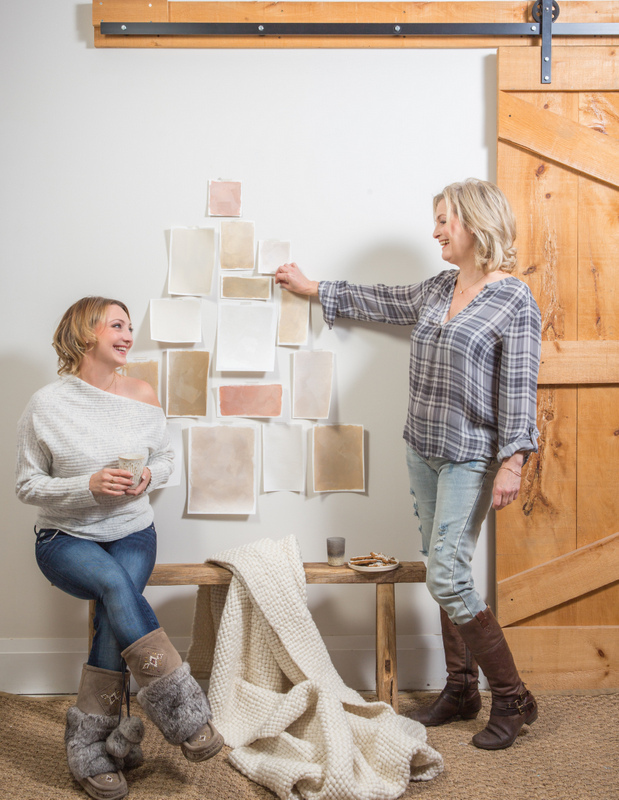
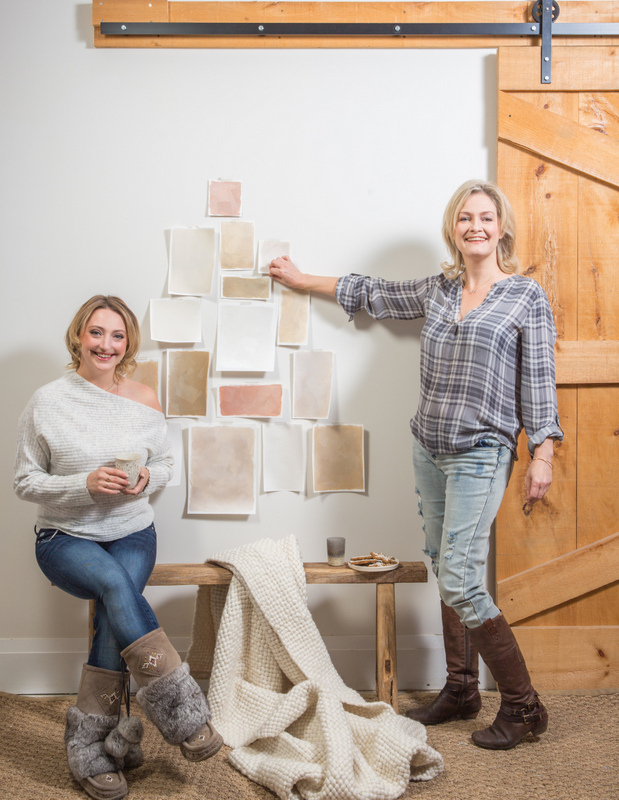
Perhaps some paintbrushes as your fancy tree topper for an added touch? I mean how adorable and yet just gorgeous is this?
It would even make a great Christmas card craft using smaller pieces of paper!
From our Fusion family to yours, we couldn’t be what we are without you and without our Fusion merchants. We hope you continue to create magic this Holiday season and beyond and always continue to Paint it Beautiful!
Don’t forget to share your Holiday projects in our Facebook Group Paint it Beautiful. Tag us on social @FusionMineralPaint or with the hashtags #PaintItBeautiful and #FusionMineralPaint.
Happy Holidays!
PIN THIS PROJECT


One Response