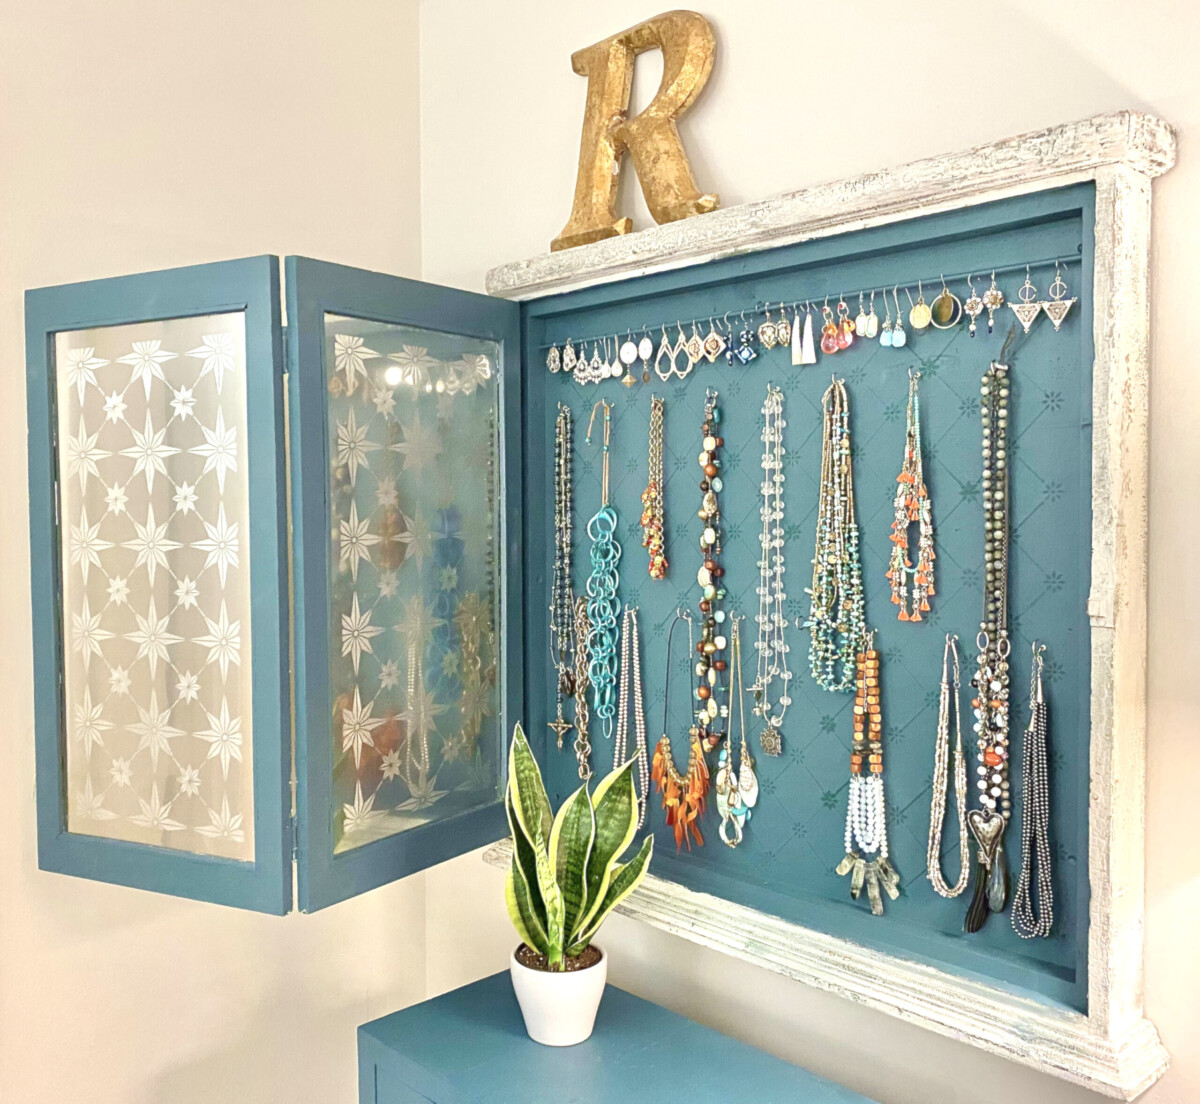
I bought this old church bulletin board ages ago at a favorite antique store. The moment I saw it, I knew it could be a jewelry display. Steve added the dowel at the top to hang earrings, and we added cup hooks for my necklaces. I painted a rustic, textured white on the outside, and for this project, I painted Fusion Mineral Paint Homestead Blue on the inside that matches the little cabinet below. This piece is so large I can fit my ever-growing collection no problem. (That may not be a good thing.) When I travel in the US or overseas, a piece of jewelry is my favorite to collect and wear. So many ever-lasting wonderful memories.
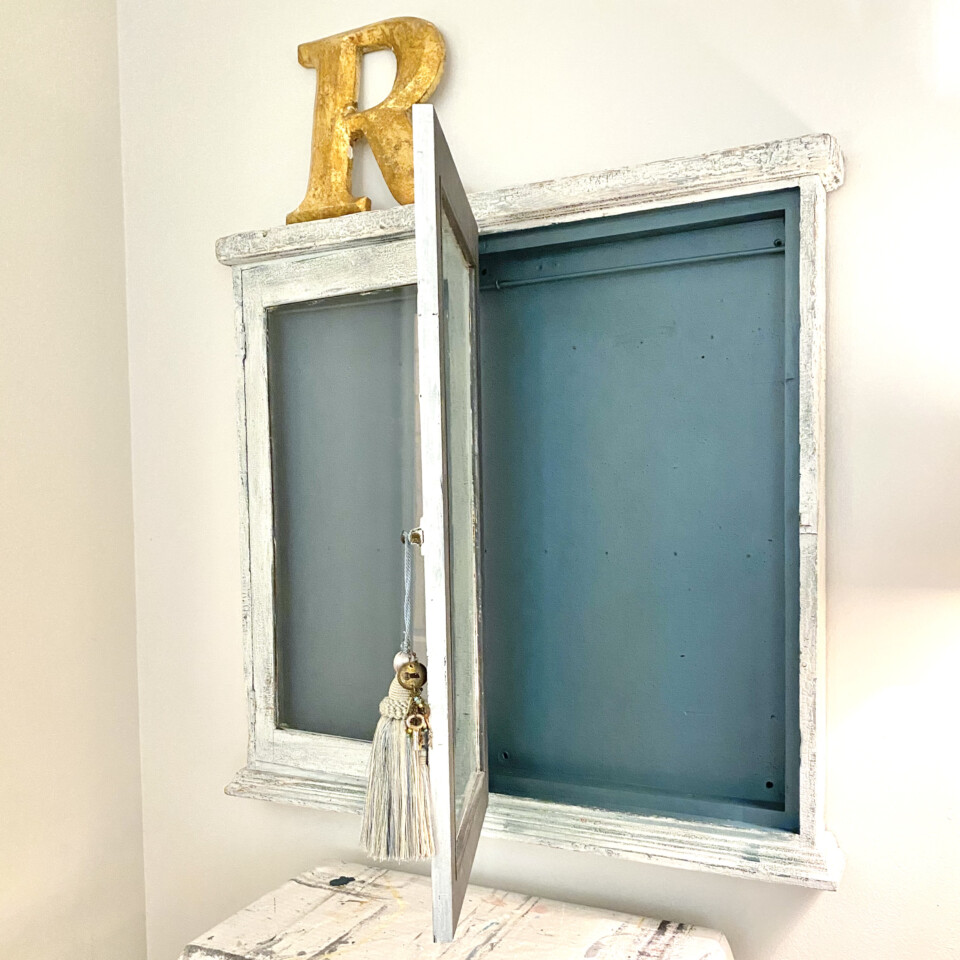
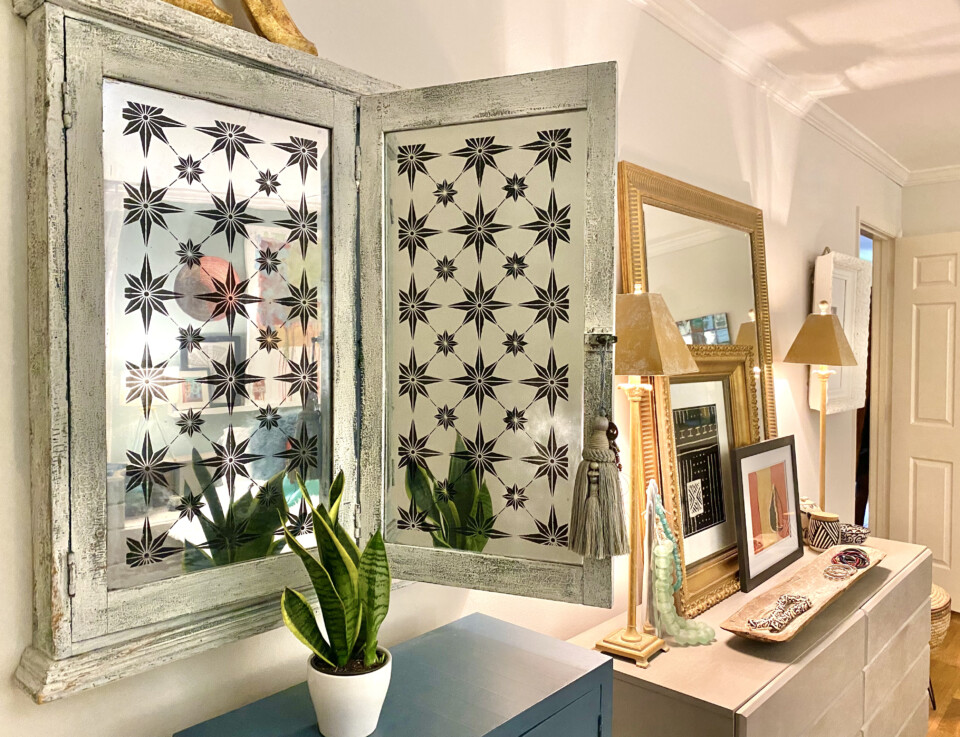
This is how I designed my jewelry display, but of course, it’s not likely that you will have a piece just like it. So my goal is to share easy techniques you can use with Fusion Mineral Paint. Fusion paint sticks beautifully to glass, and for this project, mirror spray paint was the extra bling I was after. Just imagine how you can change paint colors and a stencil on your glass project, and accent it with mirror paint.
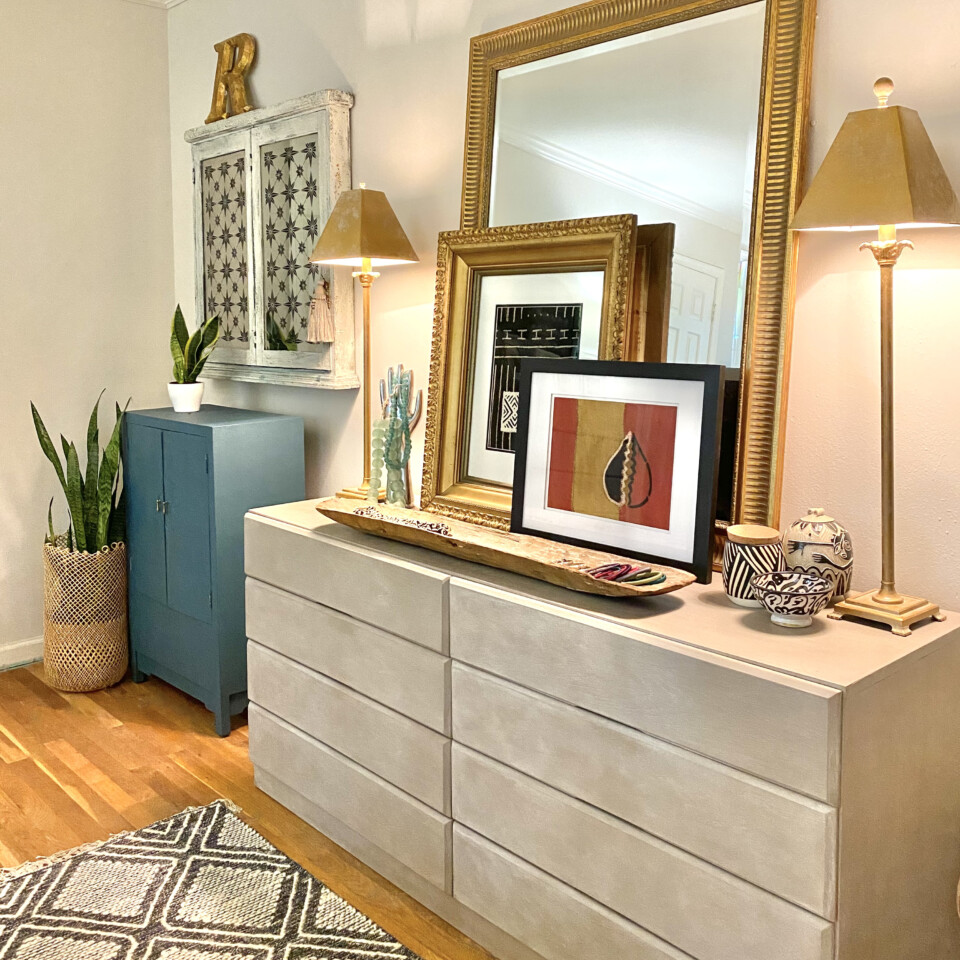
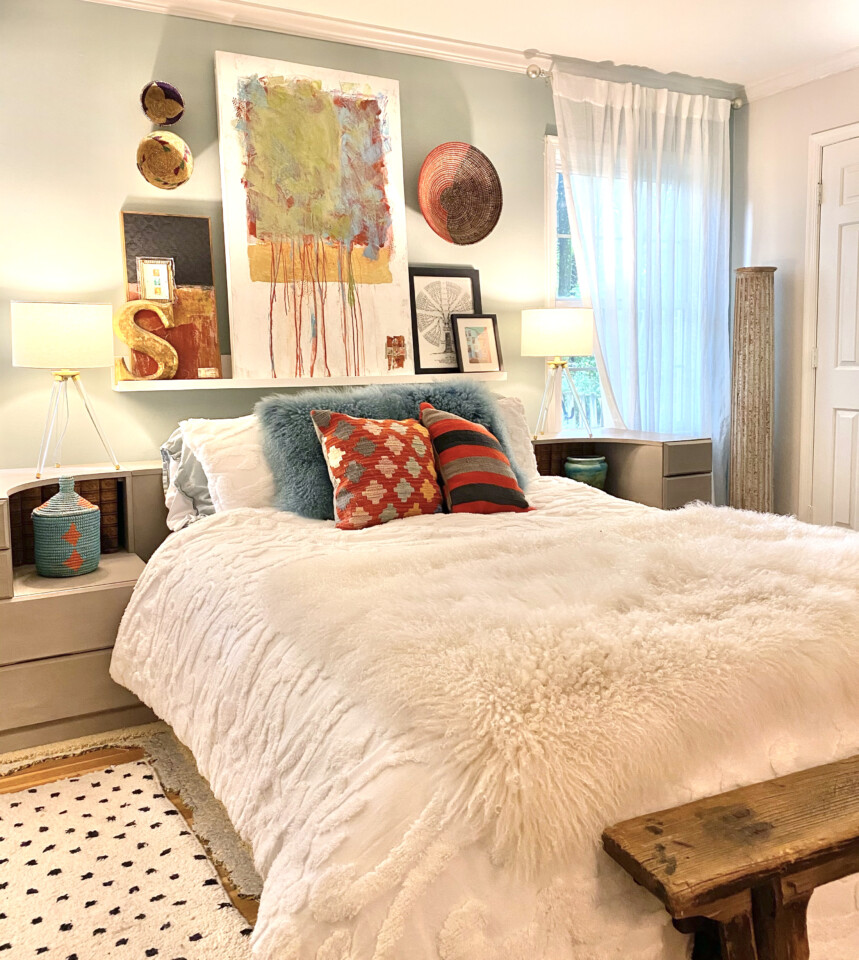
I designed this piece to coordinate with our bedroom. Even though the project is extremely simple, I love the end result in the room.
BEFORE YOU BEGIN!
If you have never painted on glass, hop over to my getting started page HERE then return to this page.
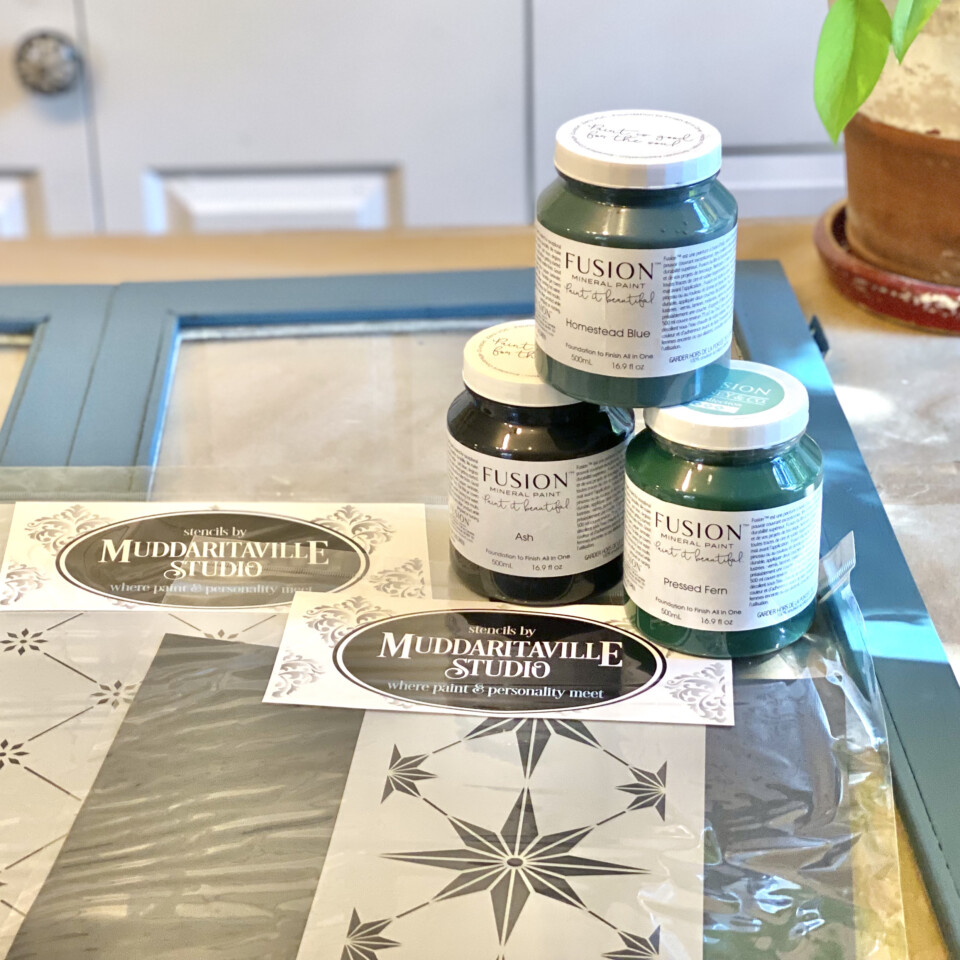
SUPPLIES
- Fusion Mineral Paint: Ash, Homestead Blue, Pressed Fern
- Muddaritaville Studio Stencils: Ava Star Tile Stencil & Daisy Lattice Drawer Stencil
- Krylon Looking Glass spray paint
- Staalmeester paint brushes
- Small and medium stencil brushes
- Rags, newspaper, paper towels, paper plates, 1″ painter’s tape, ruler, level, measuring tape
- Dowel for earrings
- Cups hooks for necklaces
OPTIONAL
STEP ONE
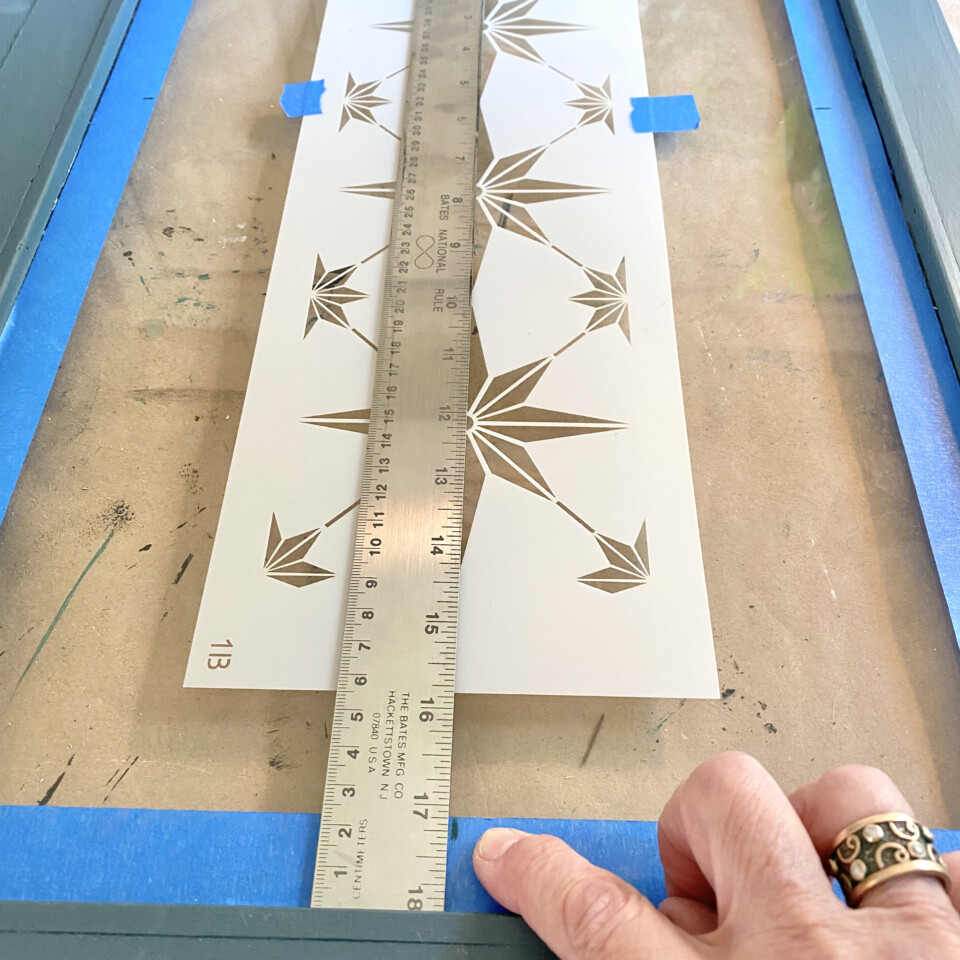
Remove the folding glass section of the jewelry display so you can paint on a flat surface. Paint the inside of the box and the glass frame Homestead Blue and let it dry. Working on the INSIDE of the glass, tape off the edges of each glass section using 1 inch painter’s tape. This is because it would be difficult to get the stencil into the edges and the corners. Find the center of the Ava Star Tile stencil and the center of the glass, and tape down the stencil.
STEP TWO
Dip just the tips of your stencil brush into the paint and remove the excess on paper towels.
I liked the slightly imperfect look of the Ash color using only two coats because this piece is rustic. You could stencil one more coat for more coverage.
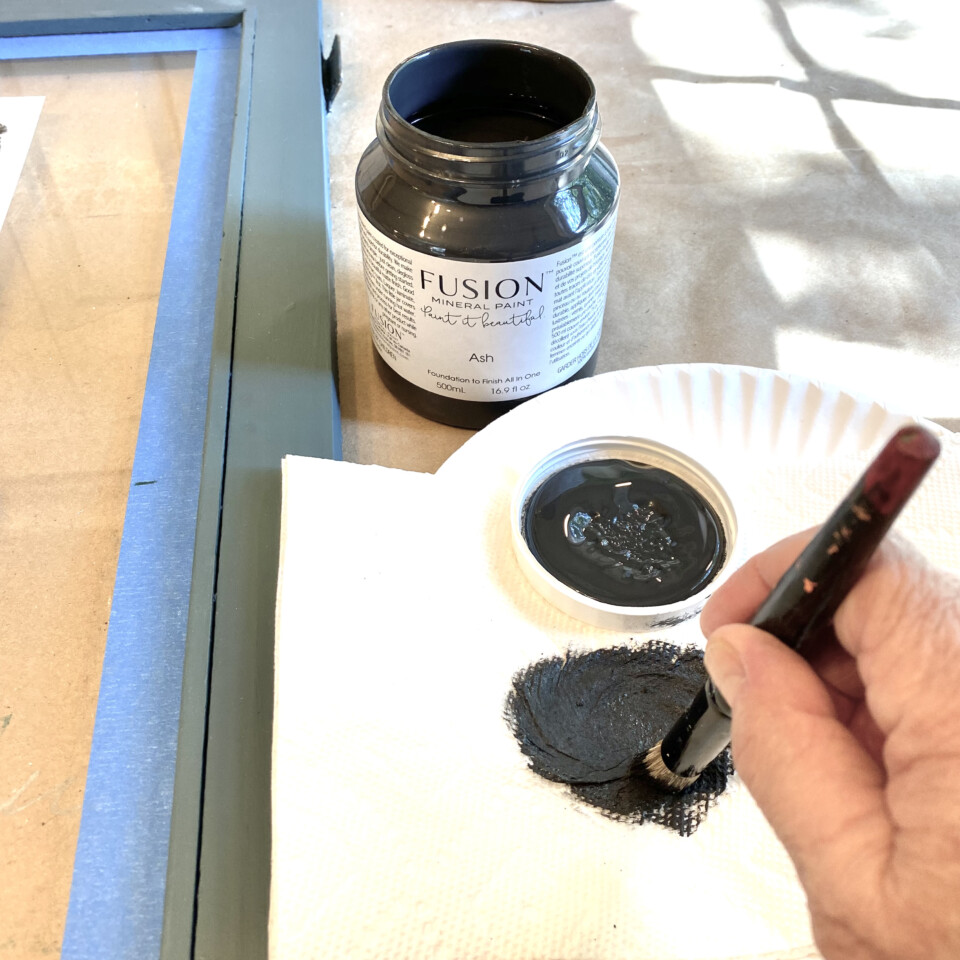
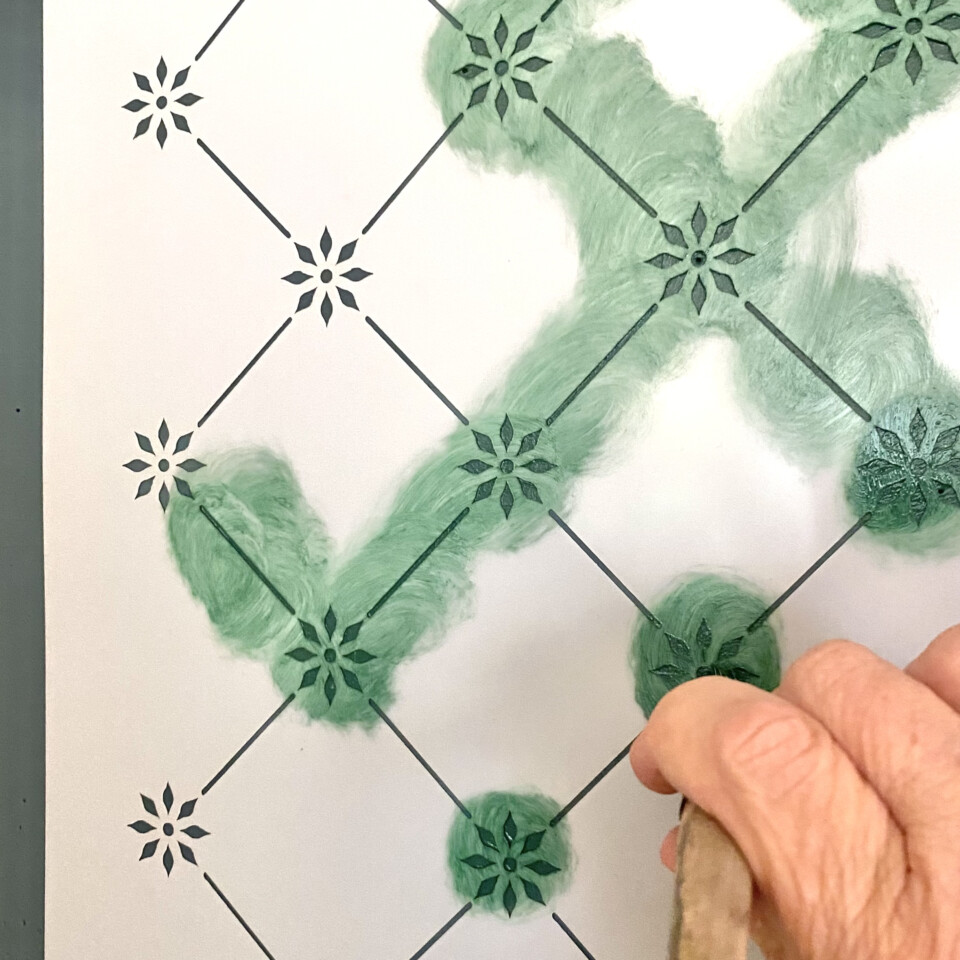
Use a tapping motion to stencil. If you swirl the brush, the paint can get underneath the stencil. Let dry for a few minutes and do one more coat.
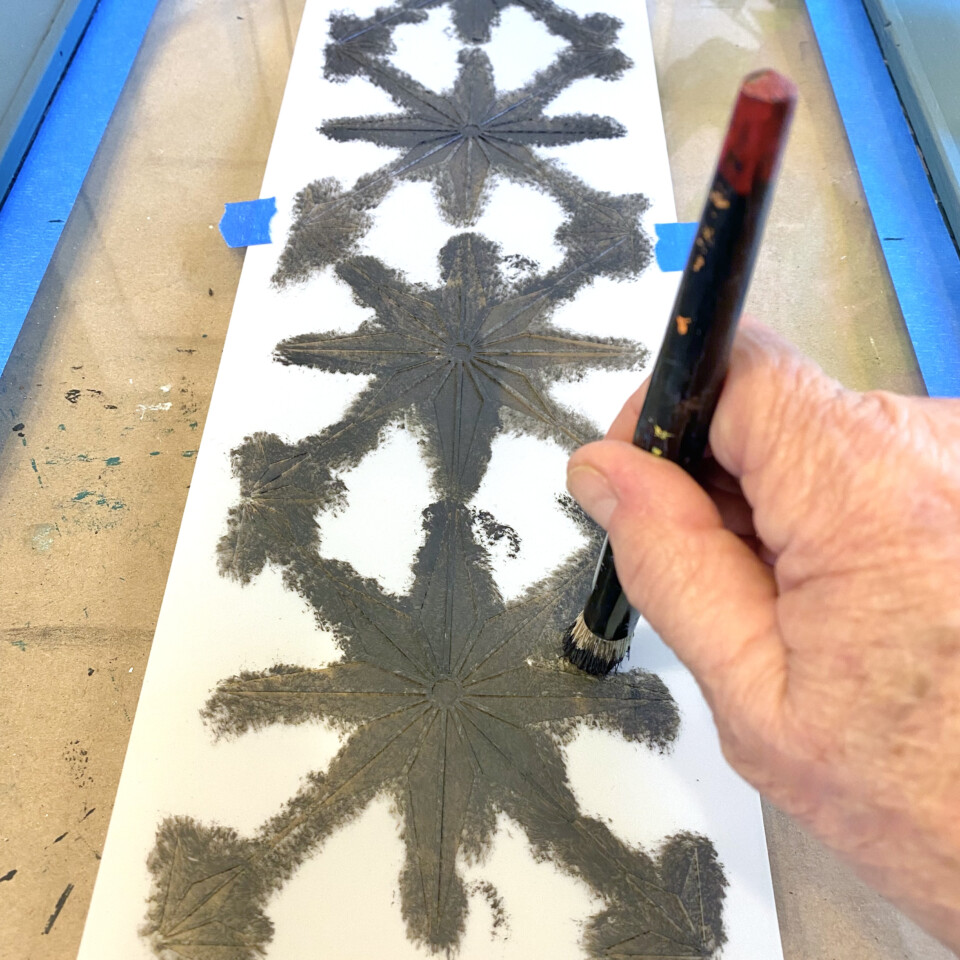
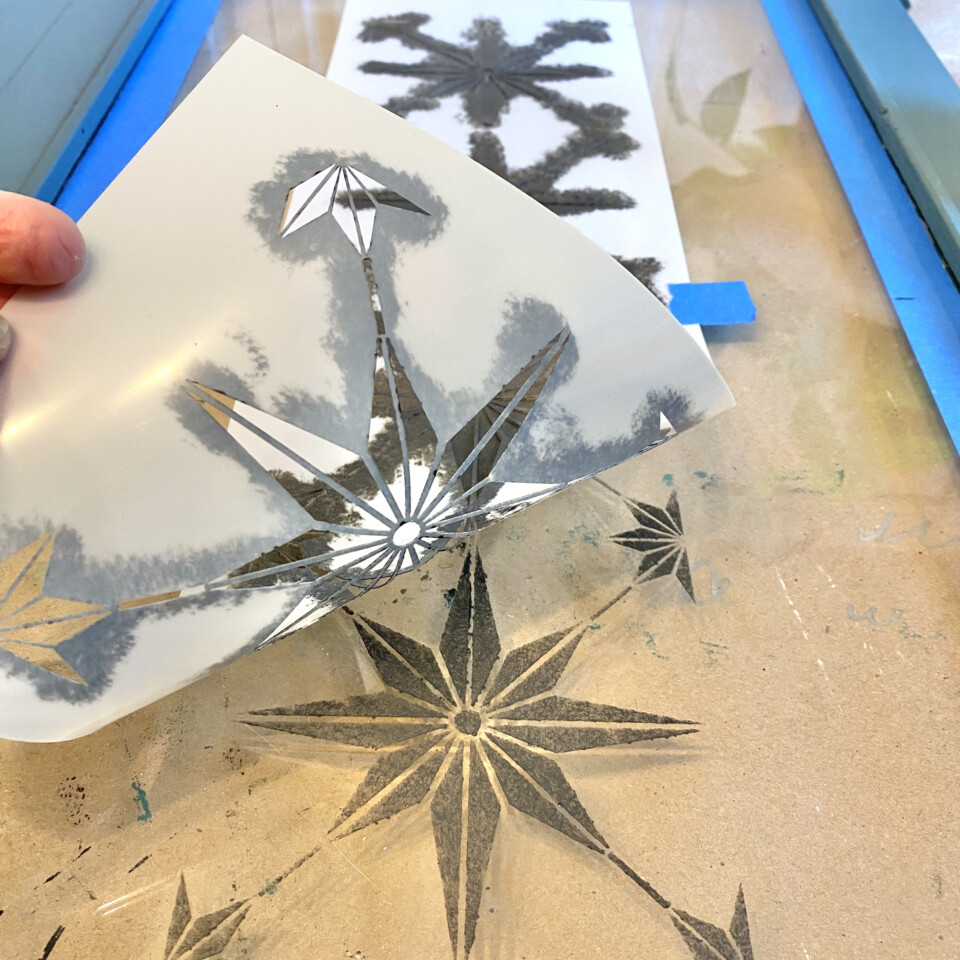
You can lift up the stencil to see your progress. Move the stencil to complete the pattern.
STEP THREE
Tape off the edges and add newspaper to mask off everything.
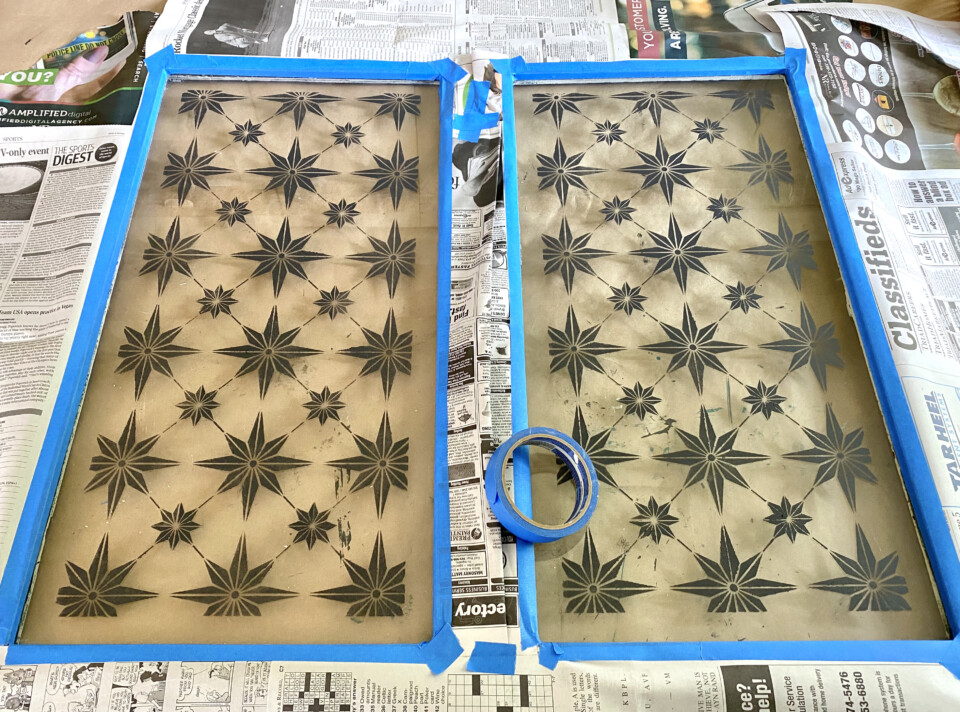
Take it outside (on a non-windy day), and spray five coats of Krylon Looking Glass paint onto the glass, letting dry in between coats.
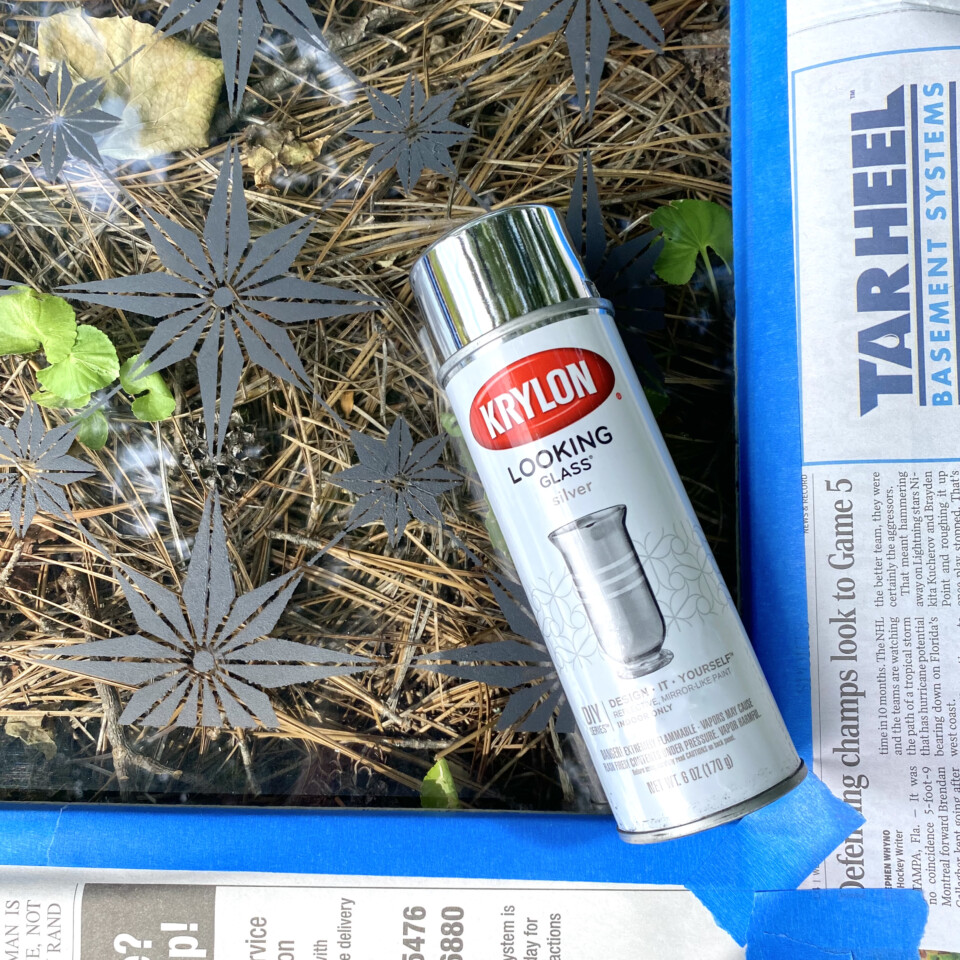
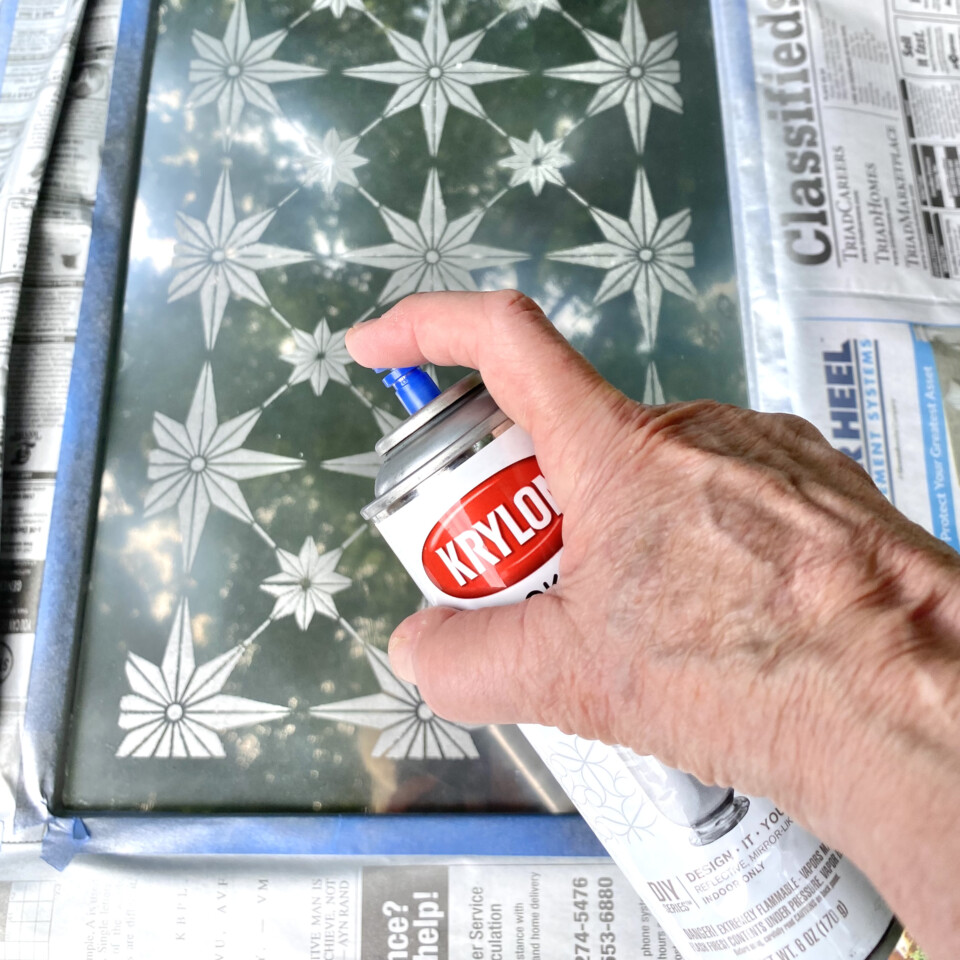
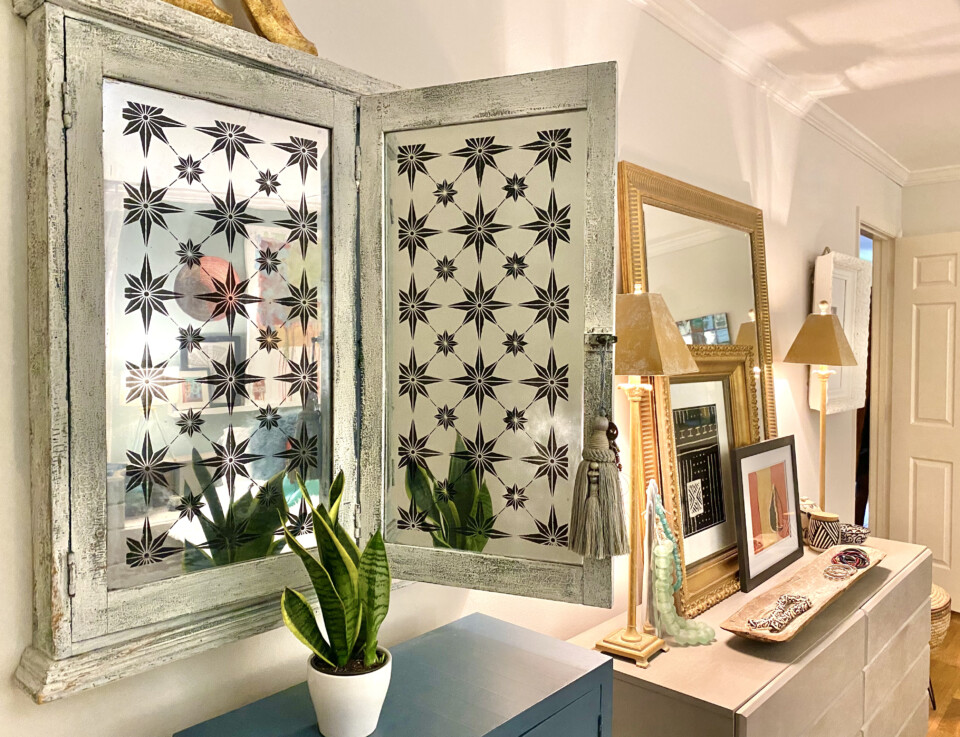
After an hour I carefully removed the tape and newspaper. Love the soft reflective look!
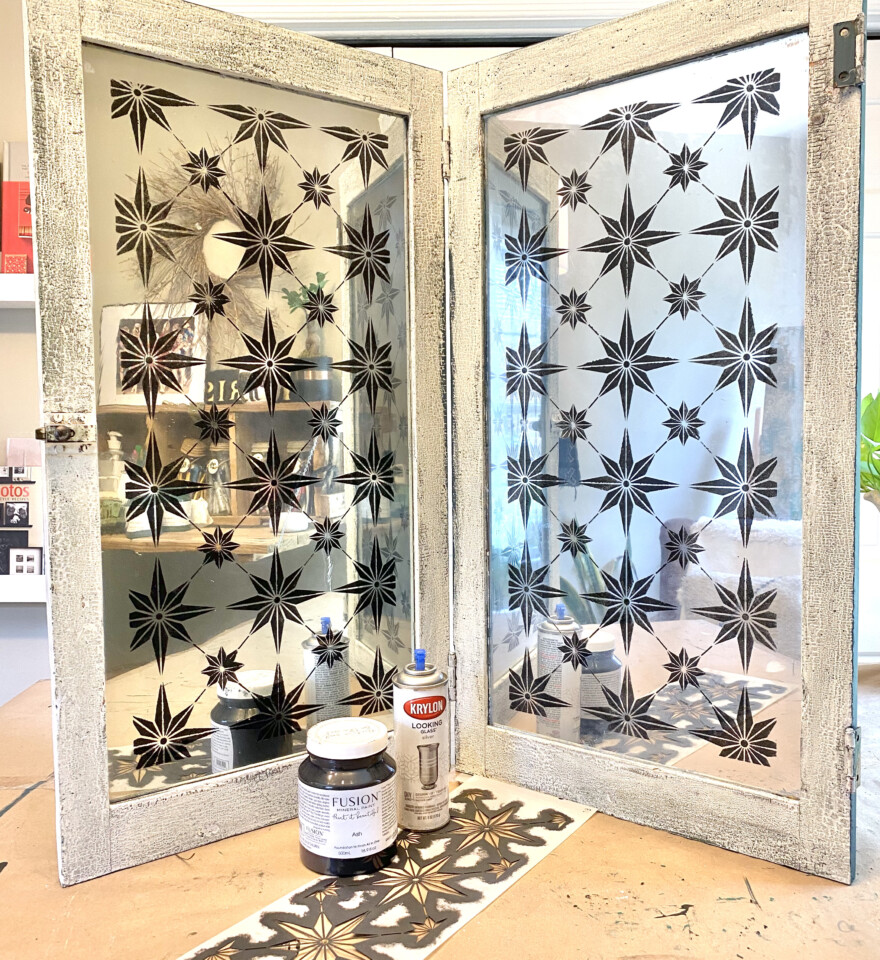
FOR THE INSIDE OF THE JEWELRY DISPLAY BOX
I really did not need to stencil inside, but I decided a dainty, coordinated design, using a tone-on-tone look would be pretty. Center and level the Daisy Lattice Drawer stencil.
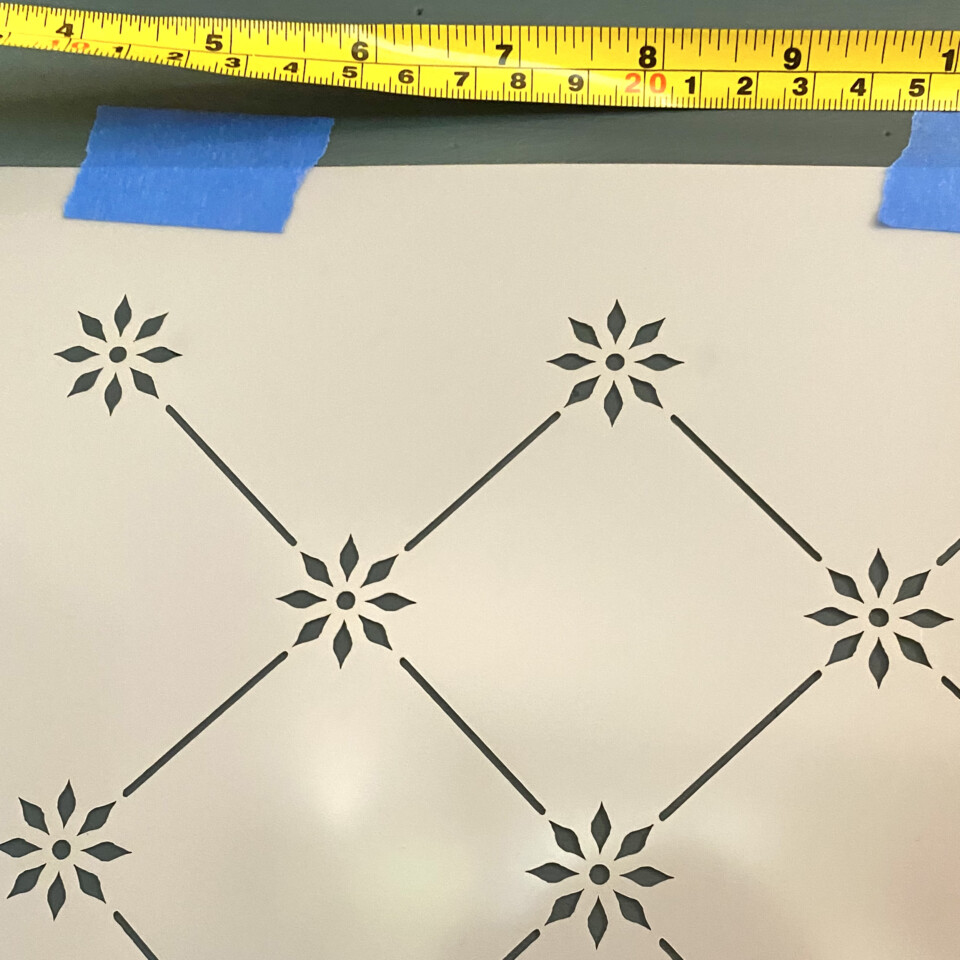
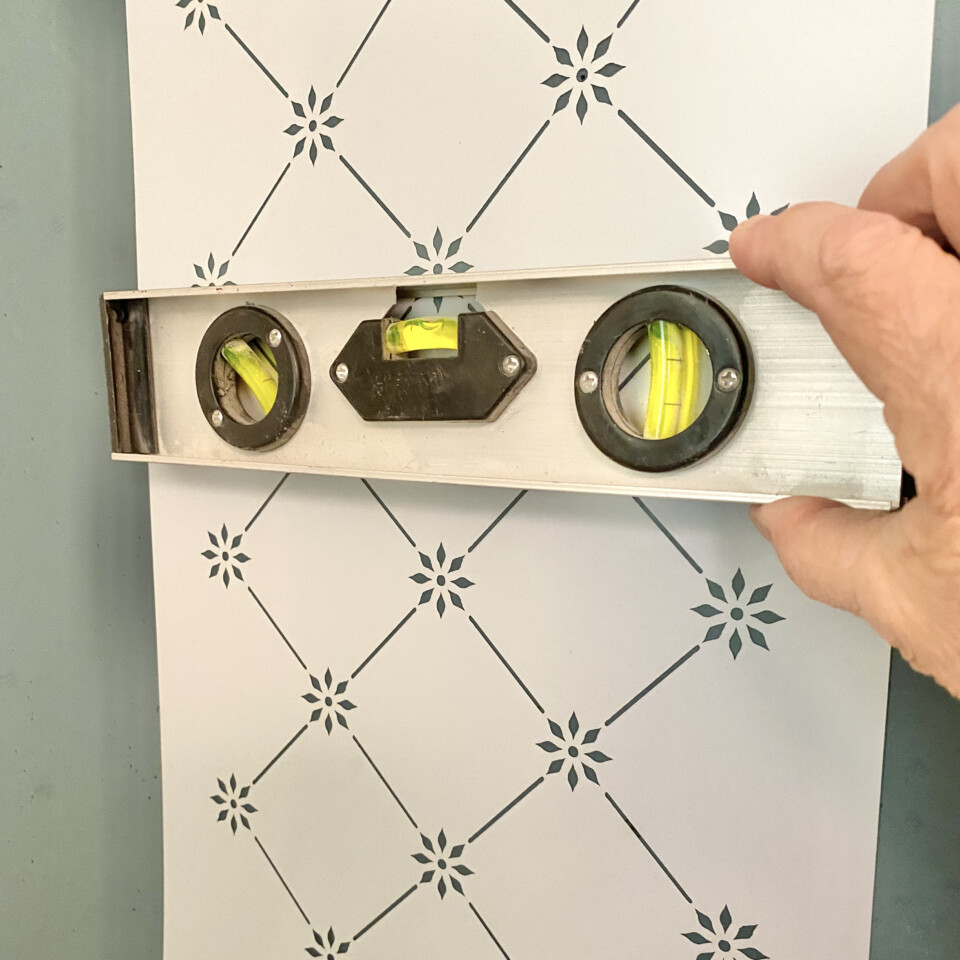
Then stencil two coats of Pressed Fern paint and let dry.
We added the dowel at the top for my earrings, and cup hooks for long and short necklaces. So easy.
The unexpected result of spraying the mirror paint on top of the stencil was the soft glow of the inside of the doors.
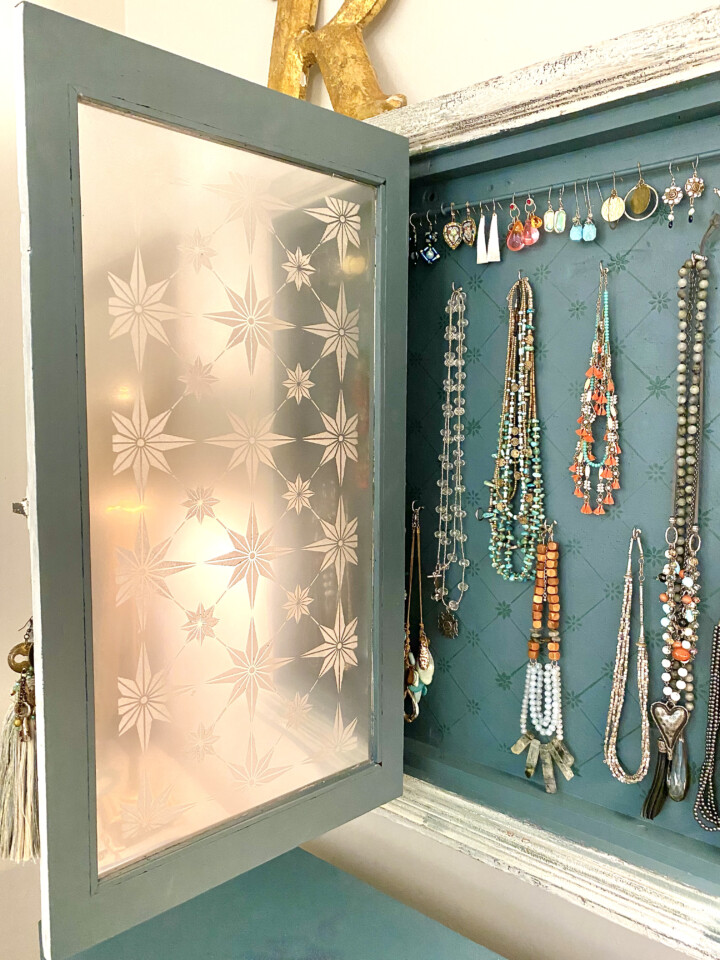
I added a soft tassel to the door latch and called this project done.
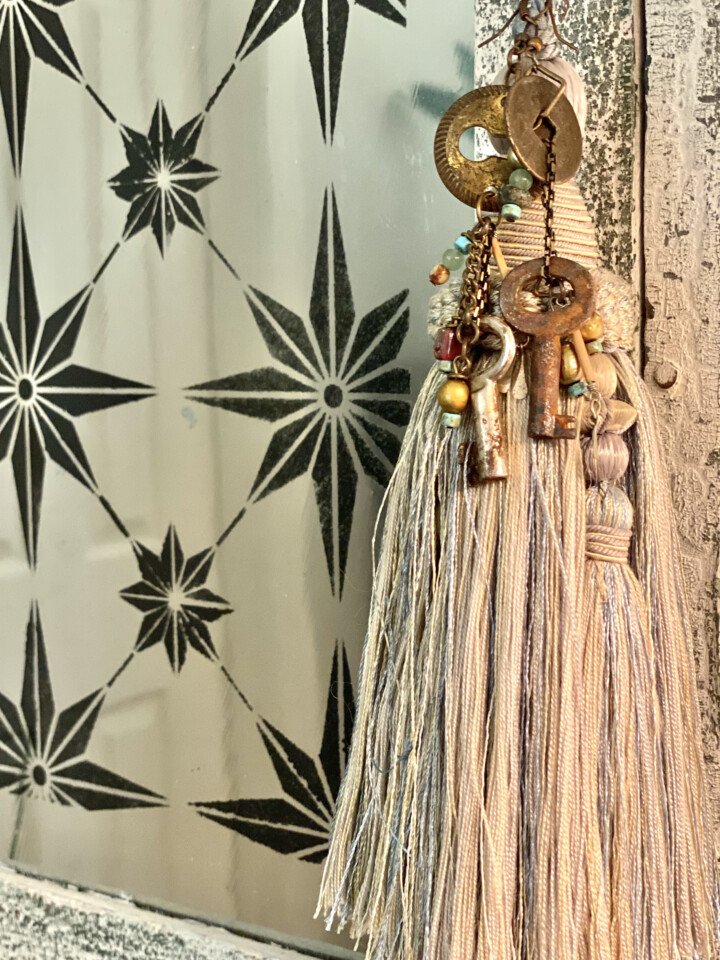
What I love the most is that the very trendy stencil design works so well in our rather funky artsy bedroom, and the project did not have to be overly complicated.
Don’t miss my other reverse-painted Fusion Mineral Paint and Muddaritaville Studio stencils projects. Just click on the photo to hop over to the tutorial.
COMING SOON! Let’s paint glass dishes – in reverse!


