One of the things that people really love about Fusion Mineral Paint is that it is formulated with a built-in top coat, the 100% acrylic resin. You do not need to use a separate top coat for water permanency with Fusion Mineral Paint. What does this mean for you? Reassurance that the item you just painted is going to be durable and last. We even did a scrub test to show just how well it lasts. We wanted to explain when to use a top coat over a piece painted with Fusion Mineral Paint as there seems to be a lot of misinformation about this out there.
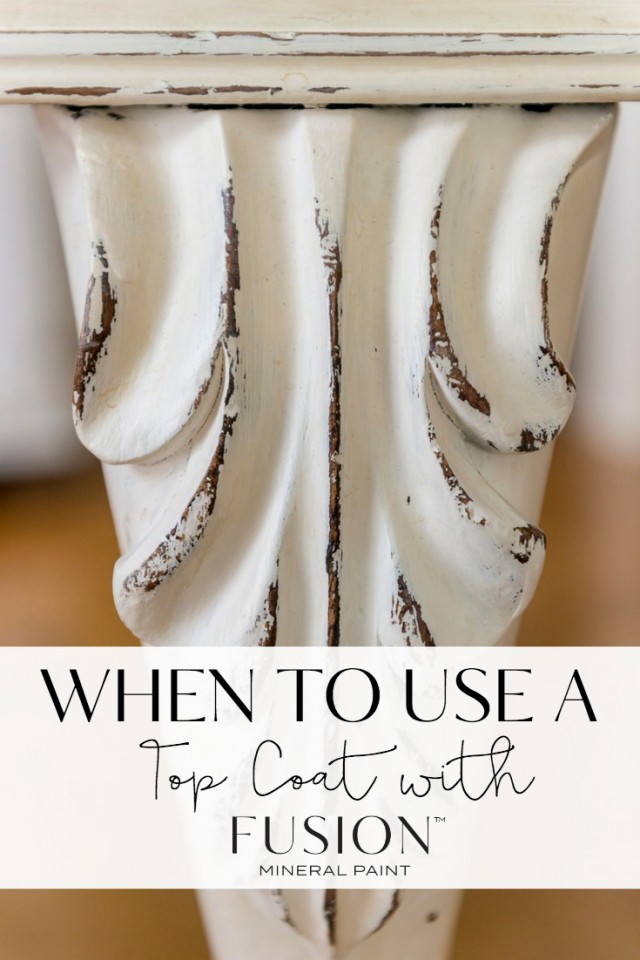
Compared to chalk-type paint which requires either a wax or a top coat to protect it from chipping. Anyone who has ever undergone a time-consuming large-scale painting project, knows just how long this process can take. Using Fusion Mineral Paint means less time-consuming work for you with all of your paint projects. We wanted our paint to make life easier and not always have to use a top coat for protection.
So when people come across our Tough Coat they think “Wait, I thought Fusion didn’t need a top coat? So why does this product exist?
Let us explain more about when to use a top coat over Fusion Mineral Paint.
We created Tough Coat because not all items that will be painted are created equally and some surfaces may need an extra bit of protection. It’s similar to when you apply nail polish that has a built-in top coat. Do you need to use an extra top coat? No. But say you’re going on vacation and will be walking around a beach where there is sand that can potentially chip your pedicure. If you used an extra top coat over your nail polish, that would potentially make your pedicure last longer and withstand the elements thrown at it. It’s the same for furniture.
We also always emphasize that your prep work for any item you paint is the most important step in painting. For example, a raw wood surface that has never been painted before, is going to absorb paint differently than say a laminate surface or a surface that was previously covered in wax. How you prepare that surface before that first drop of paint goes on it, will indeed impact how your project turns out. The decision to use Tough Coat is a personal one and it depends on the surface you are painting. Examples of when you may want extra protection, are high traffic areas like a kitchen table where you do a lot of crafts and cutlery can create dings or even kitchen cabinet doors.
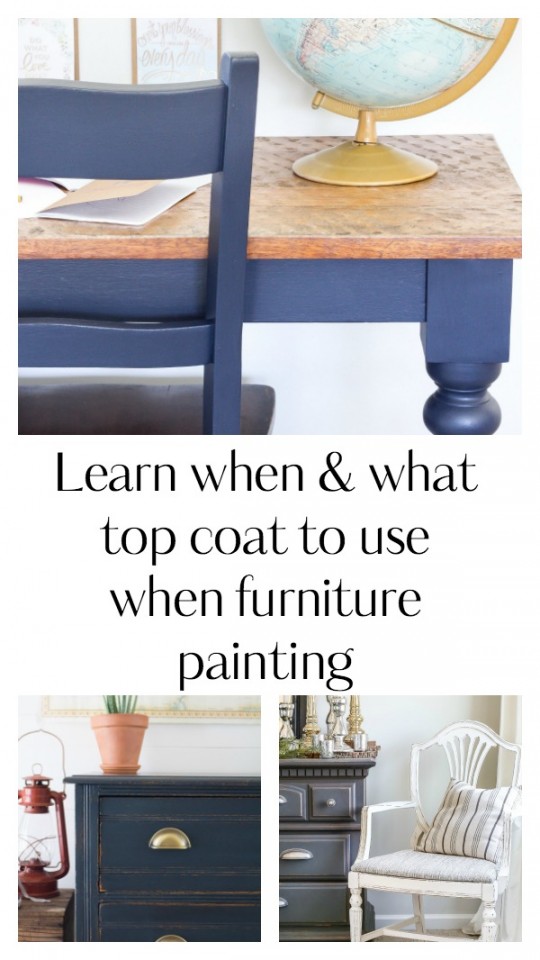
Fusion has several options for top coats and finishings and we wanted to break down the differences for you.
1) Tough Coat Matte Wipe-on Poly
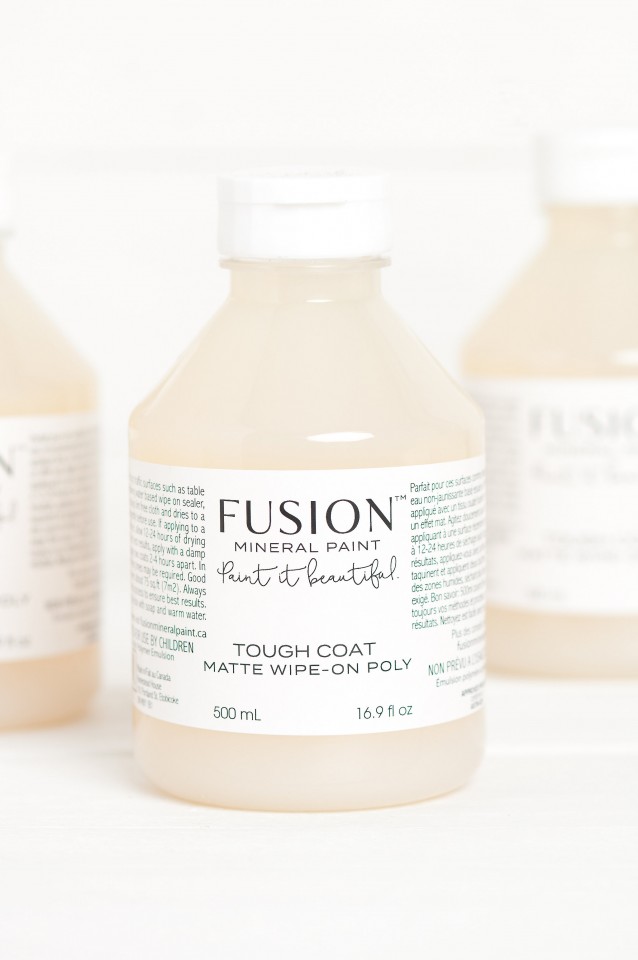
This is a Non-Yellowing, Clear Tough Coat. It is a water-based wipe-on sealer and is easily applied with a damp lint-free cloth. Tough Coat dries to a matte finish.
When to use:
Perfect for those high-traffic surfaces such as table tops, kitchen cabinet doors, kitchen islands, backs of chairs. Or really any areas that you think could potentially show wear and tear. If applying to a recently painted surface, allow 12-24 hours of drying time before applying. For best results, use with a damp lint-free rag and apply two coats 2-4 hours apart. If you live in a humid climate, longer drying times may be required.
Important to note: You can easily paint over it anytime if you change your mind.
More tips about our Tough Coat.
- Be sure to gently mix your Tough Coat prior to using it as the matting agent and other ingredients may settle to the bottom. Do not shake vigorously ( as with any poly-type top coat ) as this will cause air bubbles in your piece that are difficult to remove once applied.
- When applied on mid to dark paint colours it may show streaks where the edge of the brush stroke was…only a very thin coat using a sponge or our applicator will give you a consistent appearance. This is due to water vapour that may be trapped (within the thicker edge of the brush stroke ) Tough Coat is visible on dark colours in particular. Should streaking occur, you can simply apply the paint over top and leave it as is. A nice thin coat of our Natural colour in the SFO (see below ) can be a lot more forgiving on darker colours.
- We have what we call a “Tough Coat Sandwich”. You paint first, then use Tough Coat, then paint again and your project will be beyond durable! This is only recommended for very high traffic surfaces.
2) All in One Stain and Finishing Oil
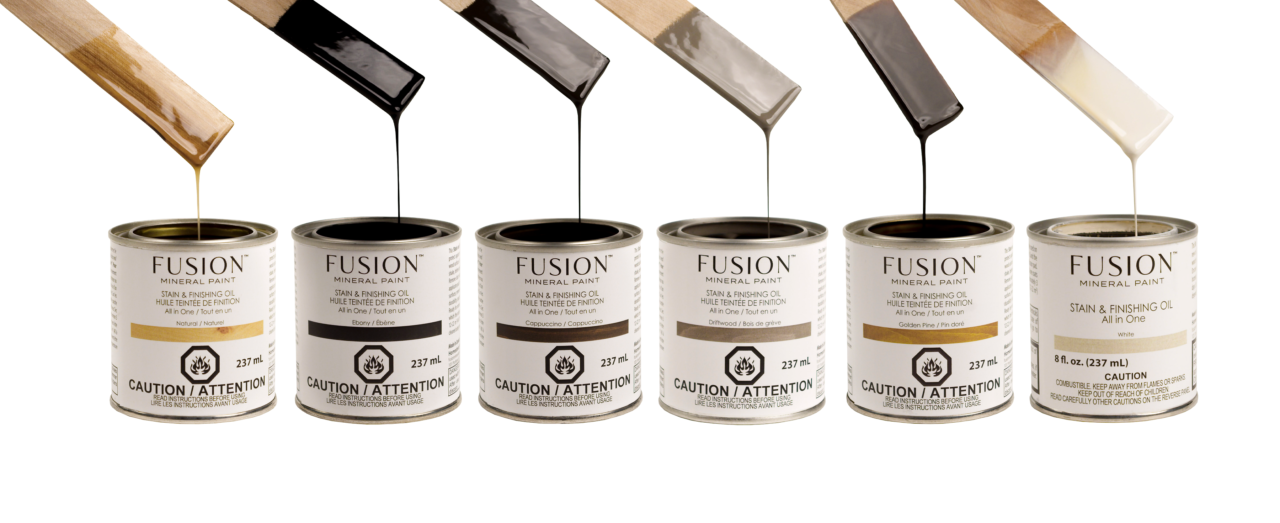
This All in One Stain and Finishing Oil is your go-to solution for bare wood to show off the grain, yet change the colour to your desire. Comes in 6 gorgeous colours. Very easy to use, minimal odour and Eco-Friendly! Apply it with a brush or rag, and wipe away the excess. It does not leave a surface film that sits on top. Rather it soaks in and becomes part of your wood.
When to use:
The better option for medium to darker paint colours (instead of the Tough Coat) or bare wood for extra added durability on high-traffic areas such as kitchen cabinets, table tops or flooring.
Important to note: You can’t paint over it unless the SFO has totally cured.
3) Waxes – Beeswax and Furniture Wax
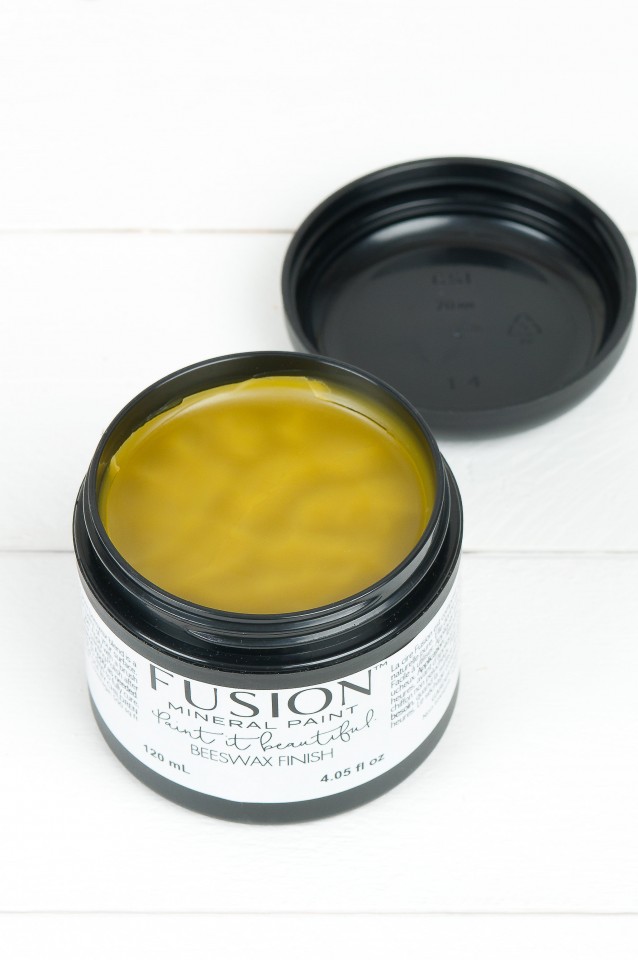
Our Beeswax Finish, is unique to Fusion and contains only pure natural beeswax and hemp oil. It is a food-safe, all-natural product, providing a soft smooth satin finish. Food safe, no chemicals & biodegradable.
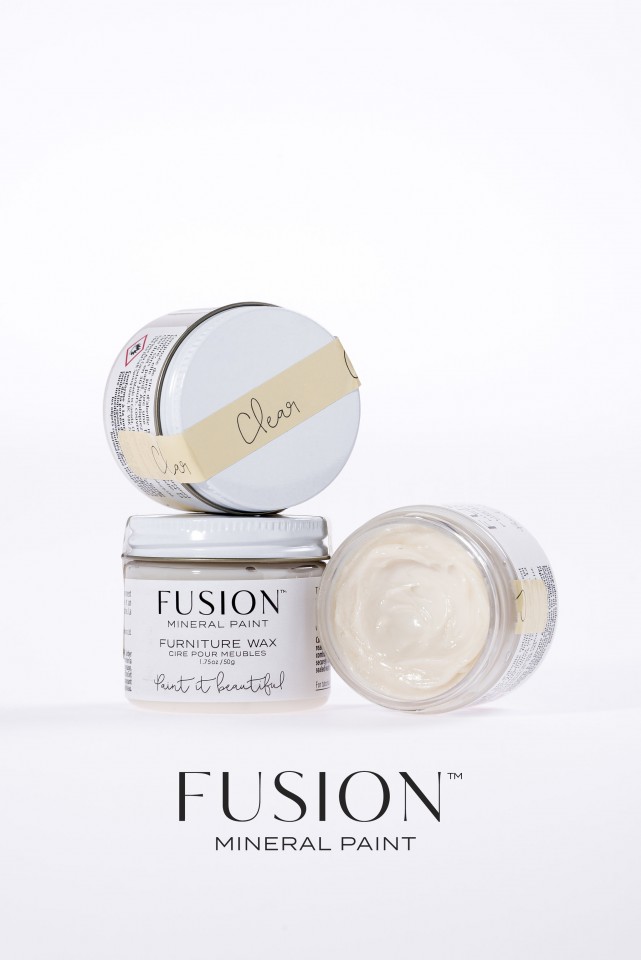
Our furniture waxes are a fine museum-quality wax, based on an old family recipe and they go on like butter. They consist of pure natural beeswax, a touch or carnauba wax and an odourless mineral solvent for workability. Easy to apply, they provide a durable finish with a beautiful lustre and have almost no odour. Available in clear or pigmented colours.
When to use:
Apply as needed for extra protection to add colour to your surface. Use a clean cotton cloth or brush to apply the wax in a thin layer. Then, work it into recesses of carved details or surface imperfections. Wipe away excess. Allow it to dry for 3-5 minutes. Buff to a shine with a clean lint-free cotton cloth. Our beeswax takes 30 days to cure.
Important to note: waxing can be labour intensive and you can’t paint over wax. It needs to be removed with Mineral Spirits.
4) Hemp Oil
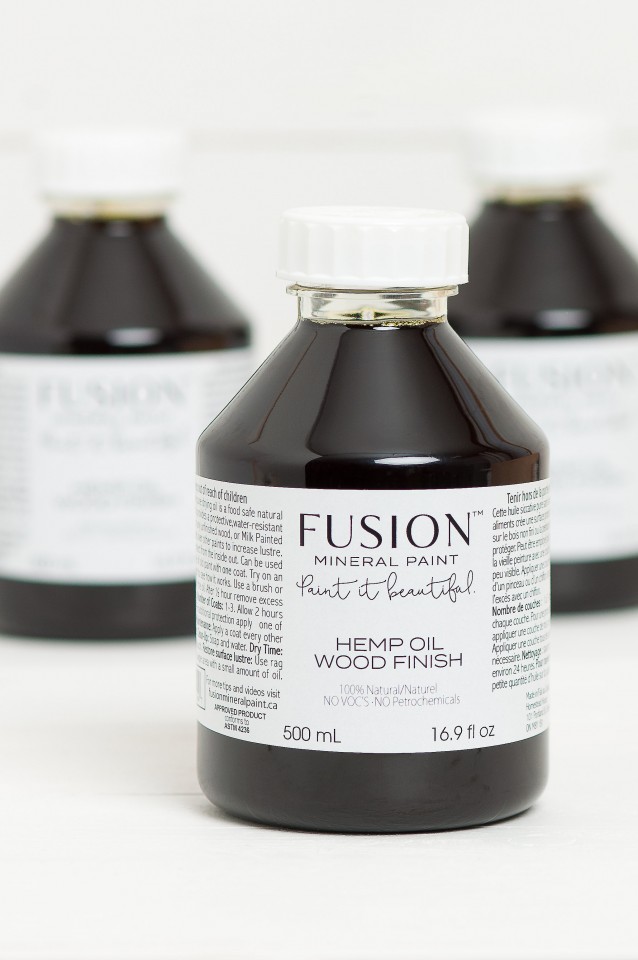
Our Hemp oil is great for those that suffer from chemical sensitivities and can not use solvent-based products. The odour of this oil is much like crushed walnuts. This oil is a great environmentally friendly locally produced with no additives or preservatives.
When to use:
This oil will darken and richen the wood with a soft lustre. Generally the older the wood the more it will darken. This will vary based on the type of wood and the age of the wood. It is recommended to try a small amount on an area to see how your project will look with oil. This food-safe oil finish is perfect to use in the kitchen on wooden cutting boards, wooden utensils or stone. Also provides a wonderful finish for flooring.
Important to note: This oil does not leave a surface film that will chip or scratch. The oil will feel dry to the touch one day after the initial application. However, complete drying can be several days. You can paint over hemp oil after it cures in about a week.
Pin This For Later!
We hope that helps you to decide when and if you need to use a top coat on your project. If you are ever in doubt, don’t hesitate to ask a question in our Paint it Beautiful Facebook group. It is a wonderful community full of support that is always willing to help.


10 Responses