Sometimes you are itching to makeover a room but don’t have the budget to do a total room makeover or room, or we get it. We have been there. That’s why we LOVE furniture paint so much – you can completely transform and UPDATE a room by updating an outdated piece of furniture, like a dresser. You can paint a dresser and reinvent the piece to be on trend and brand new looking! We have a fantastic dresser makeover to share with you that demonstrates how you can update a dresser to take it from one look to another – this makeover is affordable and easy to execute! We often get questions from individuals who are nervous about repainting an item that has already been painted. Don’t worry! Today we will share what prep is involved (everyone is always terrified of messing up prep), what you should pay attention to before you paint and more. This tutorial will walk you through updating an outdated dresser with furniture paint.
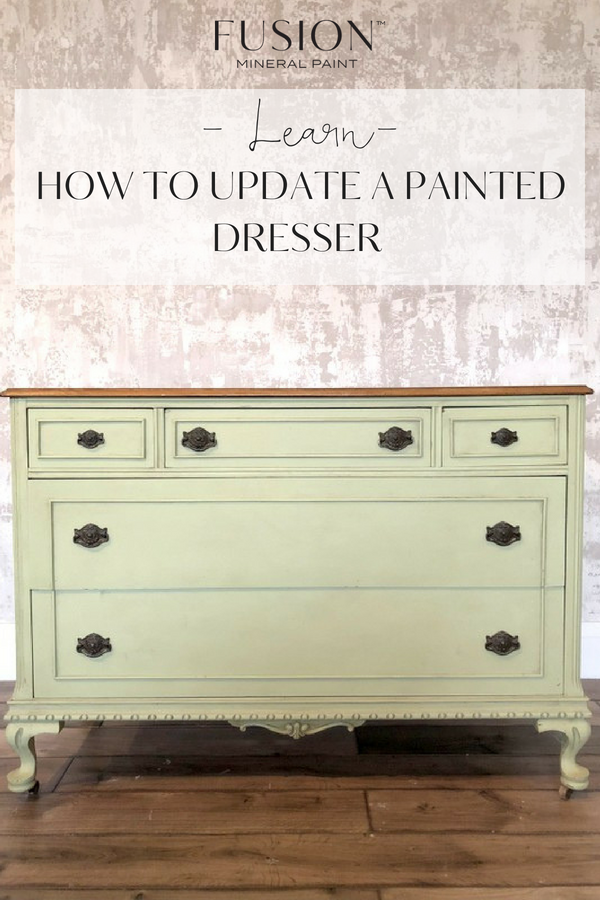
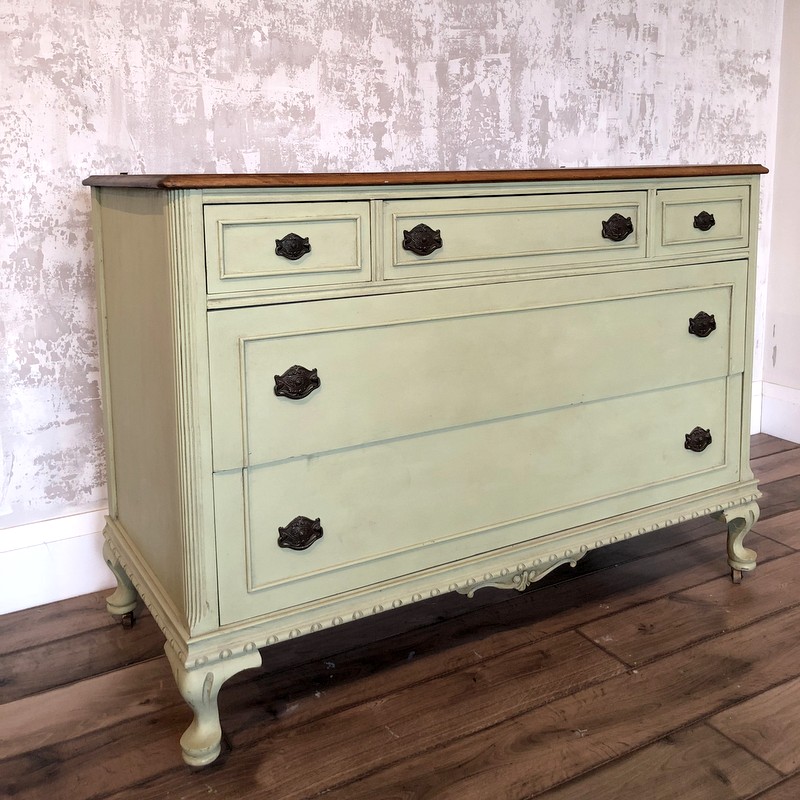
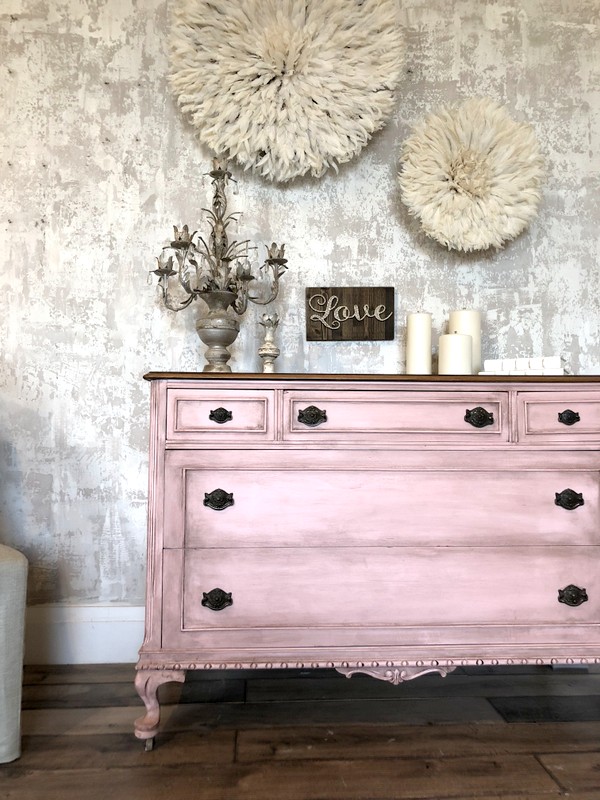
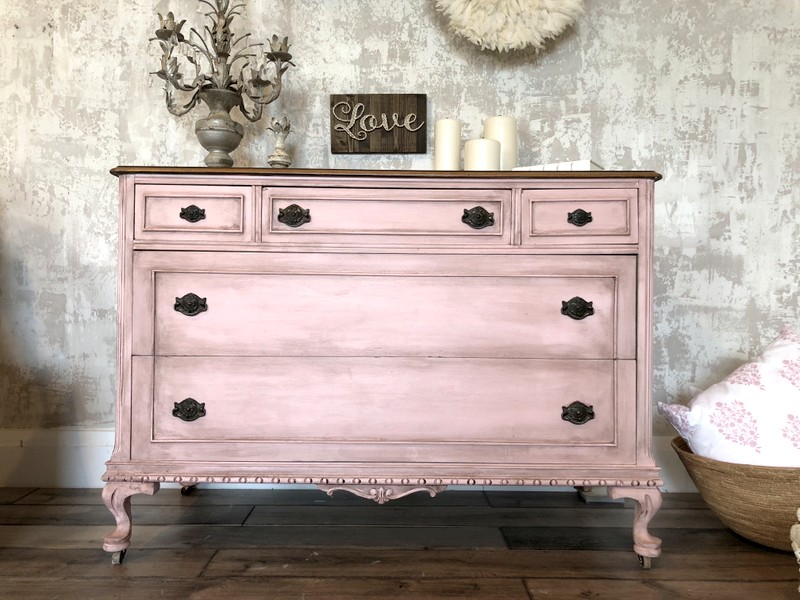
We are breaking down how we repainted this dresser from an old shade from Fusion Mineral Paint called Upper Canada Green (we no longer make this colour) to a more modern, chic English Rose (discontinued) from our Penney & Company collection. Updating an outdated dresser with furniture paint isn’t as complex as some worry it will be. So let’s dive in and we will walk you through our step-by-step process.
BEFORE YOU BEGIN PAINTING:
No matter what piece of furniture you are painting, whether it’s one that is a curbside find or a previously painted one or even one covered in lacquer, you should use our TSP to get rid of any grease, dirt or oils. This gives you a fresh start and the reassurance that there isn’t going to be anything on the surface that could affect the paint. If you’re concerned about there being a wax on the surface you should remove it with a mineral spirit first.
For thrift store or curbside finds, check to see if the piece is in good condition and that nothing is broken i.e. Do the drawers move in and out easily? Can the doors close and are level? Check for things like dovetailing that shows a high qualiy fabrication. Take a sniff for any smells that may be hard to eliminate. Also, it is a good idea to check for hardware to see if you will have to replace it. You don’t need any surprises later!
Again, do not be scared of prep. With Fusion Mineral Paint, all you really need is a little bit of sandpaper and TSP to give it a good cleaning before you paint.
WHAT IF THE PIECE OF FURNITURE HAS PREVIOUSLY BEEN WAXED?
We recommend you do a fingernail test and scratch the piece. If it’s waxed, the wax will come off on your fingernail. It is important to note, that nothing sticks to wax and wax should always be your last step. It is the finishing touch to your furniture, especially if you are using water-based paint like Fusion Mineral Paint. Think of removing wax like removing nail polish from your fingers. It’s the same idea. You want to get a clean surface.
So how do you remove wax from painted furniture? You need to use an odourless solvent or mineral spirits (both are easily available at your local hardware store) and wipe it all off using one of those products. These products are designed to remove the wax from your piece so that your new paint will adhere to it.
PAINT TIP: If you want a distressed look, leaving wax on the areas you want to distress would actually help create that look (we have a great post about distressing with beeswax). But if you want a clean finish, you must clean it all off. This is an important step that you must not skip if you want your Fusion paint to adhere.
WHAT SUPPLIES DO I NEED?
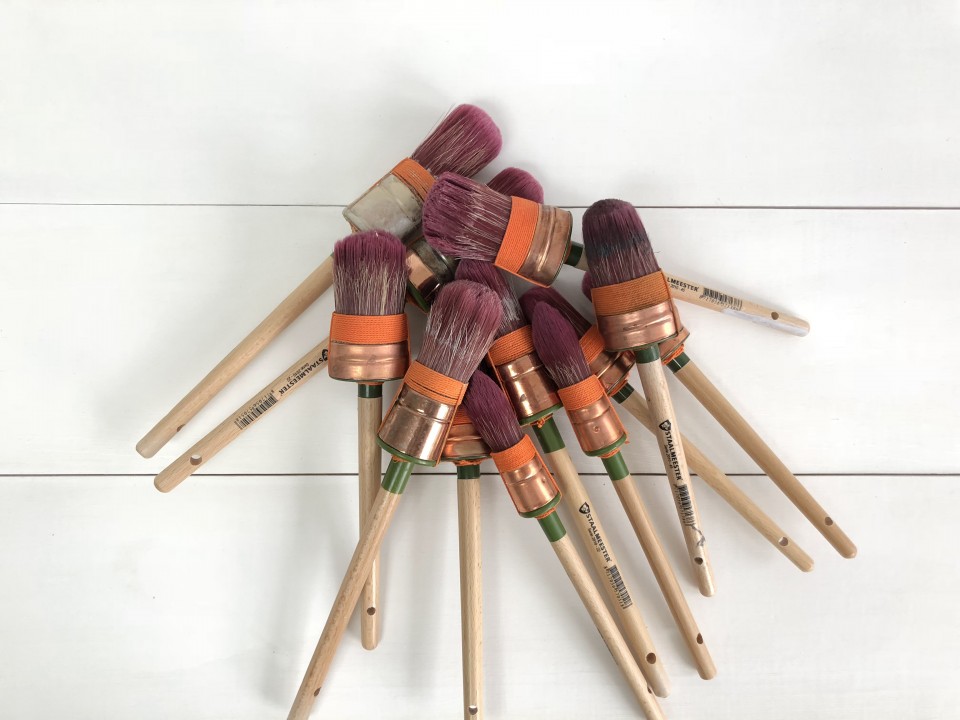
Using the right tools makes the job a lot easier. Aside from a paint tray, having a drop cloth to paint on to prevent damage to your floors is obviously important depending on where you are painting. We love Staalmeester brushes and microfiber rollers.
LET’S GET TO PAINTING: Updating an Outdated Dresser With Furniture Paint
Lightly dip your brush into your Fusion Mineral Paint pint. We often recommend that you hold the brush at the ferrule instead of the handle, as you will be able to control the brush more easily and it won’t hurt your arms as much when you’re painting a bigger item.
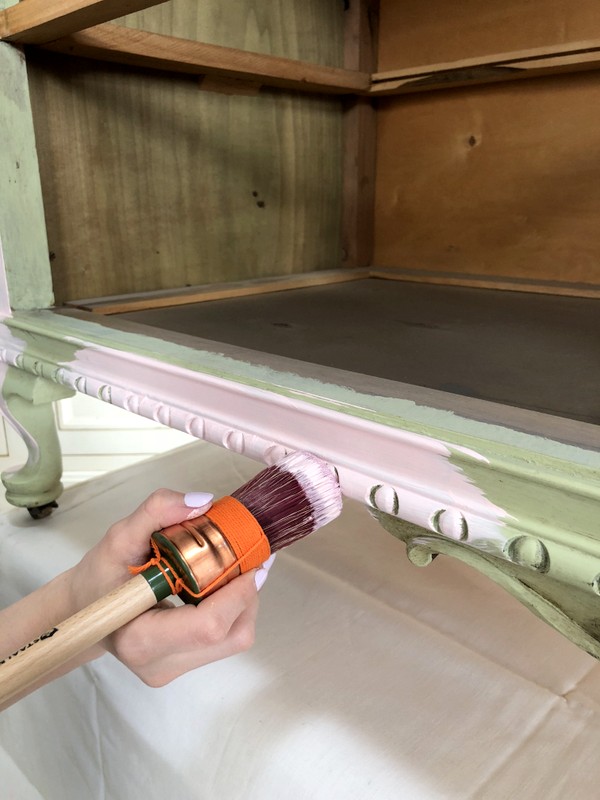
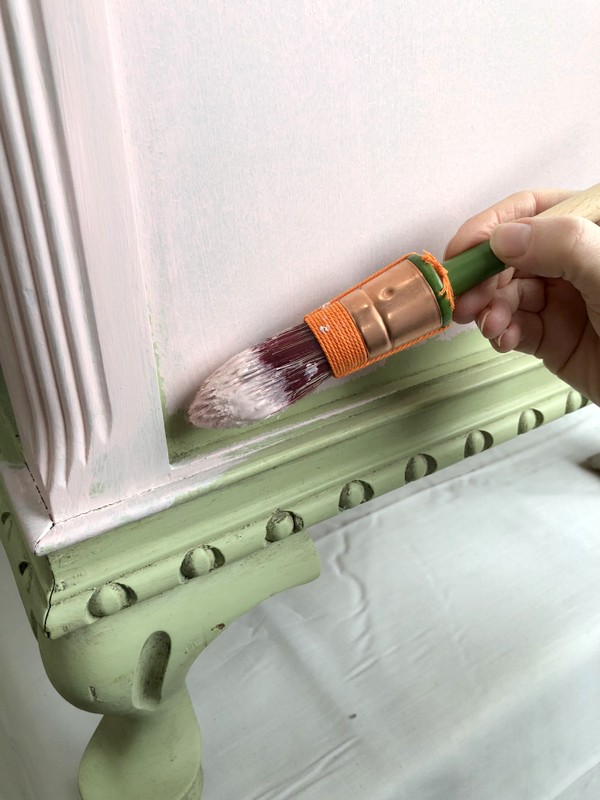
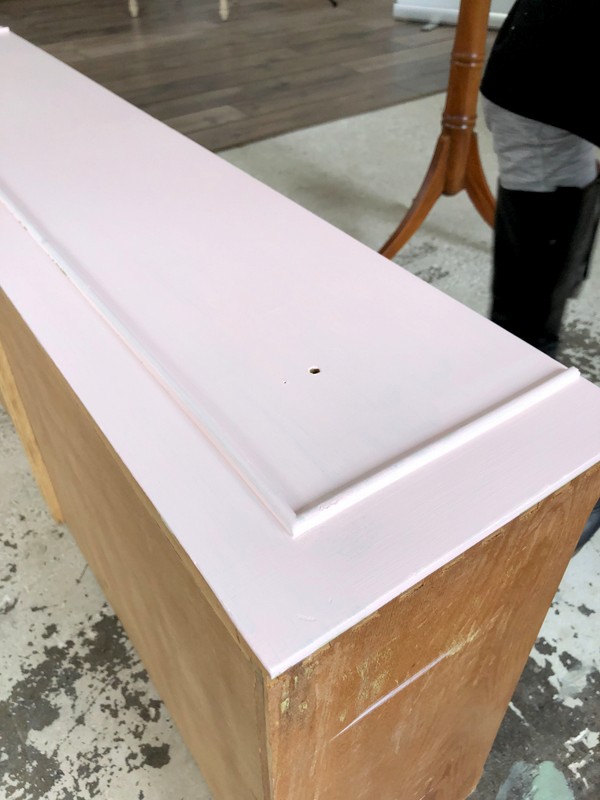
The first coat will not cover your whole piece and it will not look solid (opaque), especially if you are going from a darker colour to a lighter one. It is best to apply 2 thin coats for better coverage. The thicker your paint coats are, the longer your drying time. When you are updating an outdated dresser with furniture paint, you have to remember to take into consideration your environment (humidity, temperature etc.) for paint drying times.
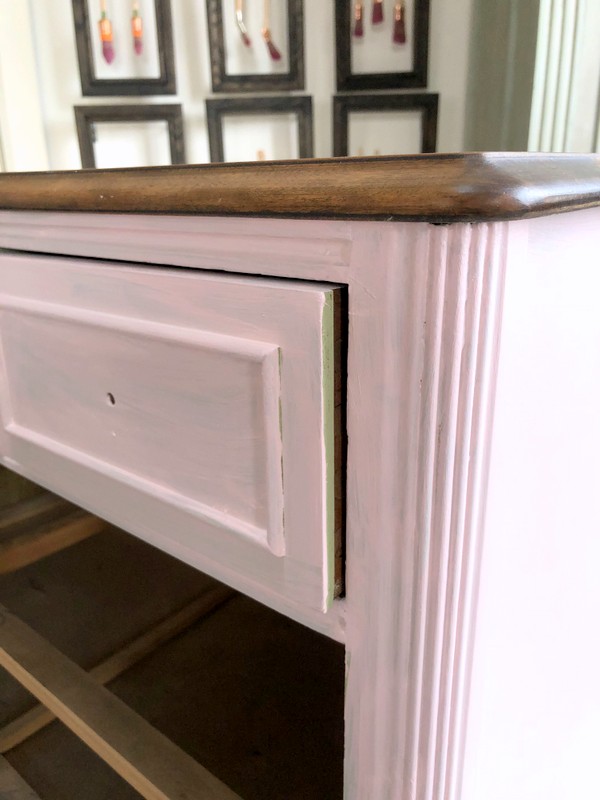
FURNITURE PAINT BRUSH TIP: Keep your brushes and any applicator tools under a wet damp rag that is placed over your paint tray. This helps to keep the bristles moist and prevent the paint from drying on them as you use different brushes on different sections of your piece of furniture. This will ensure that your brushes perform the best they can.
FINISHING THE TOP
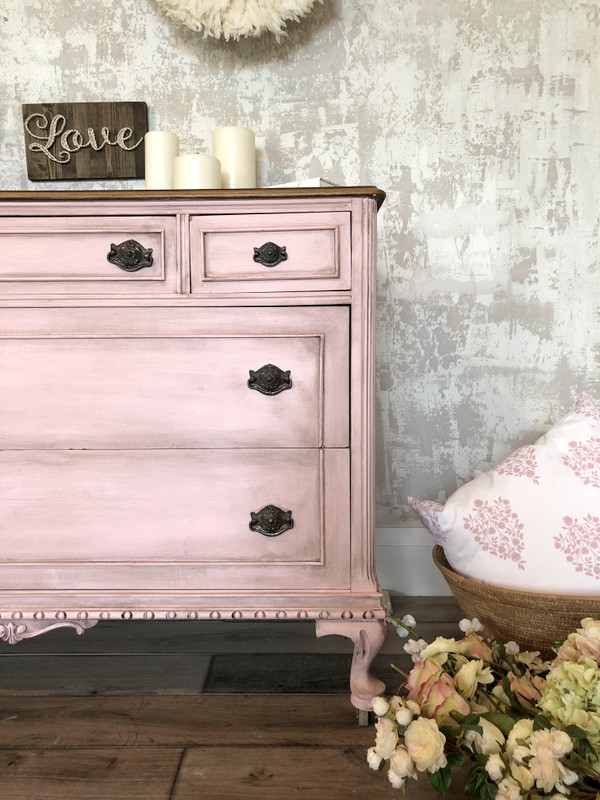
For our dresser, instead of painting the top, we chose to finish the wood with our Stain and Finishing Oil in Cappuccino. We noticed there were several paint marks on the top of the dresser. We sanded those spots to get rid of the paint. Then to ensure the whole surface would be even and stain would not pool in the areas where we removed paint residue, we continued with sanding over the remaining surface. Afterwards, we then cleaned the dust with a cloth or rag.
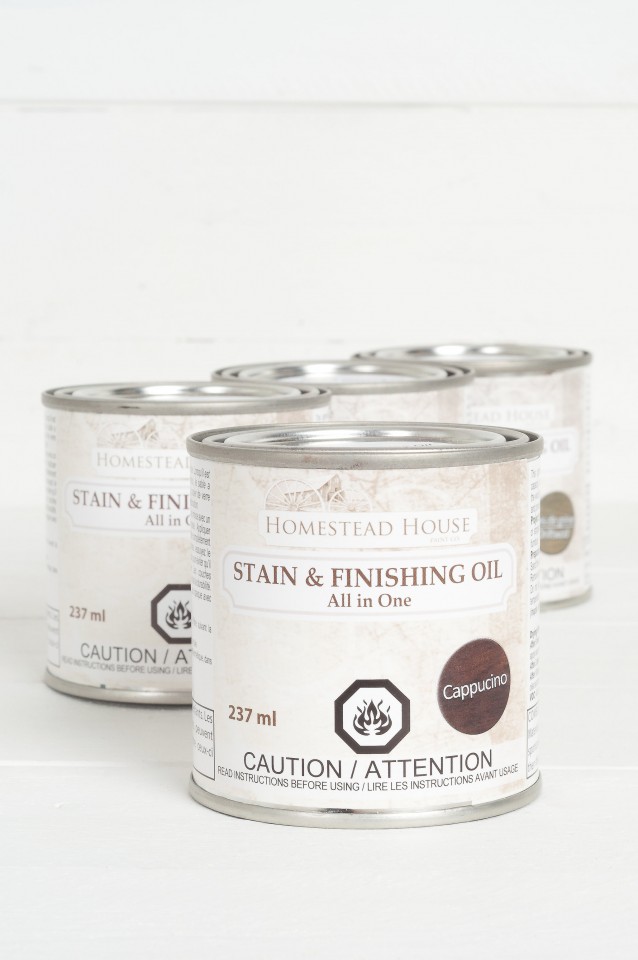
It is important to give the Stain and Finishing oil a good shake before opening up the can. You should also use a stir stick after opening it up to ensure that the pigements are evenly distributed and mixed. (As they tend to fall to the bottom of the can and the oils rise to the top). You can easily apply the oil using a brush.
Now, different types of wood absorb oil differently and some are more porous than others. This means they will soak up any oil faster. Because our wood top was maple, some of the oil was sitting on top. So, we needed to wipe that down a bit. So we used an applicator brush in the direction of the wood grain, to wipe the excess oil off. The drying time for our oil is approximately 8 hours.
TO WAX OR NOT TO WAX YOUR PAINTED PIECE
You may decide after painting that you are done and love the colour and finish as is. But for those of you who want that little something extra… we have a huge assortment of waxes to choose from. We wanted this dresser to have that aged, antique feel so we used our tinted wax in Espresso.
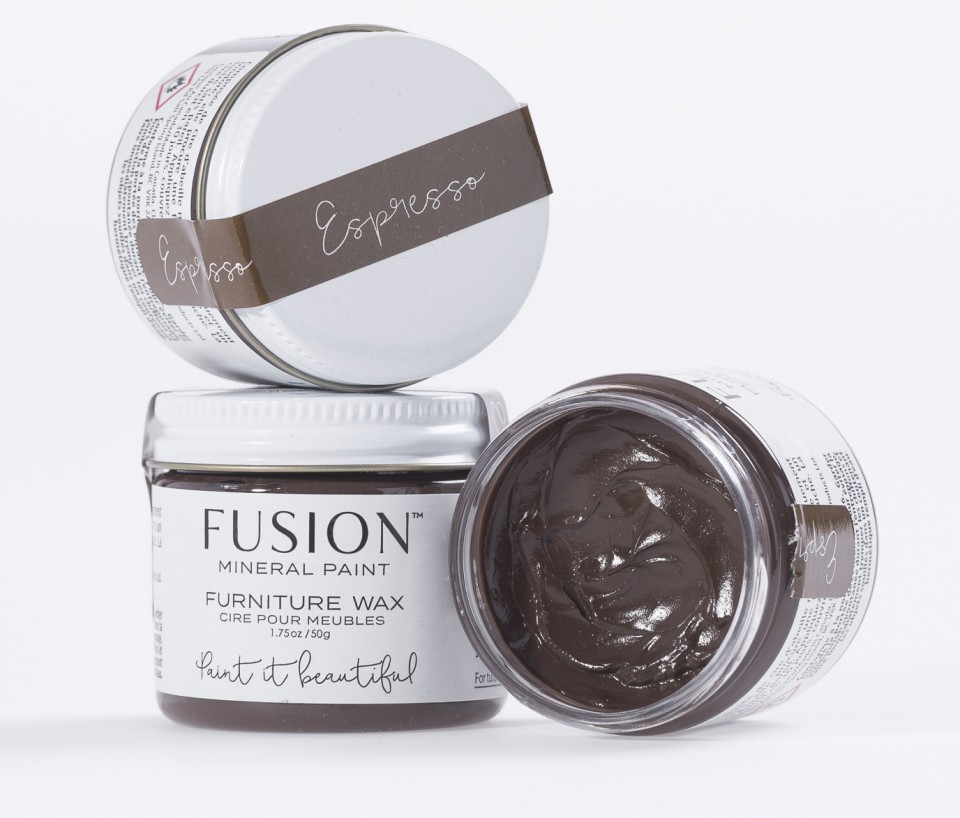
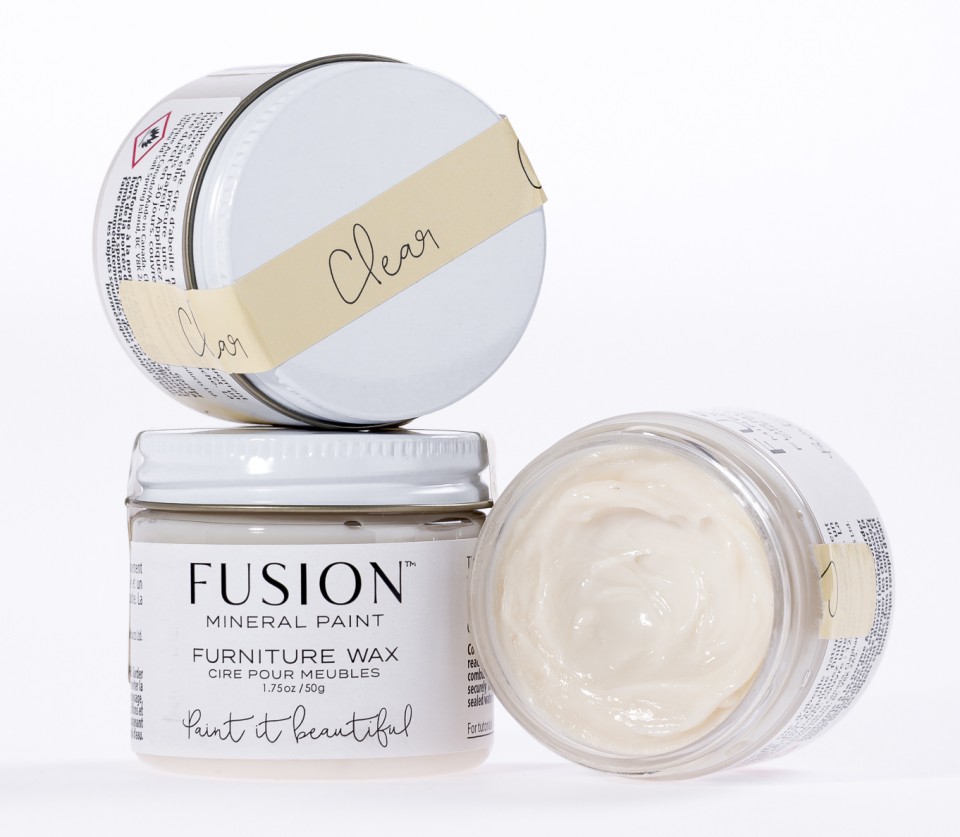
You can easily apply the wax with a brush (read more about how to use our waxes here). Because Fusion is very durable so we applied the wax with a brush more liberally. For the center, we blended the clear wax with the espresso for lighter coverage.
Then using a cloth, we buffed off the wax. Wax has a long drying time so don’t feel like you need to buff yours ASAP. Apply as much pressure or less pressure depending on the look you are going for.
WAX TIP: If you find you put on too much dark wax in an area that you don’t want as much of it, use clear wax on a cloth or rag, buffer it into the darker wax areas. This will easily take off the darker wax.
And that is it! We have ourselves a beautiful, updated dresser! This tutorial walks you through the step by step of updating an outdated dresser with furniture paint. Fusion Mineral Paint is versatile and lets you update your home and keep up with new trends. We just love how English Rose really updated this beautiful piece from the outdated green look.
Materials Used:
- Fusion English Rose (discontinued)
- Stain and Finishing Oil in Cappuccino
- Fusion Furniture Wax in Espresso and Clear
- Staalmeester brushes and microfiber rollers
To complement this post, we have a video of the entire process! It’s full of bonus tips on how to paint to avoid brush strokes, what type of brushes to use where and what tinted wax looks like on a lighter surface. It also shows what one coat of paint looks like side by side with 2 coats of paint. AND a lot of great visuals of the entire makeover process that often can be better seen in a video than in a photograph.
As always if you have any questions, don’t hesitate to ask us or our Paint it Beautiful Facebook group.


3 Responses