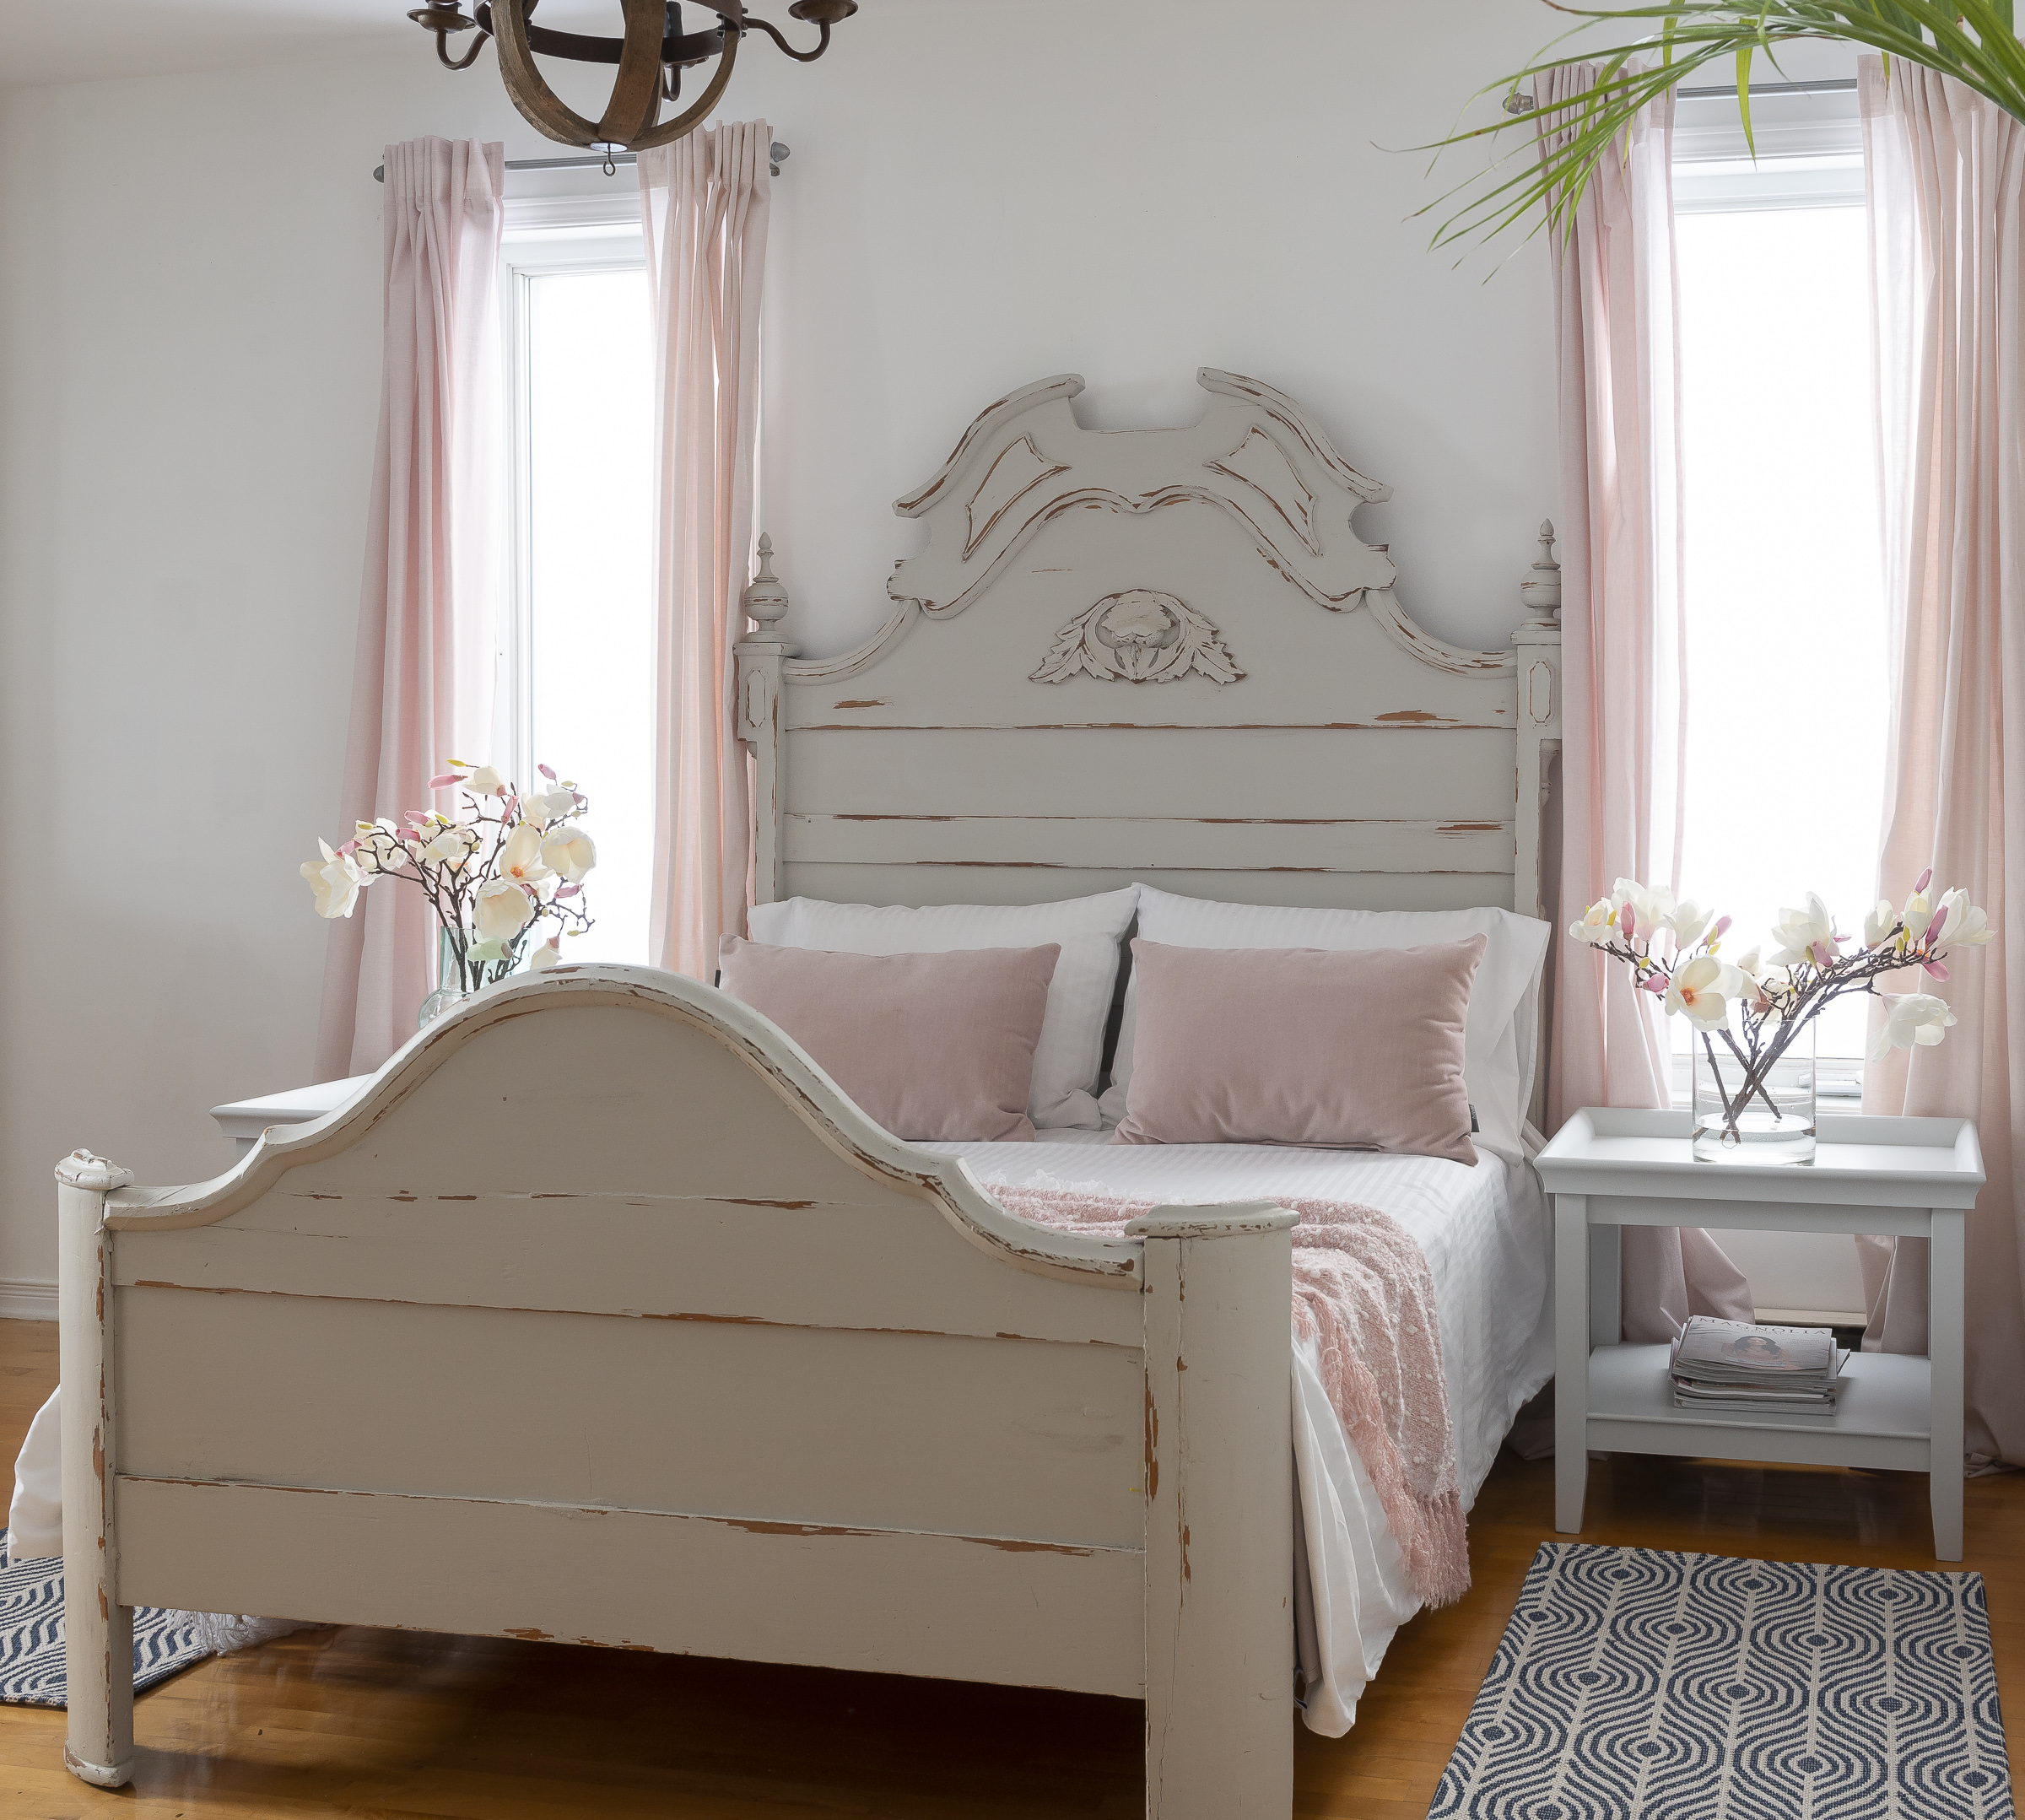
The best way to distress furniture and create a warm relaxing space. Your bedroom should be a space for you to enjoy your slumber in style and comfort is important for creating a soothing ambience that everyone is looking for in their bedroom spaces.
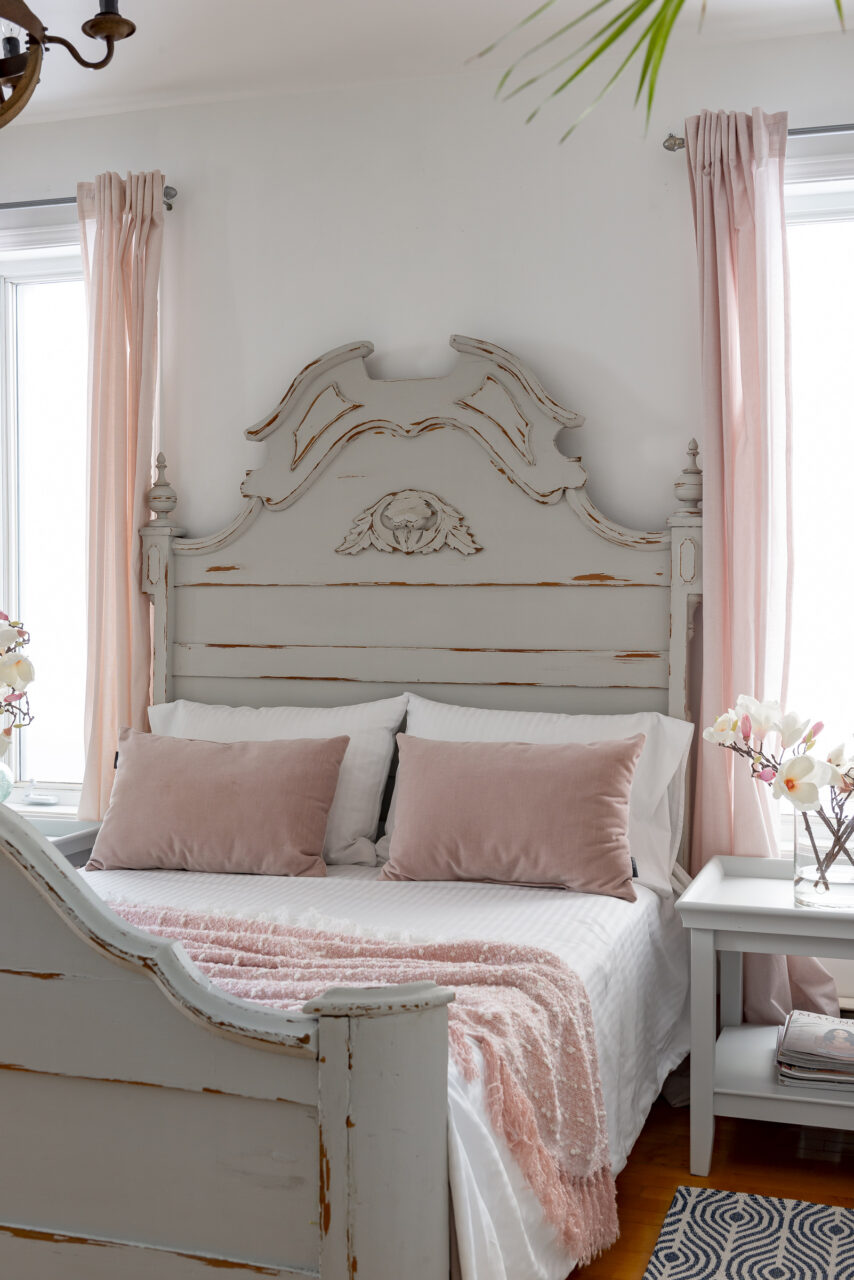
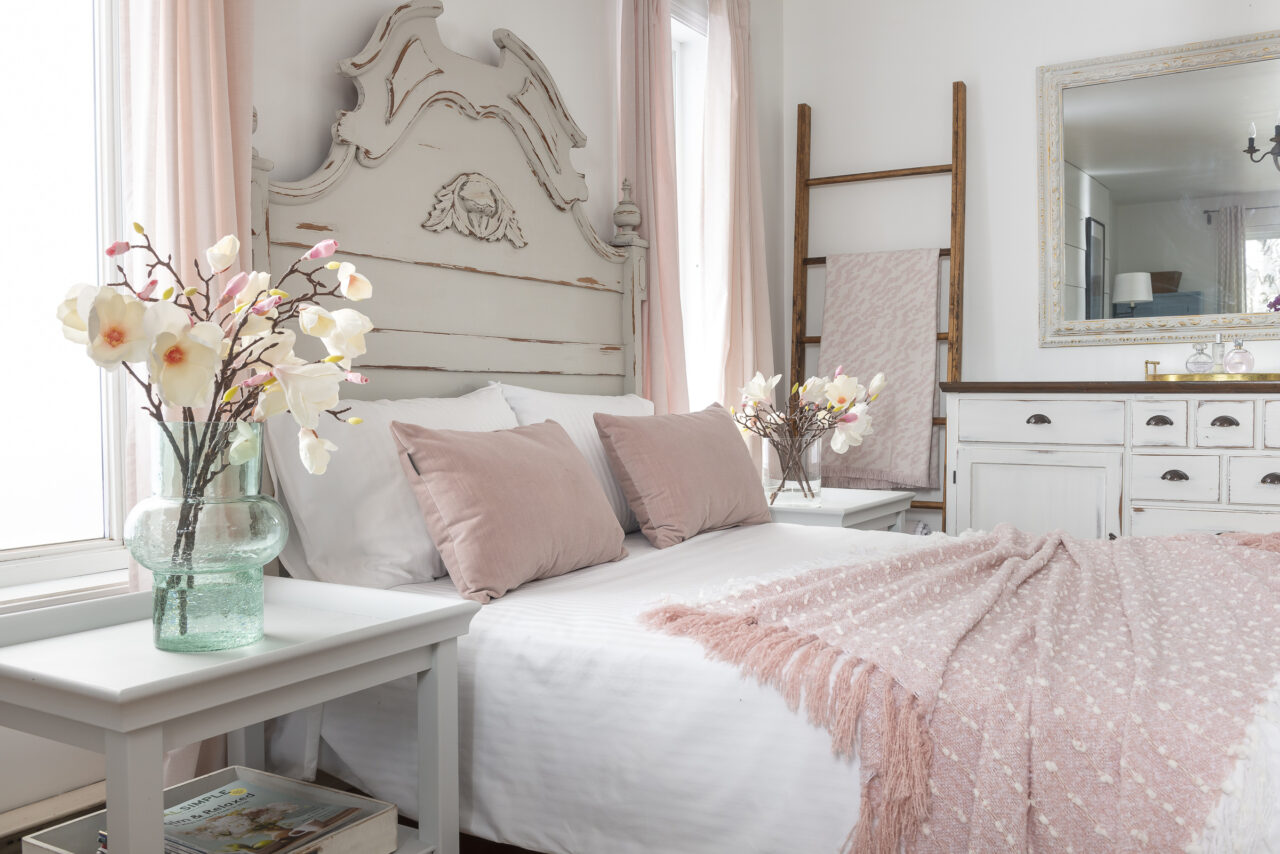
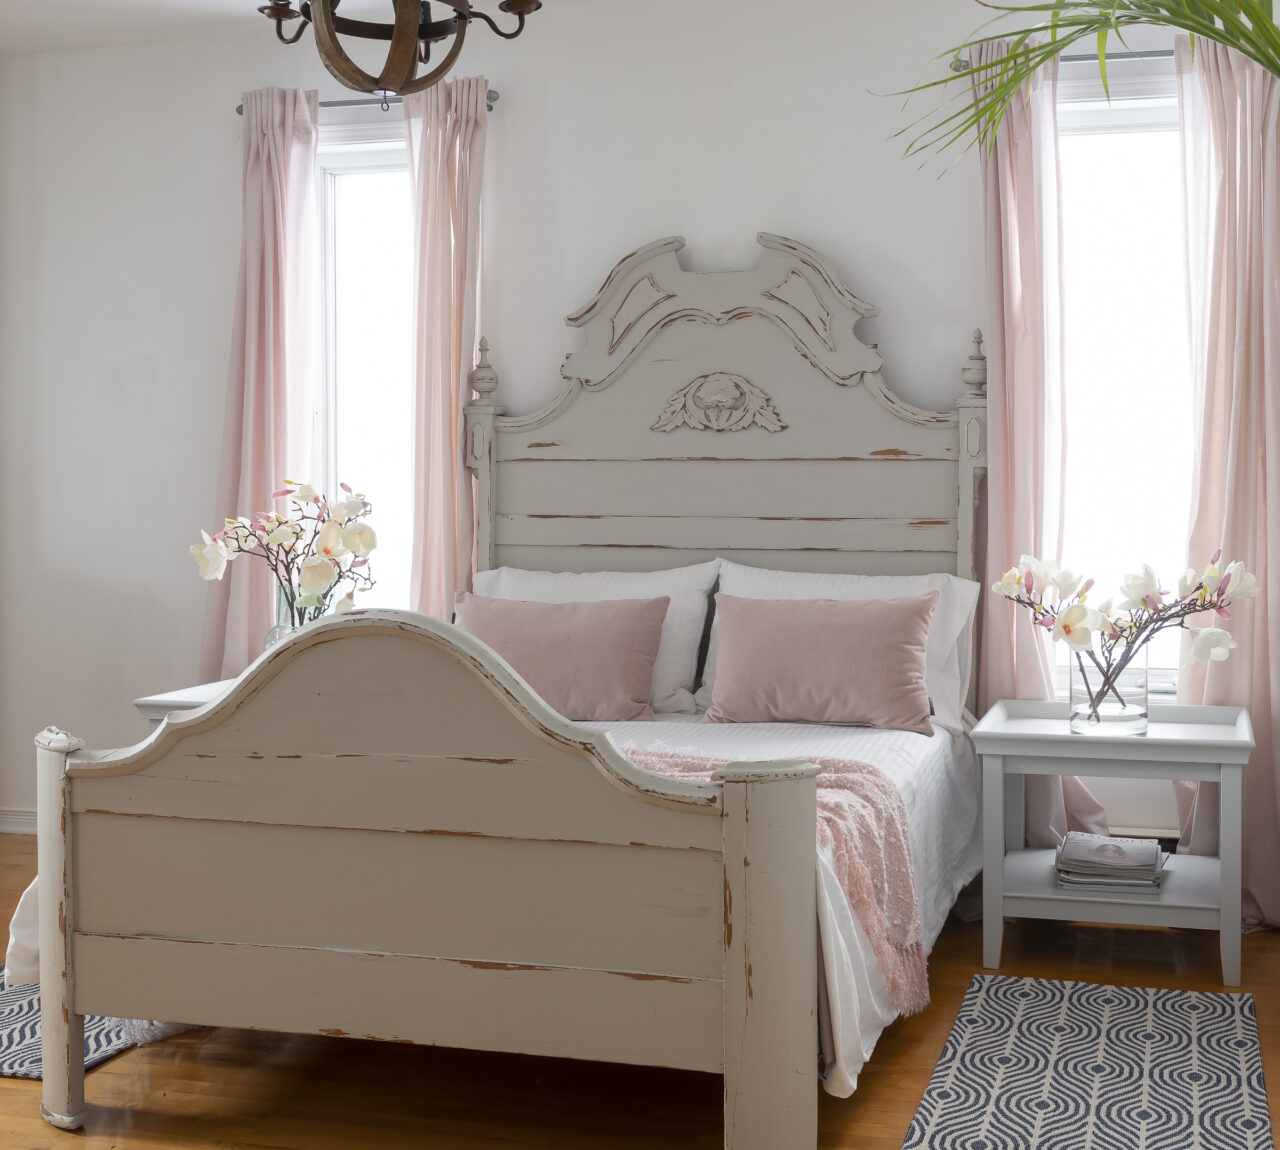
This gorgeous antique distressed bed would be the perfect focal point of any room and it has been beautifully painted using Goddess Ashwagandha (discontinued, we recommend Chateau instead) colour. It’s one of our favourite neutrals for creating a calming zen-like mood. It takes just one extra step to create the perfect distressed finish and this post will have all the steps to show you how to get the perfect distressing!
SUPPLIES USED
- Fusion Mineral Paint in Goddess Ashwandgha(discontinued, we recommend Chateau instead)
- 120-150 grit paper to sandpaper
- 220 grit paper to smooth
- Staalmeester Ultimate ONE Synthetic paint brush
- Fusion TSP
- Homestead House Salad Bowl Finish
- Fusion Mineral Paint Wax
The Best Way to Distress Furniture
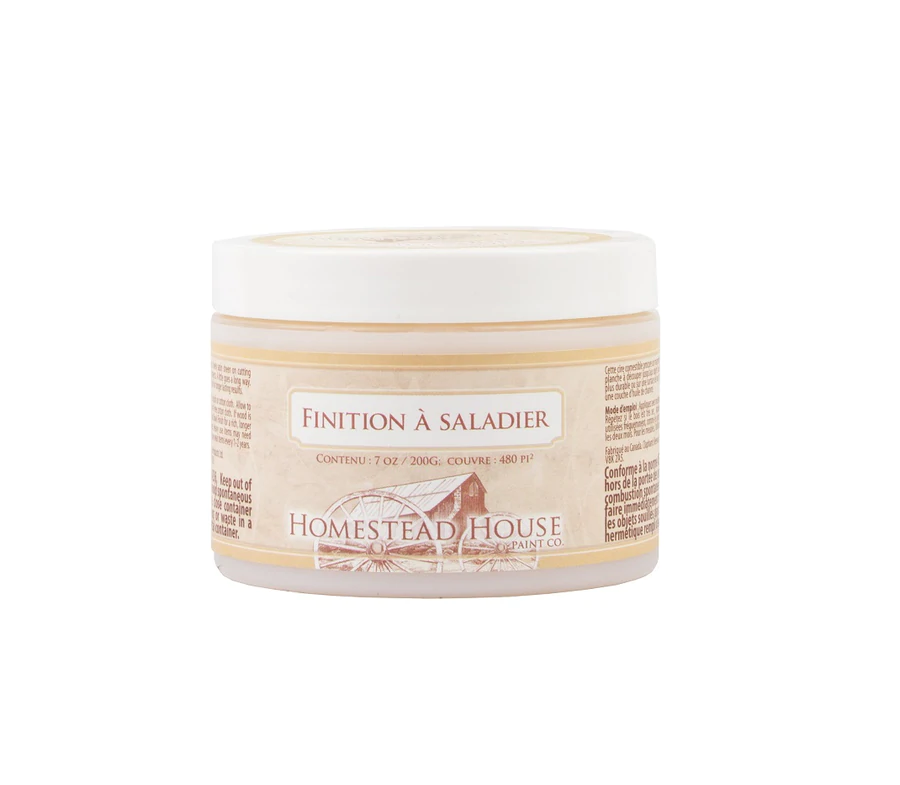
Distressing is simple using Homestead House Salad Bowl Finish as a resist. A resist is used prior to painting to create a barrier between the paint and your project essentially stopping the paint from adhering to where ever you apply it. If you have used Fusion Mineral Paint before you know how tough it is, so we recommend distressing it within 24hrs.
STEP 1 – Prep your surface
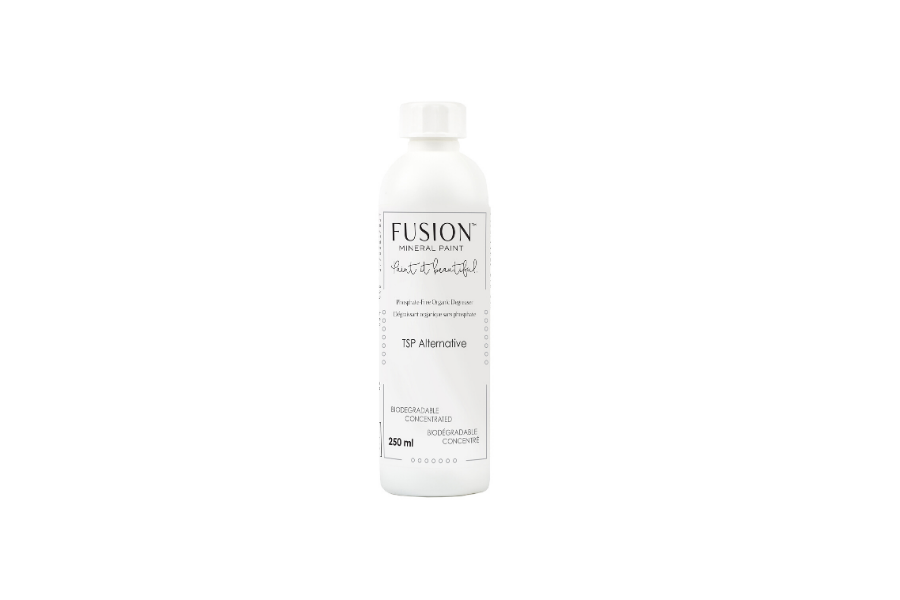
Always make sure your furniture piece is free of dirt, oil, and grease. After cleaning the bed with water and Fusion TSP, we let it dry.
STEP 2 – Sanding
Gently sand over the entire surface using medium-grit sandpaper. Due to the age of the bed, most of the original finish had worn off and minimal sanding was required. Wipe off the dust using a damp rag.
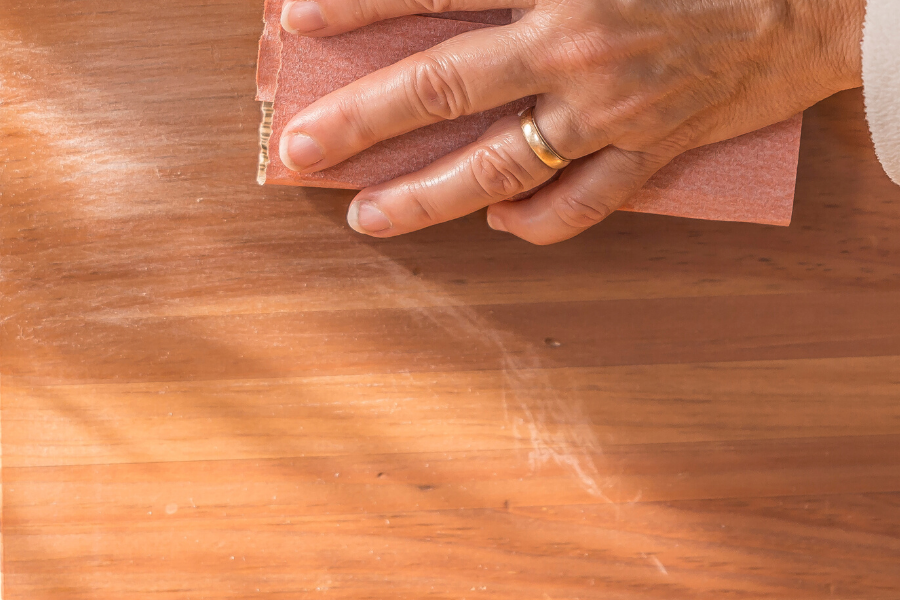
STEP 3 – Homestead House Salad Bowl
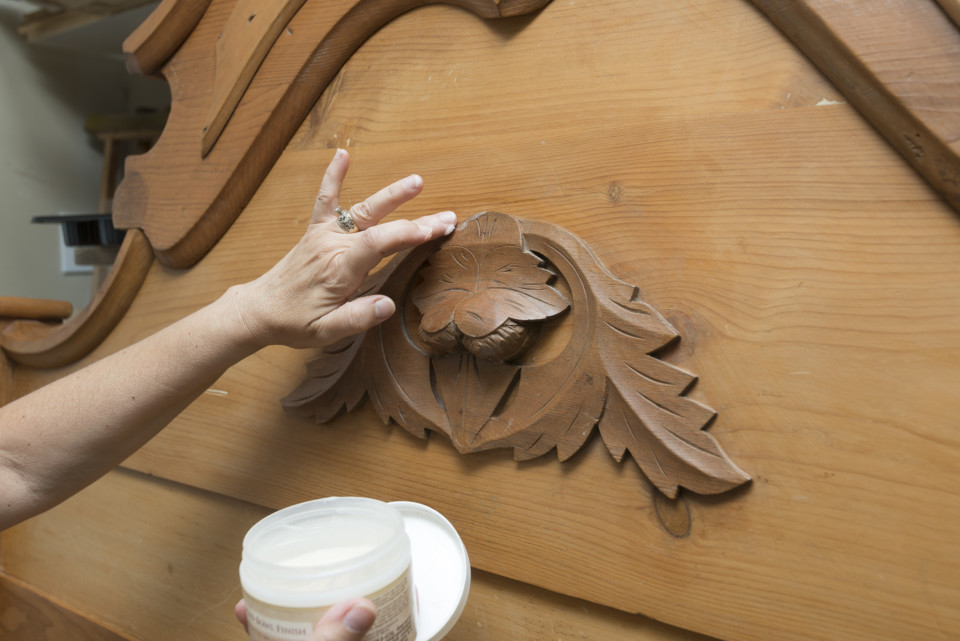
We wanted to distress all the raised details and contours of the bed, sometimes when using just one colour on a large surface you can lose the details so we applied Homestead House Salad Bowl Finish on the raised areas of interest that we wanted to stand out. Those are the areas we were going to go back to and distress when the paint had dried. We used our fingers to apply the wax resist, but you can apply it with a brush or cloth if you prefer.
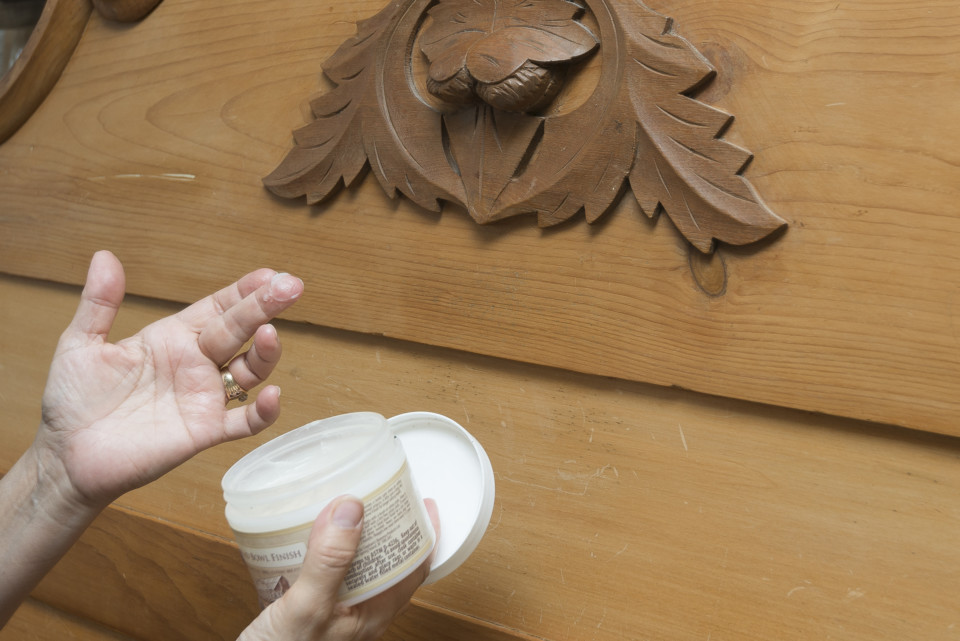
You want to apply enough so that you can actually see the wax. The more wax applied, the more the paint will fall off those areas.
STEP 4 – Painting the bed.
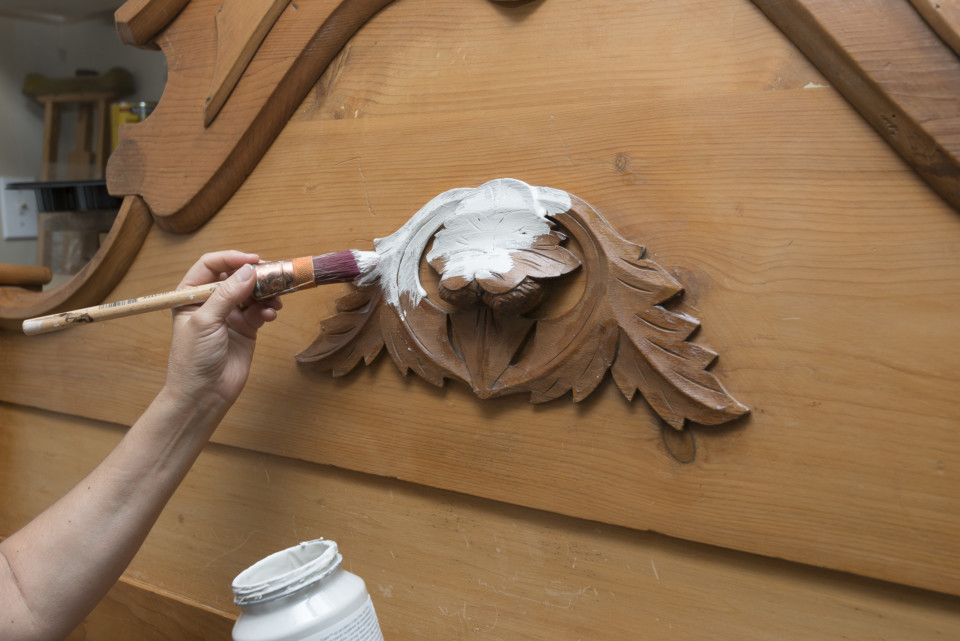
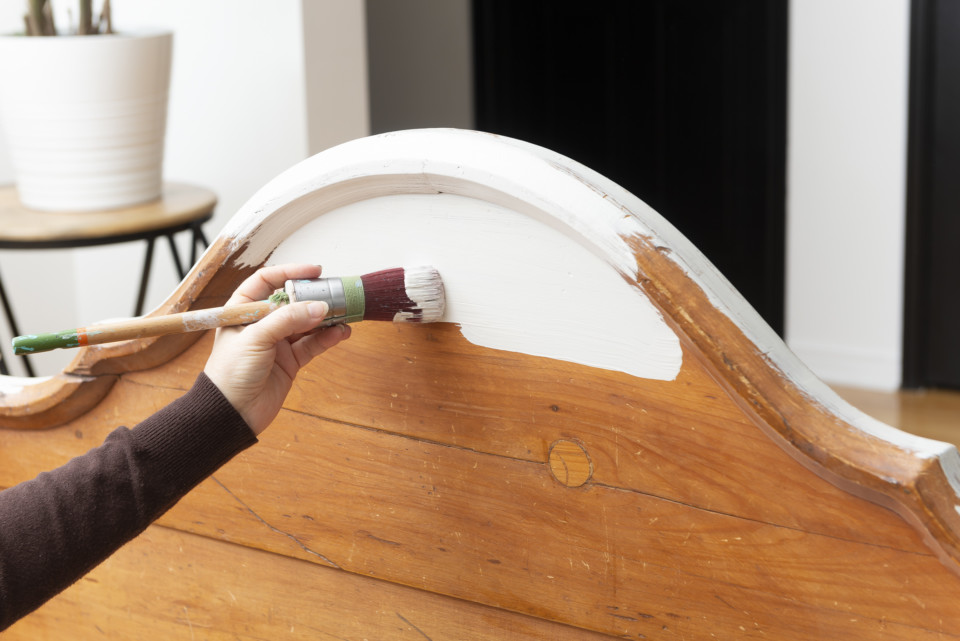
The next step is to go ahead and paint your piece. Go right over the entire surface and paint, even over the areas where you applied the Salad Bowl Finish wax, or wax resist of your choice. You need 2 thin coats for a lovely even finish. We painted the bed with Goddess Ashwagandha. This colour is now retired, but we recommend you try Chateau one of Jennylyn’s favourite neutral colours. Try using a great quality brush for a flawless and even application, we think Staalmeesters brushes and Fusion Mineral Paint are a match made in brushstroke-free heaven.
STEP 5 – Distressing
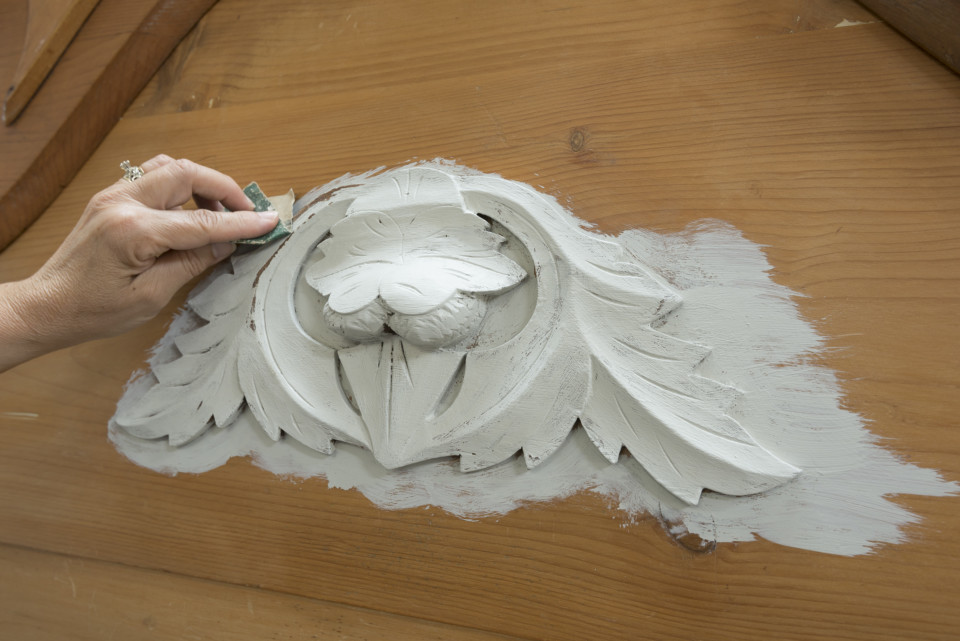
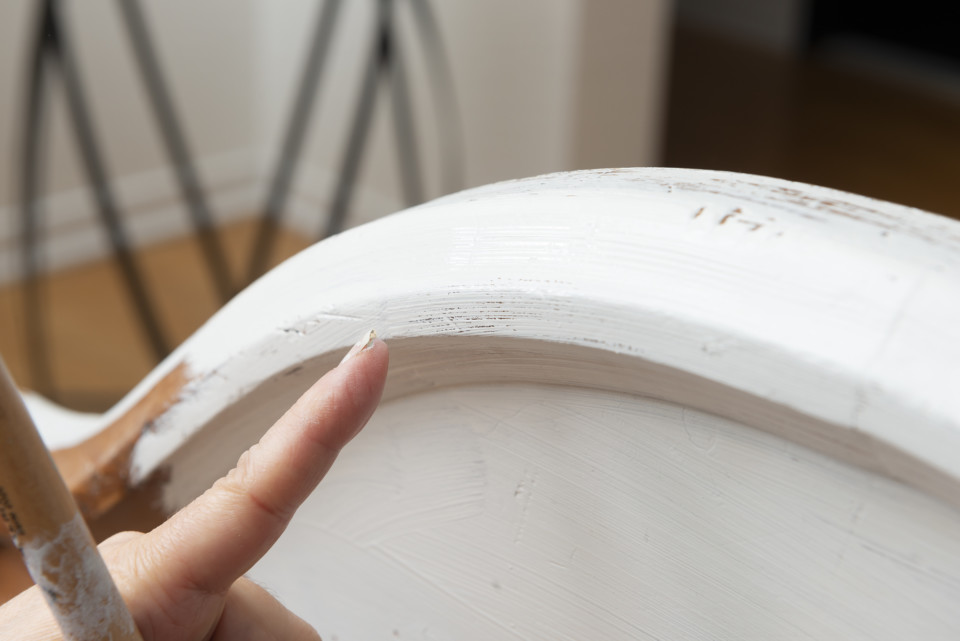
After your paint dries, go over the areas you want distressed with sanding paper, you won’t need a lot of pressure as we did the work by adding the Salad Bowl finish. To identify where you had applied the resist, you will see that the paint has pulled away slightly. Just hit those areas with your sandpaper. Use a soft brush to gently sweep off any loose paint.
STEP 6 – Add Top Coat
If you want to add a topcoat, we would suggest applying one of our luxurious waxes in the range. We don’t recommend the clear Tough Coat for this project since we have used the wax already. Water-based top coats like our Tough Coat will have issues sticking to where we applied the wax.
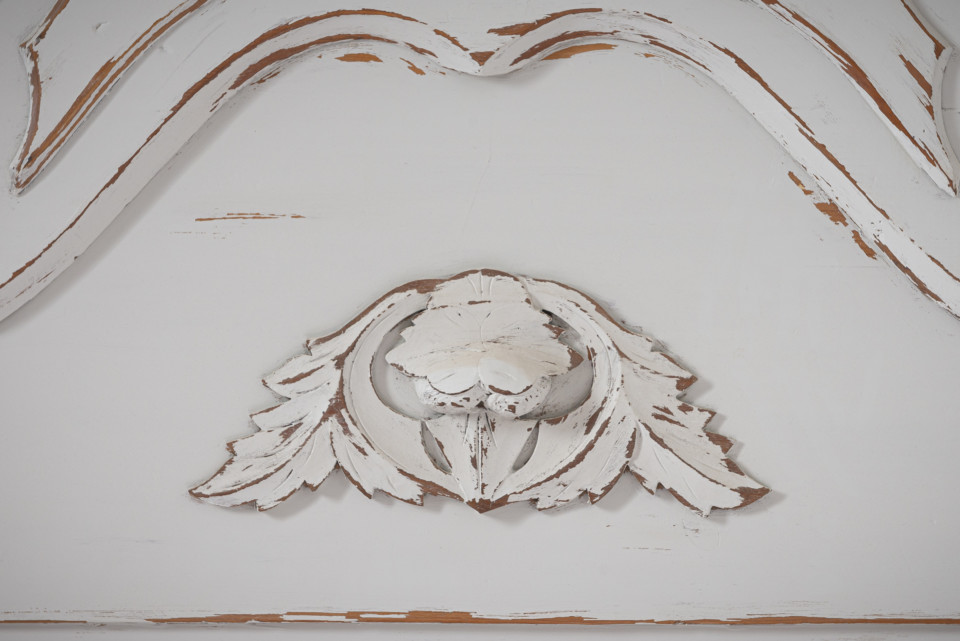
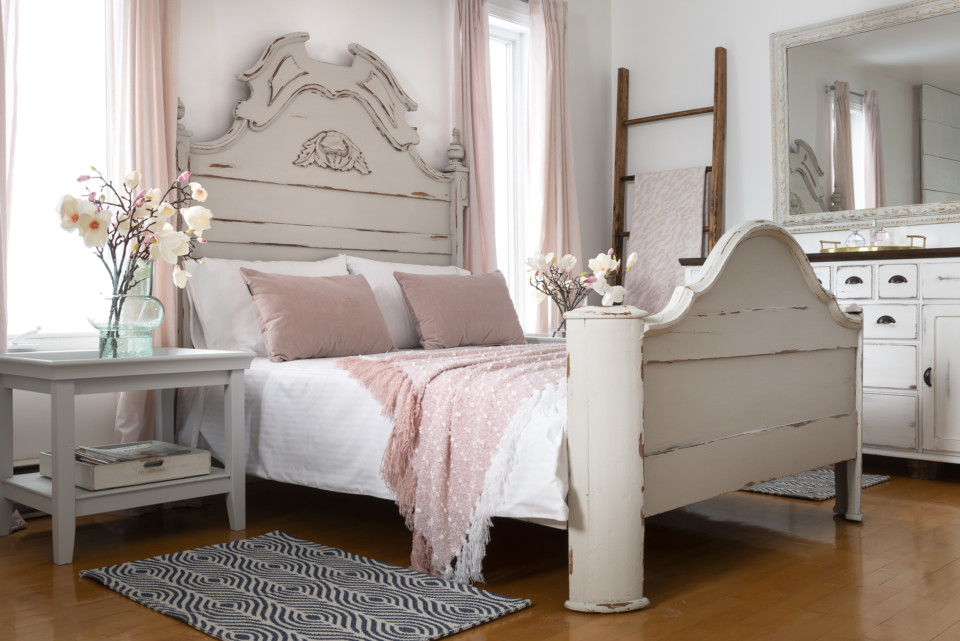
Volia! You are all done! Allow 24 hours for the surface area to dry and we recommend 30 days for cure time with gentle use.
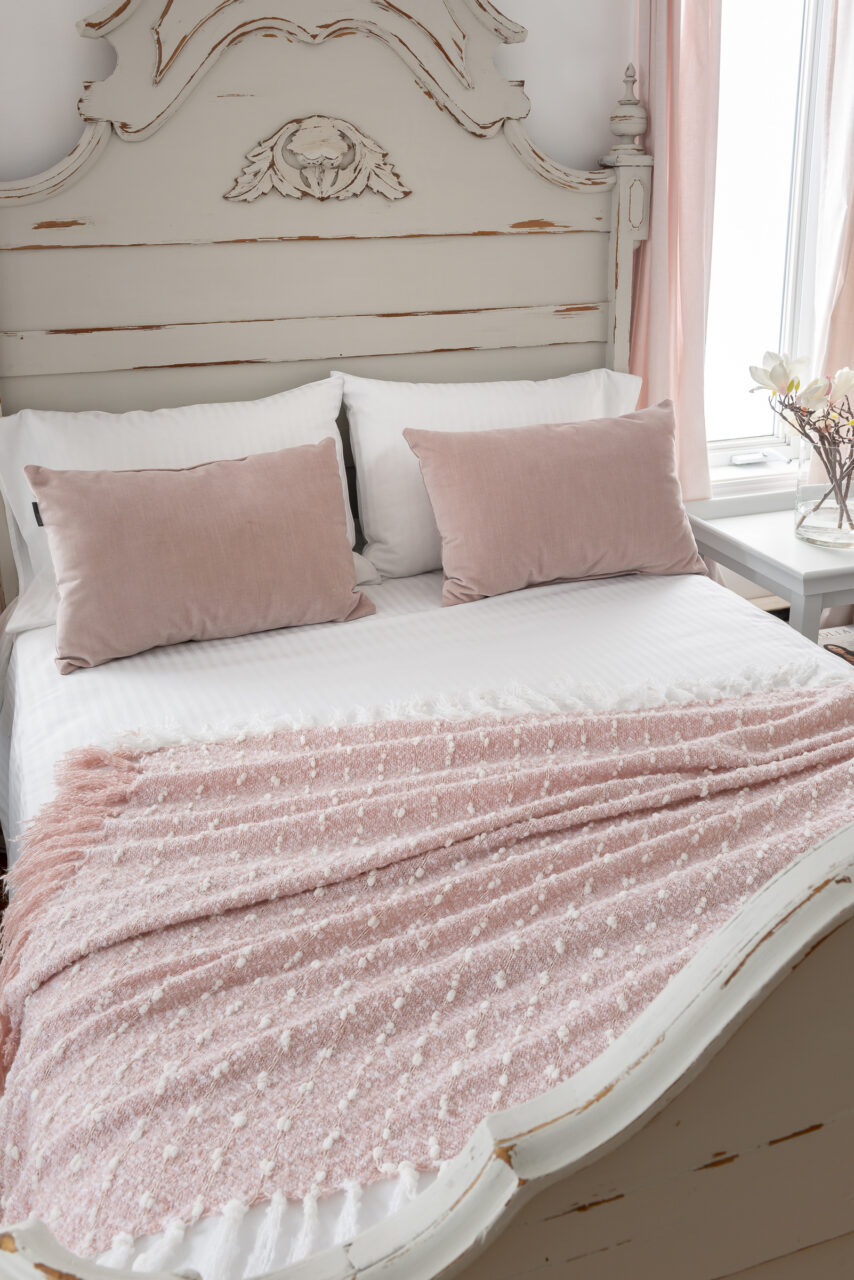
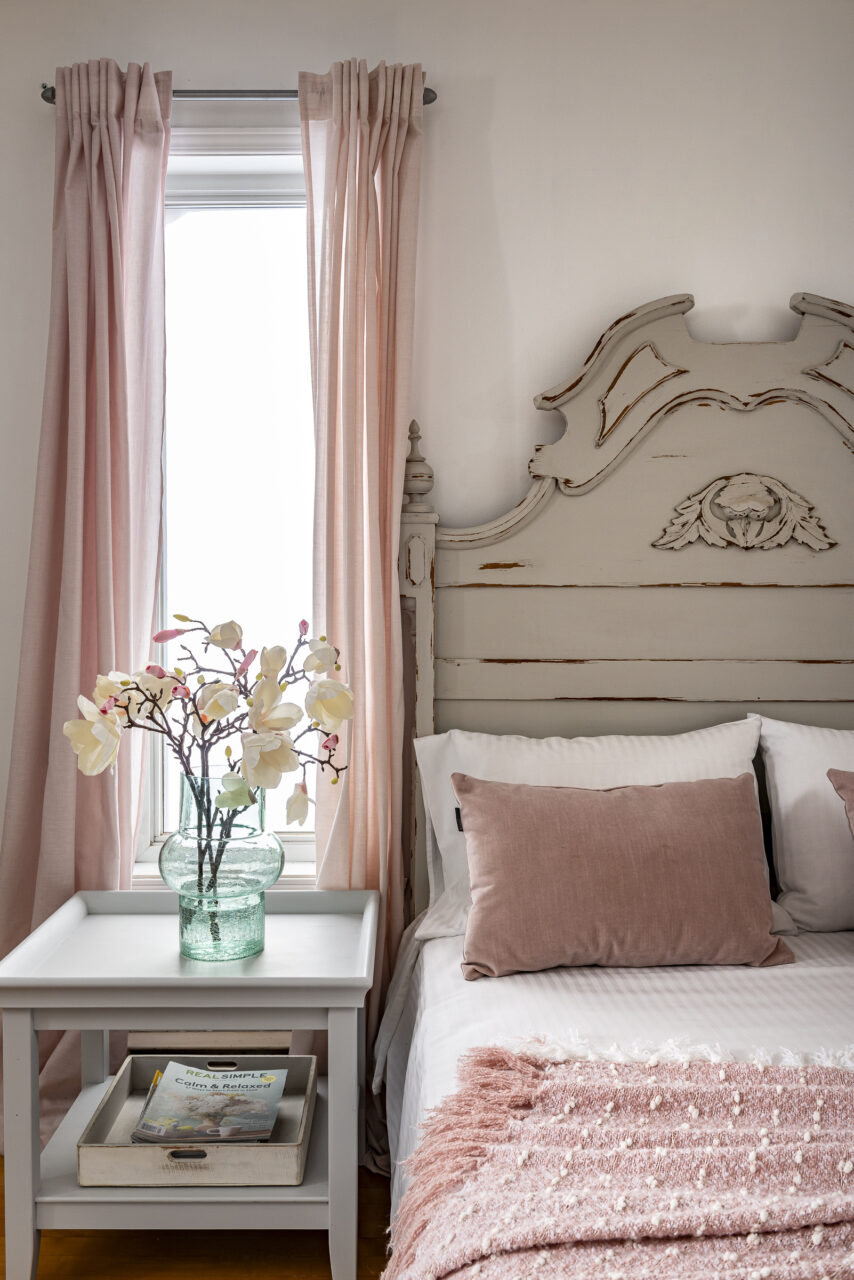
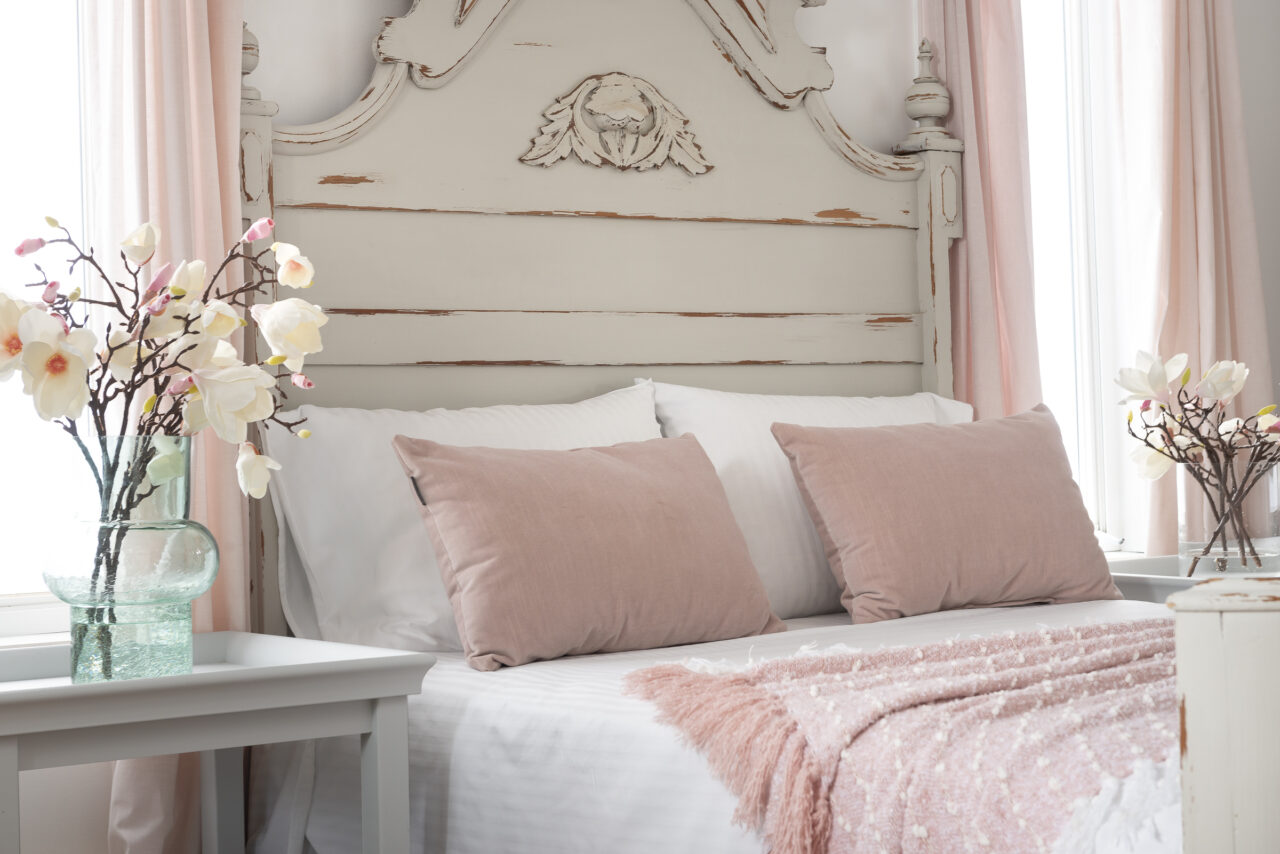
Do you want to learn more about this technique? Check out Paint Hack: Distressing and Aging Techniques on YouTube.
GET THE LOOK:
We’d love to see what you create. Feel free to join and share your projects at our community Facebook group Paint It Beautiful!


