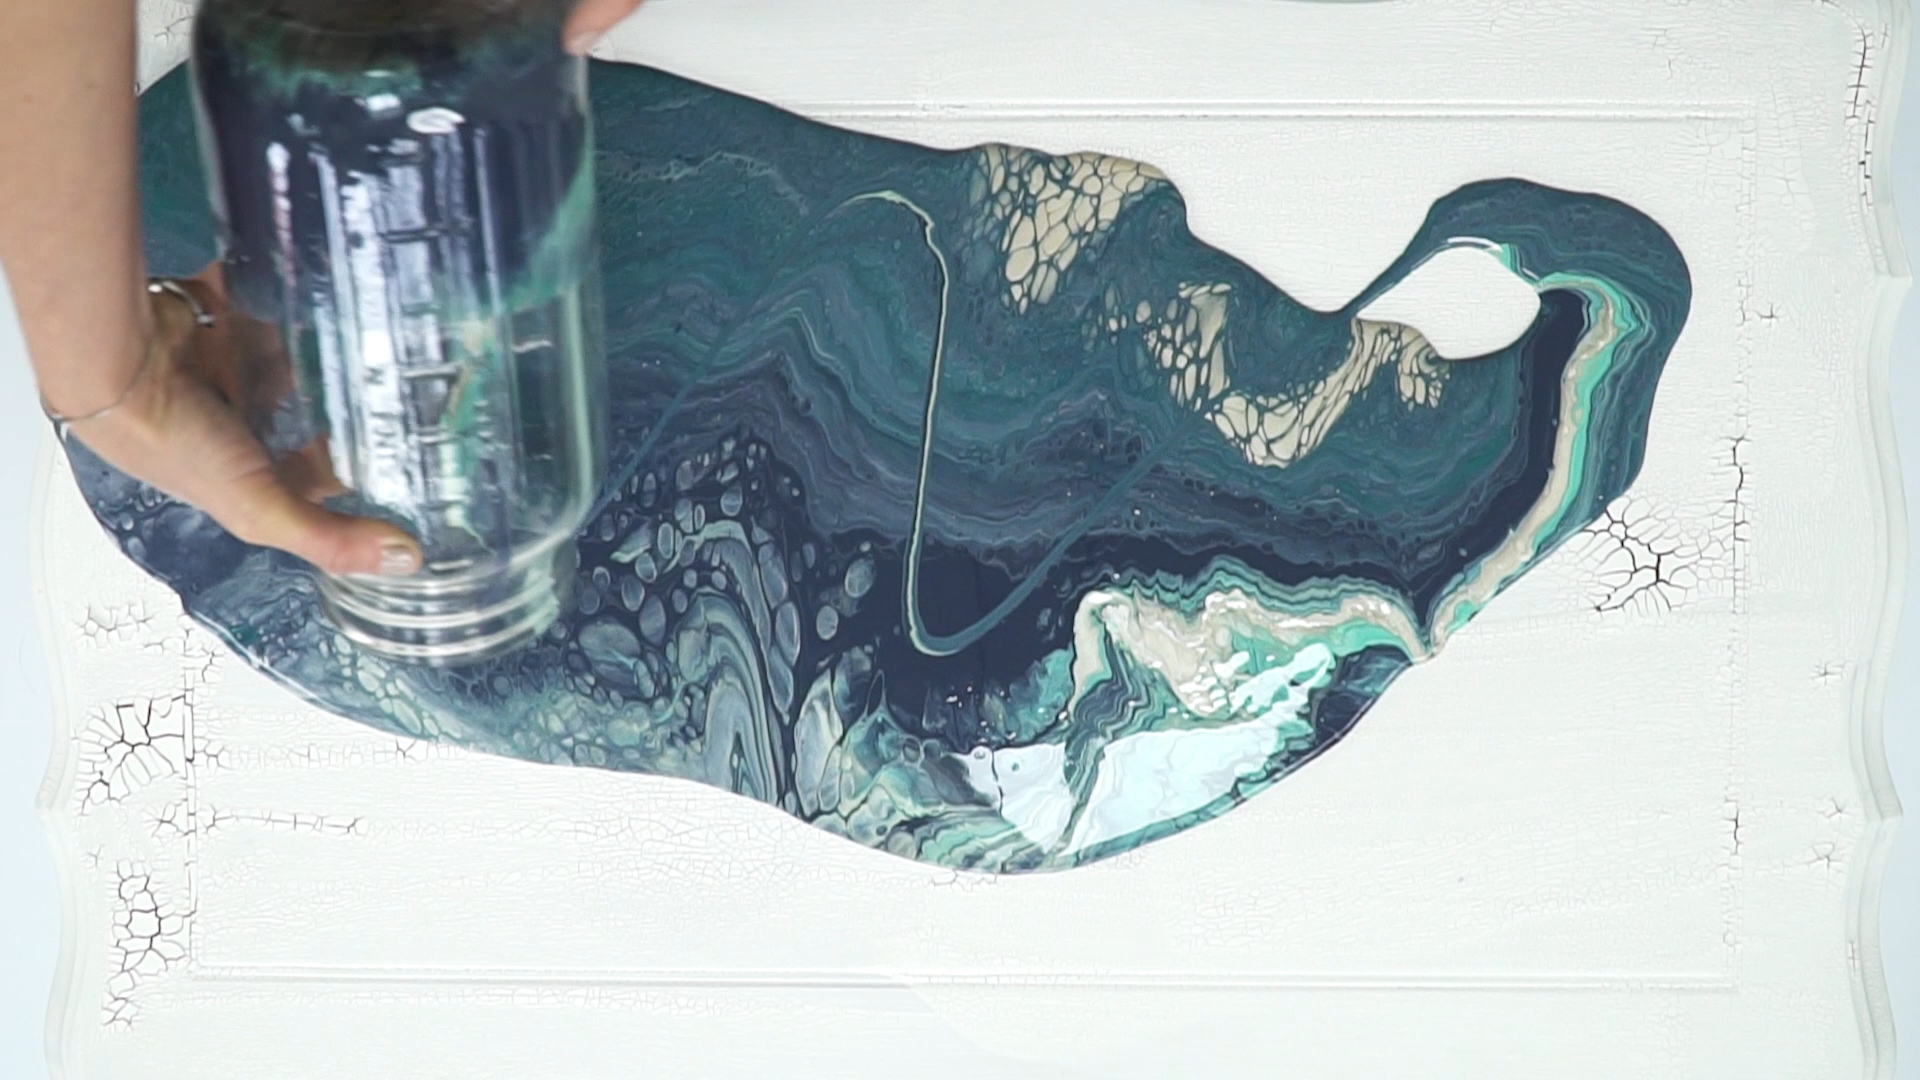
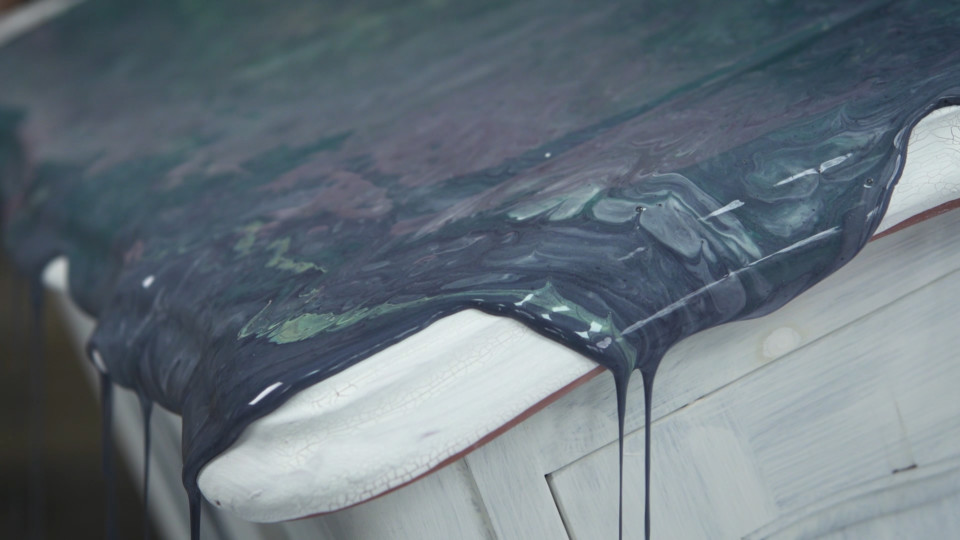
Paint Pouring is not only fun, but an artful way of creating unique finishes across furniture, art, decor and more. Did you know that you can practice paint pouring techniques with Fusion™ Mineral Paint and Pouring Resin?
You won’t believe how we made over a small cabinet using an array of our paints & Pouring Resin.
SUPPLIES
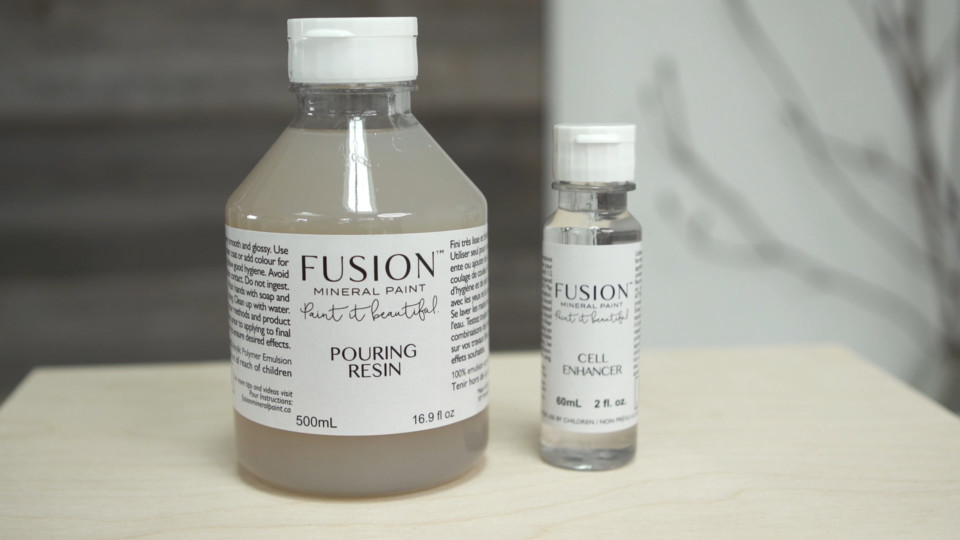
- Fusion Pouring Resin
- Fusion Cell Enhancer
- Fusion Mineral Paint: Midnight Blue, Champagne Gold, Azure, Picket Fence, Renfrew Blue, Champness
- Staalmeester One Flat Brush
- Small cups (to mix the paint in)
- Popsicle sticks (to mix the paint with)
- Large container
- Drop-sheet (always a good idea with projects like this)
- Spray Bottle
Pouring Resin & Paint Pouring Techniques
This project is broken down into two techniques – the top of the cabinet where we show you how to get a super cool Paint Pour effect and the sides of the cabinet which we painted and used a spray bottle technique to create a drippy paint look.
Cabinet Top – Paint Pouring
STEP 1
PREP YOUR AREA
To begin, prep your area. Creating pour art can be messy, so make sure to cover your area with a plastic sheet. We also recommend you wear latex gloves to avoid staining your hands.
STEP 2
USING FUSION POURING RESIN
Just add a couple of drops of paint into the Pouring Resin. As a rule, do not use more than 10% ratio of paint to your Pouring Resin. The more Pouring Resin you use in the mixture, the more viscous it will be and have a better flow. You want your mixture to flow easily on your furniture, the more paint you add, the less flow you will get. You only need to add a couple of drops to your Pouring Resin to tint it and get a coloured effect. Once added give it a quick stir with a popsicle stick.
Next, for each colour, you want to use (we chose 6) pour some resin into a cup and add a couple of drops of colour to it and stir gently so as not to introduce air bubbles. One colour per cup.
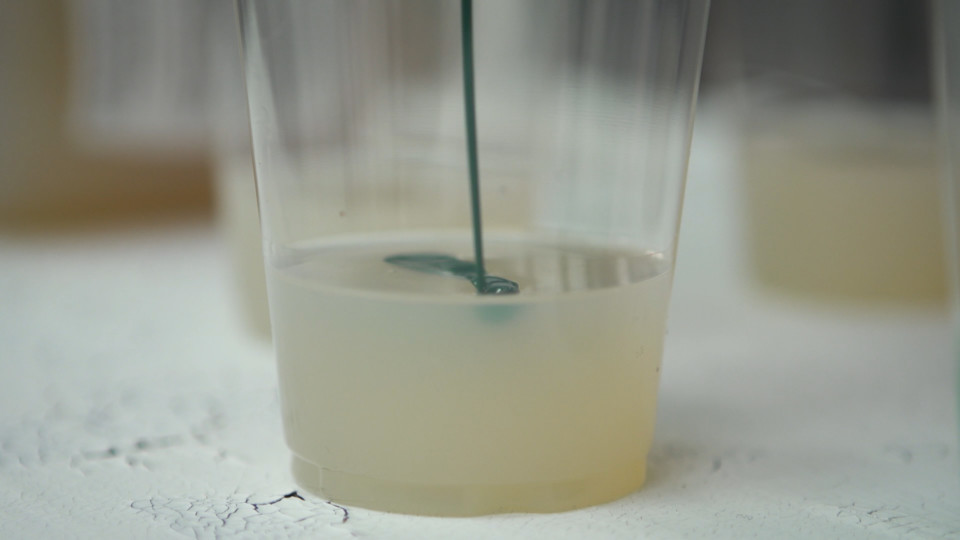
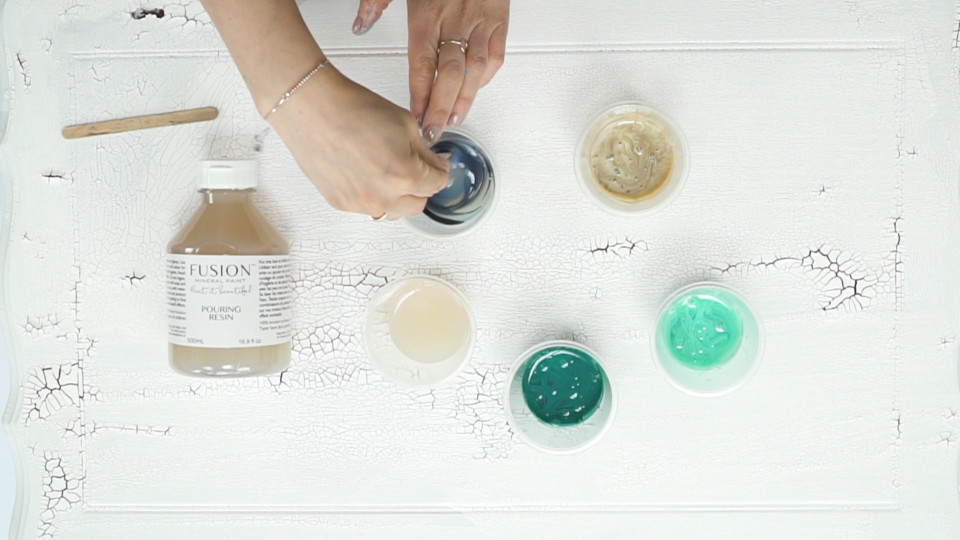
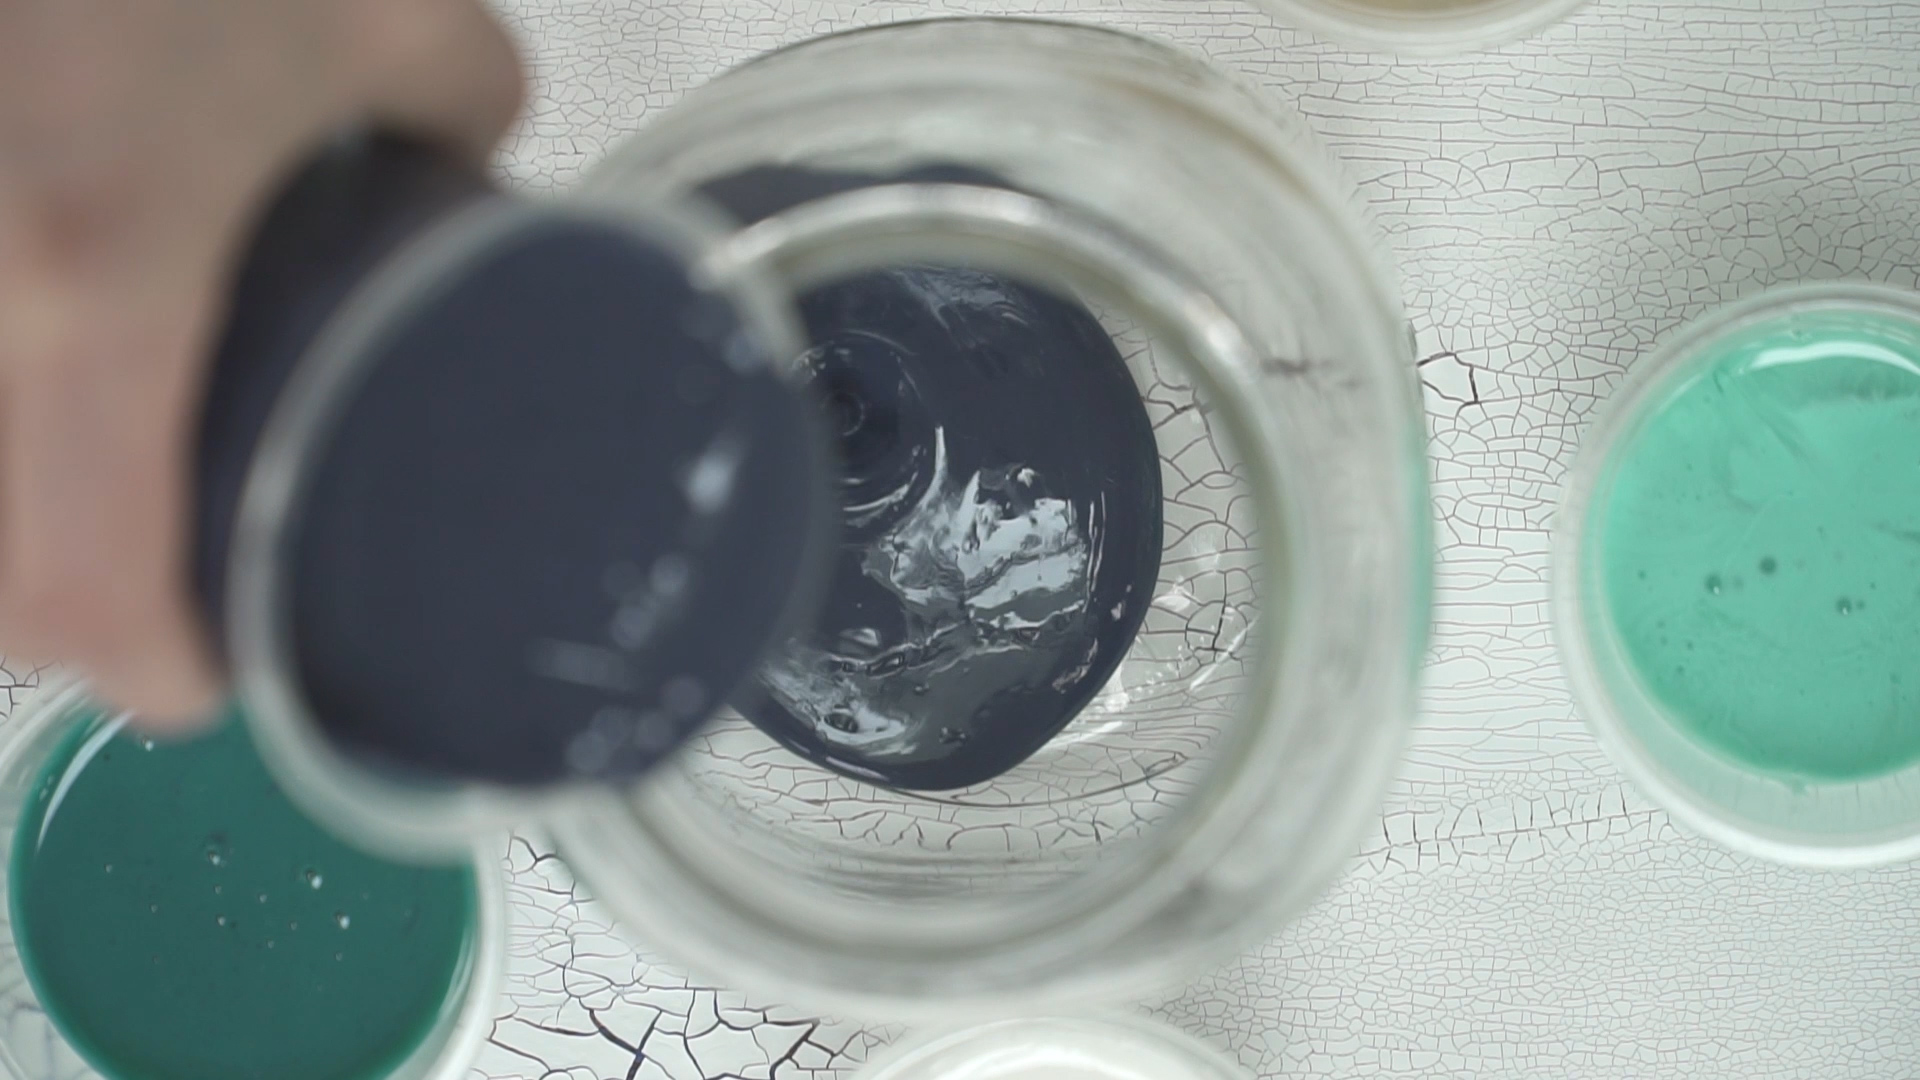
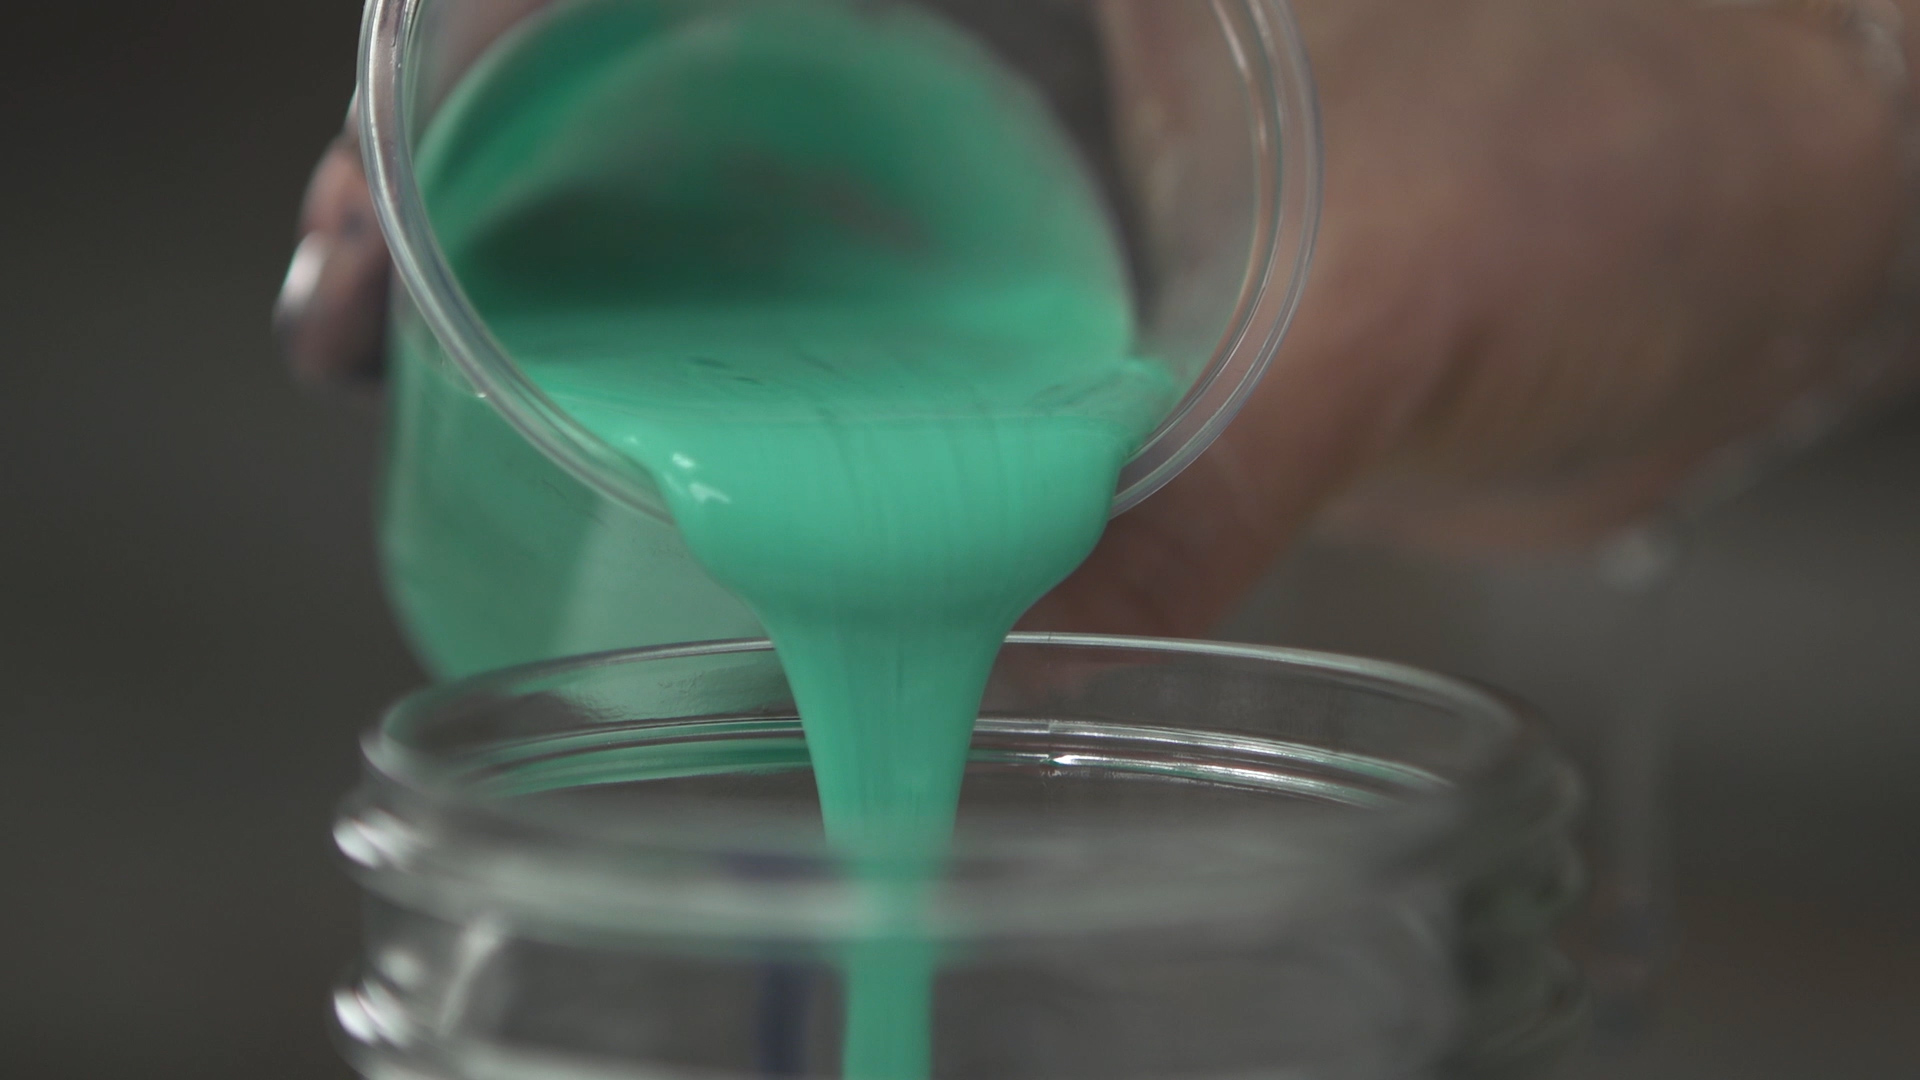
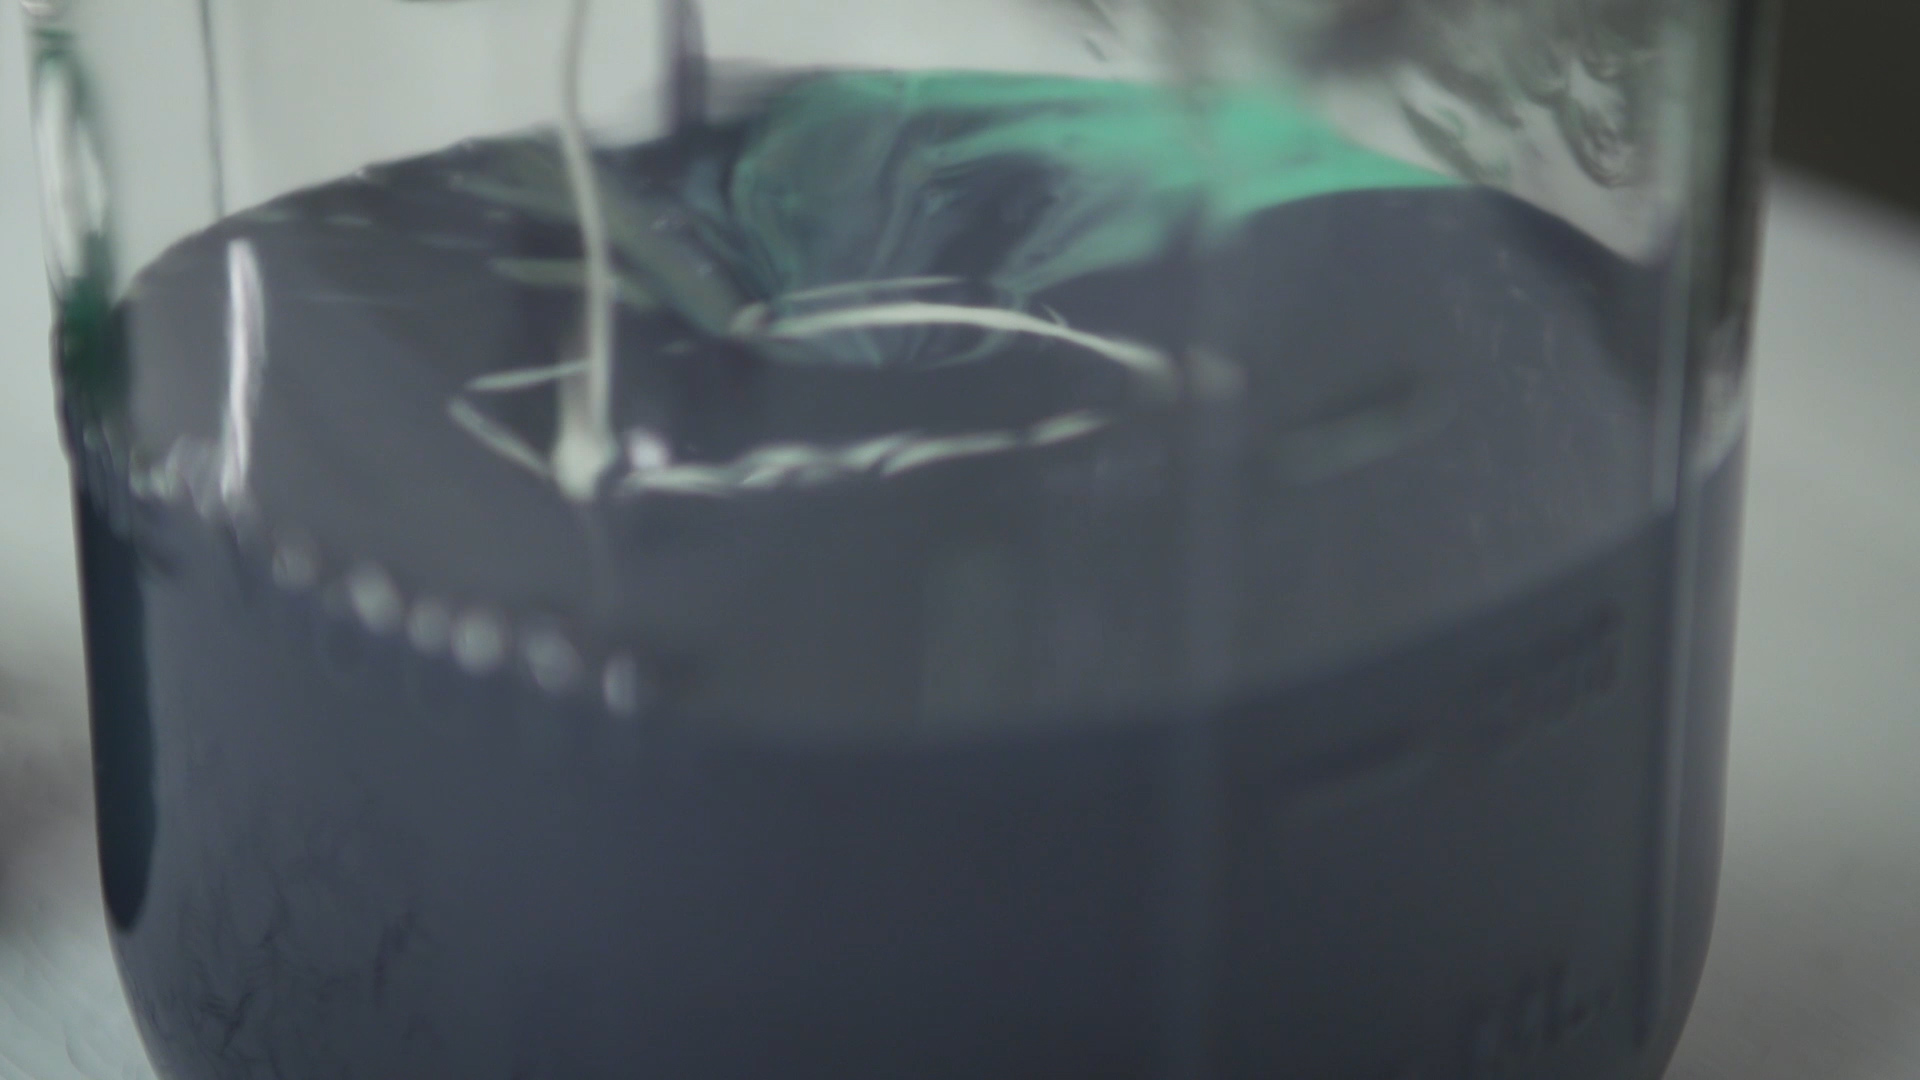
Before pouring them onto the top, you can combine colours one at a time in a larger cup or jar, or apply them each individually. We suggest you play and experiment to see which look you prefer!
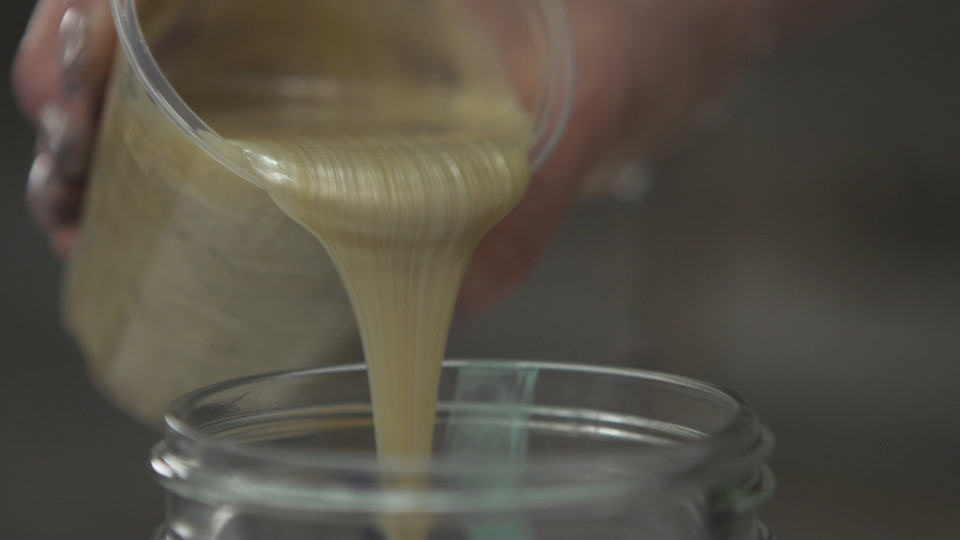
STEP 3
POUR THE PAINT & RESIN MIXTURE
It’s time to pour! Start pouring the combined paint mixture on the surface of the cabinet, going from one side to the other, or however you wish! The way you apply it, it will look different.
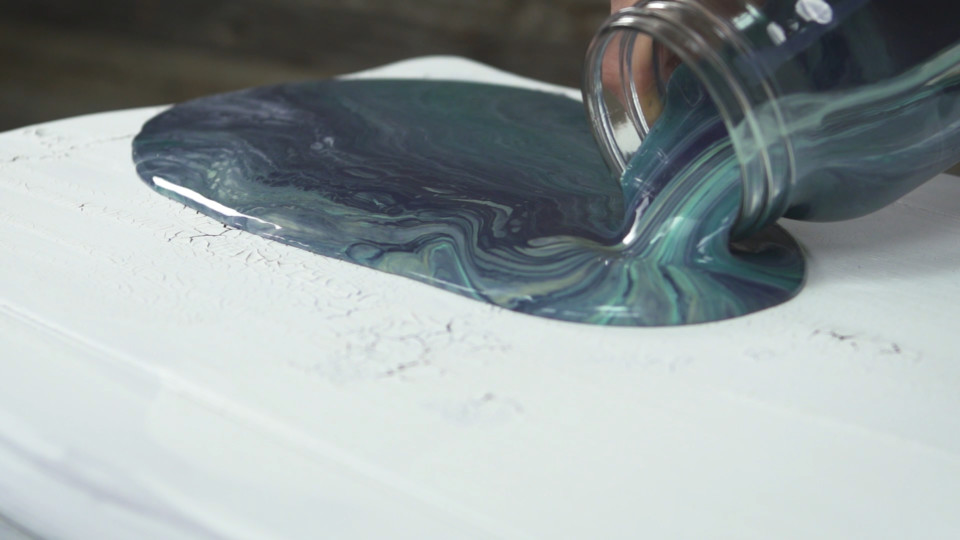
Finish by tipping the cup onto the surface to let the remaining paint dribble out. This helps create unique patterns or textures to add some extra creativity.
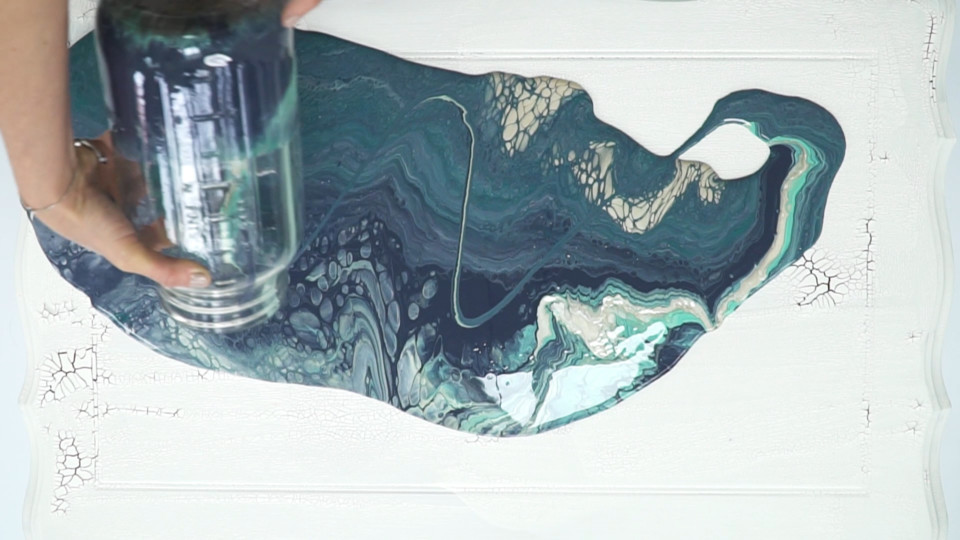
STEP 4
TILTING
This is where things get messy! Tilt the surface to spread paint, do not use a brush or anything else, as it will affect the end result. In this case, just lift the cabinet from each side so that the paint runs.
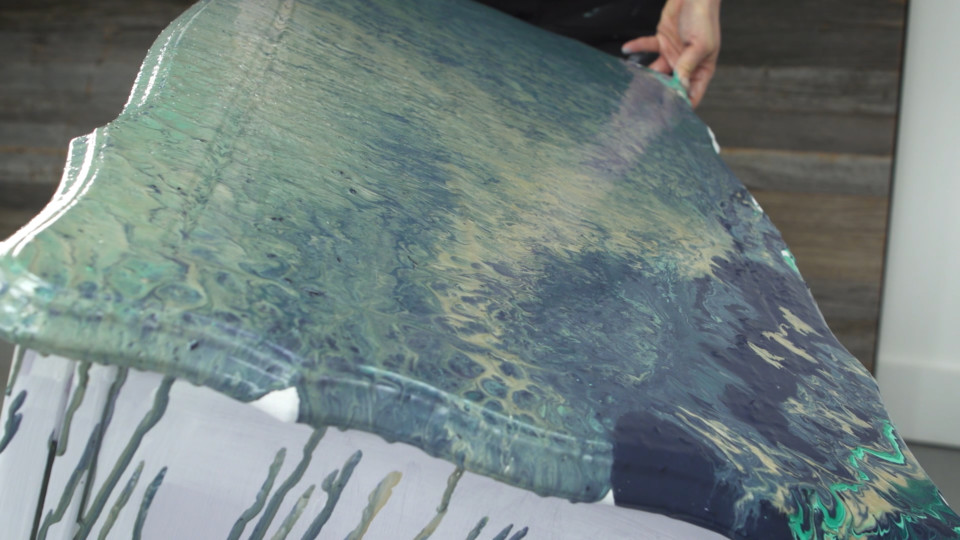
Don’t be afraid if the paint starts running down the sides of the piece, you’ll be painting over those later.
Feel free to drizzle on some extra paint
CABINET SIDES
STEP 1
PREP THE CABINETS
This cabinet was already previously painted with Fusion, we just ensured there was no grease or excess dirt on it, and just simply painted right over it!
STEP 2
PAINT THE CABINETS
Using our Staalmeester brushes, you can easily apply your desired colour for maximum coverage. We chose Midnight Blue!
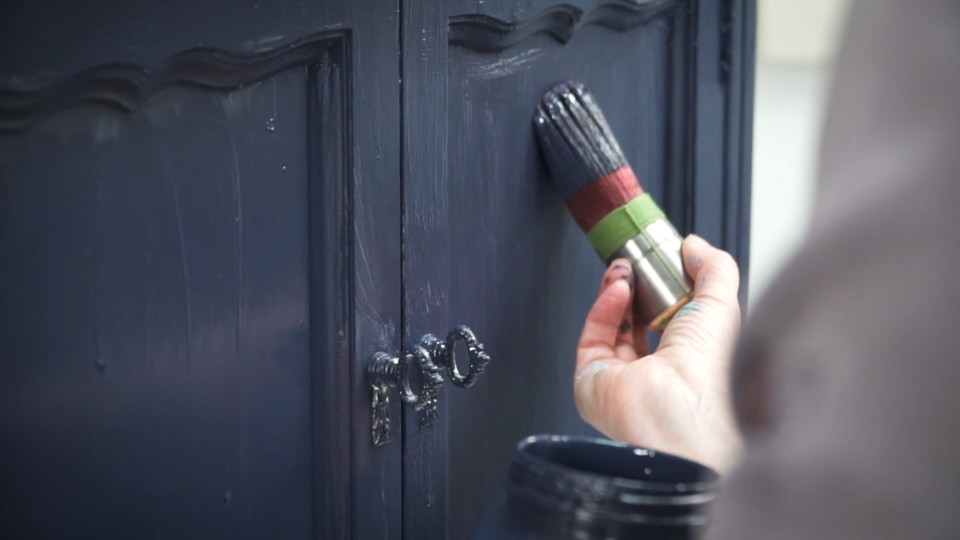
While the top dries, paint the rest of the cabinet with Midnight Blue, and let it dry.
STEP 3
BLENDING BLUES
Taking Champness and Midnight Blue, we blend them to achieve a variation of blues, but not fully – you still want it to be a bit streaky. A tip for blending is to keep the paint colours wet when mixing them, using a spray bottle and misting can help to activate the paint.
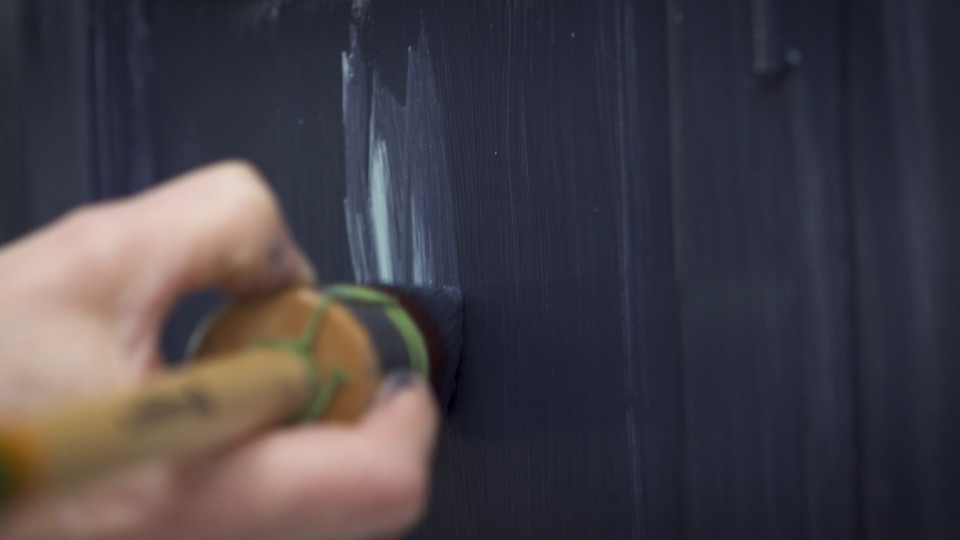
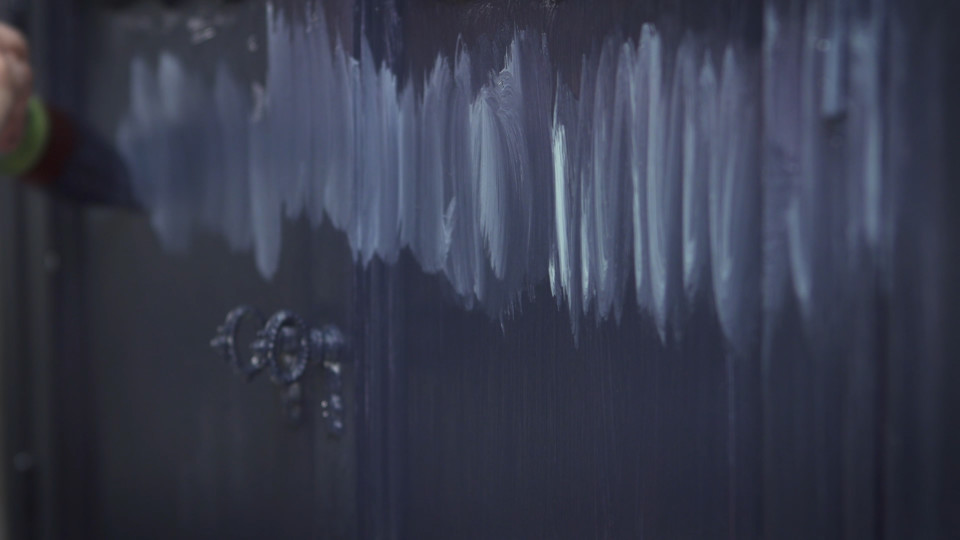
Start feathering it vertically along the top of the cabinet sides, and then use a wide Staalmeester brush to fully blend the two colours on the cabinet. Trust us, that flat Staalmeester wide brush is the best for blending! A tip for blending
STEP 4
EMBELLISHING WITH CHAMPAGNE GOLD
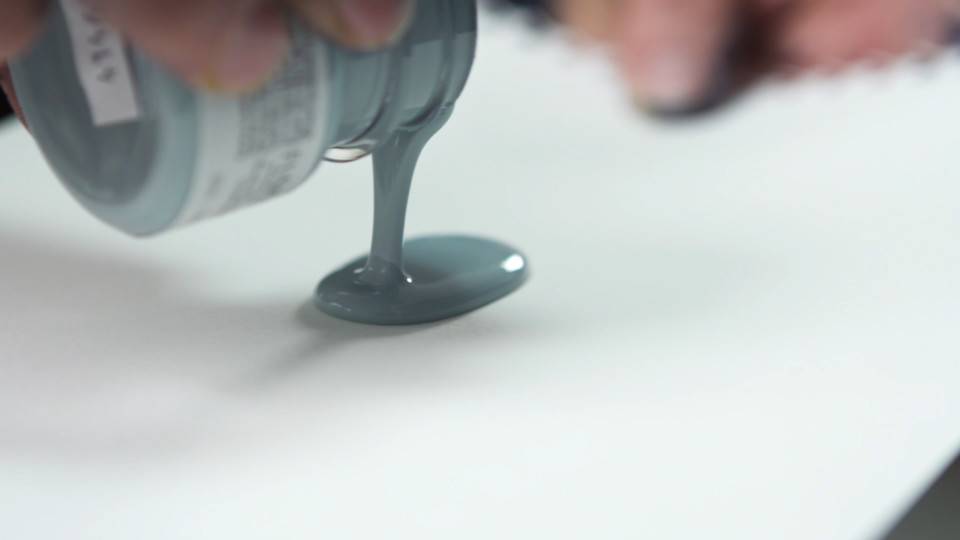
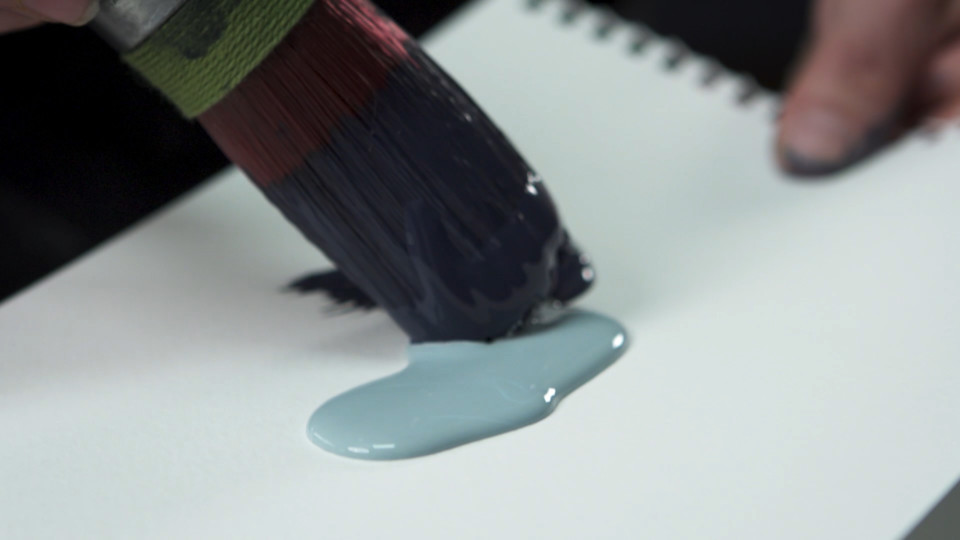
Who doesn’t love a little Champagne?! Pour a bit of the Champagne Gold onto a surface you can run the brush through to start painting on the cabinet surface you want to enhance.
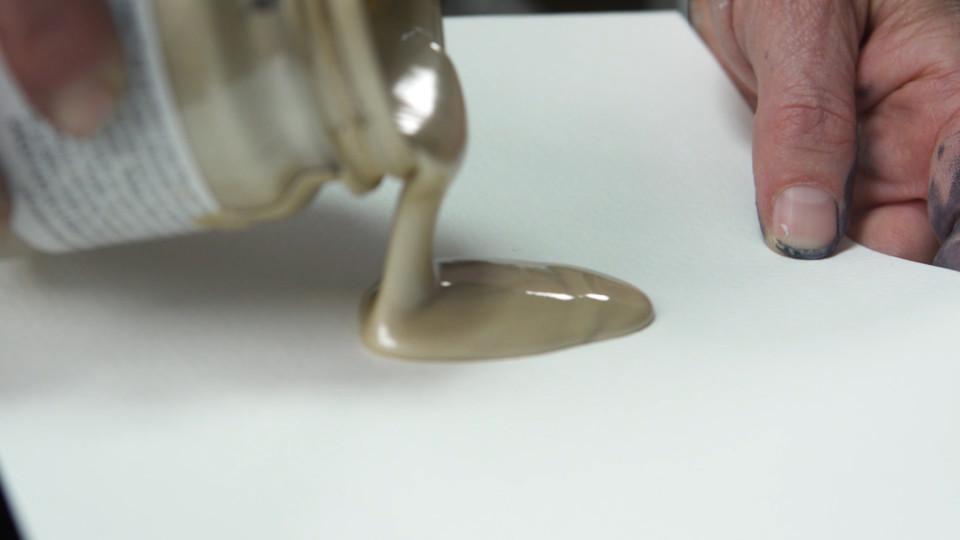
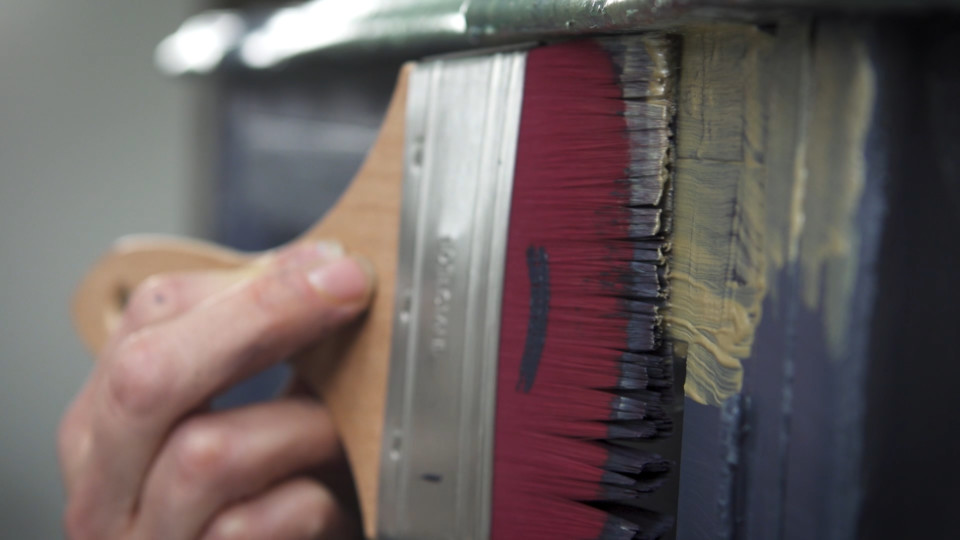
Next, you’ll apply Champagne Gold along the top of the blended blues, using the wide-angle Staalmeester brush. Don’t worry about how messy this can look at this point, we’re going to focus on blending by adding a spritz of water!
STEP 5
GETTING THE PAINT TO RUN
Have your spray bottle handy for when you are ready to blend the two paints together and create an artistic finish.
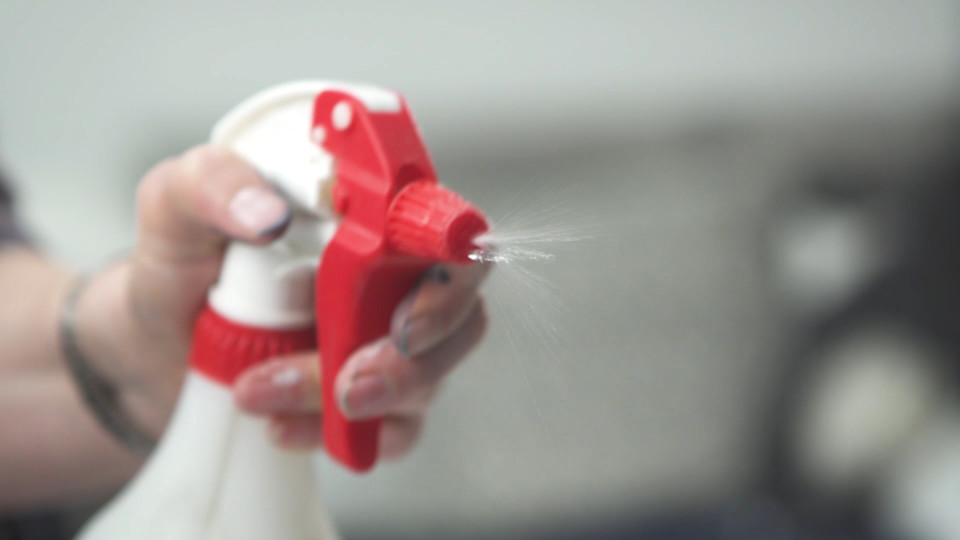
While the Champagne Gold is still wet, using a spray bottle on the misting function, spray 1-2 sprays from a distance to the gold, and watch it start to drip and run.
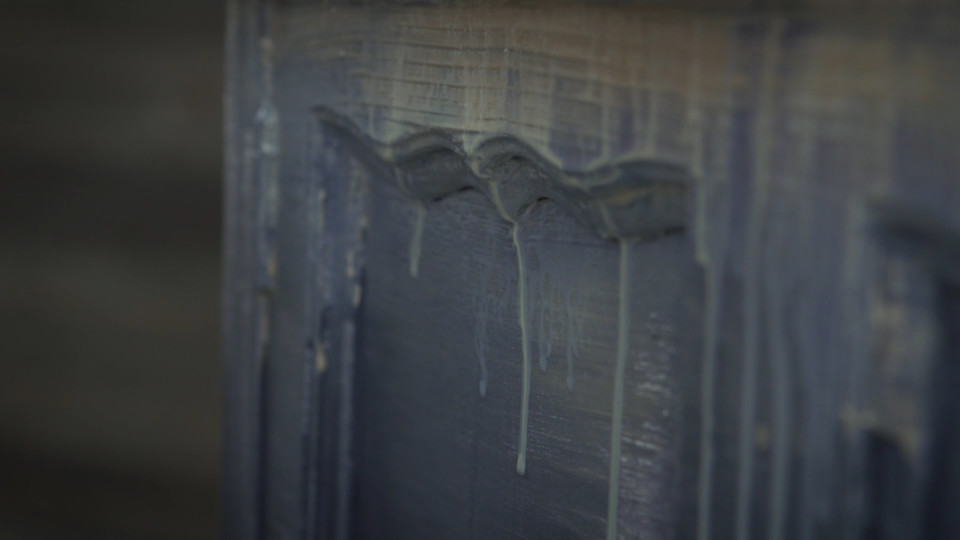
Let it dry! That’s right! The Pouring Resin top will need at least 12 hours to fully dry.
What makes Fusion™ Pouring Resin so easy to use?
For starters, the product is self-levelling! You don’t have to worry about spreading it flat -like with cake icing – so just by leaving it alone, it will level out. Plus it dries to a high gloss hard top coat!
You don’t need to add a top coat to it! Or Floetrol-type additives!
You can always add more mixed pouring resin and paint, to add details to the already poured surface. This comes in handy if the paint hasn’t spread the way you want.
Using Cell Enhancer, you can add a few drops to create formations and separations in the colours.
Have you tried any paint pouring techniques? Tell us all about it in the Paint It Beautiful facebook group.
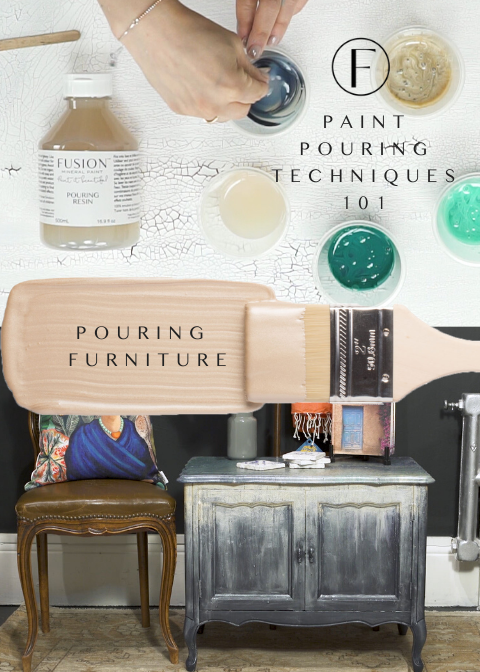
Check out more Paint Pouring techniques below!


