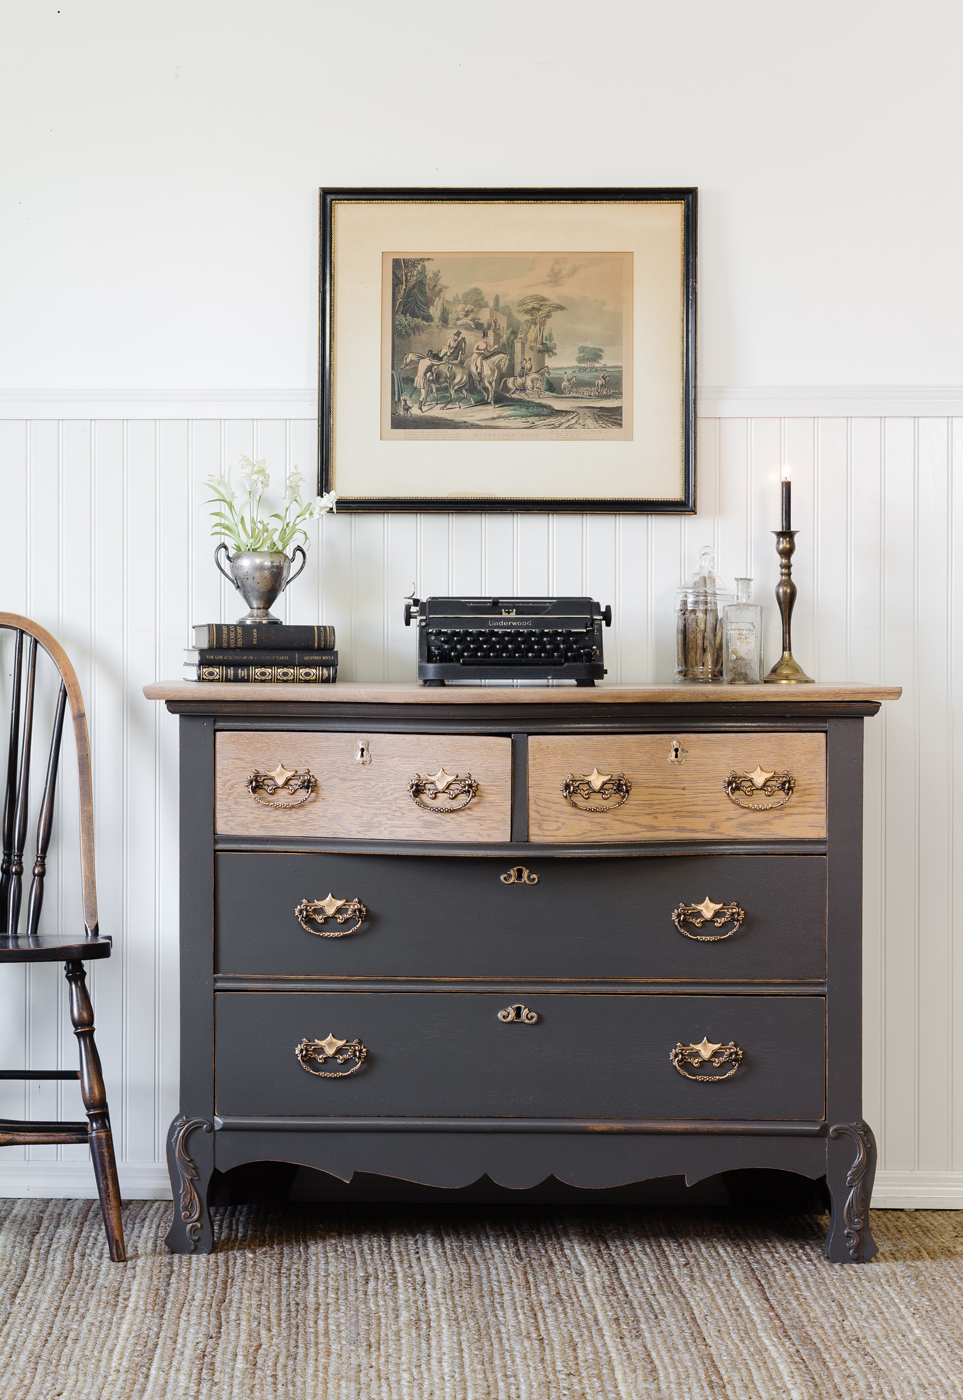
Every now and again we get lucky enough to find a piece that is in great shape and requires minimal repair. We found this lovely dresser at a thrift store for a great price and knew we had to highlight the beauty of the wood. We also knew that a deep rich colour would compliment the wood tones and give it an update at the same time. This is why we chose it for our Oakham Dresser Makeover.
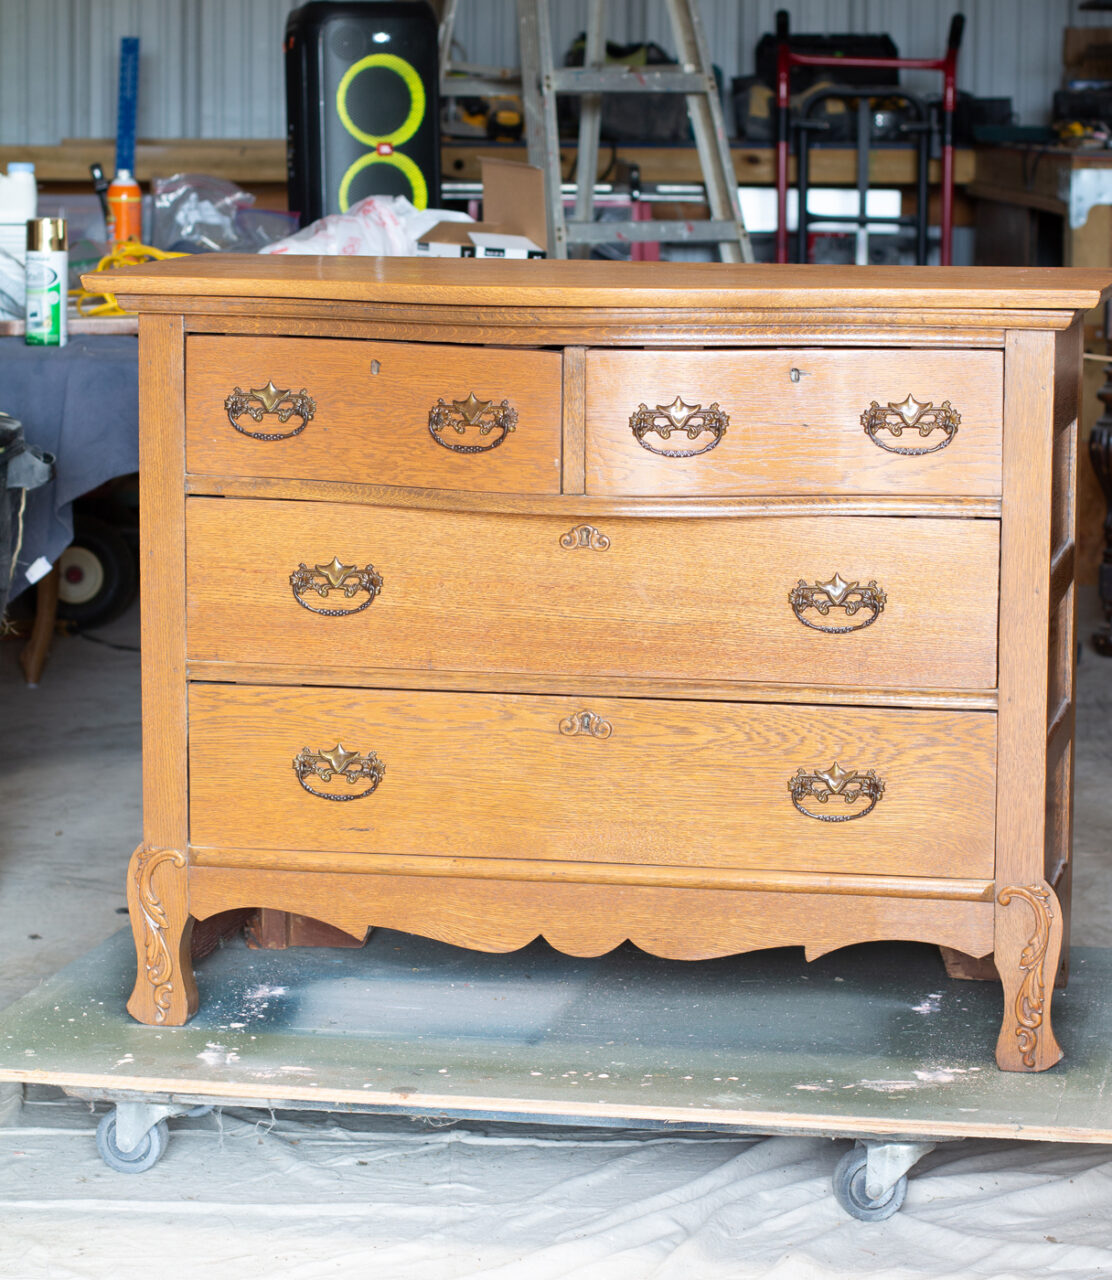
Here is a before look at the piece:
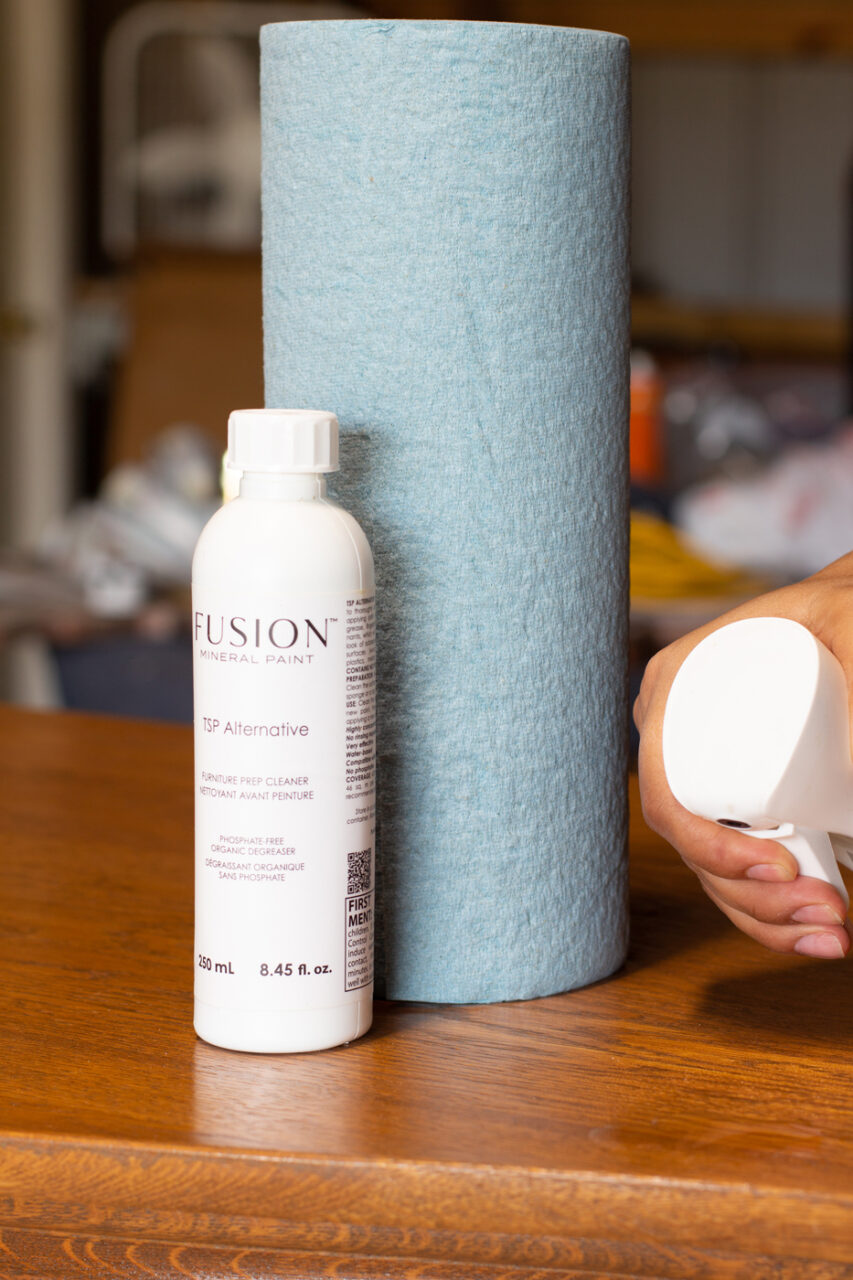
A list of supplies to paint a dresser
- Fusion TSP Alternative + Wiping Cloths
- Fusion Mineral Paint Oakham
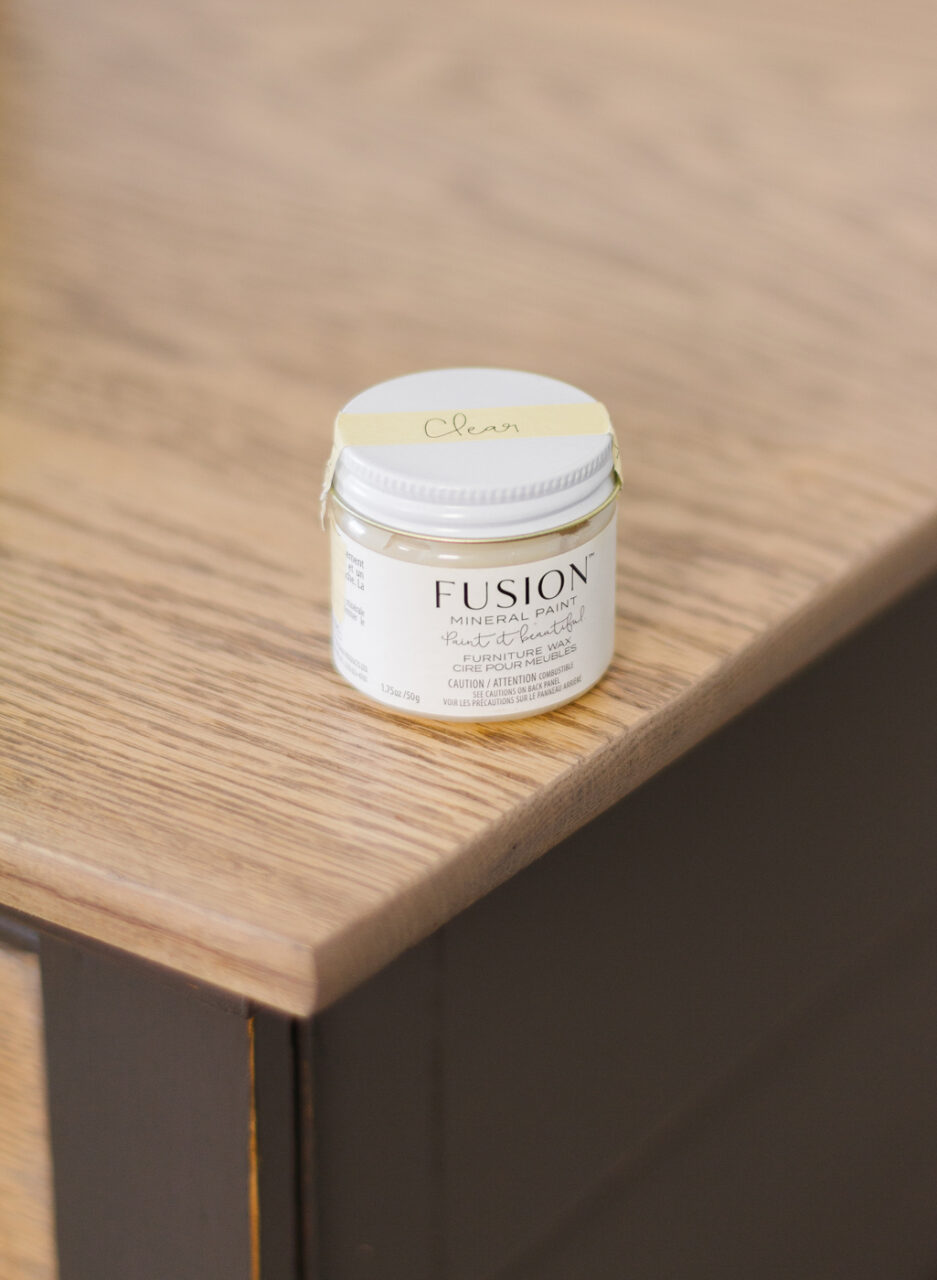
- Fusion Clear Wax
- Staalmeester 2 inch Synthetic Brush
- Orbital Sander and Pads
Prep for Painting Furniture
The starting foundation to your paint finish is essential to how long it will last. By cleaning and prepping your piece thoroughly, you ensure that you have a surface for your finish to adhere to properly. We ALWAYS start our furniture prep with a good clean using Fusion TSP Alternative. Our formula is non-toxic, bio-degradable and you do not need to rinse. You can mix a solution in a bottle or dump a cap full into a bucket of water. We prefer to use ours in the Fusion continuous mister so we mix a 50/50 solution of water to TSP Alternative in our bottle. This piece was already pretty clean, so we just gave it a light saturation and a good wipe-down with absorbent cloths.
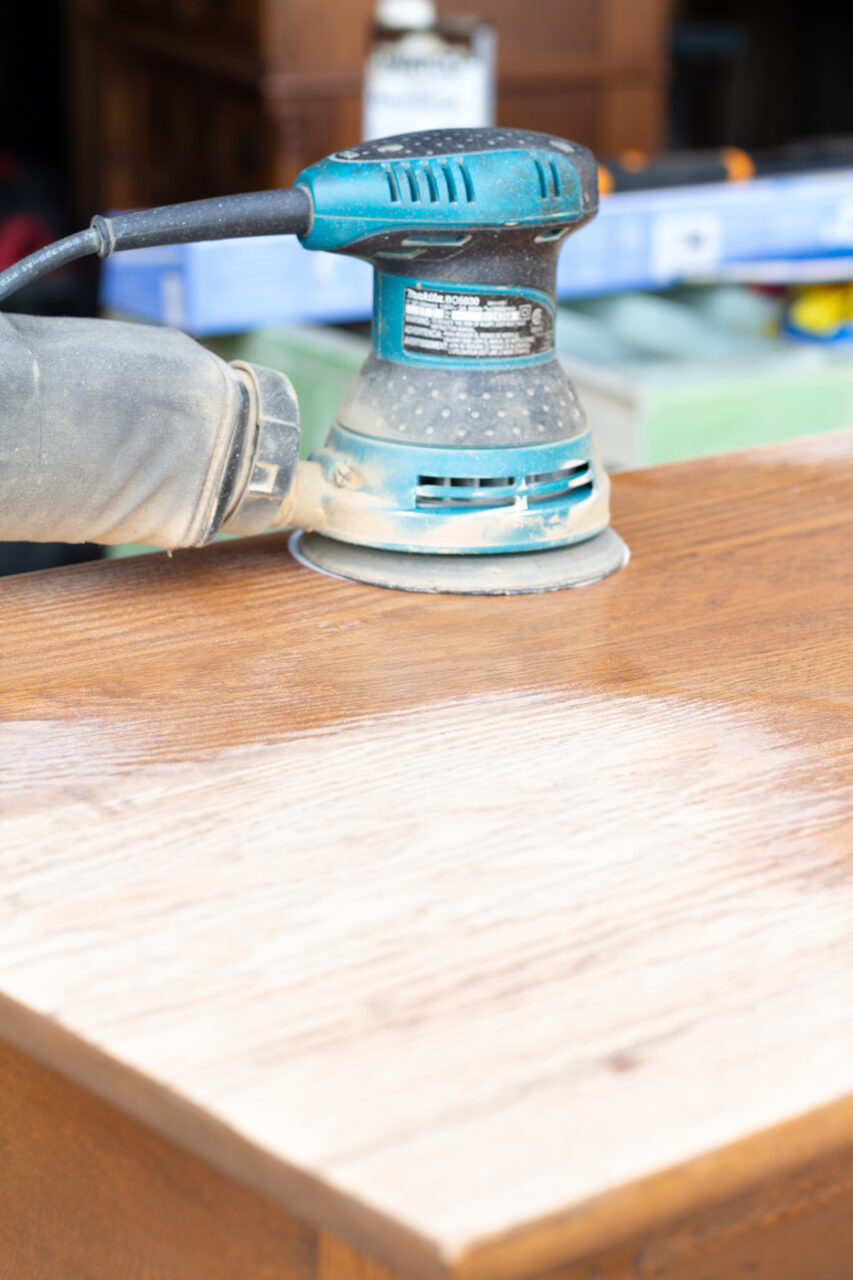
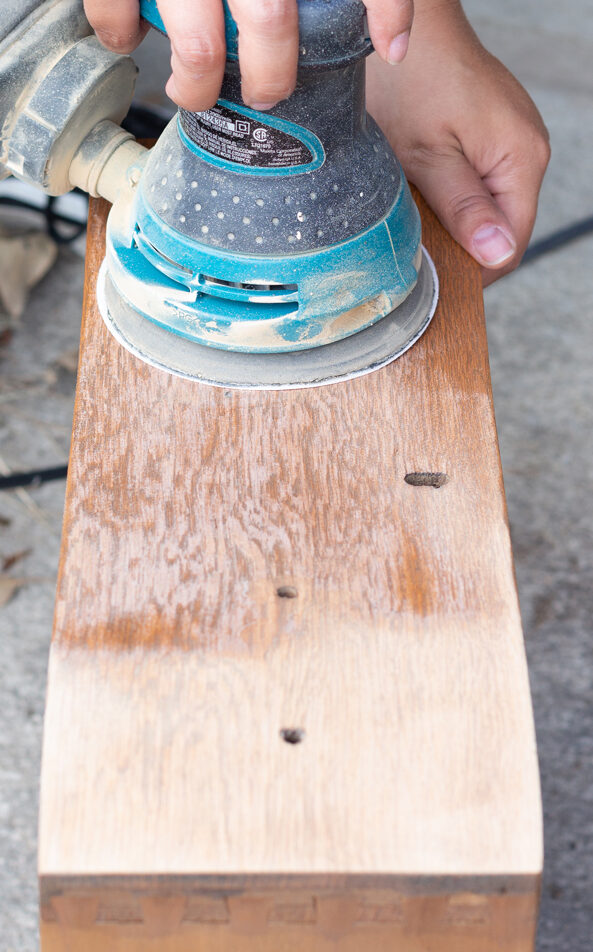
Next, we decided to remove the finish from the top and the two top drawers. Since an oil-based polyurethane was used as the original finish, it had ambered over time giving the wood an orange glow. By removing the old finish with an orbital sander we can give the bare surface a fresh sanding and remove any imperfections like scratches and marks. After a good sanding, clean up your dust with a damp cloth.
Hand Painting Your Furniture
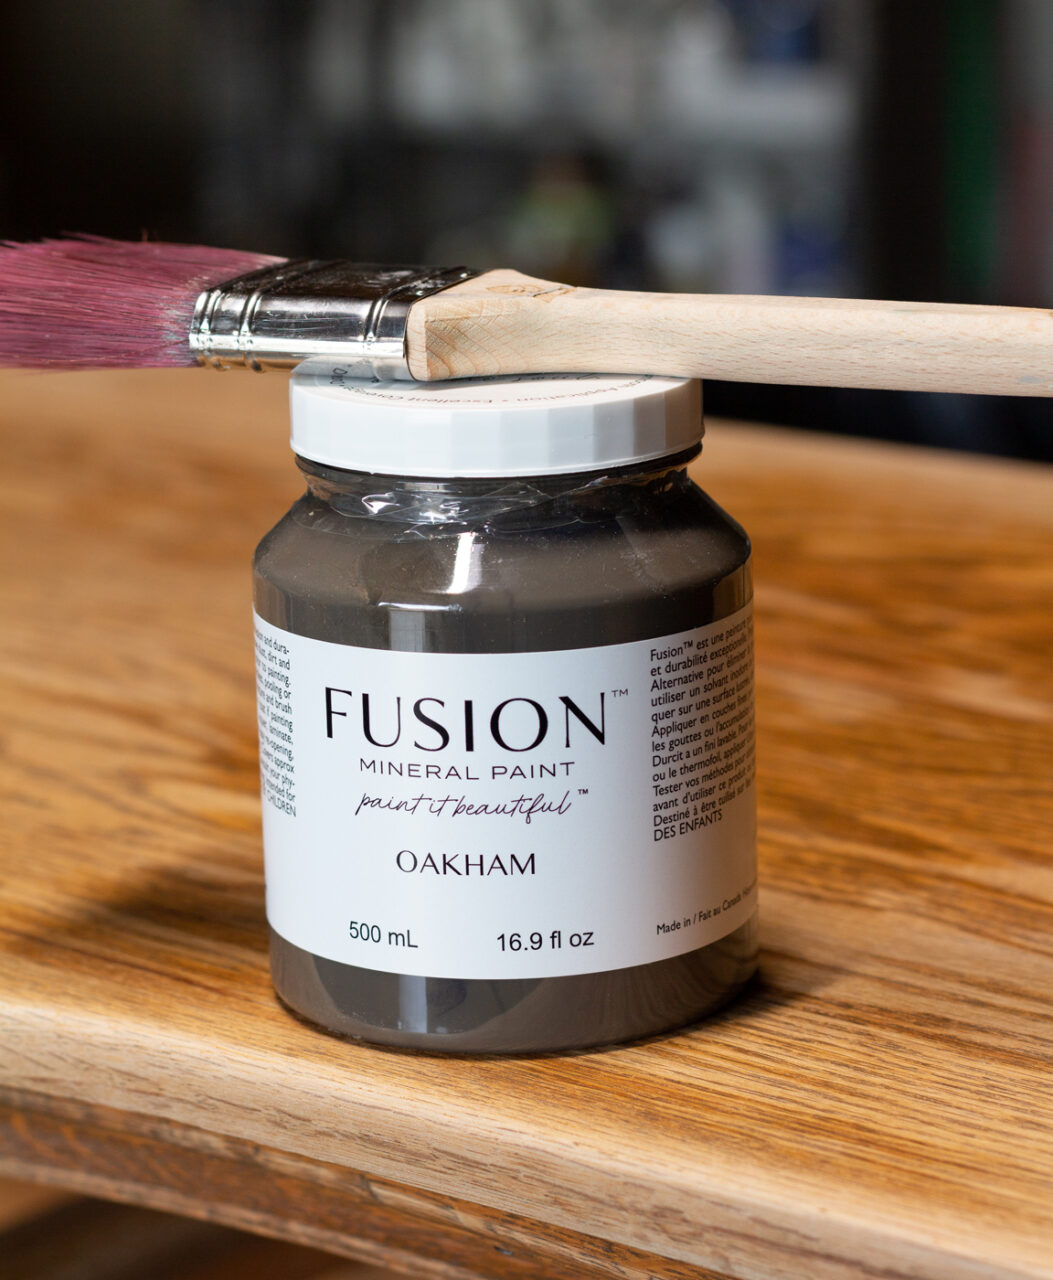
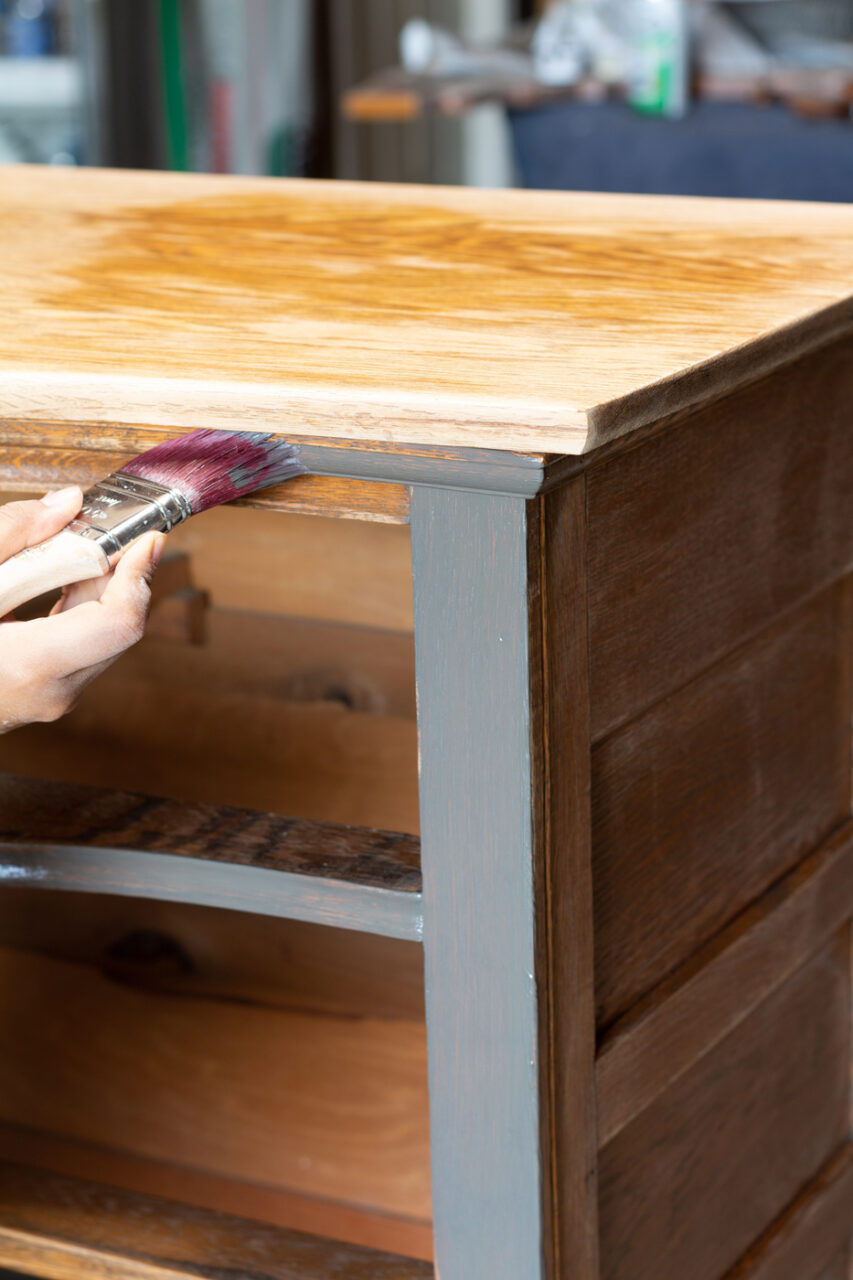
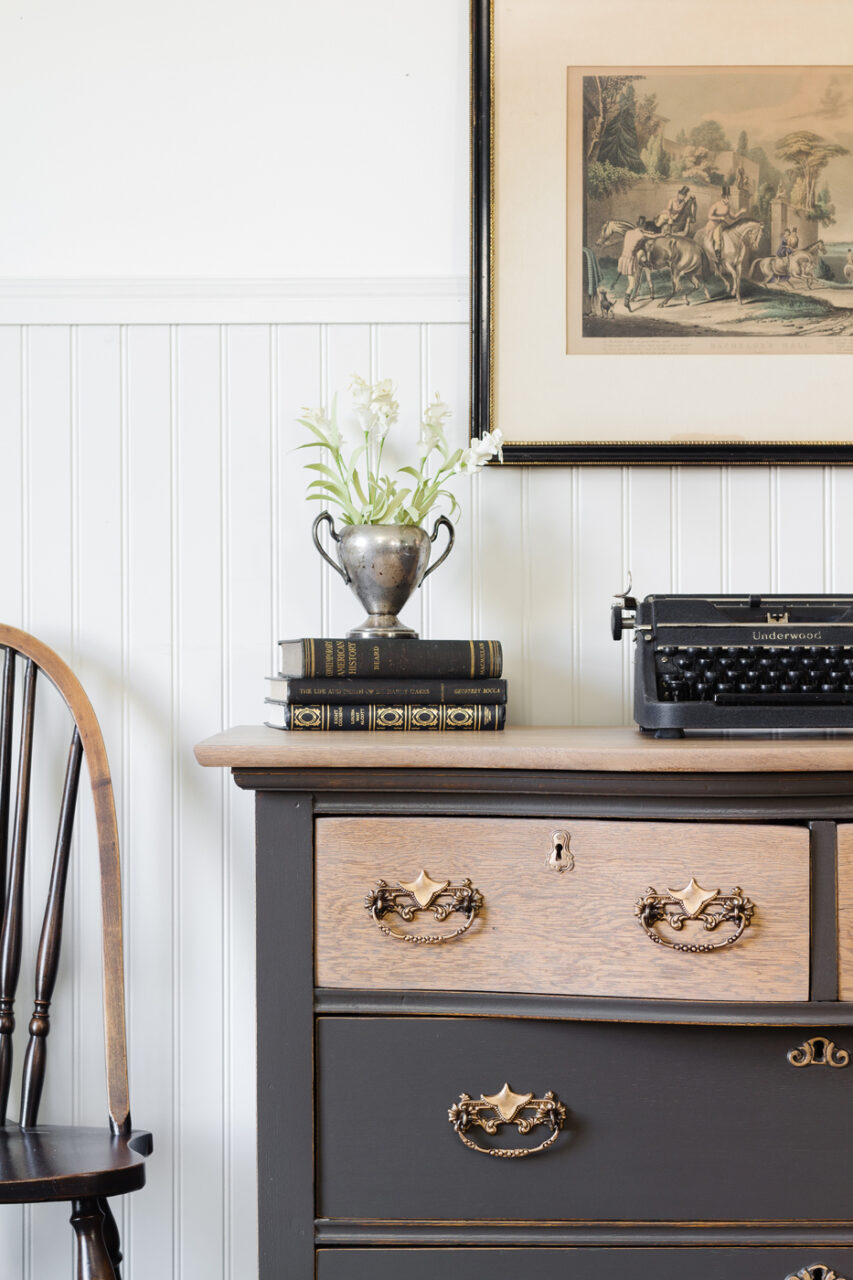
The colour we picked for this chest of drawers was, Oakham. It’s a very rich and slated grey that looks beautiful paired with wood tones. We used our Staalmeester 2-inch synthetic brush to put on the first coat of paint. The first coat gave almost a washed look, yet still deep enough for 80% coverage. Altogether we only needed 2 coats for full coverage and barely used any paint from our jar. Fusion goes a very long way!
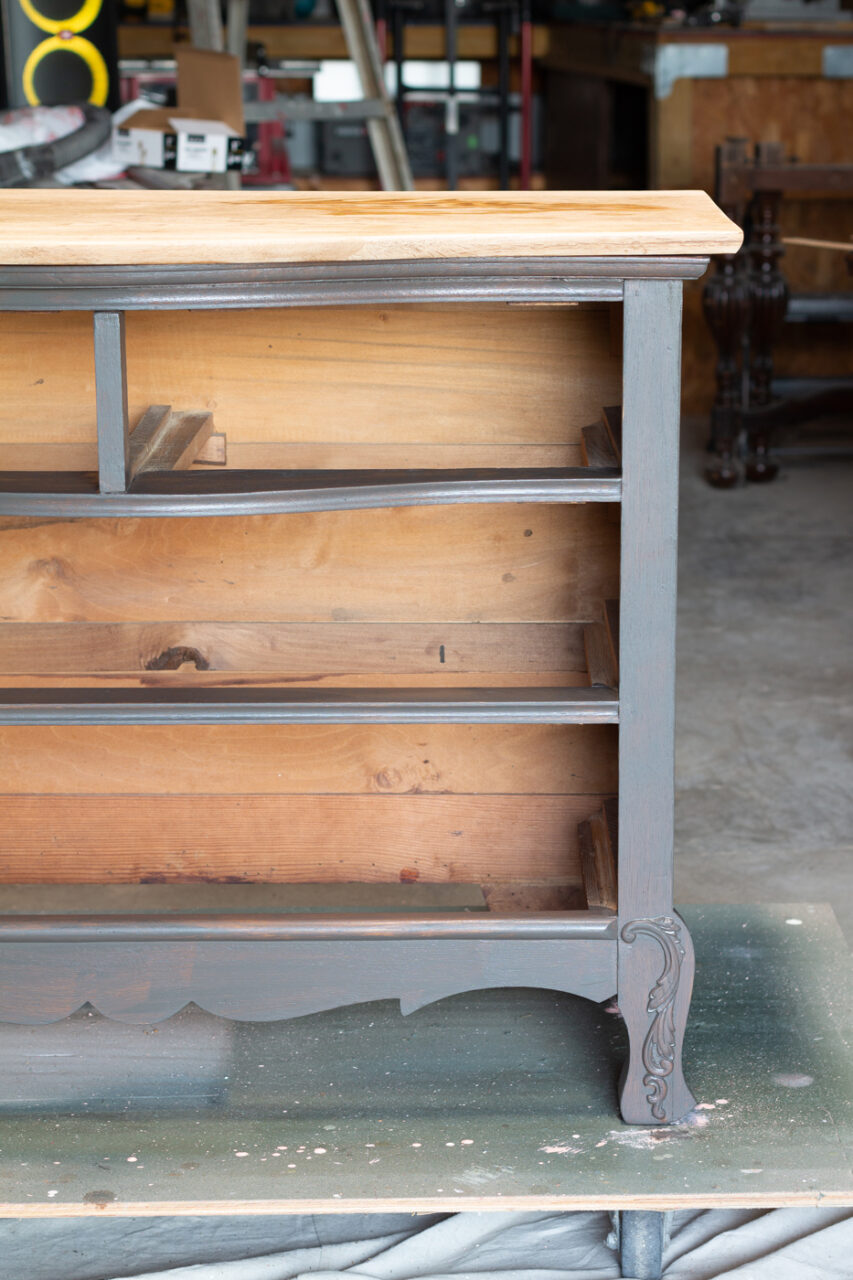
We wanted to keep the beautiful raw wood tones of the oak as well as give our piece an eggshell sheen, so we used Fusion Clear Furniture Wax to achieve that. This stuff goes on so buttery smooth that you don’t have to overwork yourself when buffing out your piece. A quick rub with a lint-free cloth is all that’s necessary.
Oakham Dresser Makeover
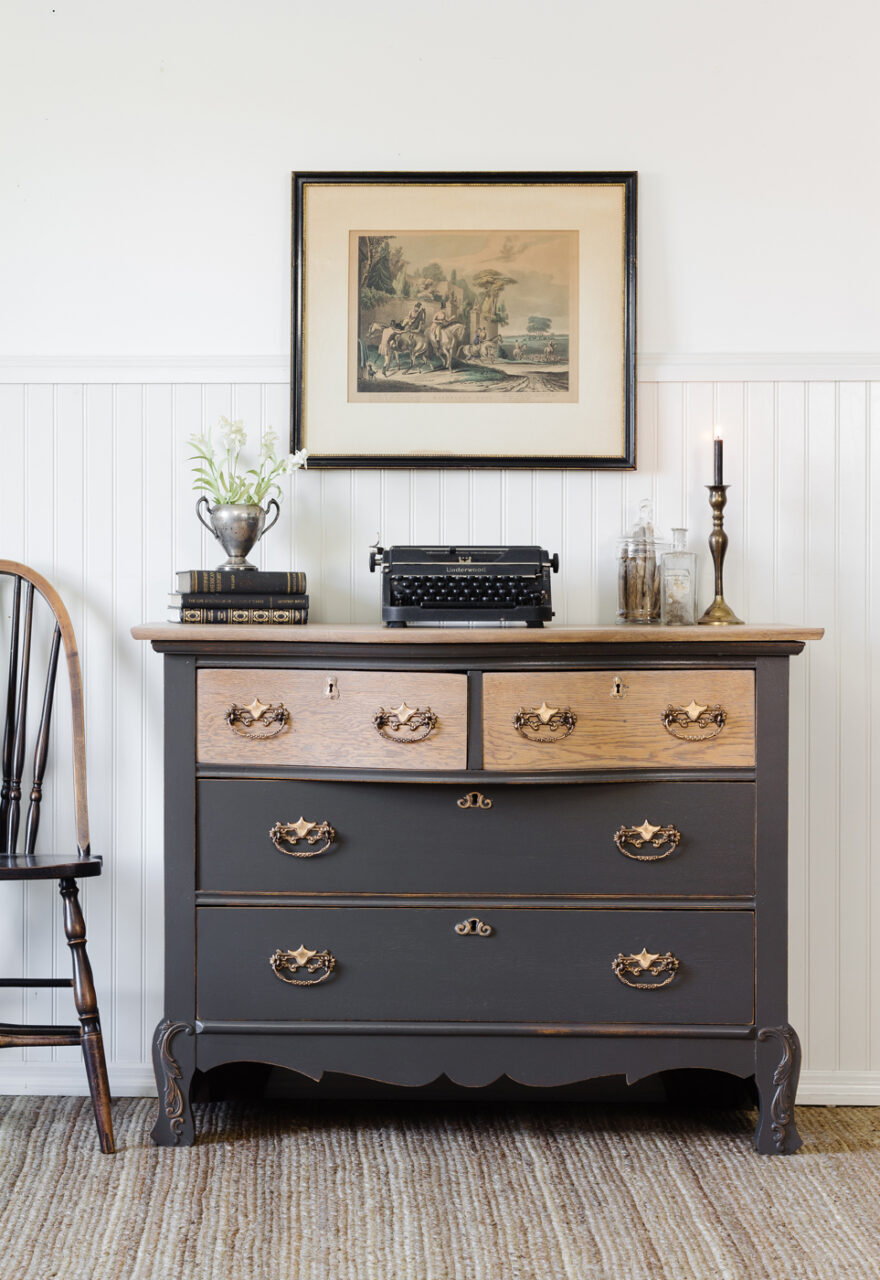
Once you reassemble your piece, take a step back and admire the handsome beauty of Oakham grey. Paired with these wonderful oak tones, you can see a complimenting contrast that is sure to be timeless and classic.
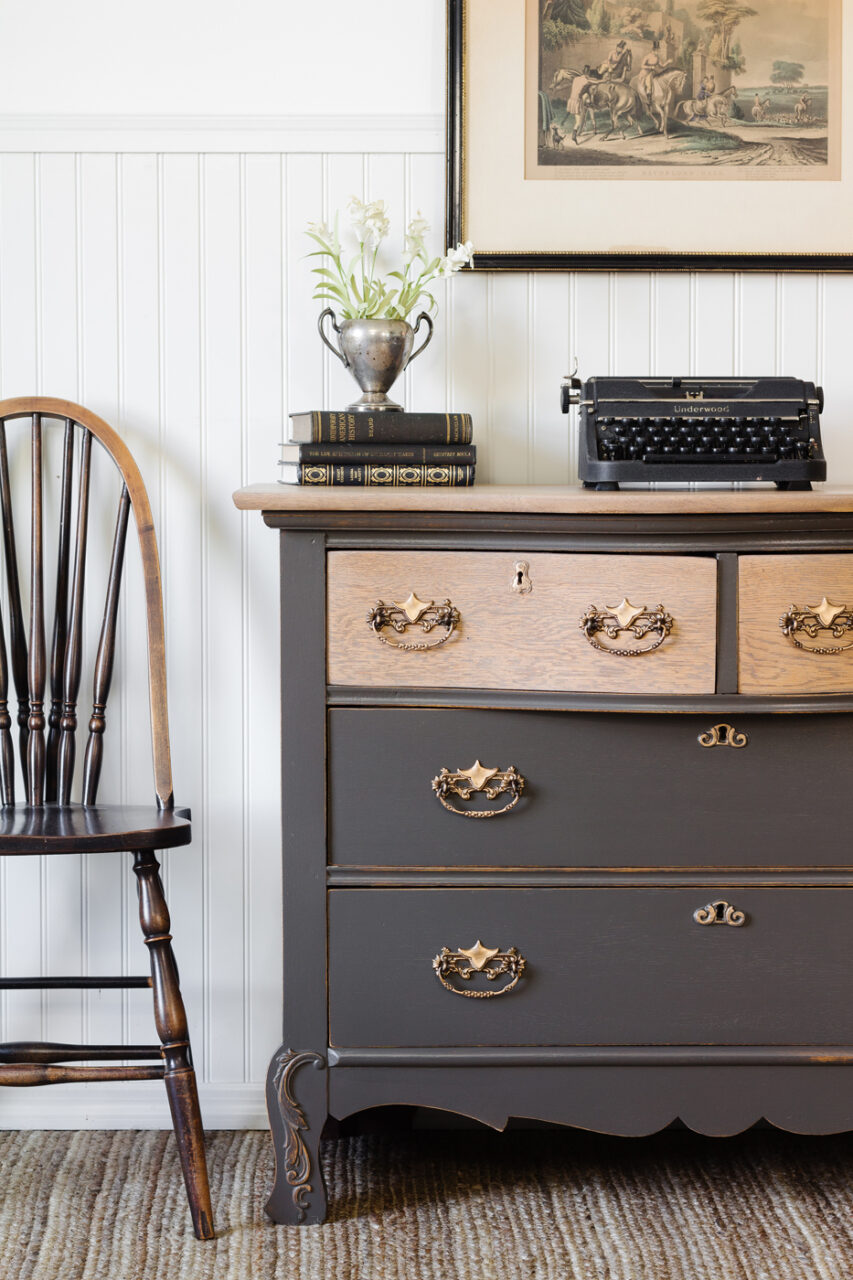
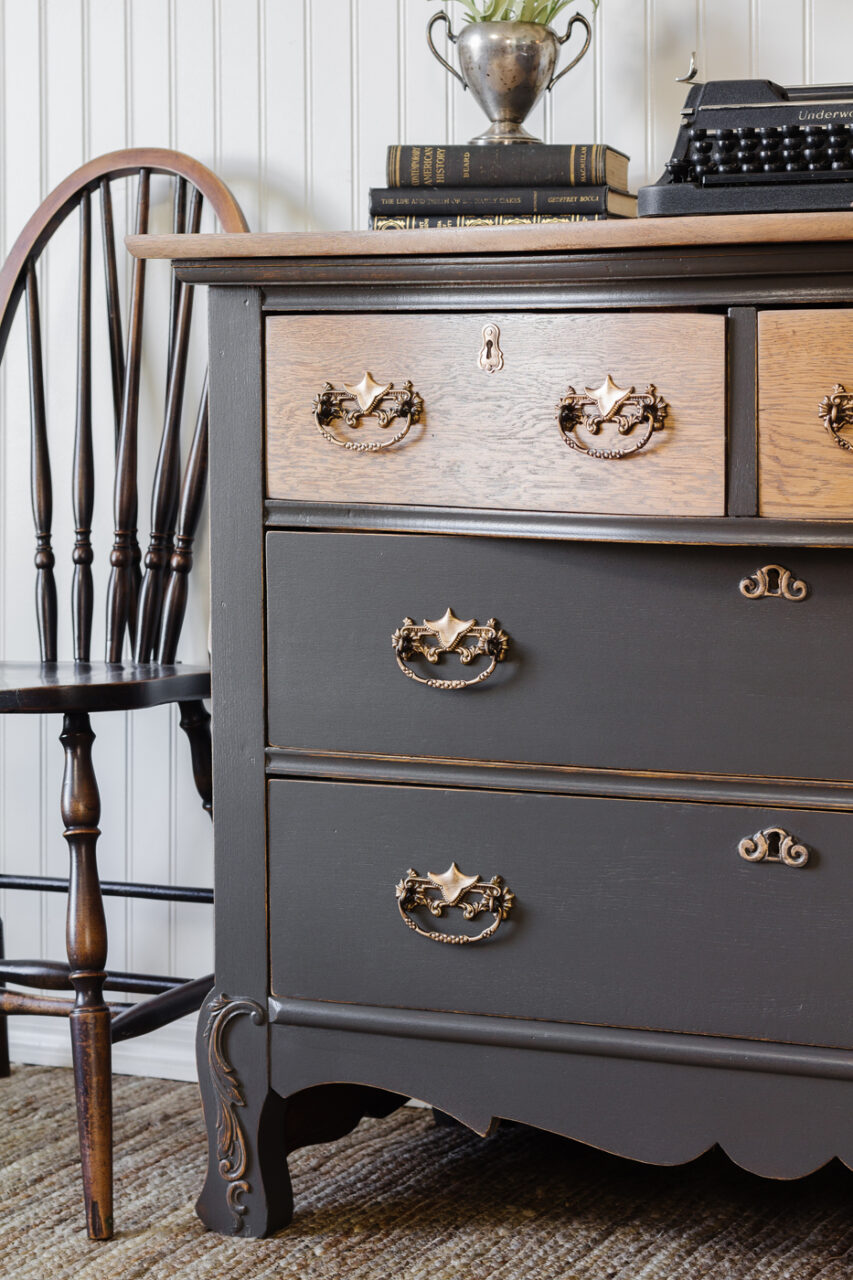
Up close, you truly get to appreciate the rich warm charcoal colour. Add a touch of distressing and it brings out the warm tones within.
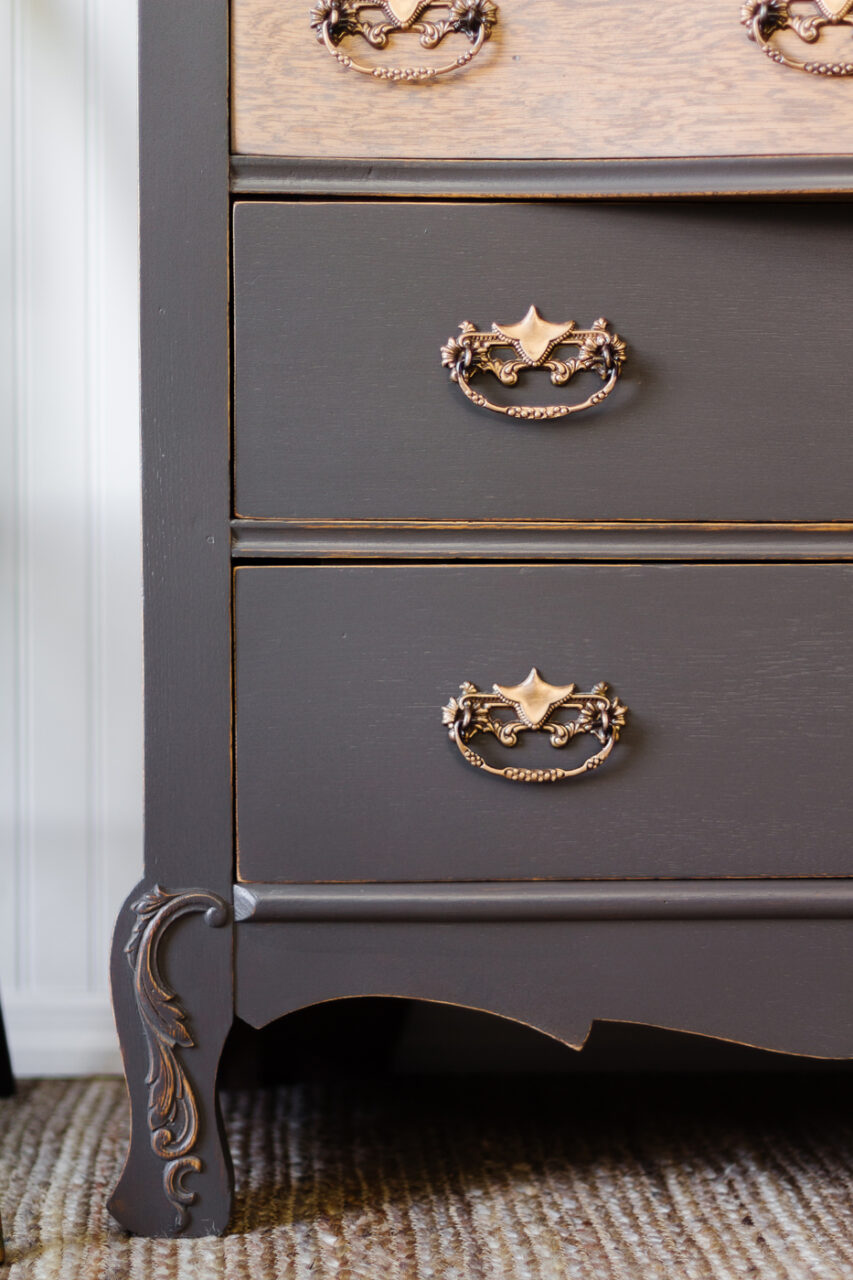
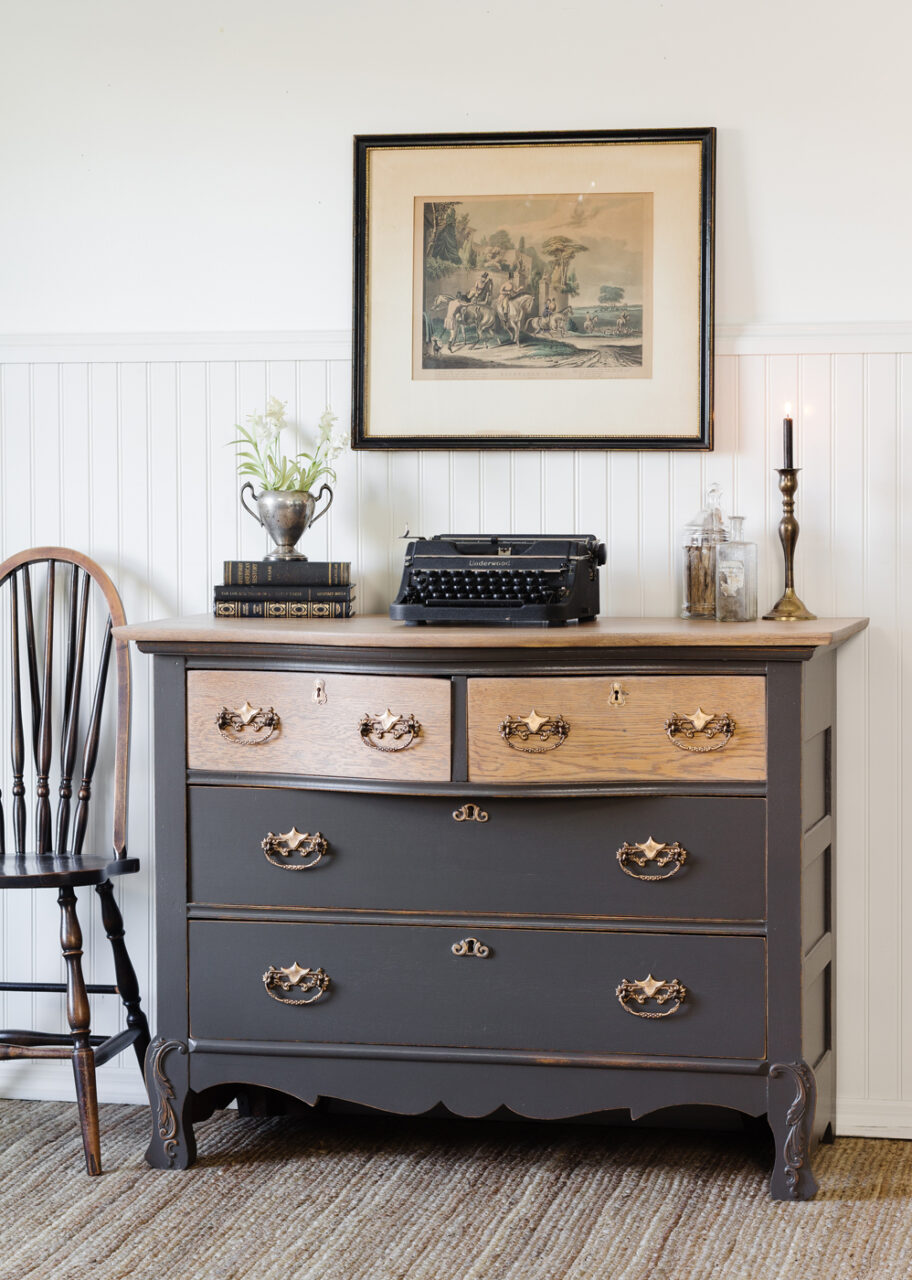
Achieving a raw wood look isn’t difficult. If your tones in the wood appear pinkish, the best option is to use a tan wash to level it out. If it appears to be yellow, a whitewash is perfect enough. You can layer and level up the wash as much as you like. We opted to just seal with clear wax and let the wood do the shining.
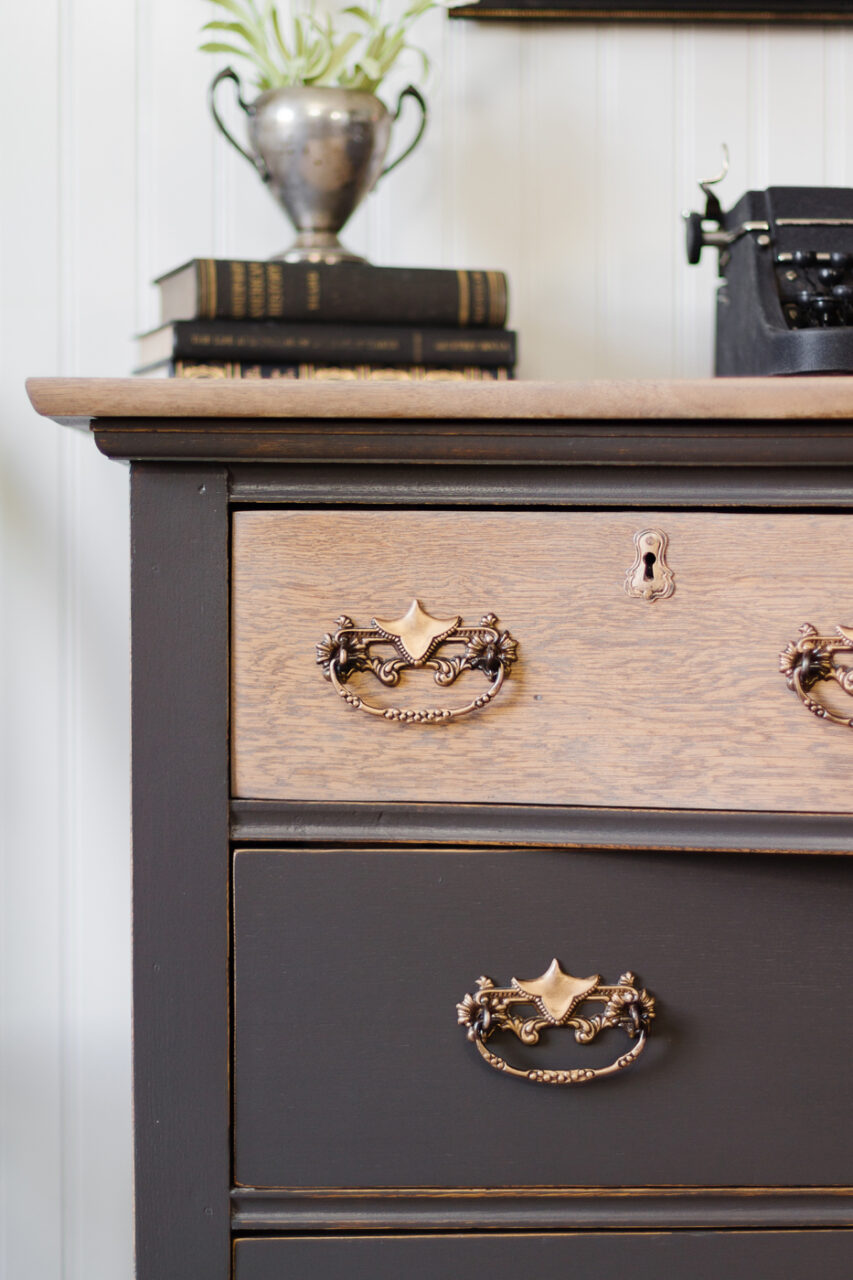
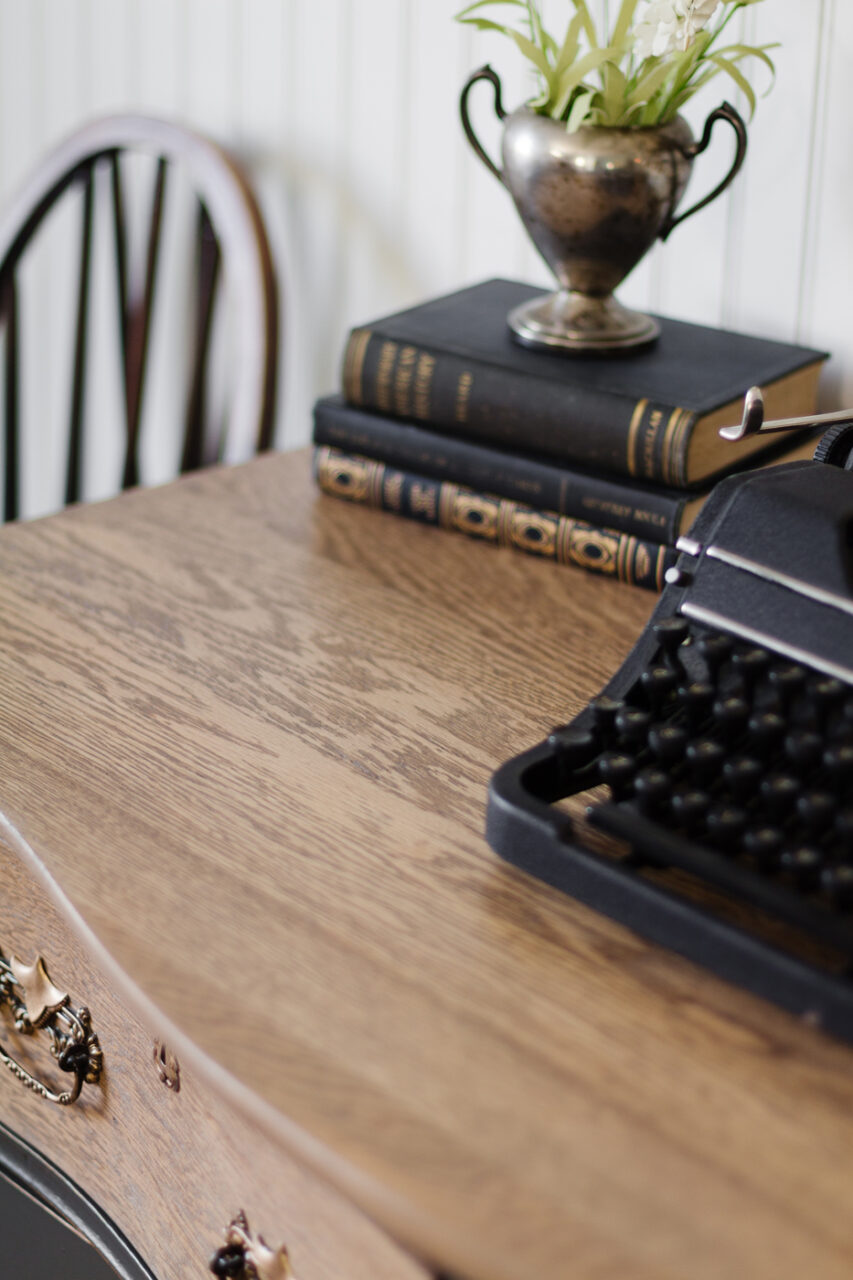
We really hope you loved this makeover as much as we did. Dark colours can be intimidating but paired with the right project, they give you so many options.
See more Oakham inspiration here


