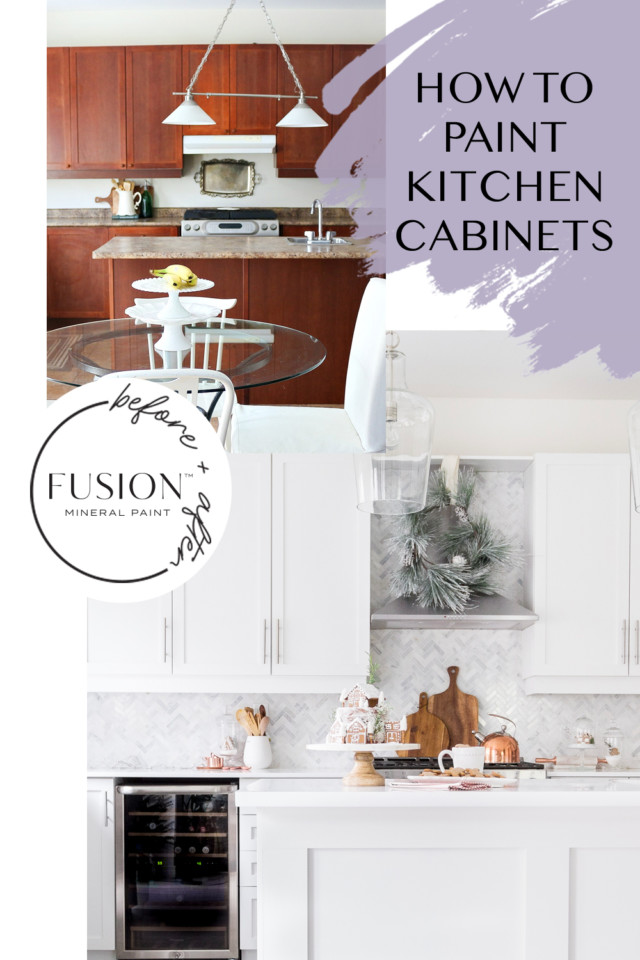
Did someone say Dream Kitchen? Yes Please! Follow along to see How To Paint Dream Kitchen Cabinets.
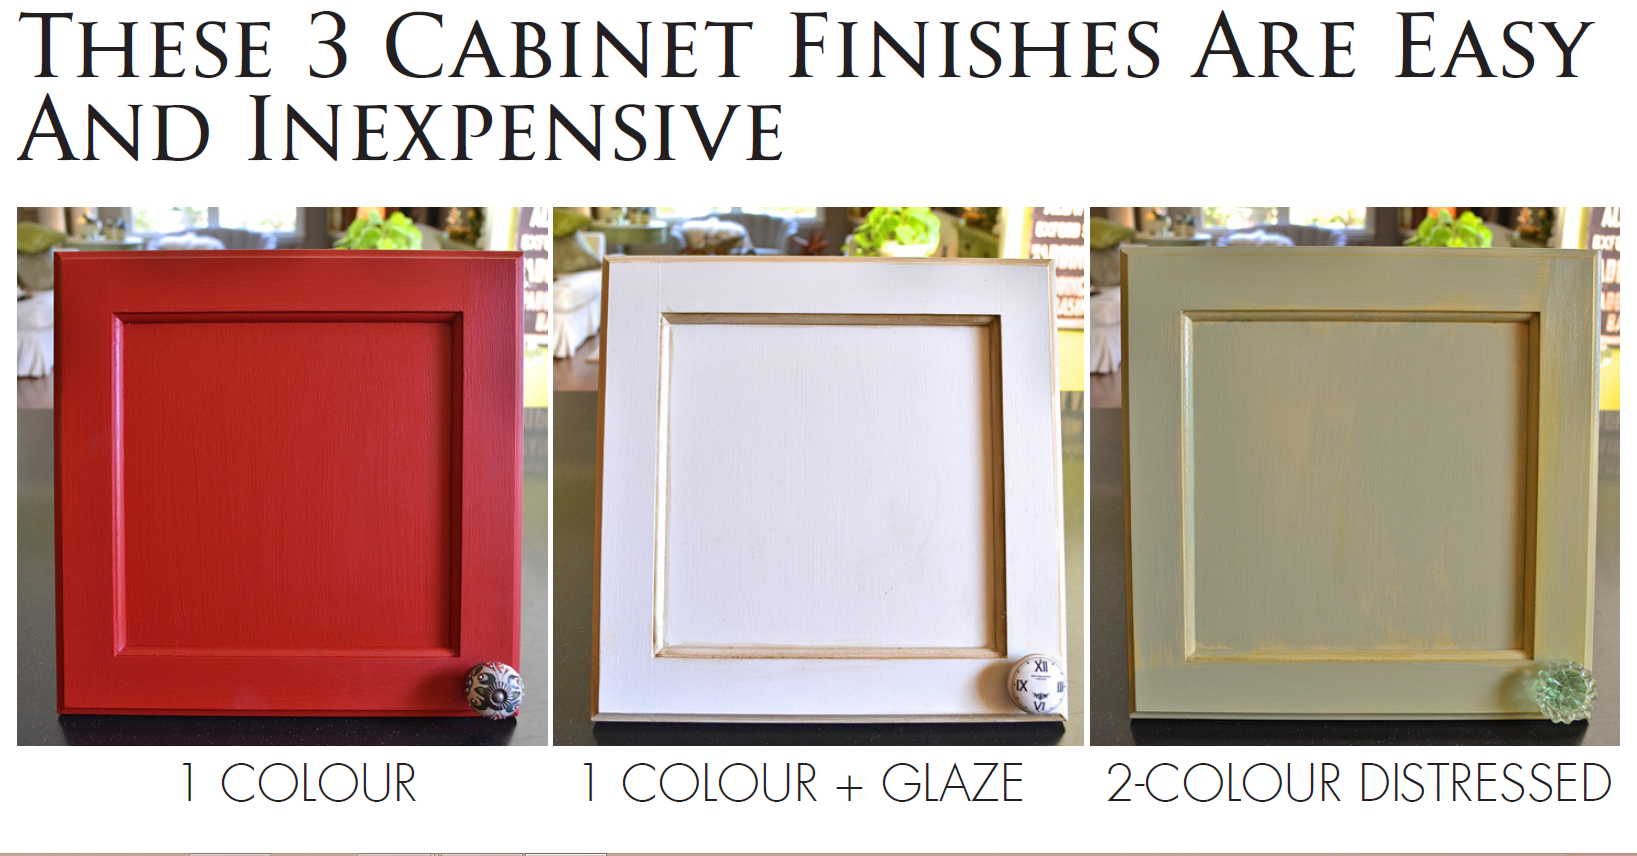
We may not all have our dream kitchen, yet…but with Fusion™ Mineral Paint you can easily take an outdated kitchen and turn it into your very own custom dream kitchen! With a little Fusion™ TLC in as few as only 2 steps, and under $150.00 you can completely transform your kitchen! It may surprise you that I love older kitchen cabinets! Even though they may not be the latest style, the quality of the cabinetry is typically of solid wood construction and quite durable!
I may not be your average duck, the thought of refinishing cabinets gets me excited! I want to hit up the design centre and start browsing new backsplash and counter top designs…and while I’m at it, a new wall colour as well! While it’s not always possible to afford new counter tops, a back splash and cabinets, I want to share with you how quick and easy it is to re-paint your kitchen cabinets yourself for under $150 for a whole new look!
This before and after transformation was originally on Craftberry Bush blog- it can be seen here!
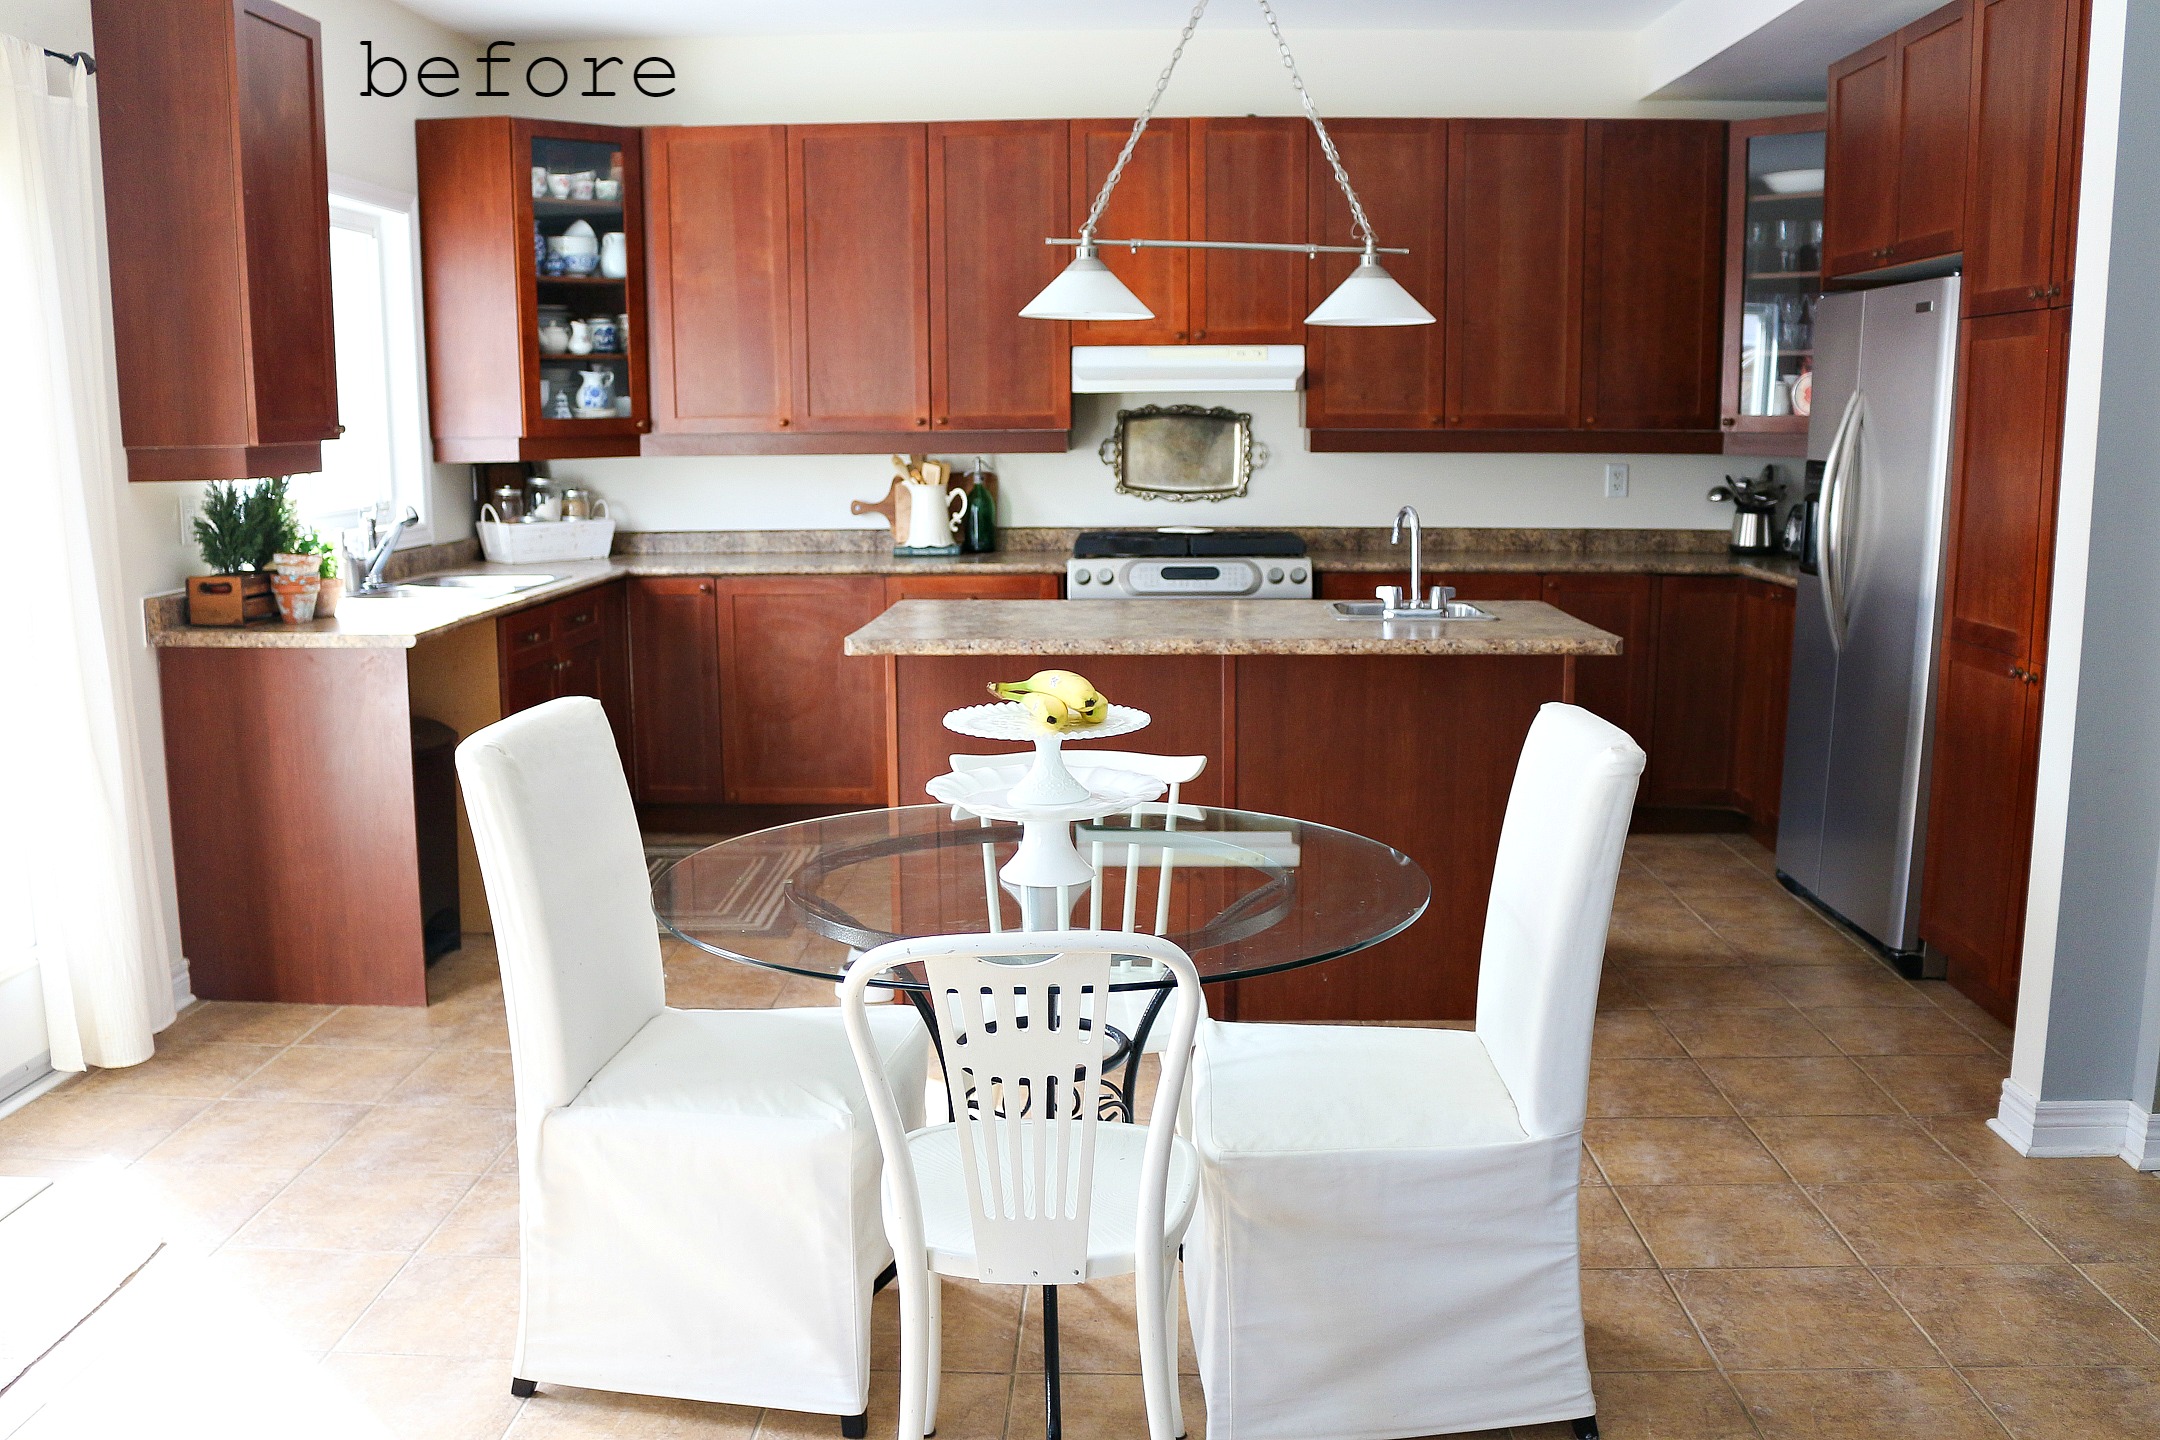
After….With a lighter paint colour on the walls, and a lighter colour on the cabinets, there is an entirely new open and welcoming feel!
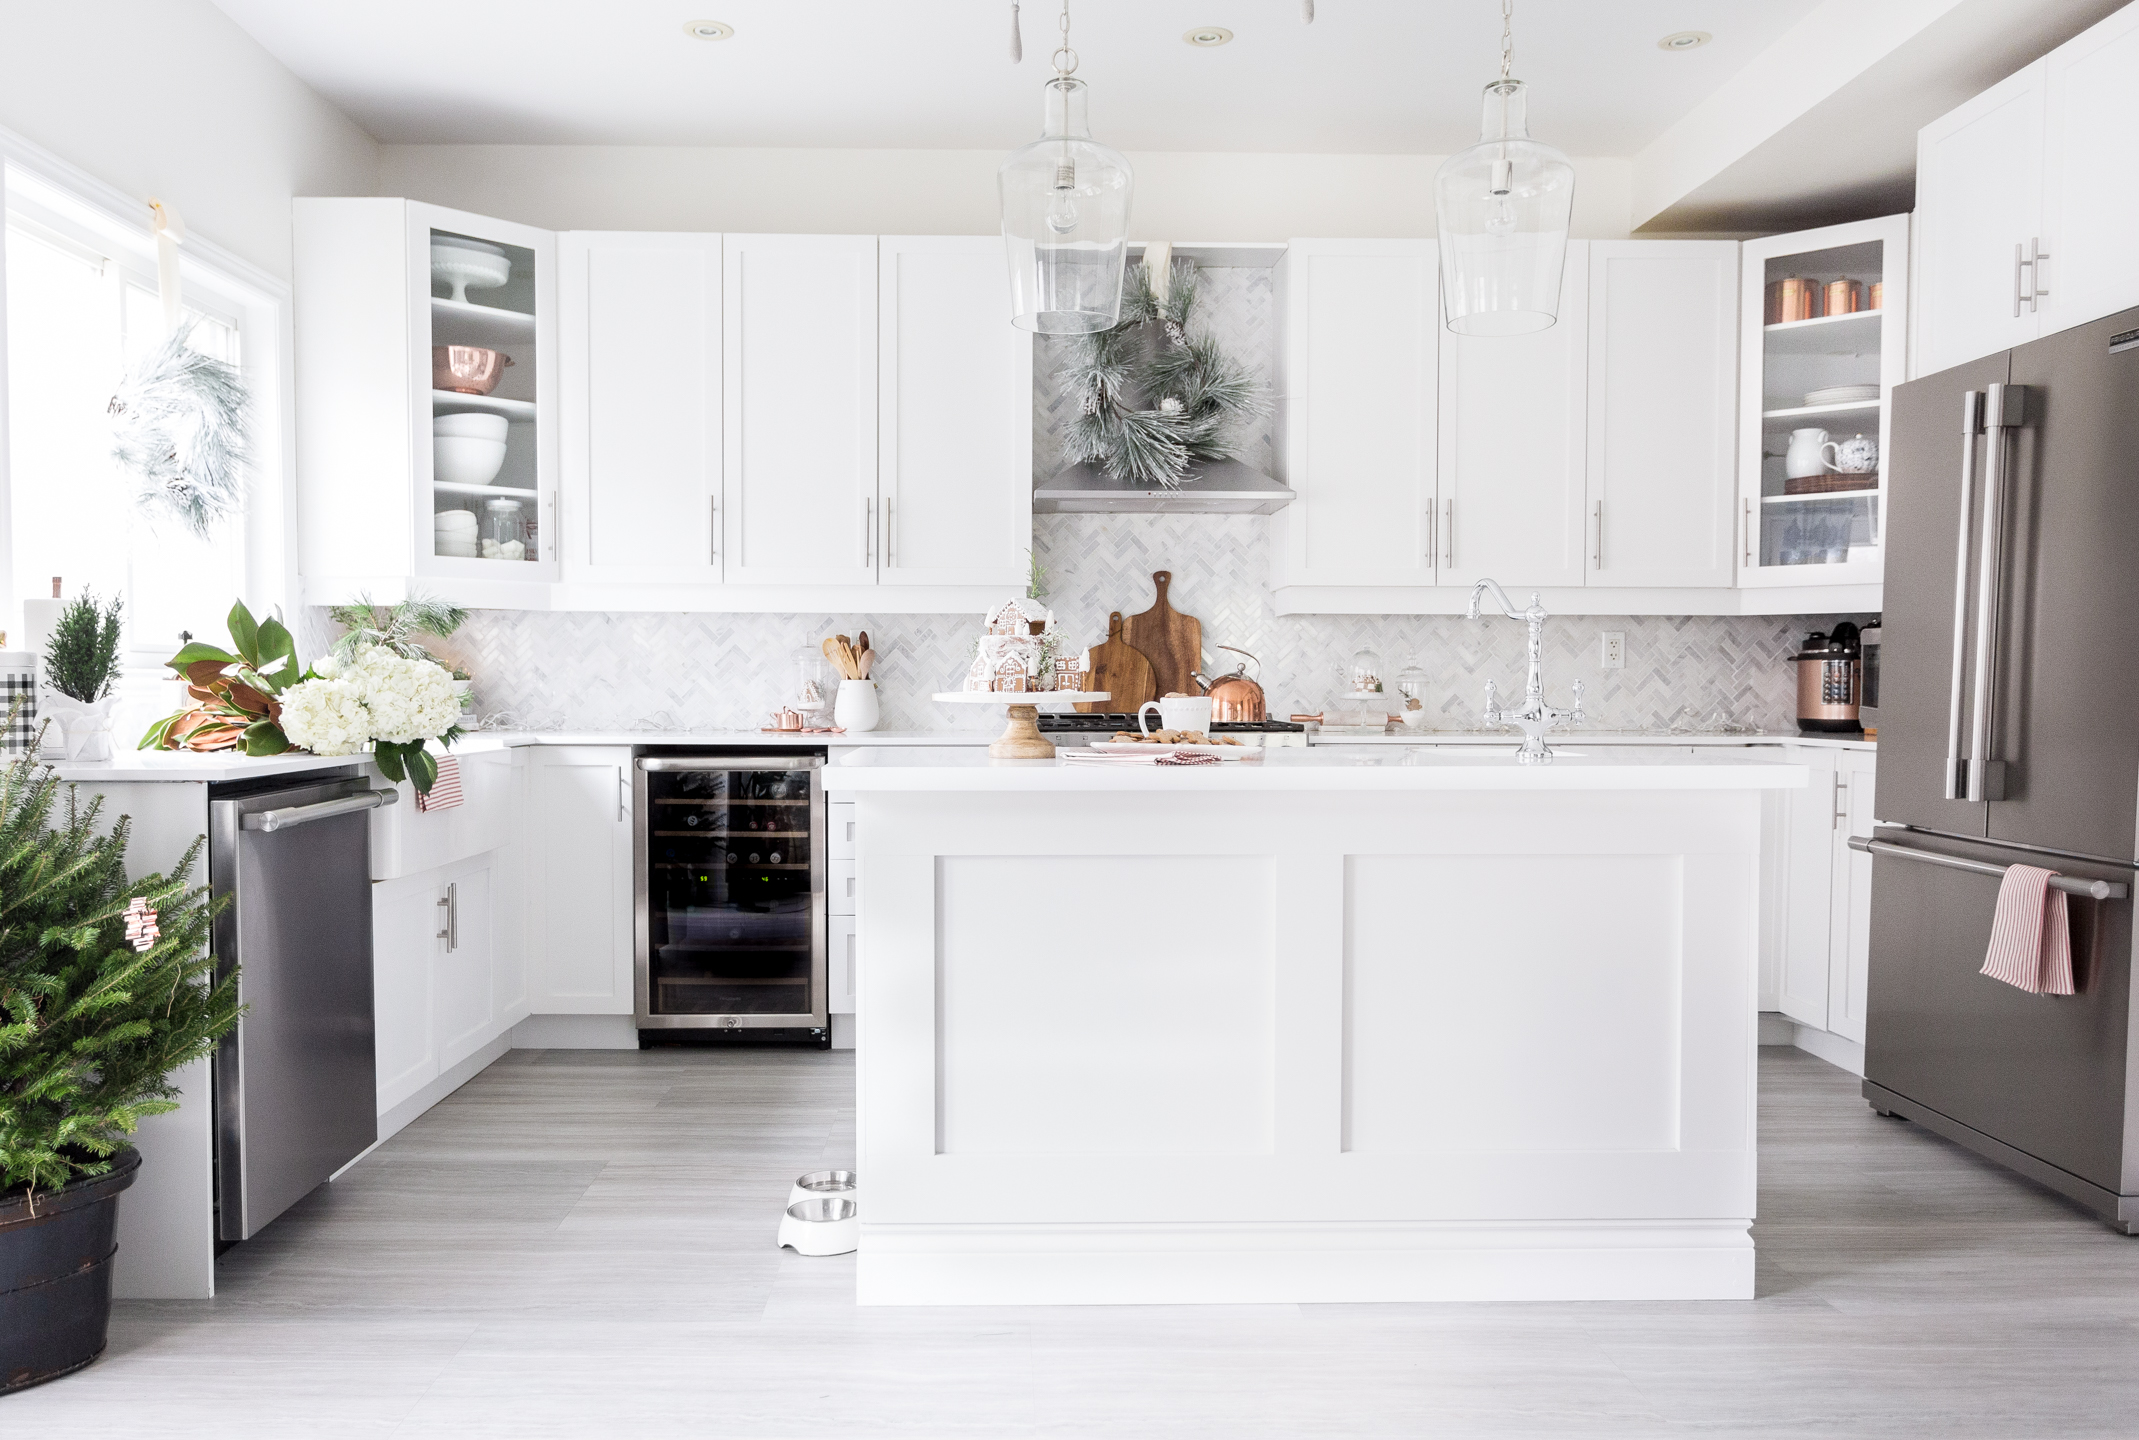
If you’re intimidated at the thought of re-painting your own kitchen cabinets, don’t be! Follow these simple tips on how to easily and inexpensively refinish your kitchen cabinets to last for many years to come!
This kitchen was painted in Fusion Mineral Paint Casement , our brightest white in our Classic Collection.
I can’t stress enough how important the proper prep for your kitchen cabinets is! If you’re going to spend your time and energy into refinishing your cabinets, do not skip this crucial step. Read more on why PREP is not a bad 4 letter word!
How To Paint Dream Kitchen Cabinets
Step 1. Prep!
Yes- I said it- that dreaded word PREP! There is no way around it, if you cut corners, your end results and overall durability and longevity will suffer! A bit of prep goes a long way!
There are so many variables when it comes to the type of condition and surface your kitchen cabinets may be. Let’s not forget your kitchen cabinets were manufactured to repel and resist virtually everything that comes into contact with it, food, dirty hands…and paint! Laminate, Melamine, Lacquered, Varnished or previously painted cabinets all have different finishes, and will need a little prep to make any paint adhere. If followed correctly your kitchen will be fabulous!!
Prep is extra important in a kitchen because the chances are there s grease on your cabinets. Grease will repel any paint from adhering to it, so be sure to wipe your cabinets with a de-greaser and wash the cabinets with warm soapy water, or TSP.
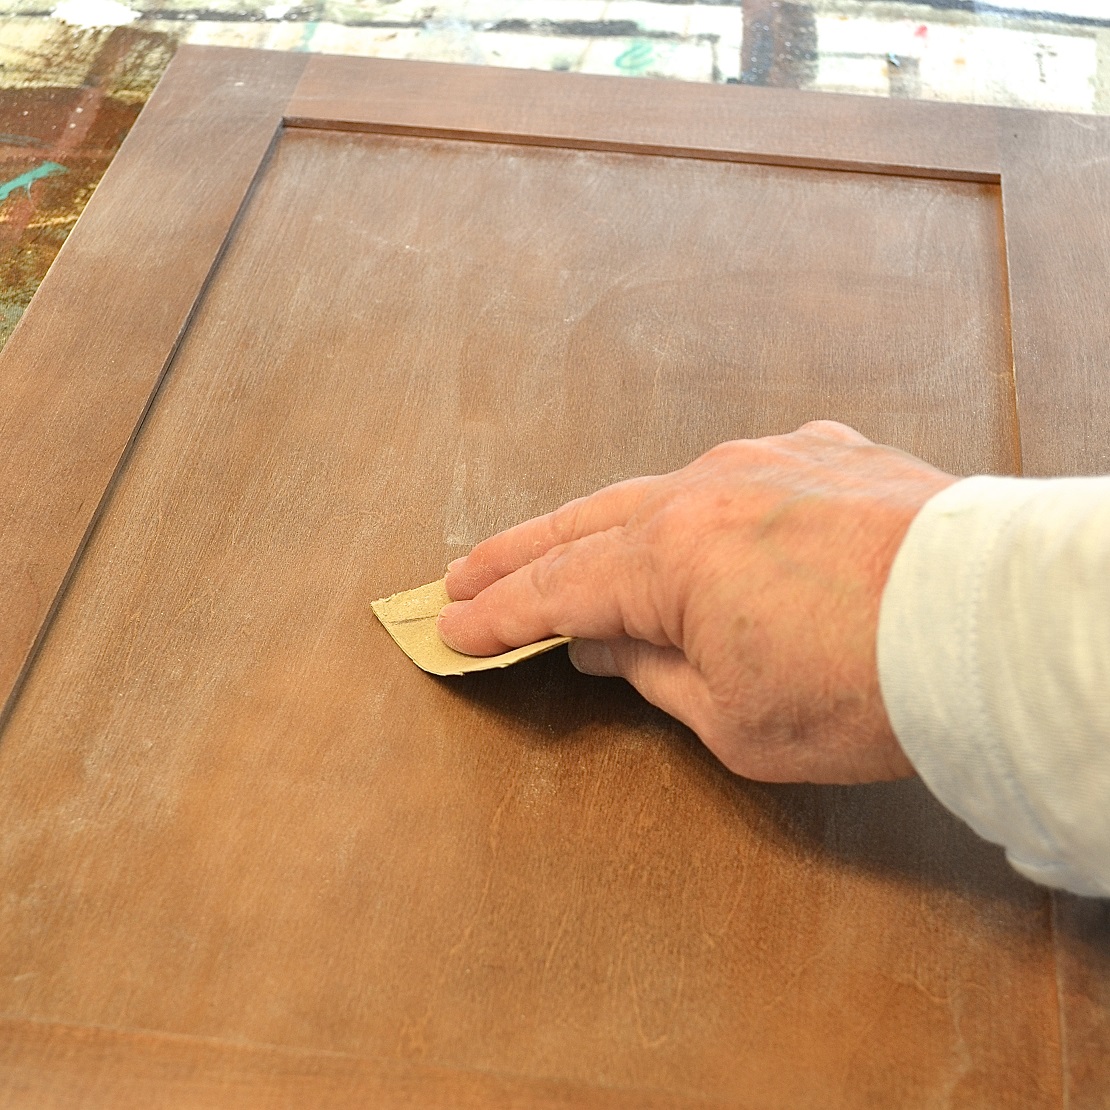
Once you have cleaned your surface of any potential grease, give it a light sanding to de-gloss the surface. If your surface was a synthetic finish like laminate or melamine and is still very shiny, Ultra Grip™ is your best friend here! Apply 1 coat of Ultra Grip™ and allow it to dry for 12 hours prior to applying your paint. If your surface was a wood that was varnished, and you sanded and removed most of the sheen, you can simply apply the paint right over top!
Are your kitchen cabinets Melamine? These are super tricky to paint, however it can be done! Give them a light sanding, and cleaning as usual, and be sure to use the Ultra Grip™ and wait the full 12 hours between coats as this surface is so tricky we want to allow ample cure time for a perfect finish!
Got Knots or worried about bleed through?
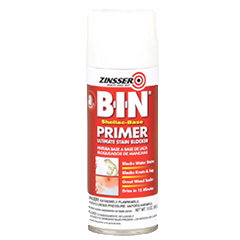
The look of wood cabinets is outdated, however most wood cabinets have plenty of knots.You must use a shellac based primer, like Zinsser Clear Shellac. It is the only product you can apply that will stop the knots from bleeding through your paint job. If the thought of the knots eventually showing through isn’t a concern to you, then you can skip this step.
What is bleed through?
This happens when your cabinets show through the original colour as you start to paint, to prevent this, using a shellac based primer will help to seal that in. this typically happens with mahogany, or any red types of wood. Or if the pieces have been in a smoke filled house with nicotine, that is quite problematic and will need extra cleaning and prep, and shellac!
Step 2. Let’s get painting! Apply Fusion™ Mineral Paint in your desired colour.
Choose the colour you want and apply 1 to 2 coats, waiting 4-12 hours between coats for absolute best results. Fusion™ Mineral Paint has incredible coverage, however it’s best to apply two coats rather than trying to get it all in one thick coat. You’ll find your first coat will do 95% of the work, and that second coat will hit anything that you missed. Perhaps without enough paint on the brush, or too much pressure applied. Taking the doors off and painting them horizontally allows for easier and faster painting. However if you want to leave them on you can do that as well, just be sure not to close the door while it is wet as it will seal together your cabinet facing like a glue.
No brush strokes – you can do it!
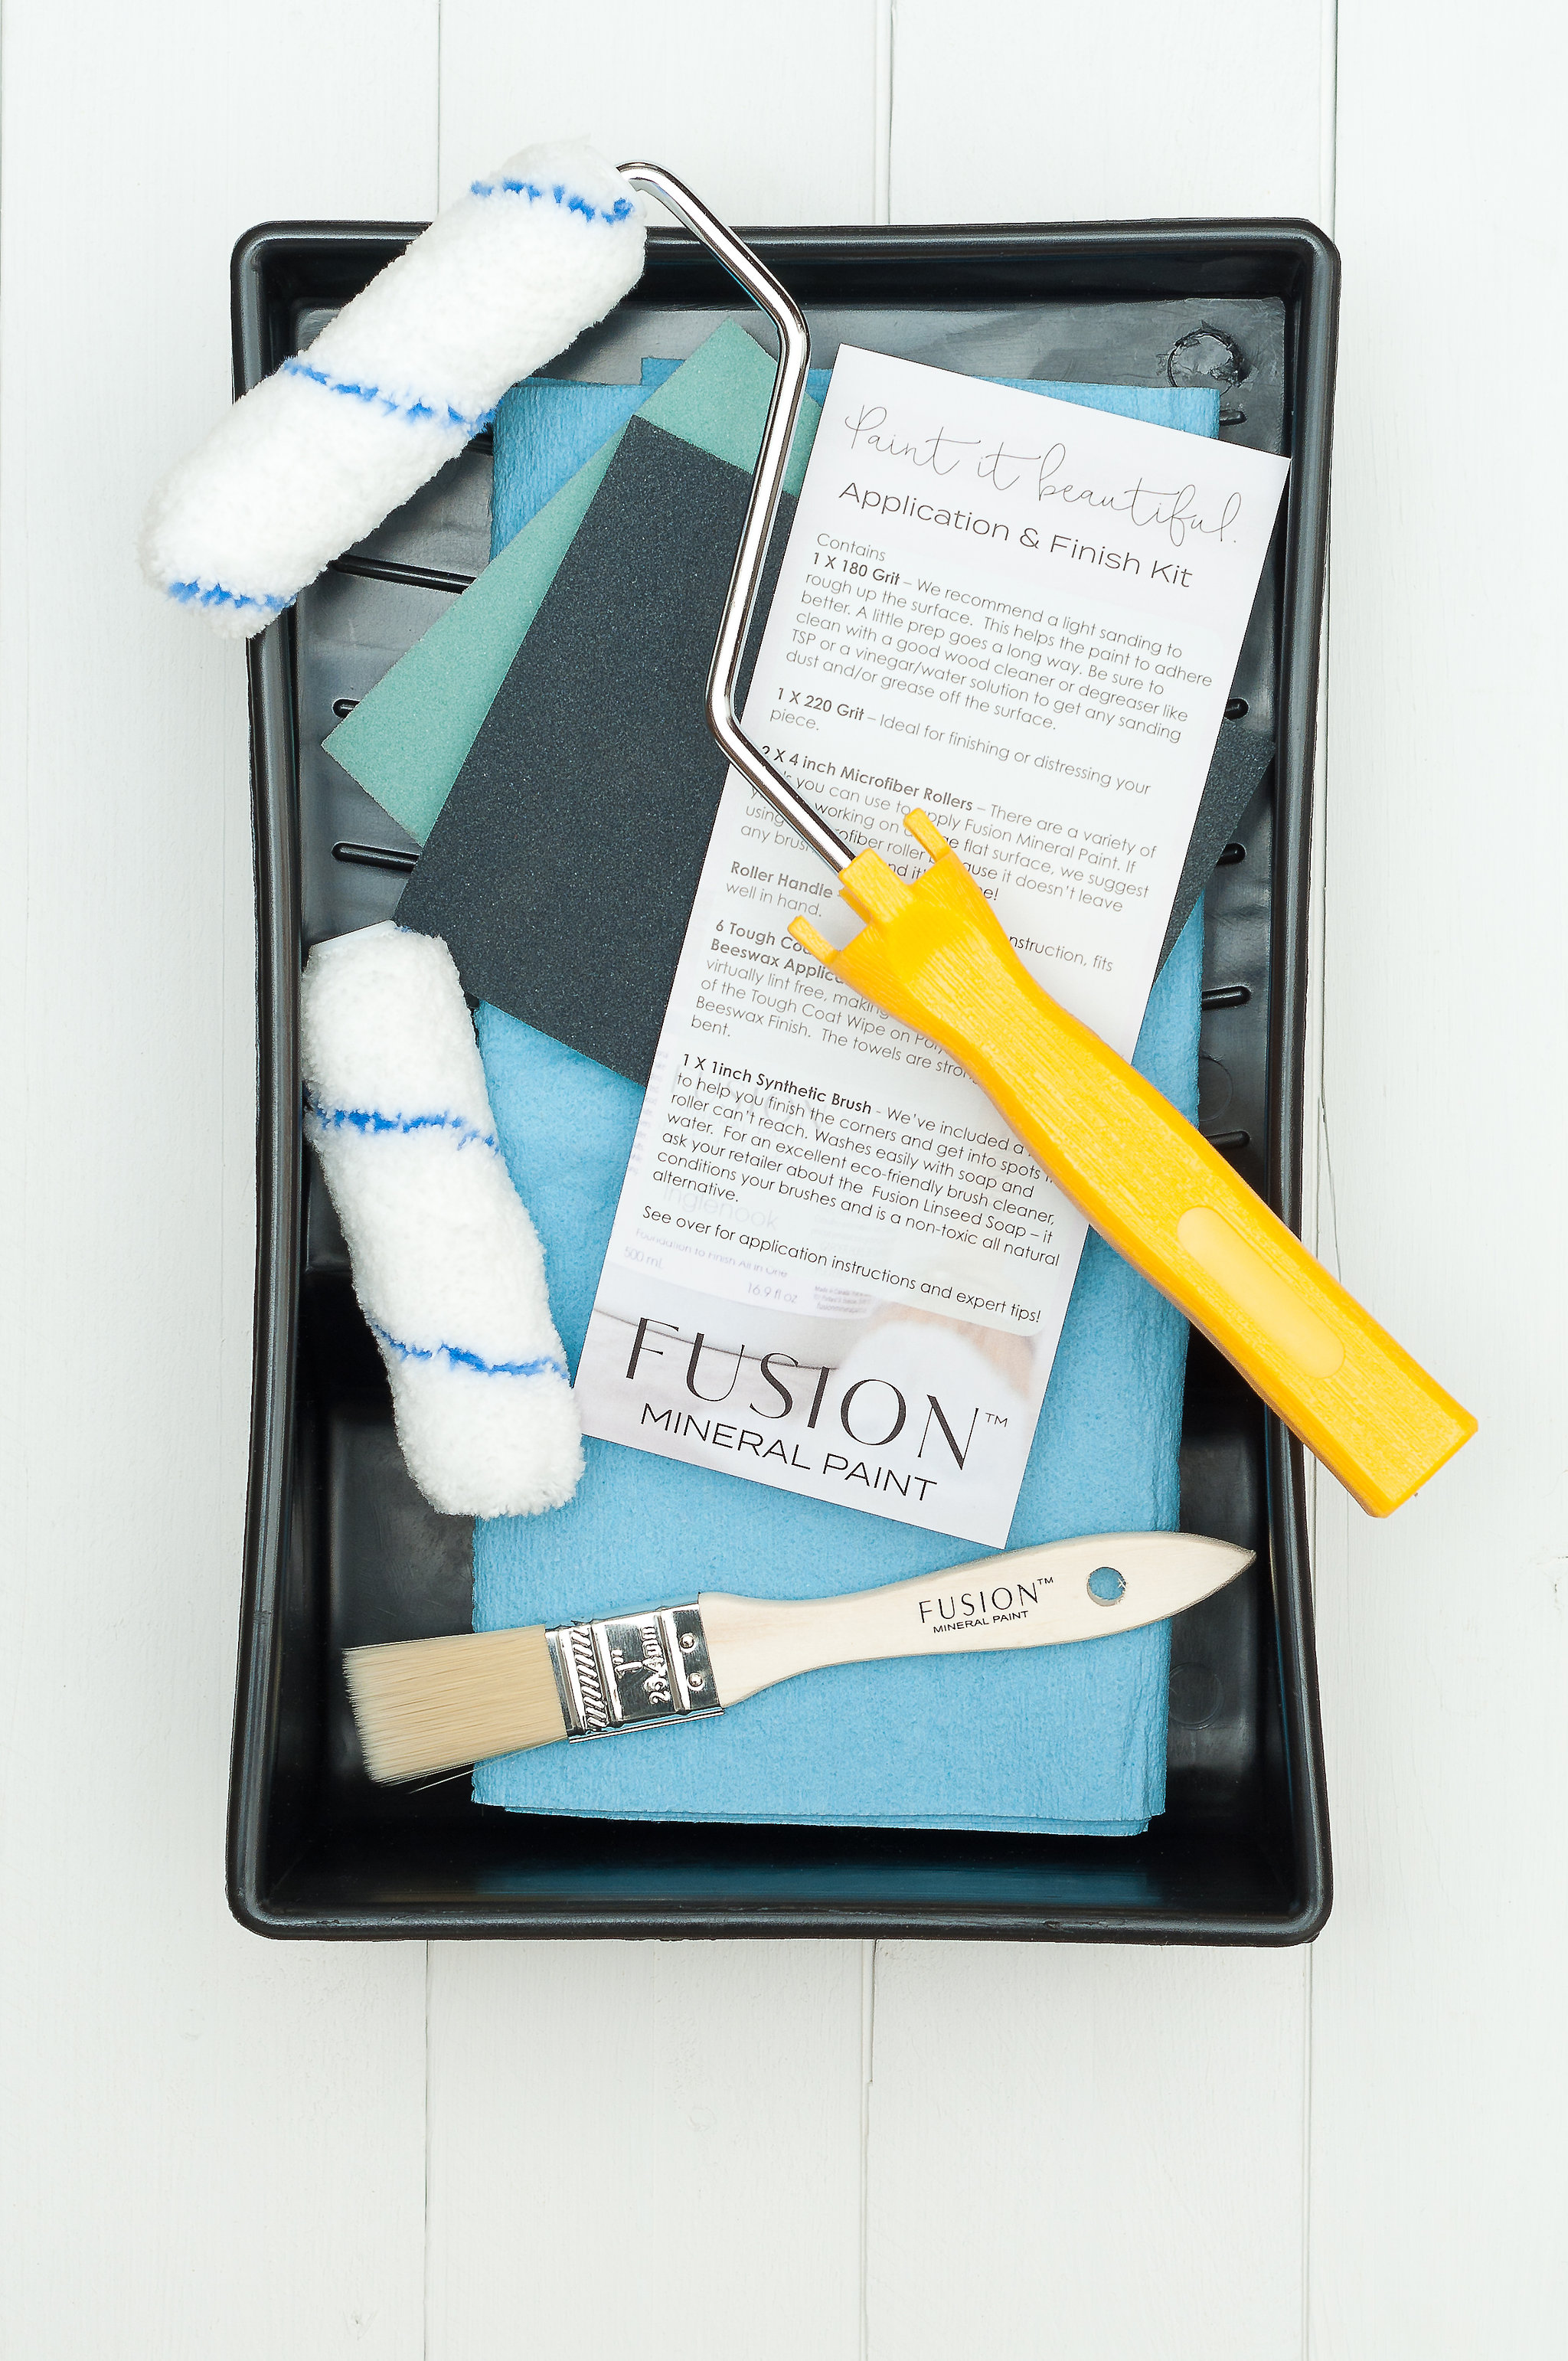
Fusion™ has incredible self leveling properties, however a lot comes down to the application and tools used. If you’re using a brush, and hand painting, you may get the odd brush stroke here and there. It can depend on the quality of brush, amount of paint on your brush, and the pressure it is applied with by your hand. You can use our microfiber rollers for a flawless finish.
Check out the best DIY Paint Tools and Applicators here. Remember, practice makes perfect when it comes to How To Paint Dream Kitchen Cabinets.
Top Tips
*If using a brush, dip your brush into water, then into the paint. This helps to minimize any brush strokes. Be sure to have enough paint on your brush, so that the paint can level. However, if you have too much paint you will leave texture (brush marks) behind. Again, practice makes perfect. If you’re unhappy with any lines left behind, don’t worry, you can always gently sand them away.
*If you’re going from a dark cabinet color to a light color, use Transition as an excellent covering base color.
Do I need a top coat?
Fusion™ Mineral Paint is formulated with a built in top coat, so you don’t need to add anything over top! A Kitchen can get a ton of wear and tear, Fusion has an exceptionally durable coating by using 100% acrylic. It is water resistant, so any grease, food and dirty finger marks can easily be washed away. In such high traffic areas, there is certainly no harm adding another layer for added durability, like Clear Tough Coat™. This produces a gorgeous satin sheen if you were looking for something higher sheen than the matte finish of Fusion™.
* Tip: Wax is not typically recommended in a kitchen as a top coat due to the heat. Heat will break the wax down, not to mention the difficulty in cleaning with grease.
* BONUS! Our clear Tough Coat™ is a non-yellowing formula! If you want perfect white cabinets, with a Tough Coat™ , don’t worry they won’t yellow!
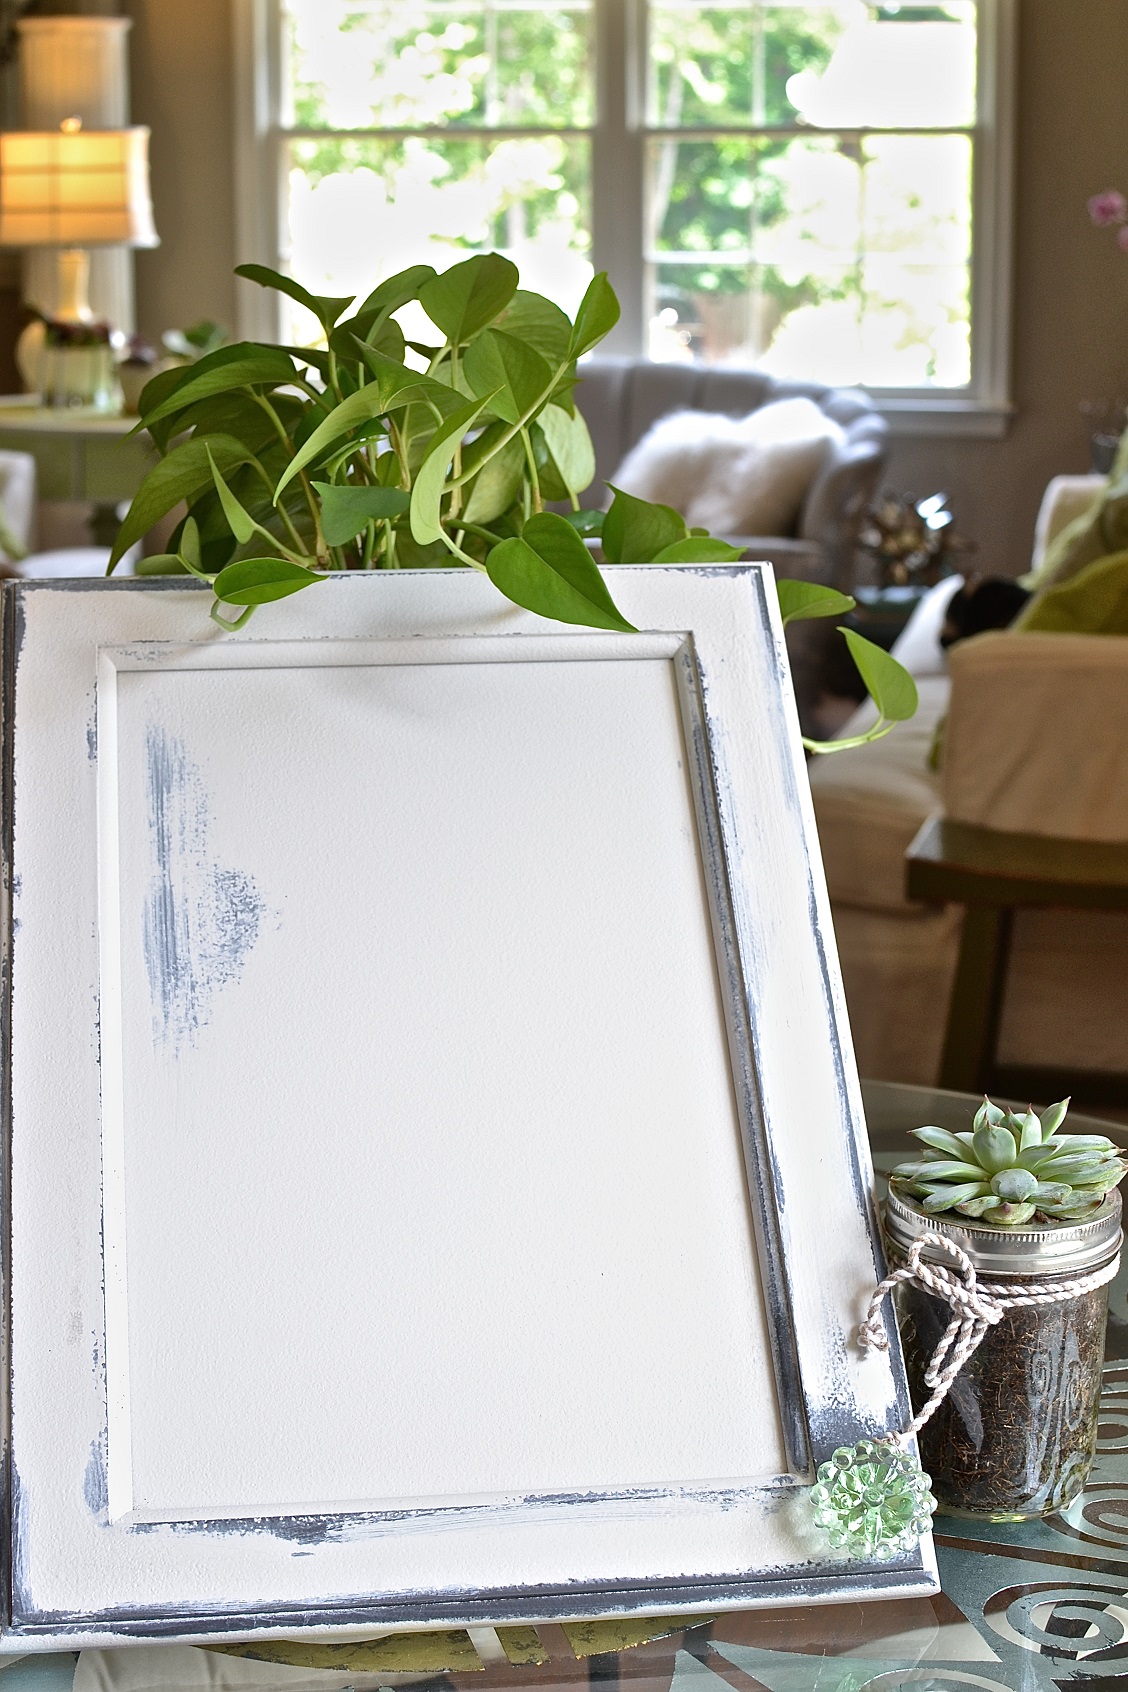
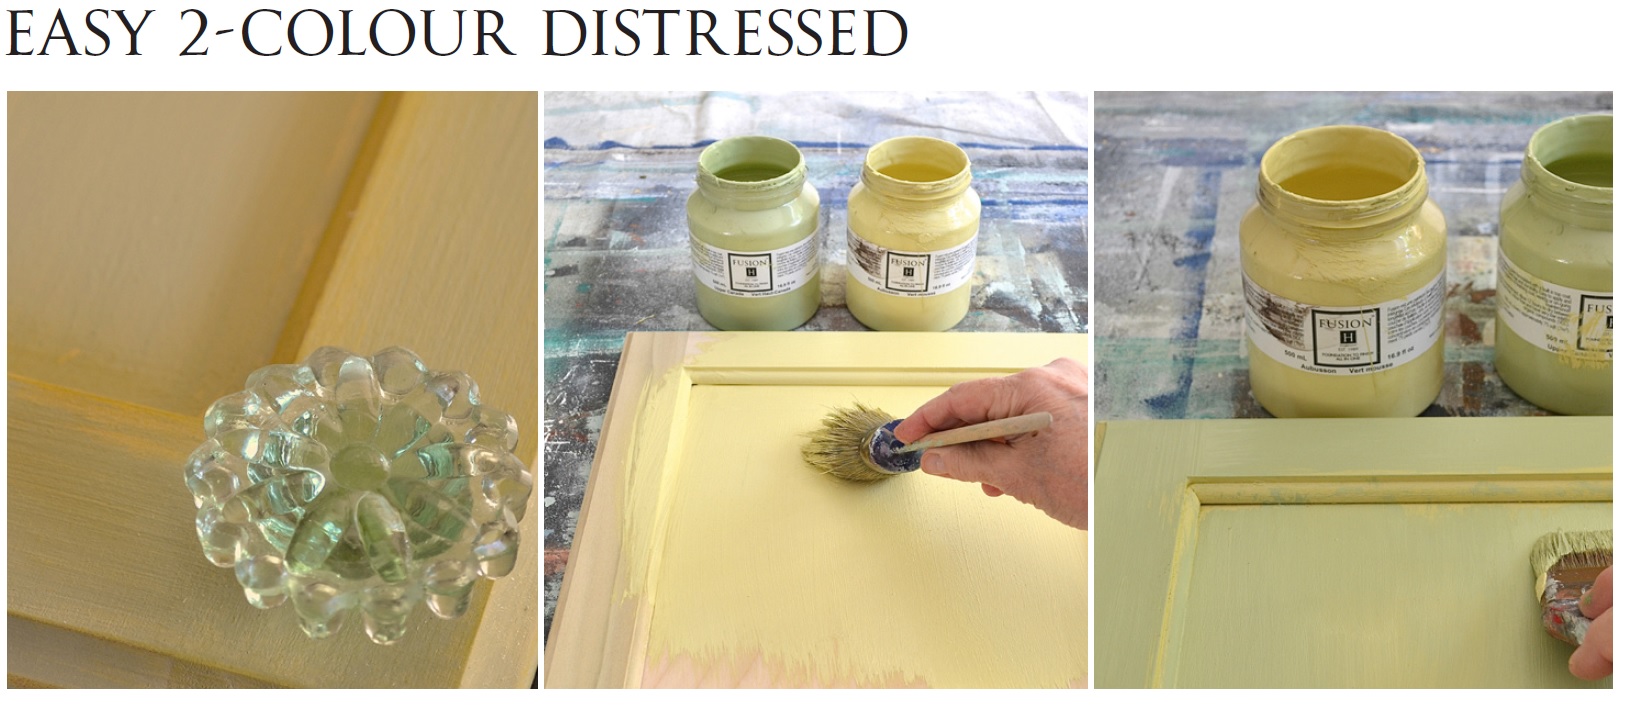
How about some distressing?! Yes you can distress with Fusion™, it is simply gorgeous! If you’re going to heavily distress, and break apart your surface, to be certain it stays in excellent condition for years to come, adding a top coat here is a good idea!
Painting your Walls & Accenting.
Painting your cabinets will have a huge impact…however it doesn’t have to stop just there. You can paint your walls, and hardware with Fusion™ for a completely new look!
Kitchen Islands are a fabulous opportunity to throw in a punch of colour and offset your cabinets. You can see here the gorgeous charcoal colour called Ash, the perfect neutral to really solidify the kitchen.
Although the containers for Fusion™ are smaller, the coverage is exceptional. You need very little to go a long way. One Pint will cover 75 sq ft on average! Kitchens don’t typically have much exposed wall, so you would most likely need only 1-2 pints to paints the walls!
Don’t forget our Metallics – These are great for painting your hardware – how about a brushed steel look? Try mixing our Bronze & Silver for your own custom blend!
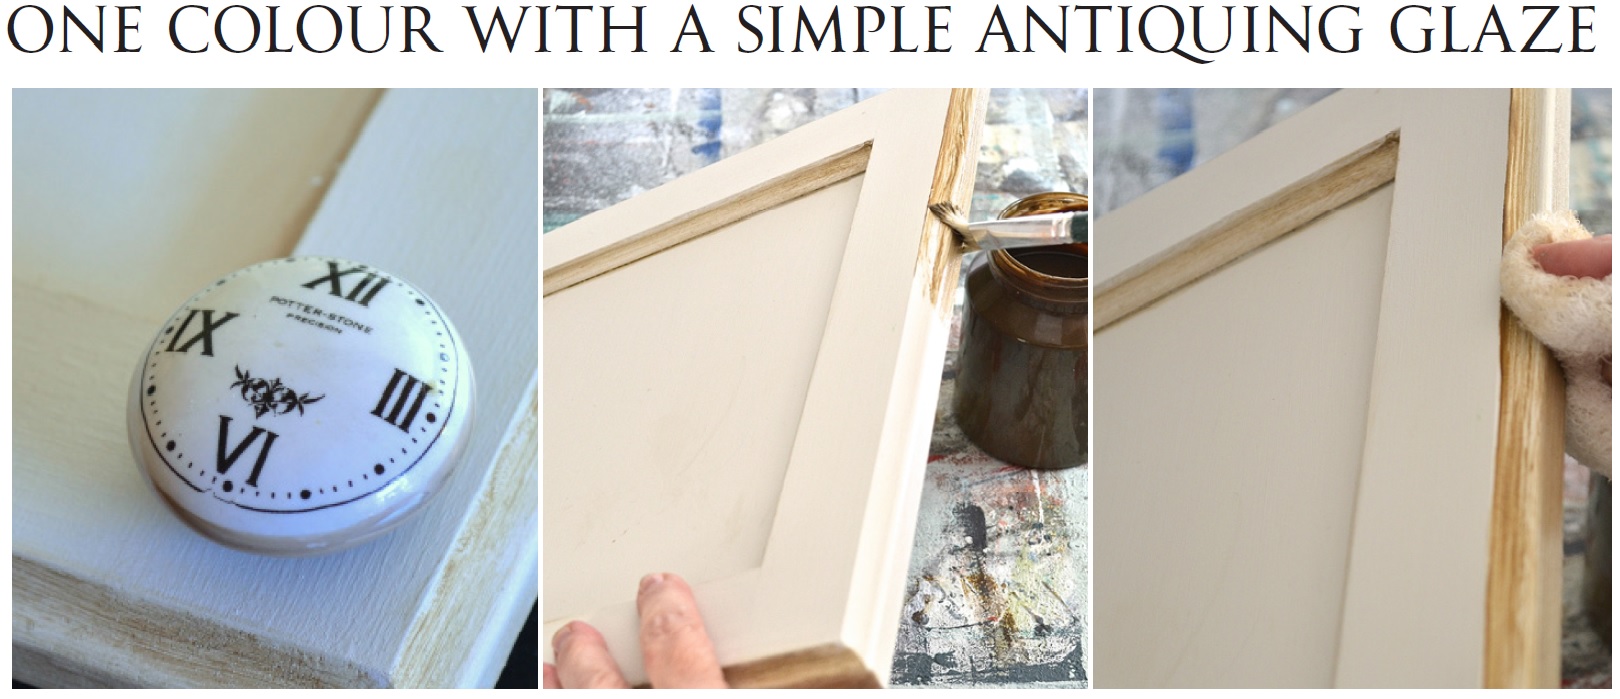
If this still seems a little intimidating and you want hands on in person guidance, contact one of our Merchants. They are all highly knowledgeable on how to paint cabinets step by step. You can even ask to take one of their workshops! With a little paint, new hardware, or upcylced painted hardware, you can completely transform the entire feel of your kitchen. Why bother ripping it out perfectly good functional cabinets when you can get a whole new look for under $150!!
Thank you to Debbie from My Patch of Blue Sky for her before & after photos.
How To Paint Dream Kitchen Cabinets
