One of the scariest parts of diving into furniture refinishing is learning how to make repairs. It can feel overwhelming at first because no two pieces are exactly the same, which also means no two problems are ever the same. One of the most common (and honestly, most intimidating) repairs is dealing with how to replace a dresser top (or any top!) on a furniture project. It’s the area that endures the most wear and tear from heavy items being placed and dragged across the surface, to the daily toll of sunlight, water, oils, and dust. The top often shows its age first.
With older furniture, you’ll often find chipped veneer, and what’s hiding underneath can be hit or miss. Sometimes the wood is solid and worth saving, but other times it’s just not. And when that happens, replacing the top can actually be the best (and least stressful) solution. For this project, the top piece was beyond saving, so we opted for a brand-new plank top, giving it not only a fresh start but also a custom rustic touch.
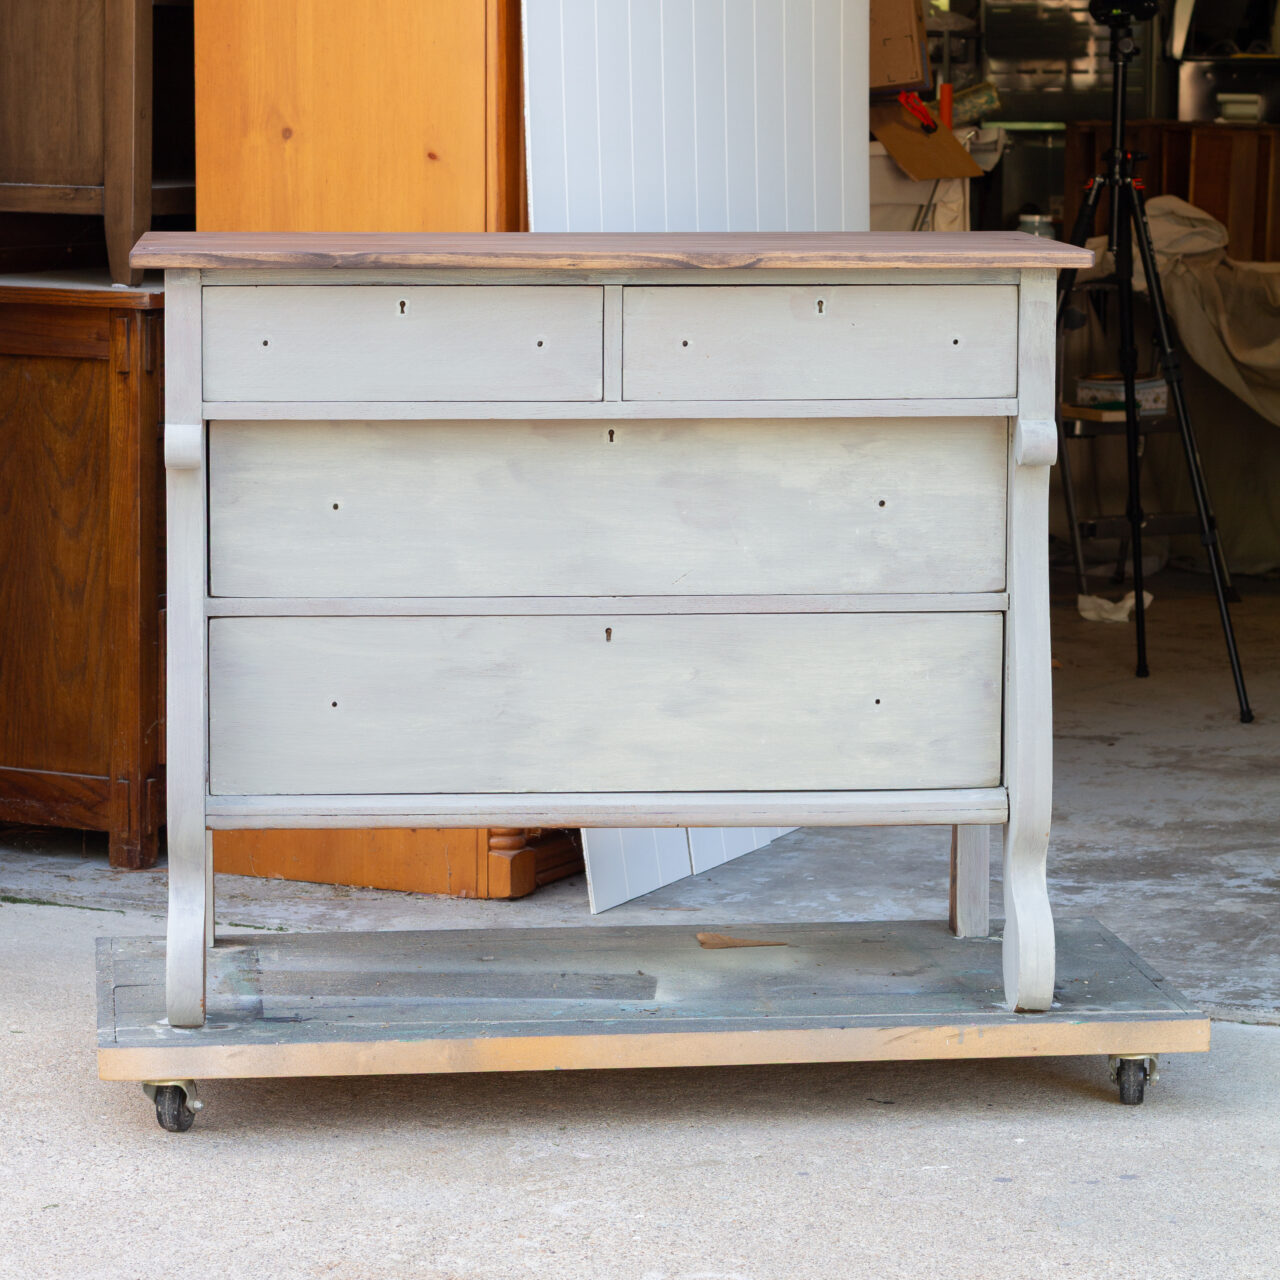
Here is the before of our furniture project:
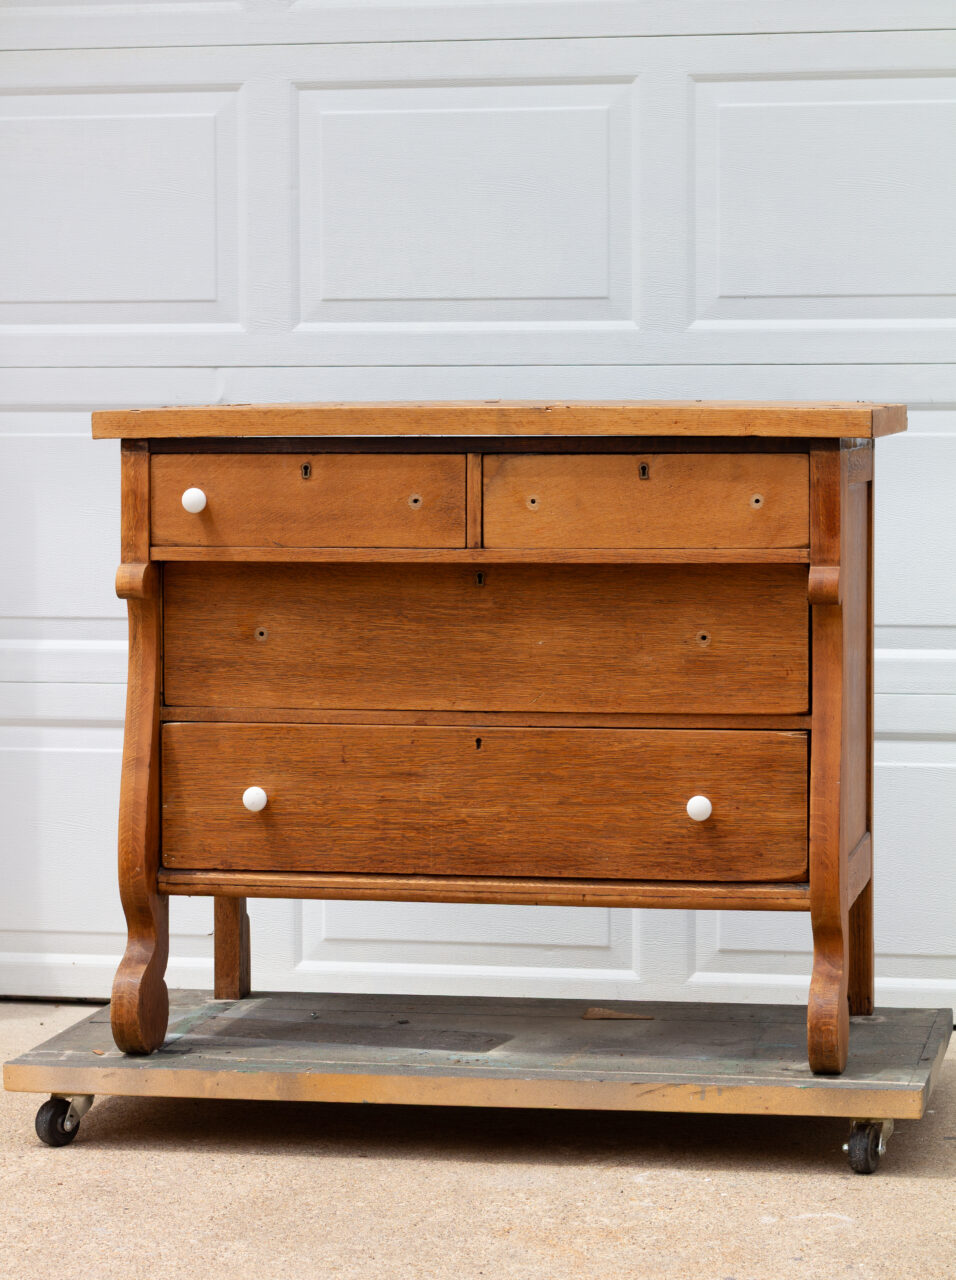
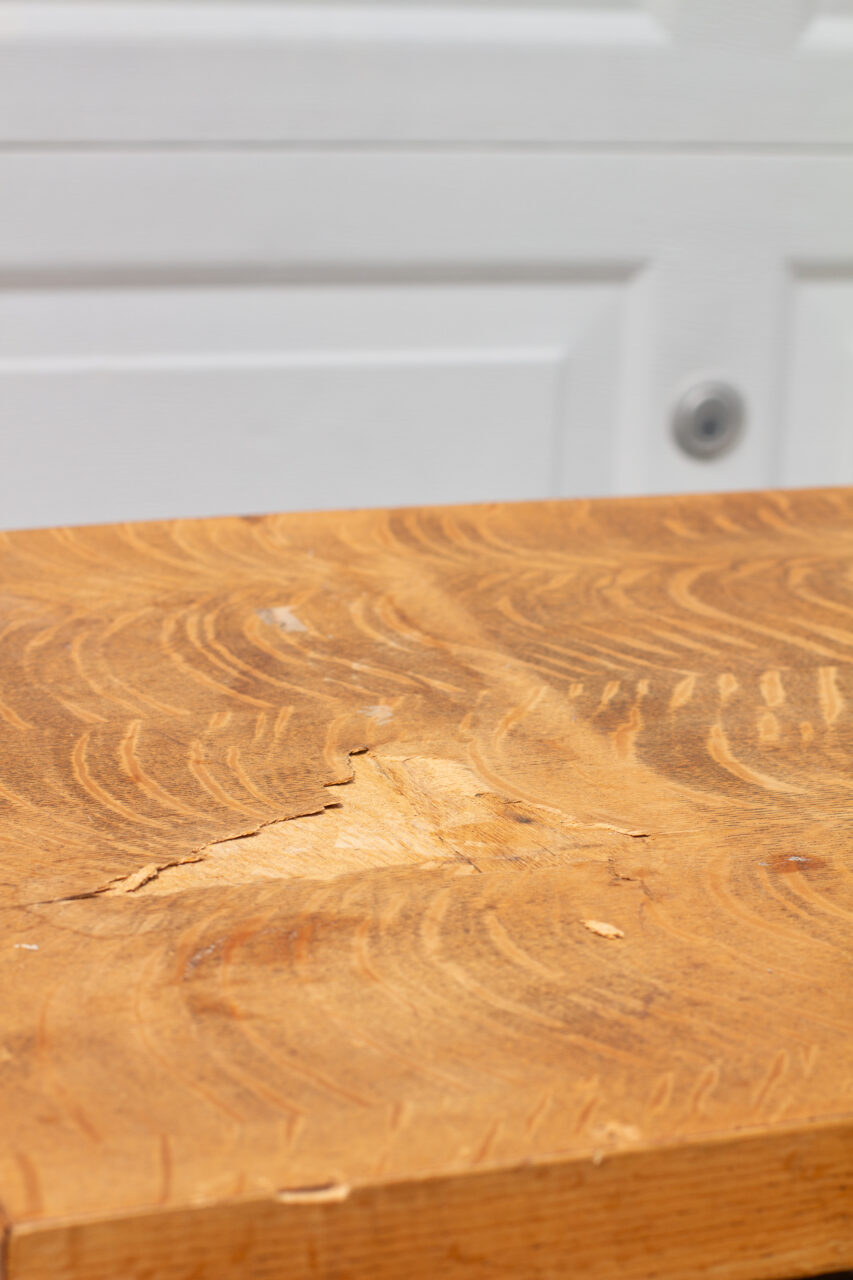
You can see that big sections of veneer are completely missing from the center, and the edges, which are usually the first to take a beating, were in especially rough shape.
Below is a list of supplies you’ll need to complete a similar project.
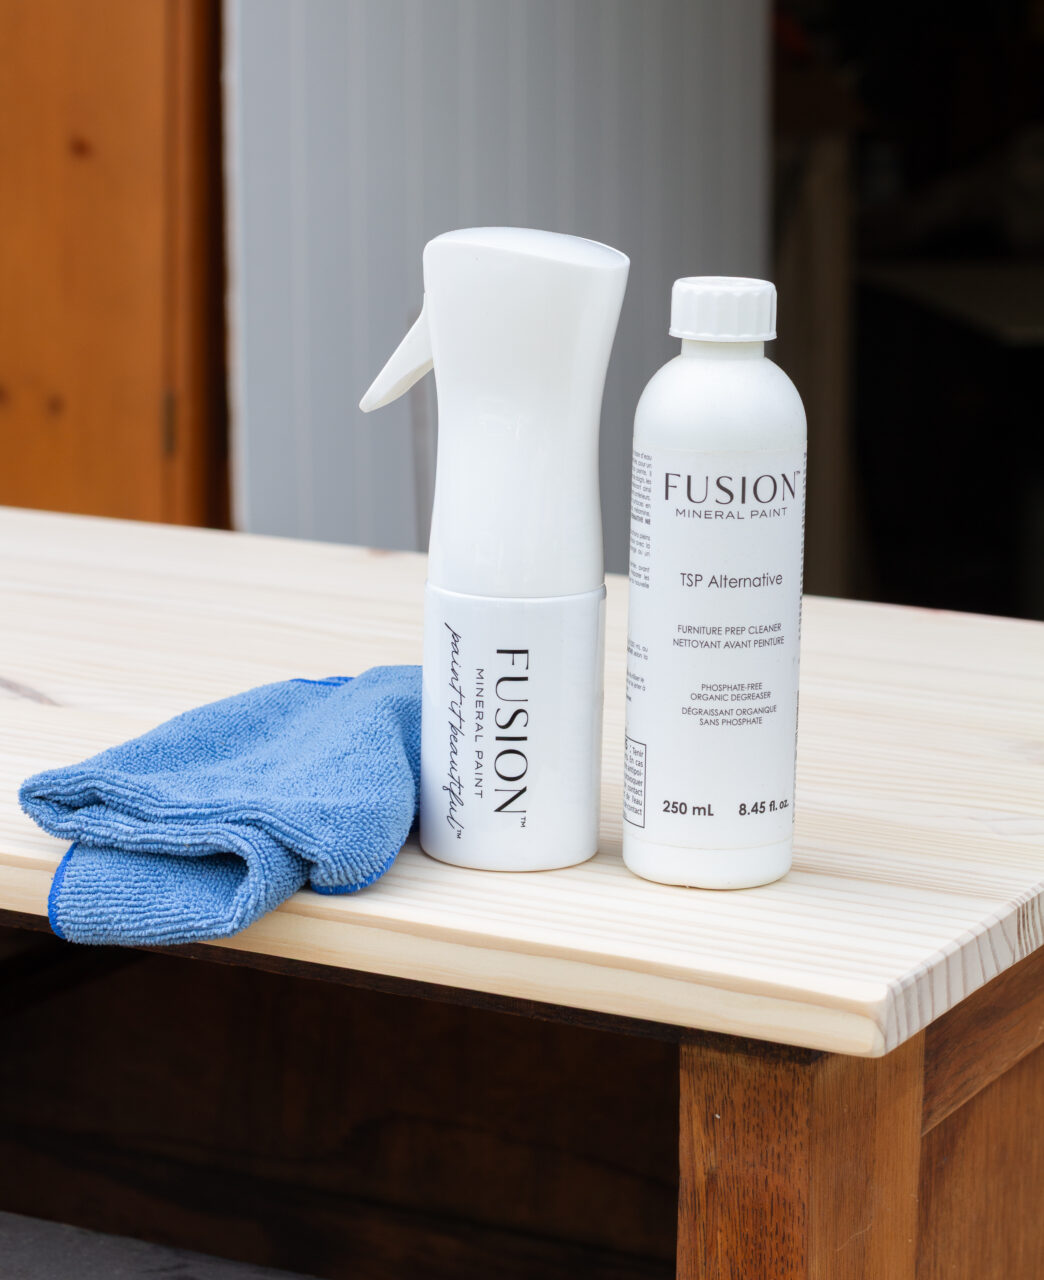
- Fusion TSP Alternative + Wiping Cloths
- Electric Sander and Sanding Pads/Paper
- Stir stick + Container
- Foam Brush
- Measuring Tape
- Table Saw
- Drill
- Wooden Plank Project Panel
- Homestead House Milk “Bedford”
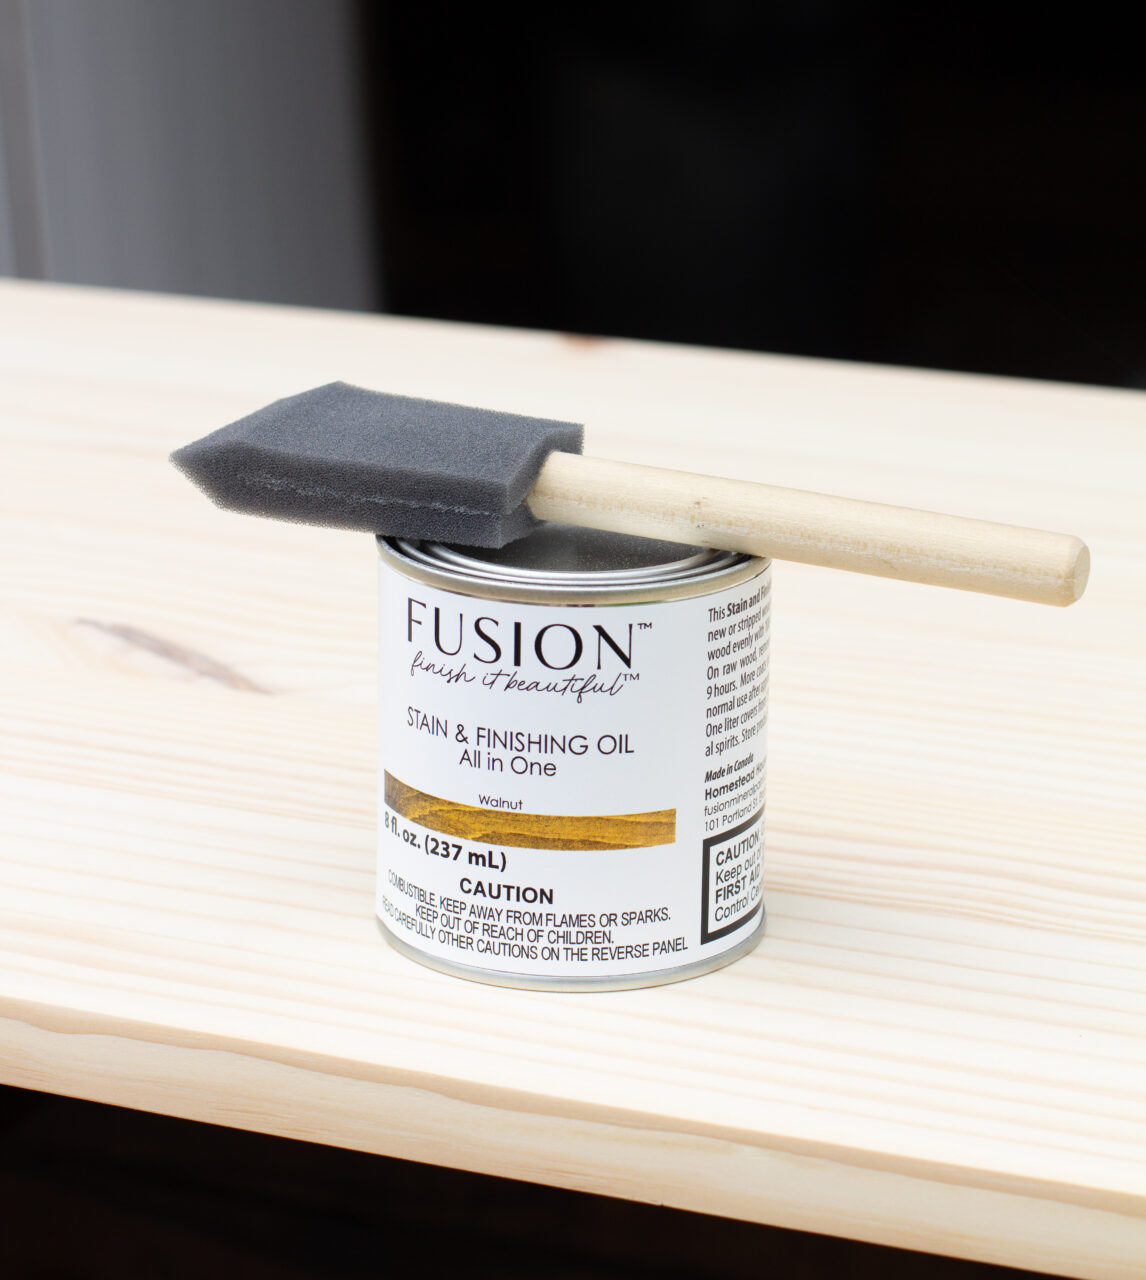
- SFO in “Walnut”
- Ultra Guard “Satin”
- Staalmeester 1 inch synthetic brush
Prep to Replace a Dresser Top
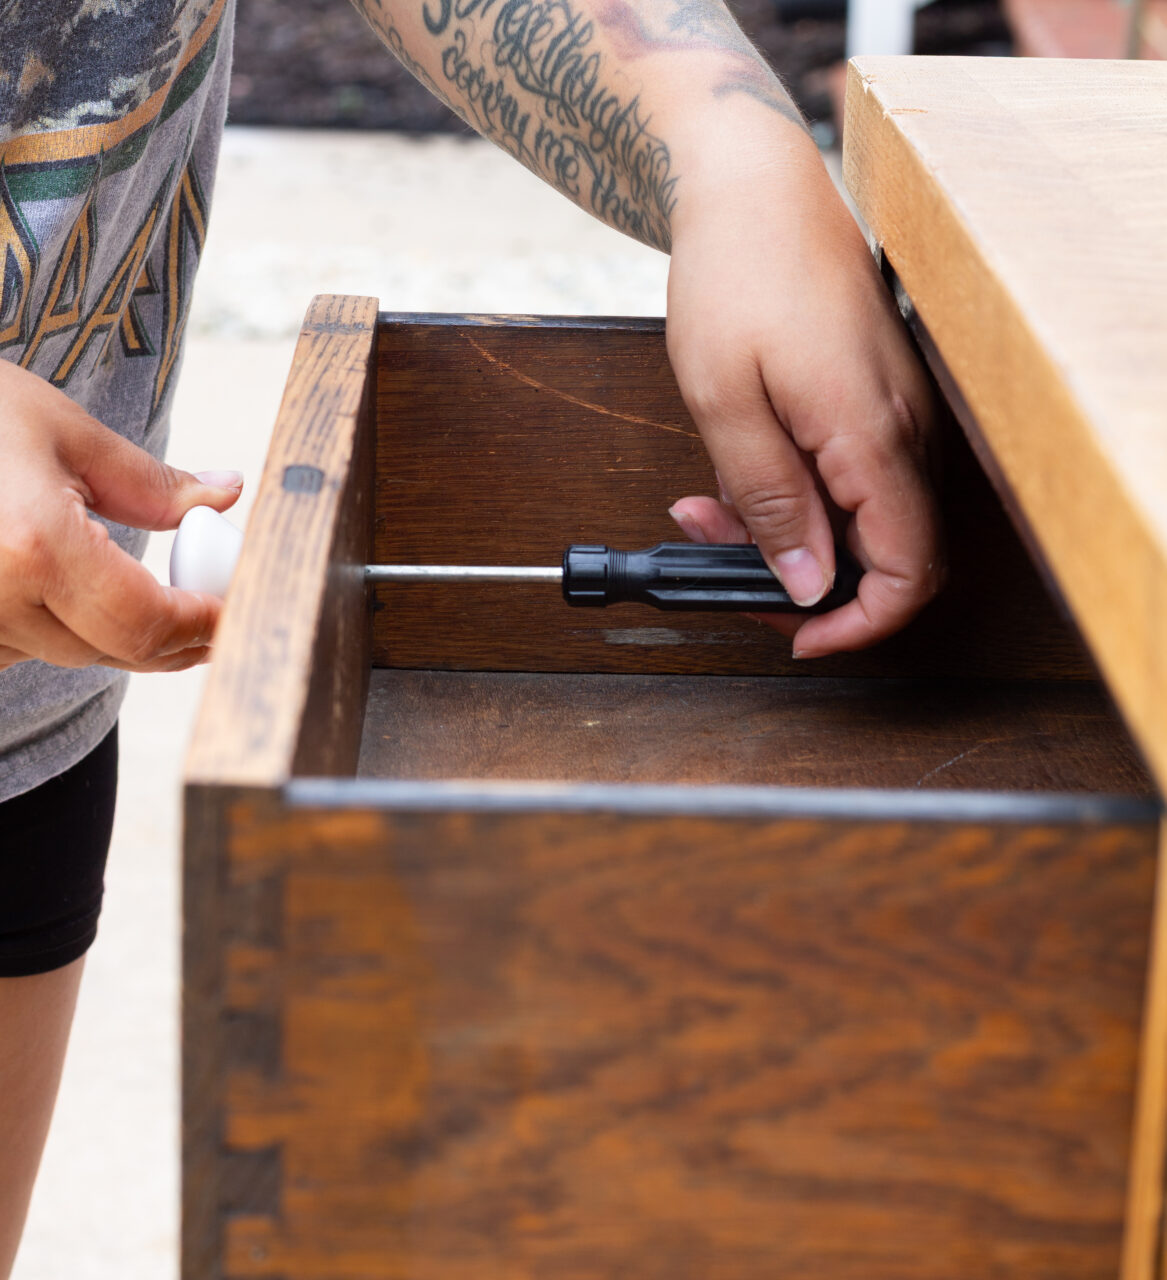
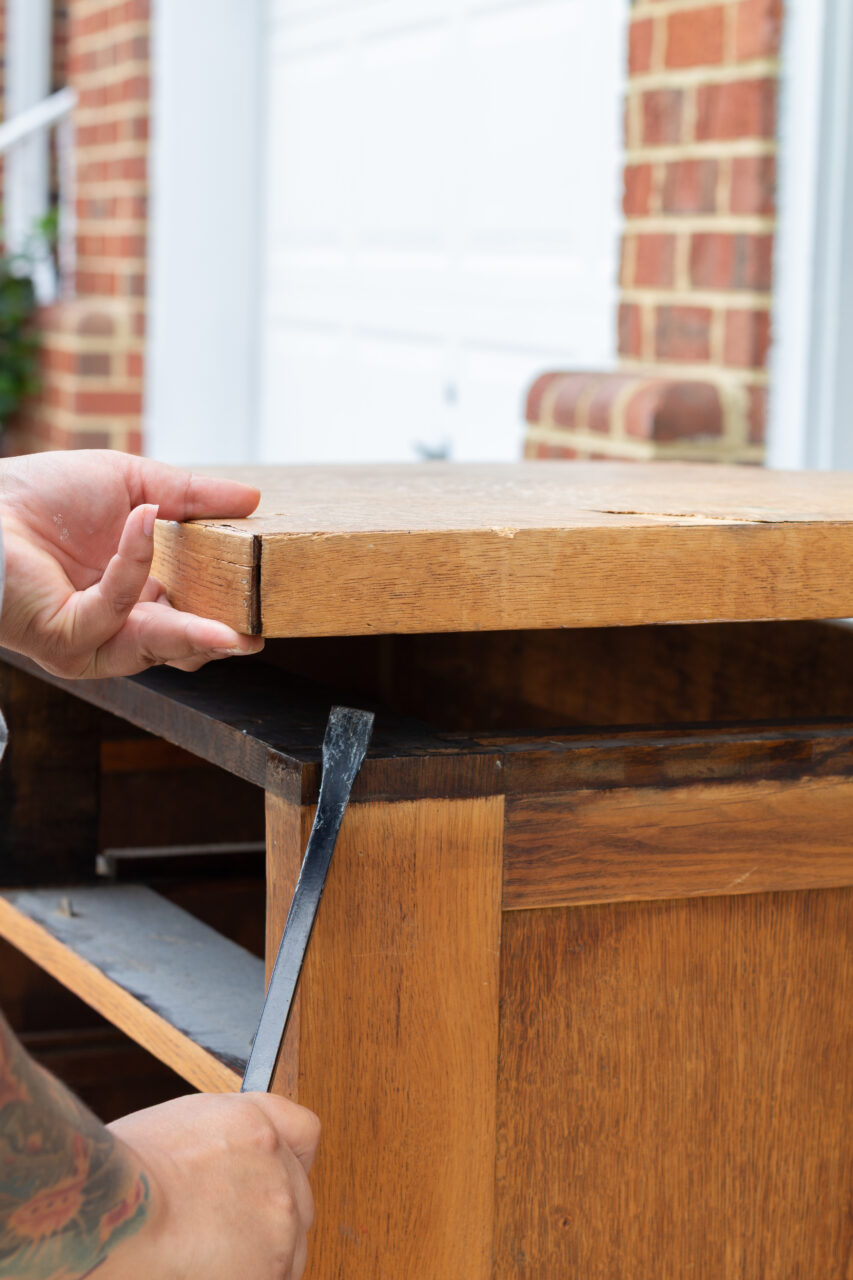
The first step is getting the piece prepped for both paint and its new top. We started by removing all the hardware from the drawers and then pulling the drawers out completely. Once that was done, it was time to tackle the old top. This one was held in place with nails, so a pry bar was the best tool to carefully work it loose.
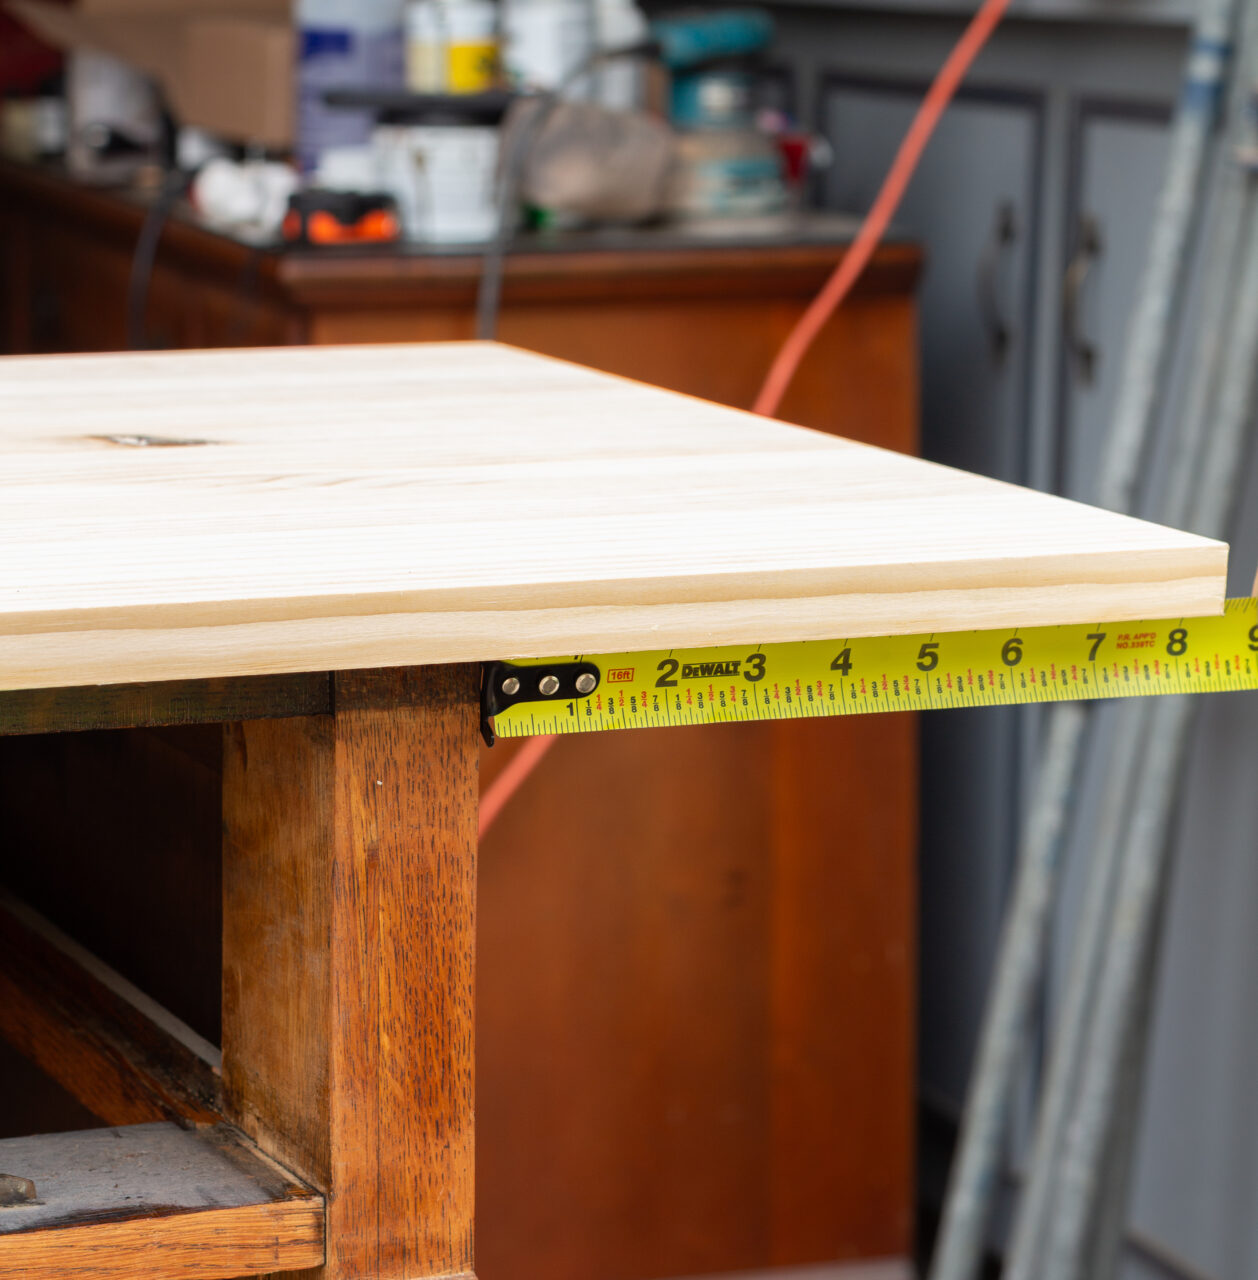
Next up was measuring and cutting the new top. We used the old top as our template, but decided to give the new one a little extra overhang for a nicer look. To keep things even, we measured each side carefully before marking our cut lines. Once everything was lined up, we ran the plank board through the table saw to get it cut to size.
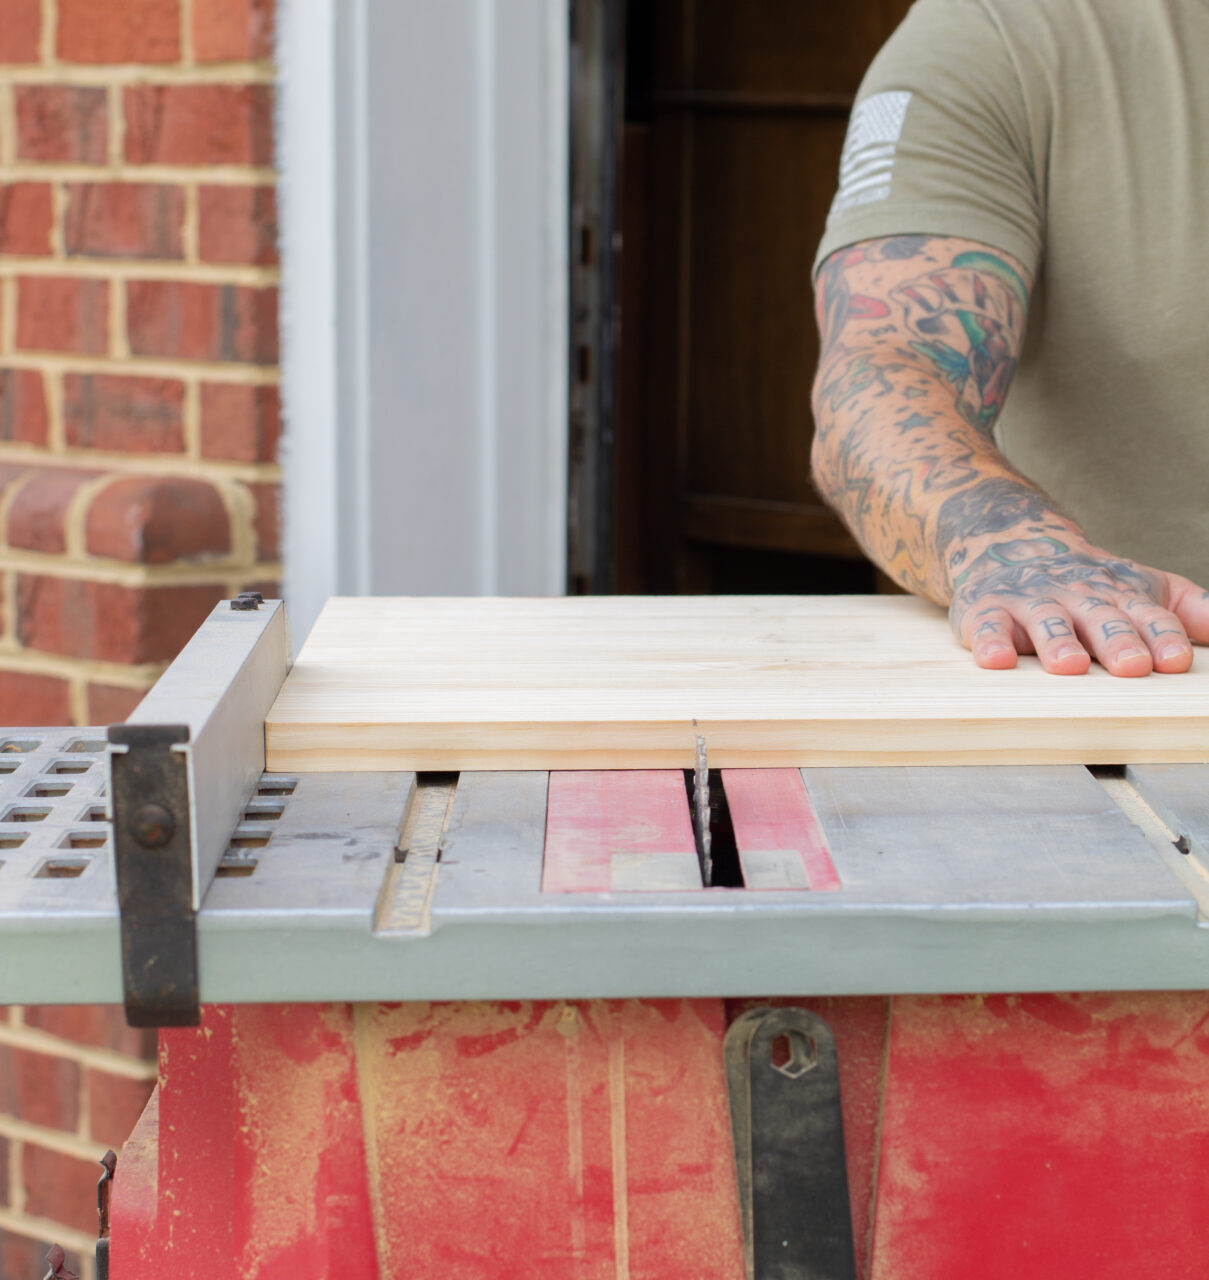
With the board cut to size, it was time to attach it. We laid the board on a blanket to protect it, then flipped the dresser upside down for easier access. Having the floor as leverage made it much simpler to apply pressure and get a solid fit. To secure the top, we used a drill with self-drilling screws for a strong hold.
Tip: If you’re worried about the wood splitting, go ahead and pre-drill your holes and use self-tapping screws instead.

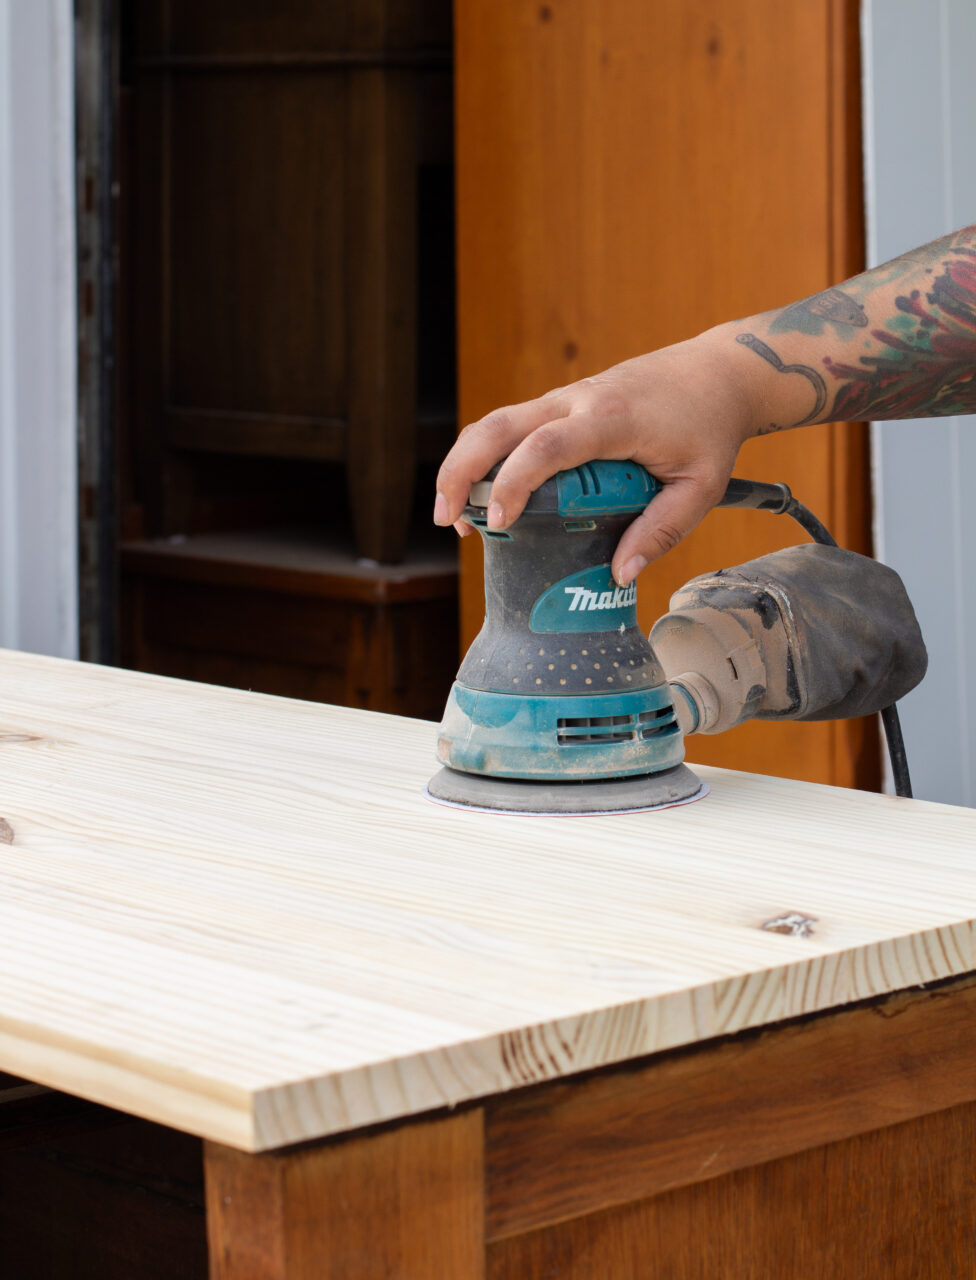
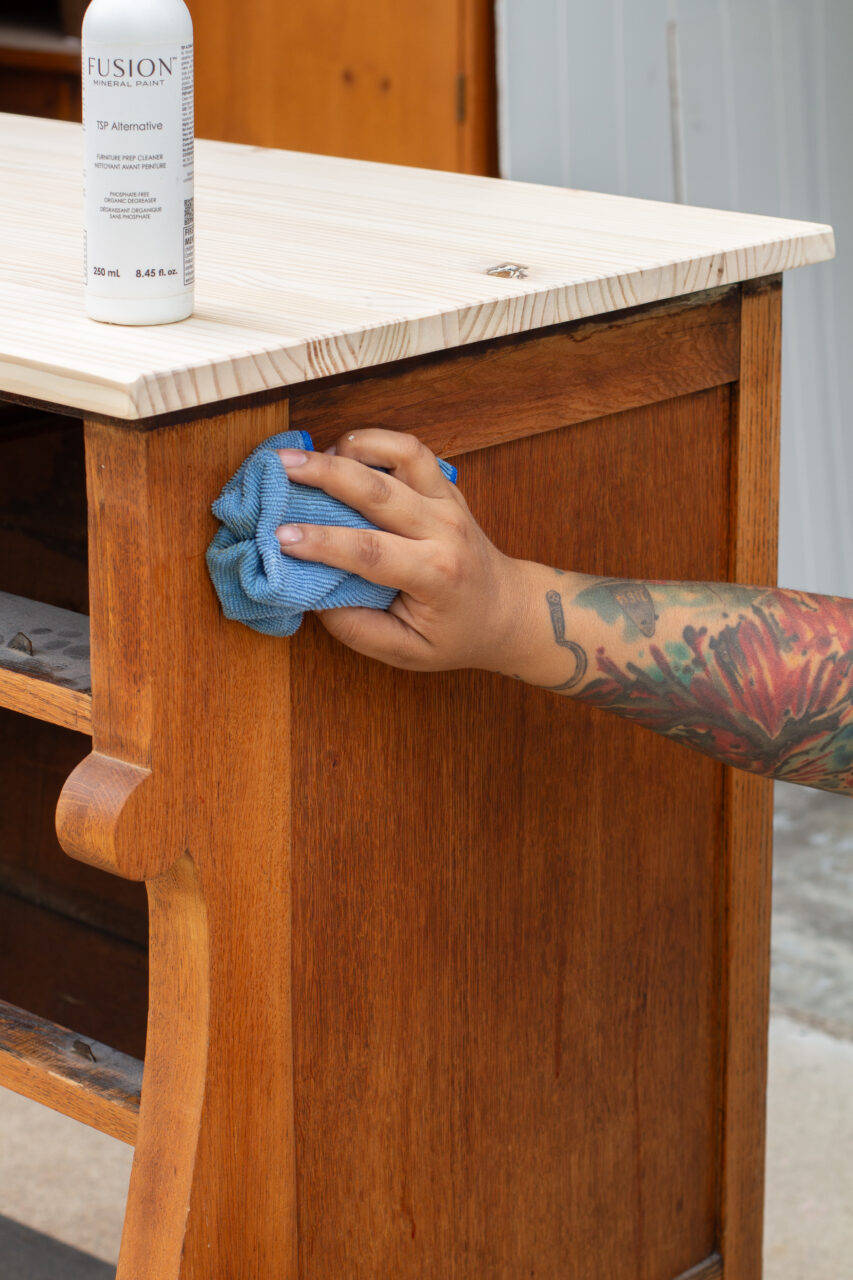
The last step in our prep was getting the piece ready for its finish. We grabbed the orbital sander to smooth out any rough spots on the new top, then wiped everything down with Fusion’s TSP Alternative to clear away sanding dust and any lingering oils or residue. For the base, we skipped the scuff sanding because we were crossing our fingers for a little chippy goodness!
Stain and Finish
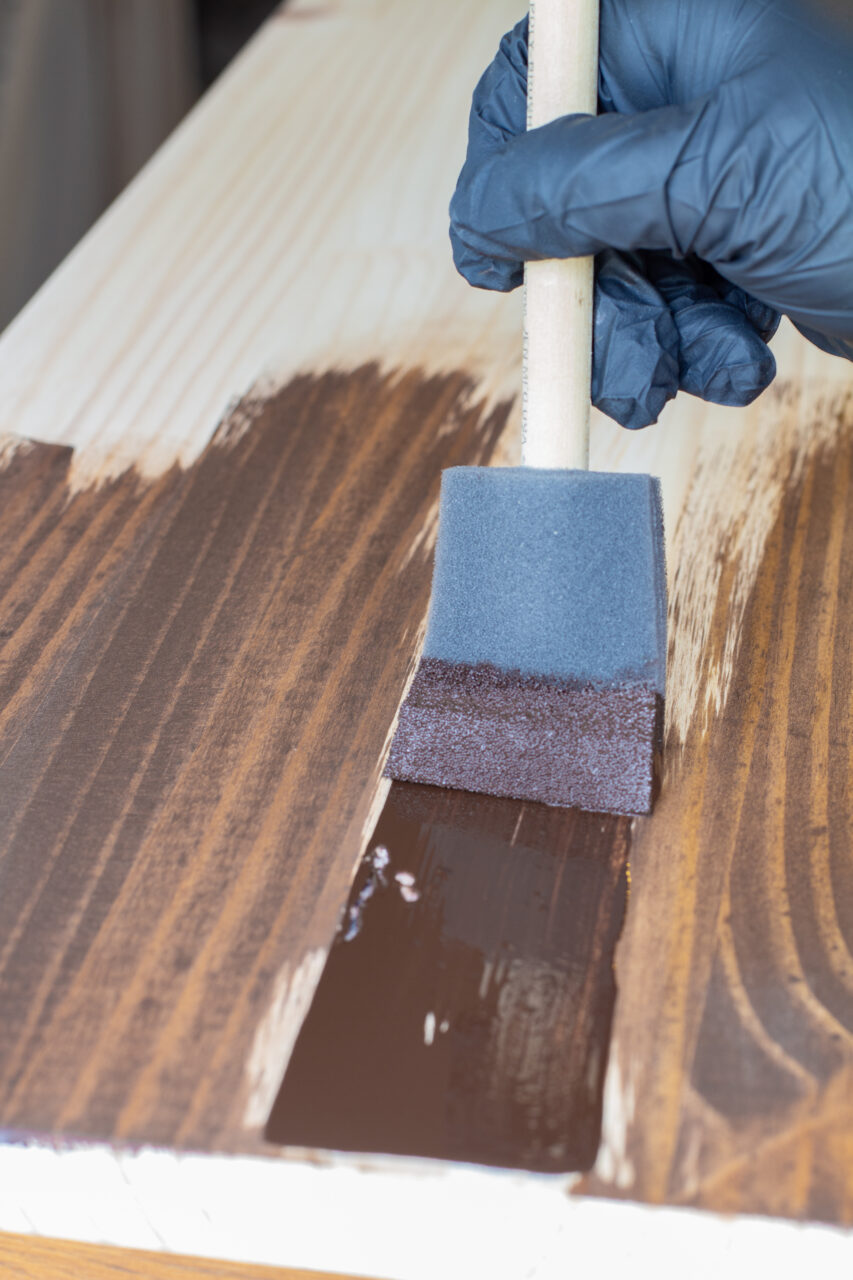
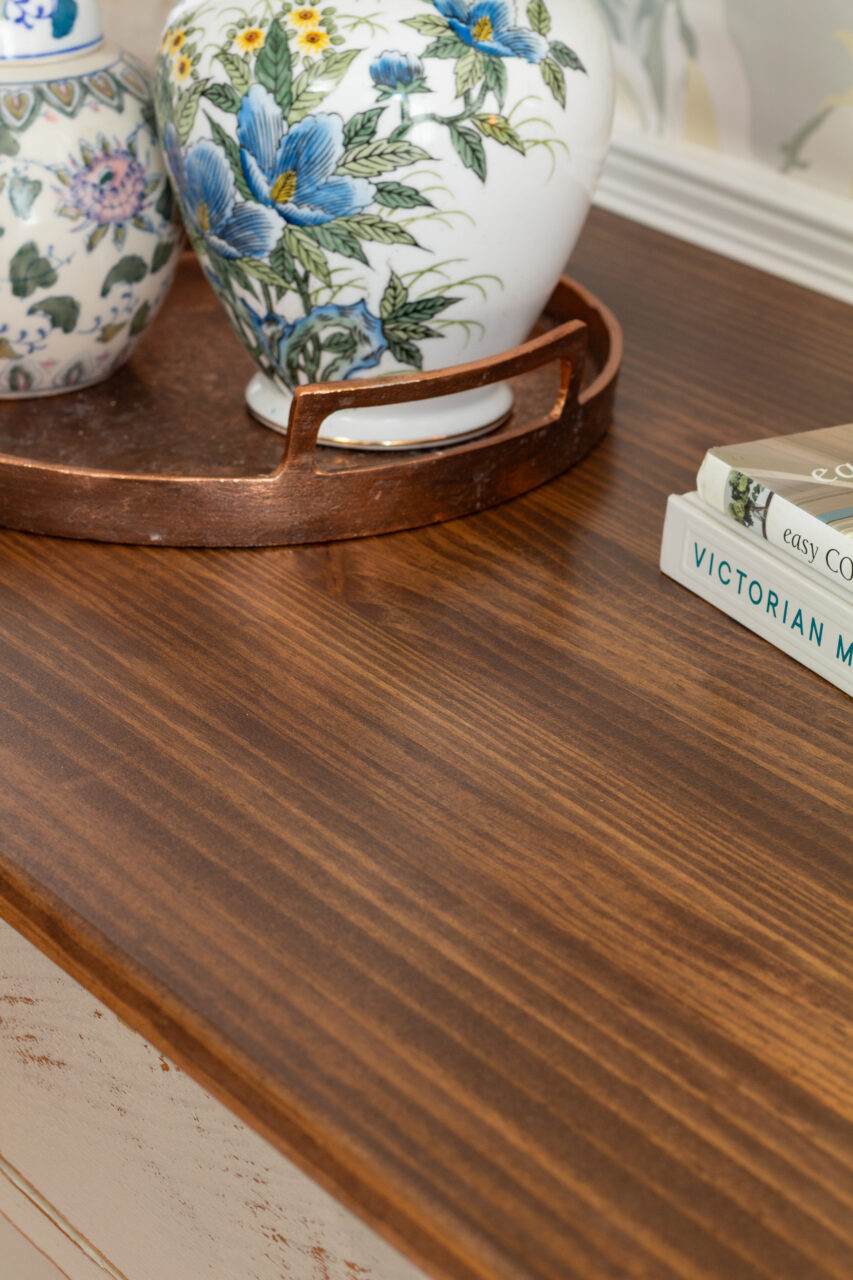
We decided to begin with the top finish since we were working with an oil-based product. Because oil finishes typically require longer drying times, starting here gave the finish ample time to cure properly. For this piece, we use one of our favourite SFO colours, Walnut. Using a foam brush, we fully saturated the surface, then wiped back the excess with a lint-free cloth. Since we were applying it to freshly sanded wood, the finish was able to penetrate deeply, resulting in a rich, warm look.
Paint & Top Coat
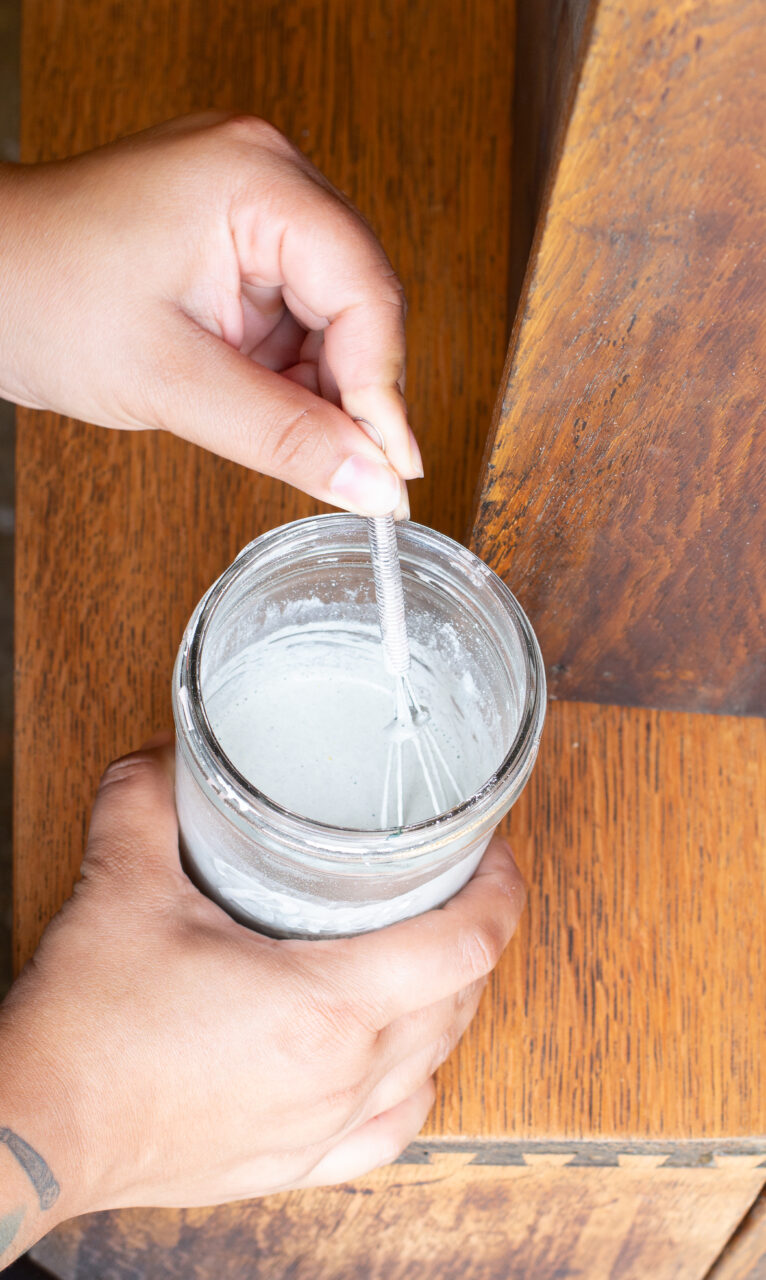
Next, we mixed up our milk paint. For this project, we wanted a soft, coastal-inspired colour with neutral tones, so we chose Bedford, a beautiful greige with subtle green undertones. To achieve full coverage, we mixed the paint slightly thicker than usual. A heavier consistency also encourages more natural crazing and crackling, which was exactly the look we were going for. We began with a 50/50 ratio of milk paint powder to water, then added an extra spoonful of powder to thicken it up. Using a mini whisk, we blended the mixture until the lumps broke down, then let it rest for a few minutes to allow the pigments to fully dissolve
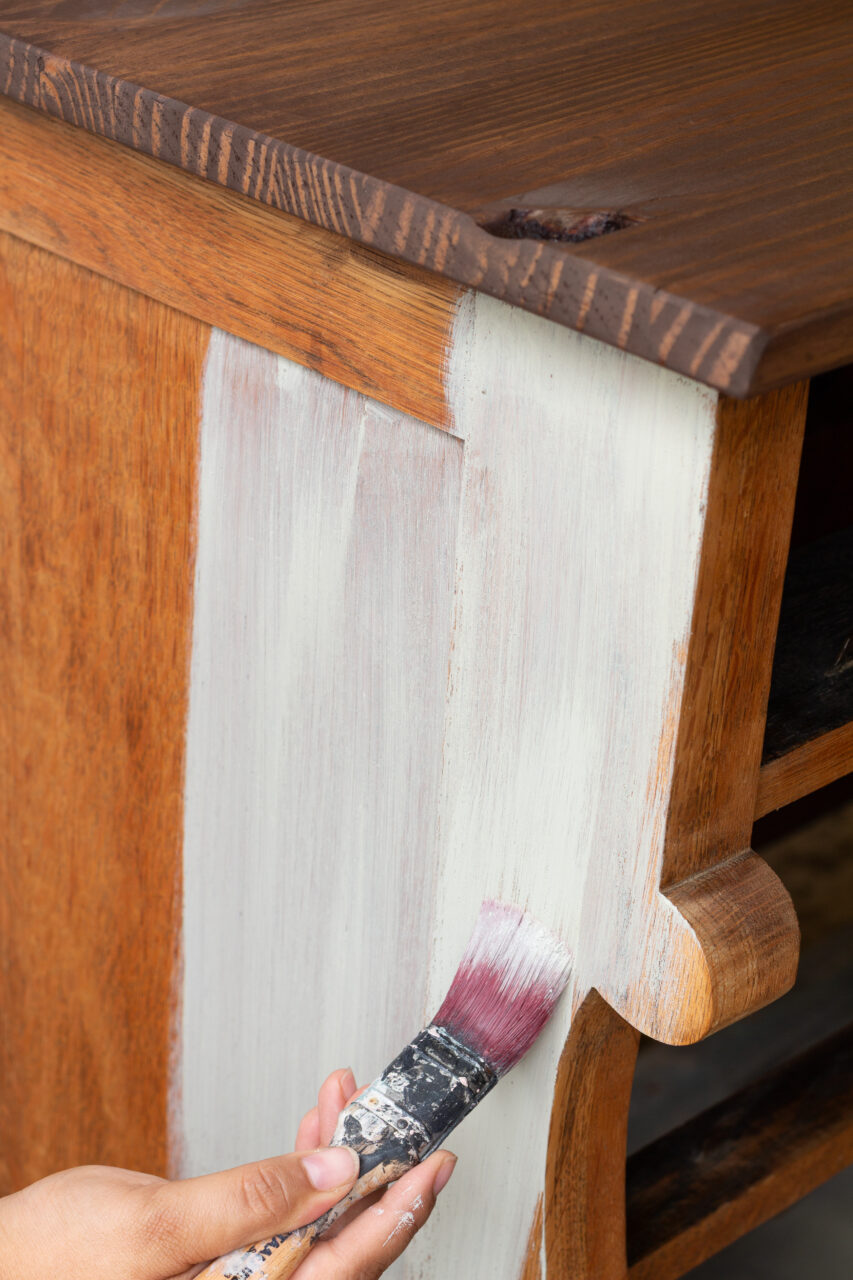
The first coat is always the most intimidating. It goes on very sheer and thin, which can look a little unsettling at first. But trust the process as each additional coat builds coverage and reveals the true depth of the colour. After applying three coats, we achieved the even, full finish we were aiming for.
For the final step, we moved on to distressing and sealing. Using an electric sander with a sanding pad, we lightly distressed the high points of the piece and smoothed out the surface. This also helped remove any areas of milk paint that naturally chipped away, something that often happens with this type of finish and adds to its charm. We were pleased with the organic chipping and distressing we achieved, as it gave the piece an authentic character. To seal everything, you can use the topcoat of your choice. For this project, we finished with Ultra Guard in Satin to protect the milk paint and enhance the look.
Elegant Coastal Finish
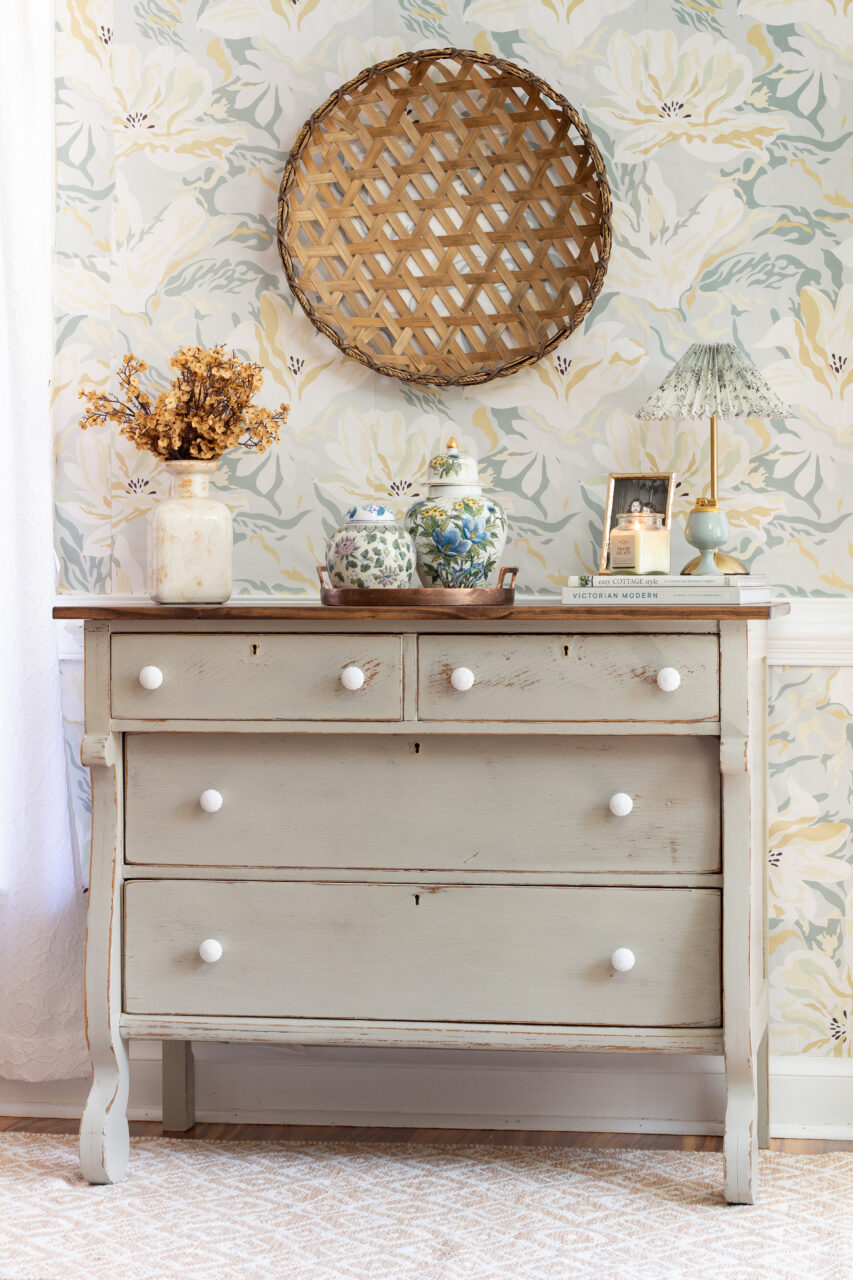
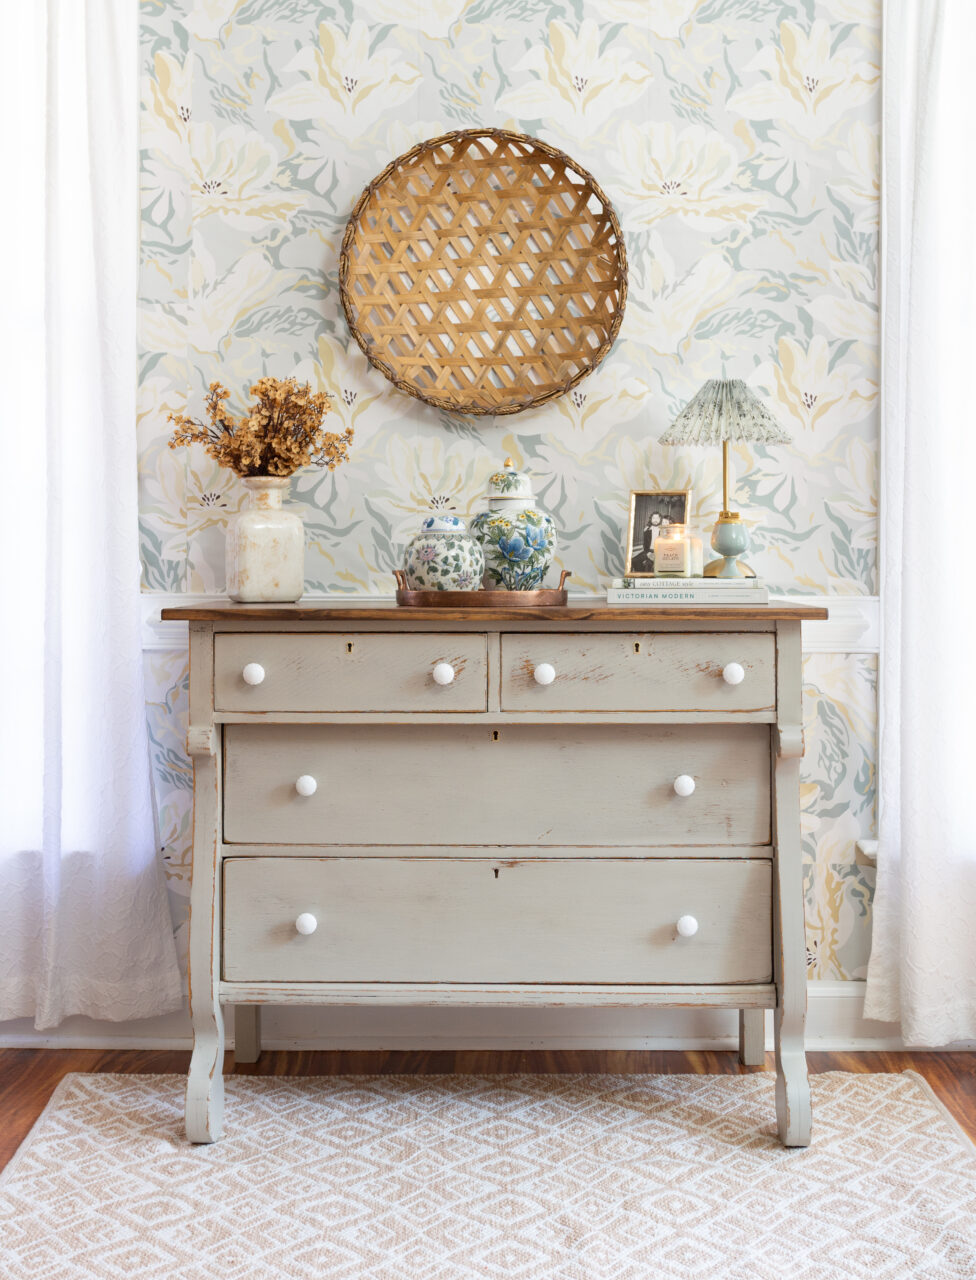
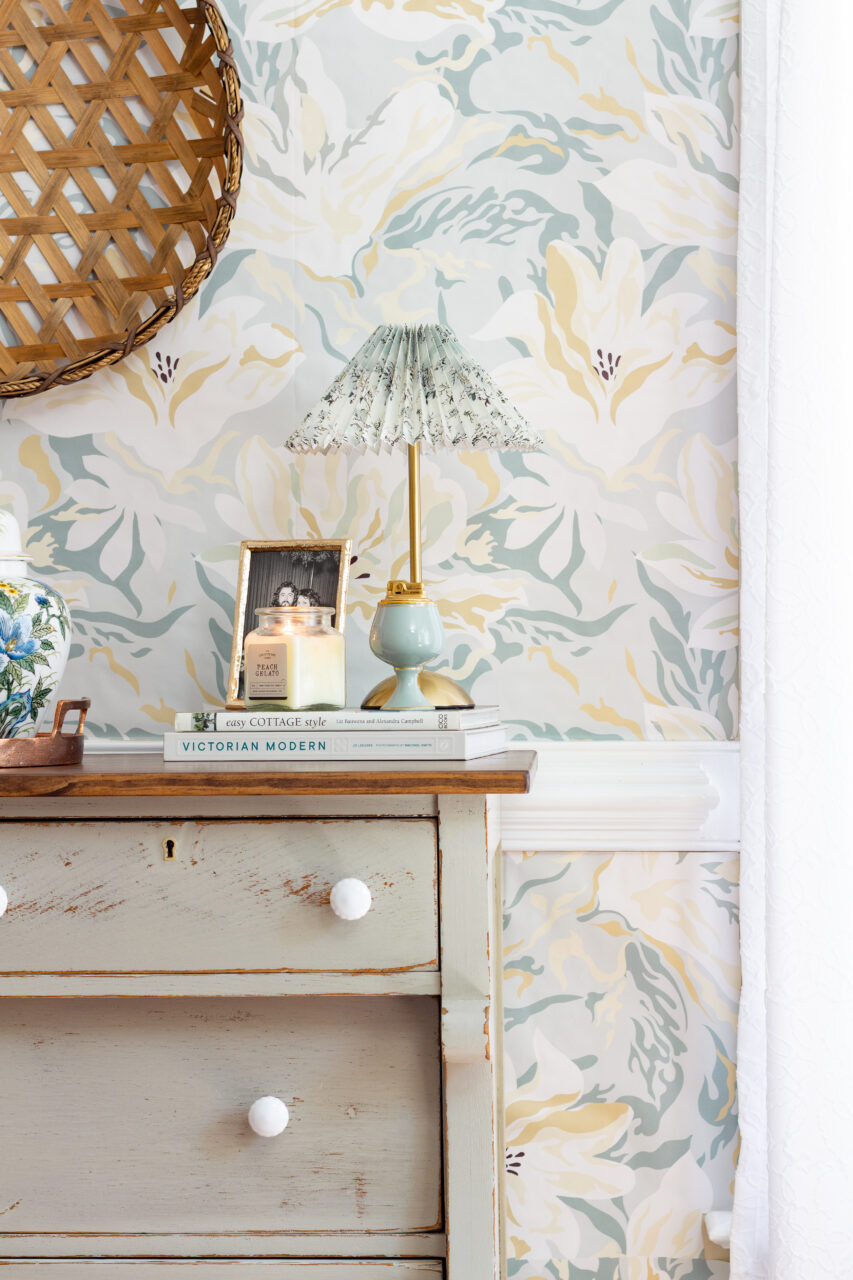
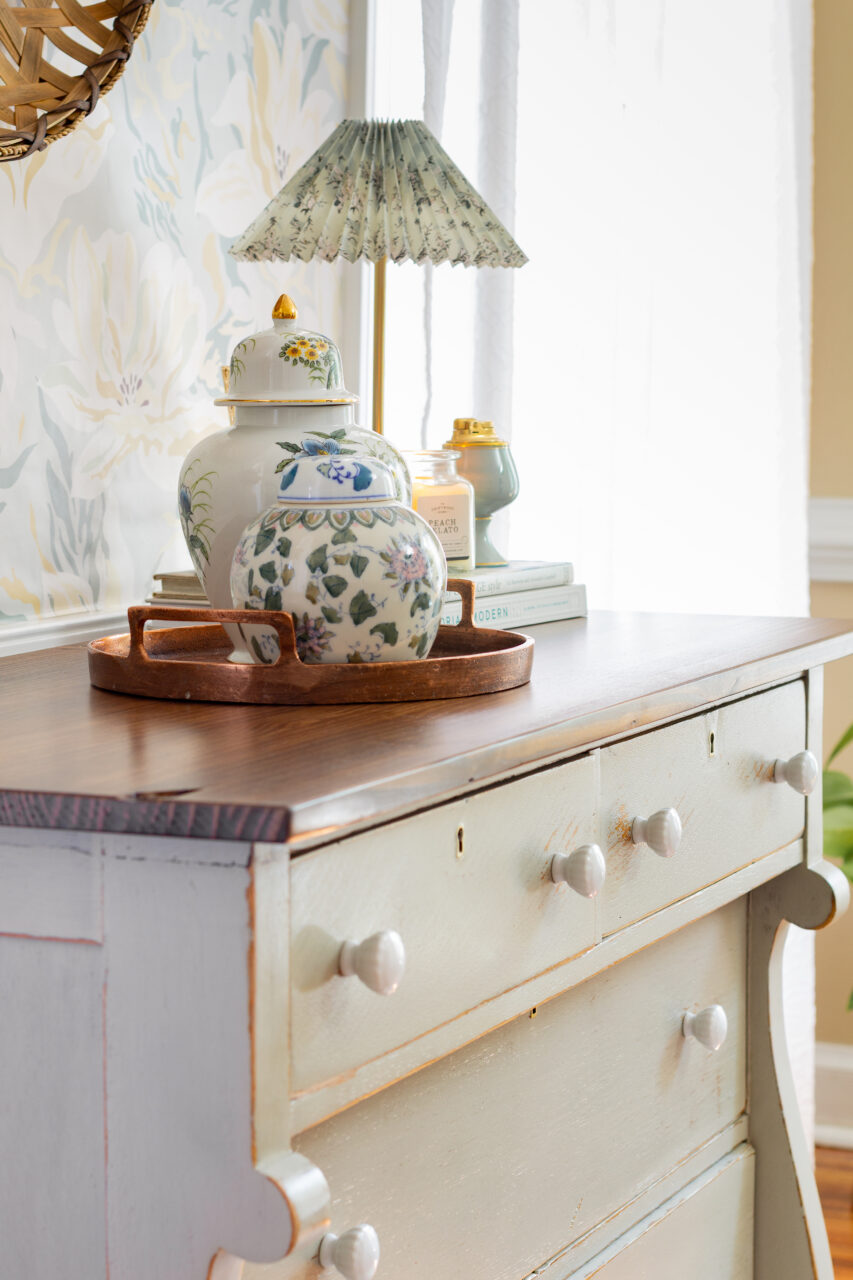
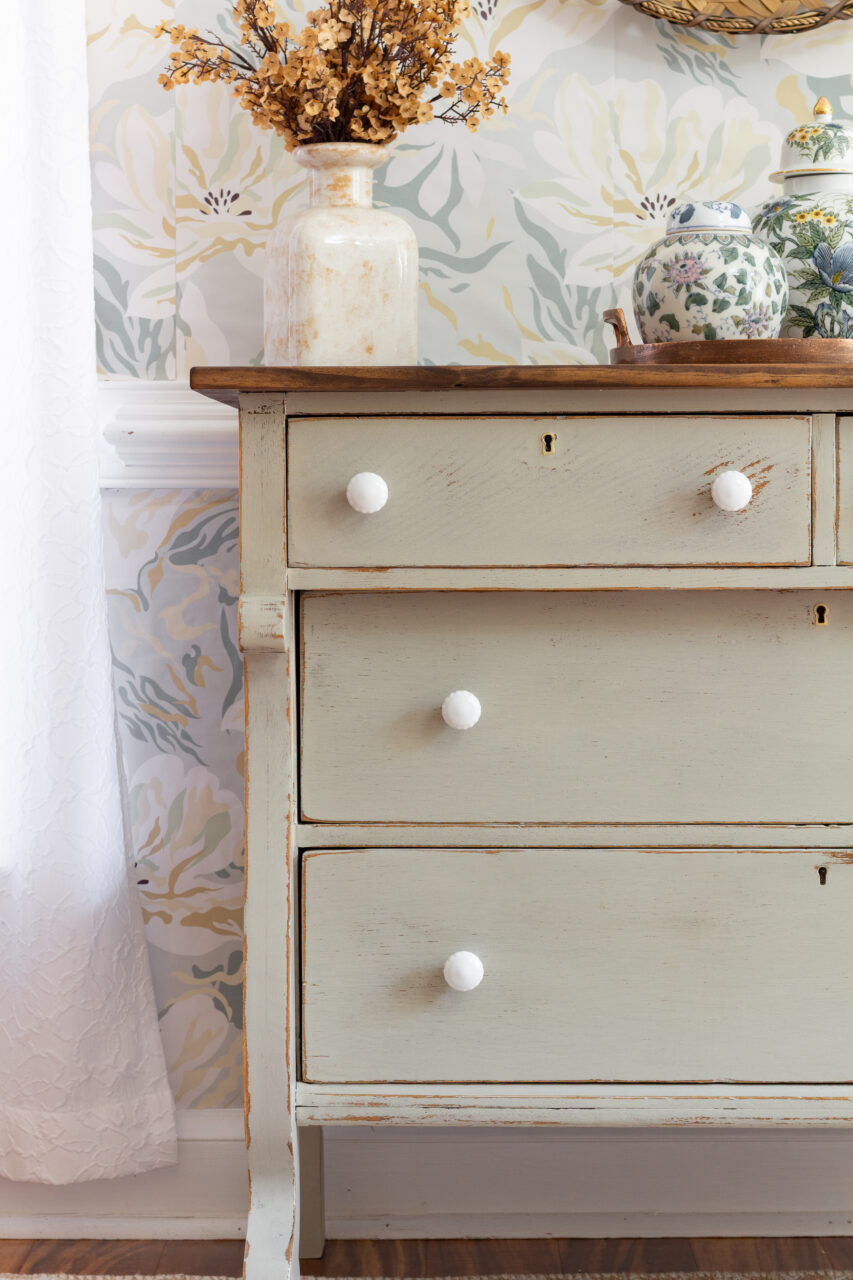
This vintage dresser has been completely refreshed with Homestead House in Bedford, giving it a soft, coastal-inspired look with timeless charm. The subtle greige tone with green undertones pairs beautifully with the natural wood top, while the gentle distressing highlights its character and history. The finish feels light, airy, and relaxed, bringing new life to a classic piece and blending seamlessly into a modern cottage or coastal farmhouse aesthetic

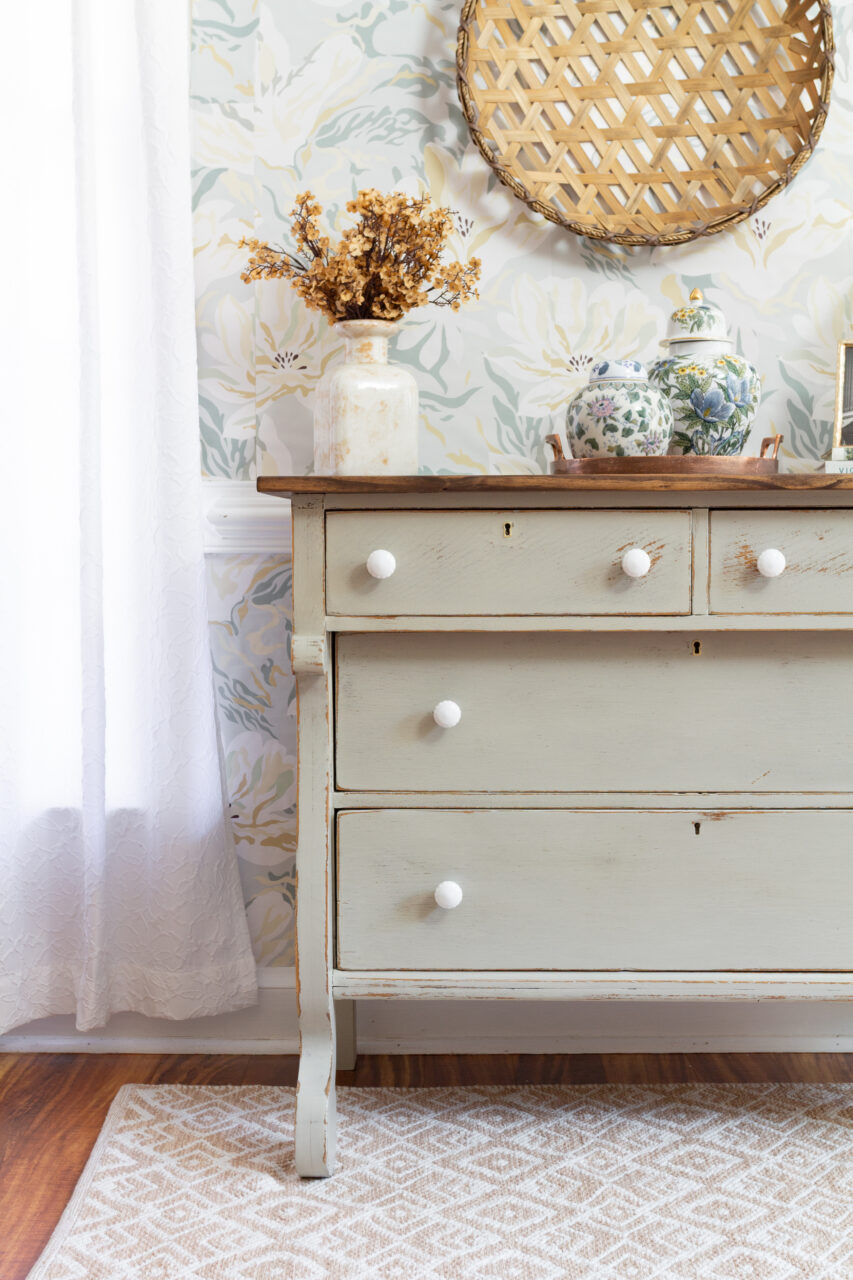
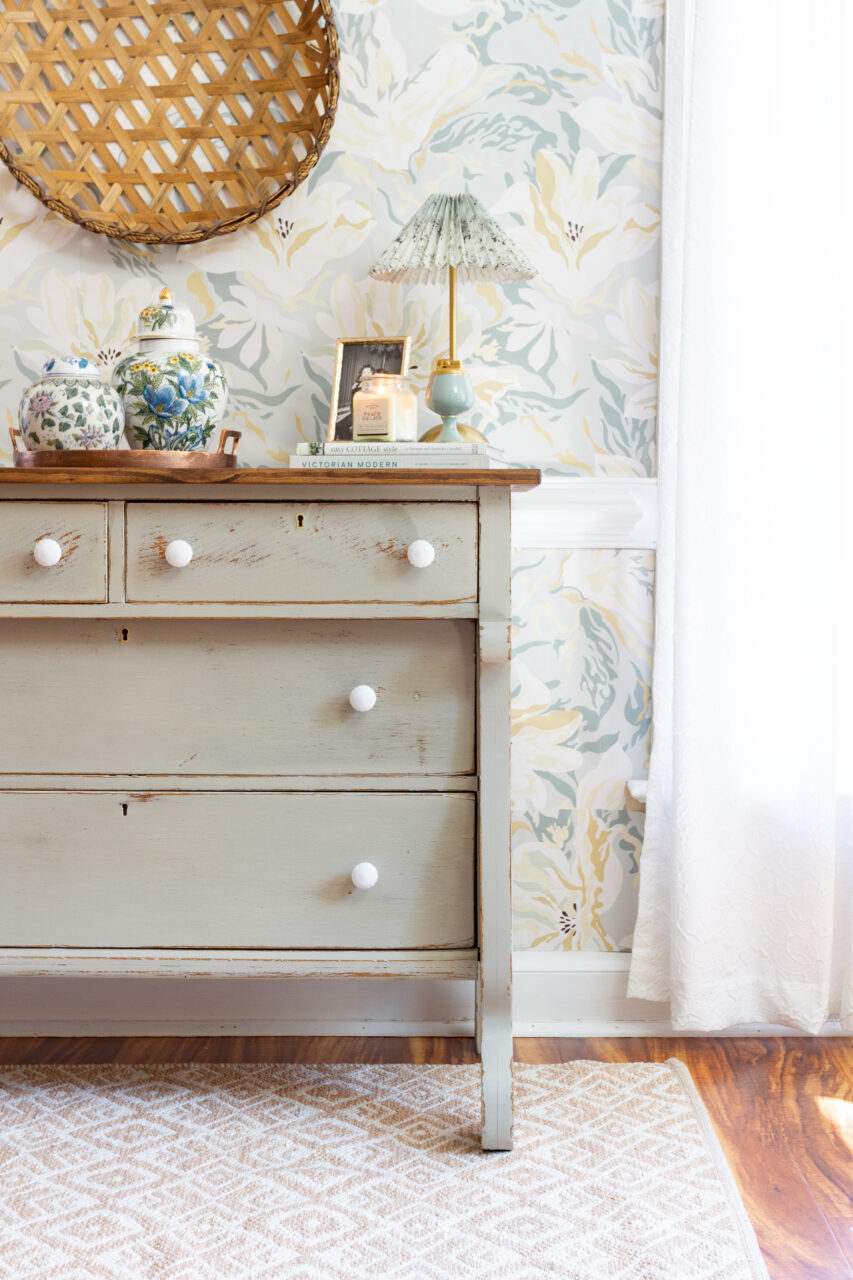
By adding a rustic plank top, we gained peace of mind knowing we wouldn’t have to worry about future repairs or problems with the original top. It also introduced a natural, rustic element that pairs beautifully with the timeworn finish and adds a grounded, statement-making touch. The Walnut SFO enhanced the wood grain perfectly while providing a durable, long-lasting finish
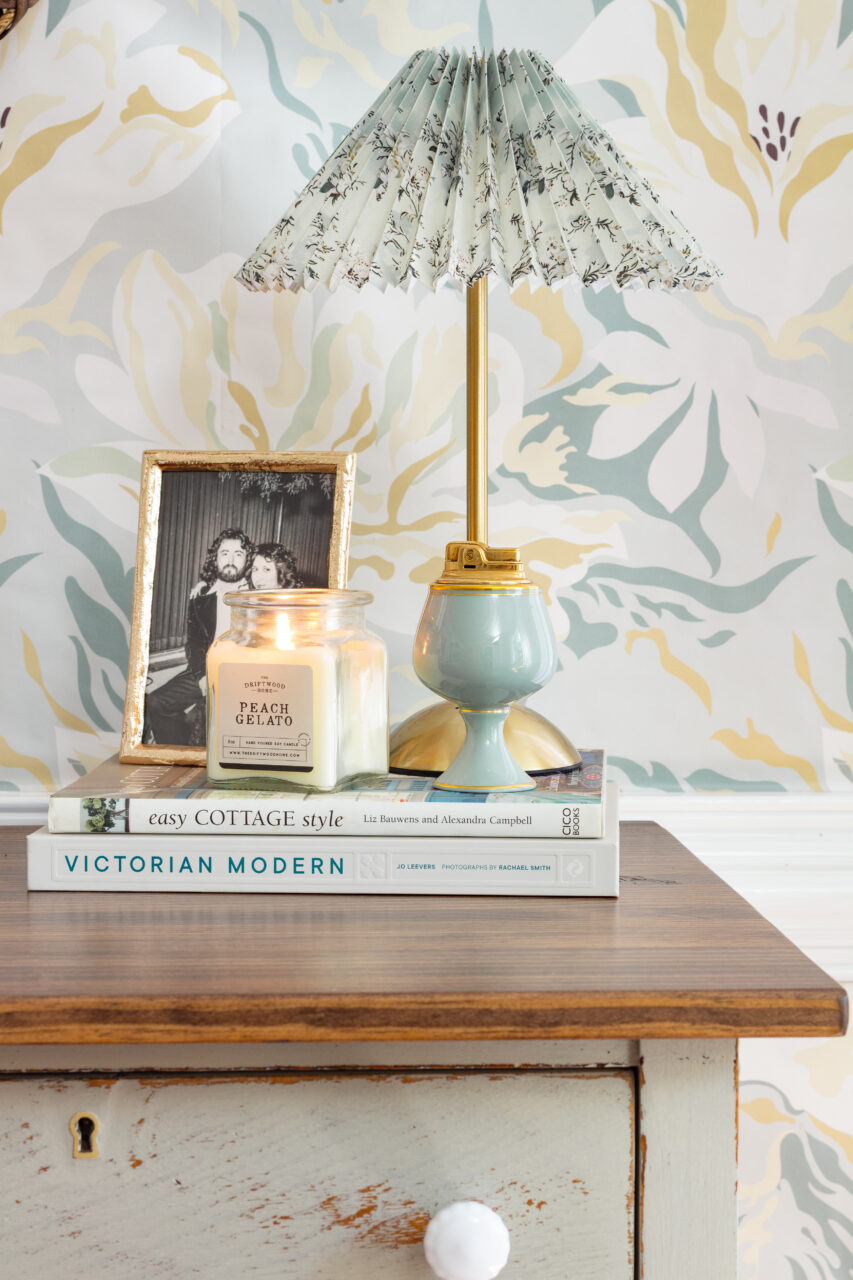
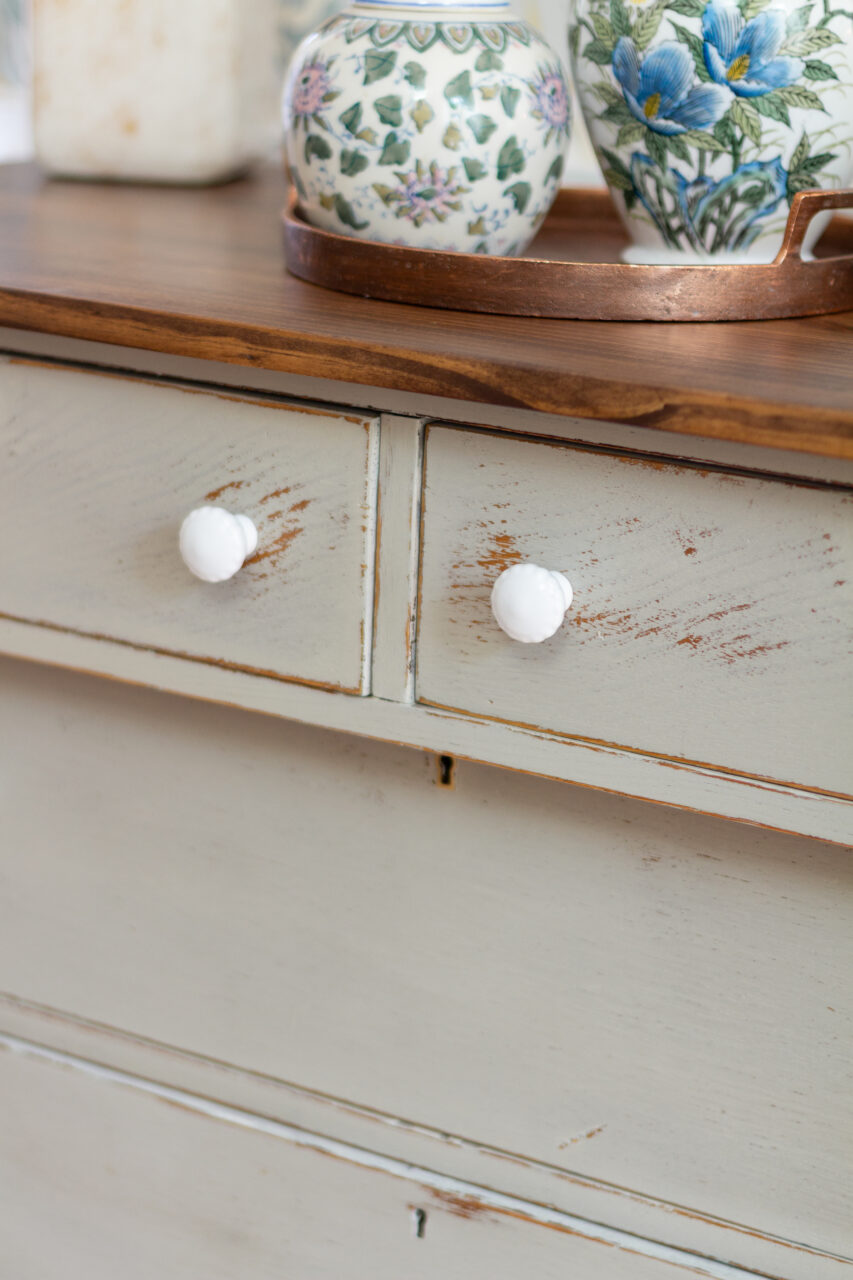
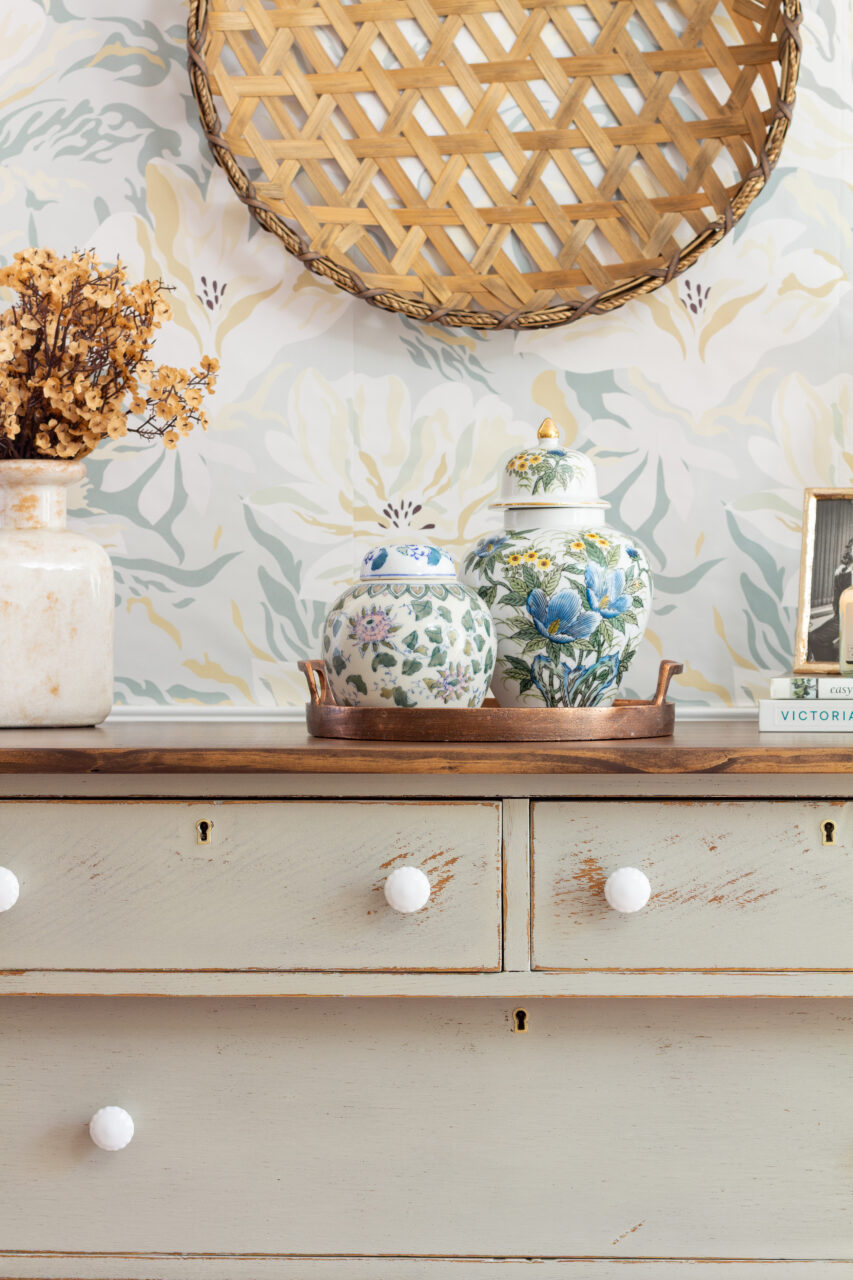
This dresser makeover highlights the beauty of simplicity and timeworn charm. The neutral hardware keeps the look understated, allowing the natural chipping and distressing of the milk paint to shine through. The surrounding décor like ginger jars, vintage-inspired pottery, and a woven basket enhances the layered, collected feel. Together, these elements create a perfectly balanced blend of rustic elegance and timeless character.
Milk Paints Versatility & Timelessness
This makeover is a perfect example of how versatile and timeless milk paint can be. Milk Paint not only delivers beautiful, authentic chipping and distressing, but also provides a durable, quality finish that feels right at home on vintage-inspired pieces like this one.
Paired with Homestead House and Fusion products, the creative possibilities are endless! From softly layered neutrals to bold, modern statements. Whether you’re drawn to a rustic farmhouse look, coastal cottage charm, or something uniquely your own, these products make it easy to achieve a finish that tells a story.
Have you created a piece in this style or used the colour Bedford in your own projects? We’d love to see how you’ve transformed your furniture—share your work with us for inspiration!