As part of our kitchen cabinet painting series, we wanted to make sure we included a tutorial on how to paint melamine cabinets. People are often apprehensive about painting kitchen cabinets, period. But when it’s something other than wood, they’re extra apprehensive as they’re unsure of how the paint will look over a different material. Ikea kitchen cabinets are popular for their modern look at a great price point but often, people are disappointed by their limited colour range. Well, there’s a great solution for you today! We are going to teach you how to update your Ikea kitchen cabinets that are melamine with Fusion Mineral Paint.
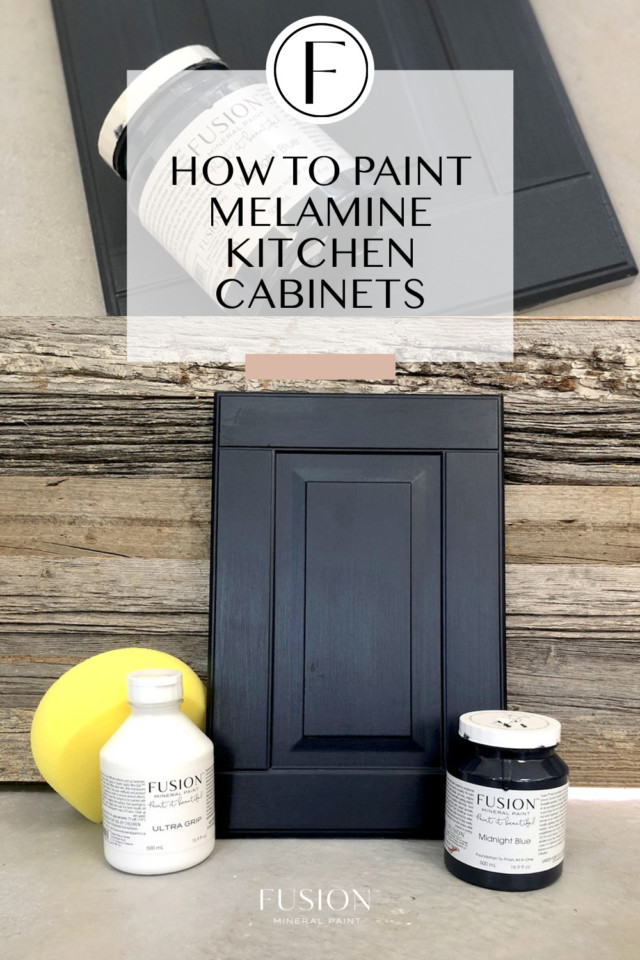
We want to put your mind at ease and assure you that with Fusion Mineral Paint, you absolutely, positively, can paint melamine, laminate and other unusual surfaces like metal and mirrors. And we’re going to show you how you can do it!
How to Paint Melamine Kitchen Cabinets
Step 1 – PREP! You know it by now. Prep and clean your surfaces before a drop of paint goes near them. We used our TSP to give the cabinet a good cleaning. You want to make sure that your cabinets are free of any dust, dirt, foodstuff (if you are painting an older kitchen) or anything else that could compromise the surface of your cabinets.
Step 2 – ULTRA GRIP! When painting melamine, it is a good idea to apply a thin layer of Ultra Grip to your melamine cabinets. Just add a very thin layer using a sponge. Allow the Ultra Grip to dry for 12 hours before you start painting.
Step 3 – PAINT! Apply a thin coat of Fusion paint in the colour of your choice. We used Fusion’s Midnight Blue for this project, a colour that is crazy popular in our Paint it Beautiful Facebook group (honestly, at least multiple times a week we get projects shared finished in this rich and moody favourite!).
Tips For Painting Kitchen Cabinets
One of the things we want to stress is that no matter if it’s wood, melamine or any other surface, painting in the same direction, is very important. We want to show you on the backside of the cabinet as an example. Another big mistake we see when folks are painting their kitchen or bathroom cabinets is adding TOO MUCH paint to their paintbrush. This image demonstrates the perfect amount of paint and how to do a nice even brushstroke.
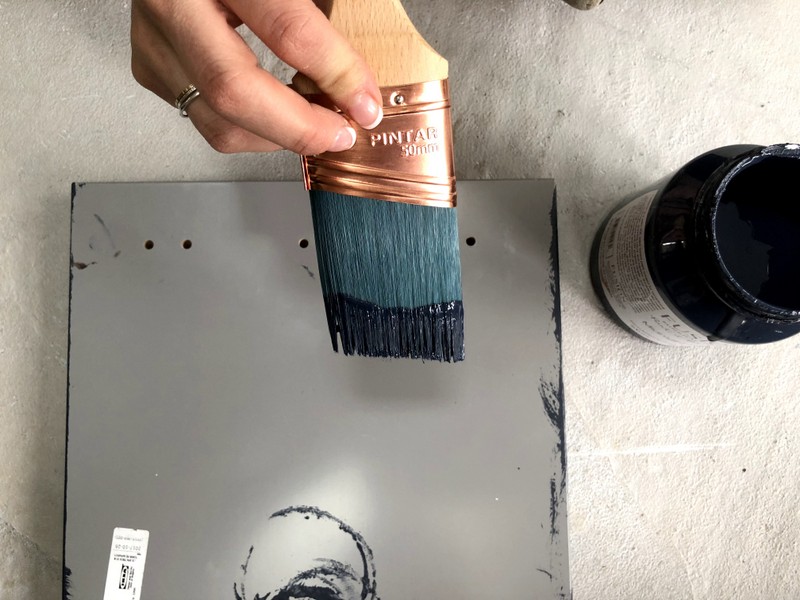
Too Much Paint on Your Paintbrush Is a big No No!
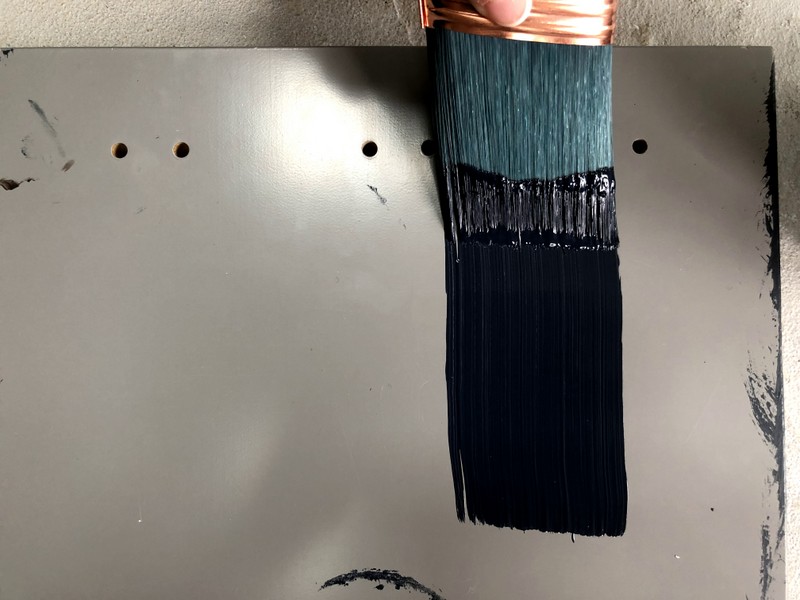
Once you start that way, paint the rest of the brush strokes in the same direction, which is usually vertical on a cabinet door.
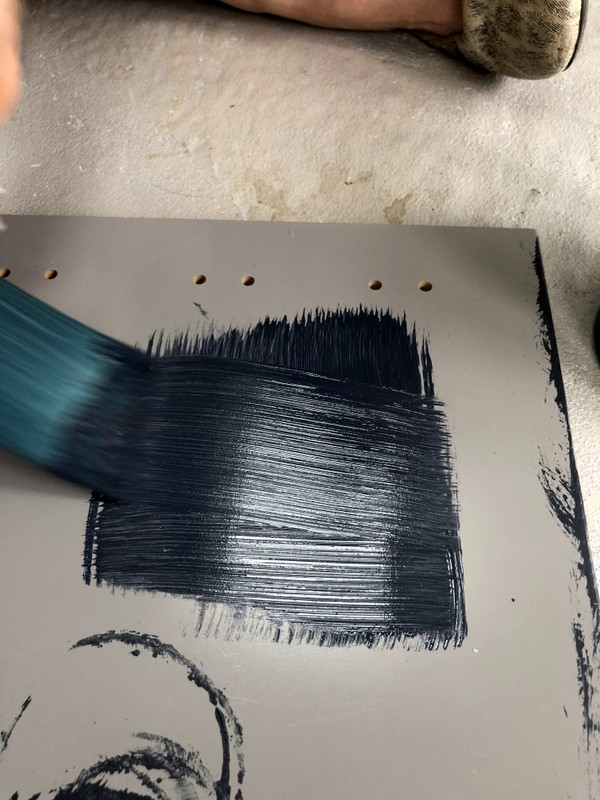
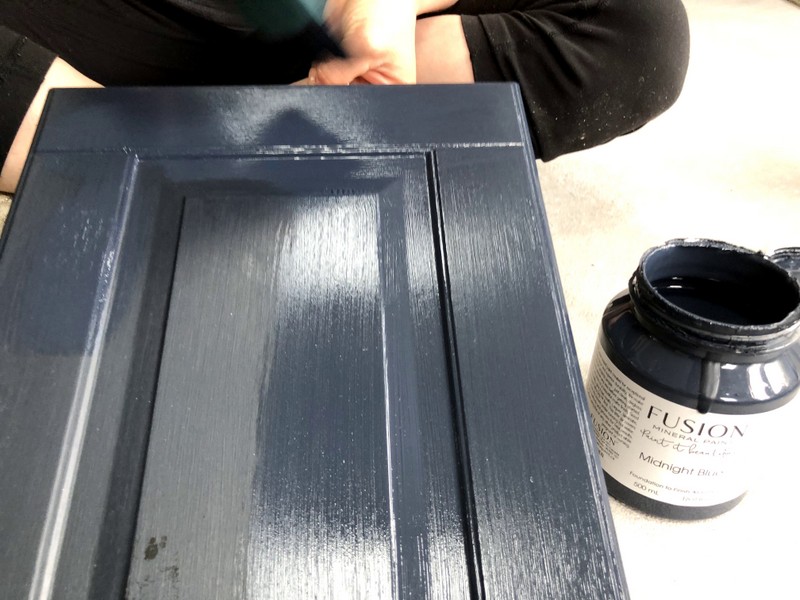
Do NOT, however, do this, as shown in the photo below. Remember, same direction, otherwise, you’ll get a lot of visible brush strokes and the paint will be dry thicker in some areas than others. Too much paint will also contribute to getting brush strokes.
For Best Results with Fusion Mineral Paint, follow dry and cure recommendations
Step 3 – DRY TIME! Let dry as per instructions on the container. Once your first layer of paint has had sufficient time to cure (don’t rush it!), apply another coat of paint. It is best to apply 2 thin coats for better coverage and a 3rd may be necessary depending on if you’re going from a darker color to a lighter one OR the color your choose. Some colors are less pigmented and require more coats for better coverage (such as Raw Silk). The thicker your paint coats are, the longer your drying and curing time. If you have a large kitchen and/or a lot of cabinets, it is best to not rush this step and have to re-do any of the steps. Do it once and practice patience – it will pay off when you get it right the first time!
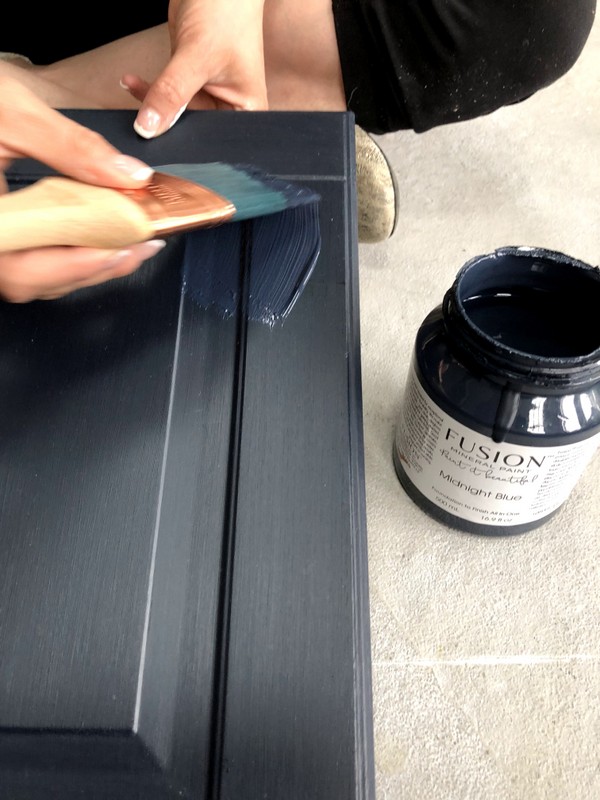
Nice even brushstrokes with a thin layer of Fusion are best for beautiful cabinet outcomes!
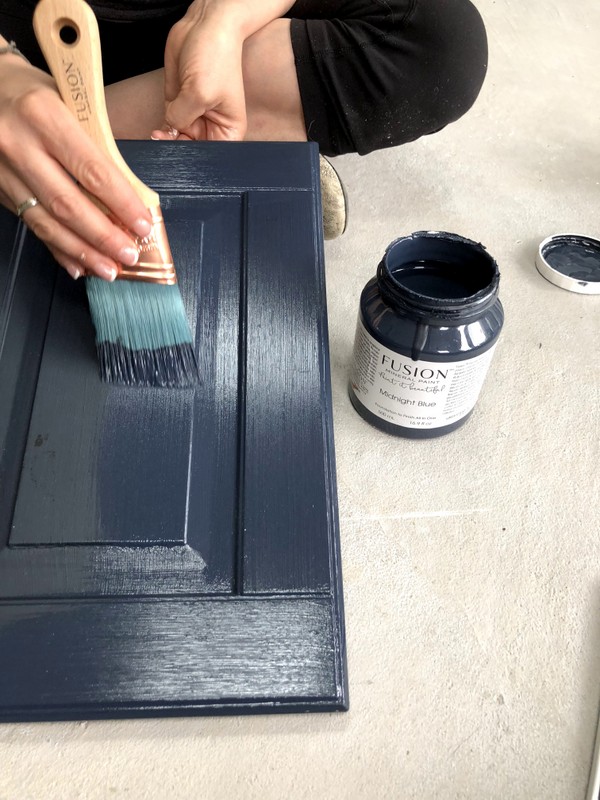
This picture really illustrates how a little Fusion paint can go very far!
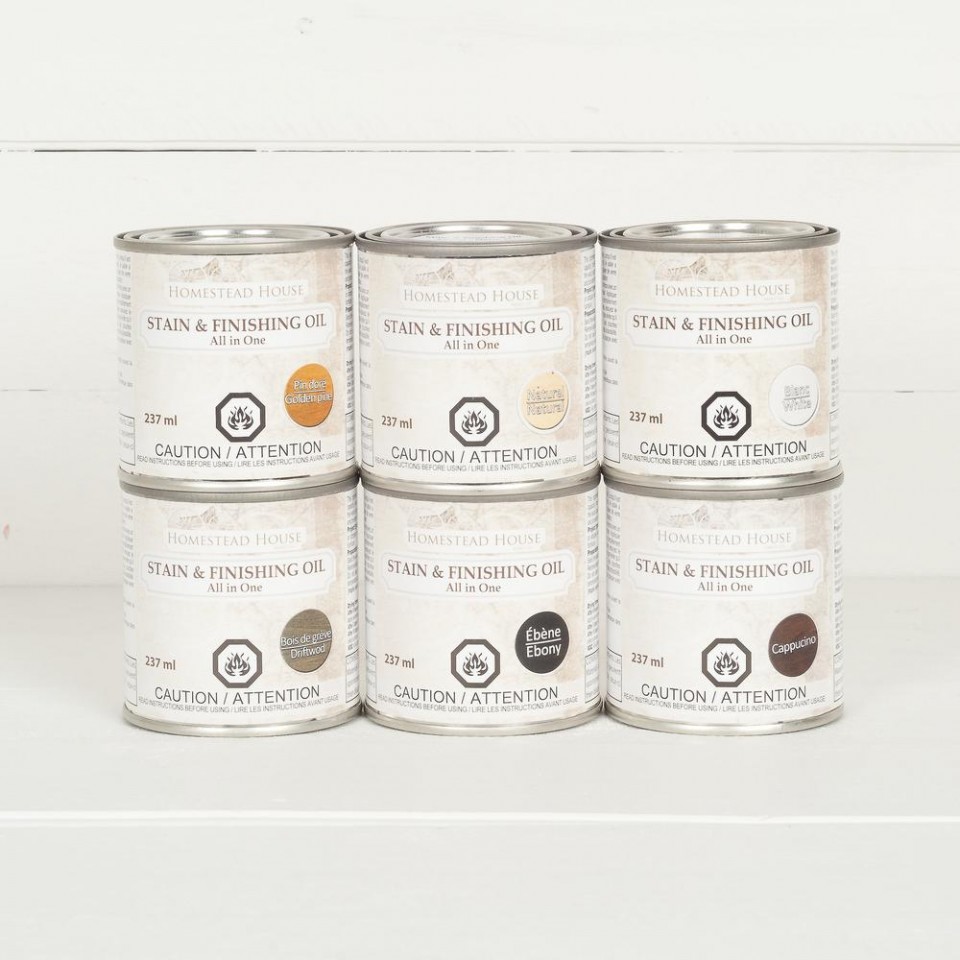
Step 4 – OPTIONAL! TOP COAT. To finish the cabinets, we applied our Stain and Finishing Oil All in One in Natural (Clear). Please note, we do not recommend that you apply our Tough Coat over darker paint colors. Haziness can sometimes occur. If you do want to apply Tough Coat to your cabinets and you are painting with a darker color, you may want to do a layer of paint, apply a thin layer of Touch Coat with a sponge or lint free pad then another layer of your paint. This will minimize streaks that sometimes occur with Tough Coat on dark Fusion colors.
While Fusion has a built-in top coat, we decided to add the SFO to give it extra protection. This creates a durable, scratch resistant and waterproof finish. We do want to emphasize that like our Tough Coat, this is a personal preference for you to use on top of Fusion. It was created for those customers who just would prefer something extra.
And you’re done! We promise, it’s that easy. So do not be intimidated or worried about painting a surface with a different material.
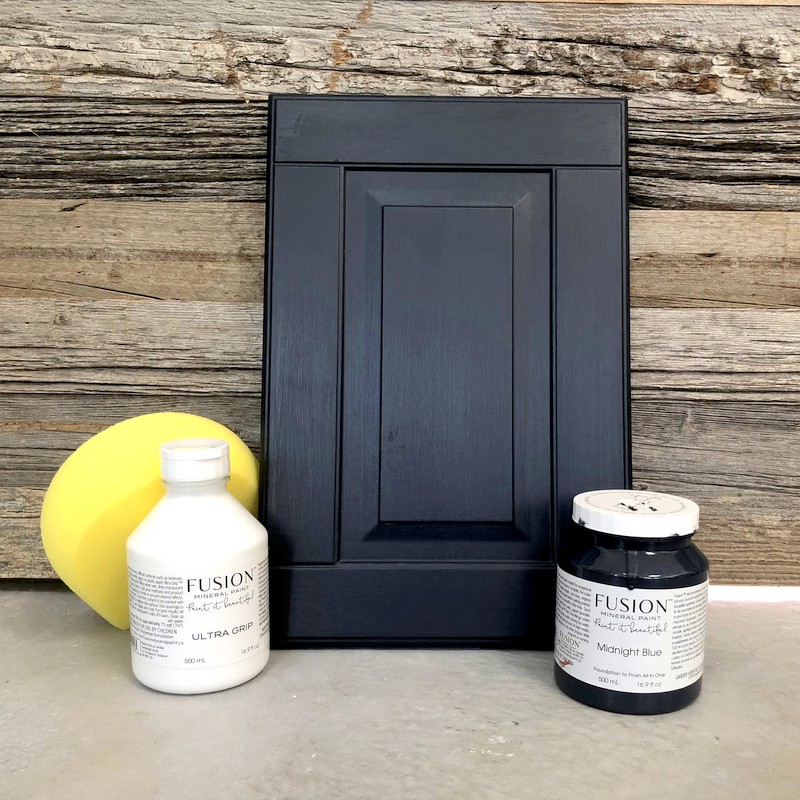
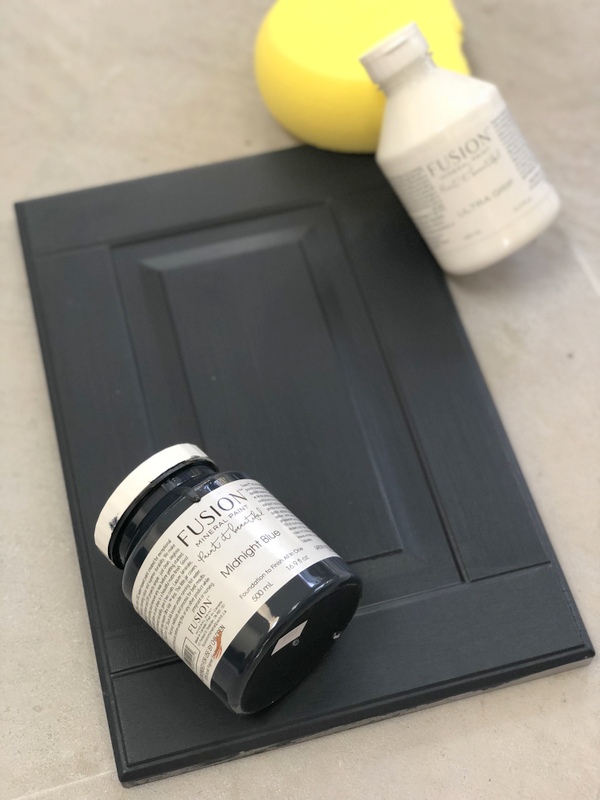
I mean look at how great this looks! You’d never guess that was melamine under there. Are you inspired now? Go out and update that old Ikea Kitchen now!
As always, we love seeing your projects, so keep on sharing them in our Paint it Beautiful group!
PIN IT FOR LATER


5 Responses