Have you ever gazed longingly at gorgeous ‘French Country’ inspired pieces in magazines and on Pinterest? Authentic French Country style furniture often boasts years of paint layers and subtle colour blends, but the good news is that it’s a look easily achieved with Fusion Mineral Paint products. We asked the very talented Hayley from Coast & Country Vintage in Australia to help US teach YOU how to create a French Country Look using our texturizing powder Fresco. Today’s tutorial is a step by step guide on how to create a French Country Look using Fusion.
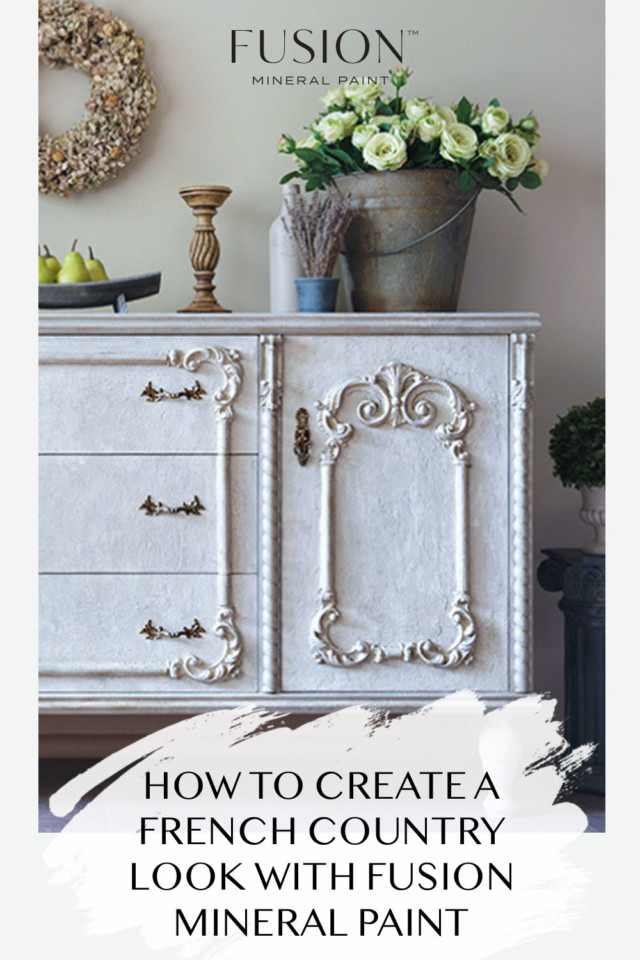
Prepare yourself to fall in love with this DIY French Country charmer! Hayley is going to walk us through how to get this amazing look.
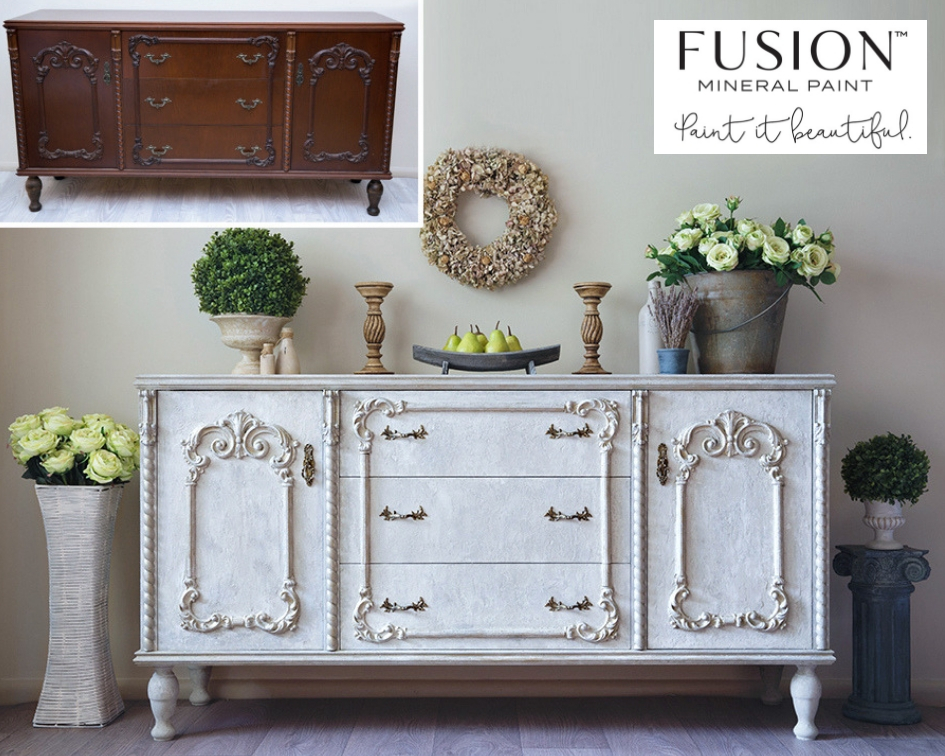
TUTORIAL for how to create a French County look
Step 1. Prep.
Prep any furniture piece for painting is actually not sanding….it’s cleaning! While it may seem counterproductive to clean and then sand, there’s a good reason for doing it in this order.
Most older pieces of furniture have a build-up of furniture polish or wax and disguised grime. If we sand a piece that hasn’t been cleaned well first, sanding can push the polish/wax/grime into the substrate creating small areas where the paint may be resisted.
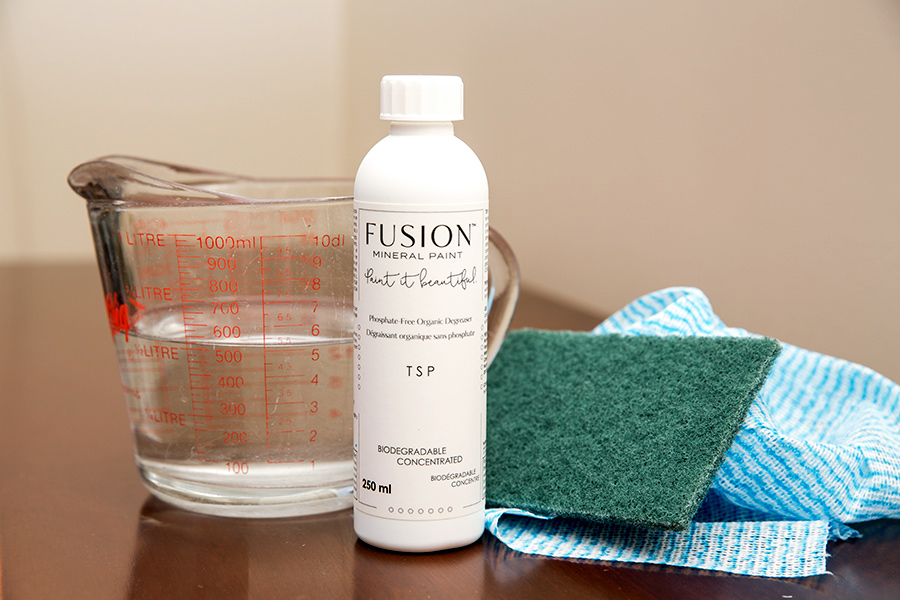
Fusion’s TSP is very different from the store-bought version of TSP and is organic. It cleans and removes grease and there’s no need to rinse it off before painting. Just one cap full per 500 ml (pint) of water is all that is needed.
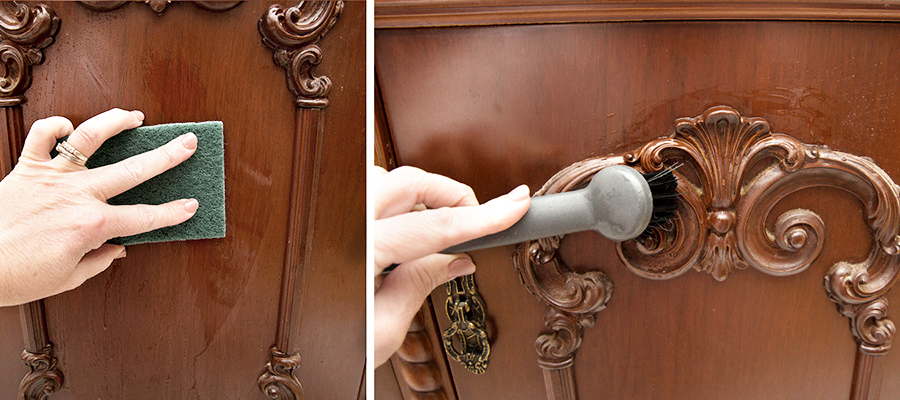
Use a stiff-bristled brush or toothbrush to get the grime out from all the detailed areas and a green kitchen scrubbie to clean the flat areas. Remove all hardware and give that a good scrub too.
PREP TIP: Tie some string through each of the drawer pull holes for easy handling.
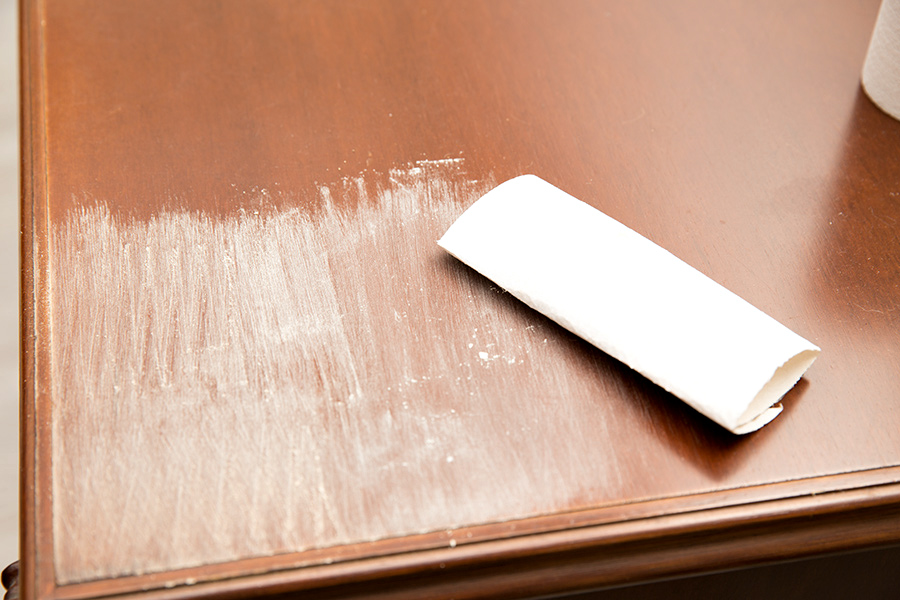
This piece was veneer and therefore very sleek. Veneer is very smooth and sanding makes little difference in keying the surface. A very thin layer of Fusion’s Ultra Grip painted over veneer provides superior adhesion on hard-to-paint surfaces such as veneer.
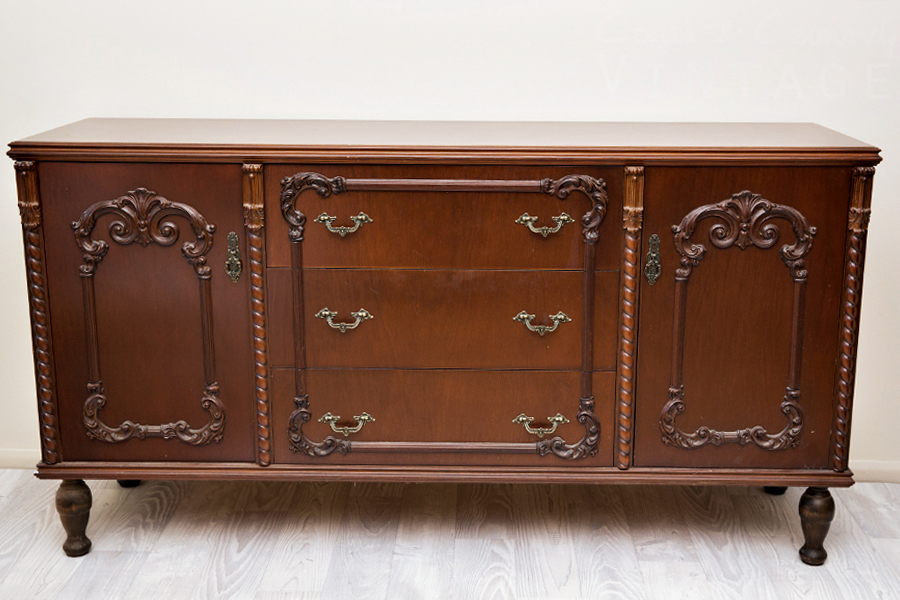
The Before!
Step 2. PAINT THE FRENCH COUNTRY LOOK
Choose two complimentary Fusion colours. Here we used Linen (discontinued) and Putty.
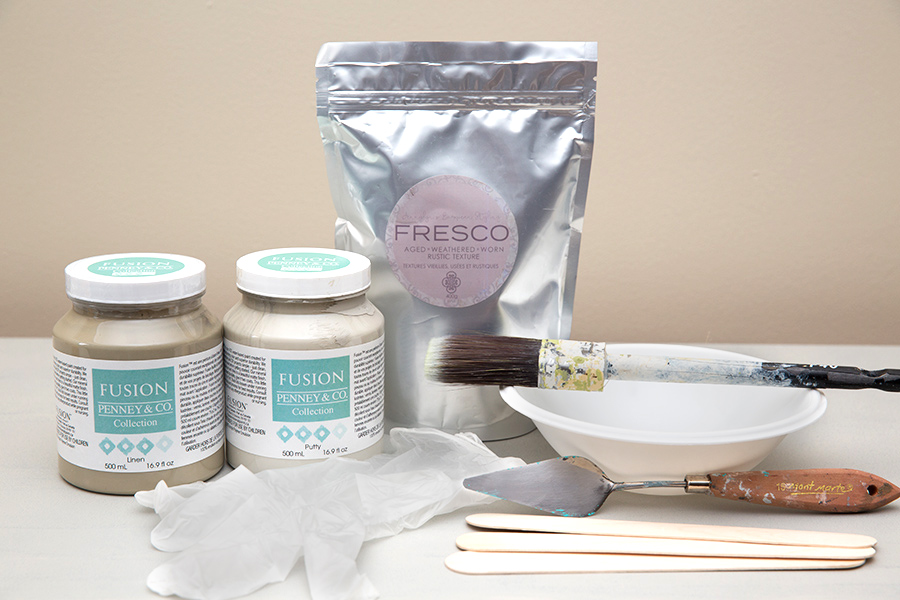
First, paint a full base coat of Putty over the whole piece. There’s no need to paint neatly here as the Fresco texture will completely cover this first coat.
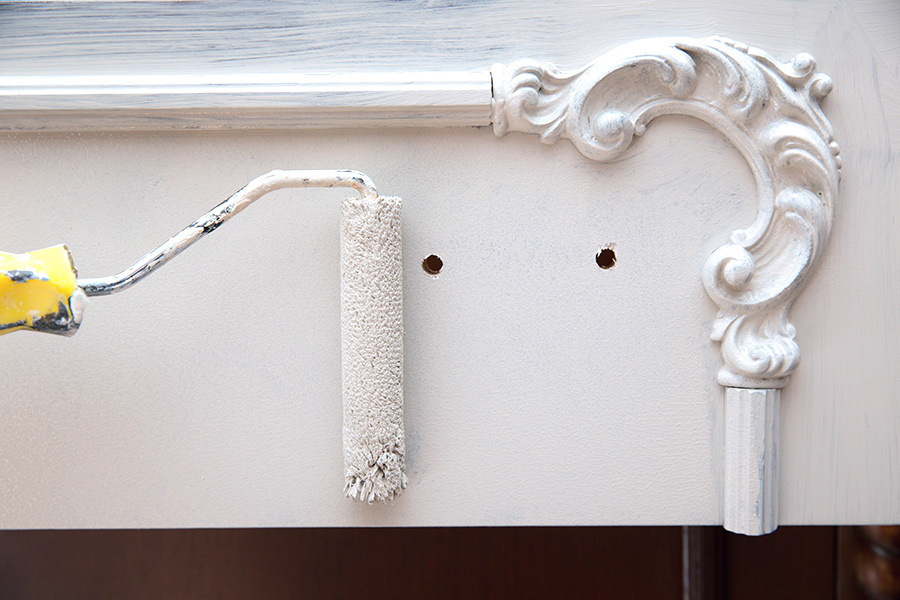
Using a mini microfibre roller on all the larger flat areas is a huge time saver. Allow this first coat of paint to dry for a full 12 hours.
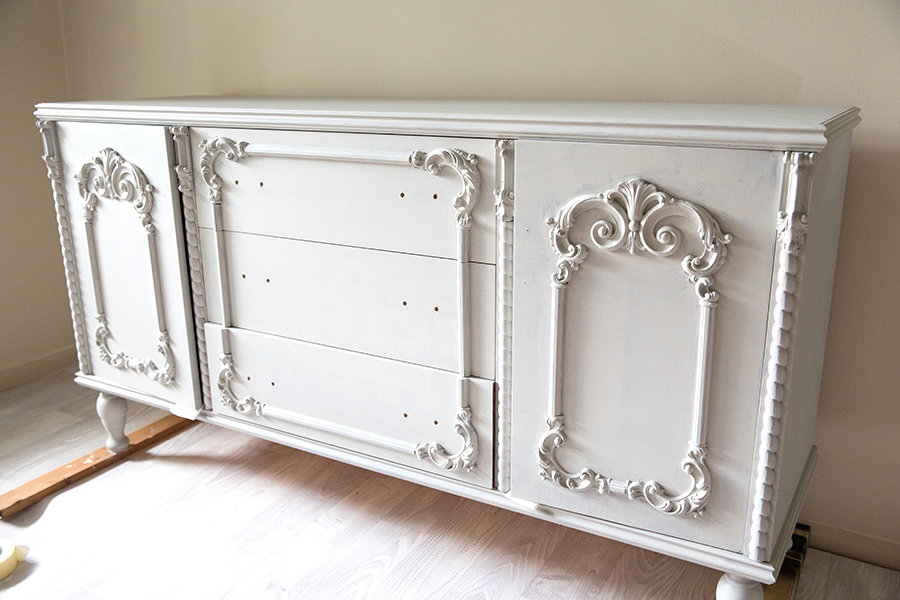
Now comes the fun part….Fresco!
Step 3. FRESCO.
There are no hard and fast rules to using Fusion’s Fresco. It’s a bit of experimentation all around. As a general rule the more Fresco you add to your paint the thicker it becomes and the more crusty the finish. You can make it super thick and trowel it on, then use a heat gun or blow dryer to achieve some impressive cracking! If you add a little too much Fresco and your mixture is too dry just add some extra paint or a little water and mix. To create a bit of texture or to accentuate brush marks add less powder. Just enough to thicken your paint.
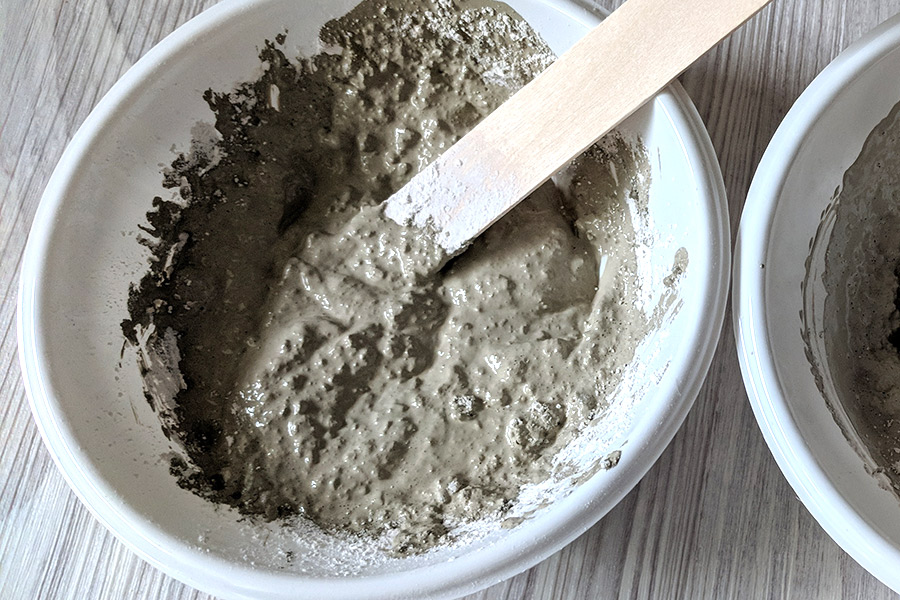
For this project the mix needed to be thin enough to paint it on while still retaining some chunkiness, so that after a short time it could be troweled to spread and blended with the second colour.
Decant some of the darker of your chosen colours (in this case, Linen) into a plastic disposable plate and add Fresco until you have a sloppy cottage cheese type mix. Paint it on randomly, some dabs and some longer strokes. Start on a small area like a door first so you get the hang of it before working on the larger sections like the top and sides. Leave any chunky bits and don’t be tempted to flatten them yet!
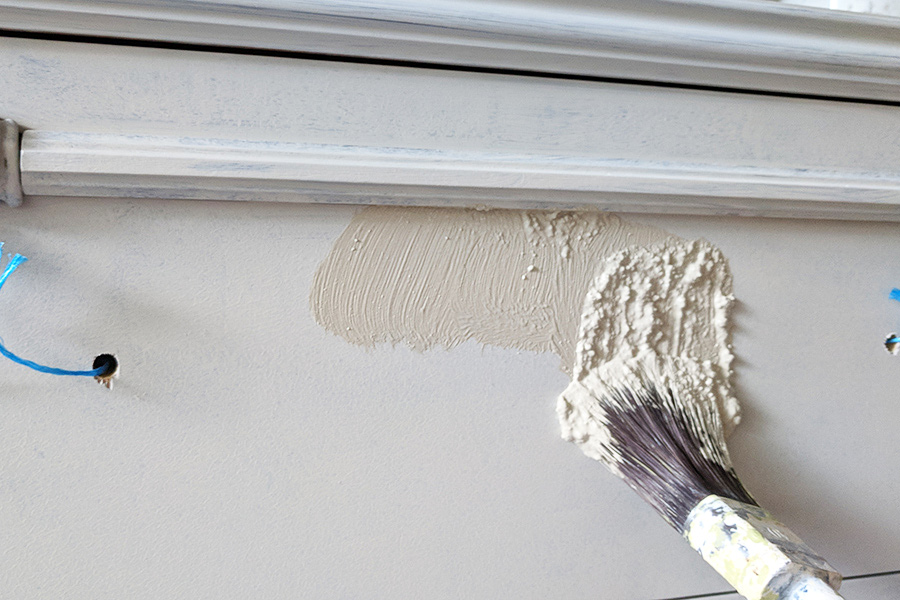
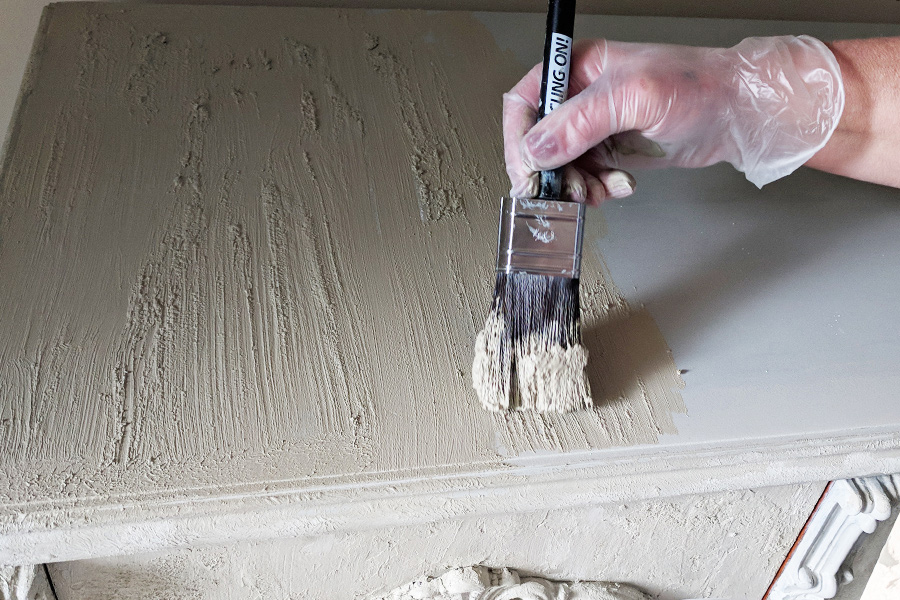
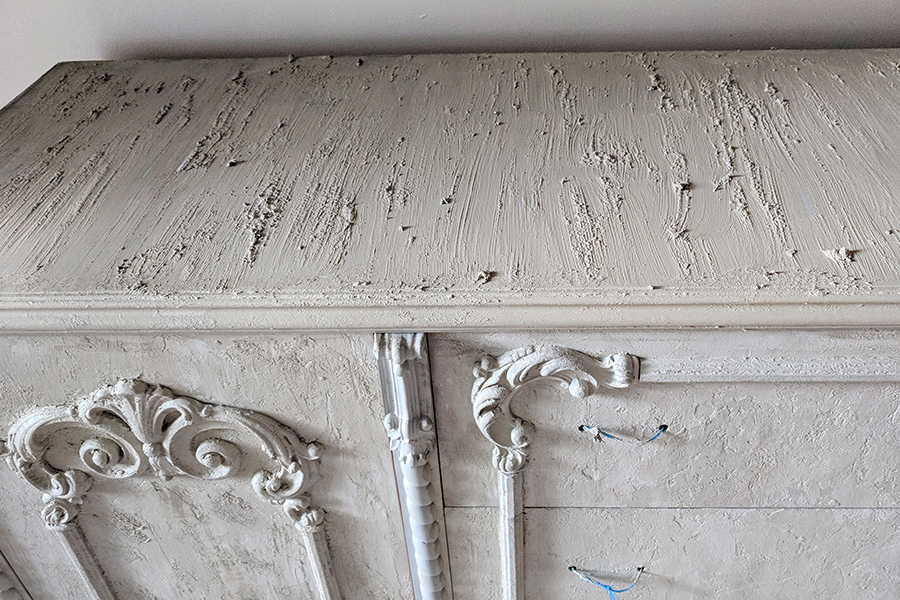
Repeat the process with your lighter colour (Putty). A little less of the second colour is needed.
Paint shorter strokes of the Putty. At this stage, it may look like a camouflage finish but it’s now that the magic begins!
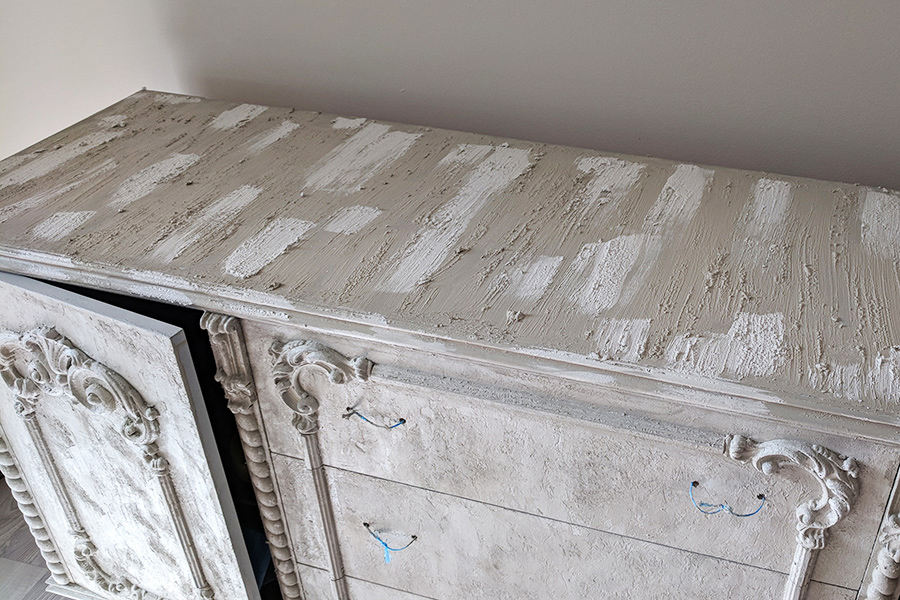
STEP 4. BLENDING.
While both colours are still pliable, take an artist’s trowel and gently drag it through the two colours, blending while taking care not to flatten the texture too much. In the areas that lose a bit too much texture, pounce them with the flat side of the trowel to add some texture back. You can also use a scrunched-up shop towel to dab and to create a different type of texture.
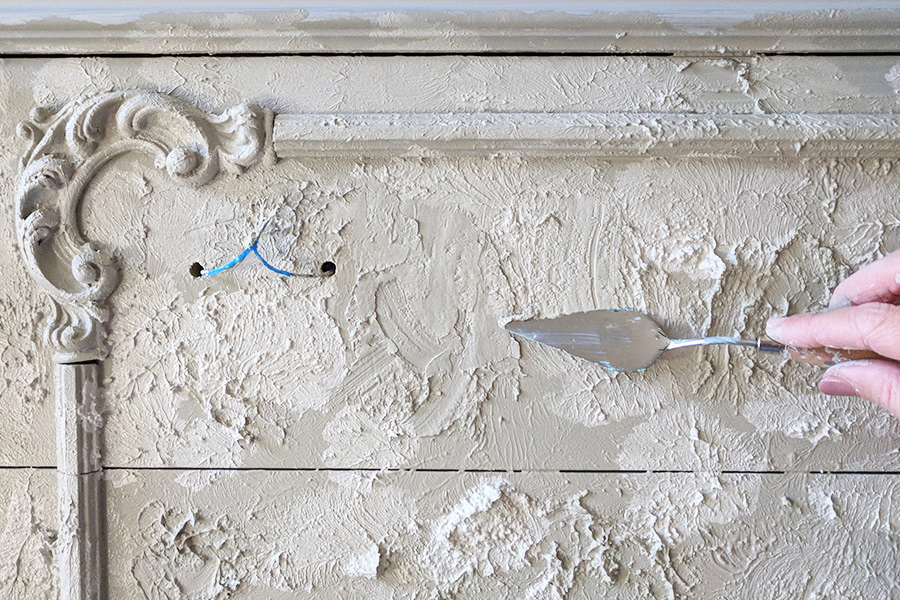
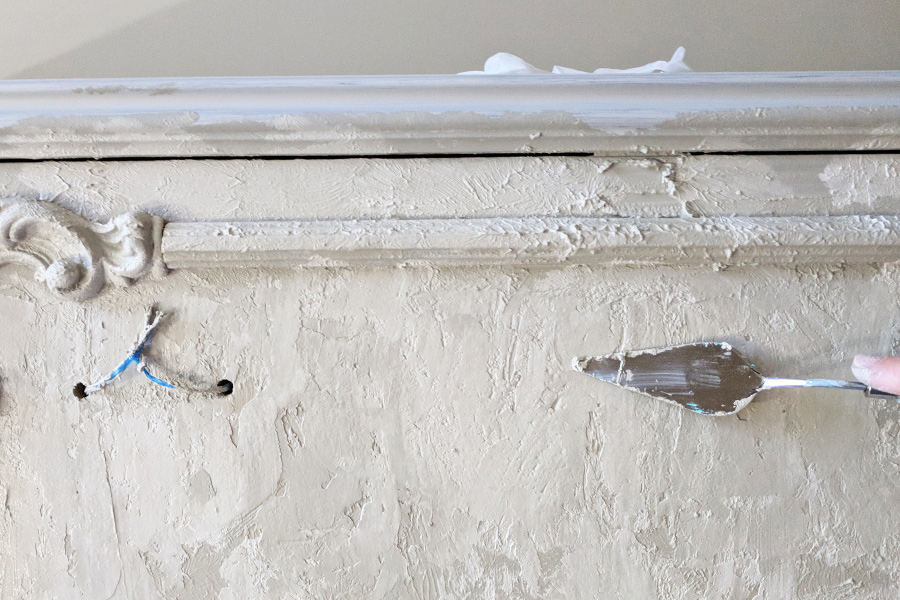
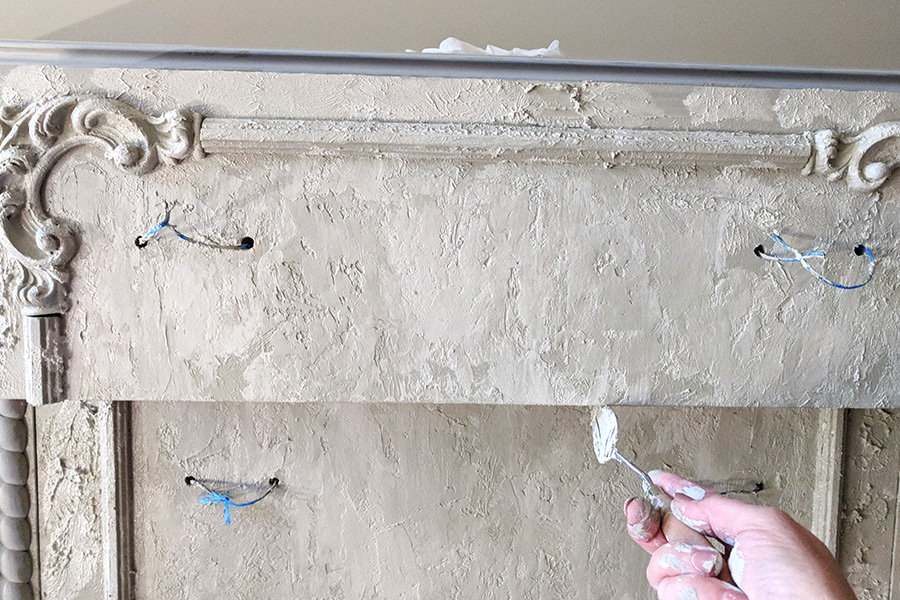
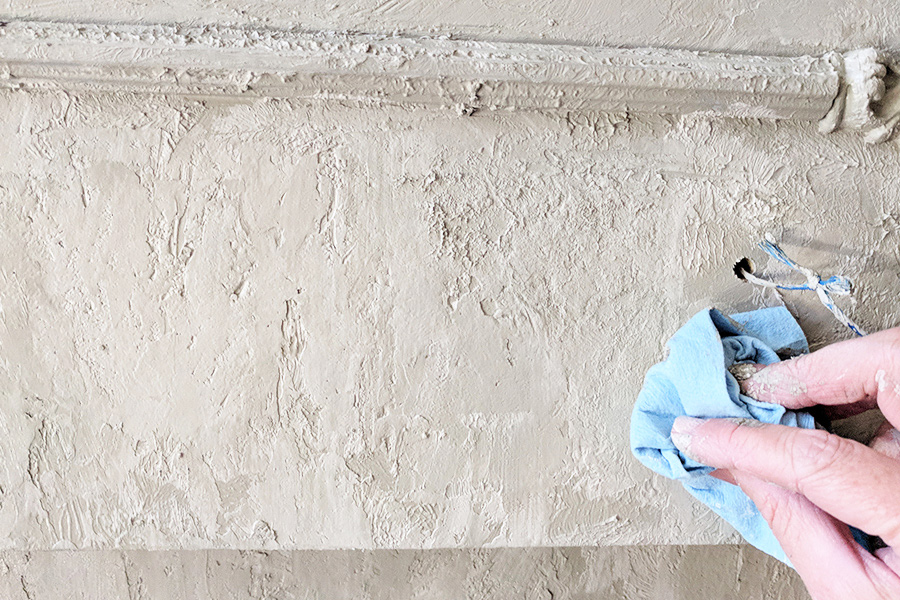
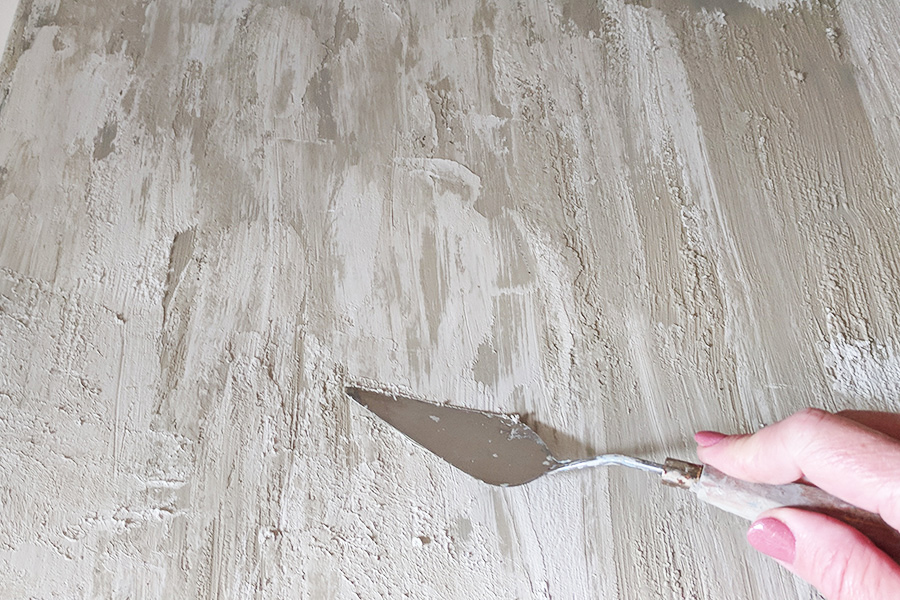
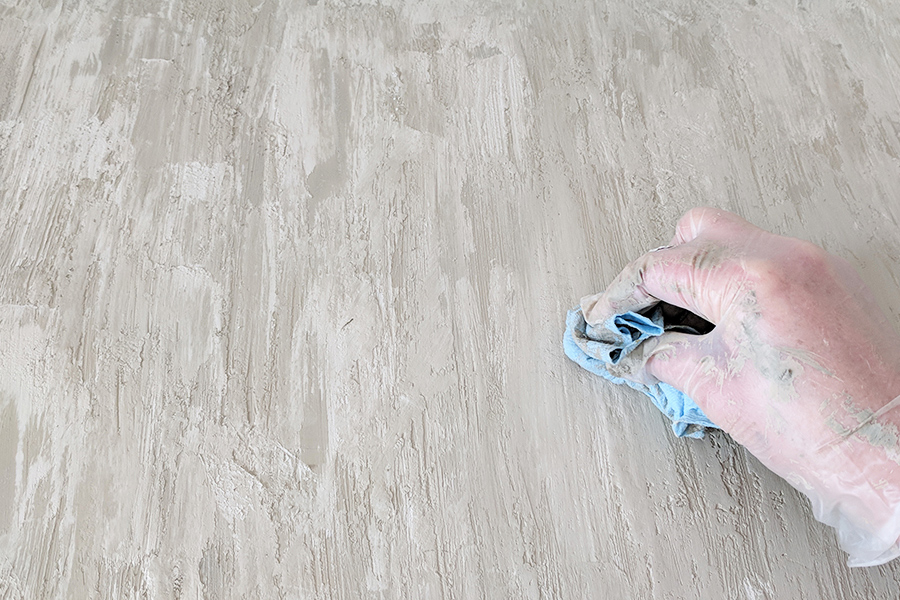
FURNITURE PAINT TIP: When the piece of furniture has drawers, it can be a good idea to leave them in so the texture pattern flows over the whole area. Make sure to pull each drawer out a little and run your trowel along the edges so the chunks don’t dry there.
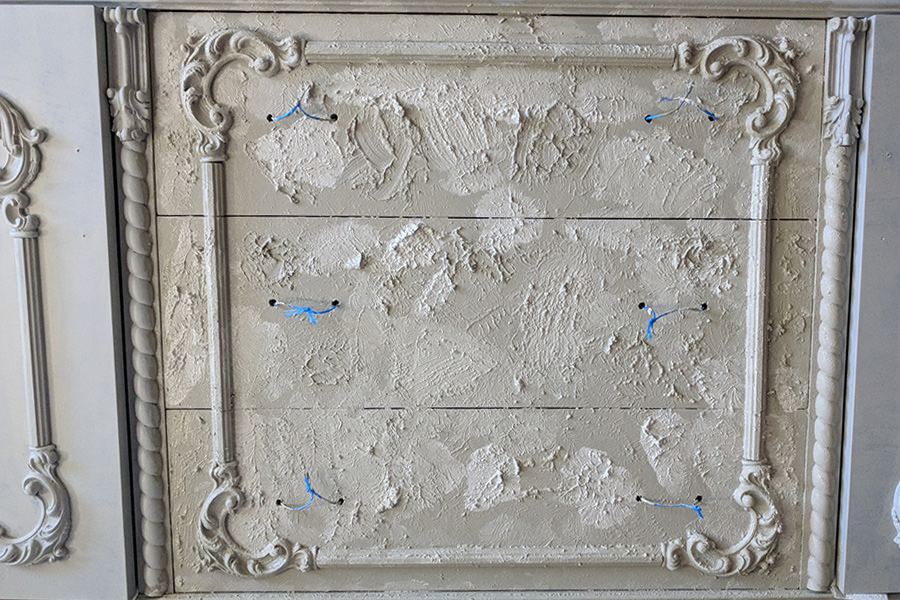
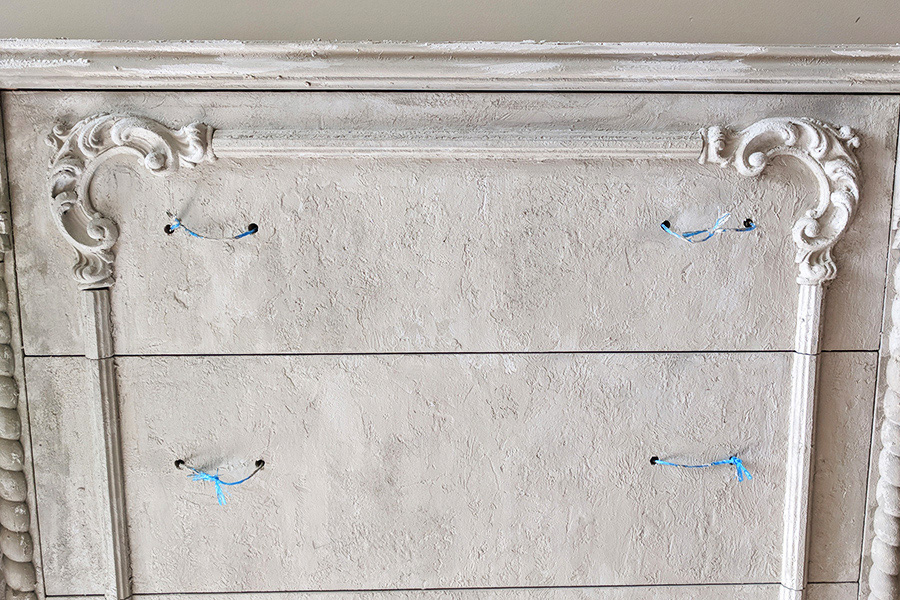
STEP 5. DETAILS.
When the paint is about 90% dry (approx 15 minutes) run your finger along the detailed areas just to smooth it down a little more. Wear gloves for this bit! Once your Fresco mix is made up you have about 10-15 minutes to use it before it starts becoming too hard to spread so don’t mix up more than you can deal with in that space of time and work in manageable sections. The top of this piece was left until last so that we had the technique down pat before having to work faster to complete a larger area.
FRESCO TIP: Use an old paint brush to apply your Fresco or commit to rinsing it clean after each section. This is one time that wrapping your brush in plastic until the next coat just won’t do. If you forget, you’ll be the proud owner of a concrete paint brush!
STEP 6. SANDING.
Once the piece is completely ‘Fresco’ed’ and dry give it a light sand just to remove any rough bits that aren’t laying nicely. There are usually a few peaks that need to be lightly sanded.
STEP 7. DRY BRUSH.
The next step is to add some extra contrast with dry brushing. Load a short bristle stiff brush (chip brushes trimmed shorter are great!) with your lighter colour. Dry brushing is exactly that, brushing with an almost dry brush. After dipping your brush in the paint, wipe 95% of the paint off onto some folded paper towel before lightly sweeping the brush over the surface of the textured paint. Pay particular attention to the areas that are the most textured as the high areas will catch the paint. We have a great video about dry brushing that you can watch and learn more about the technique.
STEP 8. METALLIC DETAILS.
Now, most authentic French Country style furniture seems to feature some gold detail. It’s easy to make a faux Tempura finish by mixing two of Fusion’s Metallic colours, 2 parts Gold and 1 part Bronze. Use the same dry brushing method to brush some ‘gold’ over any raised detail areas and around the upper & lower edges. For finer detail use a small artist’s brush.
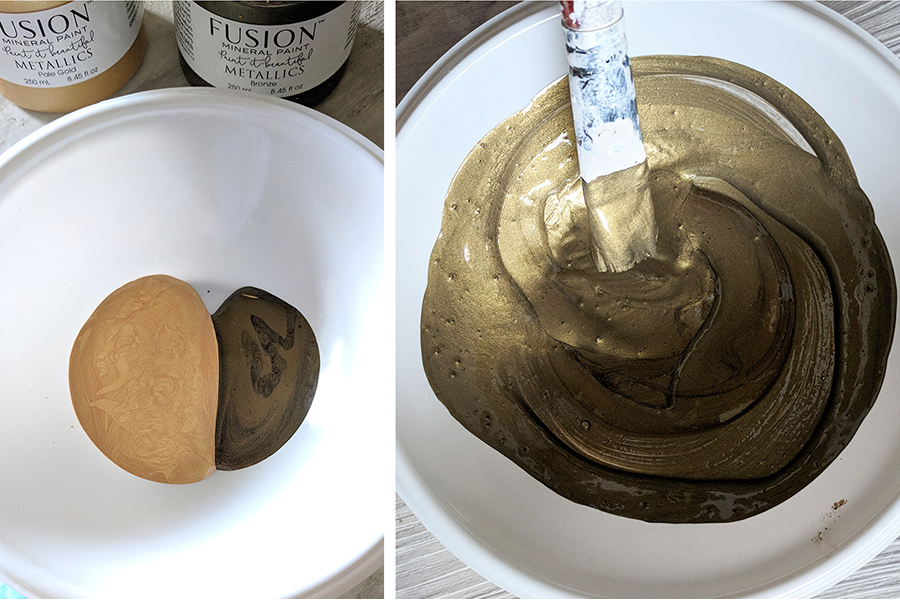
PS – We recently introduced mini pots of the Metallic range so you can mix colours without buying a full-sized pot!
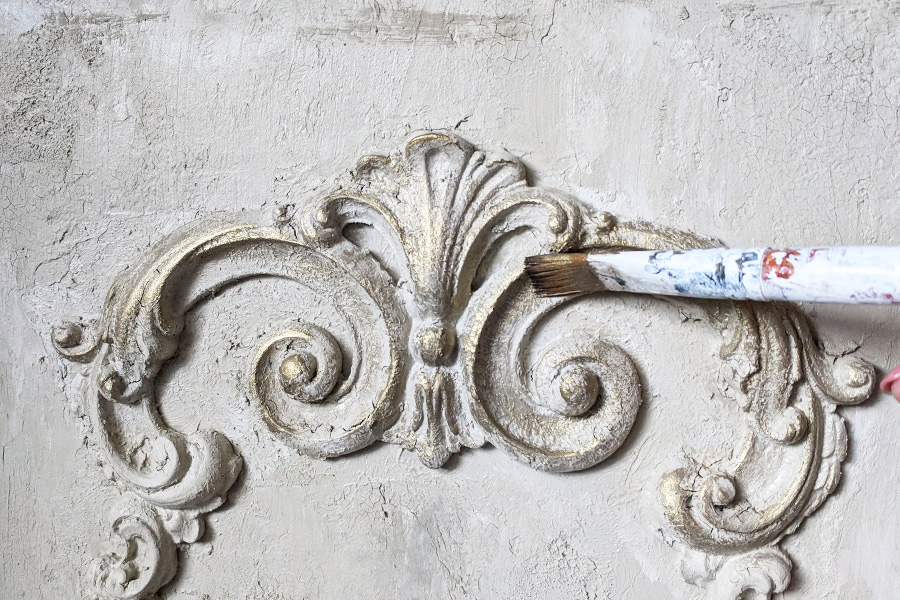
STEP 9. FINISHING TOUCHES.
Fix any hardware back in place. The handles were switched out on this piece to a more French inspired style, so the same faux tempura mix was dry brushed over the new hardware to compliment the gold detail.
STEP 10. WAX.
Fusion has a built-in top coat so doesn’t require any extra finish, however, Fresco can be quite grainy to the touch, so we have waxed just the top of this piece to make dusting a little easier. Using a wax brush, work the wax over the entire surface before wiping back any excess with a lint-free cloth. See the subtle sheen here? It gives it an extra bit of that little something as well!
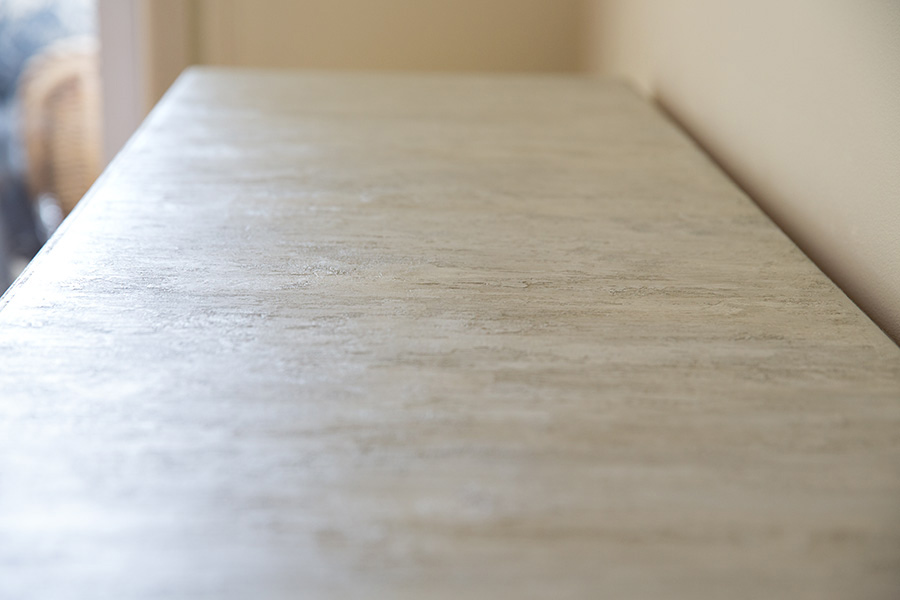
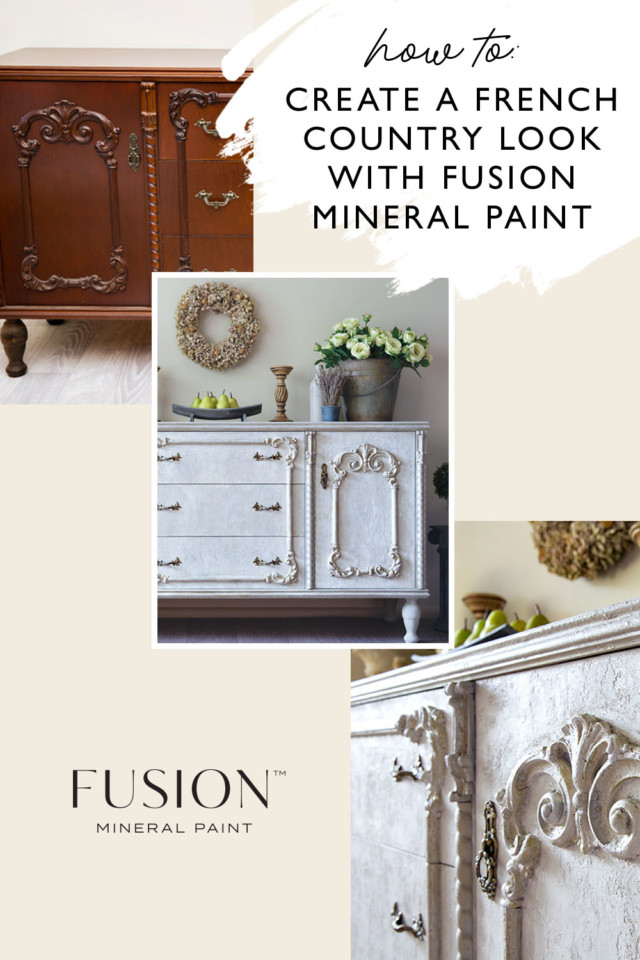
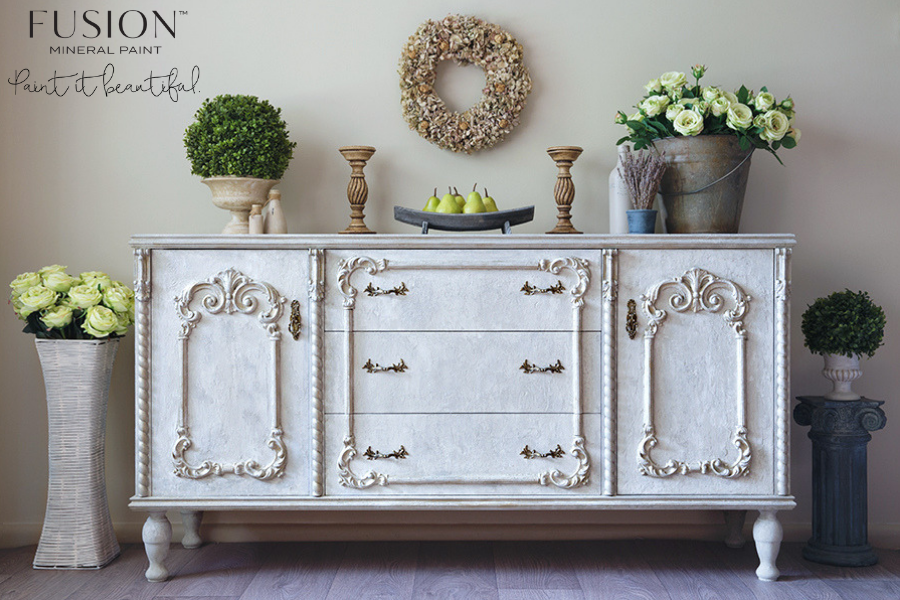
What you will end up with is an absolutely gorgeous French Country Charmer like this!
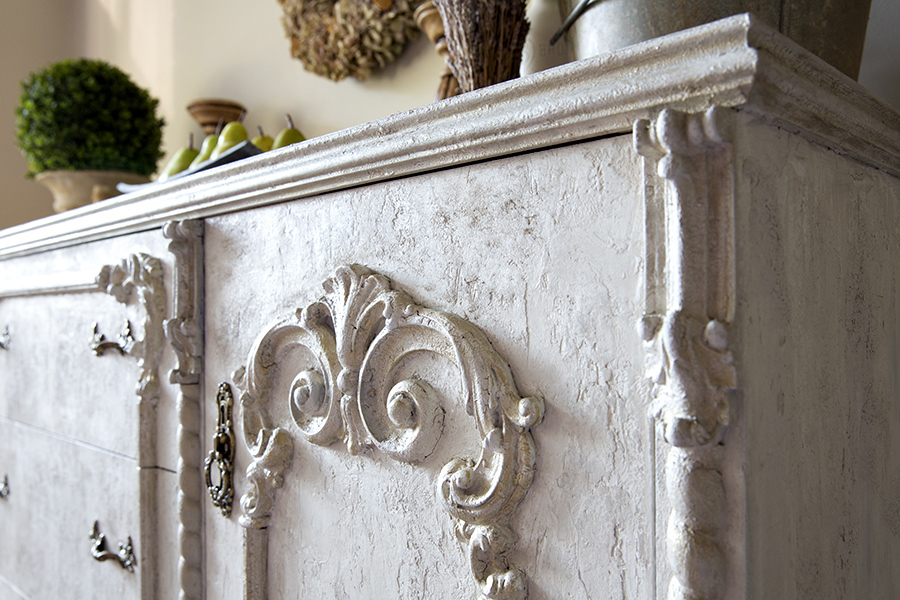
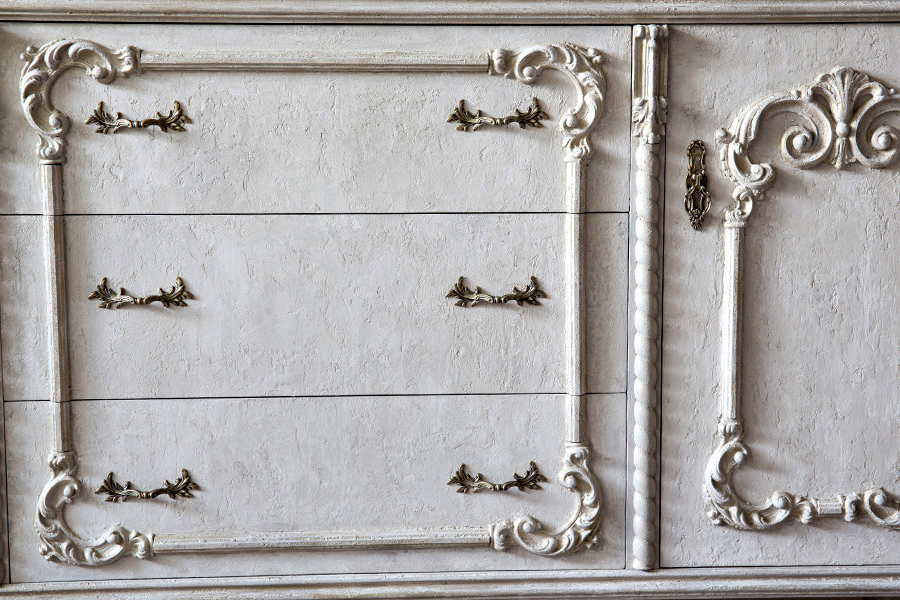
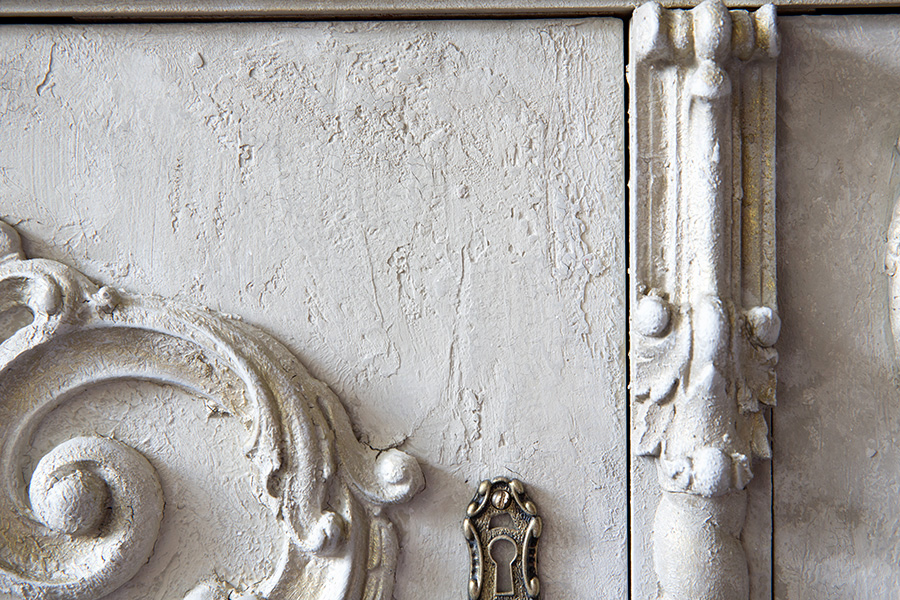
The details thanks to the Fresco are just breathtaking!
Creating a French Country look with Fusion products
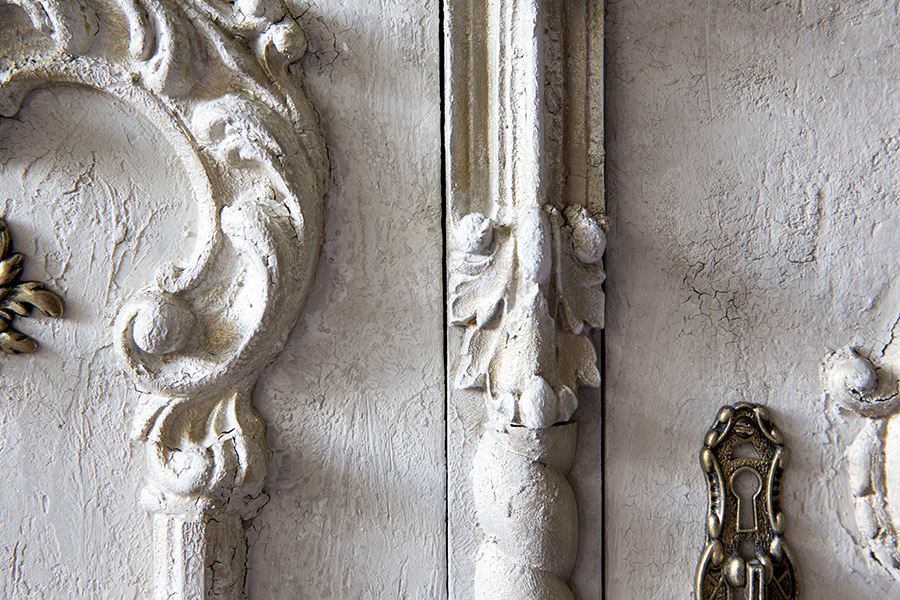
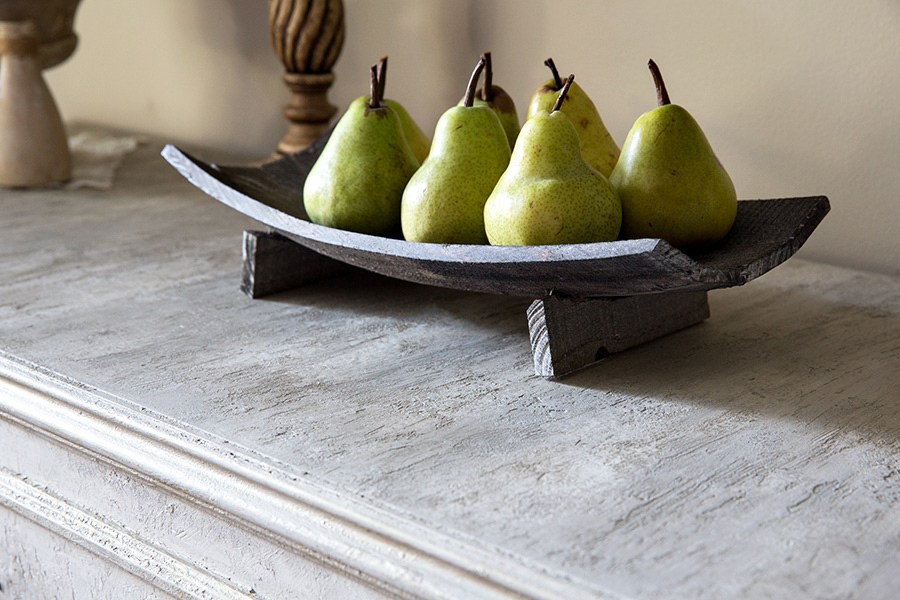
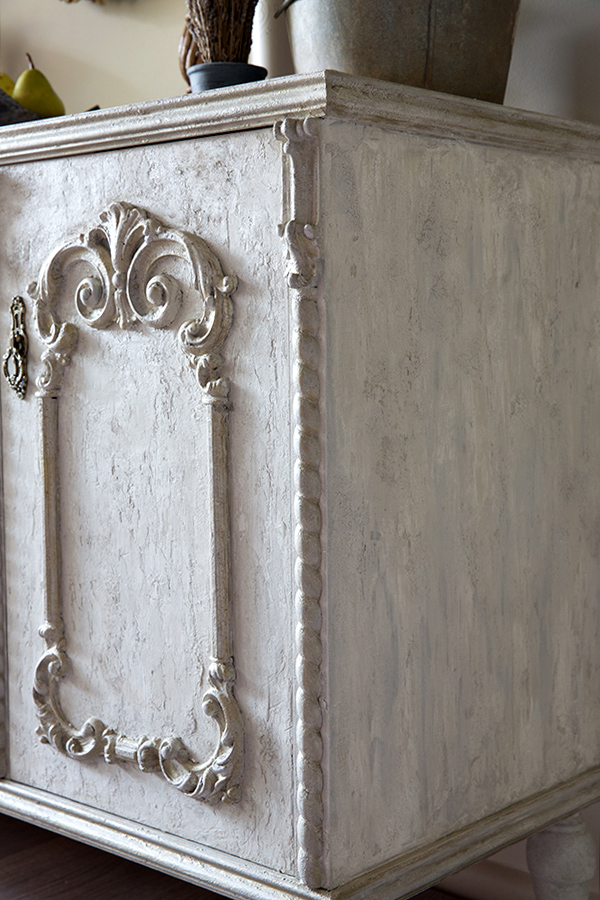
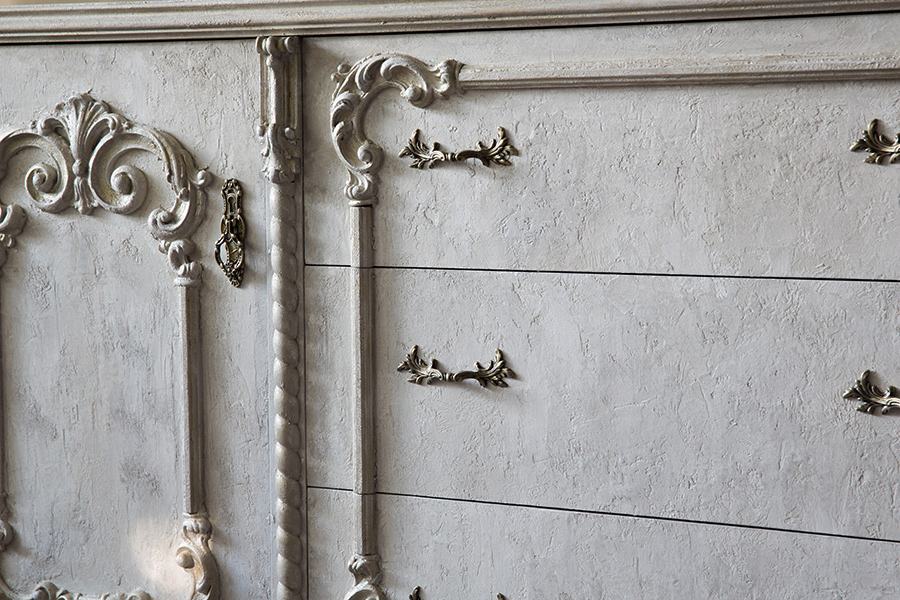
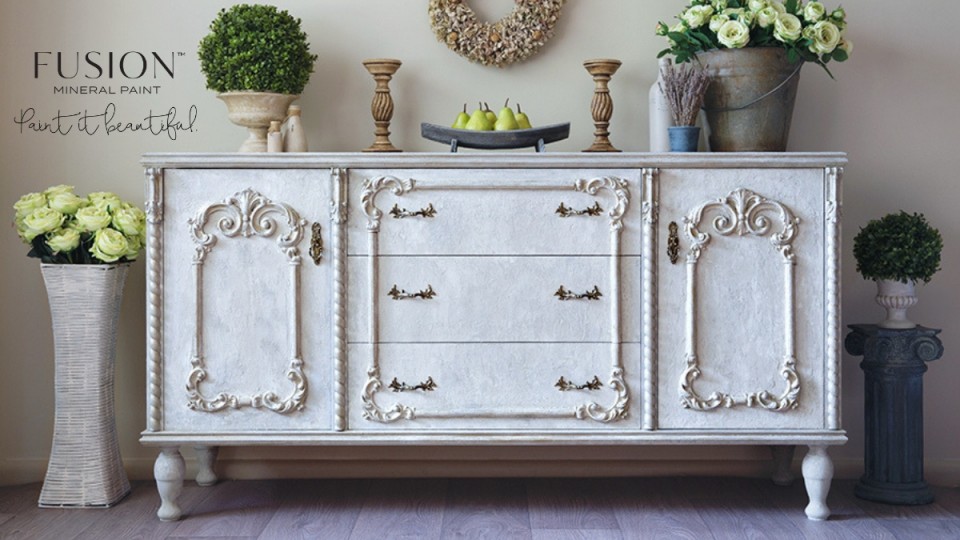
Can you believe the Before photo? Veneer sideboard to this beauty!
If you do follow our French Country tutorial be sure to share your finished piece in our Paint It Beautiful Facebook group so we can admire your skills! We love to see finished projects.
Project created & styled by Hayley Justice, Coast & Country Vintage.
PIN IT FOR LATER


One Response