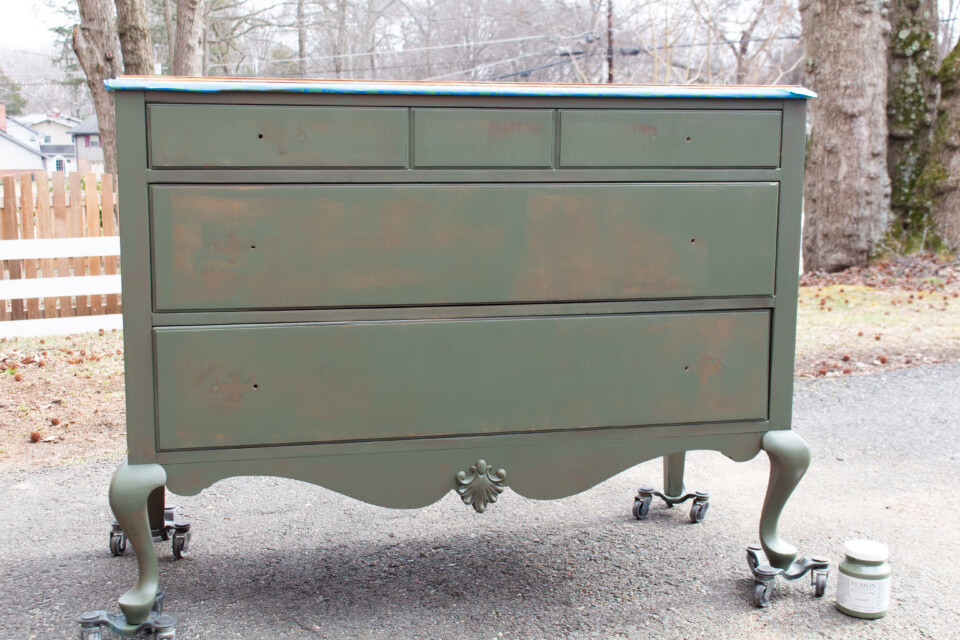
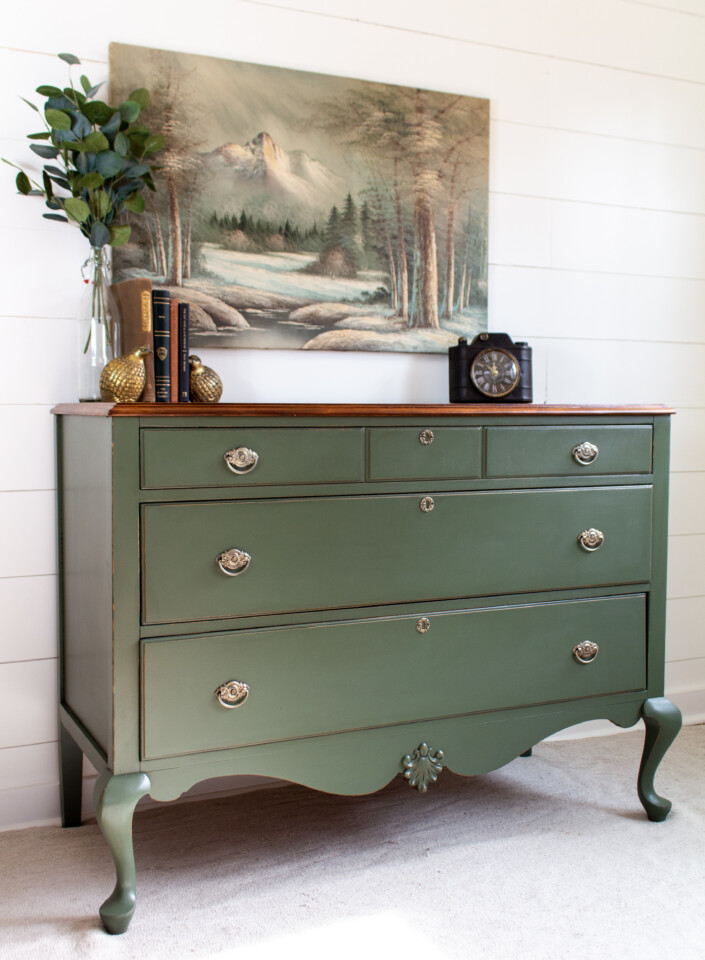
Furniture transformations can be quite labour intensive and can get expensive if you have a piece that requires a lot of work or a vision that may involve more costs than you’d like. One way to save yourself some money (and a few trips to the hardware store) is to use. The best painting tools for a dresser makeover. Our kit has literally every tool you need to transform your furniture from a sad, curbside find to a fresh and modernized piece you’ll absolutely want in your home. This French provincial-style piece was picked up off the curb and transformed using Bayberry.
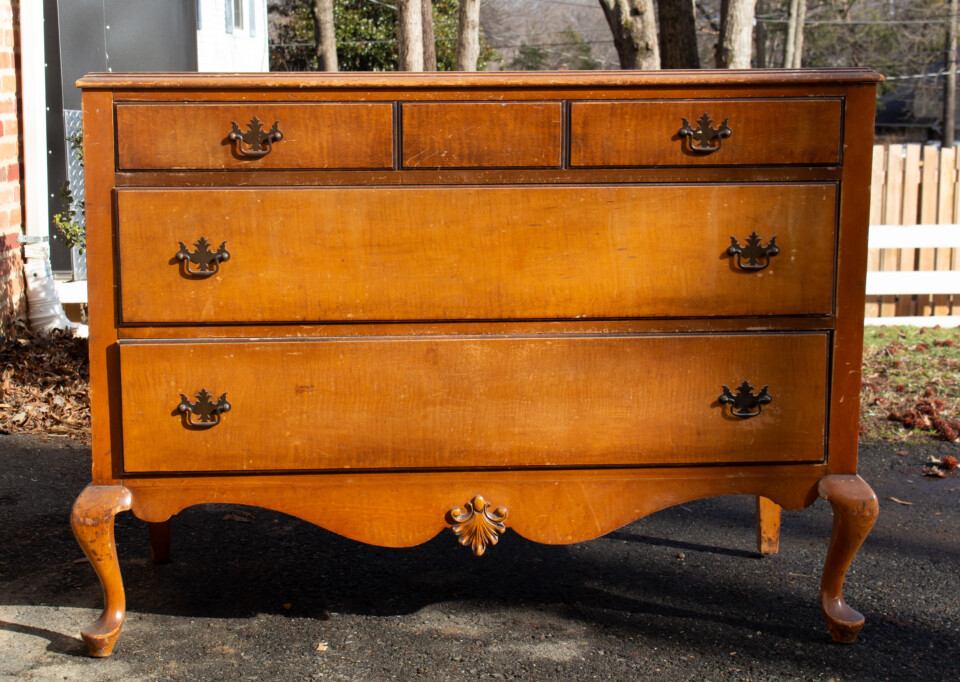
Below is a list of supplies you’ll need to complete a similar project:
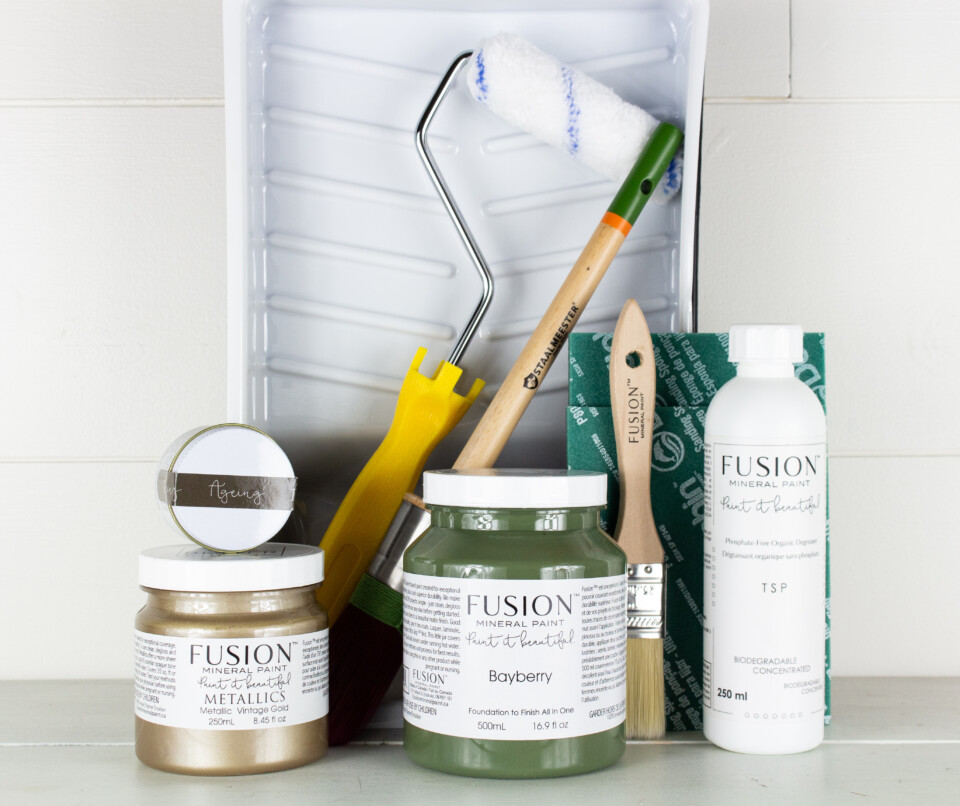
Fusion Painter’s Kit
The Kit includes
- 1 X 180 grit Reusable Sanding Pad
- 1 X 220 grit Reusable Sanding Pad
- 1 Roller with frame with microfiber roller
- 1 Microfiber Roller Refill
- 1 X 1 inch synthetic brush
- 6 Cloths for wiping on Tough Coat or Hemp Oil
- 1 Tip Guide with Pro Tips on How to Prep & Apply for best results
- Wash bin with warm water & Sponge
- Fusion TSP Alternative
- Fusion Mineral Paint Bayberry
- Fusion Mineral Paint Metallics Vintage Gold
- Fusion Ageing Wax
- Staalmeester Round Brush
- Artist Brush
Prepping furniture right
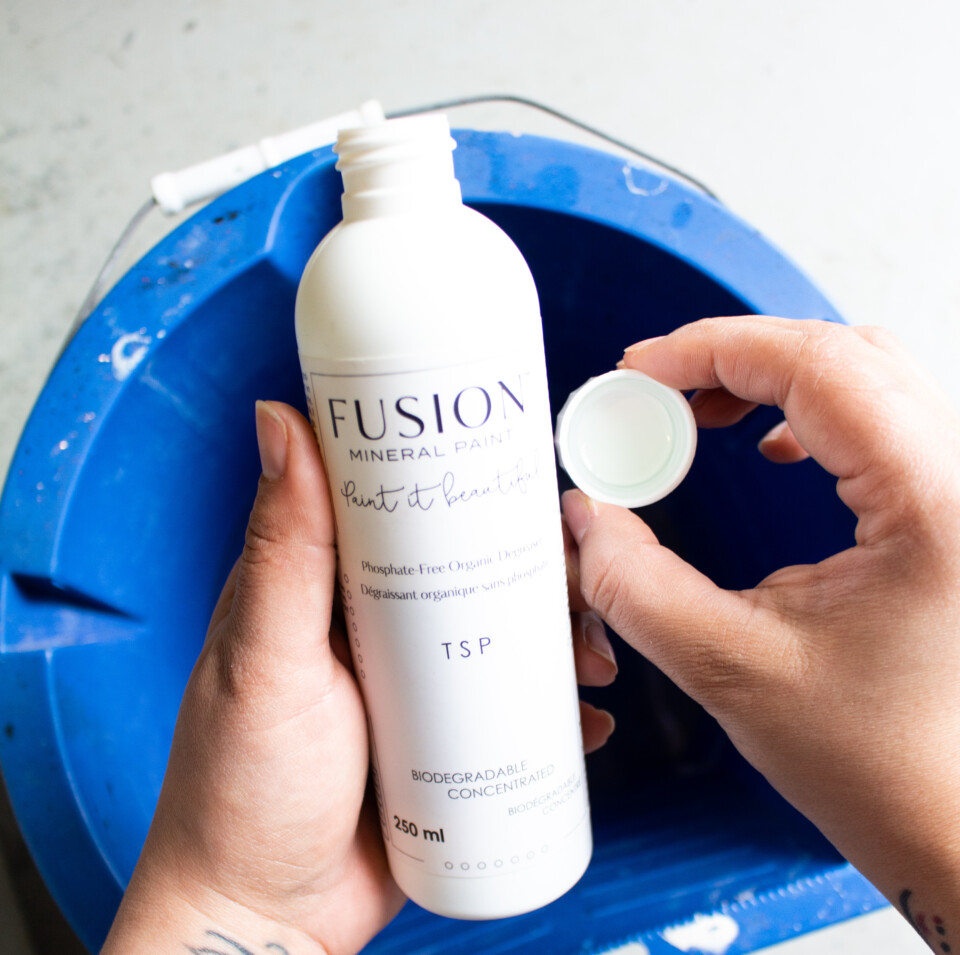
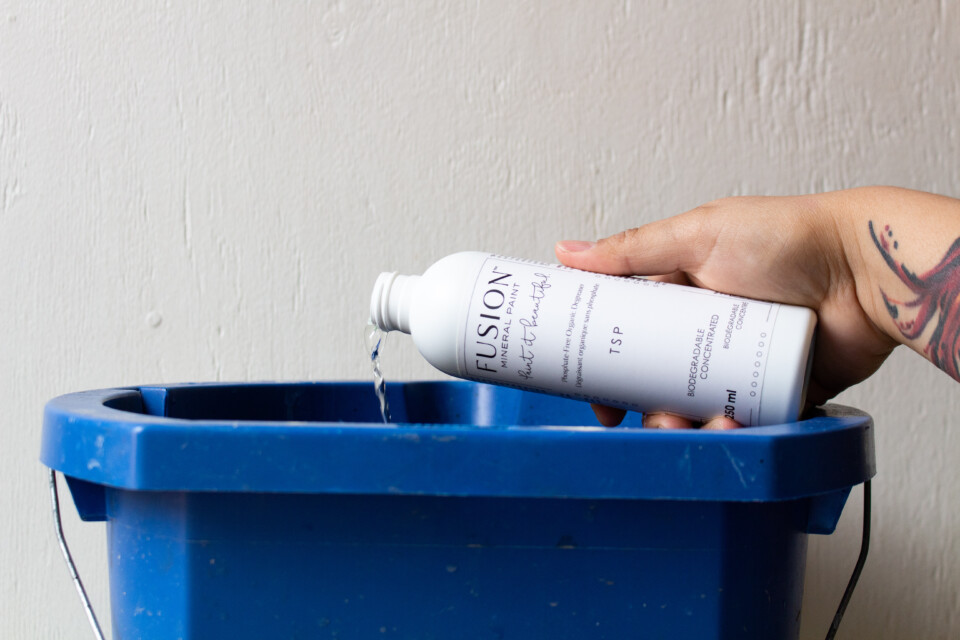
Since this piece was exposed to the elements, we definitely want to make sure it’s prepped properly so that we have a durable finish. Cleaning is one of the most important steps in furniture refinishing, so we recommend using a 1:5 part solution of Fusion TSP Alternative to warm water in a bucket with a scrubbing sponge.
Next, we wanted to use the Fusion Sanding sponges to scuff sand our piece. We first used the 180 grit paper, then the 220 grit to smooth out any imperfections.
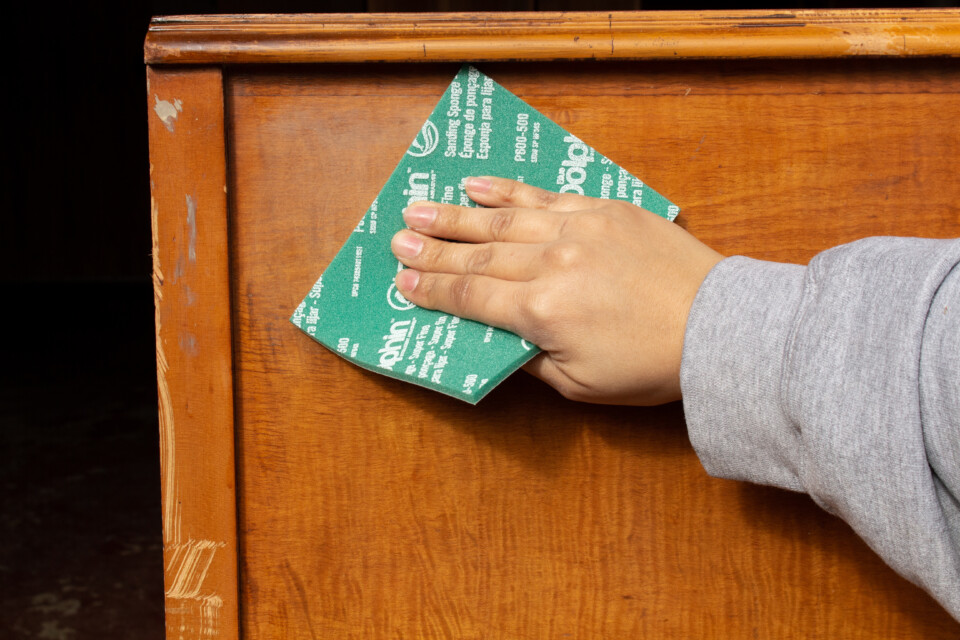
You’ll want to use your Fusion TSP solution to clean your piece after sanding to remove any dust or debris from your surface. Allow to air dry for at least an hour prior to painting. Everything you need is in the Fusion Painter’s kit.
Fusion Bayberry
Bayberry was chosen for this project because of its fantastic coverage and sophisticated colour. We knew it would look beautiful over the original wood and give a new spin on the style of the piece.
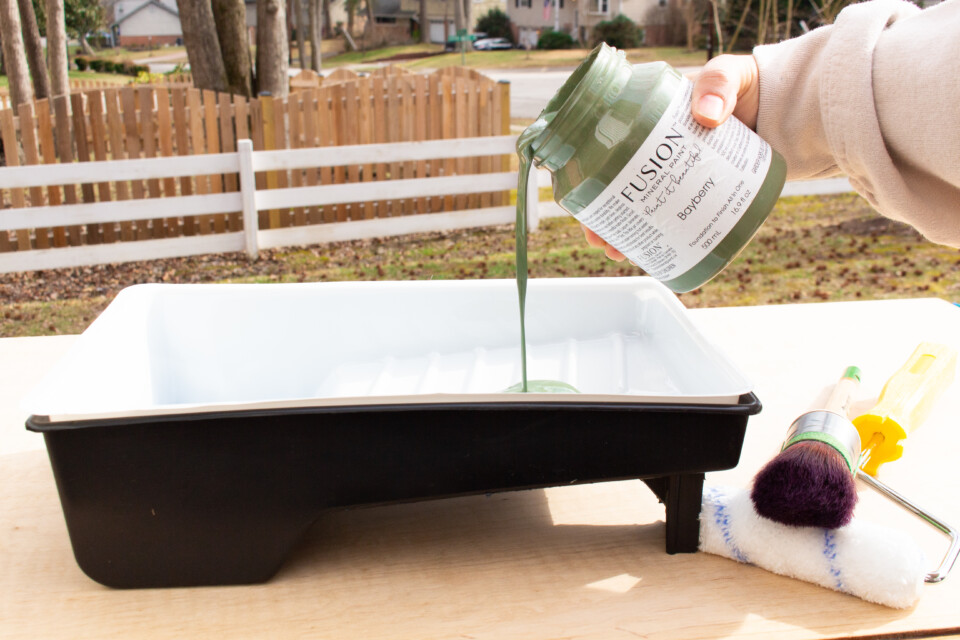
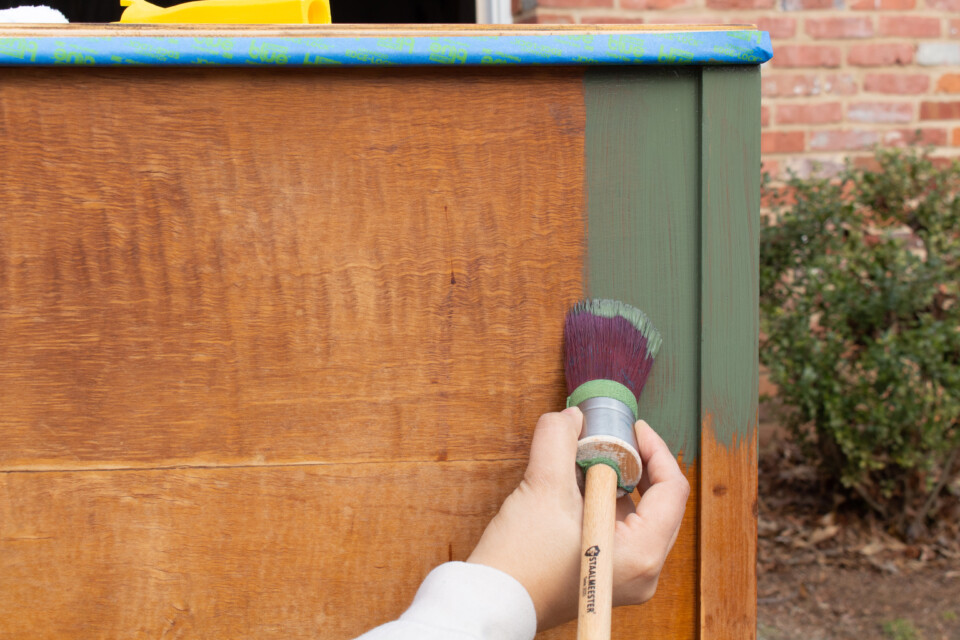
We used our Staalmeester Round brush to fill in the corners and details of the piece first.
Then we rolled the nap roller from our Fusion Painter’s Kit in Bayberry to give it a complete coat of paint. Be careful not to overload your roller to avoid creating any texture in your finish or drips on any surfaces. Less paint is more!
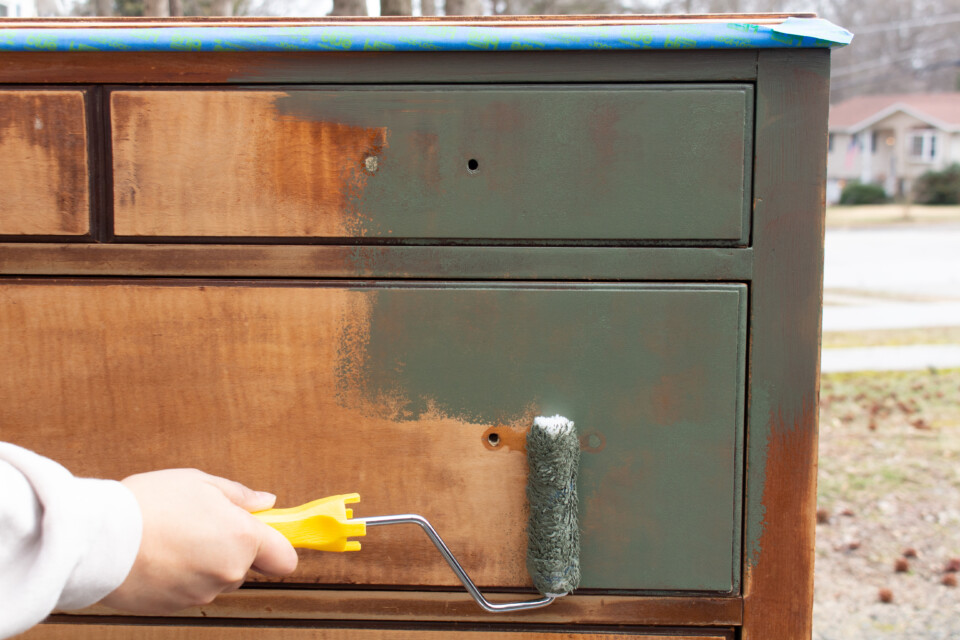
The first coat will look slightly transparent, but less is more. With two coats we were able to achieve full coverage.
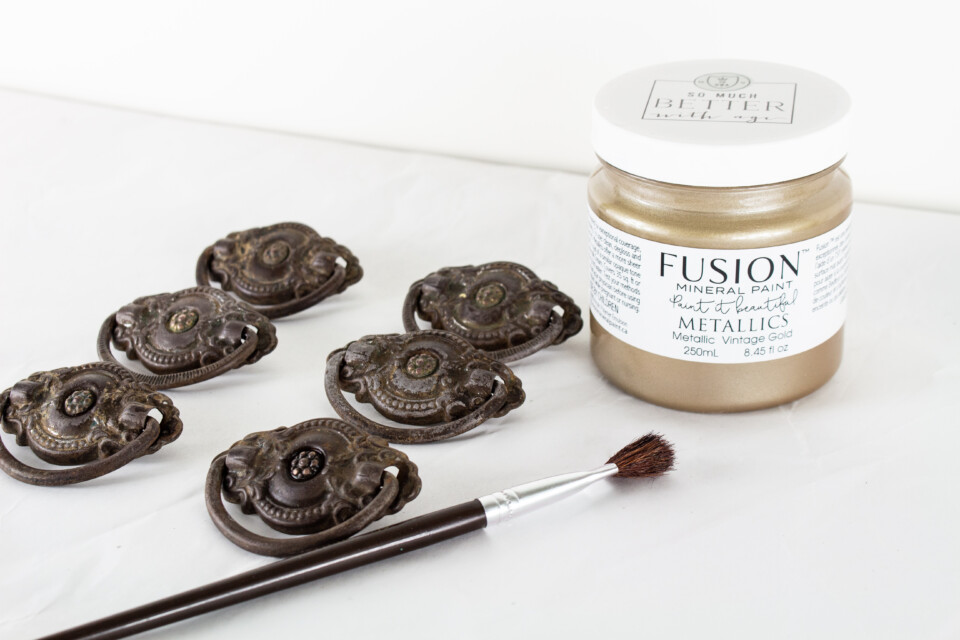
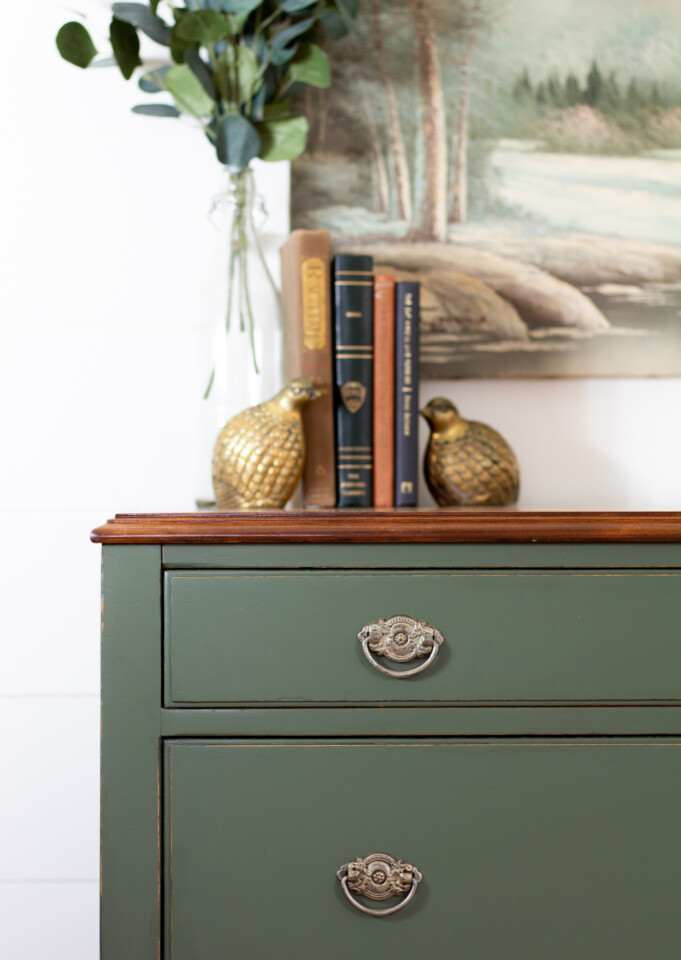
While your last coat of paint is drying, you can take the time to update the original hardware if you don’t feel like purchasing a brand new set. The perfect way to do this is by using Fusion’s Metallic Paints which come in a variety of colours. For this project, we used Metallic Vintage Gold, and an artist brush to lightly coat the original hardware.
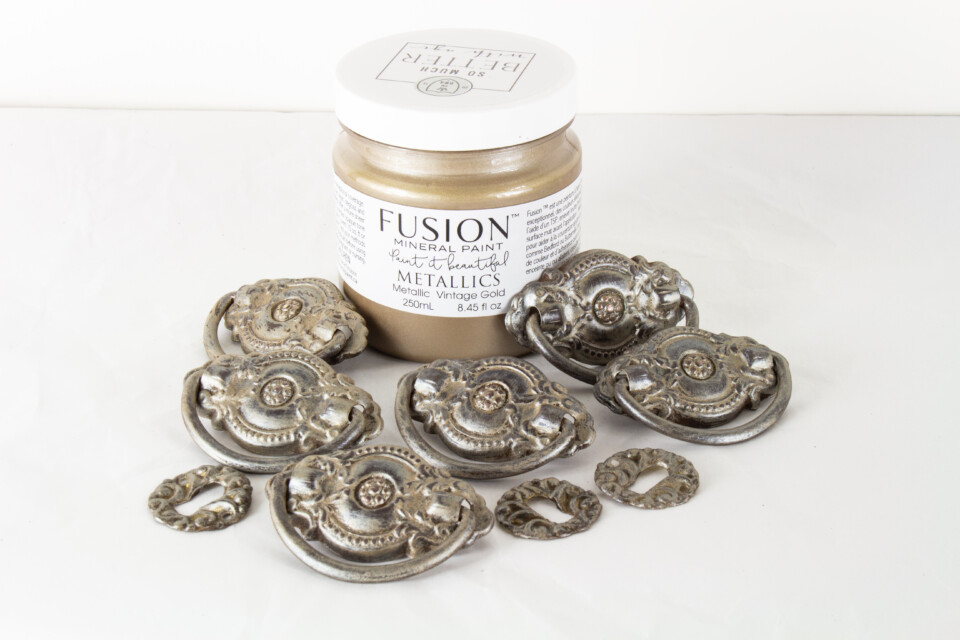
Just look at the difference a light coat of metallic paint can do. This hardware looks refreshed and brand new, but still full of the vintage character we love.
Finishing Touches
After your paint has dried, you can kick up your finish a notch by adding an accent wax. While Fusion doesn’t need a topcoat, adding a decorative wax is another way to ensure protection and give you a subtle satin sheen and adds some age to your finish.
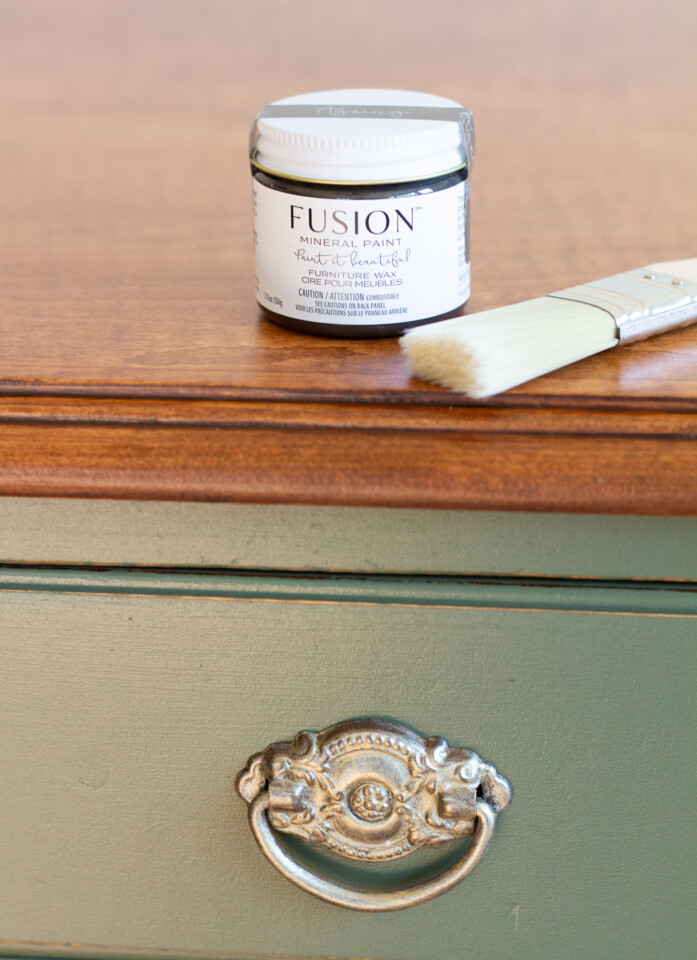
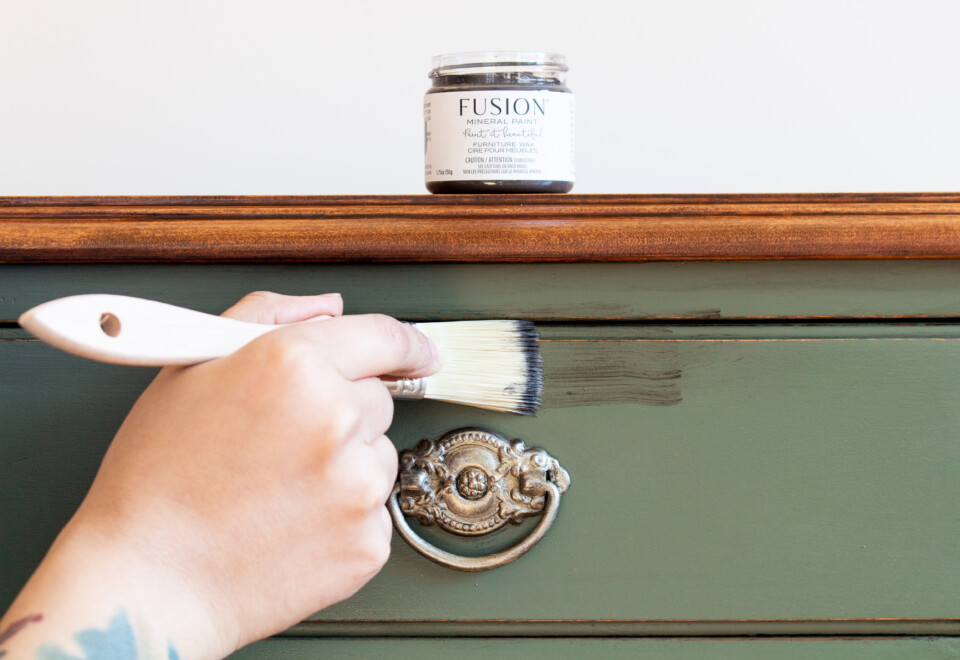
Applying Fusion waxes is extremely easy. The buttery finish makes the application and buffing nearly effortless. To apply, simply dip your 1-inch brush that comes with your painter’s kit into your wax, allow to sit for a few minutes, then take the wiping cloths and buff away the wax. For this project, we used the “Ageing” wax to give our piece some depth and to highlight the recessed areas.
The transformation of furniture never gets old! We took this curbside find that was discarded and turned it into a beautiful piece of furniture with a quality finish.
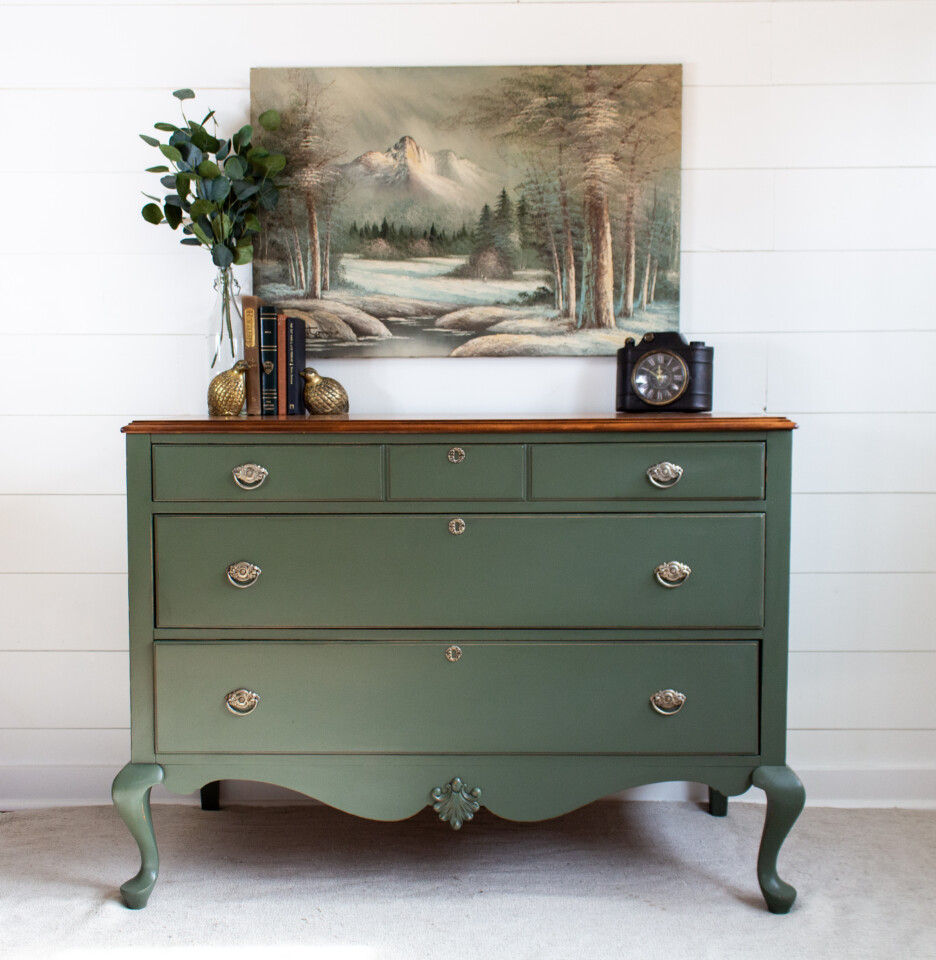
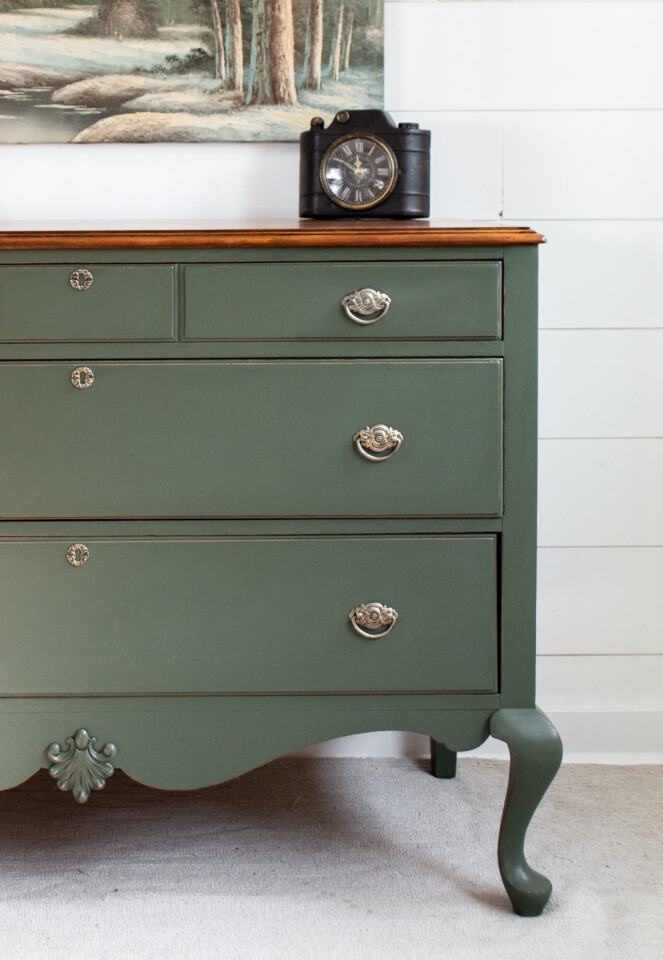
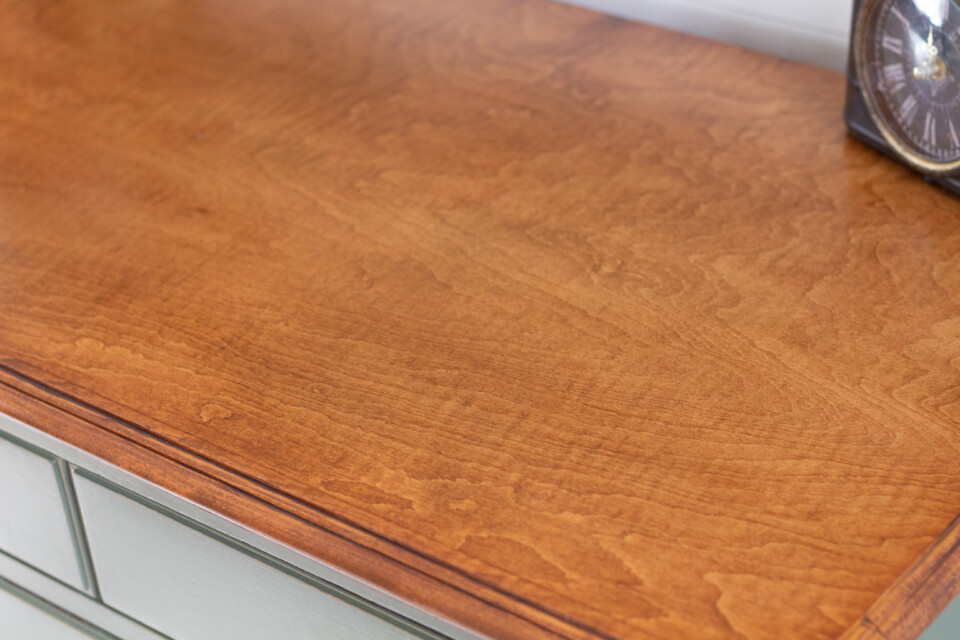
The combination of the ageing wax and metallic accents really elevates this piece to create a one-of-a-kind finish. The beautiful, maple finish on the hardwood top looks nearly brand new.
The hardware was truly a gem on this piece. Updating it with Metallic wax was definitely the way to go to ensure we recycled every part of the original piece.
We’d love to see your curbside find transformations!
If you loved this makeover we think you would like these tutorials


