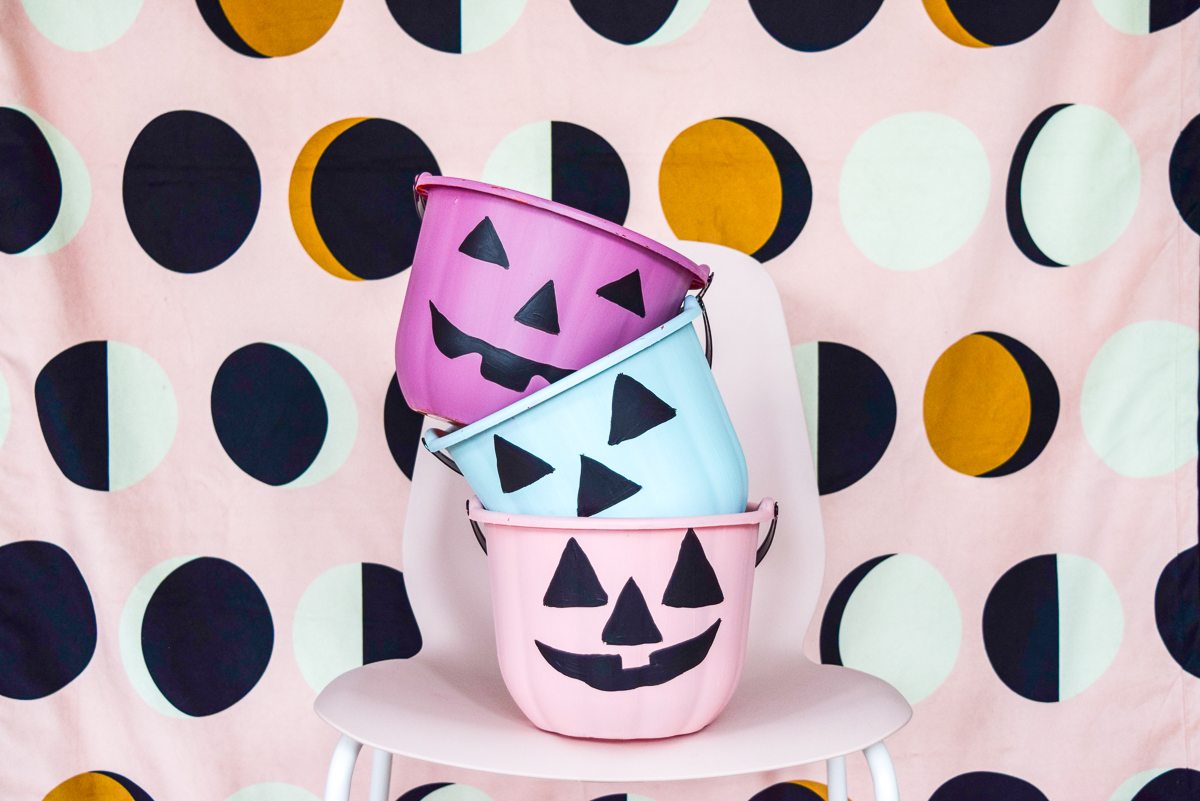
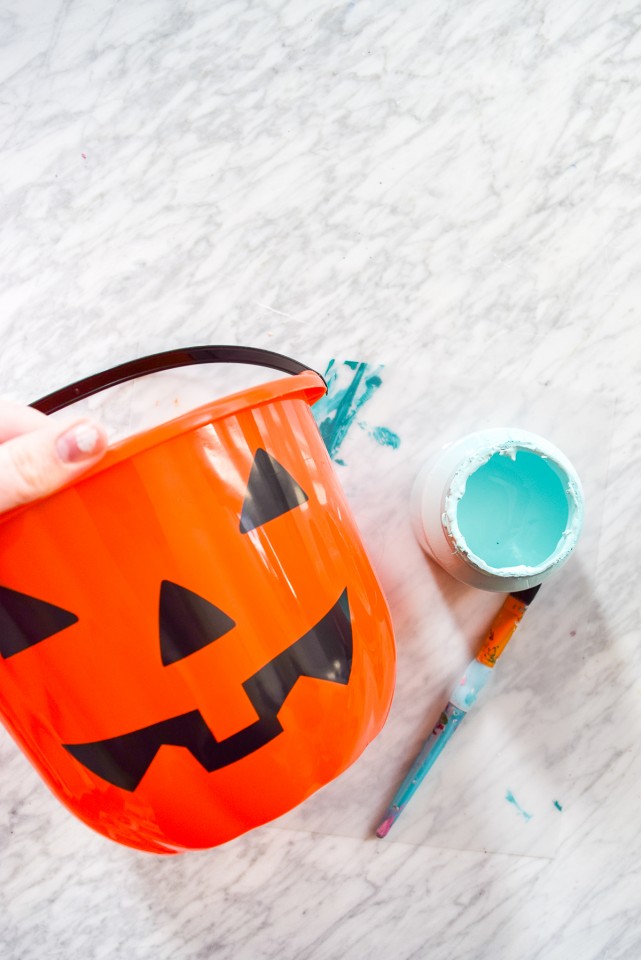
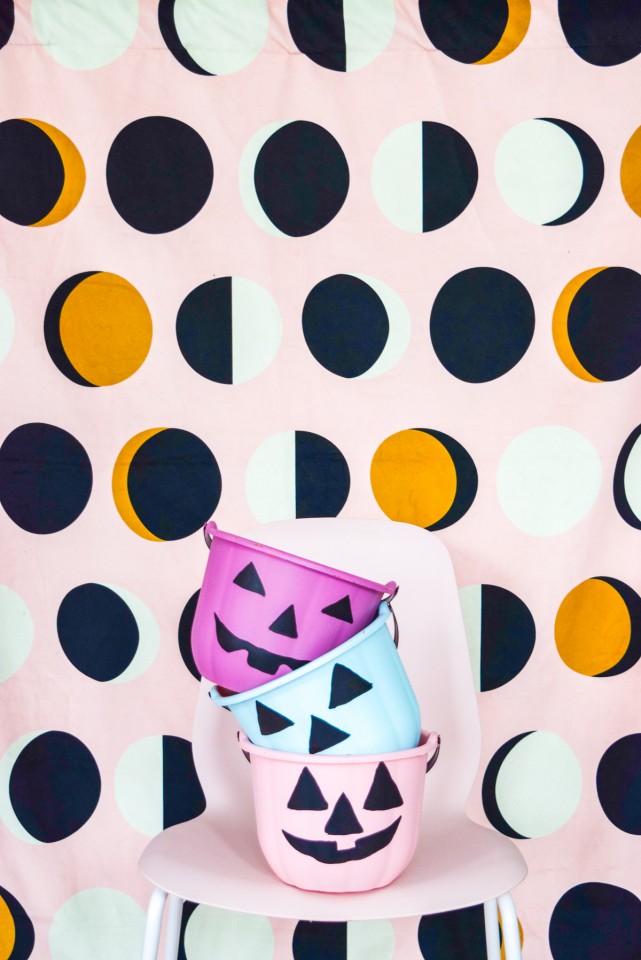
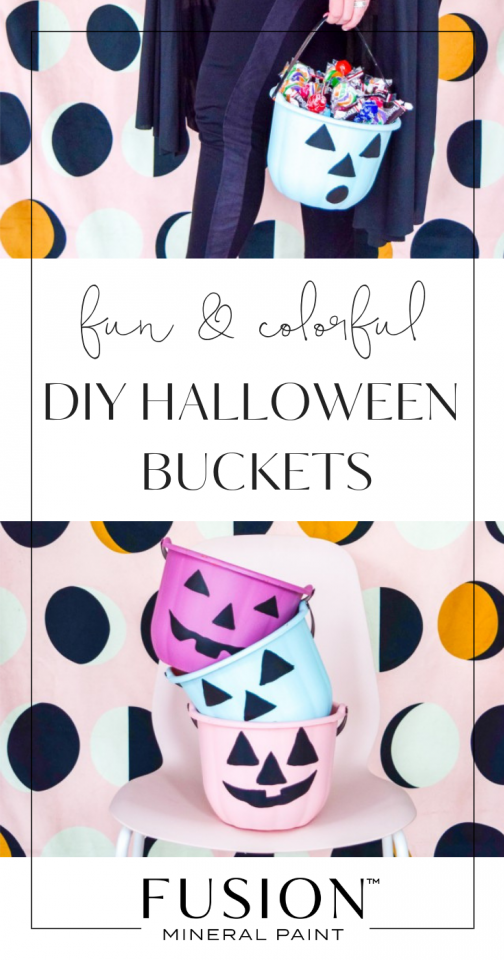
They’re a staple of every childhood Halloween and trick or treating – the orange plastic pumpkin bucket! These days, with the treat bags getting fancier and fancier, there’s something to be said for the simplicity of the bucket. That doesn’t mean it doesn’t deserve an update though and with Fusion Mineral Paint you can give your trick-or-treating gear a pastel makeover in a few simple steps! Today we are sharing how to create these colourful DIY Halloween Buckets for trick or treating.
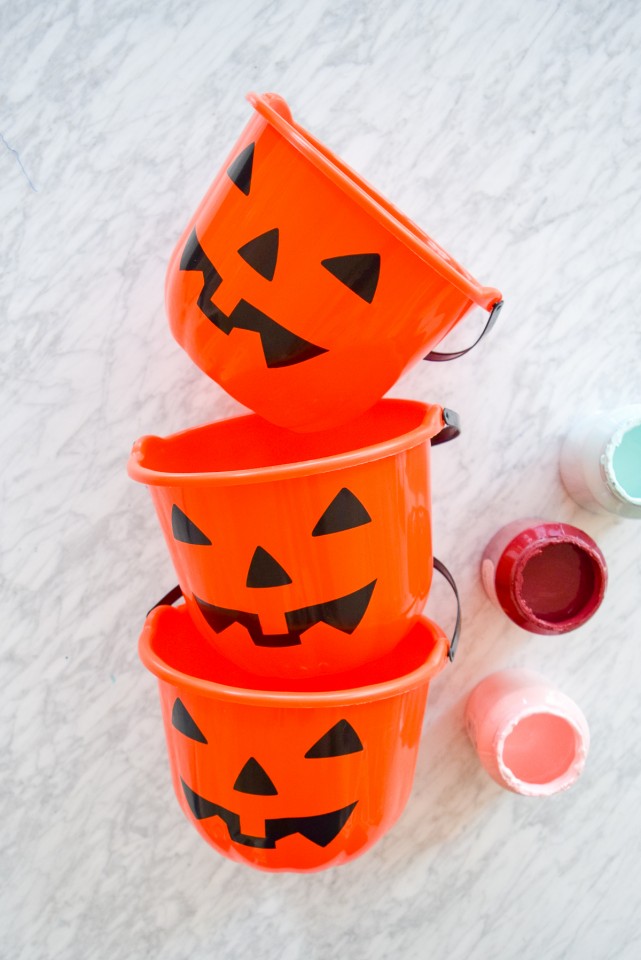
What you’ll need to create your DIY Halloween Buckets
- Fusion Mineral Paints in colours of your choice (we chose Cranberry, English Rose (discontinued, we now recommend Peony) & Little Teapot
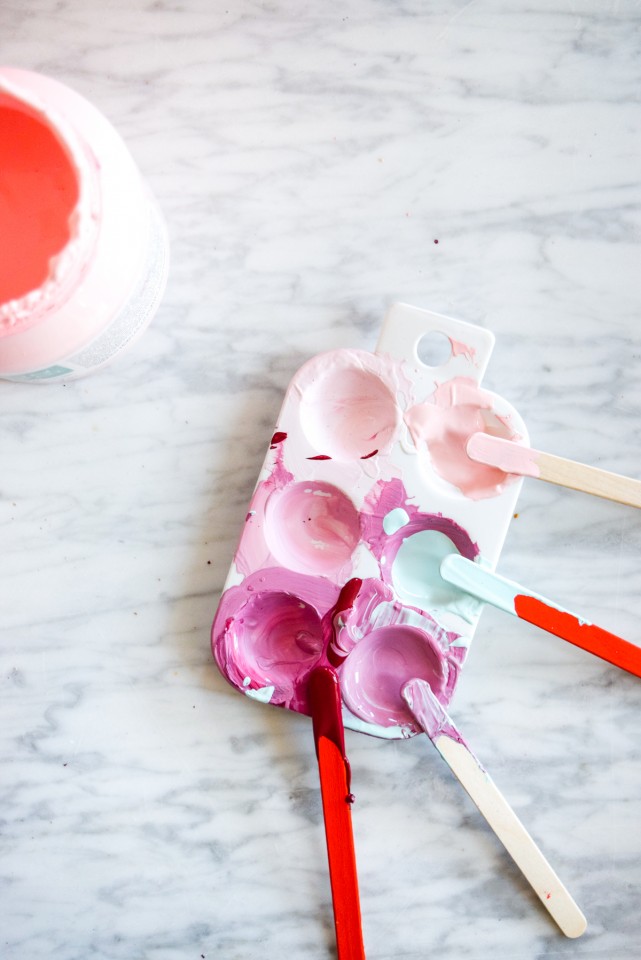
- A paint palette
- Plastic pumpkin head buckets (check your local dollar store or grocery store)
- Paint brushes
- A craft marker and Fusion Mineral Paint in Coal Black for details
How to make your colourful DIY Halloween Buckets:
Start by mixing the colours you want. Equal parts of Fusion Mineral Paint in Cranberry and Little Teapot were used to create the pastel purple used on one of our Halloween buckets. The others are English Rose (discontinued, we now recommend Peony) and Little Teapot respectively.
By all means, if you have a Fusion colour you love, then absolutely use the one that you enjoy. Or maybe you’d like to coordinate the bucket with your costume. GO FOR IT!
You’ll need about three coats of paint to get consistent coverage on the Halloween buckets. You can see what it looks like after the first coat and by the end of third, it looks perfect!
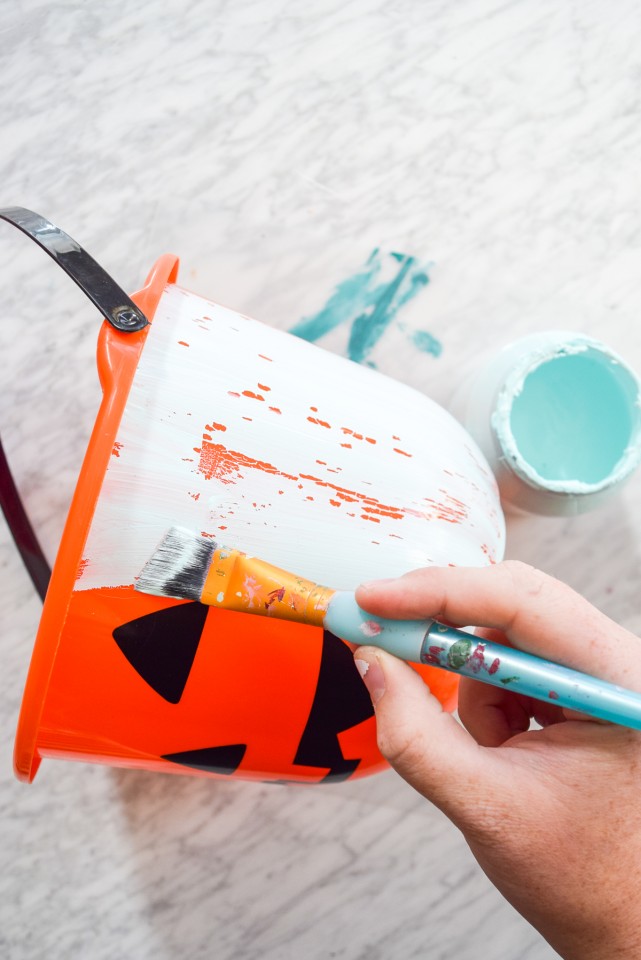
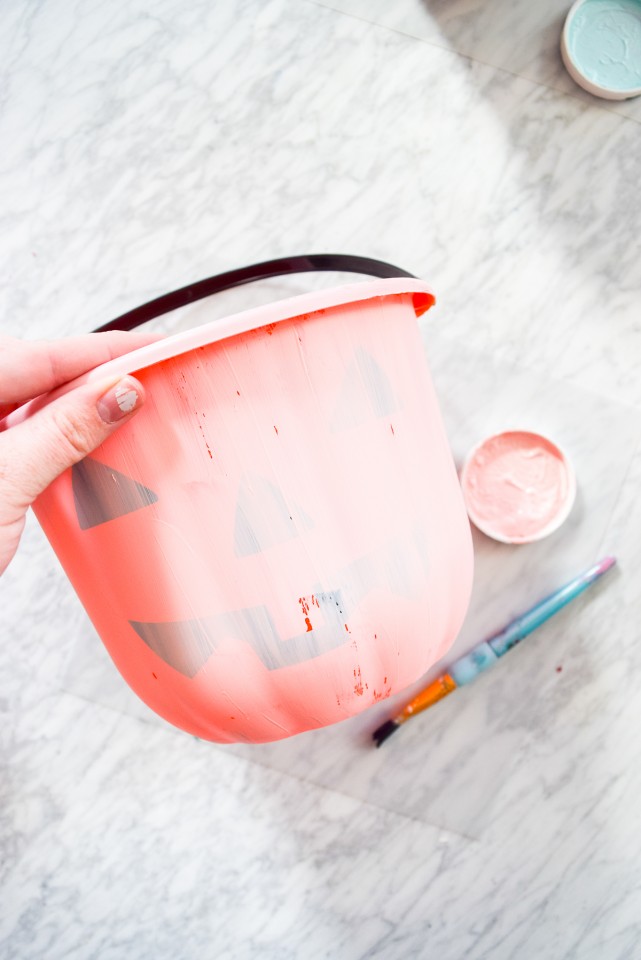
The buckets were also painted a few inches around the lip on the inside, just so that they would still look cute when filling up. Make sure it’s nice and dry, so let it sit overnight.
While Fusion Mineral Paint is dry to the touch fairly quickly, curing can take a little bit longer. So the sooner you can do this project ahead of Halloween, the better it can withstand a night of door-to-door. To understand the difference between drying and curing, read our blog post.
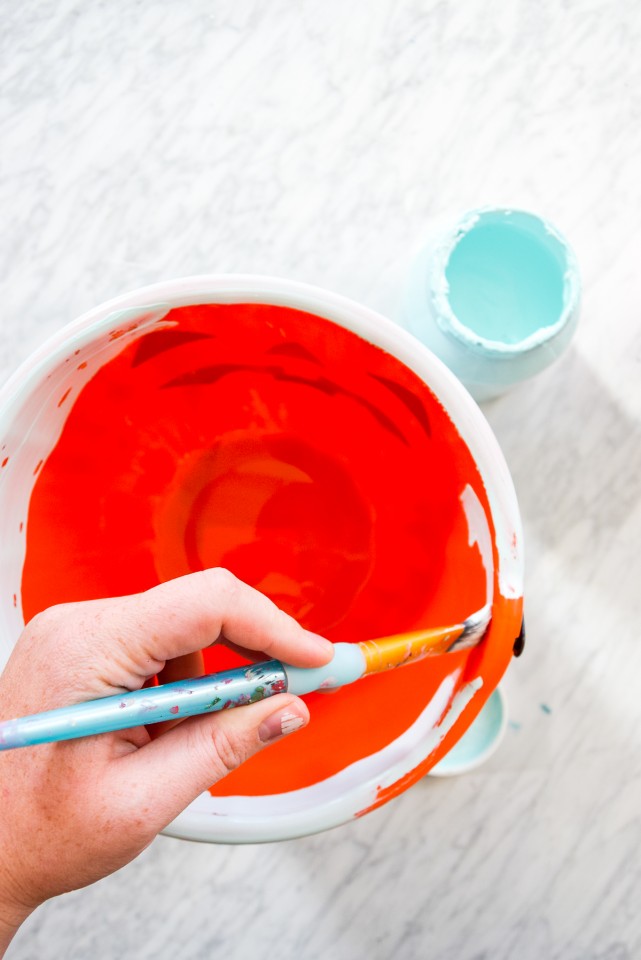
Time for your spooky Halloween faces!
We stuck to classic designs, but you could go as detailed as you’d like. Get creative if you are good at this sort of thing! Not sure? Google it. There is so much amazing inspiration out there.
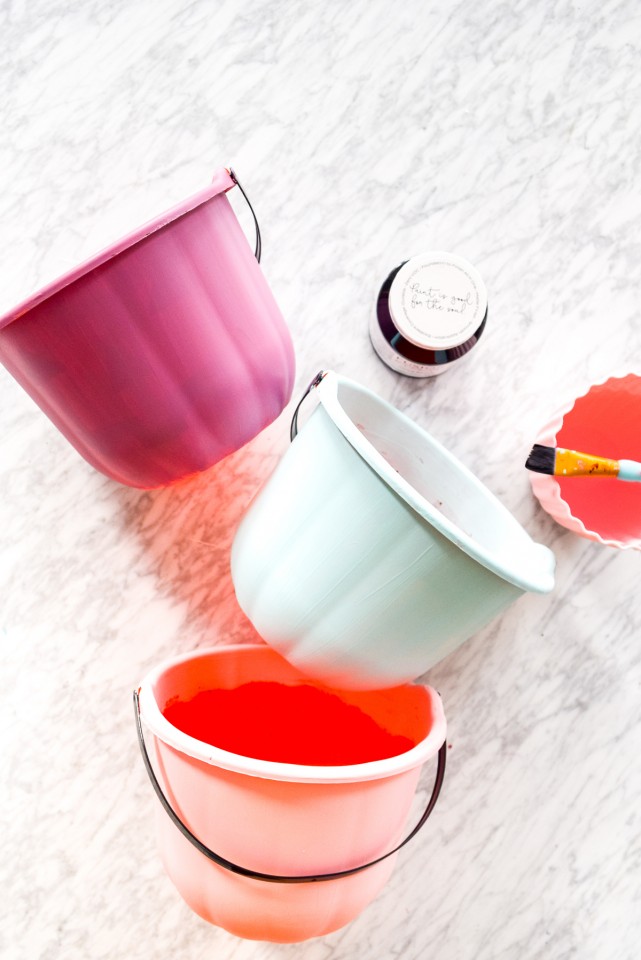
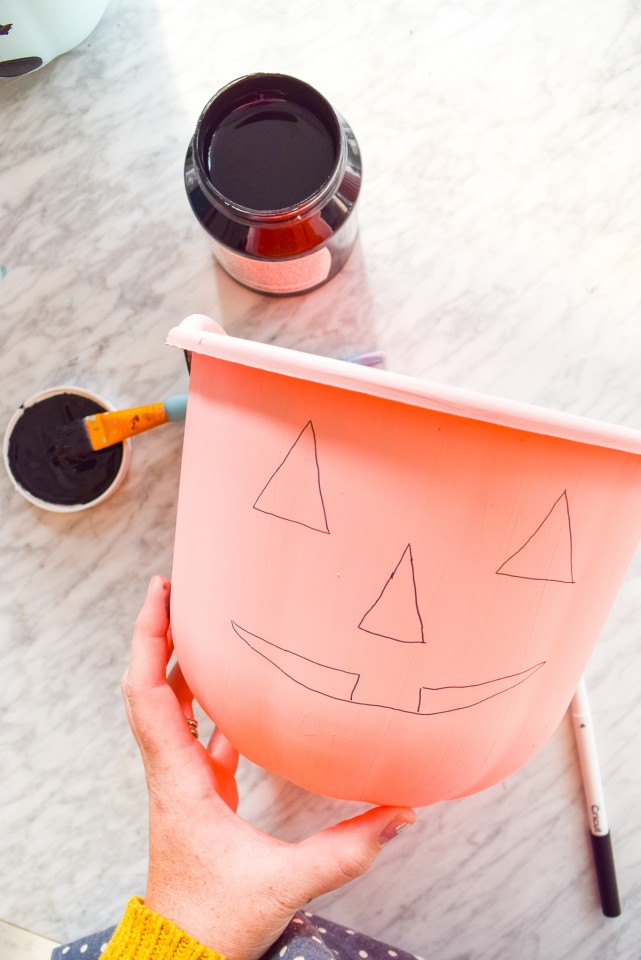
You have two ways to do this. The first is to use a craft marker, draw your face outline and paint the inside of the expressions with a fine-tip paintbrush and Fusion paint. Or if you’re more comfortable and an experienced painter, you can just directly paint the faces onto the buckets. You can use Fusion Coal Black for both methods, just make sure to let them properly dry.
This was a relatively quick project and a great way to use some Fusion colours or even test out ones that you haven’t tried before!
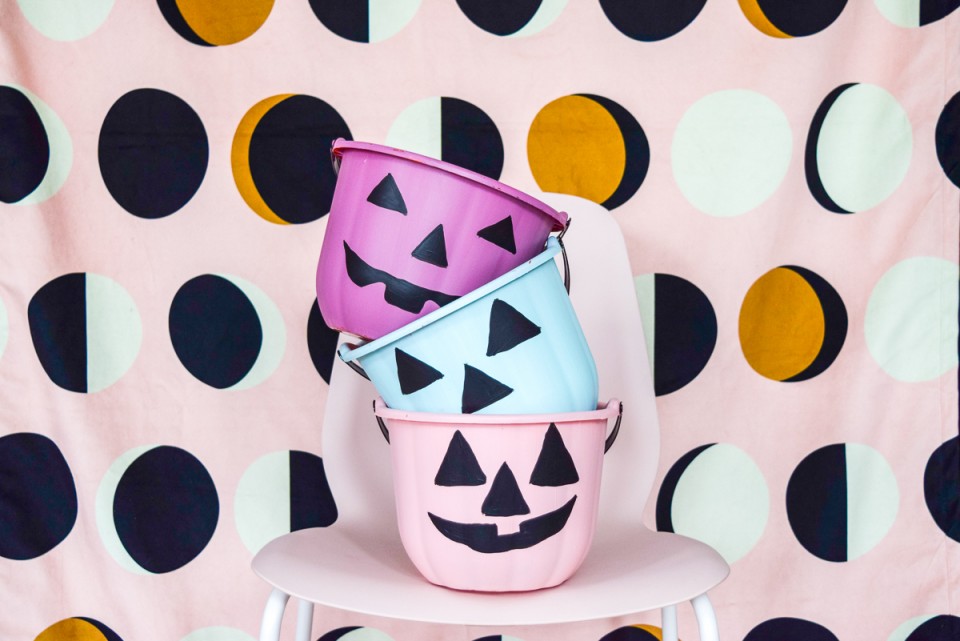
Talk about giving some pep to any costume! So bewitching!
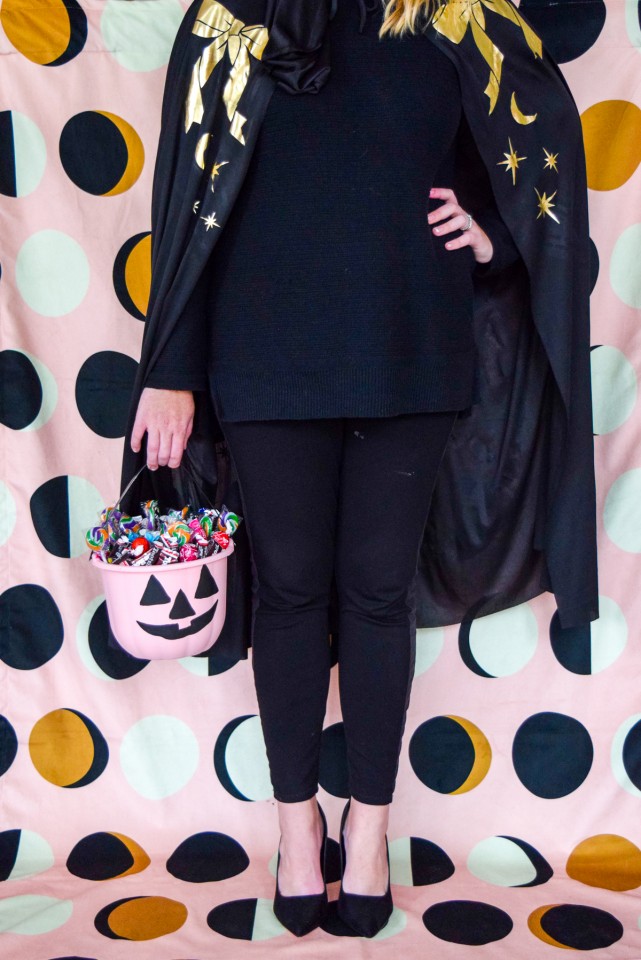
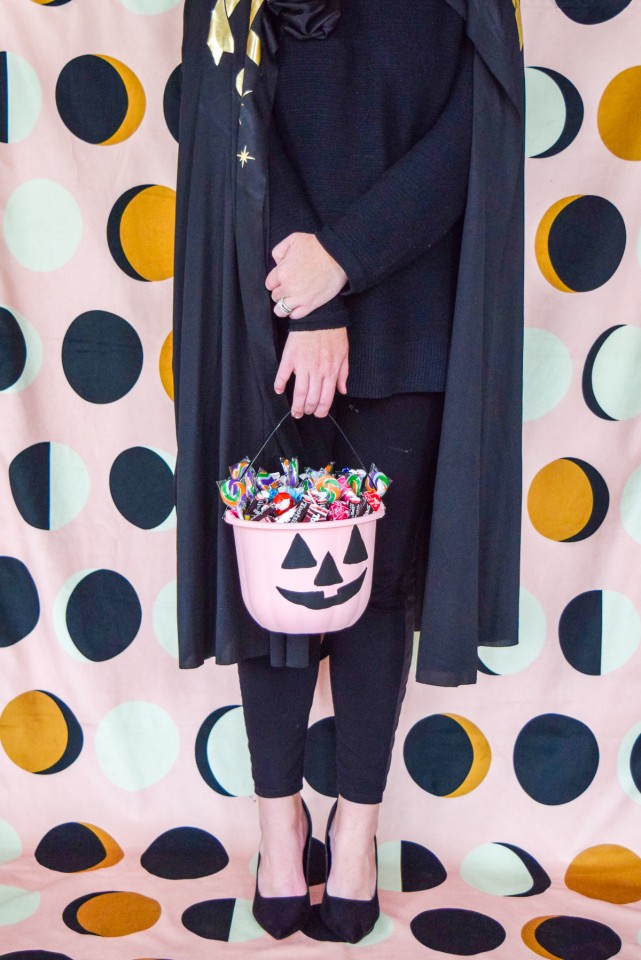
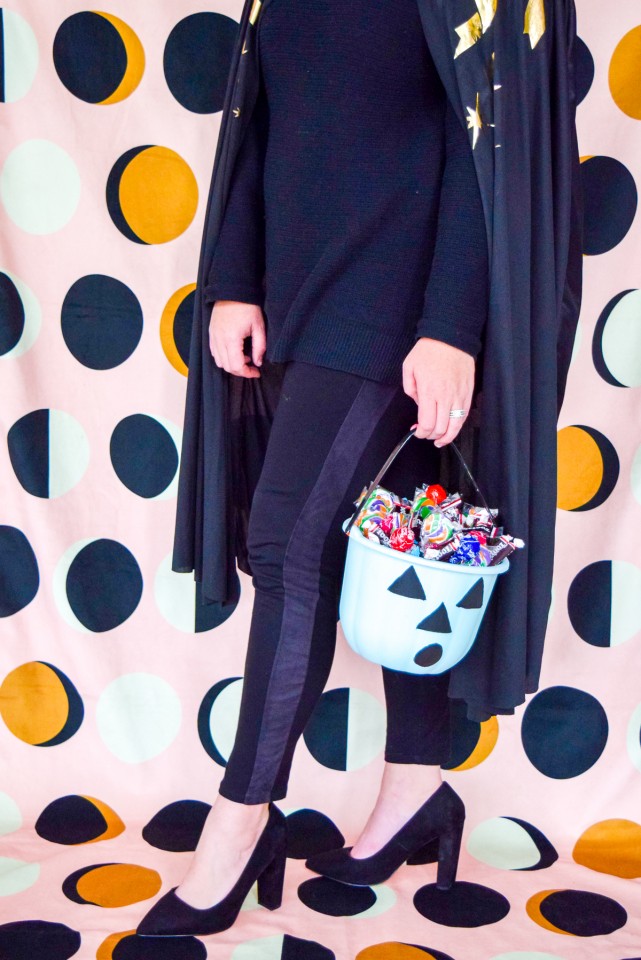
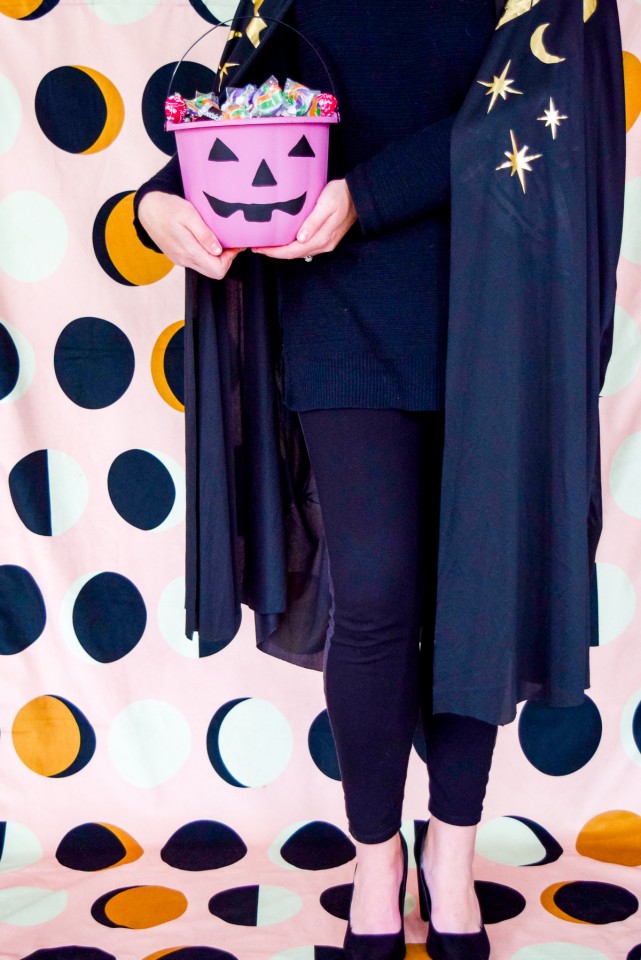
Happy Trick or Treating!!
PIN IT FOR LATER
Projects and styling by Ariel G.
If you love our projects, subscribe to our newsletter to get tutorials, paint tips and inspiration right into your mailbox!


