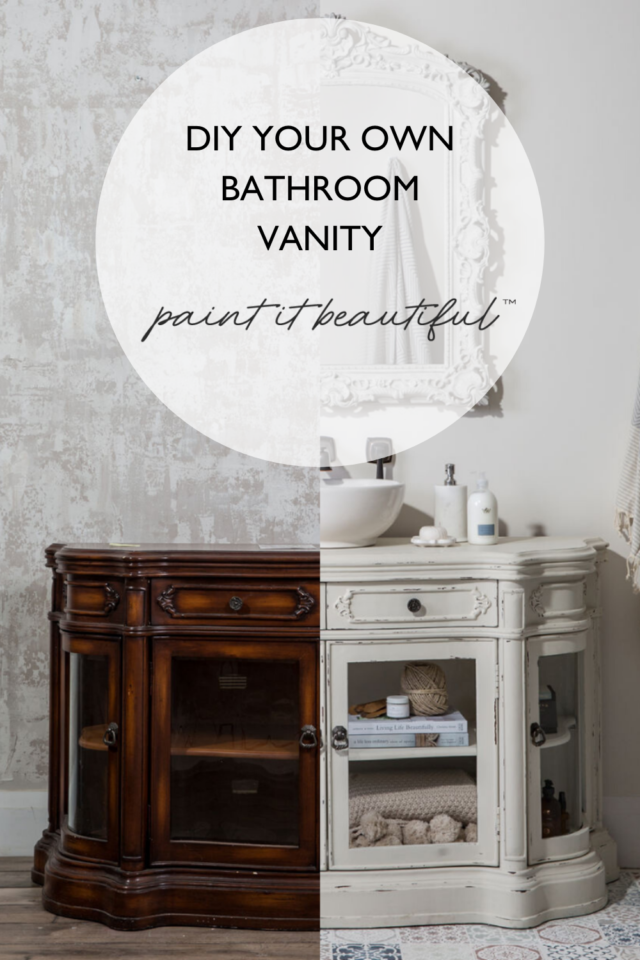
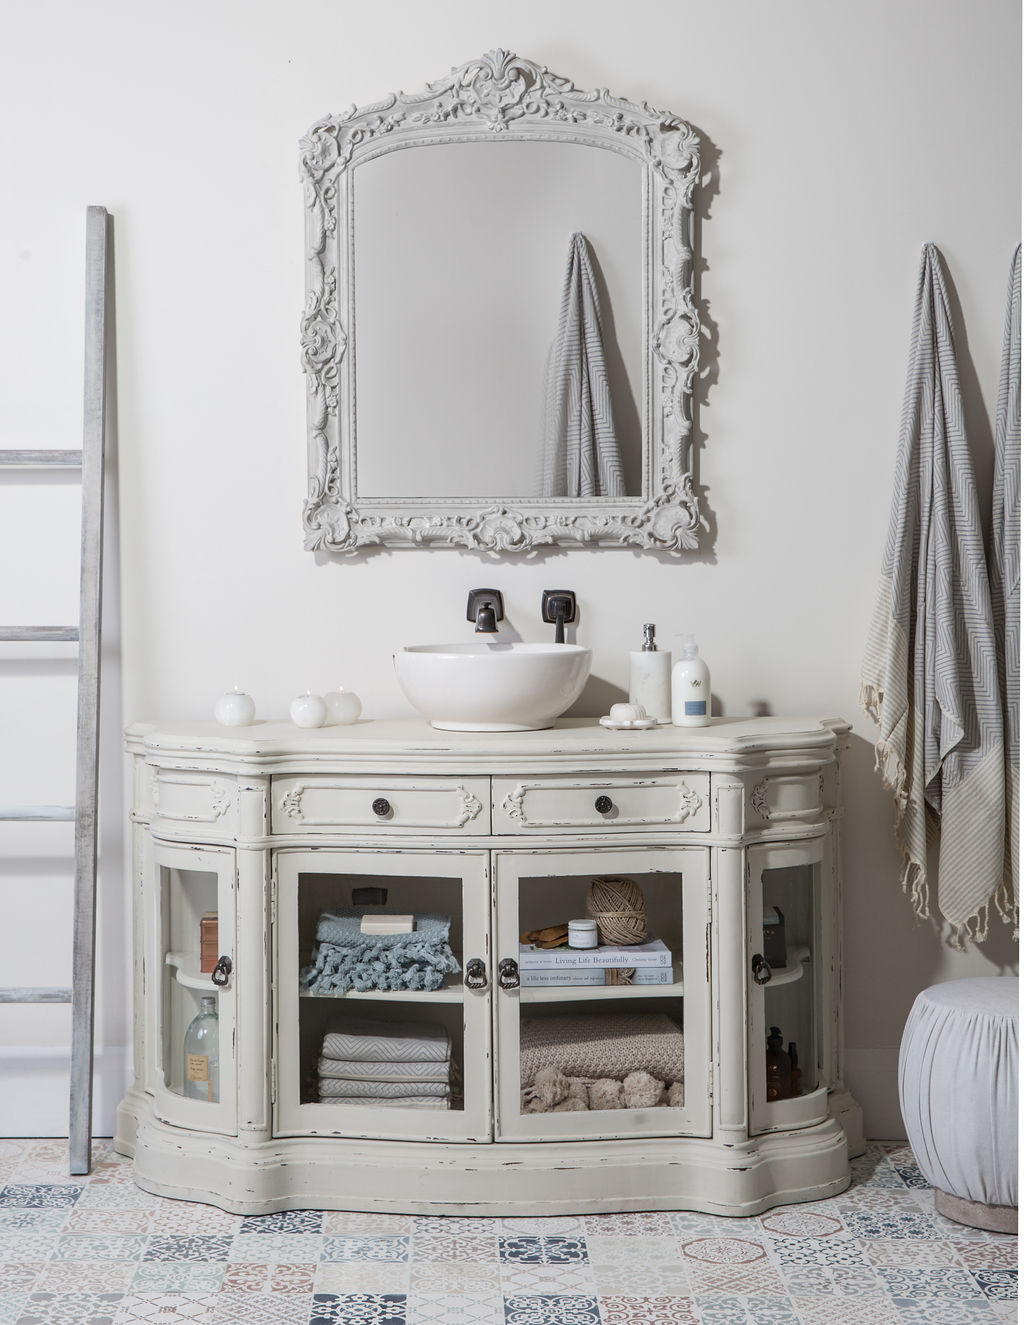
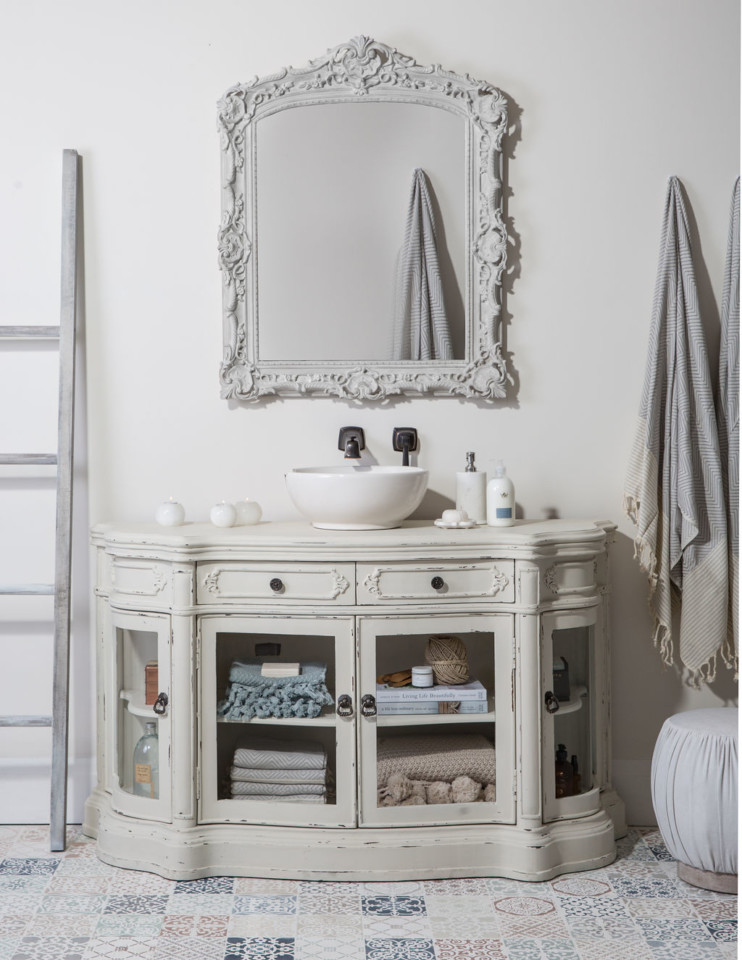
Having a bespoke vanity is what dreamy bathrooms are made of, and the price tag can be even more of a nightmare than a dream. Updating a thrift find is one way to get the room you desire at an affordable cost. Using Fusion Mineral Paint, painting a bathroom vanity is easy, and extremely durable for all those water splashes!
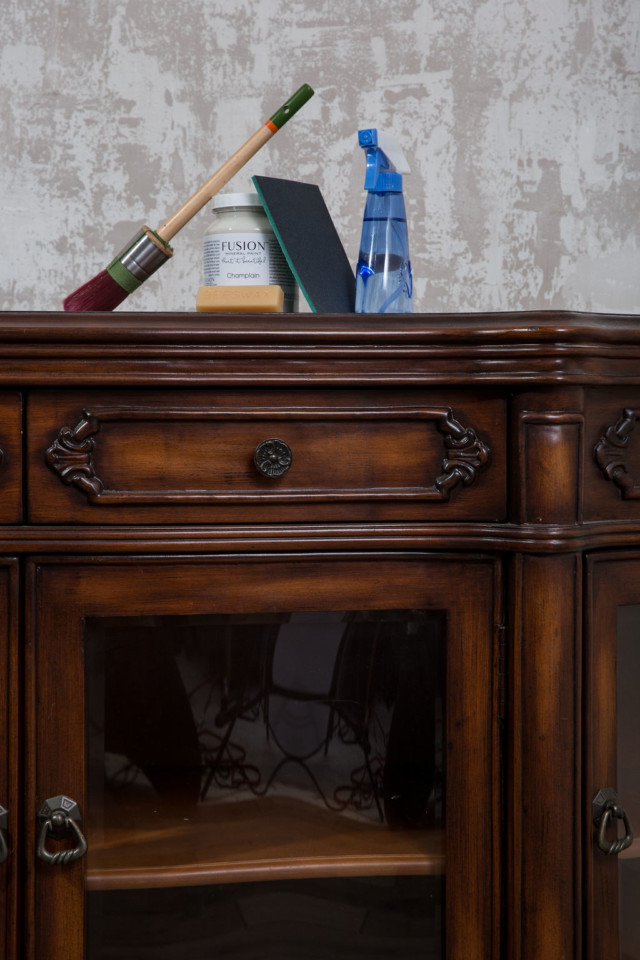
A bathroom budget makeover
The supplies you will need for this project are:
- Fusions TSP
- Sanding sponge/paper
- Lint-free rags
- A good quality brush such as a Staalmeester
- A pot of your chosen colour, this project was painted in Champlain
- A Beeswax Distressing Block
- Fusions Tough Coat wipe on poly.
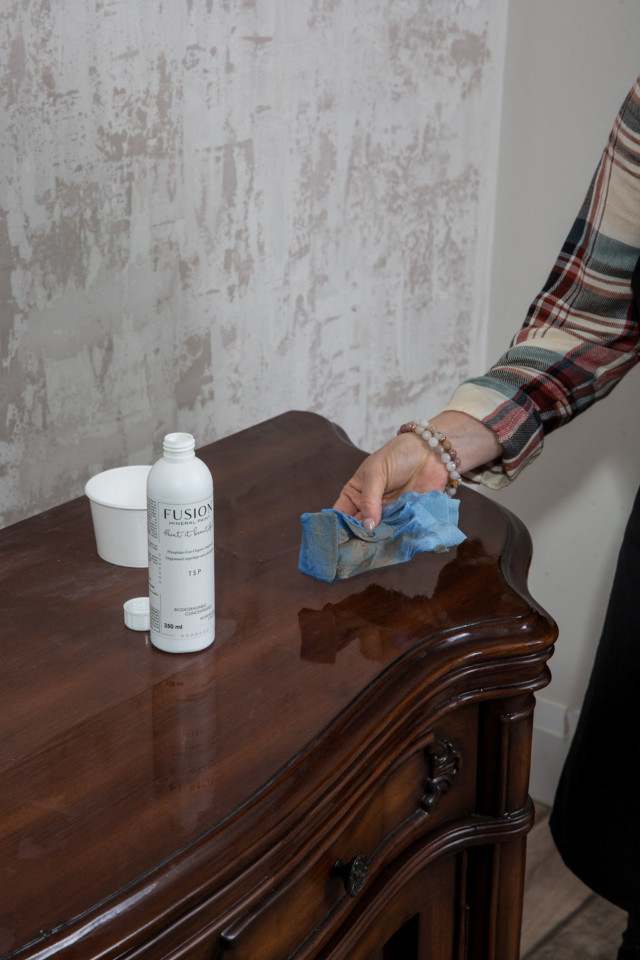
Prep
As always prep is super important, clean down the entire surface using Fusions TSP, our TSP alternative is a concentrated, no-rinse formula so you only need a couple of capfuls added to water. Once dry, lightly sand the entire surface. Your aim is to de-gloss the surface and bring down the sheen.
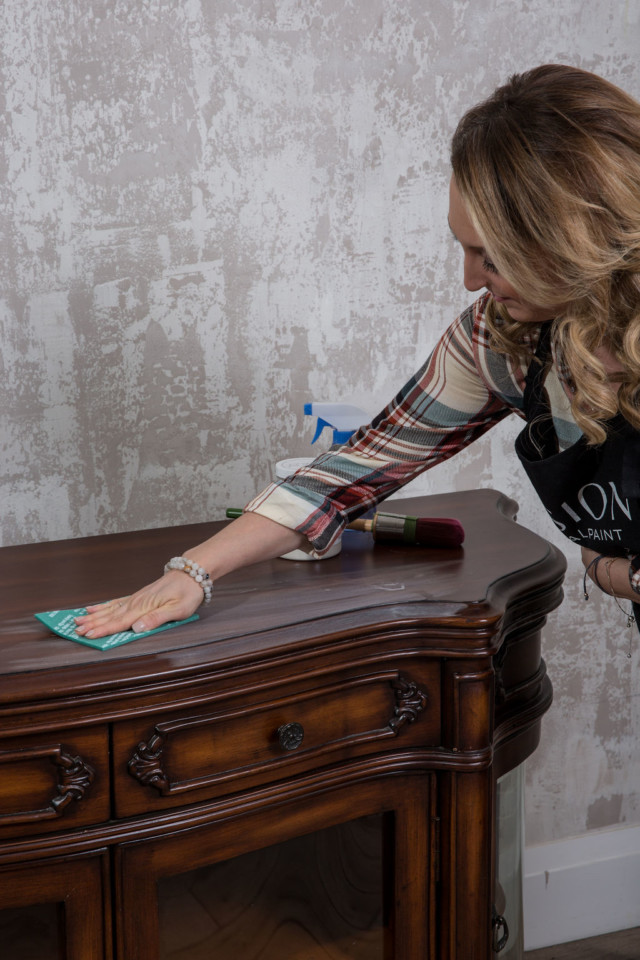
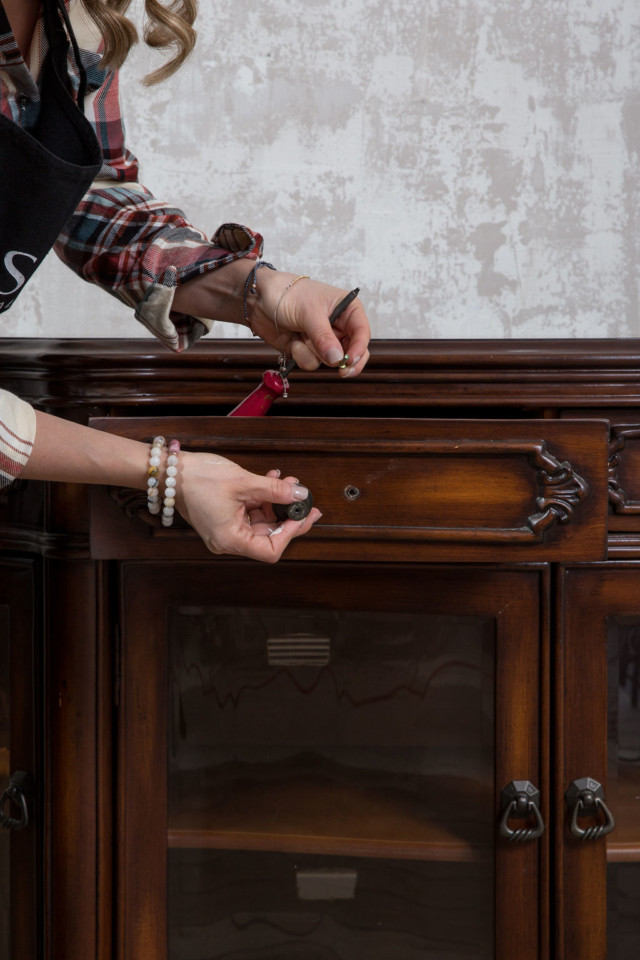
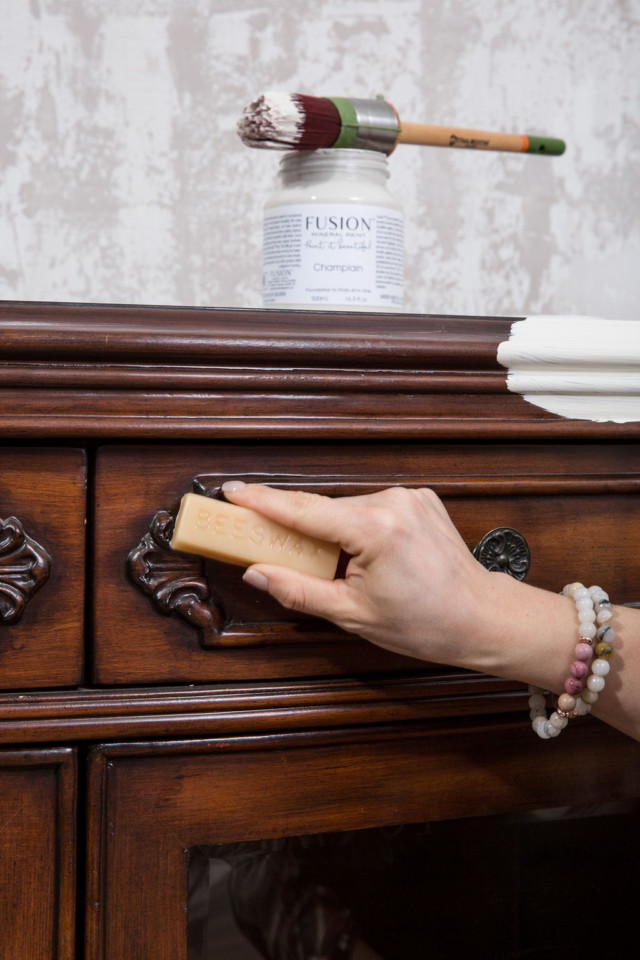
Once you have sanded remove the dust. After removing the hardware using the wax puck and rub over the high points or areas of interest that you will later distress.
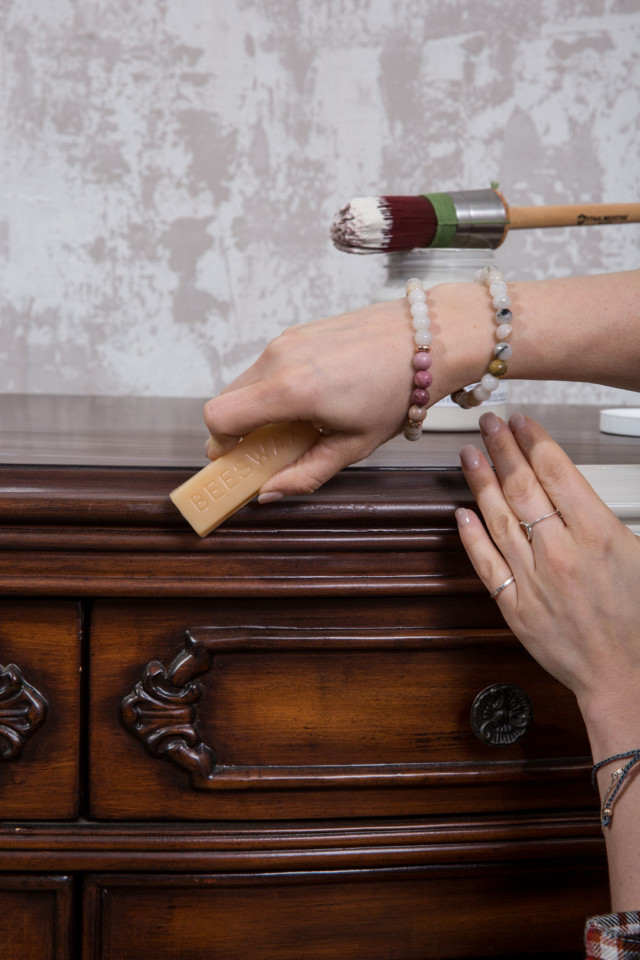
Using the wax puck as a resist
If you have used Fusion before you know that when it dries, it’s tough! and having to distress it can be hard work. Using the Beeswax distressing block over the areas we want to later distress helps make it easy. The wax acts as a barrier to the paint adhering to the vanity so when we come along with a sanding sponge it will be easier to remove from those areas.
See more about Beeswax Distressing Block
Painting the bathroom vanity
This is always the fun part. Using a good quality brush such as a Staalmeester will help eliminate brush strokes and give a smoother finish. Apply 2 thin coats with drying time in between. The first coat you will be able to see through, this is normal, don’t apply the paint too thickly to try to get full one-coat coverage as you may get brushstrokes from too much paint being used.
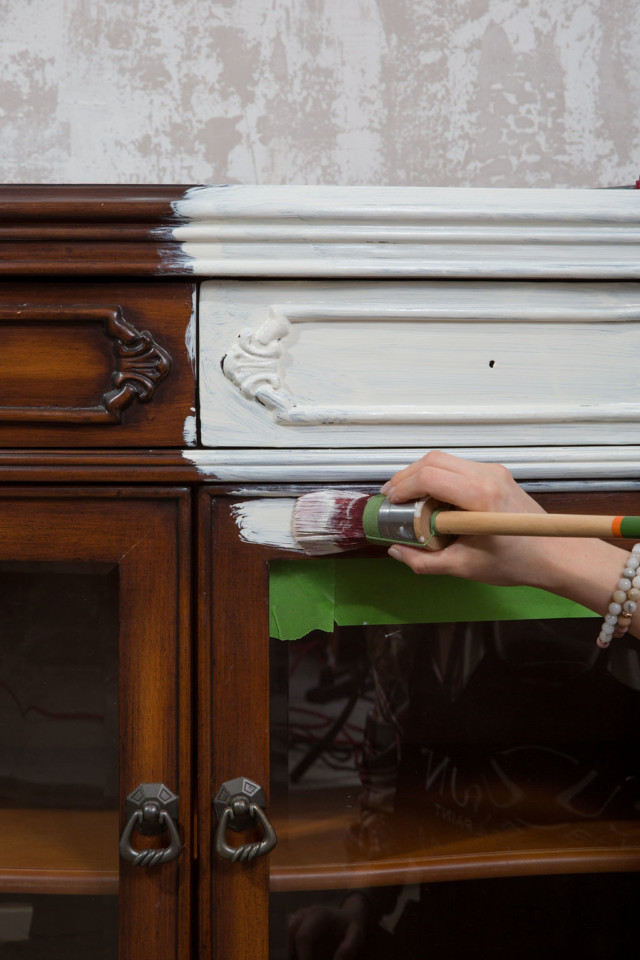
Here you can see how great the coverage is with only 1 coat.
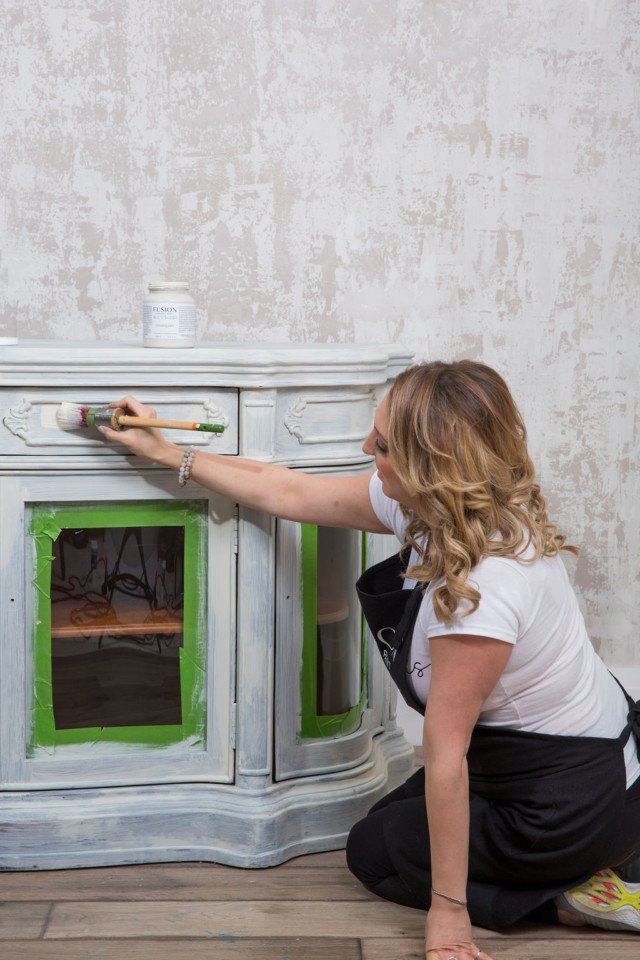
It’s virtually magical when you apply the second coat. Absolute full coverage!
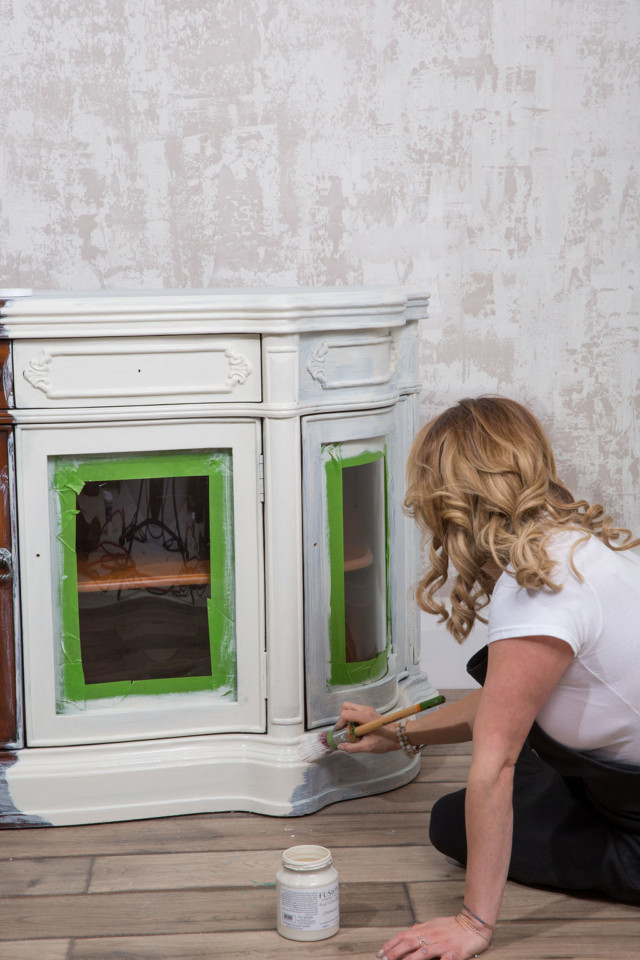
Using the right top coat.
When your paint is dry use your sanding sponge or paper to distress the areas that you rubbed with the Beeswax block.
For projects that will get a lot of water ware, a top coat would be advised. For lighter colours such as Champlain, our Tough Coat wipe on poly in matte or gloss will be perfect. Just apply using an applicator pad or a sponge, additional coats can be added for extra protection.
If you are using a mid to dark colour we recommend our Stain and Finishing Oil in the natural.
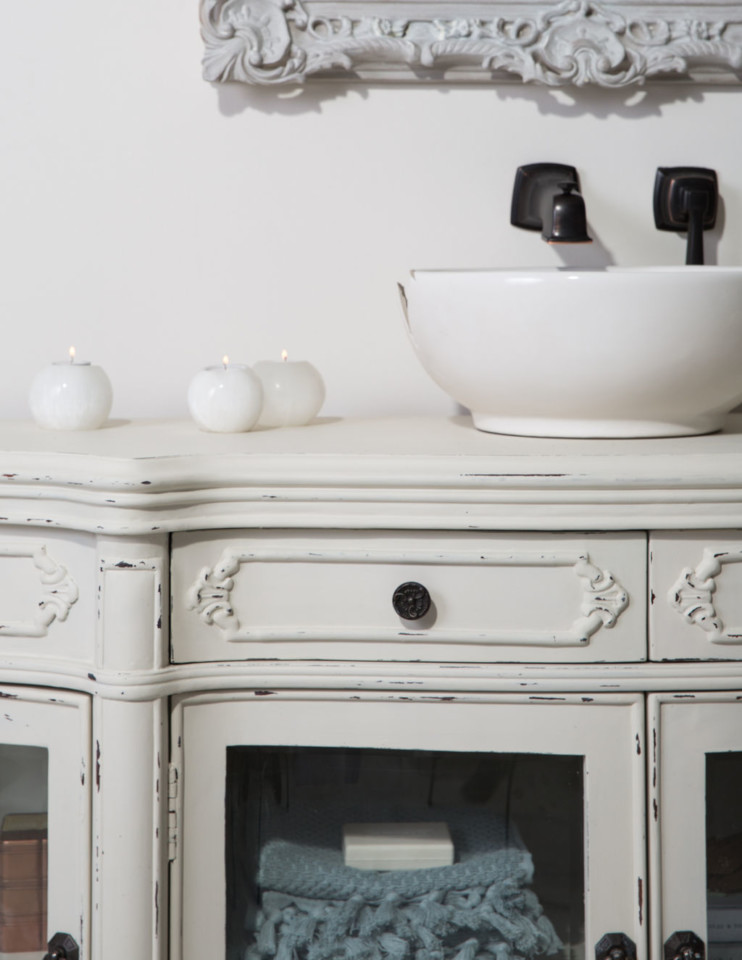
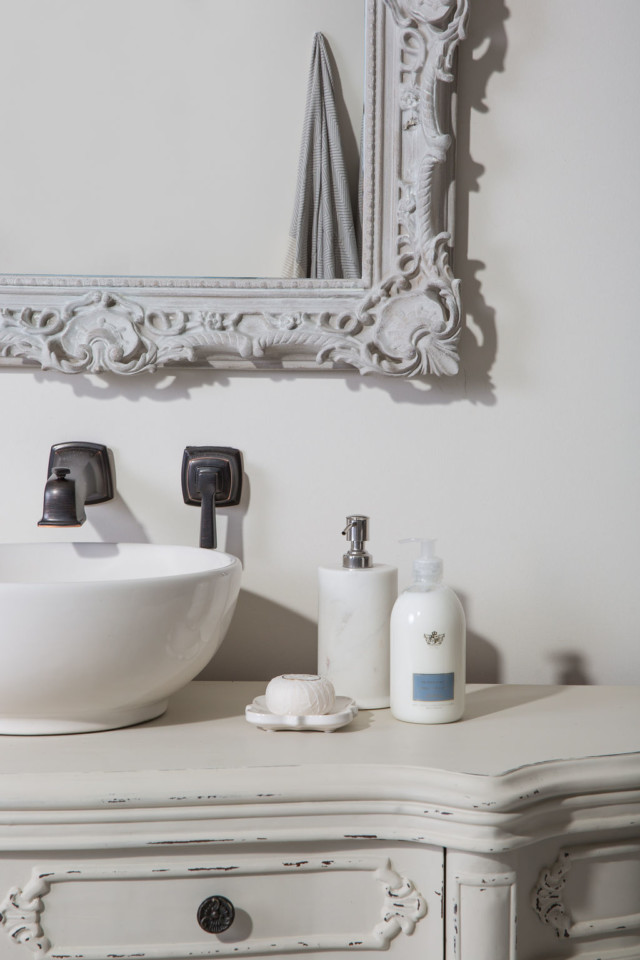
A bespoke bathroom vanity
For a fraction of the price, a bespoke bathroom vanity is easily achievable with Fusion Mineral Paint. Updating a thrift find is so much fun.
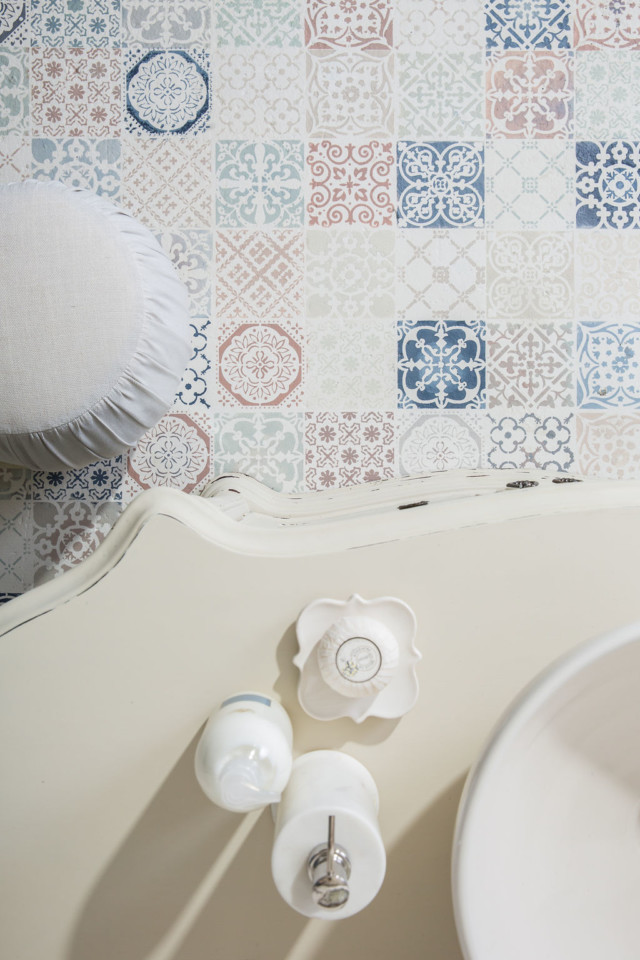
Extra bonus! check here for the tutorial on how to stencil your floor
Pin this to your Pinterest Board
