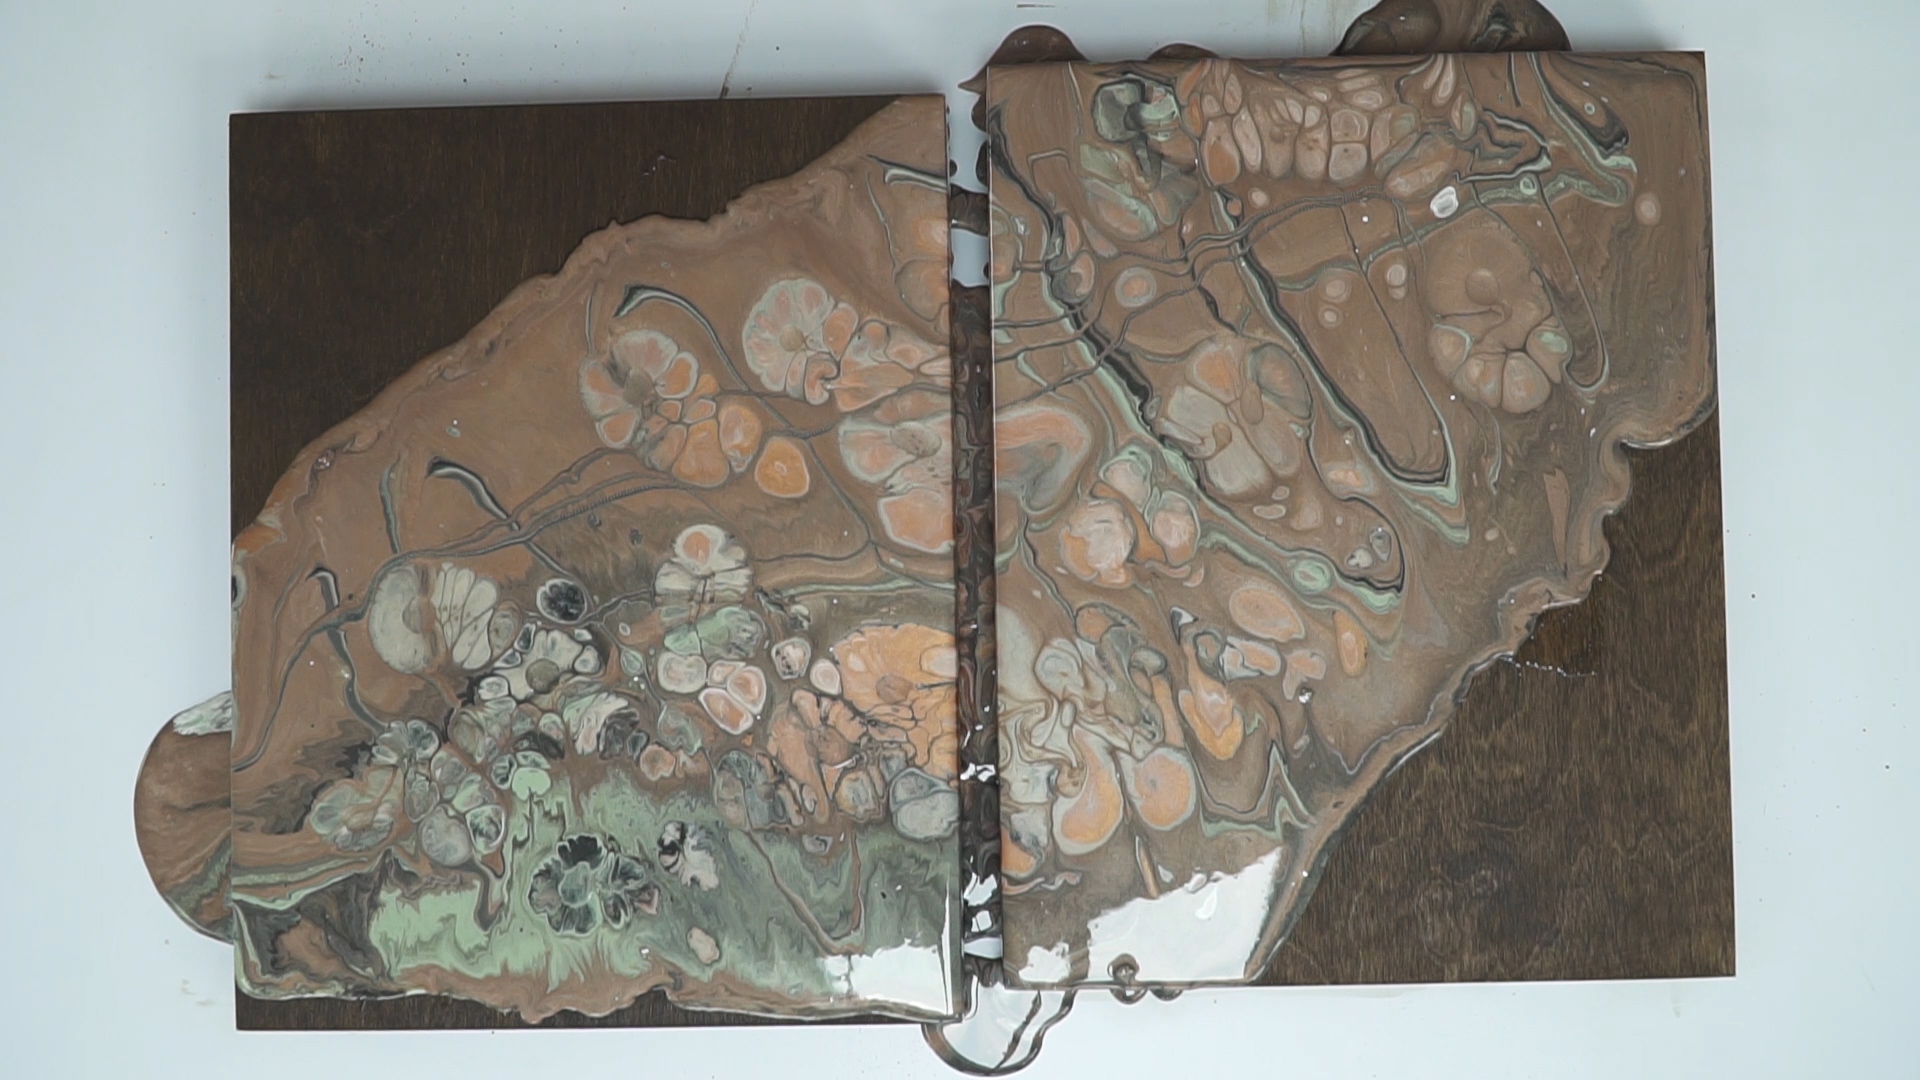
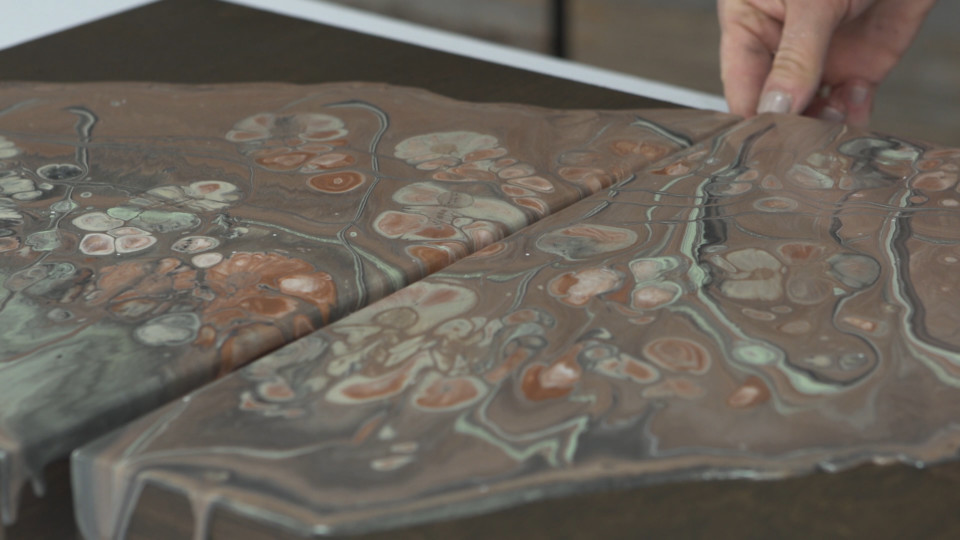
Create your own unique wall art using Fusion Mineral Paint and Pouring Resin. Paint pouring techniques are easy to master, and a lot of fun!
Here we take two pieces of wood panels from the art store, and make a unique statement! Paint Pouring is an artful way of creating unique finishes across furniture, art, decor and more.
Paint Pour Art
This technique is a fun way to create art with drama and scale. Because the two pieces have to be displayed together, they demand attention and one heck of a colour combo. This technique is sometimes referred to as “diptych”. Paint pouring techniques are a great way to get a unique finish that you won’t find in store-bought art.
SUPPLIES
- Fusion Mineral Paint Pouring Resin
- Fusion Mineral Paint Cell Enhancer
- Fusion Mineral Paint Copper
- Fusion Mineral Paint Ash
- Fusion Mineral Paint Picket Fence
- Fusion Mineral Paint Brook
- Small cups
- Popsicle sticks
- Large container
- Drop-sheet
- Fusion Mineral Paint Stain & Finishing Oil: Cappuccino
- Two Wood panels
STEP 1
PREPARING THE SURFACE
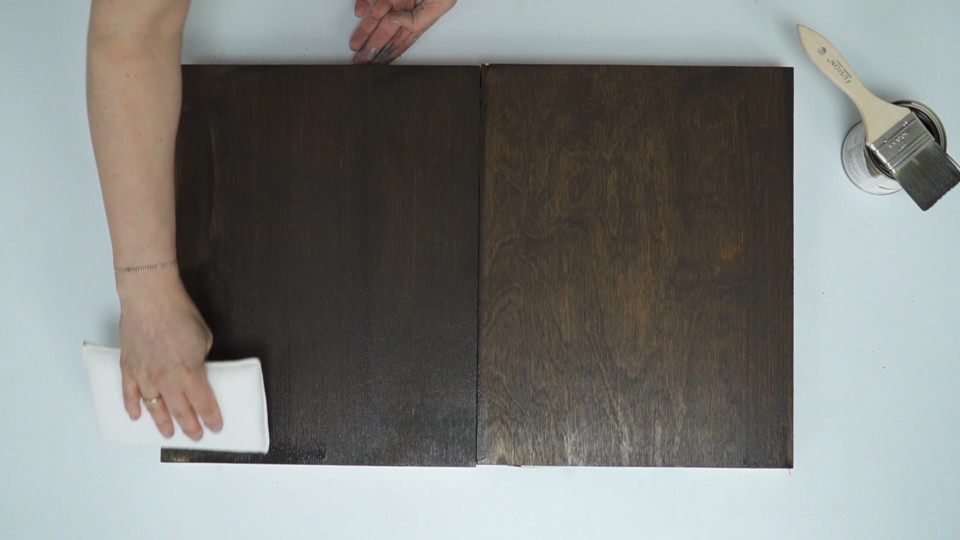
Because we’re working with wood we wanted to stain them to give them an aged feel. Start by brushing on Stain and Finishing Oil and immediately remove excess with an applicator sponge. We’re breaking the rules here as we are going to be putting a waterbased product over this oil base, however, since this Stain and Finishing Oil is going onto bare wood and being removed right away, it shouldn’t leave much oil residue behind allowing the acrylic to adhere. Also, the Stain and Finishing Oil has a small amount of acrylic resin in it, allowing for the paint to adhere to that as well!
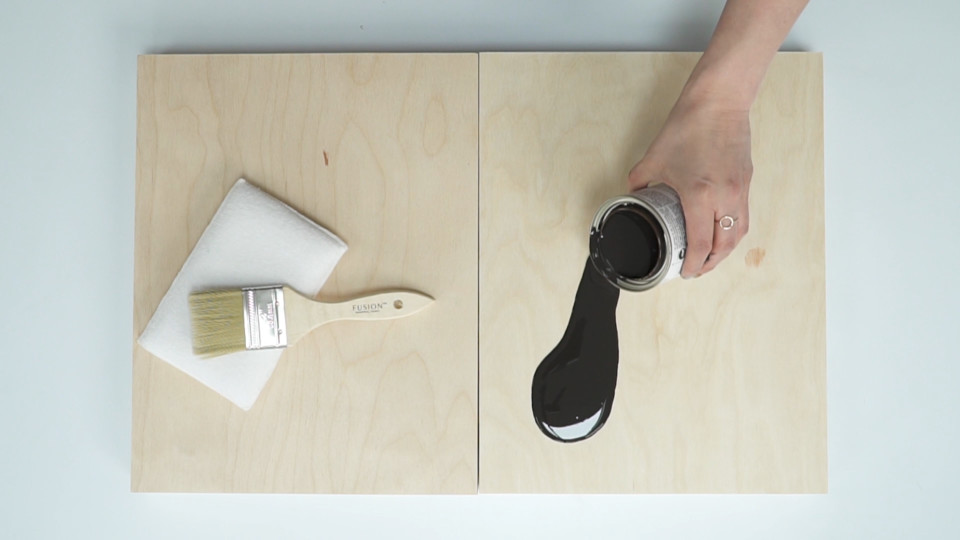
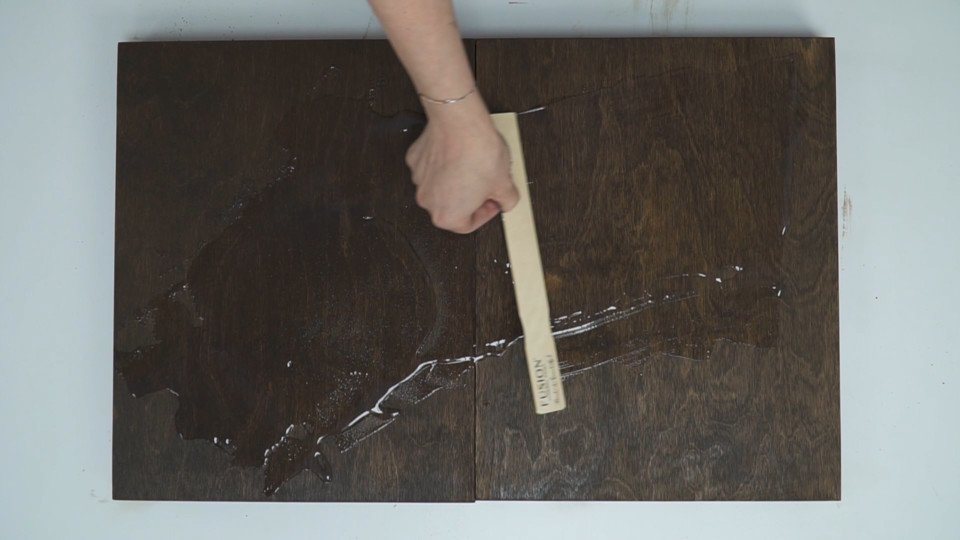
Next, to allow the poured paint to move across the freshly stained surface, pour a layer of Pouring Resin to add movability, this is especially important on bare wood surfaces.
STEP 2
MIXING THE POURING RESIN
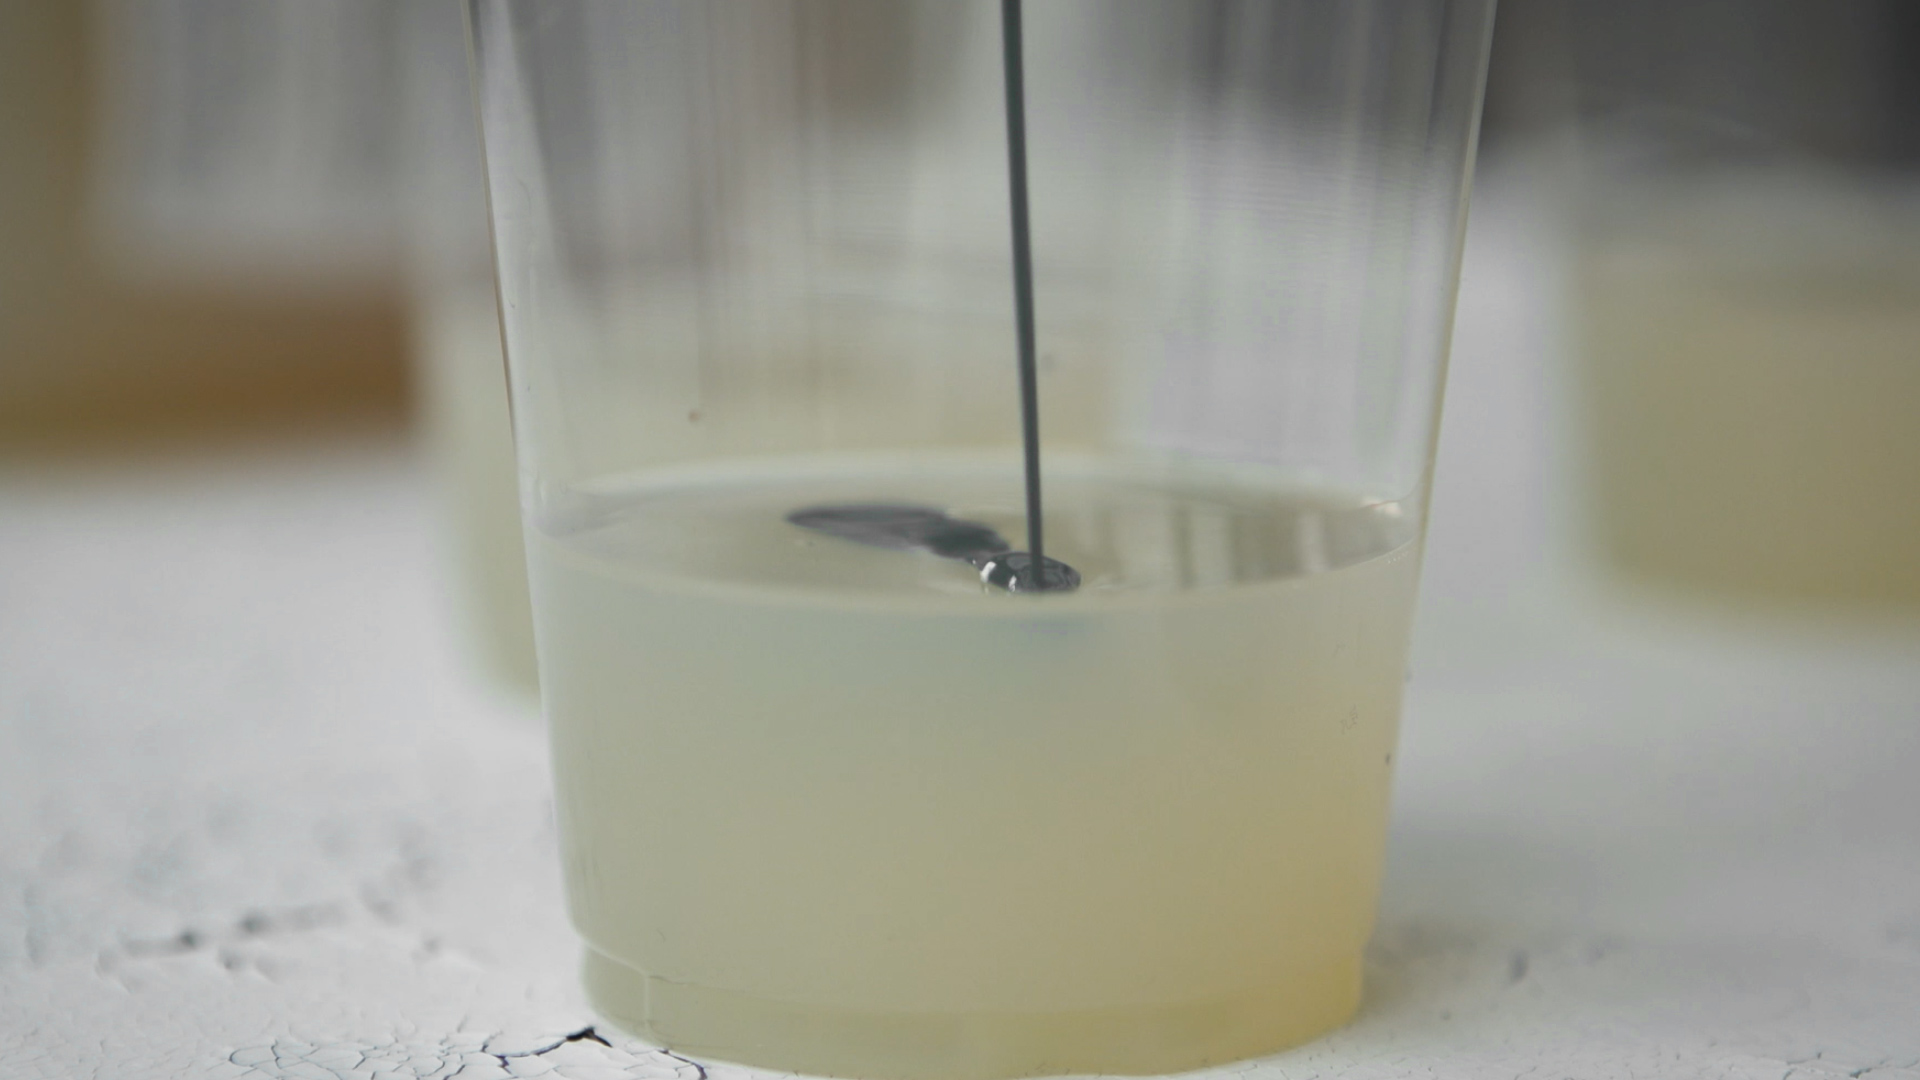
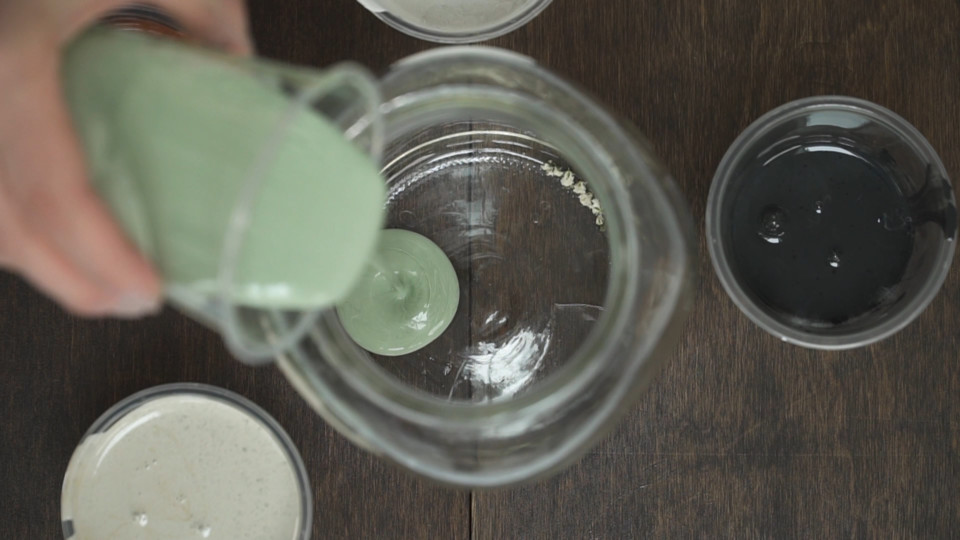
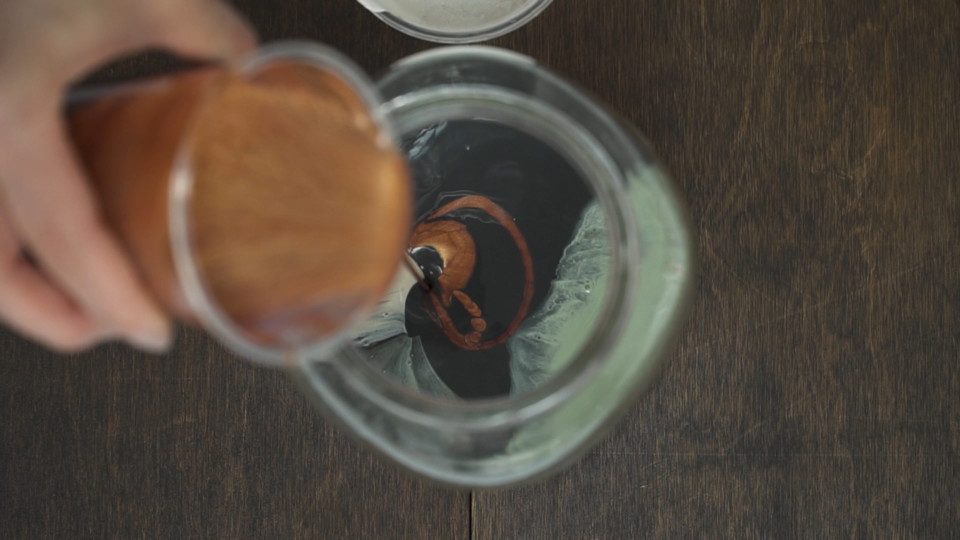
Start by pouring resin into cups – one cup per colour you plan to use. Add a couple of drops of paint you want and stir gently.
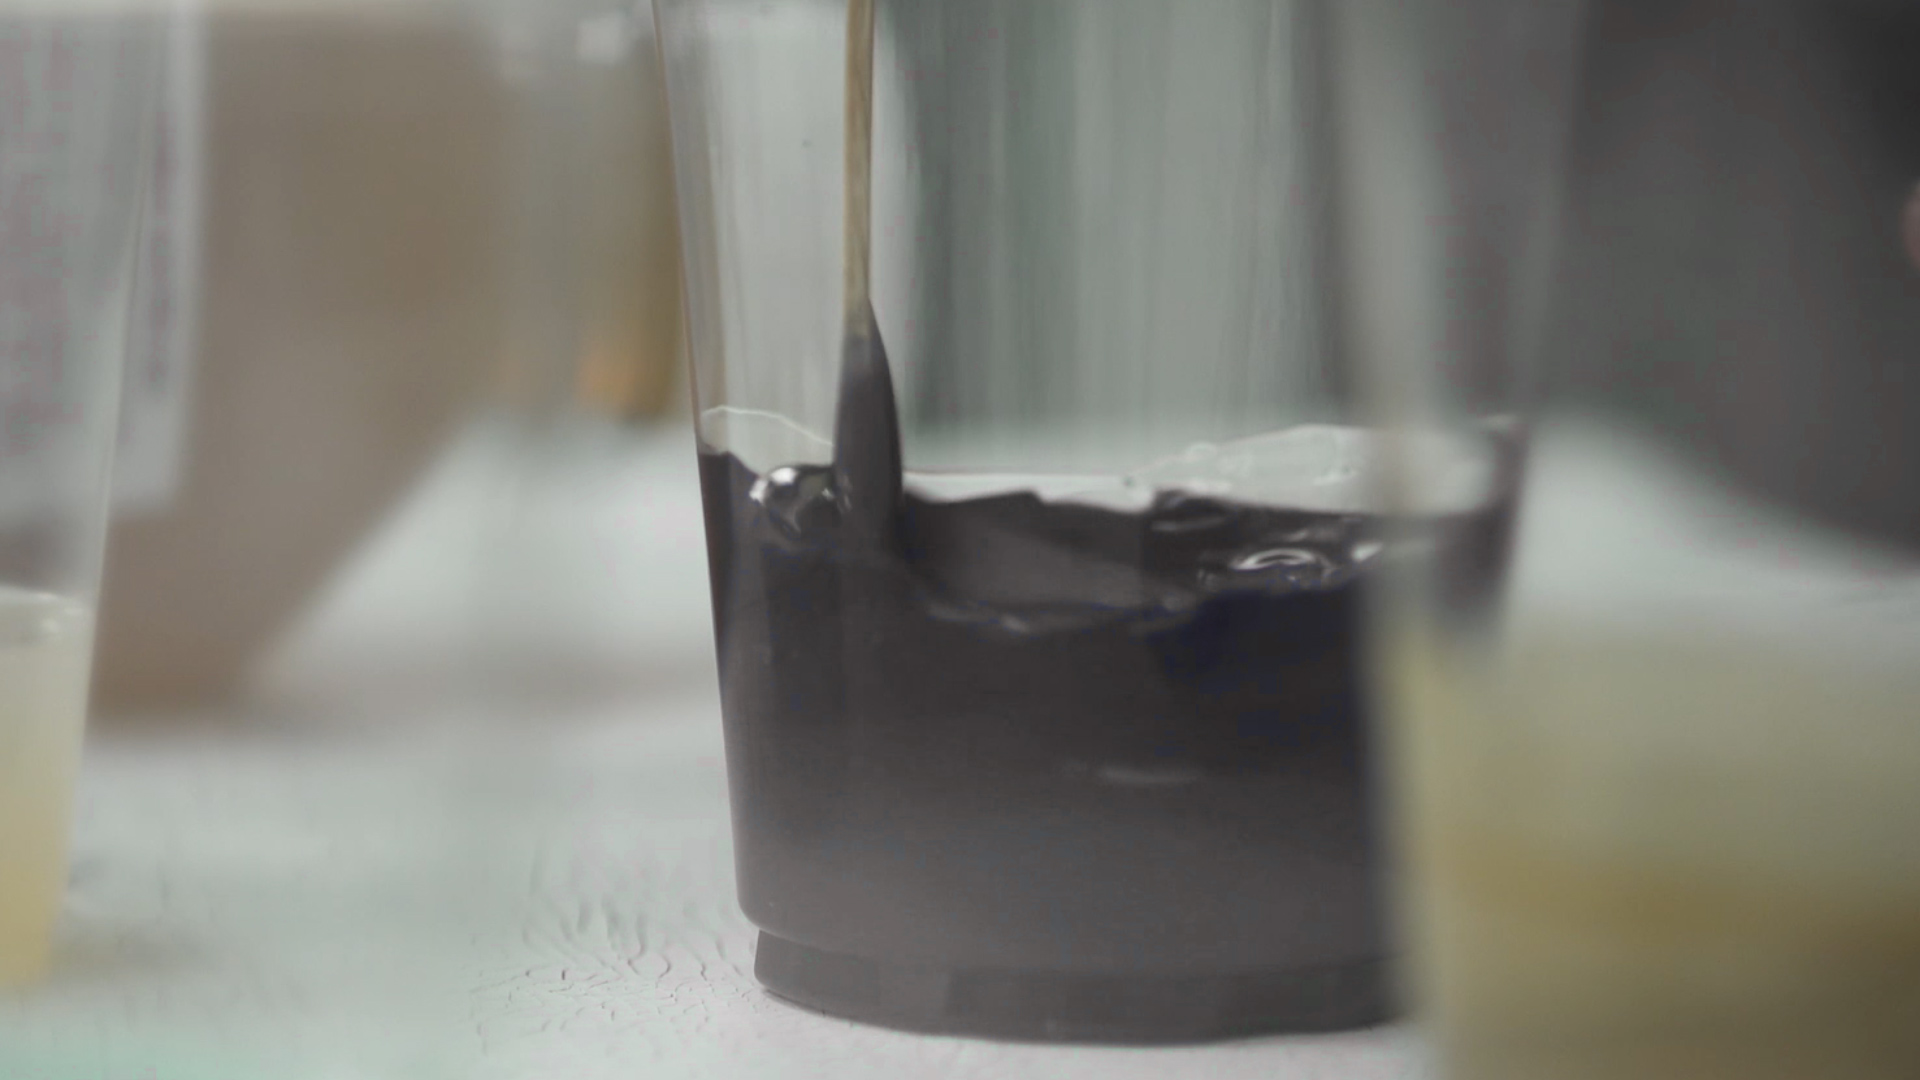
Next, you combine all the colours by pouring them one at a time, into a large container, being careful not to mix them together. You don’t want your colours to blend.
STEP 3
THE POUR
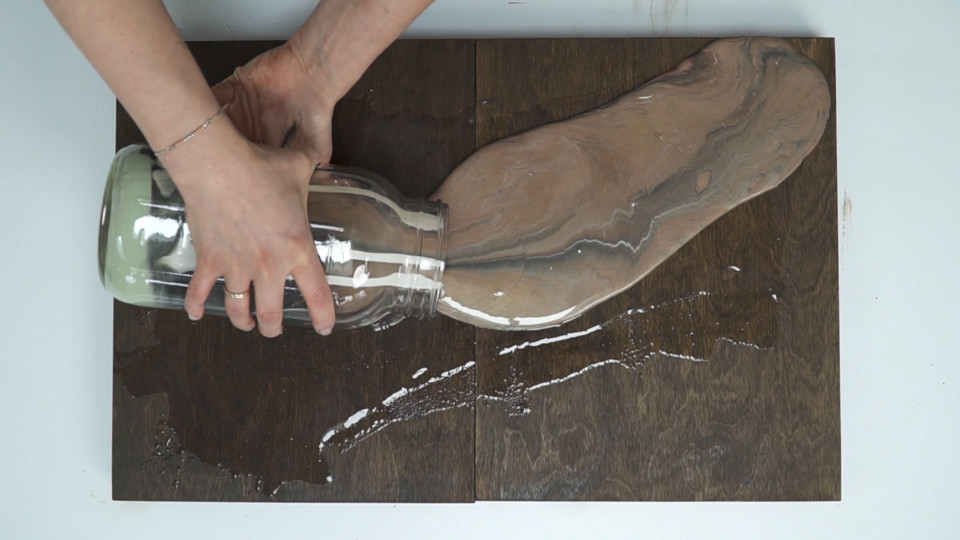
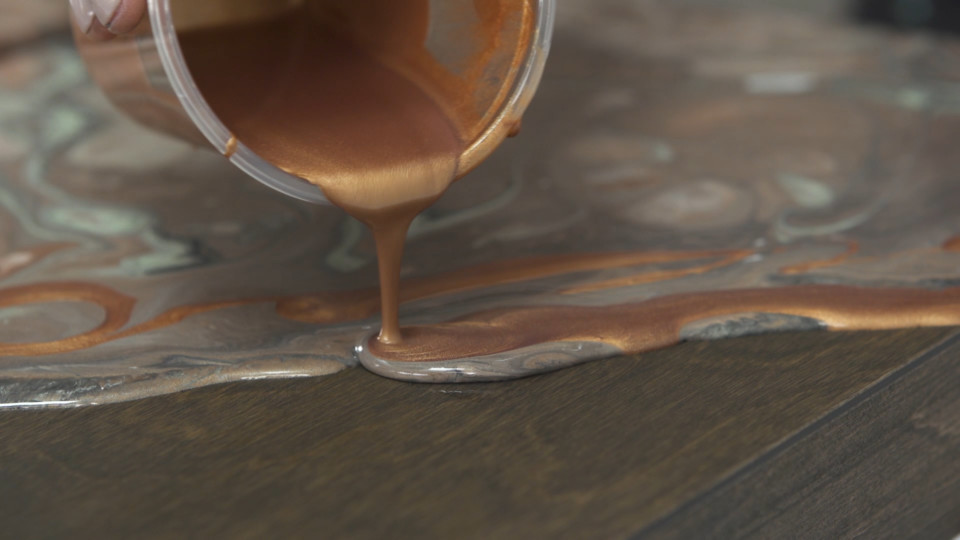
To get the final desired effect, both panels will be required to be shown together in a certain way and as a result, they must be created as such! Ensure you place them side by side before you start pouring. Pour the paint from the large container, by going from one side to the other.
STEP 4
THE TILT OF PAINT POURING TECHNIQUES
Once all the paint is on the wood, tilt them from side to side to help spread the paint.
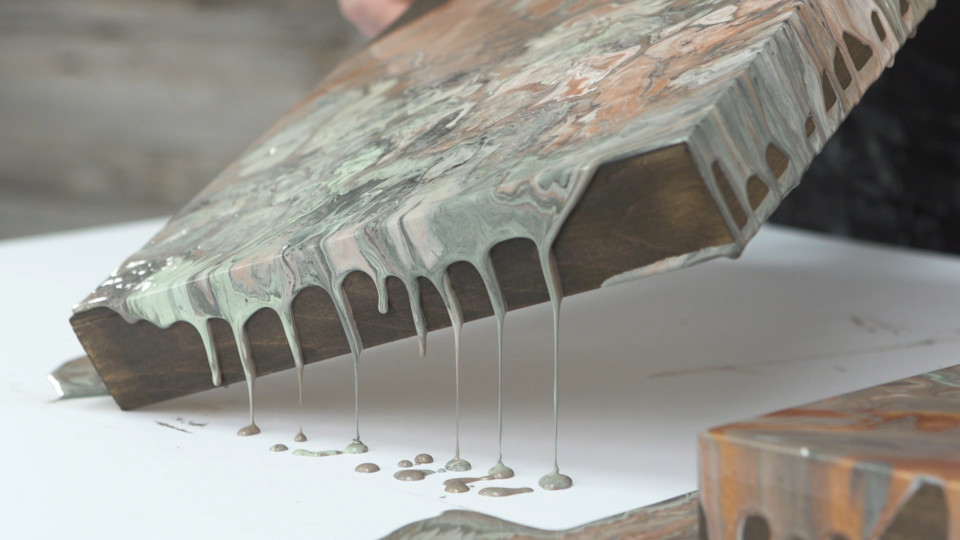
Once you’re happy with the look, let it dry for at least 12 hours before moving them. Then, find a fabulous spot to put them on display!
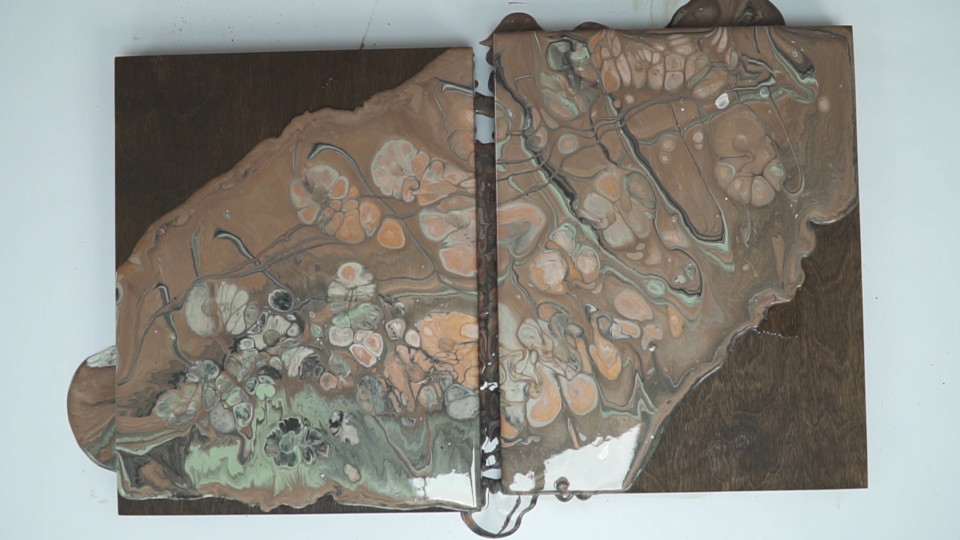
If you ever create a series of panel pieces, share them with us in the Paint it Beautiful Facebook Group.


