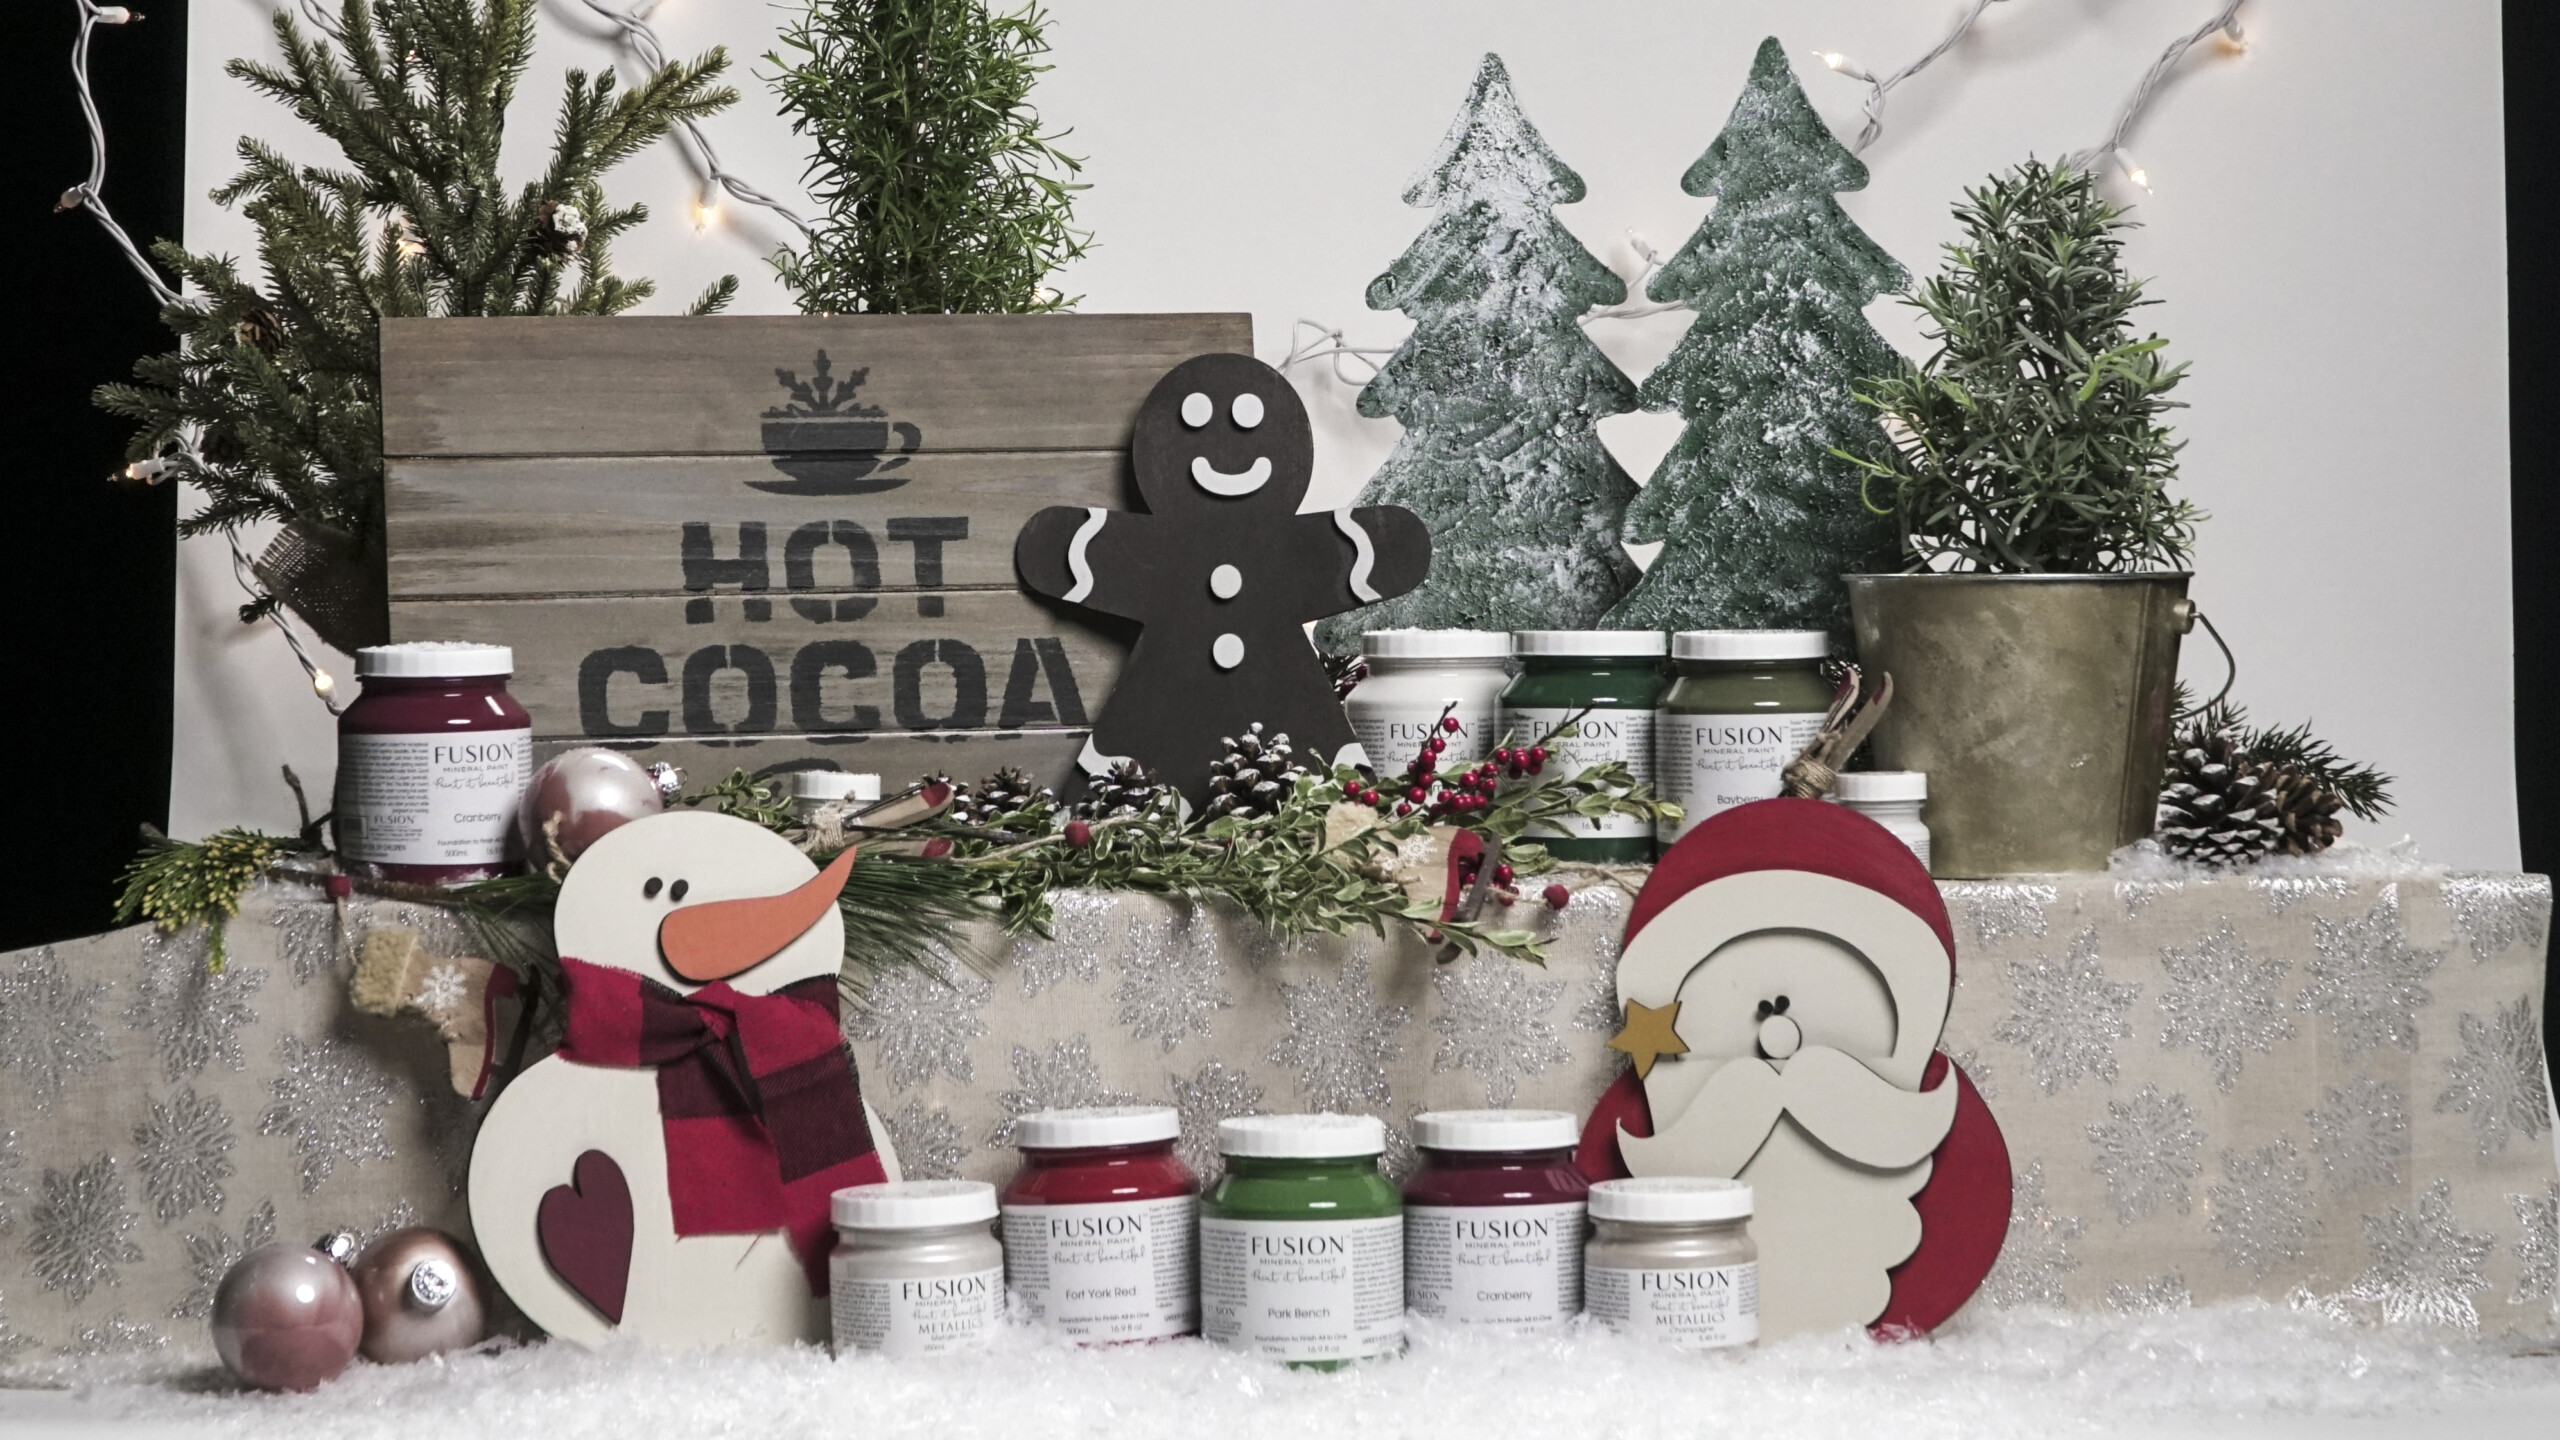
The holidays are a beautiful time for making memories to last a lifetime. Here is an easy DIY to make that time extra special. Sharing some hot cocoa and marshmallows while snuggling on the sofa and watching a Christmas classic is one way to make magical memories. Follow along and find out how to stencil and paint a Hot Cocoa reclaimed wooden Christmas tray or sign with Milk Paint and Fusion.
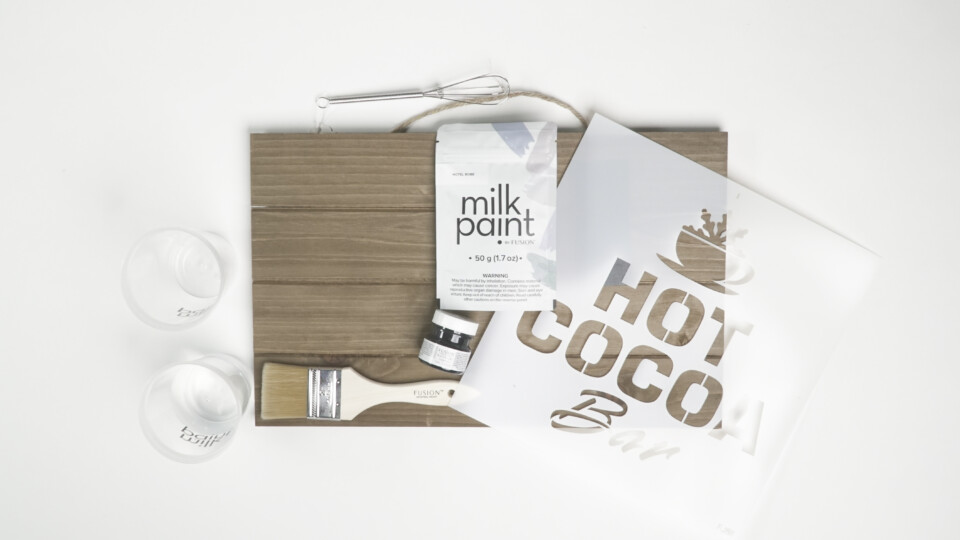
Supplies needed to stencil and paint:
- Some old reclaimed wood, screwed together to make a board.
- Milk Paint by Fusion, Hotel Robe
- Tester pot of Fusion Coal Black
- Workshop brush
- Hot Cocoa bar Stencil from Funky Junk’s Old Sign Stencils
Using Milk Paint as a wash
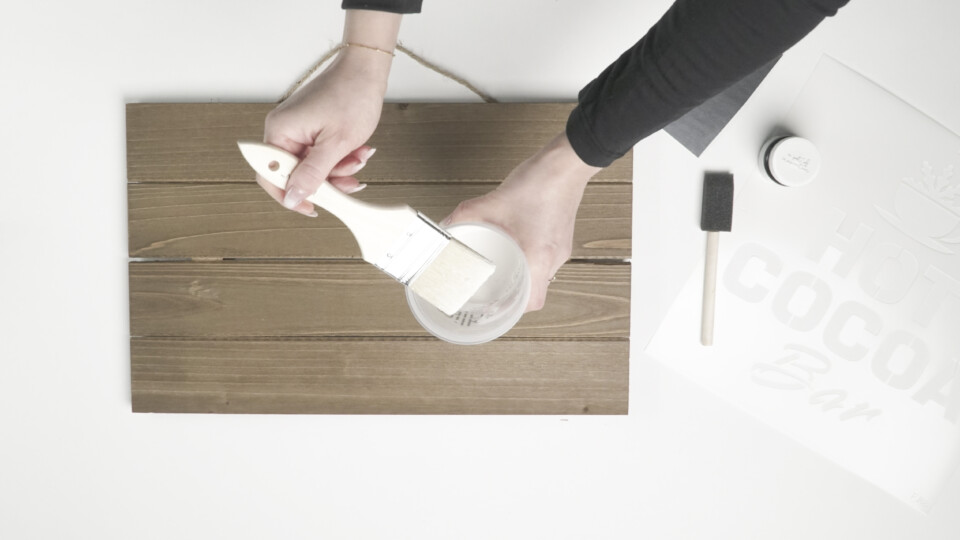
It is all in the mixing with Milk Paint! If you want full coverage paint just add one part water to one part Milk Paint powder. For a wash or stain just add more water. We made a wash here and lightly painted the board with our workshop brush.
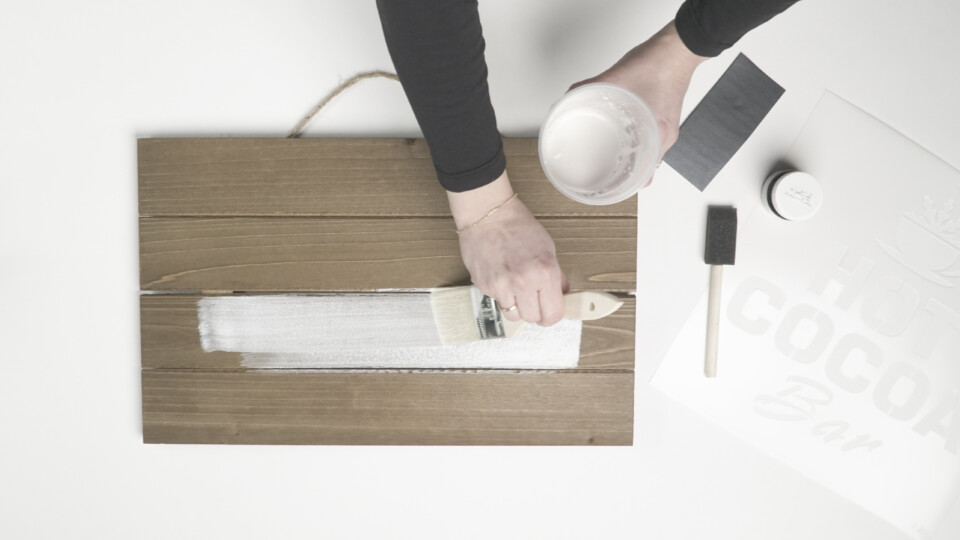
You are not looking for a perfect finish, this will be distressed later so just have fun and throw a coat on.
Distressing the board.
When your light coat of Milk Paint is dry lightly distress the paint for some worn character. Use a high-grit sanding pad to get the look you want. How much you do is up to you! Beauty is in the eye of the beholder.
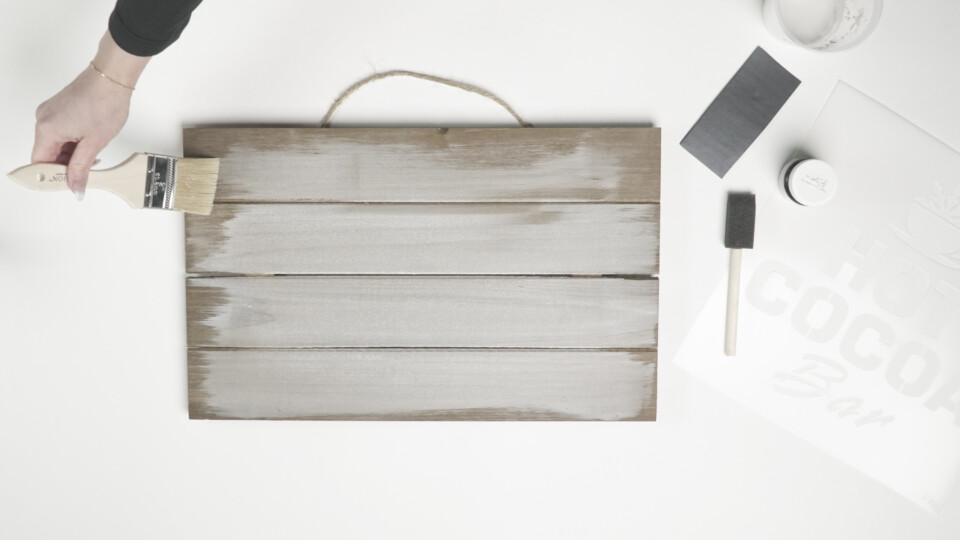
You could get creative and add multiple layers of Milk Paint in different colours to really get a time-worn look.
Old Sign Stencils
We love this design from Funky Junk’s Old Sign Stencils. It is perfect for a whole array of projects from, signs, to a real Cocoa Bar to interior decor. We recommend you pop over to Funky Junk’s website to see all the amazing and creative projects Donna has created.
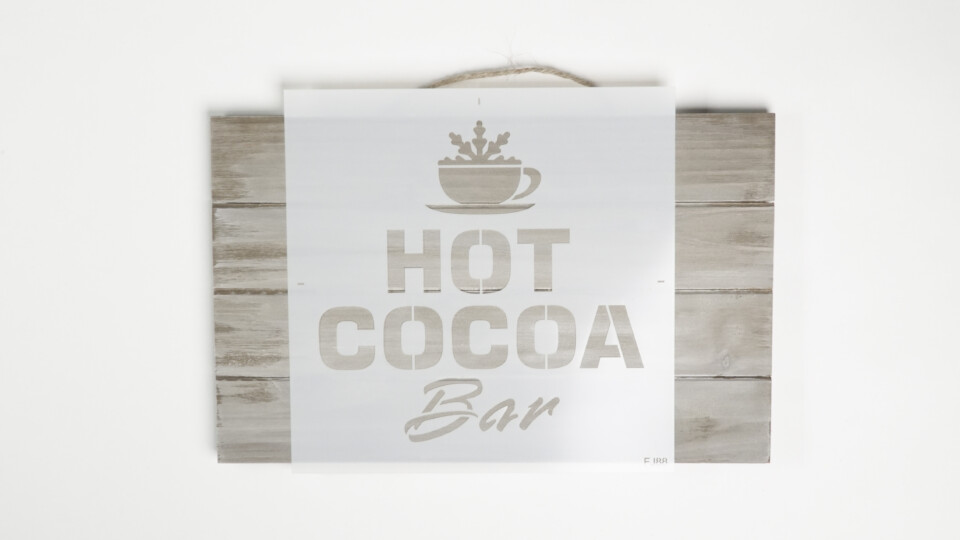
Place your stencil where you think it looks best and just hold it firmly in place while you are working. You may add a little painter’s tape to hold it in place so it doesn’t move. Do one section at a time to be sure you haven’t missed any spots.
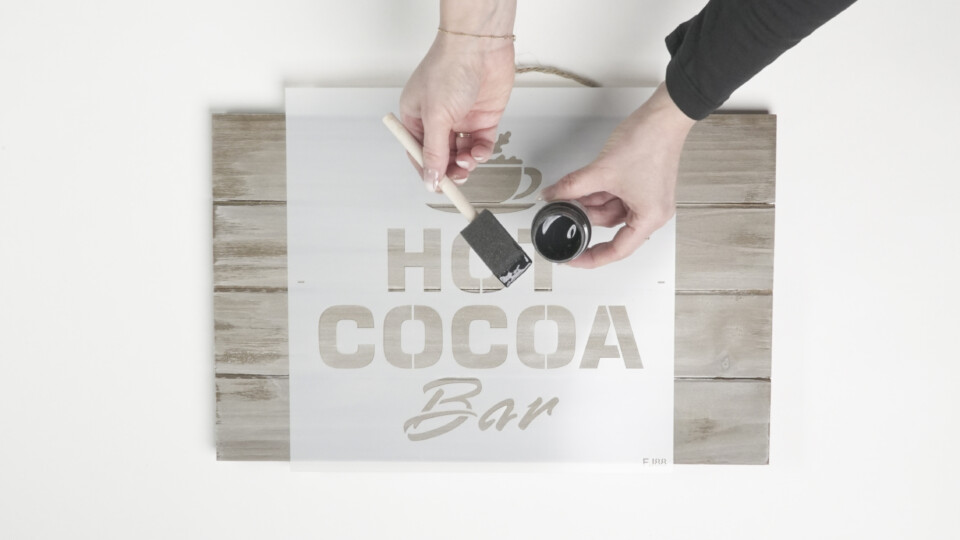
We used a simple foam brush for this but any stencil or normal brush will work. The top tip is less paint is best. You can always go back over and add another coat, you can’t take it off if you have too much. Too much paint will bleed through the stencil.
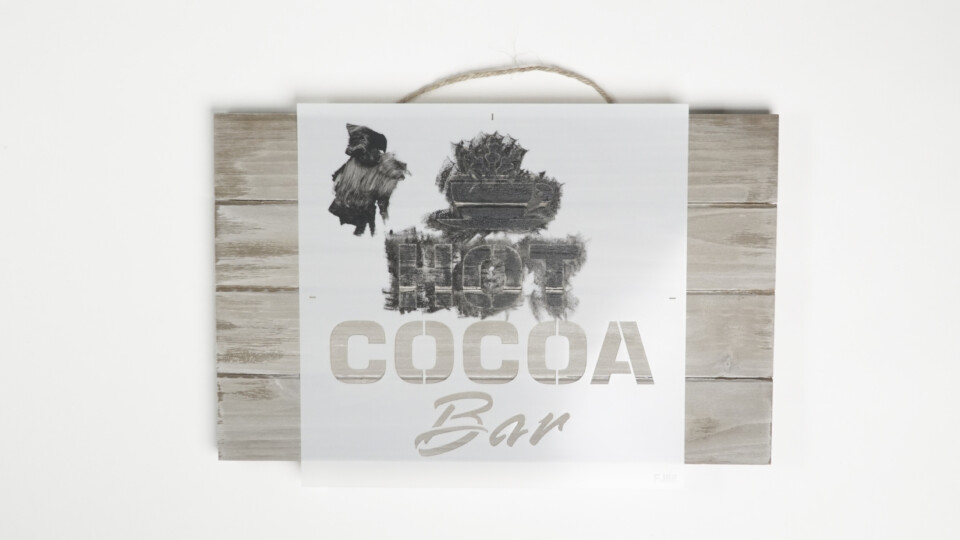
Check out our other stencil projects here.
Rustic finish
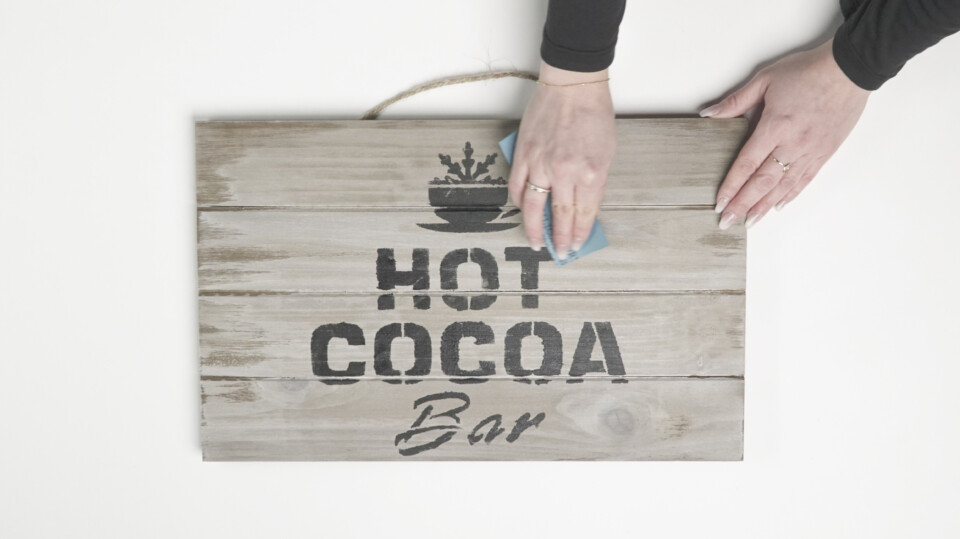
Once your stencil design is dry take a soft sanding sponge and distress it. It can be as perfect or as rustic as you like. There really is no right or wrong.
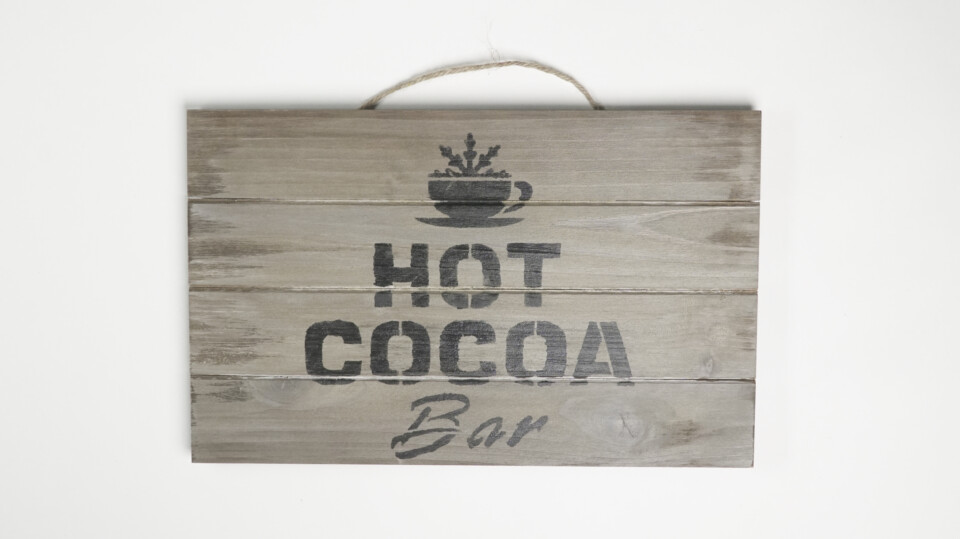
To antique it further you could use one of our beautiful waxes or even our Stain and Finishing Oils for instant age and protection. Just as we did on this project!
We wish you a Merry Christmas
Add some twine to your board so after you have used it you could hang it on the wall or maybe even in the garden. A simple Christmas DIY project that all the family could get involved with.
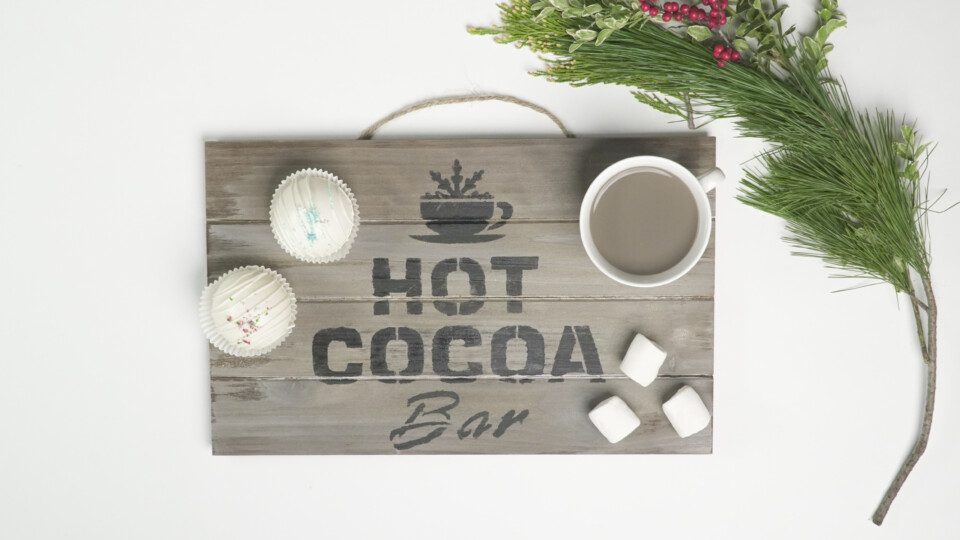
From all at Fusion, we wish you all a very Merry Christmas.
We would love to see your stencil and paint Christmas crafts!
Share them over in our public Facebook group Paint it Beautiful
Save this stencil and paint resource for later! Pin it to your Pinterest board.
For more inspiration visit our Pinterest pages here for Fusion Mineral Paint and Milk Paint by Fusion.


