Veneer dressers are often overlooked for paint projects. Why? Well, people look at them and imagine how much work it’s going to take to prep the pieces and then they aren’t sure if it’s hard to paint over the veneer or the surface under the veneer. Fear not, we’ve got this covered. We are going to show you how to fix broken veneer on furniture and paint them after, so the next time you spot that curbside find or love the lines of the one you see at the Garage Sale, you will be able to tackle the project without any worry whatsoever.
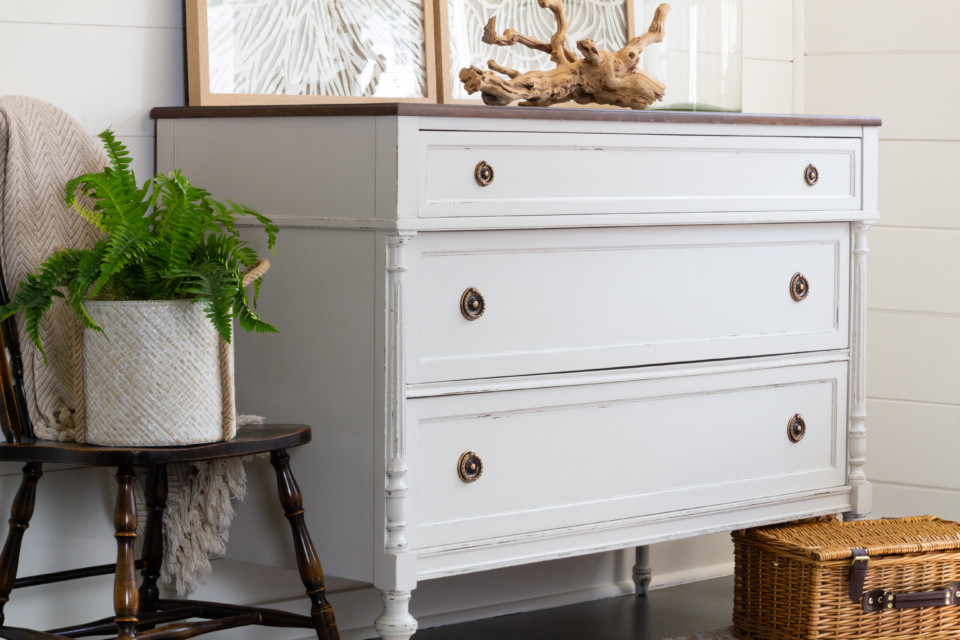
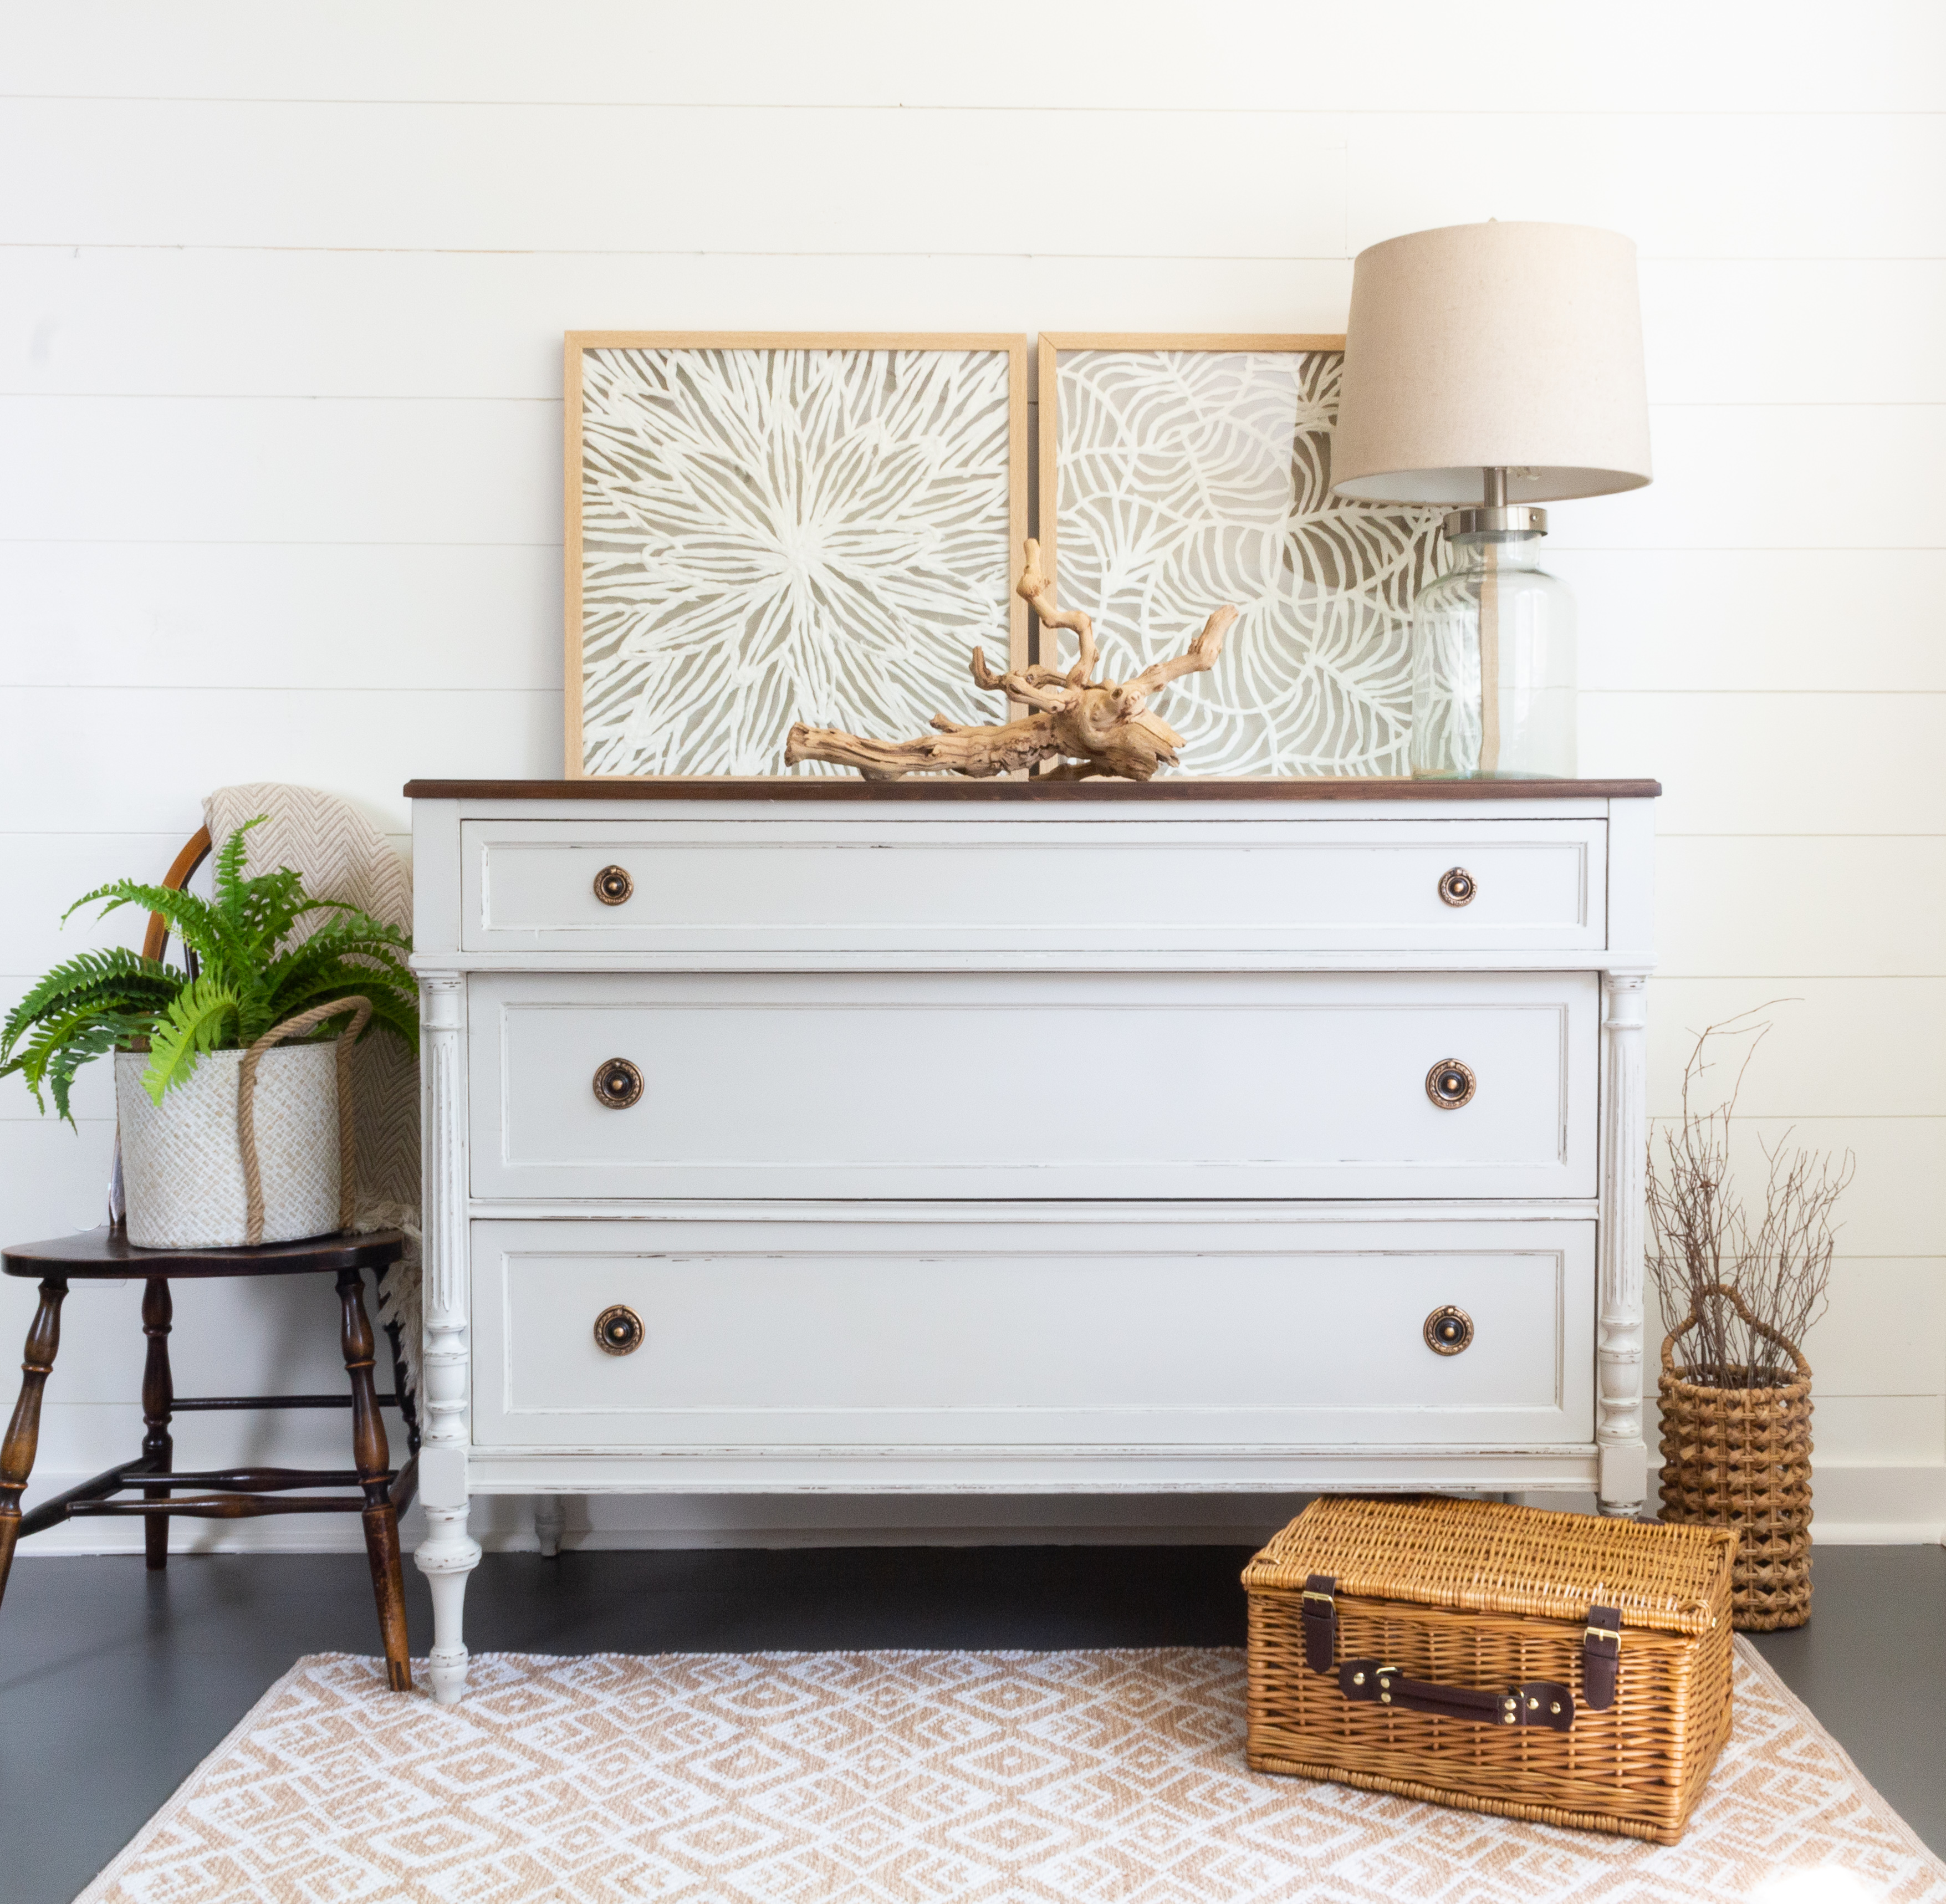
How to paint a veneer dresser featuring Goddess Ashwagandha from Fusion
Please Note: Goddess Ashwagandha is discontinued, we recommend Chateau instead!
SUPPLIES USED:
- Fusion Mineral Paint Goddess Ashwagandha (discontinued, we recommend Chateau instead)
- Fusion TSP
- Orbital Sander
- 120-180 grit to sand
- 220 grit to smooth
- Zinsser Clear Shellac spray
- Scraper/Hammer
- Bondo
- Paintbrush
STEP 1
PREP
Start by removing the veneer and any peeling veneer with hammer and scraper. Be careful not to gauge the wood underneath if you want to stain it instead of painting unless you’re going for a super rustic look. The ease of removing veneer depends on so many factors from the age to the glue that was used. Sometimes it peels off easily and other times it will require a little more effort.
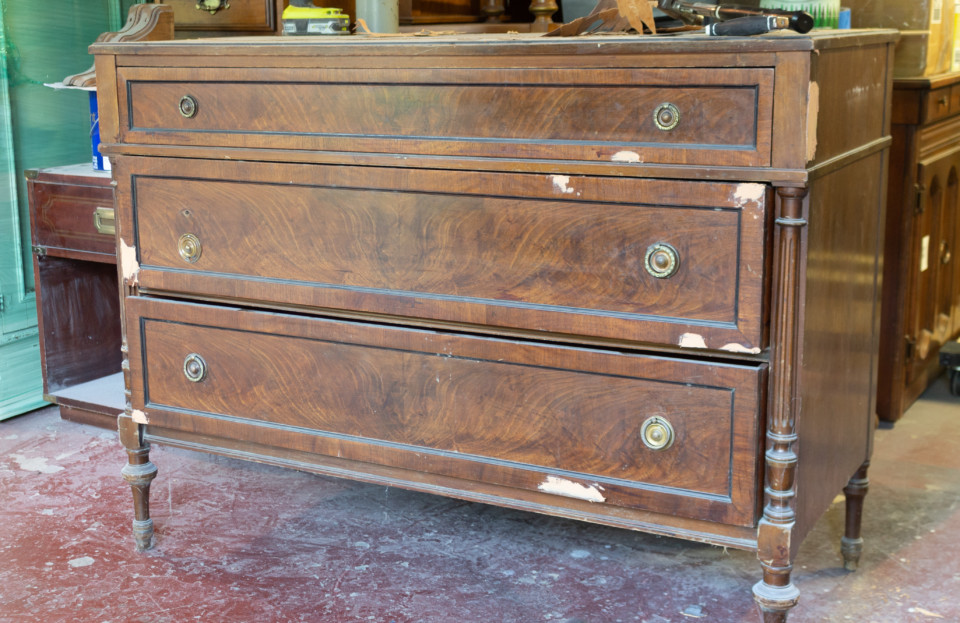
Once your veneer is removed give the dresser a thorough cleaning with Fusion TSP. This will ensure any residue or gunk is gone.
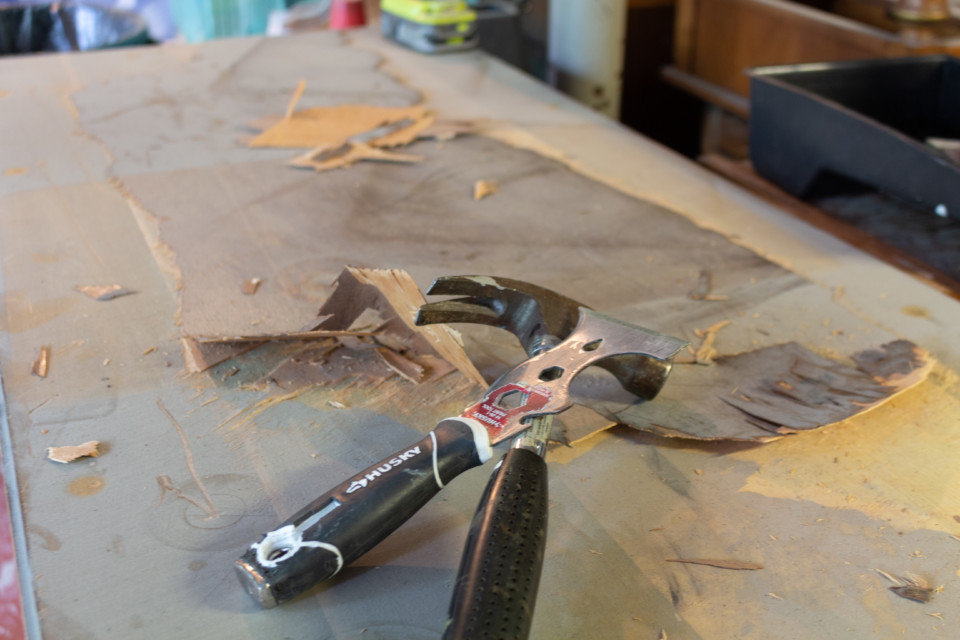
STEP 2
REPAIR
Using Bondo or a wood filler of your choice, repair any gauges or holes in the surface of your dresser. Follow the dry time instructions on your product before you move to Step 3.
STEP 3
SANDING & PRIMING
Sand your wood filler flush with the base of the dresser using an orbital sander at 220 grit. In this case, the top of this dresser required a really thorough sanding with an orbital to remove residual glue and wood from the veneer. Then scuff sand the base of the dresser with 220 grit.
Afterwards, wipe up excess dust with a tack cloth or damp cloth. Apply three coats of Zinsser Shellac to prevent bleed through.
STEP 4
PAINTING
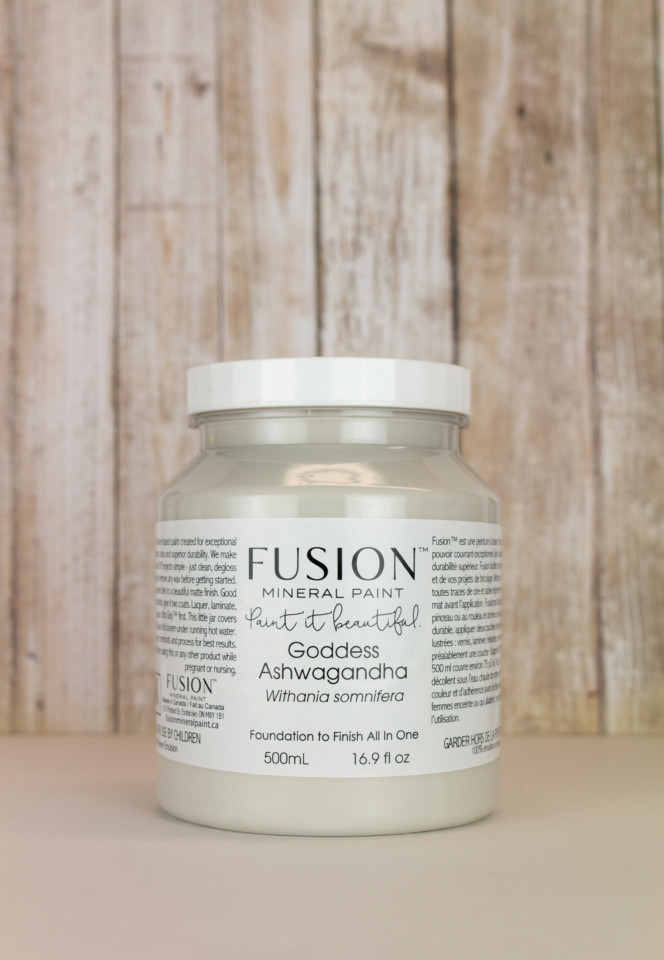
We applied three coats of Goddess Ashwagandha (discontinued, we recommend Chateau instead), sanding with 220 grit in-between coats. Sanding between coats helps remove any residual small bumps or uneven lines on the surface and get that ultra smooth finish.
STEP 5
FINISHING
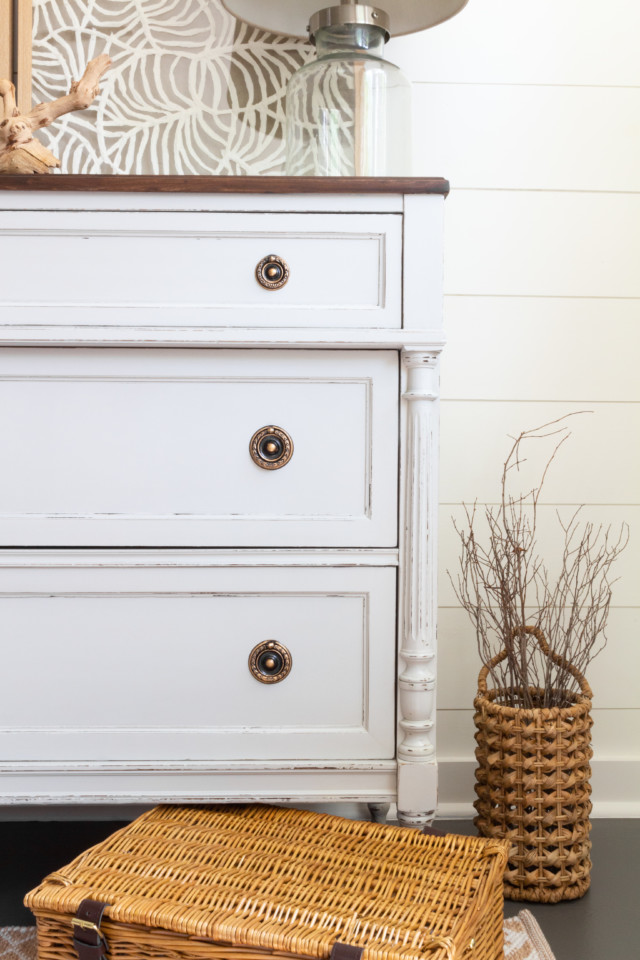
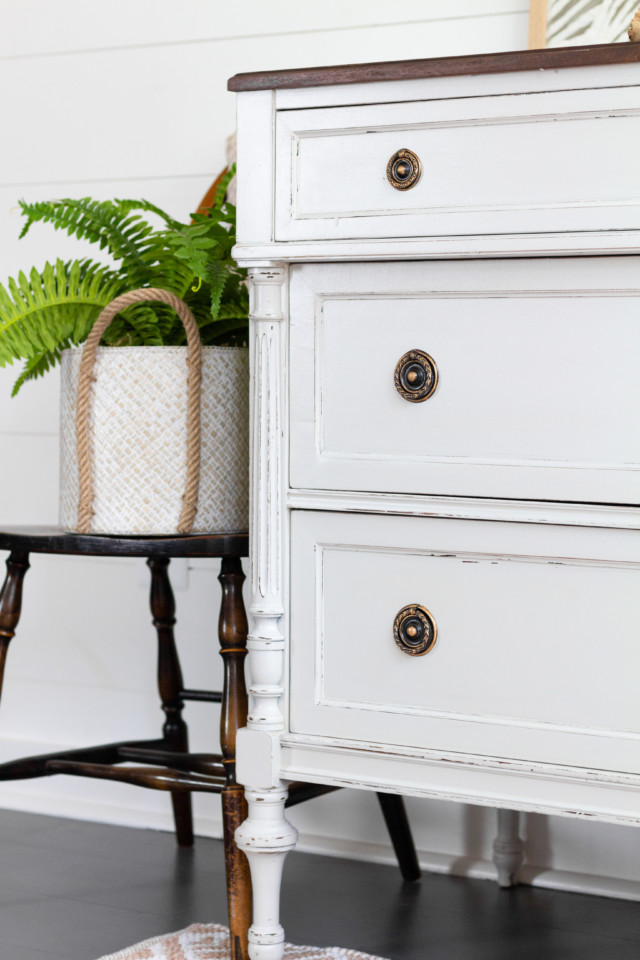
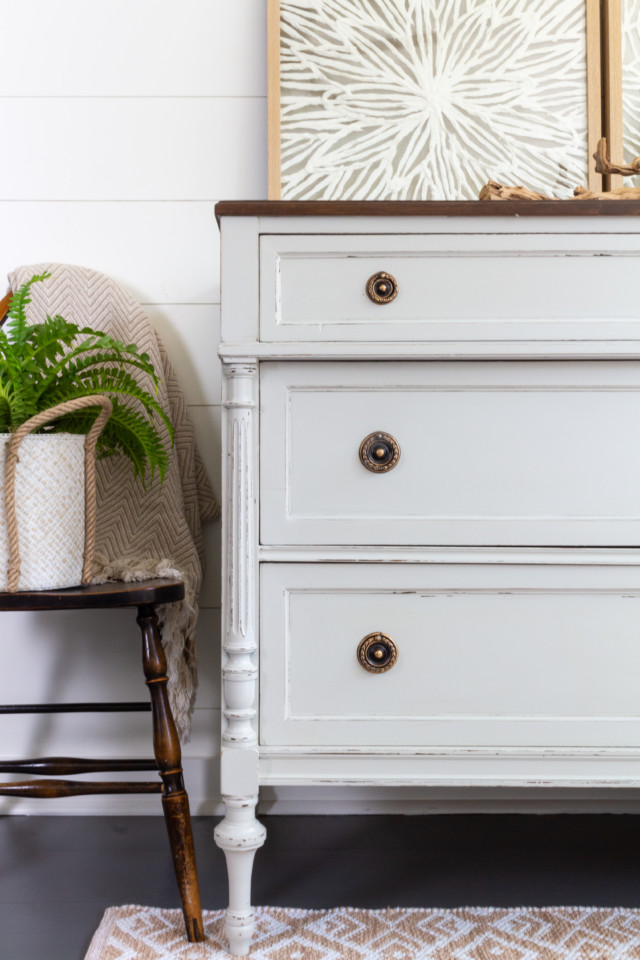
After the painting was completed, we lightly distressed raised edges with 180 grit paper. Then sealed the entire piece with a clear coat of Tough Coat but this step is entirely optional depending on your comfort level and usage of a given surface. Fusion has a built-in top coat which allows for water permanency so the only time you need a top coat is if you want some added protection. Read our blog to decide on when to use a Top Coat.
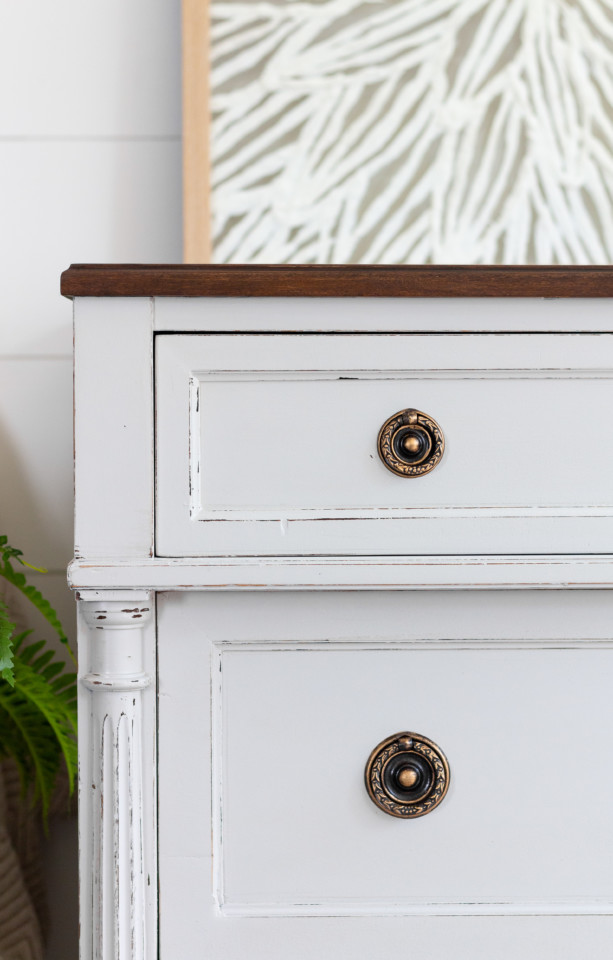
Can you believe this is the same veneer dresser in the Before photo? So next time you see an old dresser that is just perfect for your home, don’t leave it at the garage sale or curb. Grab some Fusion Mineral Paint and give it a brand new lease on life and in your home!
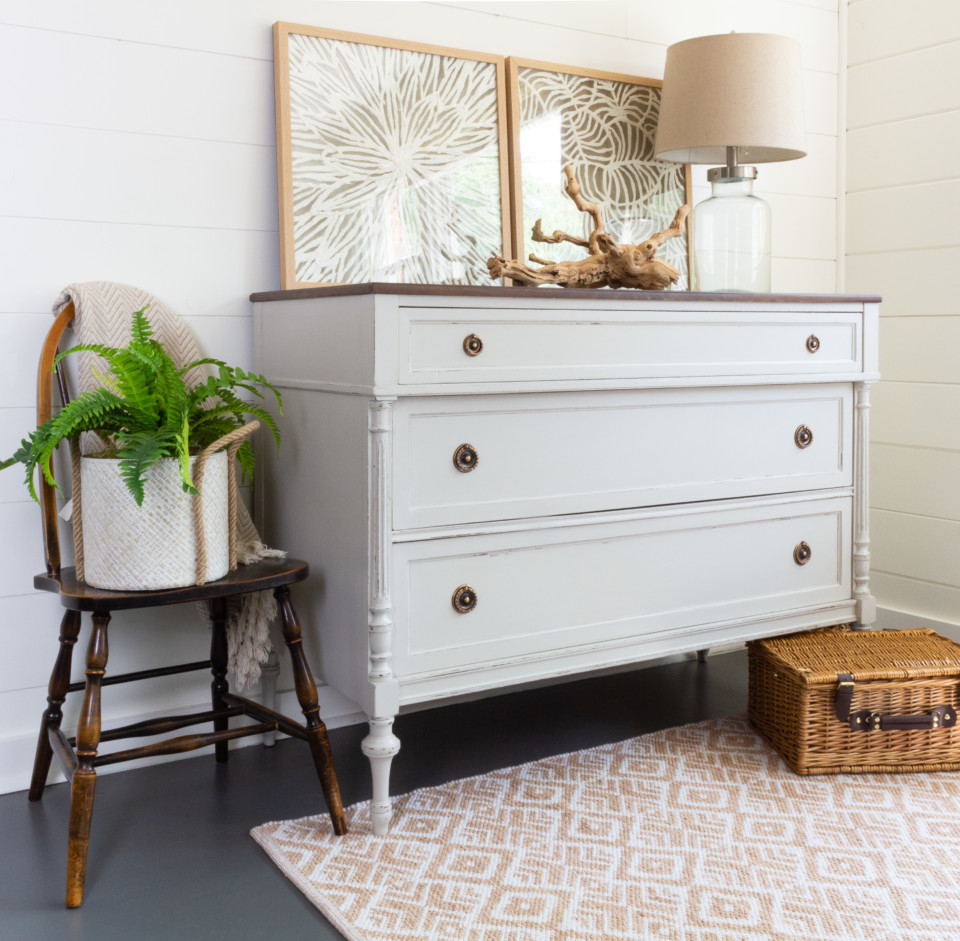
Keep sharing those Goddess Ashwagandha projects with us on social media using the following hashtags:
#GoddessAshawagandha
#FusionGoddessAshwagandha
We love to see what your projects as does our Fusion Community!
PIN IT FOR LATER!


2 Responses