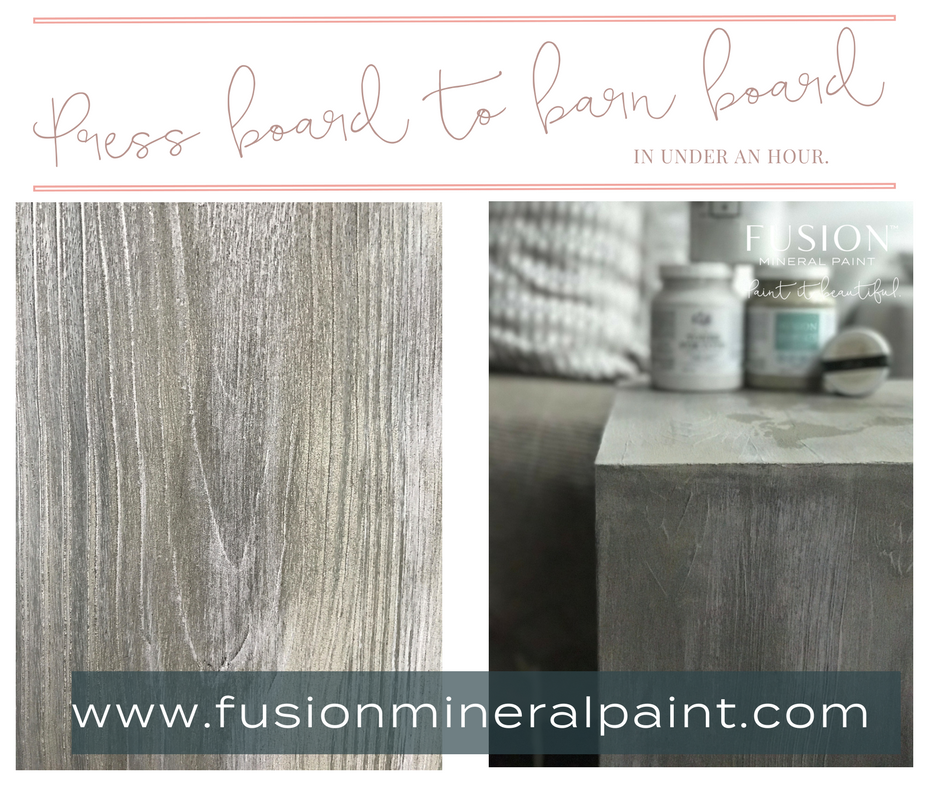
I love real wood texture, however, some pieces just don’t have it!
Here’s I’ll show you how easy it is to create a faux wood texture on almost any surface!
I found two junky old particle board tables. They looked just like this one, only with damaged edges and scratches.
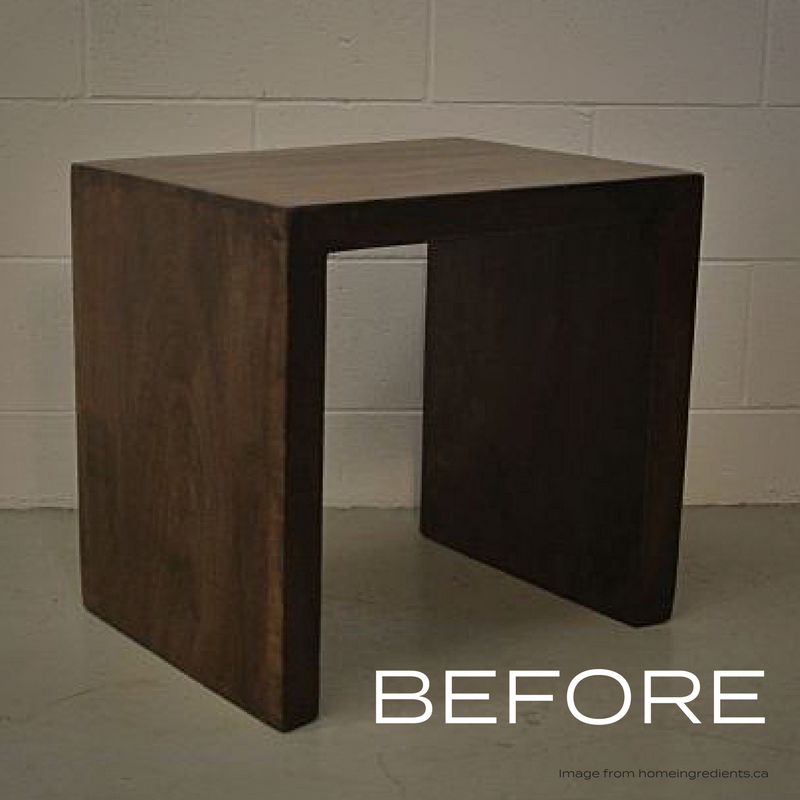
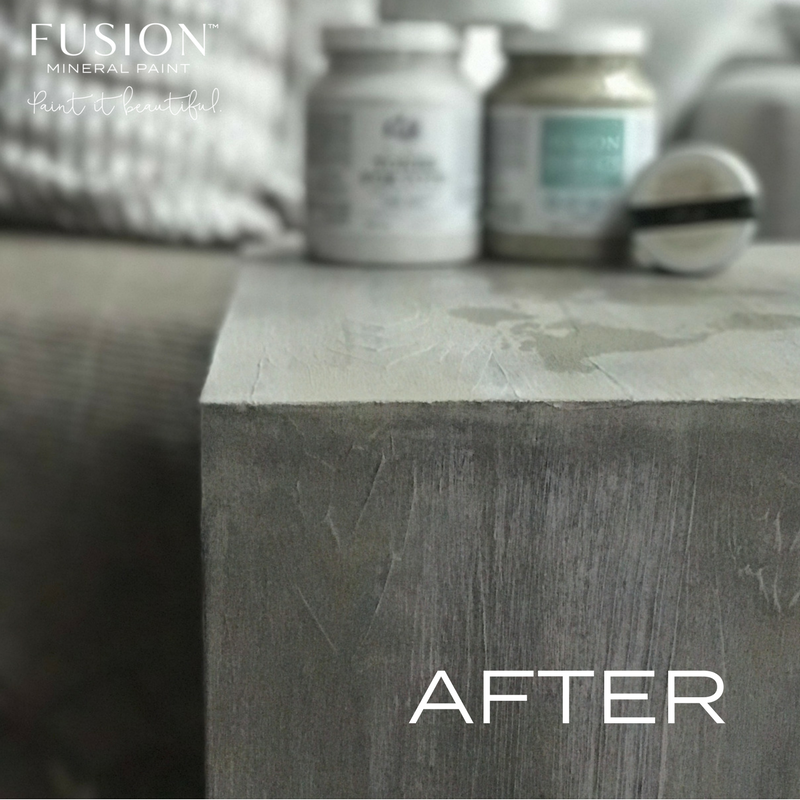
Now these tables are a really nice size, plus they stack, so space-saving too. I knew I could do something spectacular with them.
Never one to shy away from a challenge, I actually refinished my table LIVE on air! Yes, truly! In front of over 100,000 people I created the stunning finish I am sharing with you today.
Your shopping list:
- Little Stork (discontinued)
- Linen (discontinued)
- Sand Stone Texture
- A Wood Graining Tool, from hardware and craft stores.
- Brushes
- Paper Towel
- Paper Plate
- Paint stick
Optional:
I am so excited to share this. One thing to note, you can, if you wish, stop after dry brushing, but I do love the depth and age that the Black Wax brings to the game.
So, in just 4 simple steps, is what I did.
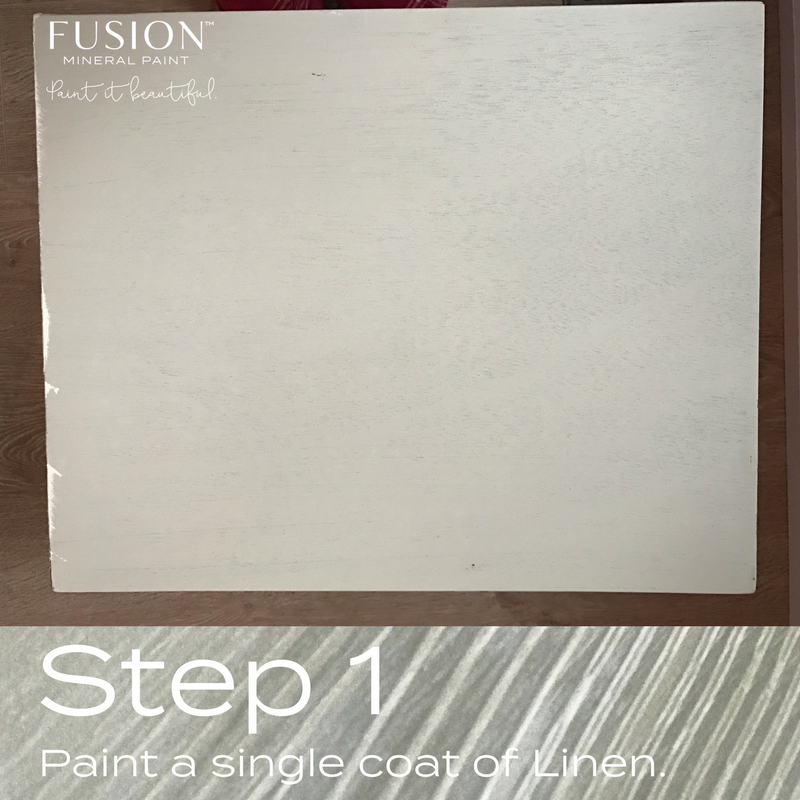
Step 1:
- Prep your item with a good clean, and a light sand.
- Paint a coat of Fusion™ Mineral Paint in Linen.
- Allow to dry to the touch.
Step 2:
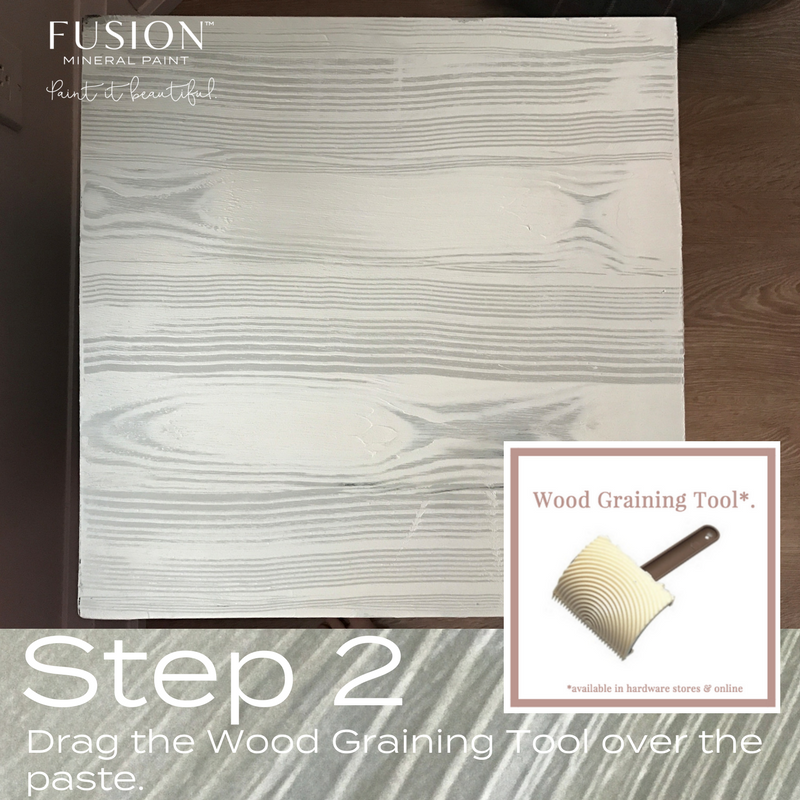
- While the paint dries, make a paste of equal parts Linen, Little Stork & Sand Stone Texture.
- If it is a little thin, add more Sandstone. You want the consistency of frosting. Roughly paint a thin layer all over the newly dried paint surface.
- Following the instructions on your wood graining tool, drag it through the mix. It is a good idea to practice first on some scrap card.
- Allow to dry.
Step 3:
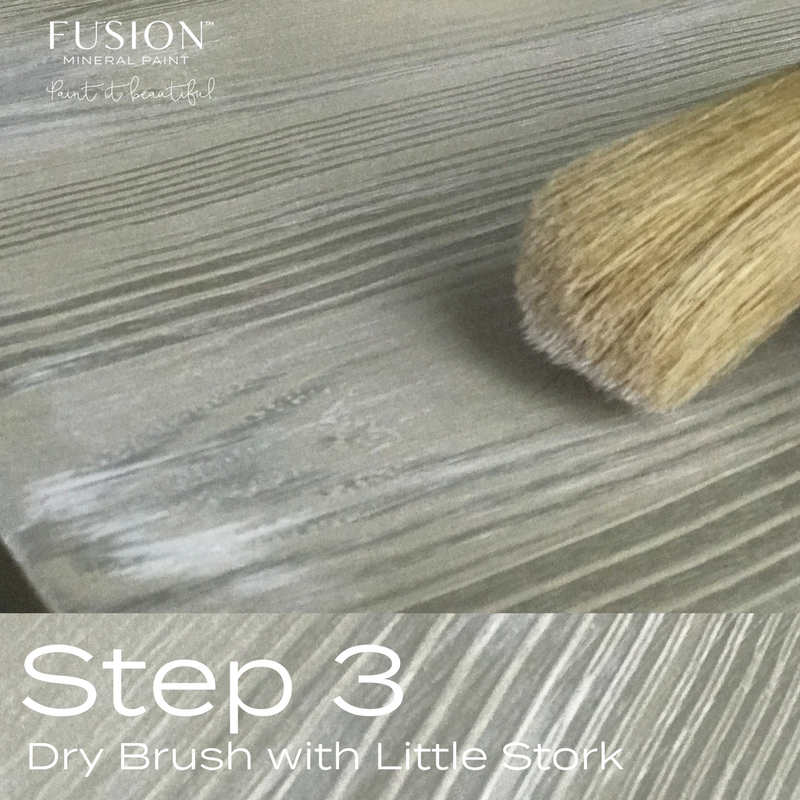
- Once the Sand Stone Texture is dry, apply a very light coat of Little Stork, using a dry brush technique. Use kitchen paper to take paint off your brush and use a very light hand.
Optional Step:
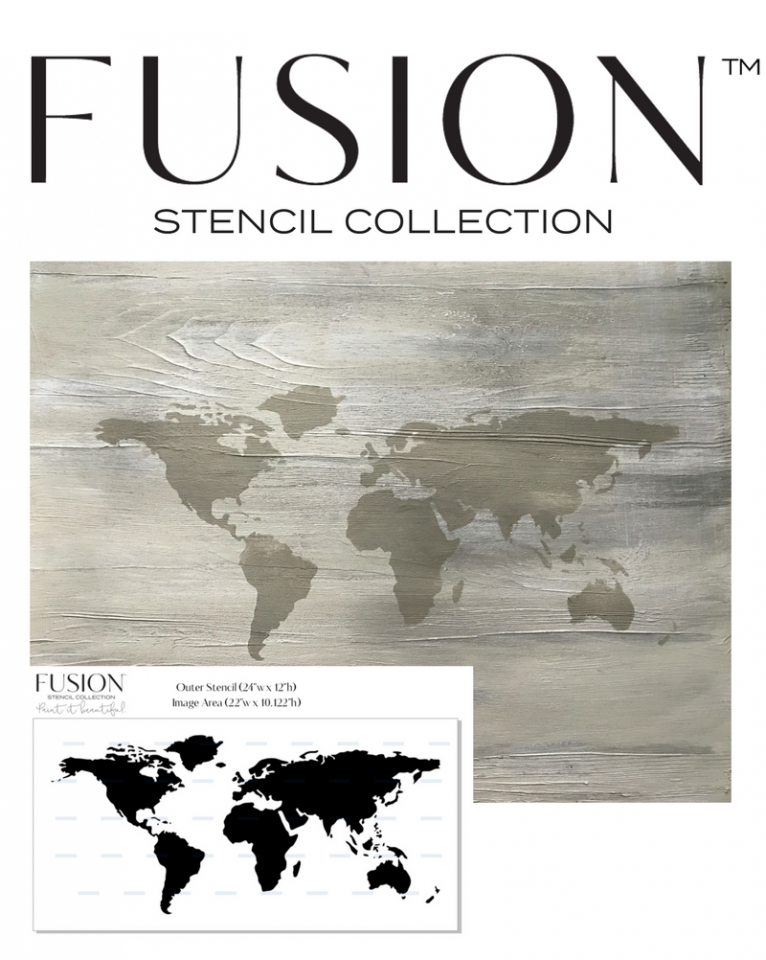
- If you are applying a stencil, now is the time to do it. Check out my Intro to Stencilling Video for tips and information.
Step 4:
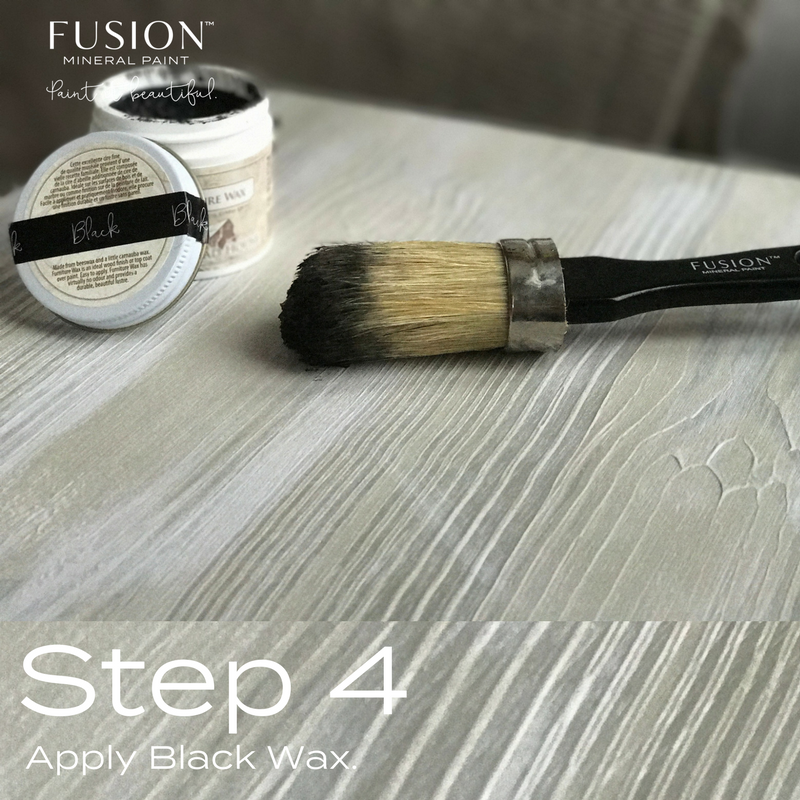
- Finish, if desired, with a coat of Furniture Wax – Black, apply with a brush or lint free cloth, pushing the wax into all the grooves and ridges you have created. Wipe away any excess.
- If you added too much wax, you can control it and remove it using our Furniture Wax – Clear.
Step 5:
- You are all done. I told you it was easy!
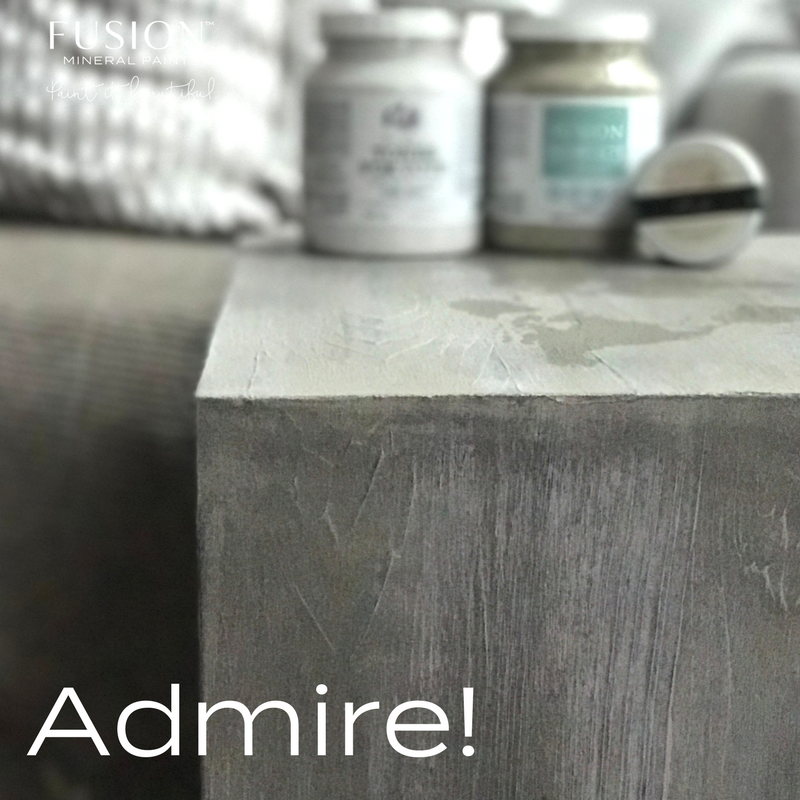
So give it a go. I am so delighted with my curb side finds. They look as though they came from a high end interiors store with a price to match!
Grab your paint, find a project and go for it. What is the worst that can happen?
You know, if you really want some extra help and tips, our Fusion™ Merchants are spread all over the world, and most offer workshops, help and advice – so go and pick their brains. You will be glad you did.
Be sure to post you finished work to our Facebook Page, but most of all, have fun!


Love it! What a fabulous transformation.
Stunning! Can’t wait to try it myself.
Beautiful! I have ordered a wood grain tool from Rona and can’t wait to try this technique!