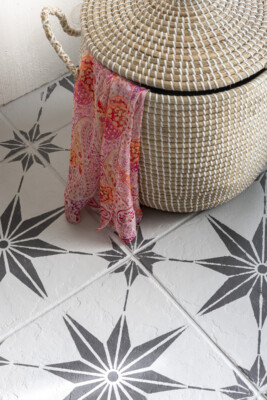
Let us introduce to you Hazelwood from our new colour collection of 11 whimsical colours. We often get asked if you can use Fusion on floors and tile and the answer is YES! With the proper prep, you can take old outdated tile floors, and make them look modern and incredibly durable! In this post, we will walk you through step by step how to prep your floors for paint, how to easily paint them with a stencil that only takes minutes, and the best top coat for added durability. Follow along to see how to upgrade your old tile using Fusion Mineral Paint and a stencil.
MATERIALS USED
- Fusion Mineral Paint “Hazelwood”
- Fusion Mineral Paint “Cobblestone” (base colour)
- TSP Alternative
- Fusion Ultra Grip
- Fusion Tough Coat Matte Wipe-On Poly
- Staalmeester Paint Tray & Roller Brush
- 1” Chip brush
- Muddaritaville “Ava Star” Tile Stencil
PREP: CLEAN WITH TSP ALTERNATIVE
Vacuum and wash your floor with a TSP Alternative. Make sure there is no grease residue left on the floors. To make sure the paint adheres well, apply 2 coats of Fusion Ultra Grip to your tiles using a roller brush and paint tray. To ensure the Ultra Grip got into the grout areas, we used a 1” chip brush to apply it. Wait for a minimum of 4 hours between coats. Rolling the ultra grip is quick and easy and you get a super smooth finish that way.
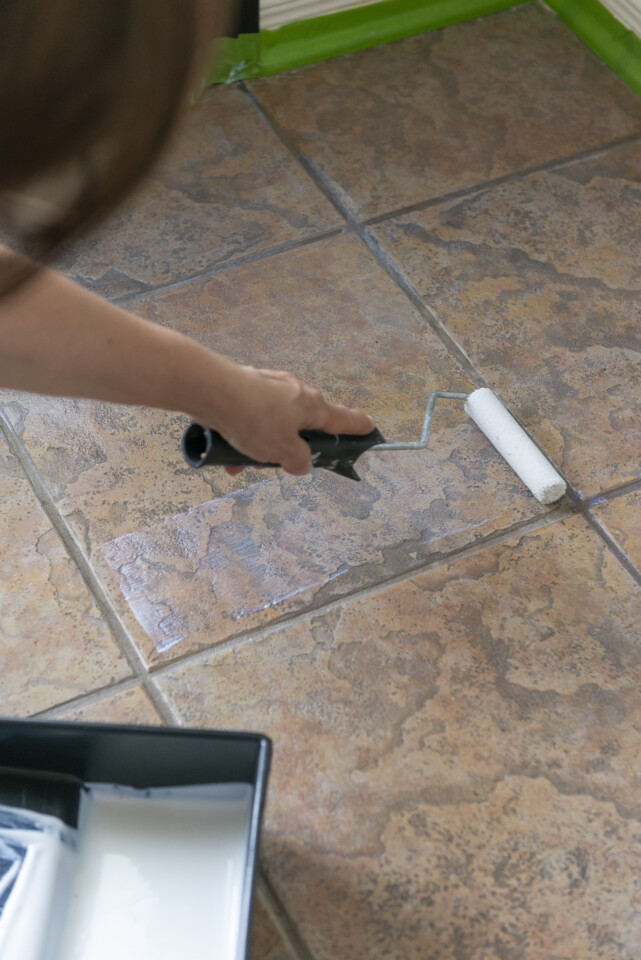
Our Ultra Grip goes on transparent and dries clear. This stuff is the best for adhering to very difficult areas, also great for melamine or thermofoil cabinets!
HAZELWOOD
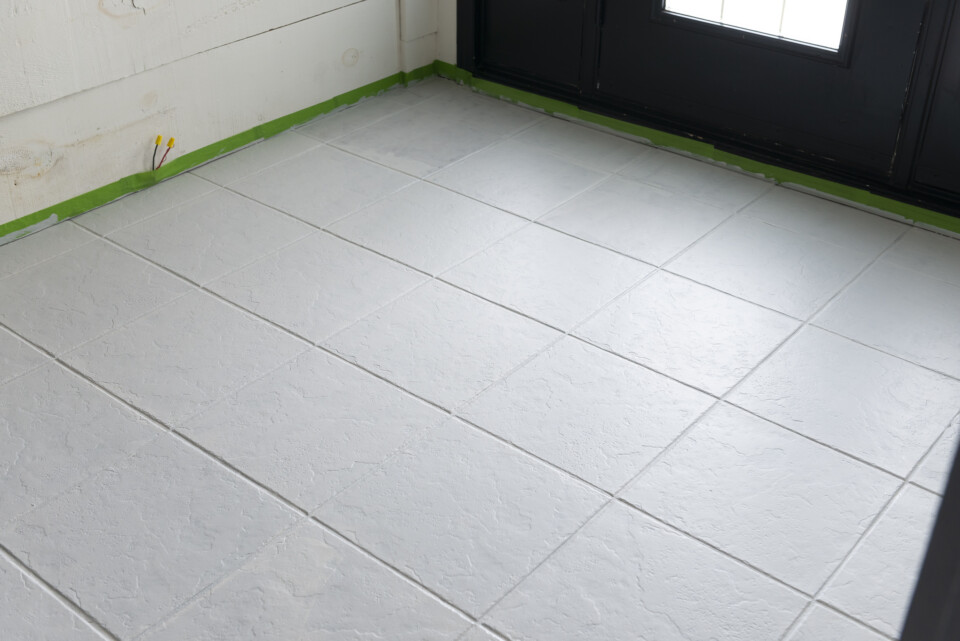
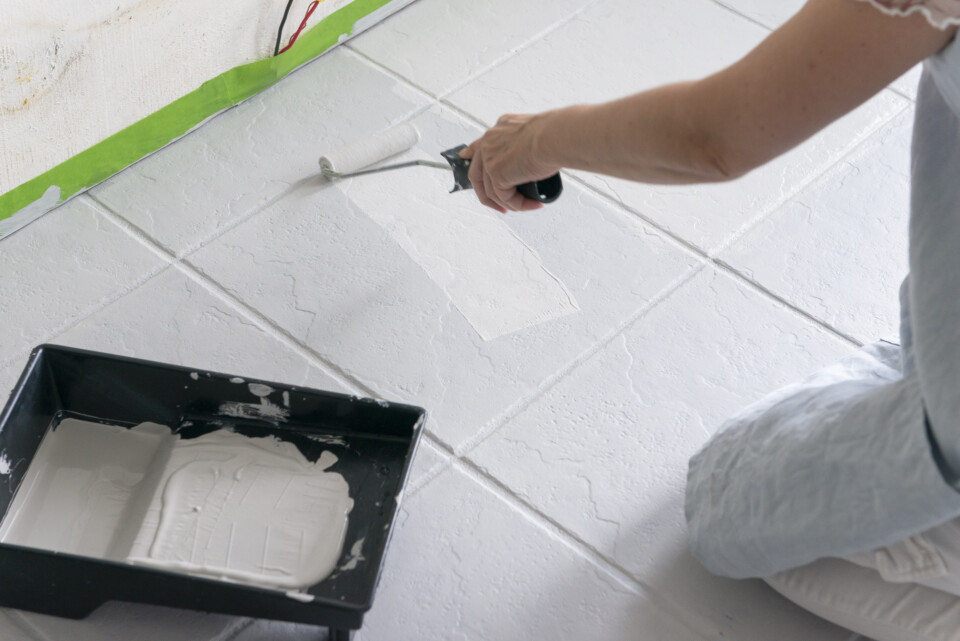
After applying your second coat of Fusion Ultra Grip, wait 4 – 8 hours before applying your first base coat of paint. For our base coat, we applied Fusion Cobblestone from the new colour collection, again using our roller, and the 1” chip brush to paint inside the grout lines. Two coats were applied to get full coverage.
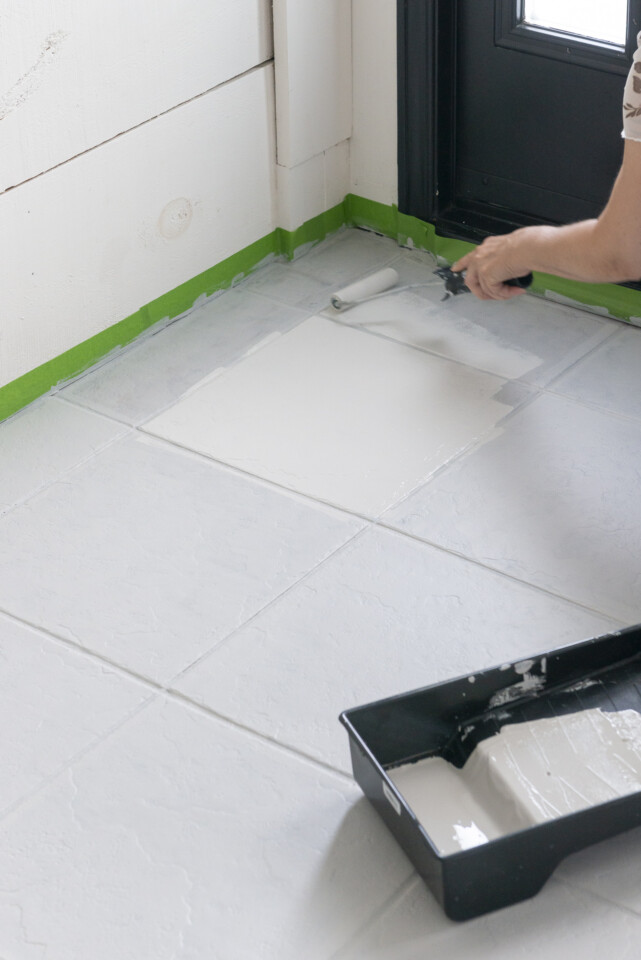
You can really see how great the second coat is for full coverage.
APPLYING YOUR STENCIL
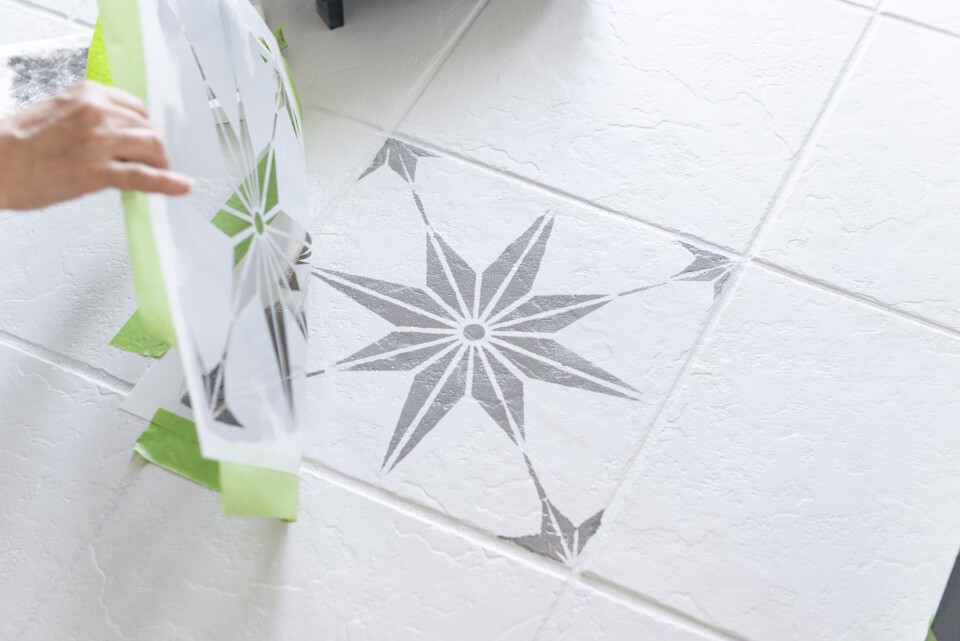
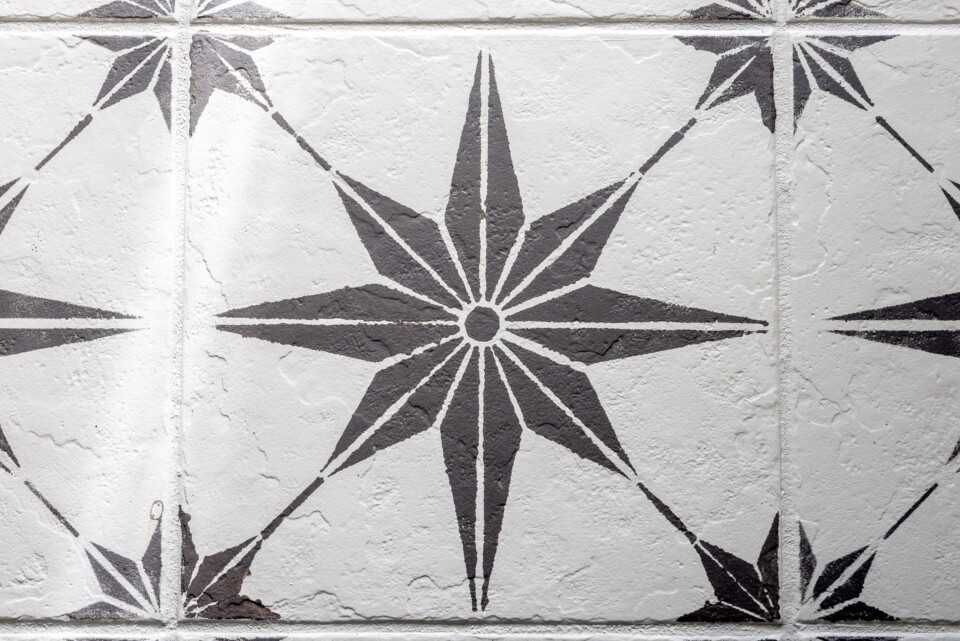
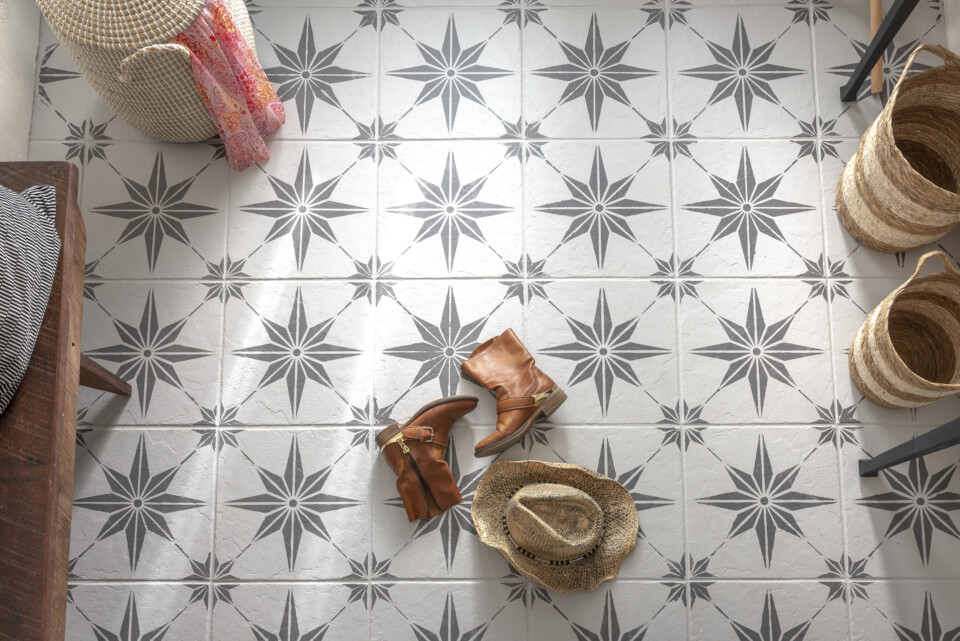
After our paint dried, we stencilled a star pattern on our tiled floors using Hazelwood Fusion Mineral Paint.
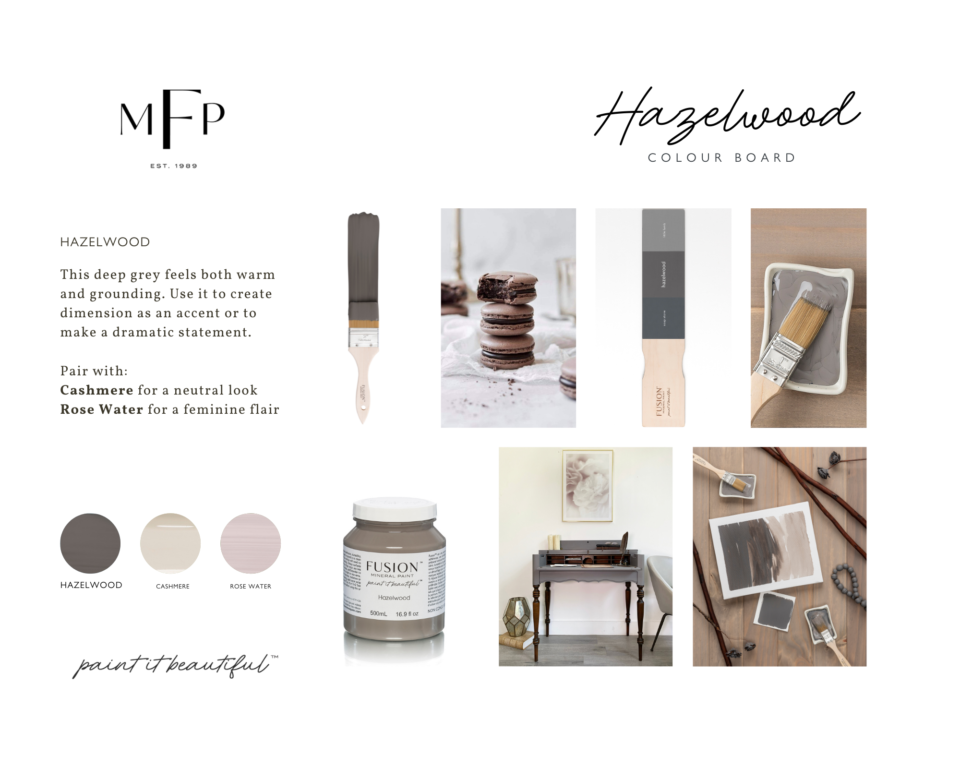
This deep grey feels both warm and grounding. Use it to create dimension as an accent or to make a dramatic statement. Hazelwood a deep grey is both warm and grounding a rich deep warm tone.
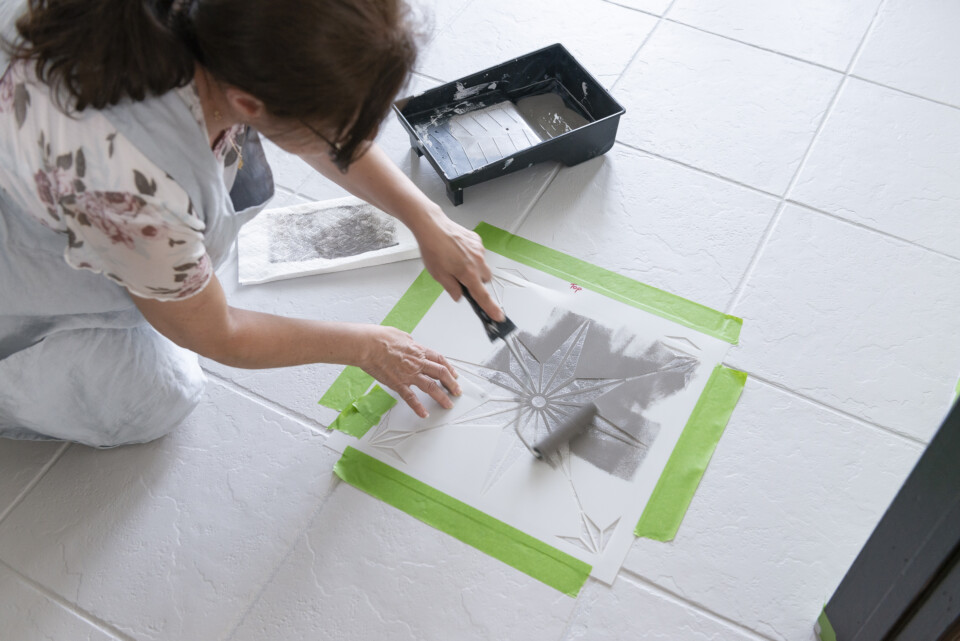
When using a stencil less is more! You want to make sure you do not have too much paint on your roller. You can always add another coat if needed. If you use too much paint on your roller you will get bleed through. Your roller should almost feel dry when rolling on the paint for the stencil.
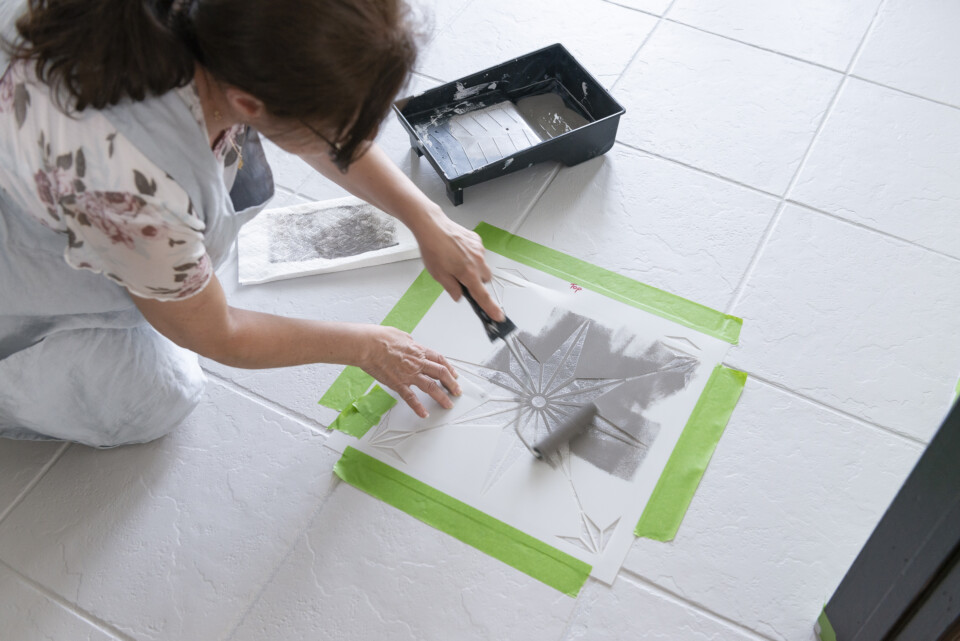
TOP TIP: If using a large stencil, it is a good idea to tape it in place.
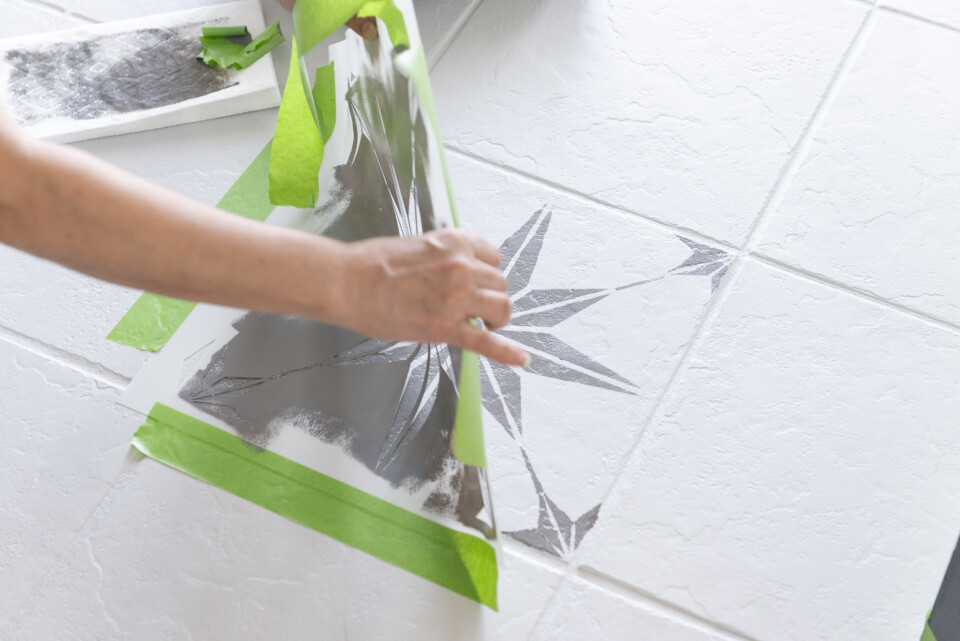
Take a peek and lift your stencil to see if you have achieved the look you want. You can always place it back down if you need to add more paint.
FINISH
To seal, we applied two coats of Fusion’s Tough Coat Matte Wipe-On Poly with a roller brush, waiting about 4 hours in between each coat. Before using Tough Coat roll the bottle gently so as not to incorporate air bubbles.
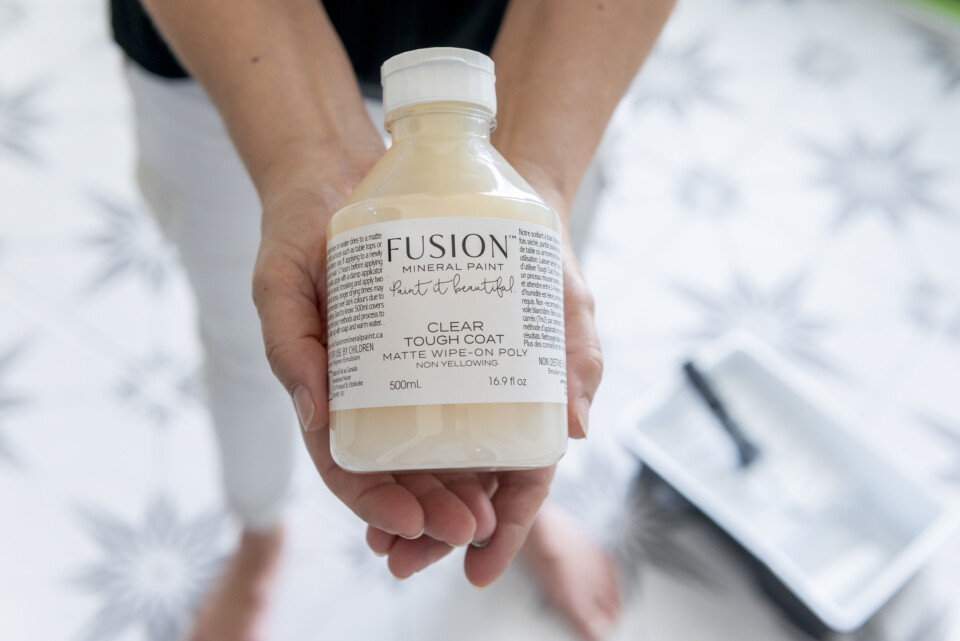
Using a few thin coats works better than applying one thicker one. Leave to dry for 4 hours between coats.
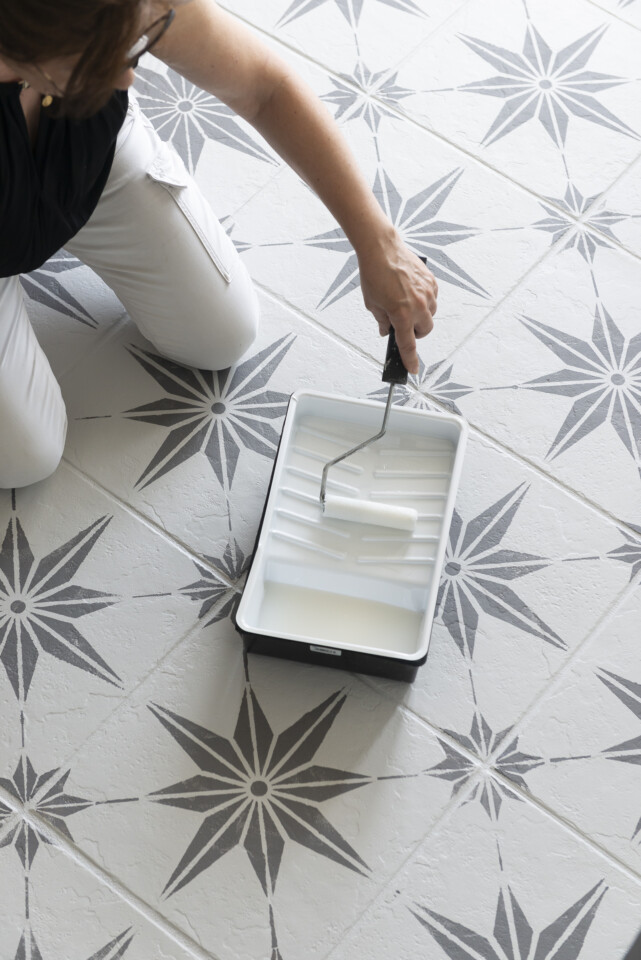
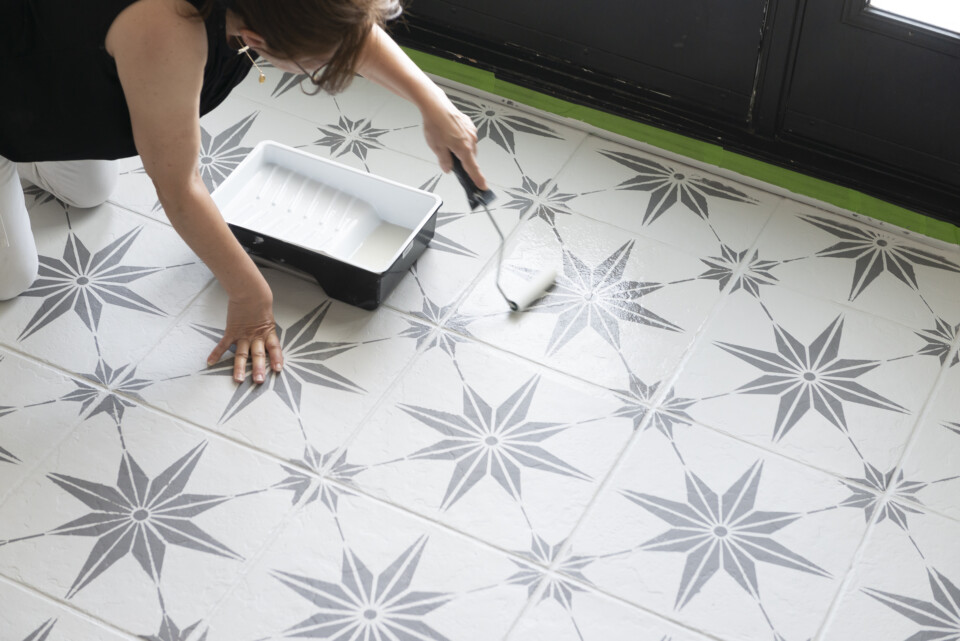
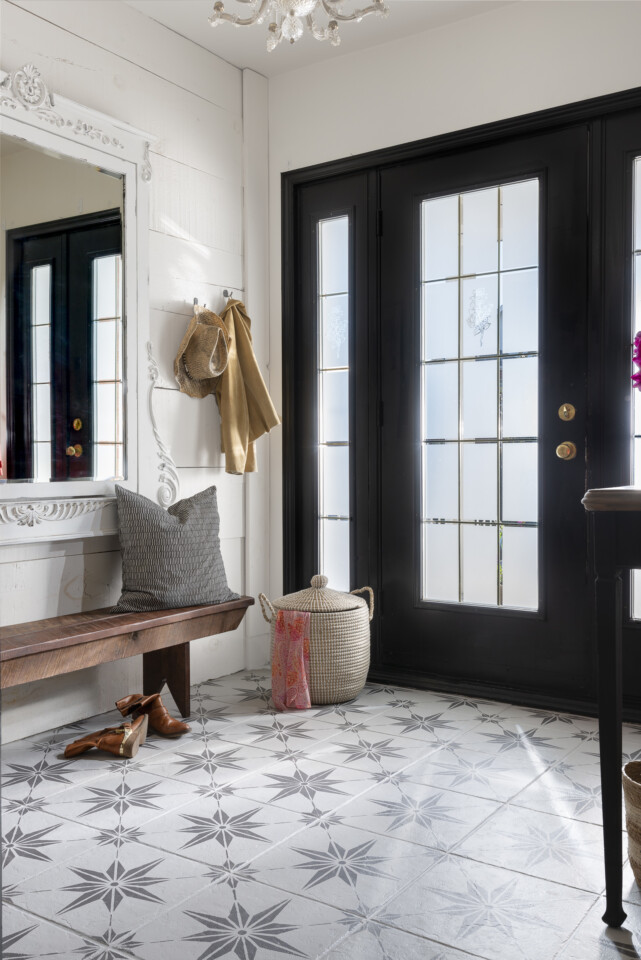
Once the final coat has been applied we recommend waiting 12-24 hours before placing anything on the floor. After this time is up, you’re ready to put everything back and show off your new, beautiful floor! Gently use it for the first 21 days while the coats are curing.
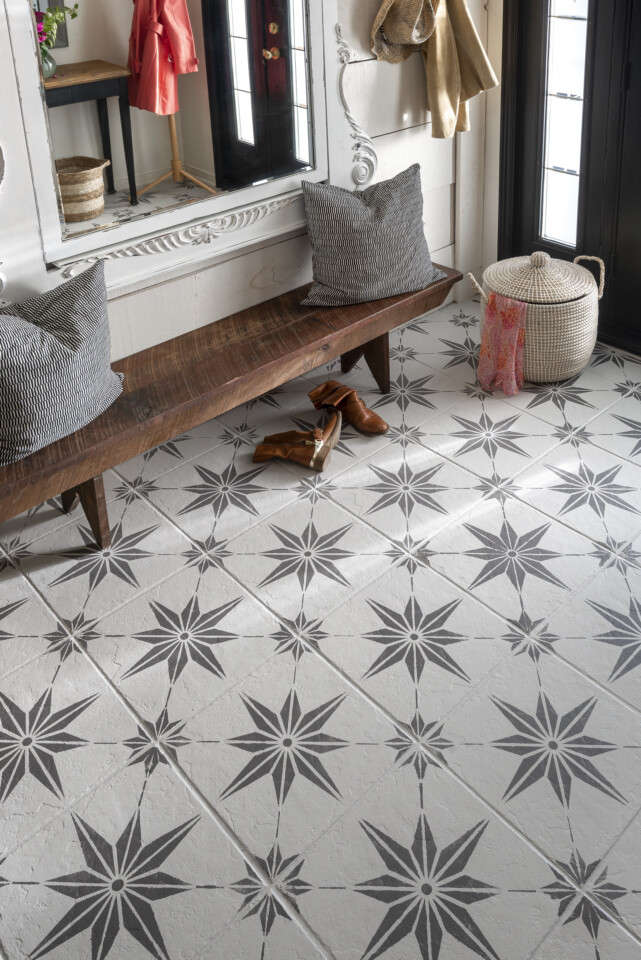
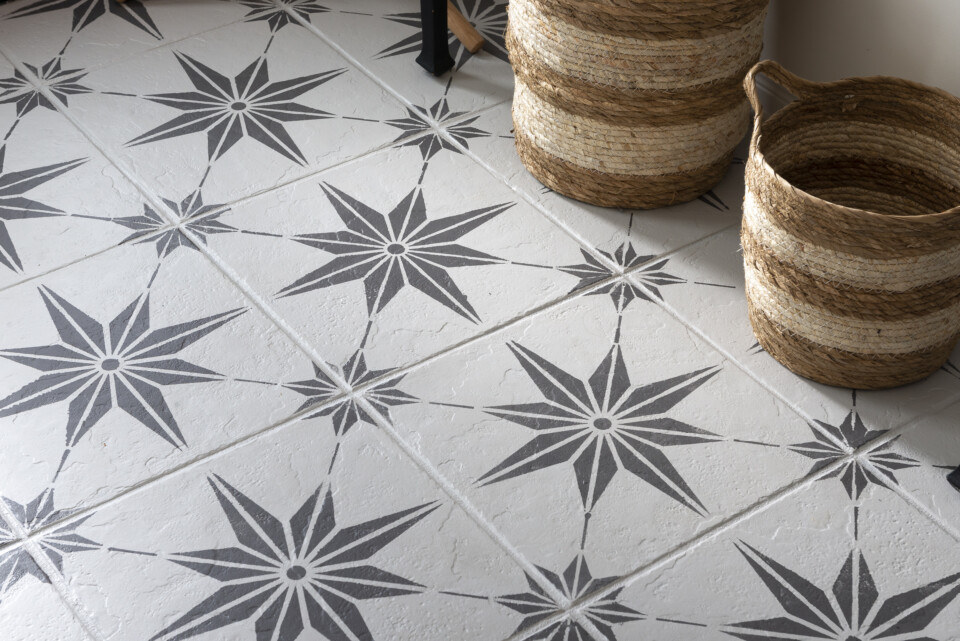
Re-imagine your space on a budget
Upgrading your space and getting a high-end look on a budget is achievable using Fusion and we think you’ll agree, Hazelwood, this stunning new shade from our new collection is going to be a hit!
Have you painted your tile with Fusion? Let us know in the comments what you think of this project!


