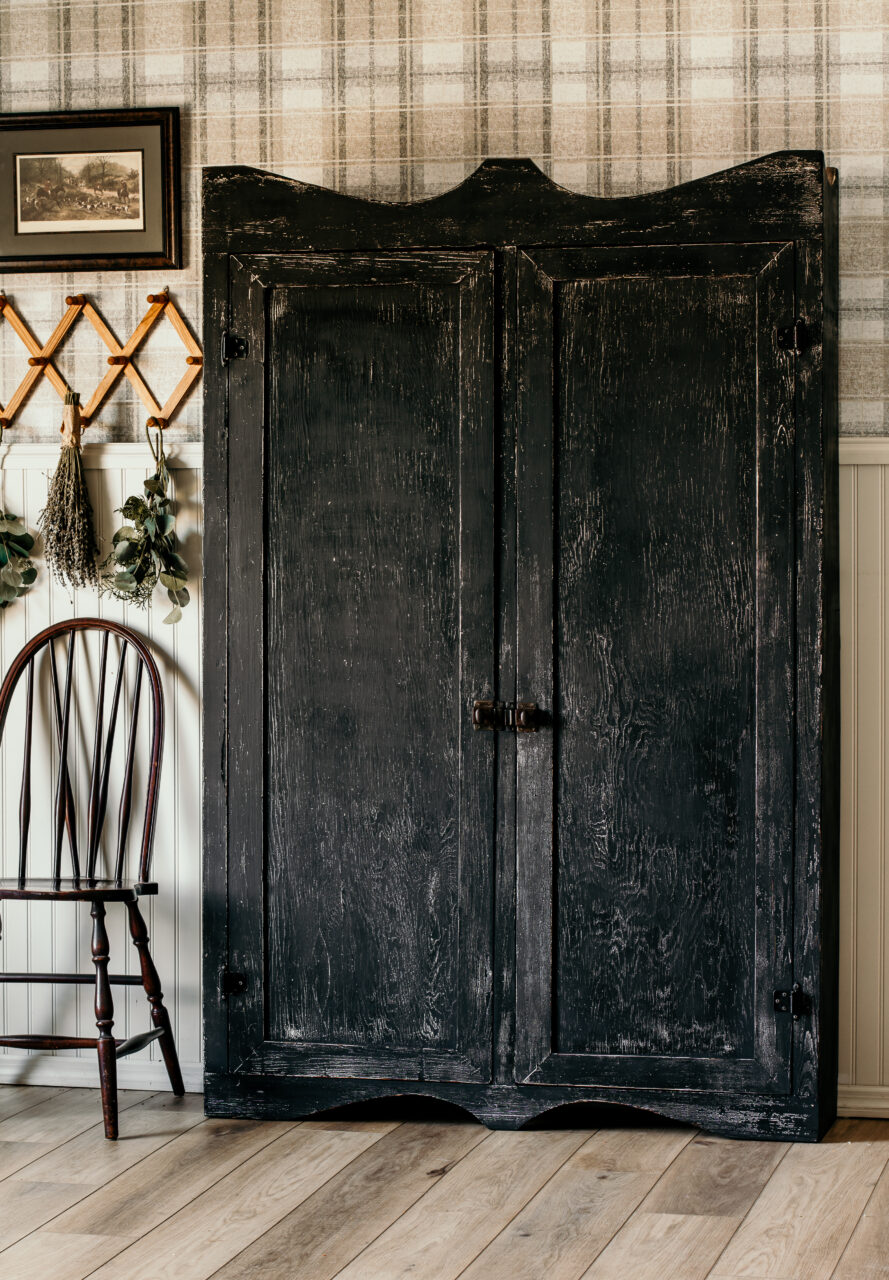
One of the most simple and iconic looks of furniture designs is that of primitive antiques. Primitive furniture can be defined as furniture made by hand with little to no ornate details and often using simple tools for production. This type of furniture was common in the 1800s and early 1900s when there was no mass production available. This means that every primitive furniture piece ever made reflects the intention and craftsmanship of the builder who made it. These pieces, although simple in design are works of art on their own. Follow along as we show you how to complete a Dark Primitive Hutch Makeover.
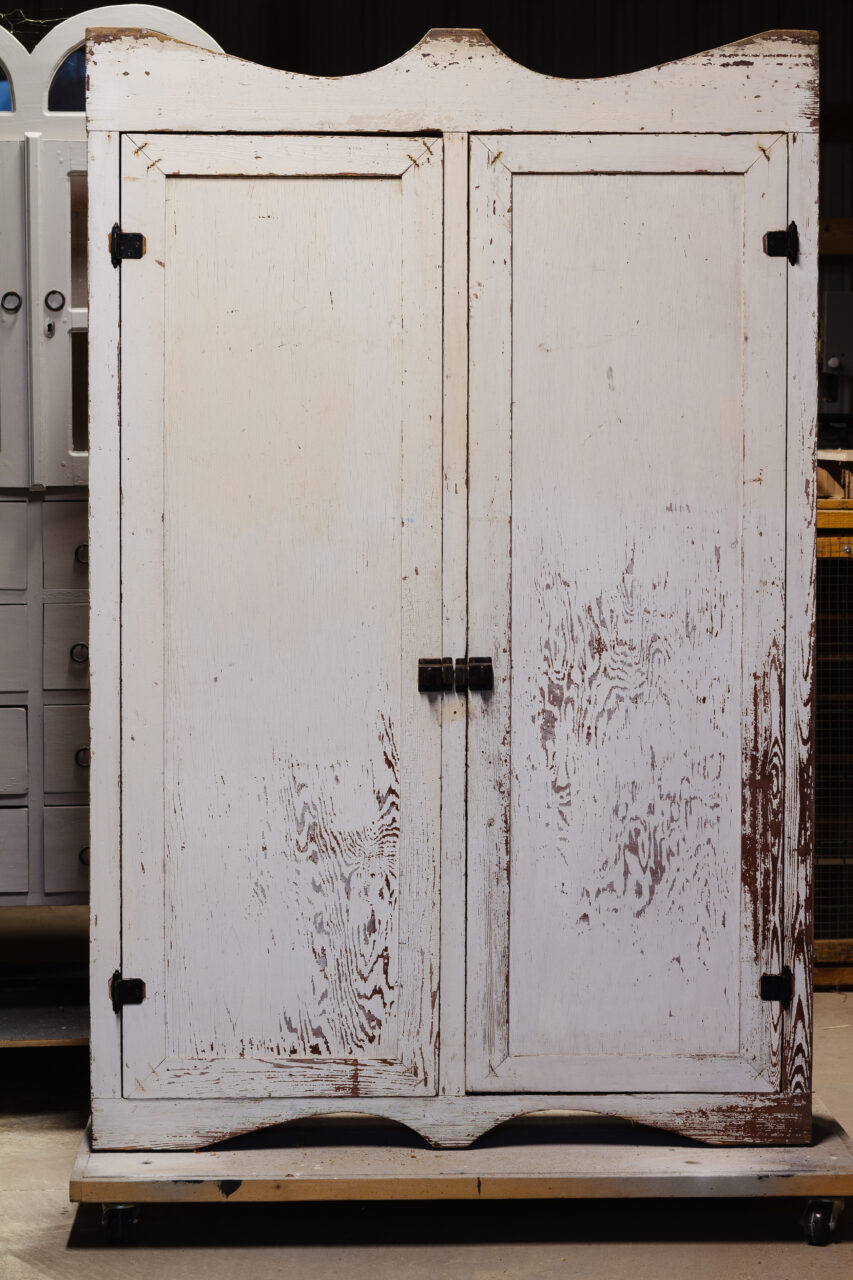
When we found this hutch, it already had a beautiful chippy patina to it. Some of the wood tannins were bleeding through the white paint, and it was not the pretty kind of natural weathering we typically like to keep.
Here is a “before” look at the piece:
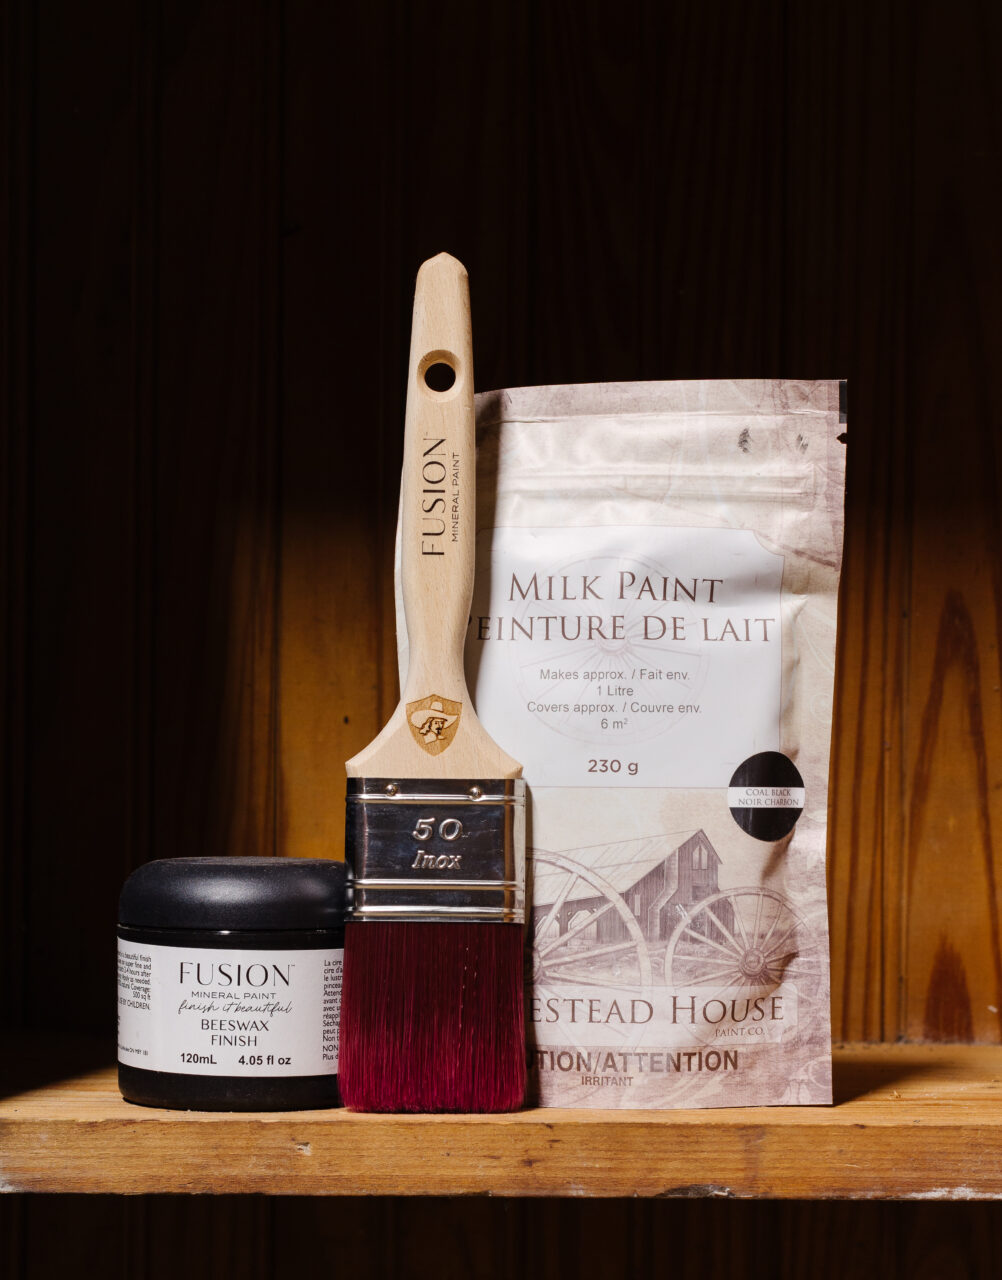
Below is a list of supplies you’ll need to complete a similar Dark Primitive Hutch Makeover.
- Fusion TSP Alternative + Wiping Cloths
- Homestead House Milk Paint in Coal Black
- Scraper
- Staalmeester 2-inch Synthetic Brush
- Fusion Gel Stain in Double Espresso
- Hemp Oil
- Fusion Beeswax Finish
Prepping a painted surface for Milk Paint
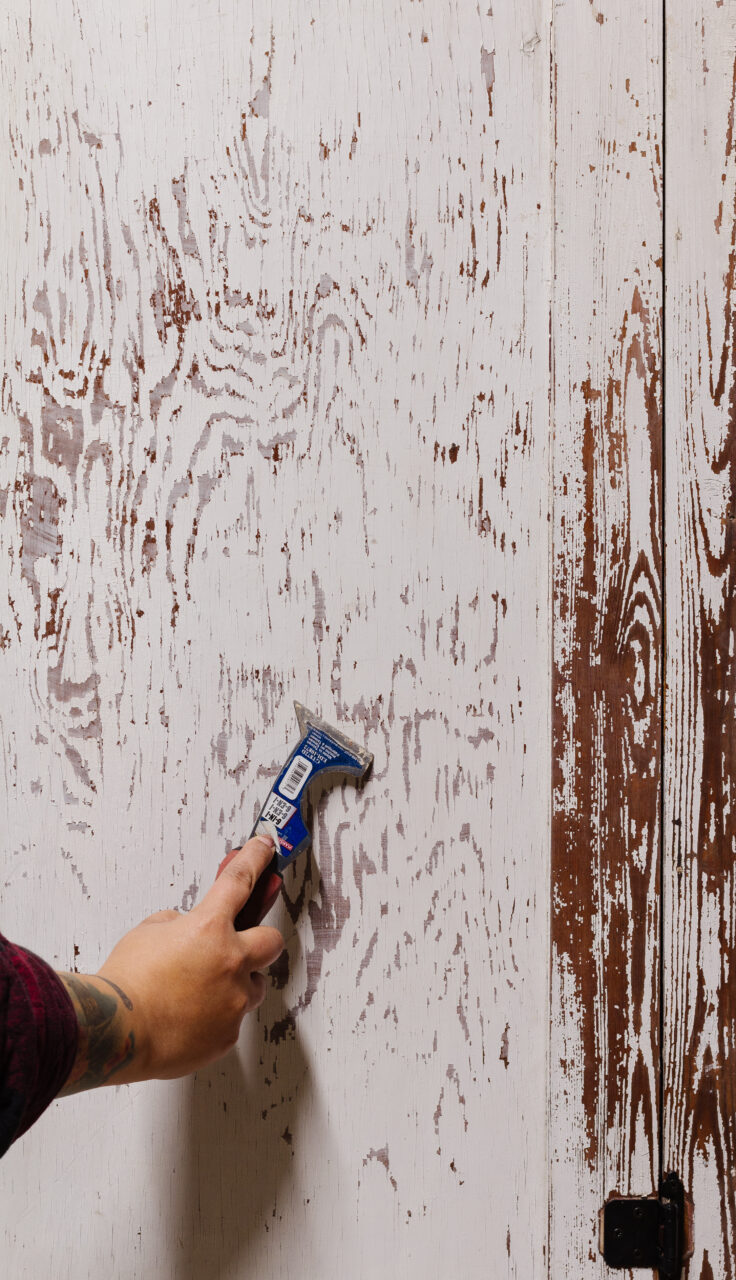
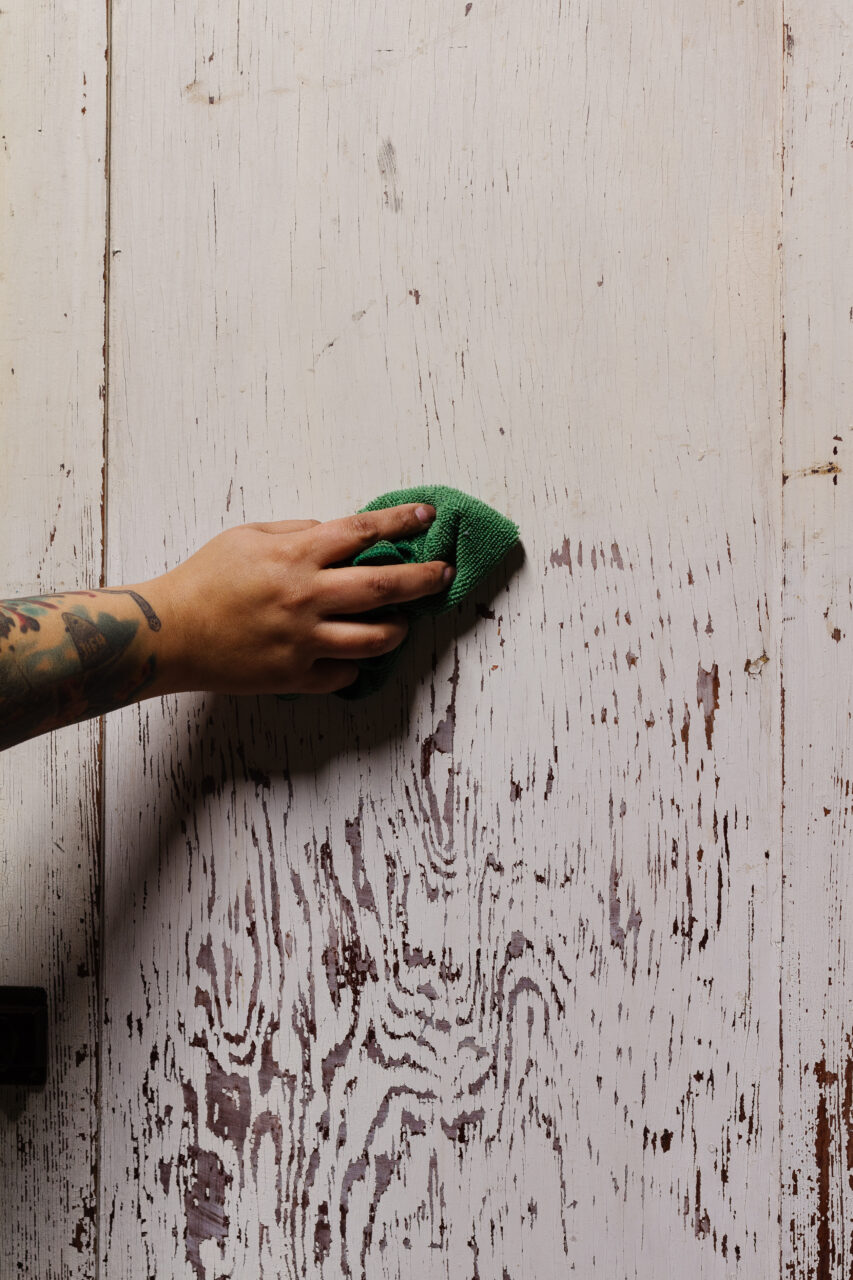
This piece was a white enamel paint that was chipping and flaking away. We wanted to keep some of this paint as a base layer for our hutch so we used a metal scraper to take care of the paint that was already coming away from the furniture. We also used the sharp edge to clean out some of the gunk from the corners of the doors and free up the hinges from any caked on paint. Once that was done, we vacuumed up the debris and used our Fusion TSP Alternative solution in a spray bottle to wipe the piece down.
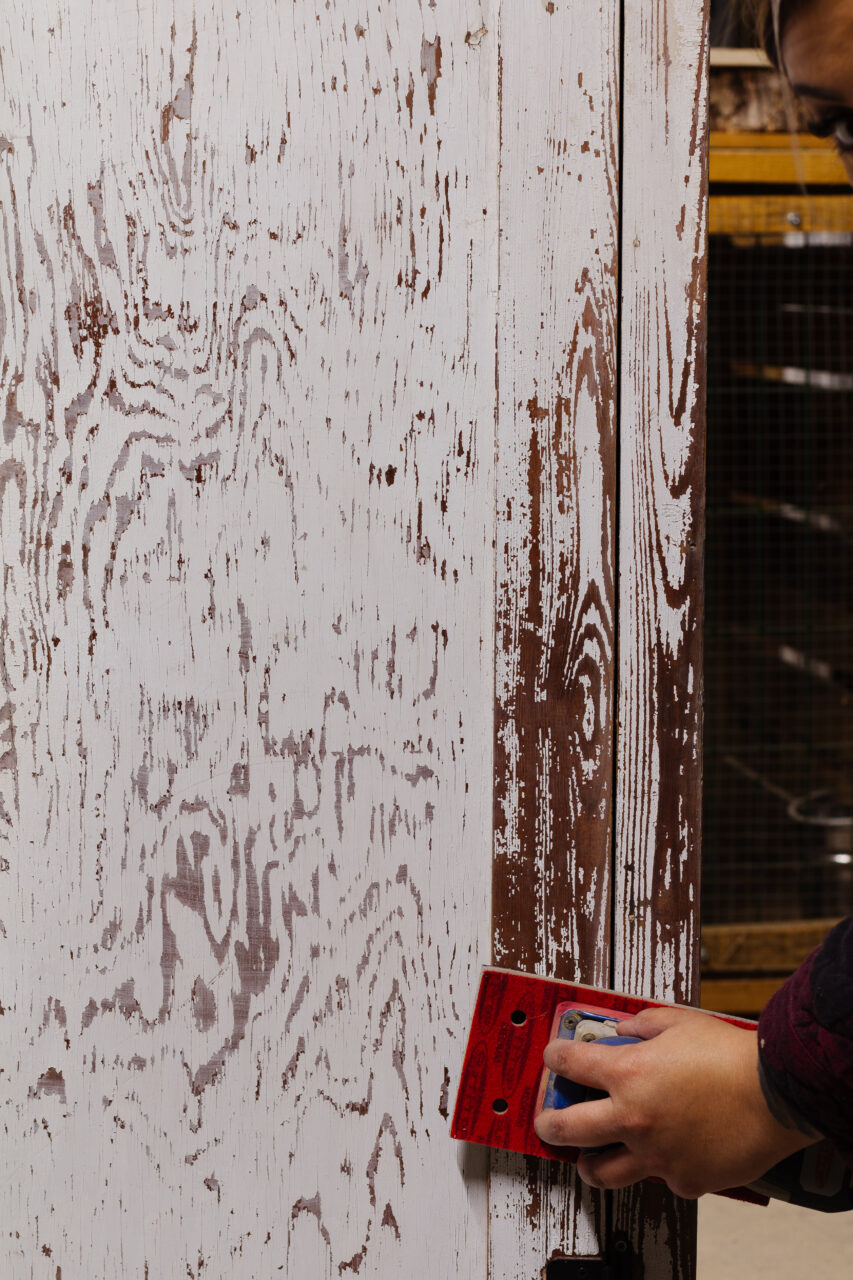
Once your cleaning is done, we want to scuff sand the surface. This helps our finish with adherence and smooths out any surface-level imperfections like chips and raised wood fibres. We use an electric sander with abrasive sanding pads that really help with long surfaces on pieces like this and the sanding really helped to create a break in the paint finish allowing our finish to bond better. It also removed even more paint chips, that were loose but not quite ready to come off on their own. After your scuff sanding is complete, make sure to remove the dust with a damp cloth.
Gel Stain & Topcoat on the Interior
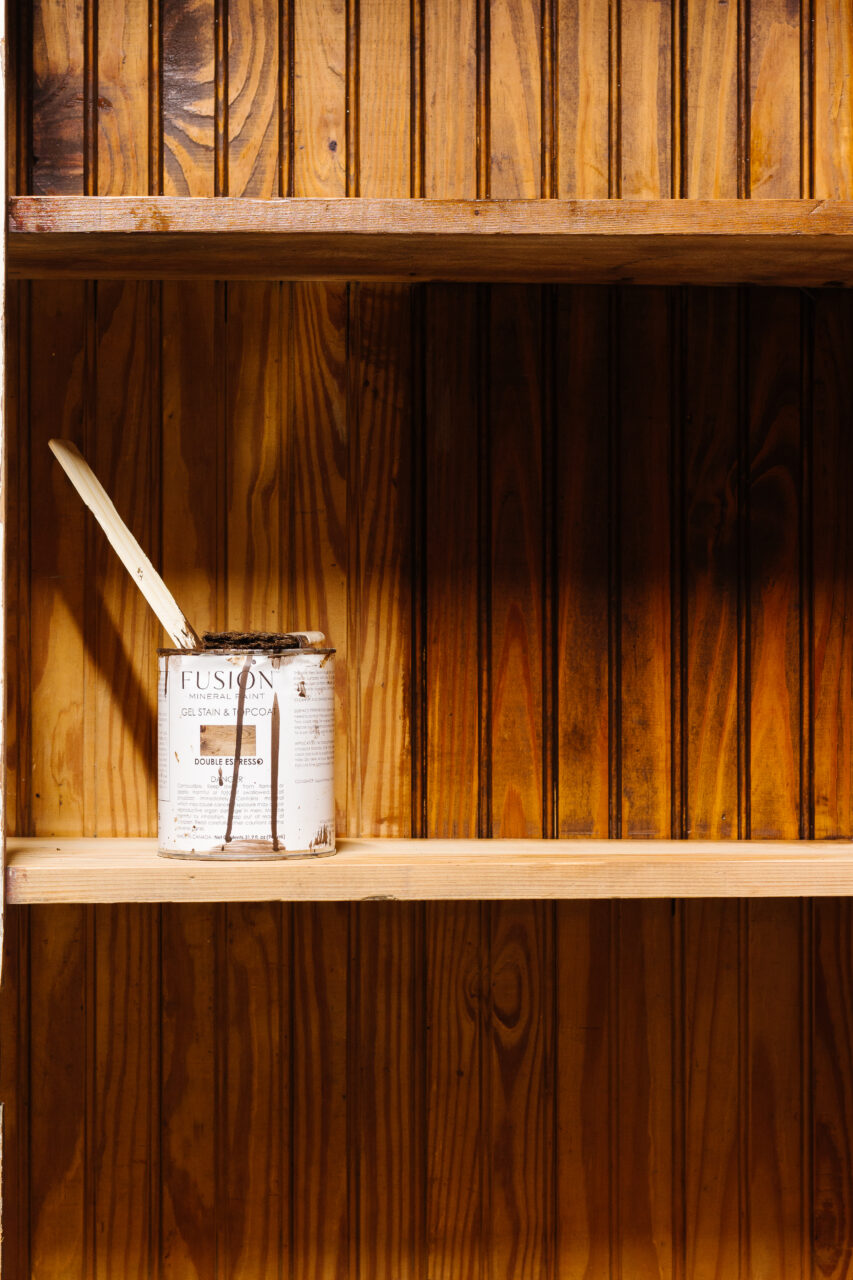
The first part of applying our finishes is to stain the interior. The wood on this piece was very dry and needed something to add both colour and protection. We used Fusion Gel Stain in Double Espresso to give us the best of both worlds. Not only did it add a beautiful coffee colour shade to the interior beadboard and shelves, but it also added a layer of oil-based protection.
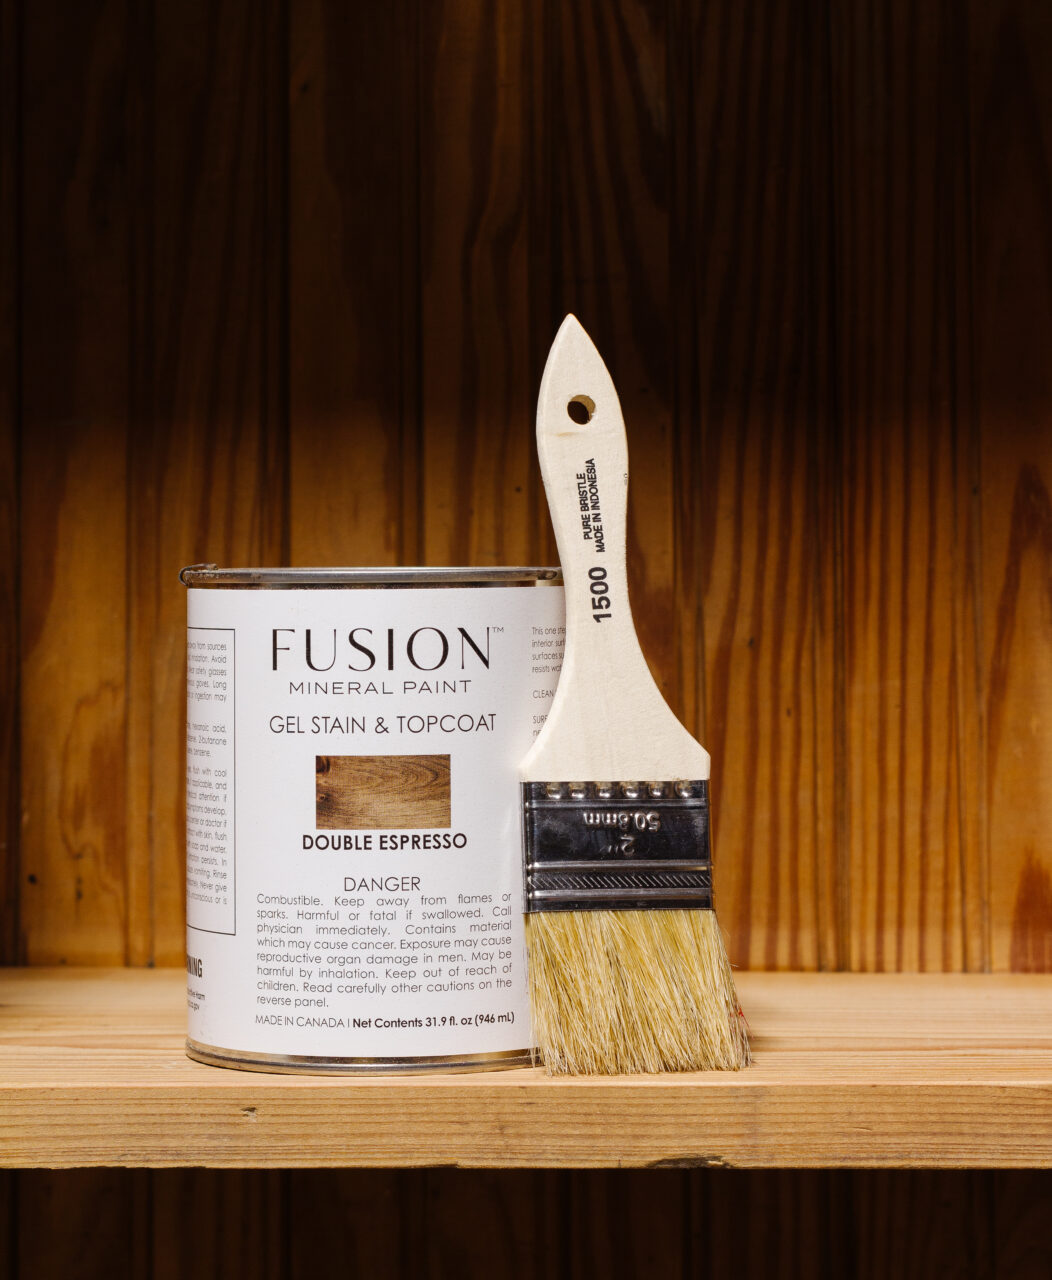
While the gel stain is not meant to be wiped back, you can add layers to build up colour and protection or lightly back brush the finish to even out the application. We used a chip brush to apply a light finish to the wood.
Painting with Milk Paint
Next, we mixed up a thick batch of Homestead House’s Coal Black milk paint. Typically we do a 1:1 ratio of water to milk paint, but we added just a touch more milk paint for a thicker consistency. We really wanted the milk paint to play on the previous layer and settle over the parts that were previously chippy.
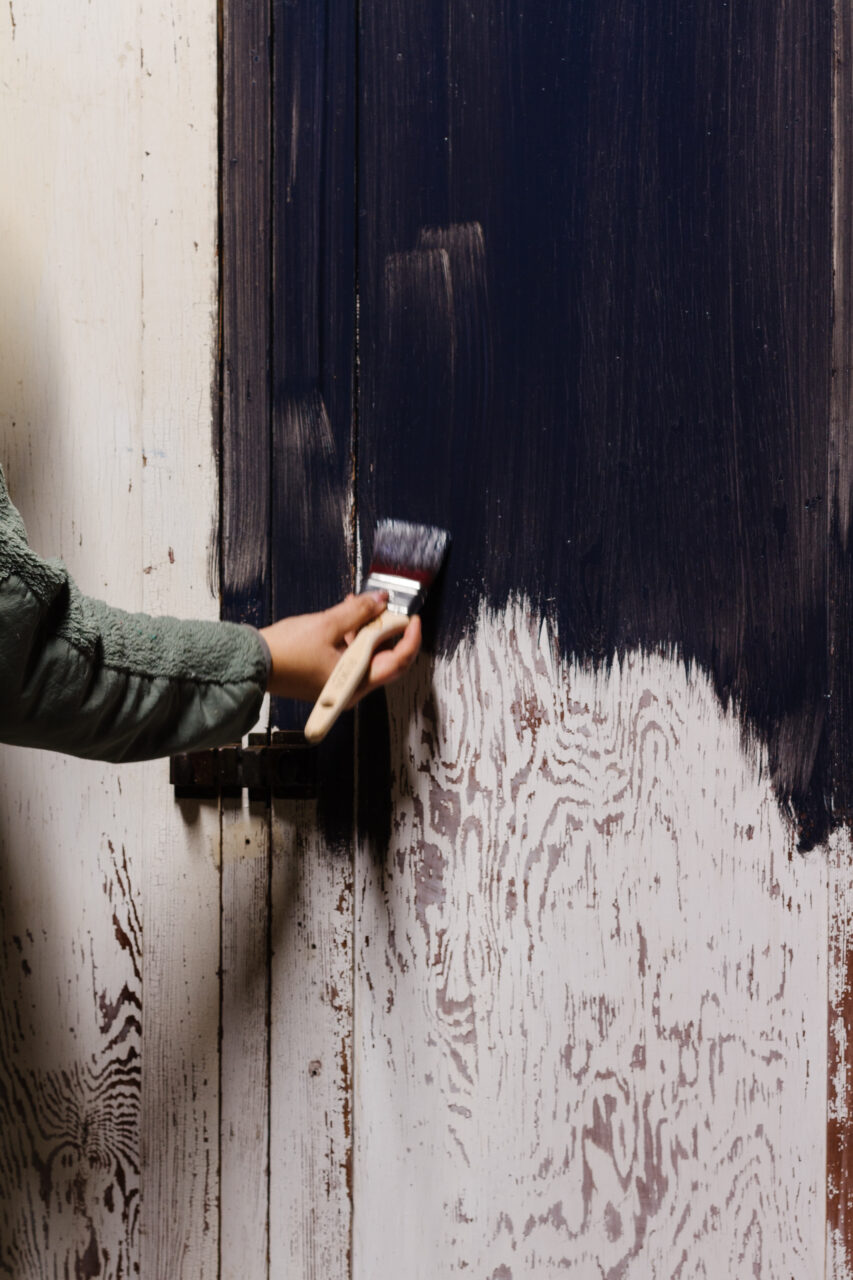
Our first coat of milk paint can look pretty scary when you’re using two contrasting colours. At first look, this looks like more of a wash but as it dries, we can start to see some natural chipping. We added a total of three coats of paint for maximum coverage.
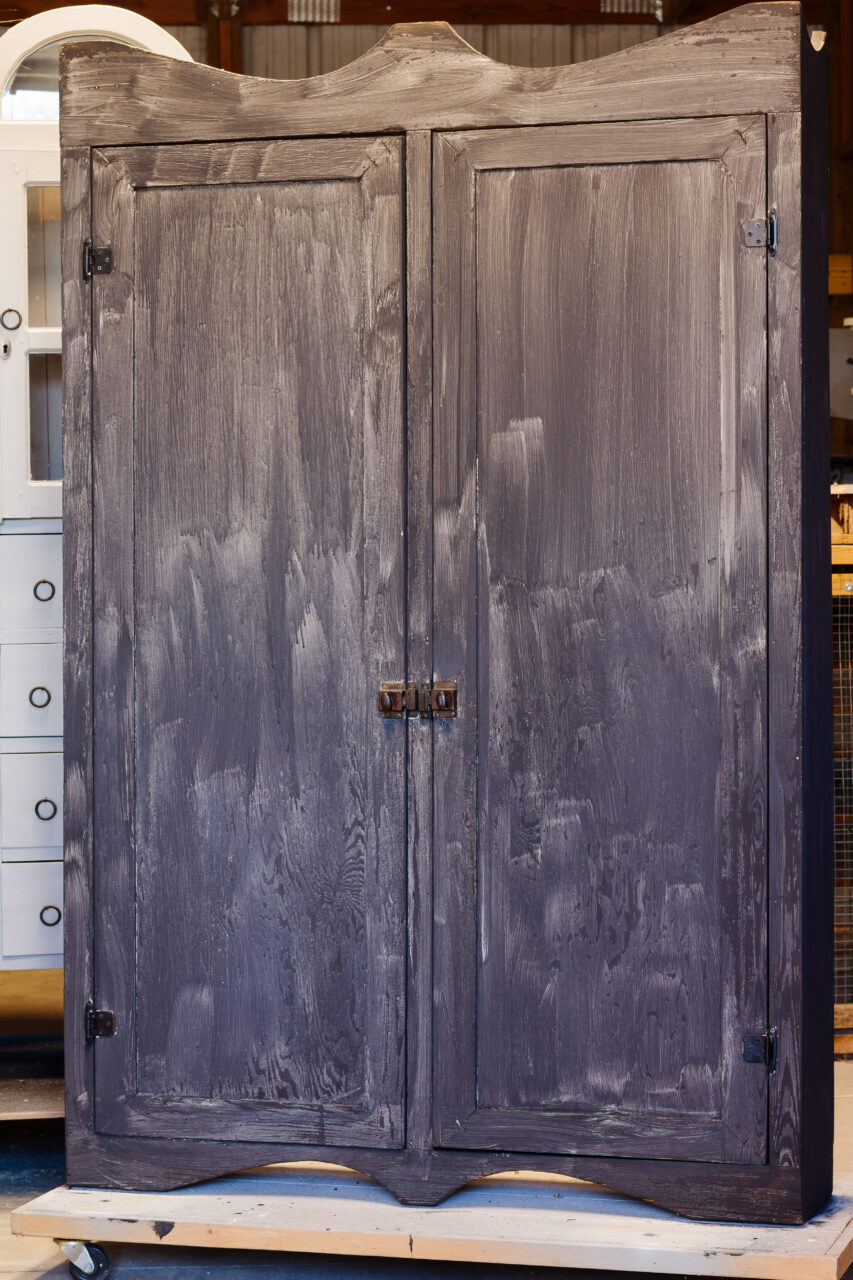
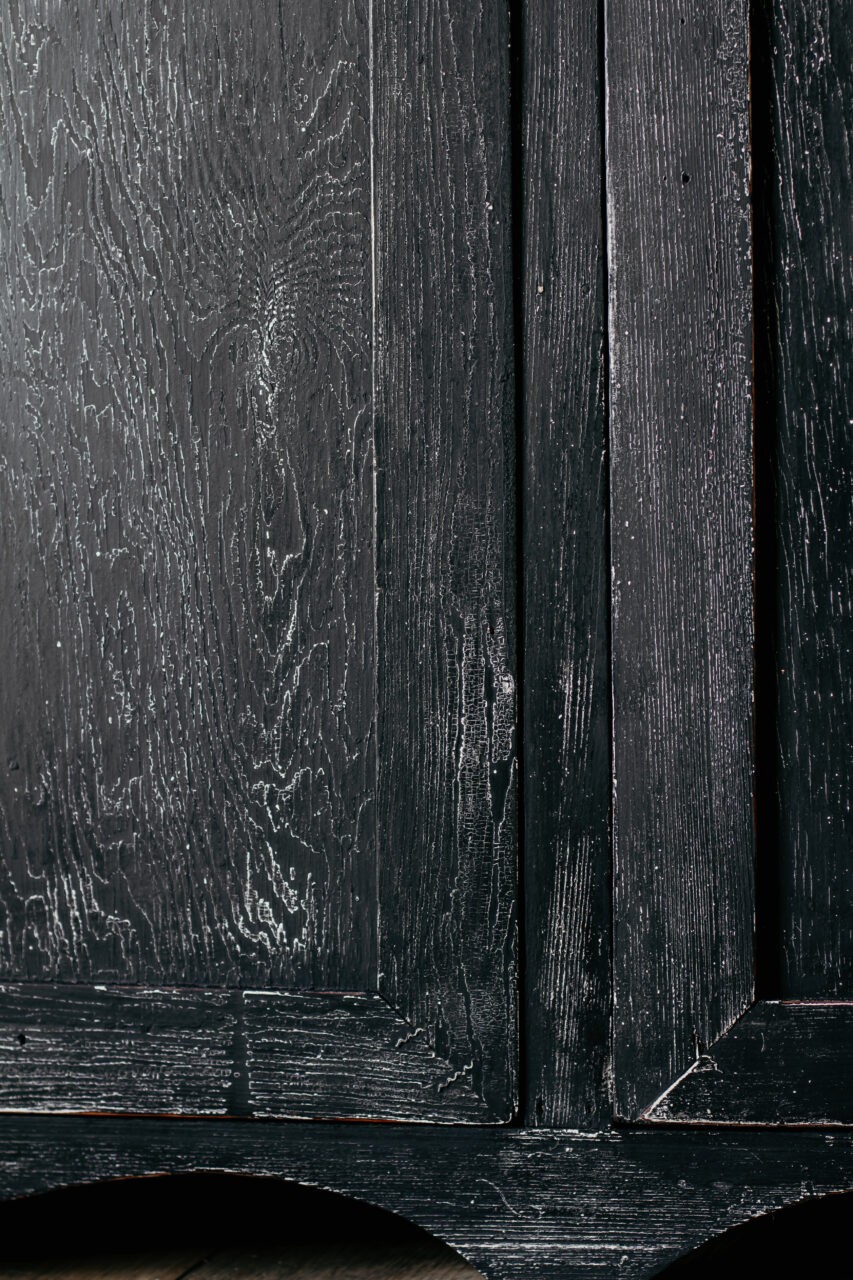
Once our paint had dried, we pulled out our electric sander once again to go over the final coat. This not only smooths out the surface but also naturally distressed the hutch, removing the paint where it did not adhere over our base layer. This kind of layering allows for some contrast to make the natural chipping stand out.
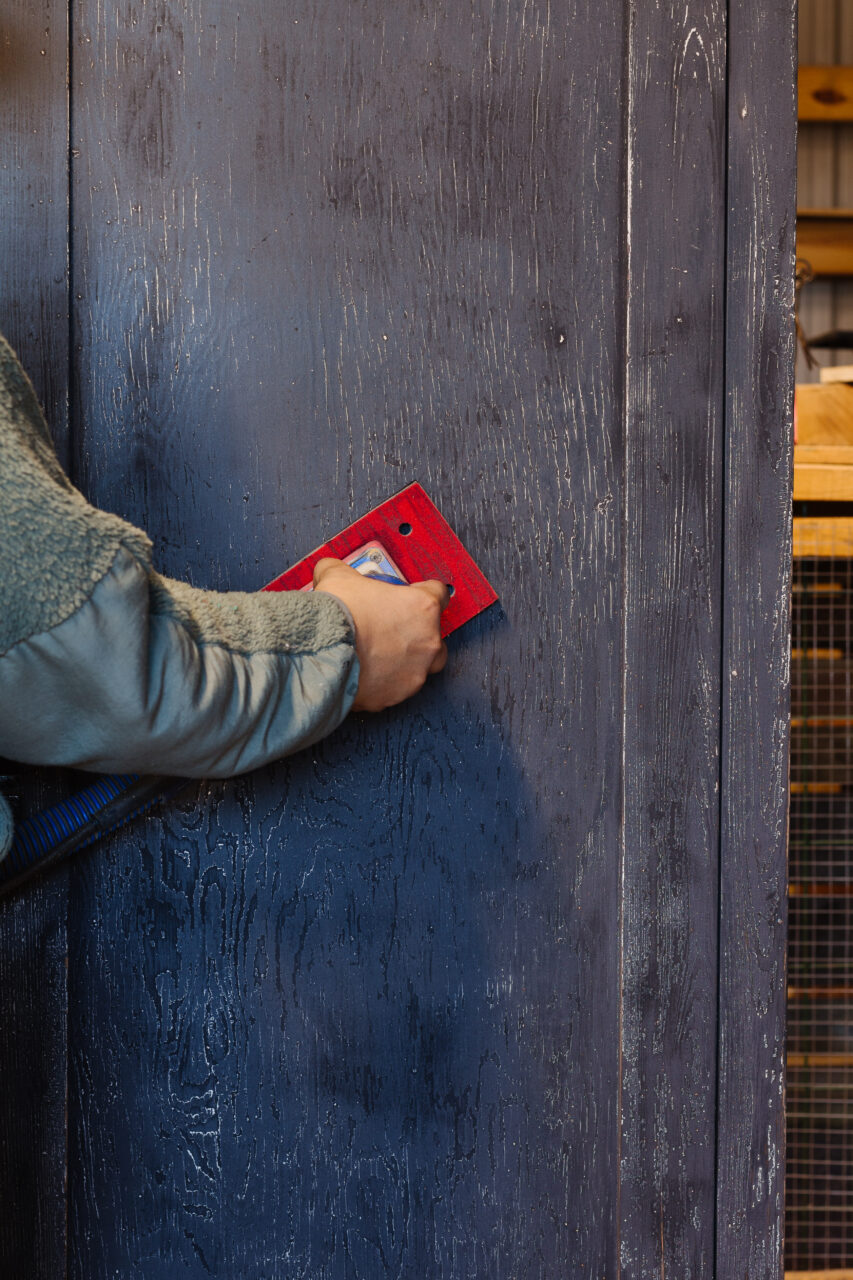
Originally, we had decided to finish the hutch using Fusion’s Beeswax Finish. We decided first that we wanted to really deepen the milk paint colour, so we applied a generous coat of Hemp Oil and allowed it to hydrate both the furniture and paint finish. After 15 minutes of saturation, we removed the excess with a lint-free cloth and allowed it to try for 24 hours. After that, we gave it one final polish with our beeswax.
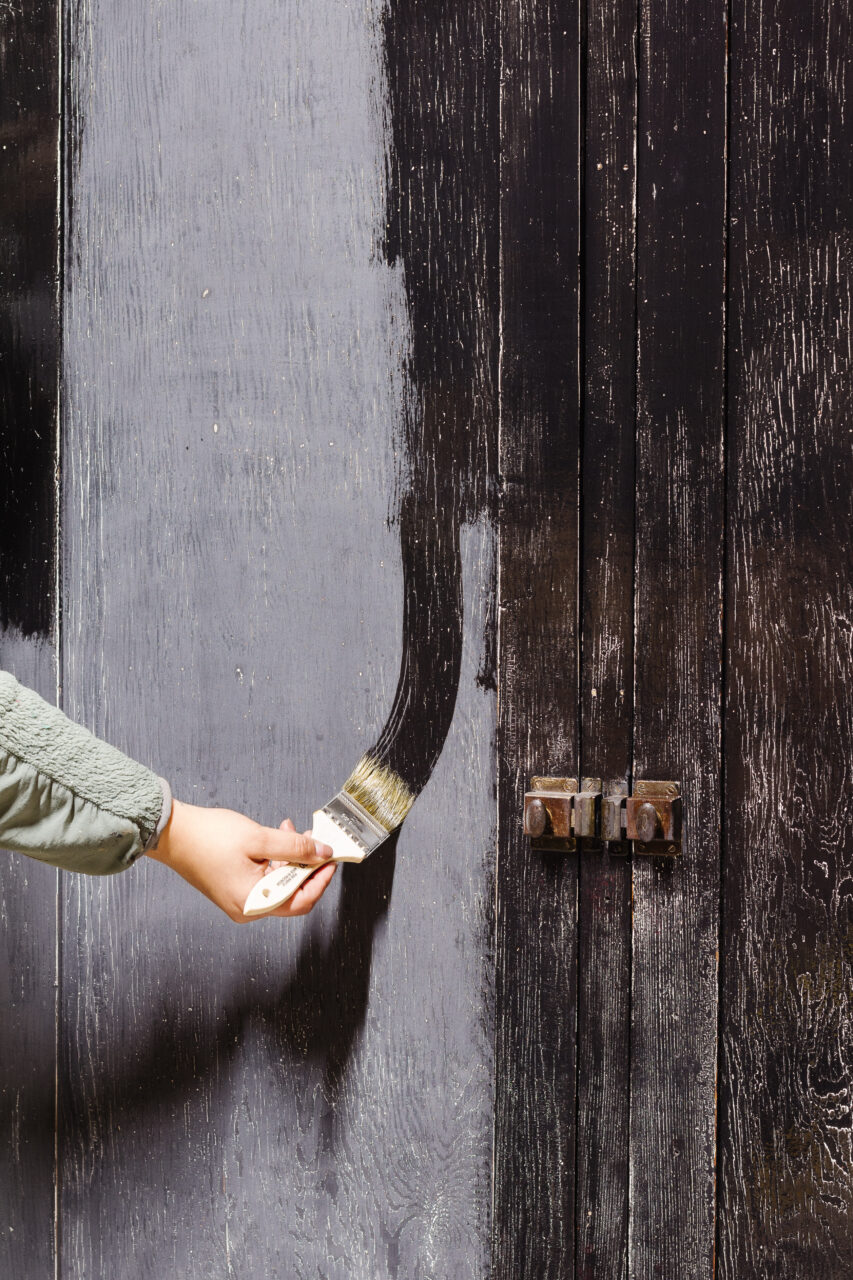
Dark and Chippy Milk Paint
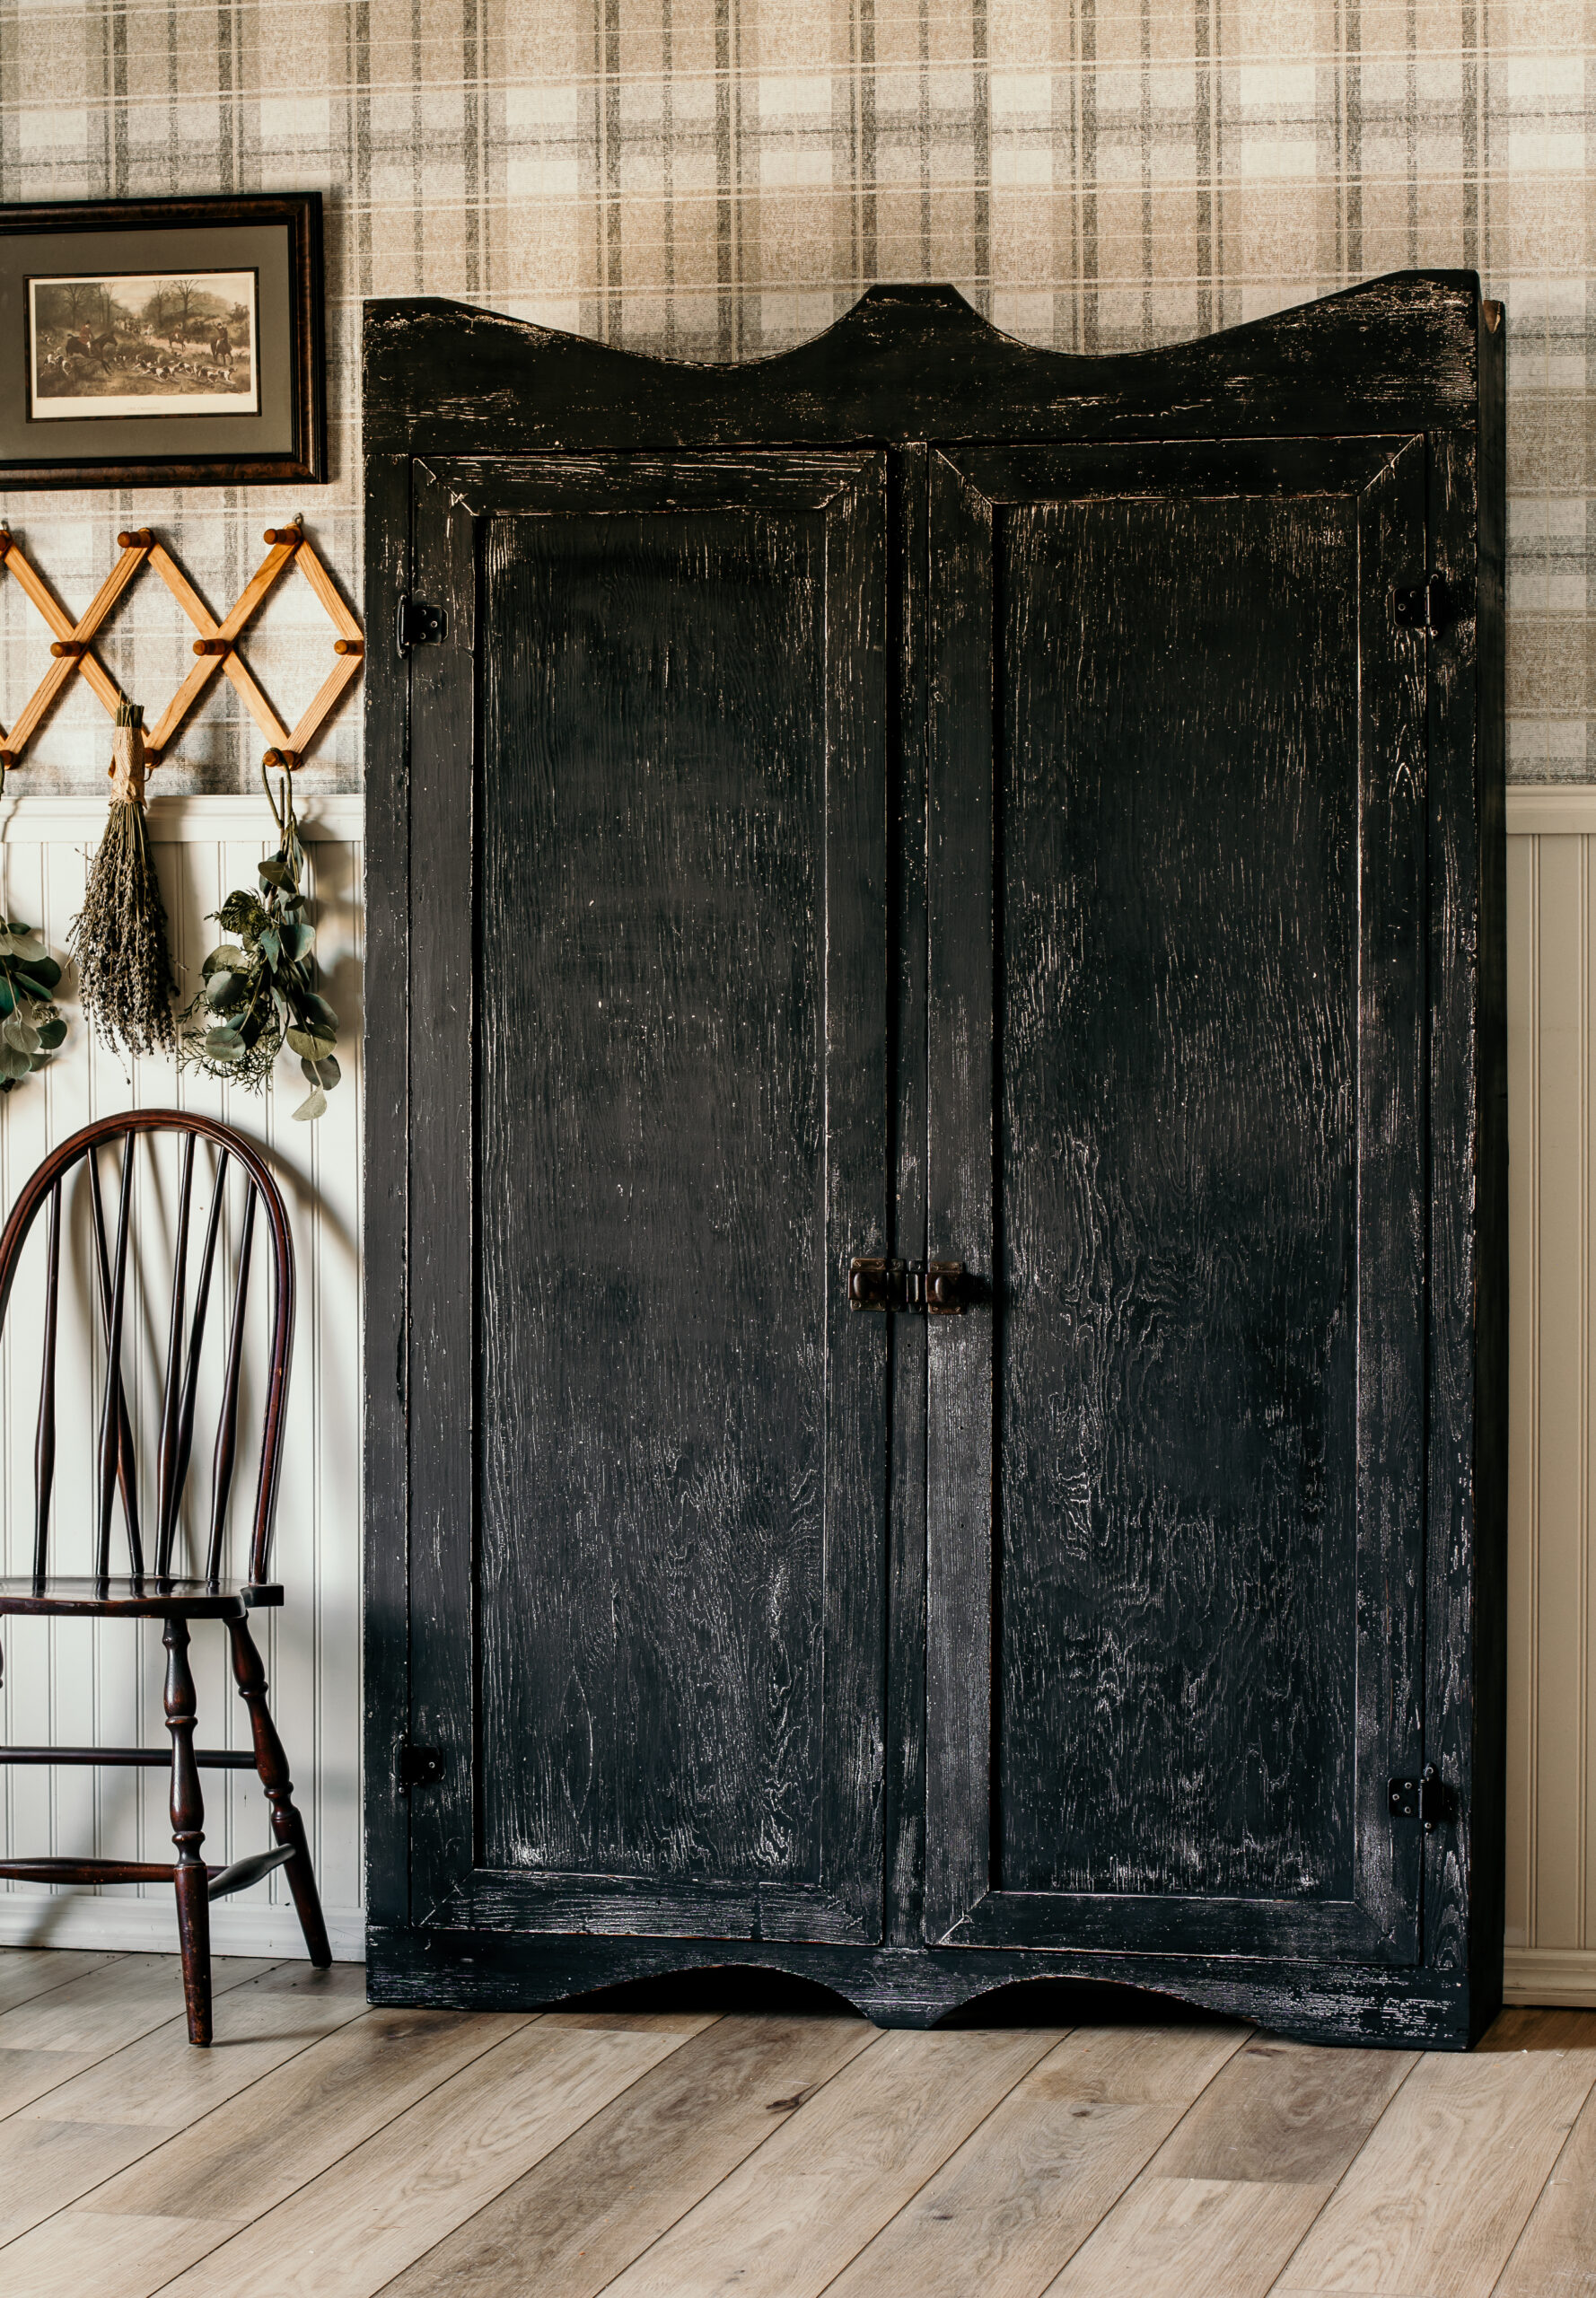
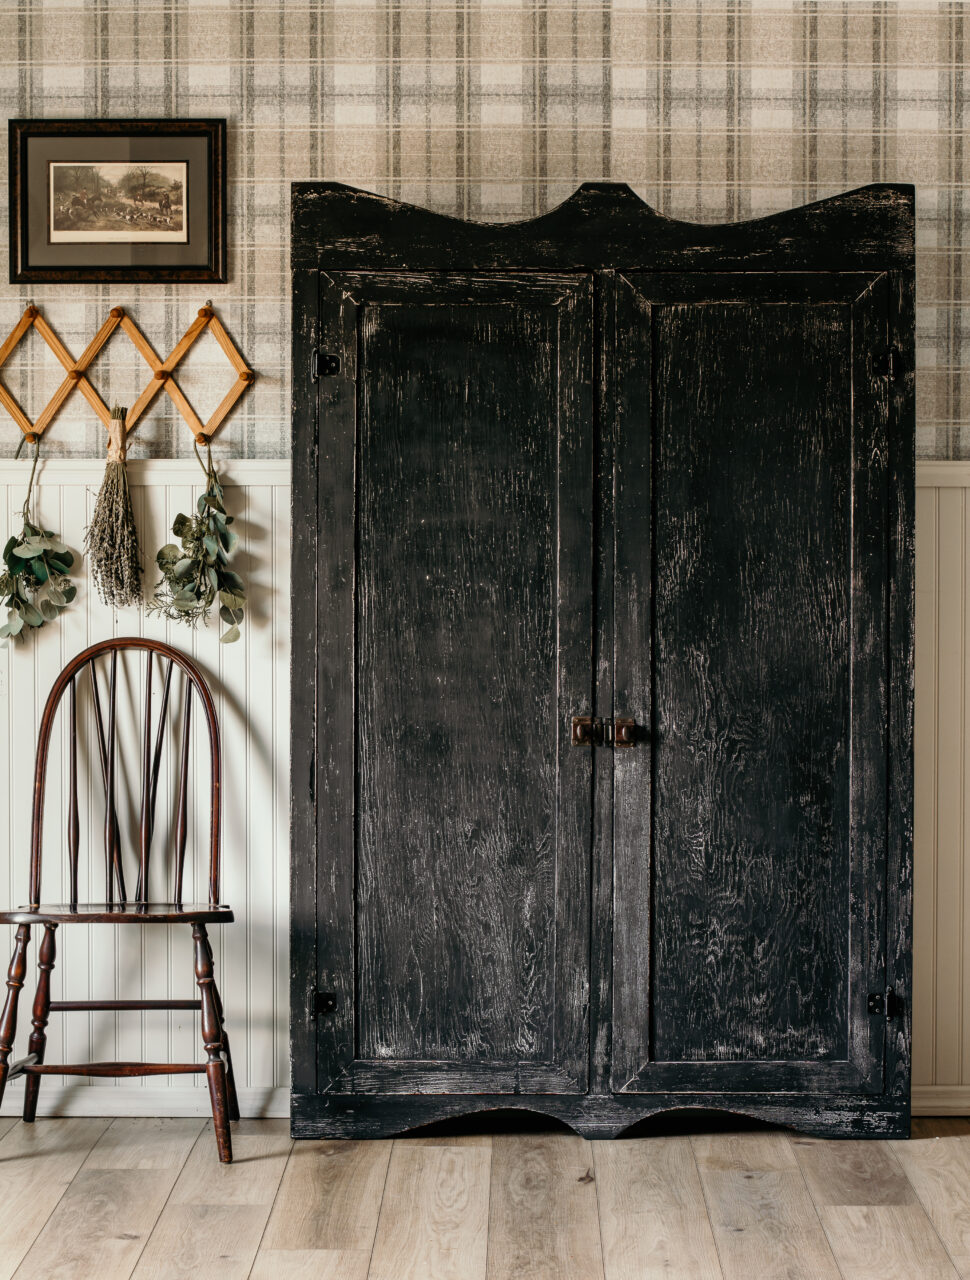
Our hutch which was once light and white now is the boldest statement piece of the room. It’s dark and largely impressive but the best part of our finish is the chippy white base that shows through underneath.
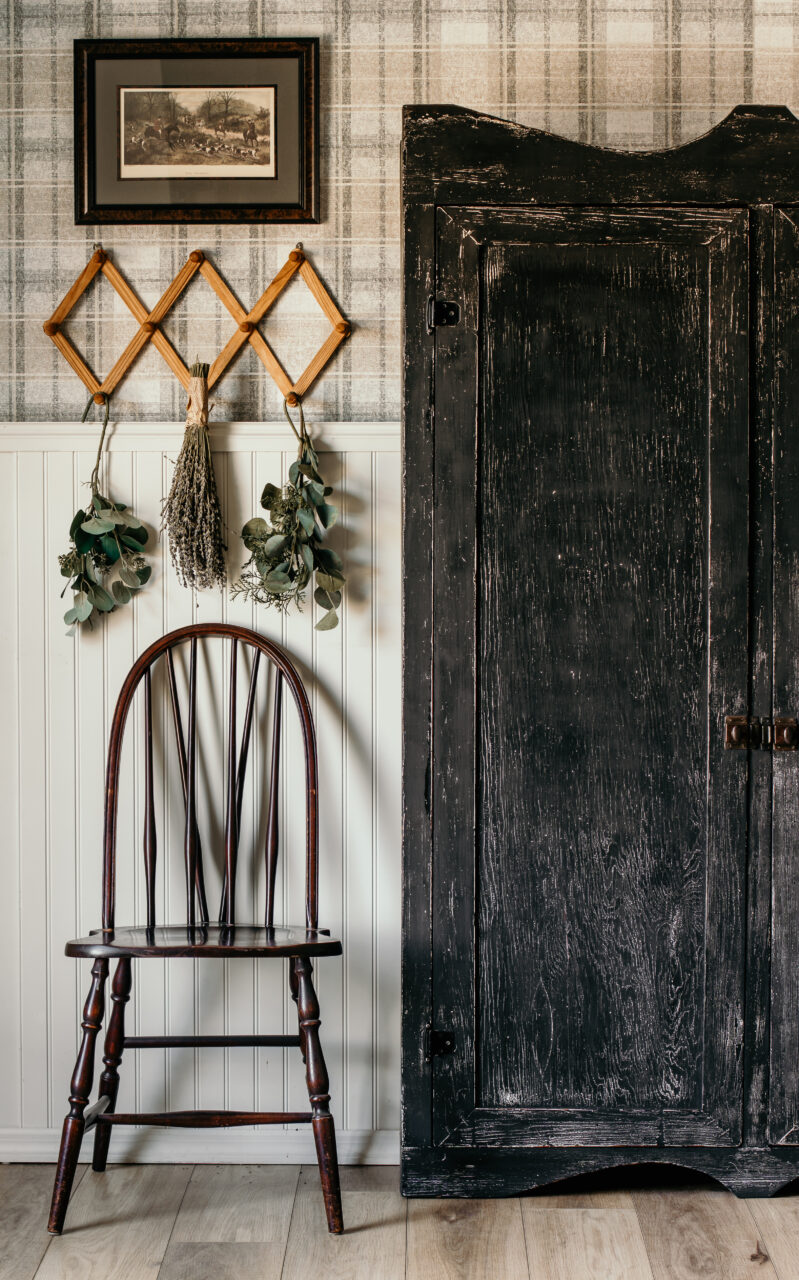
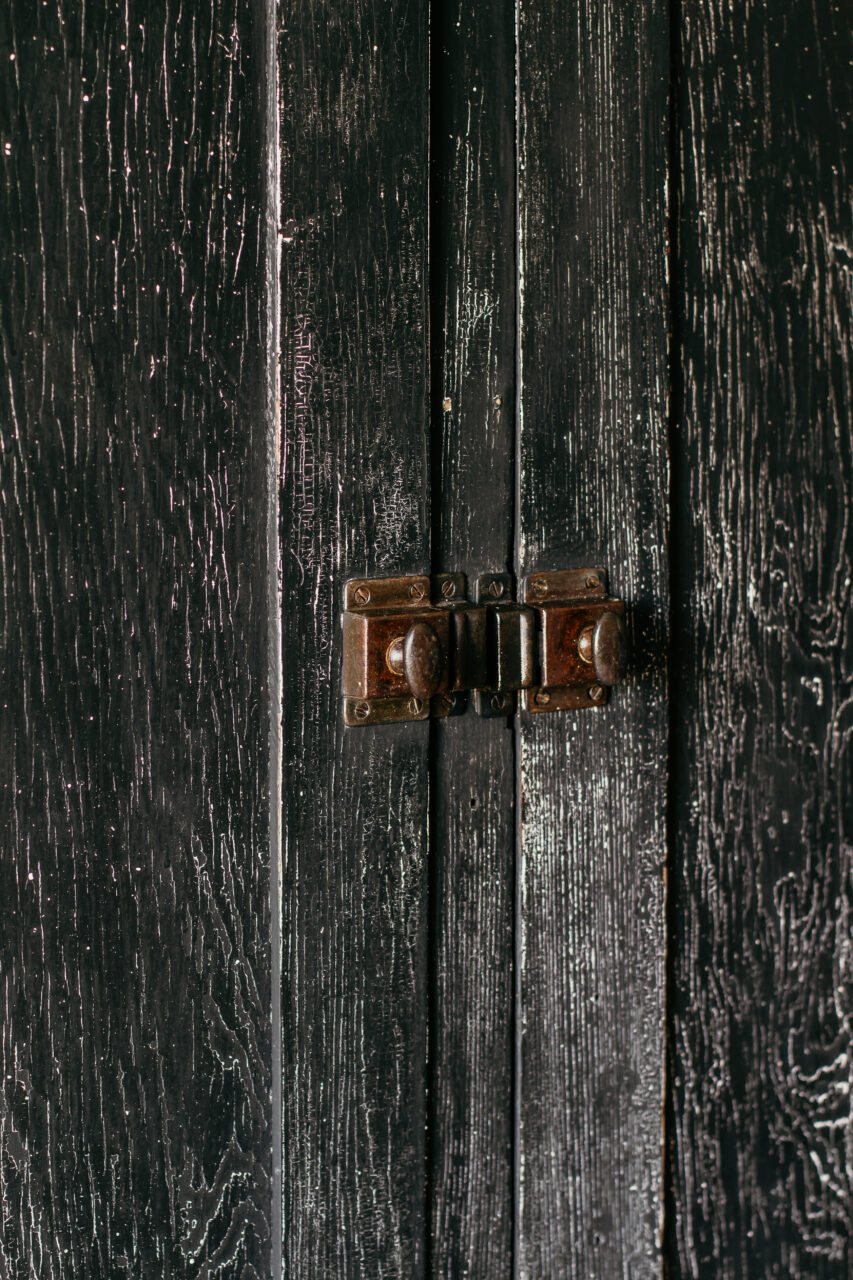
We didn’t do anything with the original hardware other than clean it up, but somehow against this dark background, the natural patina of the hardware shines with just enough antique beauty.
The interior beadboard that was stained with our gel stain now provides some warmth and even more character to this piece. Beadboard is synonymous with vintage and antique finishes in homes, it only makes sense to feature it in such a large furniture piece. The warm coffee tone really brings out that primitive look we were inspired to achieve.
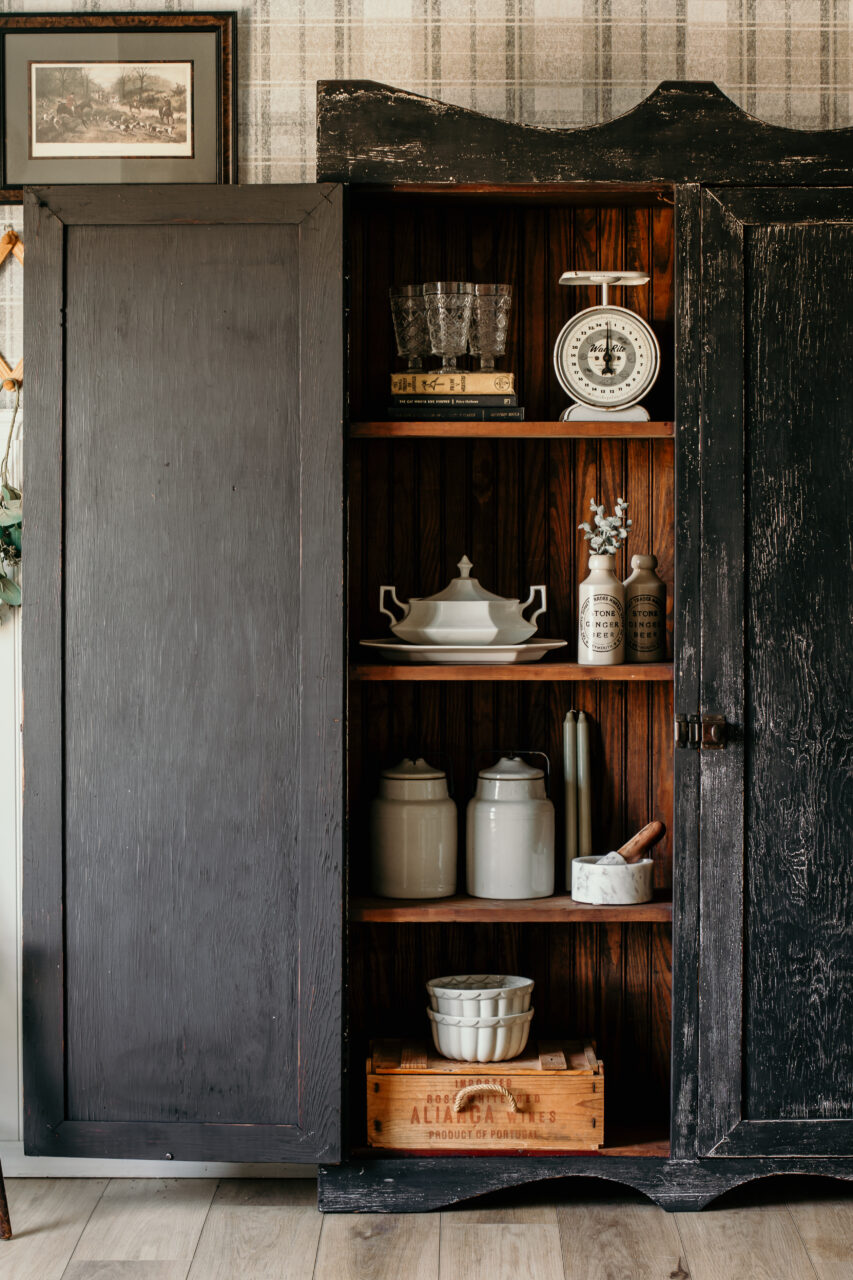
Without a doubt, the star of the show is the layered paint. It truly showcases the natural wood grain even though multiple layers of paint and it provides a contrast that just makes this finish feel like natural aging.
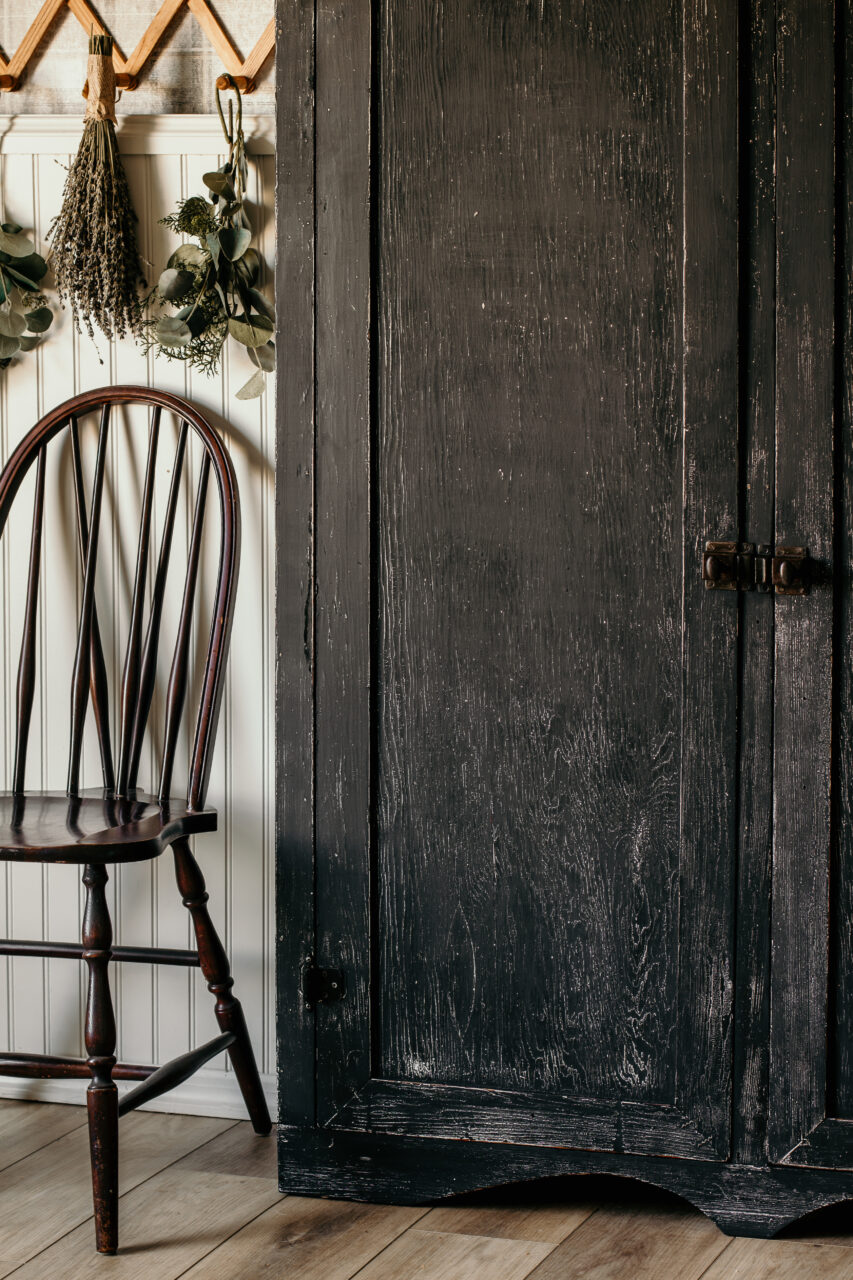
Dark Primitive Hutch Makeover
This project really inspires us to use more dark and moody colours with our primitive-style furniture. The richer tones truly compliment the simple designs of these pieces by allowing the craftsmanship to speak. It reminds us that functional furniture can truly be beautiful, even with a new paint job. We hope you enjoyed this makeover! Leave us your thoughts on this project in the comment section below!
