Creating a feature wall in a rustic vintage style is so easy! I’ve been dying to create a feature wall in my house ever since we came out with Fresco last summer. If you’re not familiar with Fresco, essentially it is a texturing additive for paint, and you can achieve so many different types of texture with it! From a soft chalky finish to a textured layered aged look, it’s all about how much powder you add and how you mix it. It’s easy I promise, just follow along to see our Vintage Texture Fresco Walls!
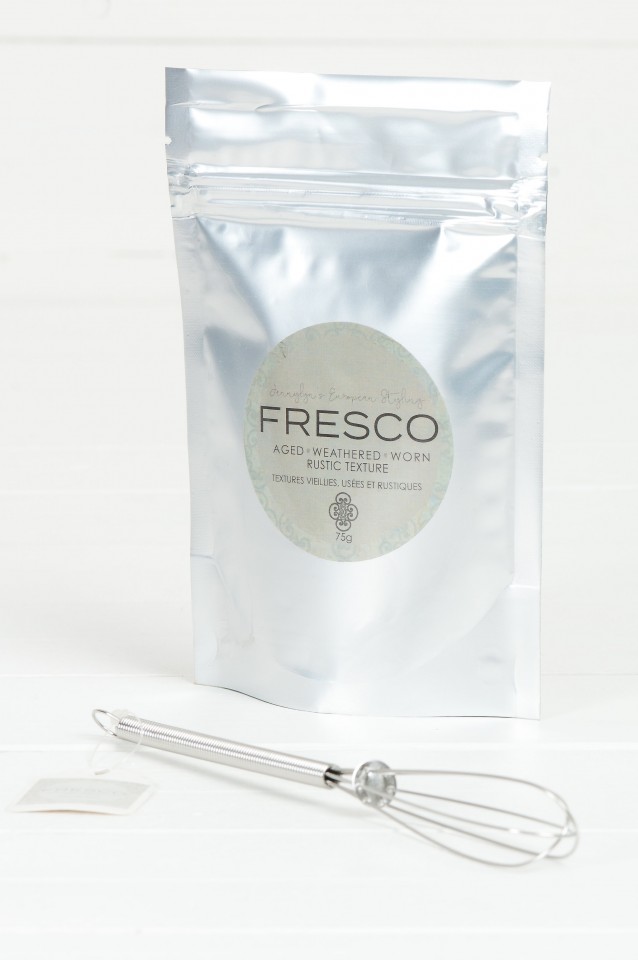
I had the pleasure of creating and staging this vignette at our head office in Toronto to launch this incredibly diverse new product.
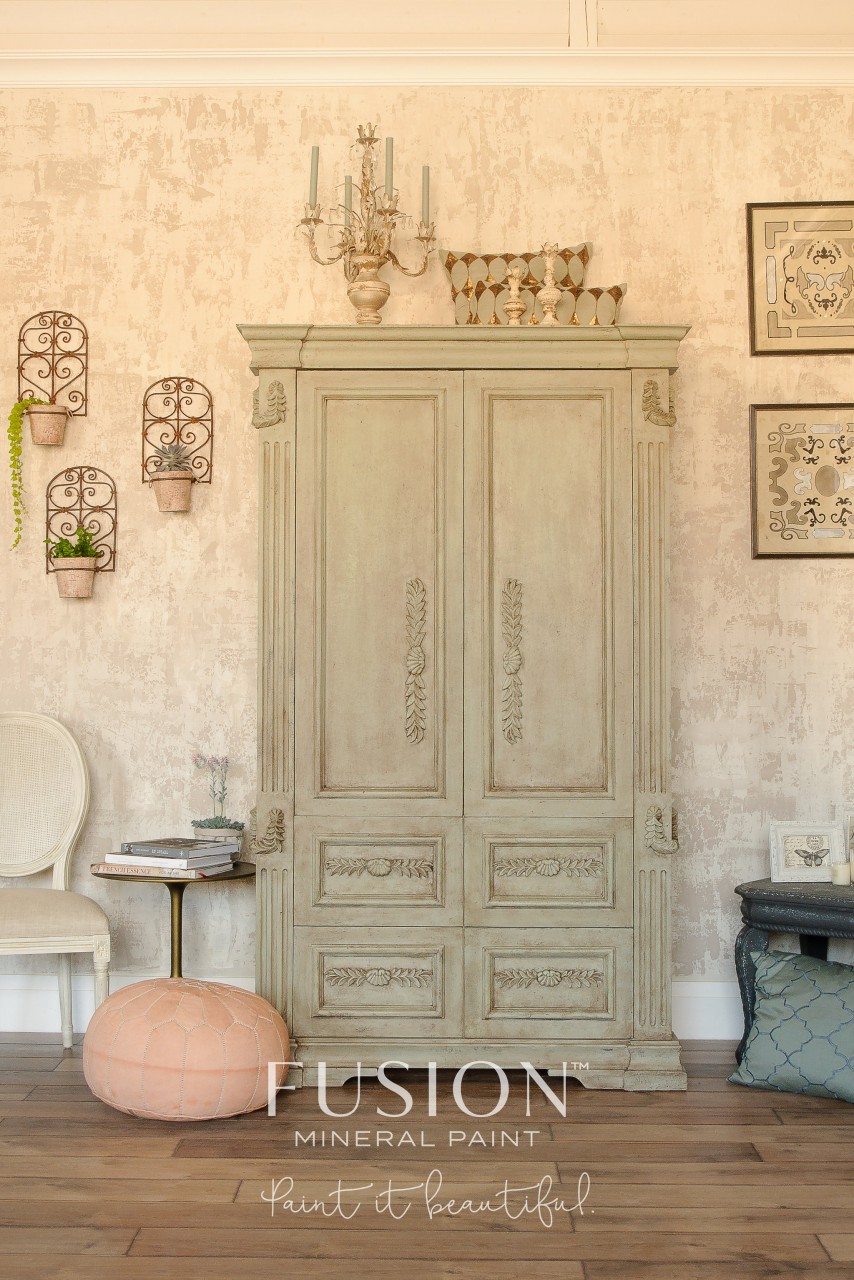
Essentially I added our Fresco powder to Fusion Mineral Paint in various colours for this faux-finished Fresco Wall. We also used Fresco on this stunning piece, to see the original blog check it out here.
It started out as a very plain wall. It used to show our Homestead House Milk Paint Colours.
I chose this wall specifically because the light coming in hits it straight on so I knew it would be perfect for photography.
I used a very tone-on-tone subtle effect here, although when you get close up you can see loads of cracking and texture and variation.
The colours I used here were Algonquin, Champlain & Casement. I blended some of these together as well to get subtle variations. I find blending colours is a really easy way to make sure that it will all flow nicely and work well together as you know that the hues will be correct.
After getting a taste of Fresco, I literally wanted to Fresco EVERYTHING!
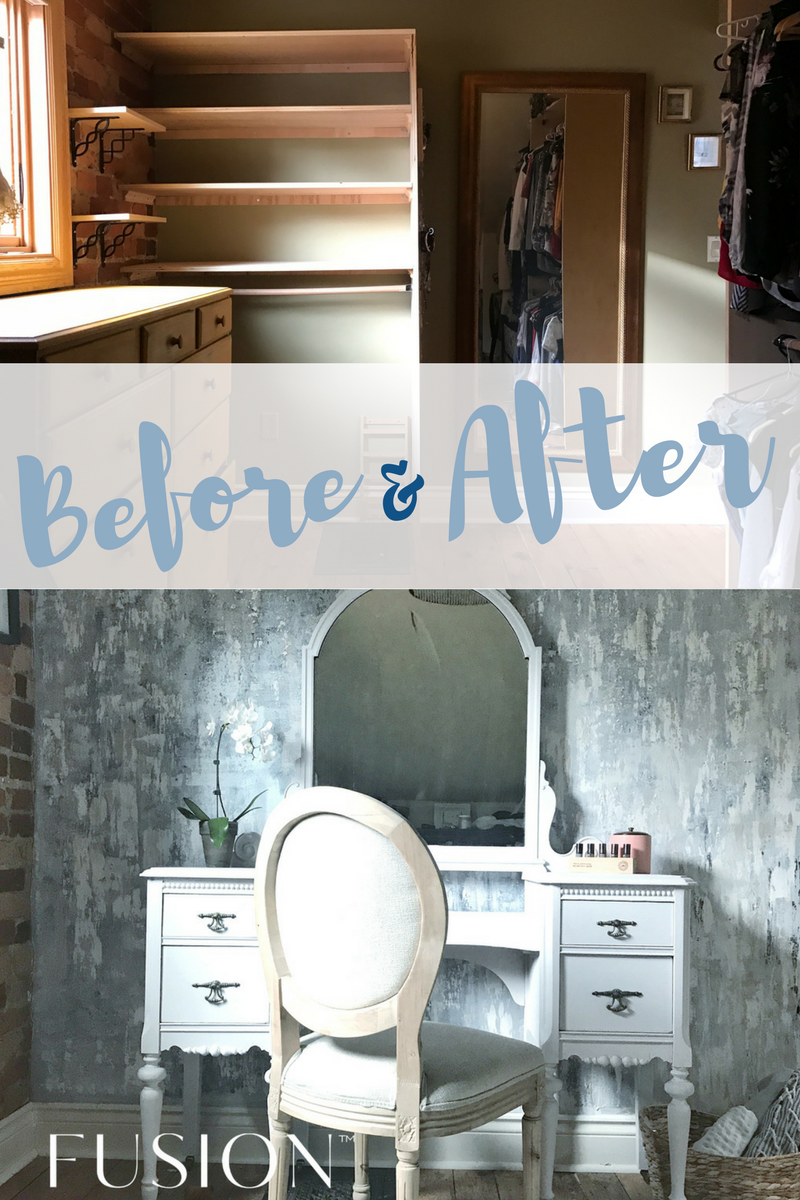
I wanted to do this in my house, but I wanted to go bold… Why not have some fun right? I had the perfect room, my dressing room… European meets Urban chic feel.
Here are some before pics.
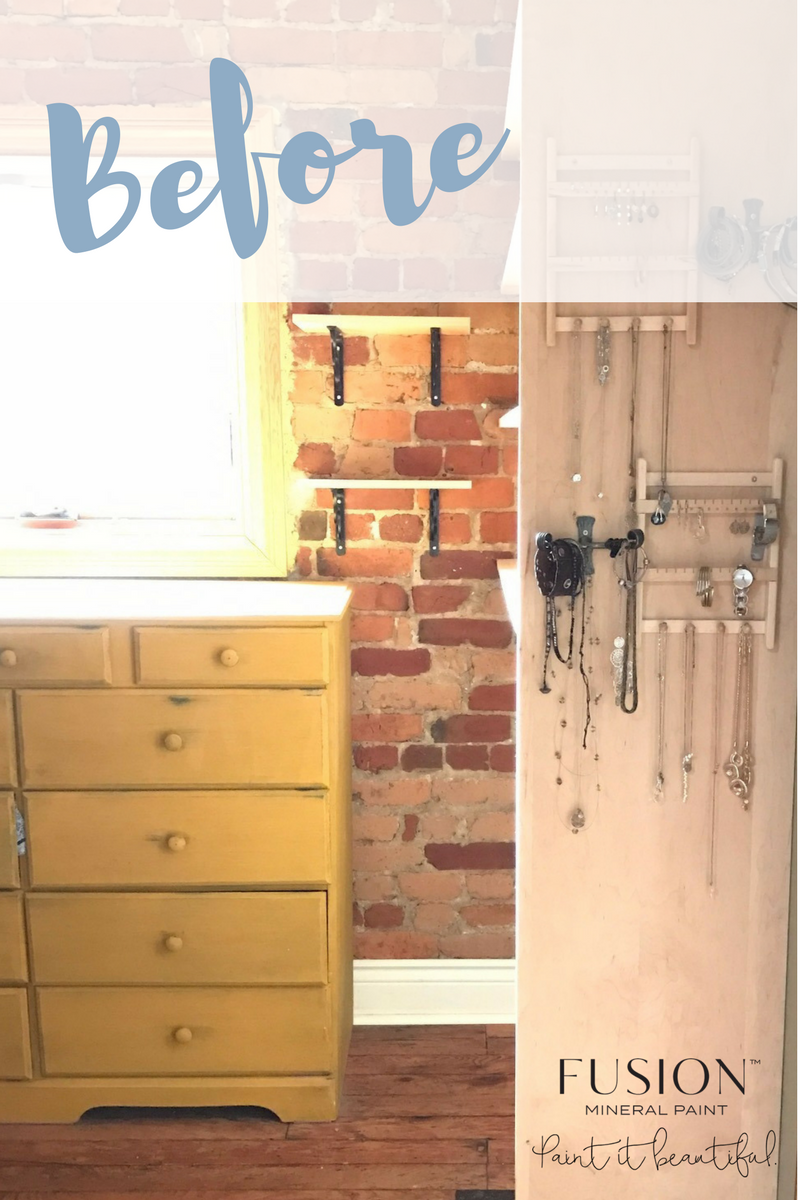
Elements in my room were a stunning Midnight Blue dresser with gold pulls. A gold crystal chandelier. Exposed brick. Quite an eclectic mix, so I wanted to continue to blend the styles.
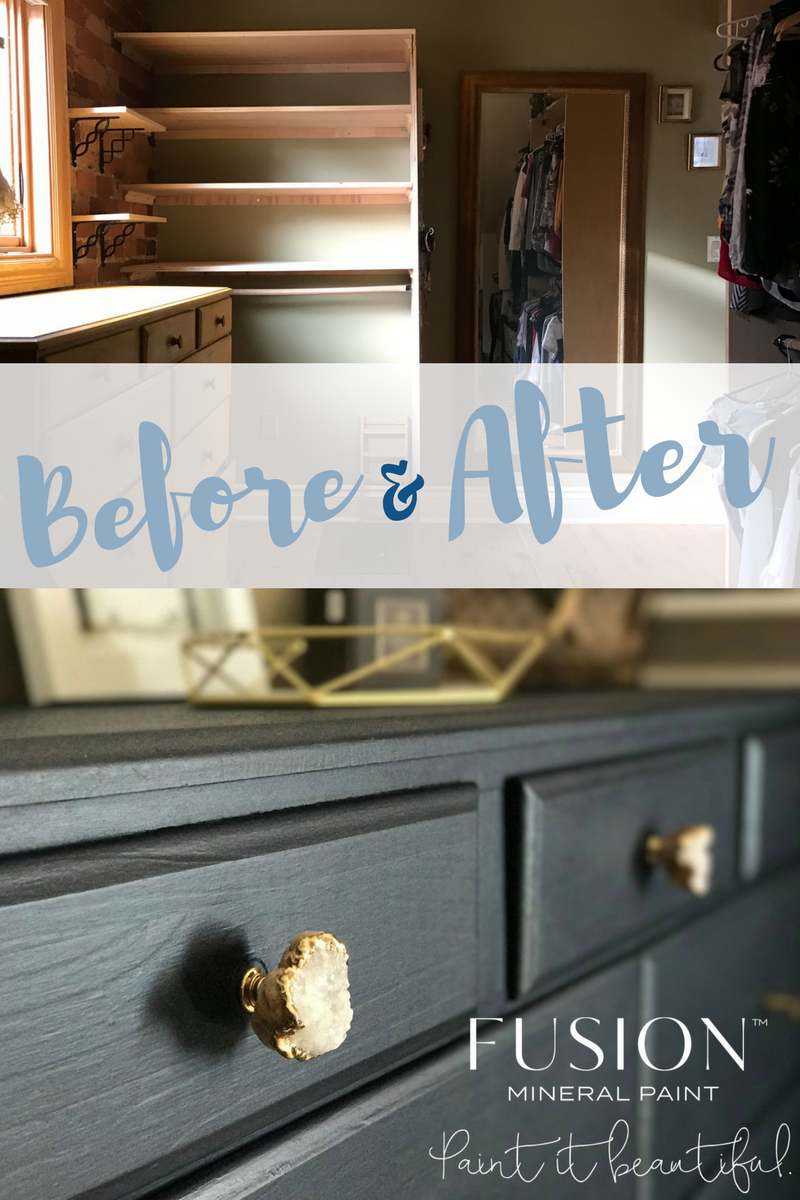
Once I had painted the dresser and my dressing table, I knew exactly how I wanted the wall to look.
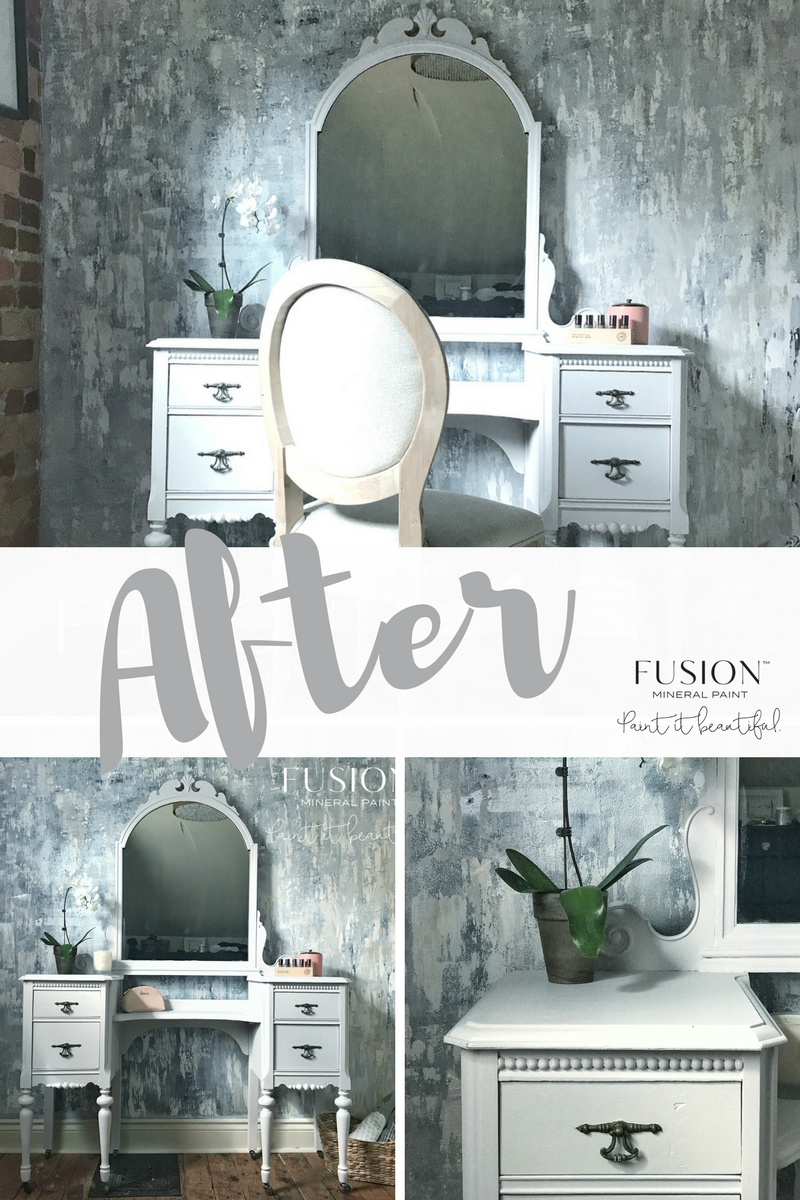
Here is a peek of the After…
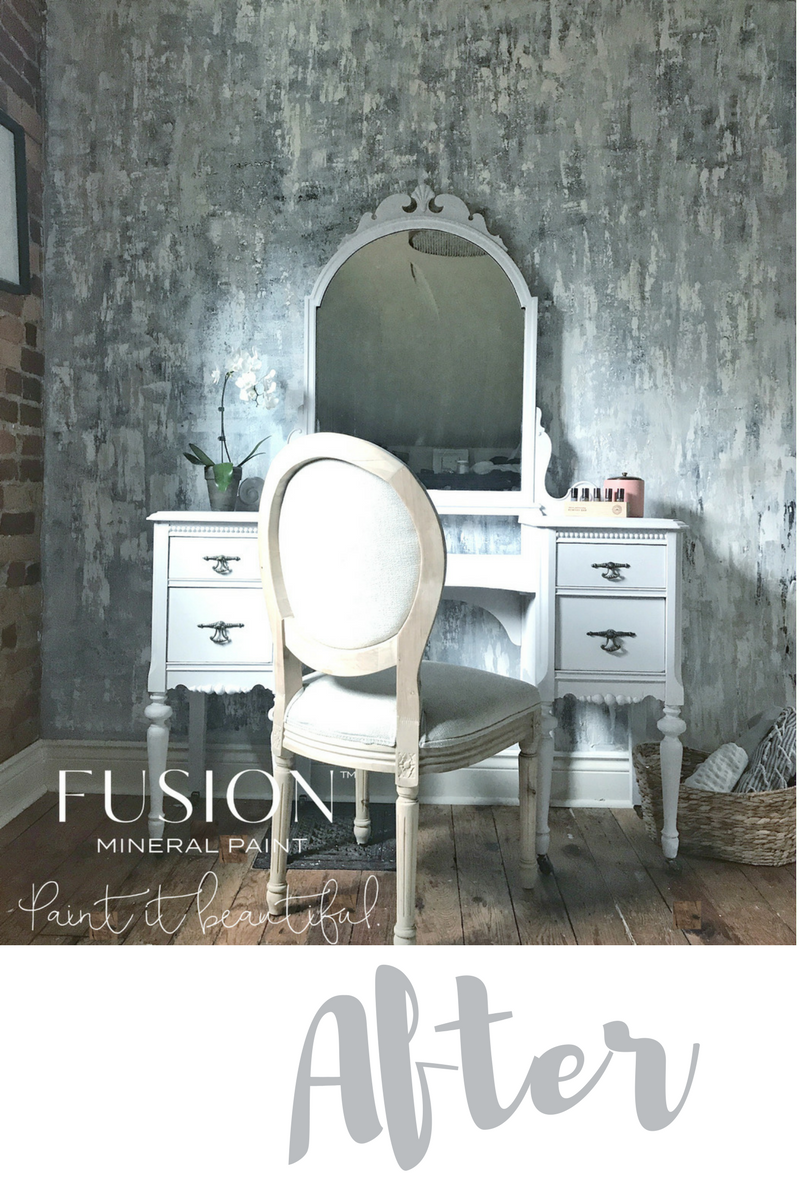
I removed the shelves and opted for this pretty antique vanity painted in Little Stork (discontinued) Fusion Mineral Paint.
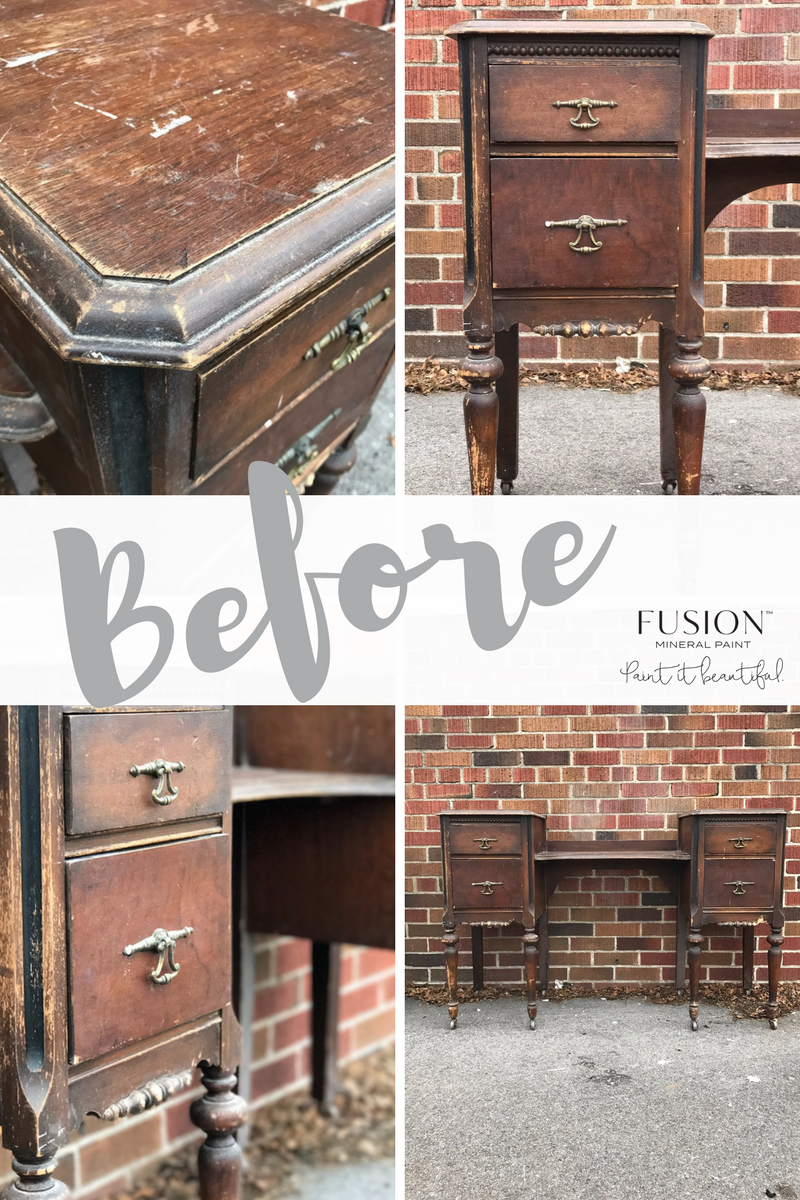
So how did I create that wicked Fresco Wall?
Now, this may look complex, but let me assure you it is anything but! It’s all about a couple of essential tools, how to physically apply the products and layering different colours. Here is a little in-progress video I did, check it out here!
For this project I used:
- Fresco
- Midnight Blue
- Casement
- Little Stork (discontinued)
- Champagne Metallic
- Pearl Metallic
- Flat Brush
- Small / Medium size plastic trowels
- Roller
Step 1 for Vintage Texture Fresco Walls
There are several ways of applications that I used on this wall. Once you mix your paint and Fresco Texture powder additive you can;
- Roll it on
- Trowel it on
- Brush it on
Mixing Fresco is SO easy
I mixed it with 1 part paint to 1 part Fresco approximately. Stirred it with my brush until it was like oatmeal consistency. If it got too thick to work with, like hard putty, then you can just add a touch of water and it gets a nice flow again.
However, I like letting it thicken up to a putty consistency because that’s how I would layer it on the trowel, thick so it wouldn’t fall off when you hold it vertical, place the trowel against the wall, and gently drag it downwards. This is my favourite technique, depending on how hard you press, and how thick you leave it it will crack and look like layers of the wall literally falling off.
Rolling it On for Vintage Texture Fresco Walls
When you Roll it, the application goes very quickly and is ideal for covering lots of space at one time. You can roll on colour over colour ad will get a really cool effect, however, I added extra depth and dimension, and crackle by troweling on layers over top.
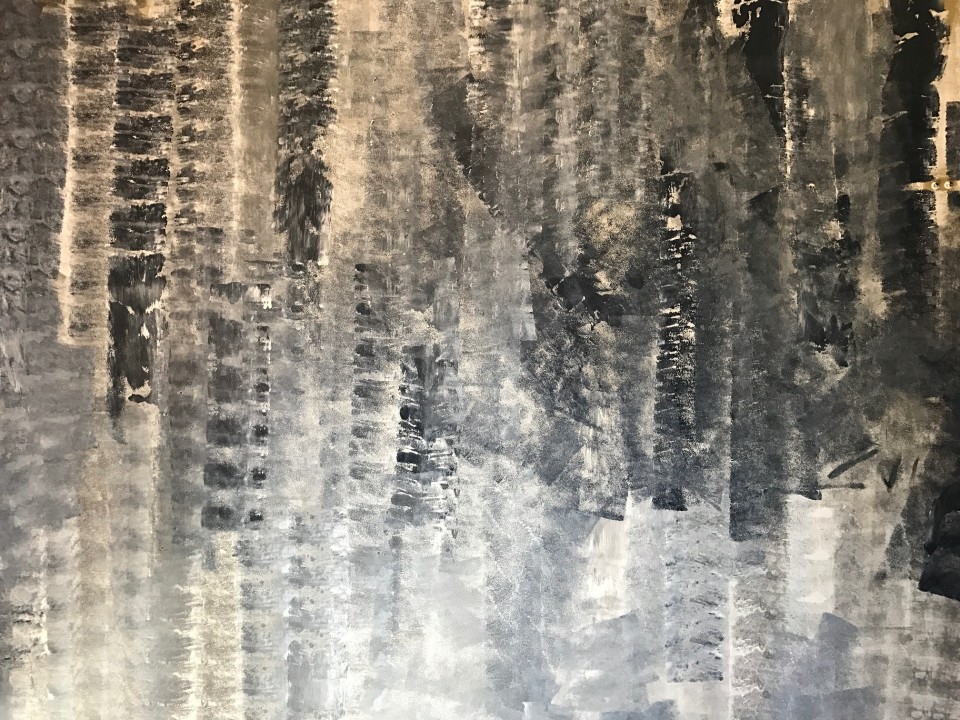
I wanted to use the same roller and tray without washing anything to save time and water, so that allowed me to get a very tie-dye type of effect. I kept adding a little Casement, then a little Midnight side by side, and some would blend together getting a different soft blue as I was going. It was a great little trick to get a variety of colours, with really only 2 on hand! It took me about 15 minutes to do the entire wall like this.
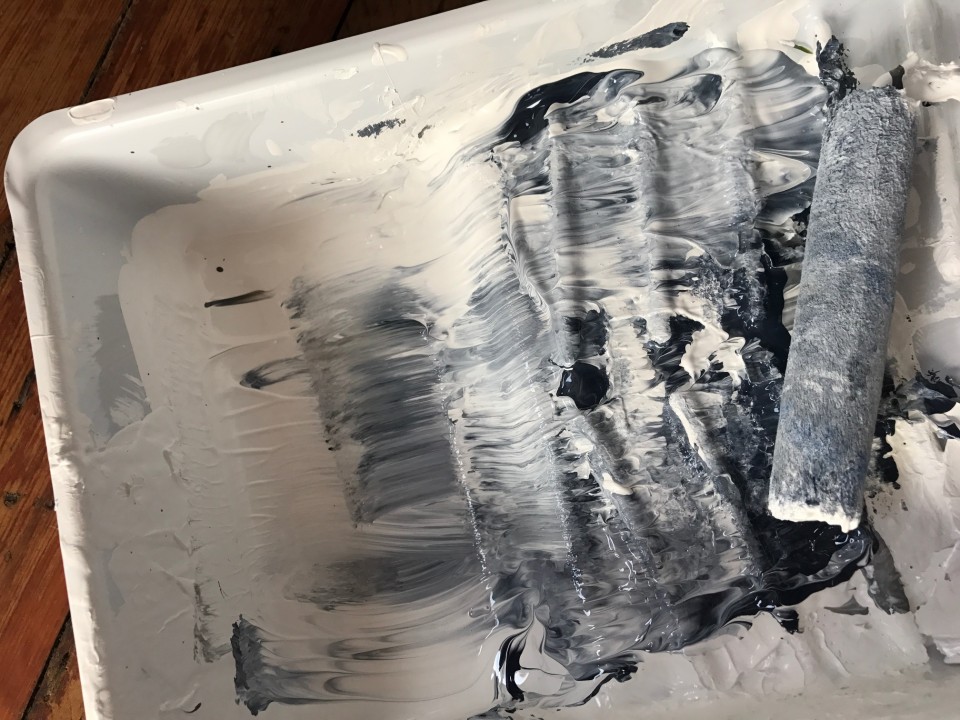
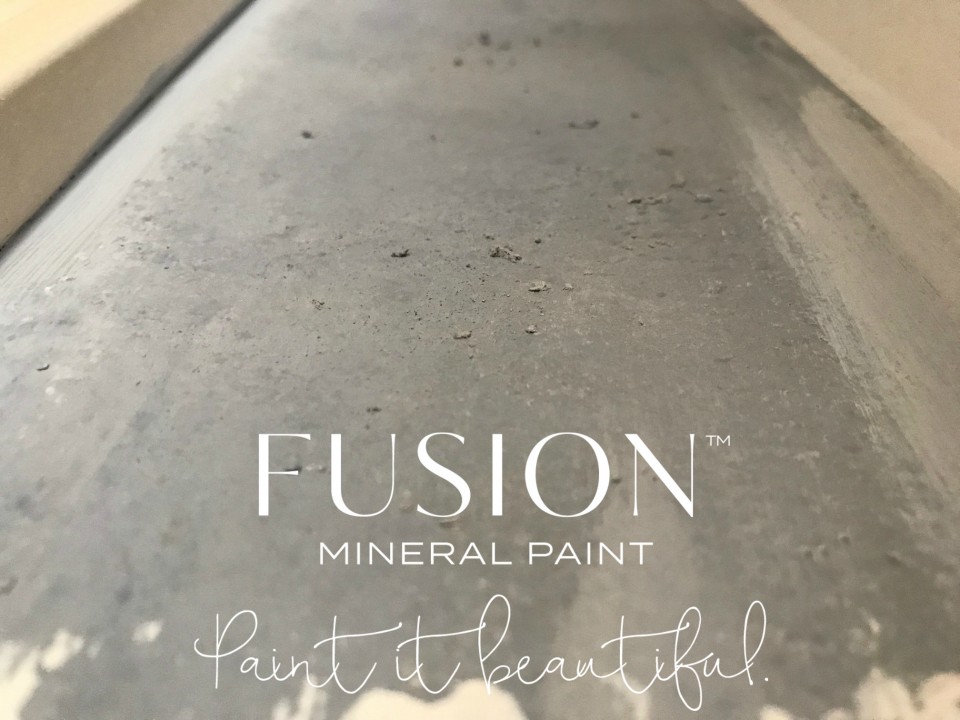
I added the Fresco directly to the Tray container and rolled it gently into itself. The photo below is an example of a soft blue blend that was created with the Fresco Texture rolled on. The photo is taken at an angle so that you can see the raised texture off the wall. It is very flat and subtle but will pick up any top layers and dry brushing beautifully. Adding more layers of Fresco will increase to texture.
Step 2. Troweling It On for Vintage Texture Fresco Walls
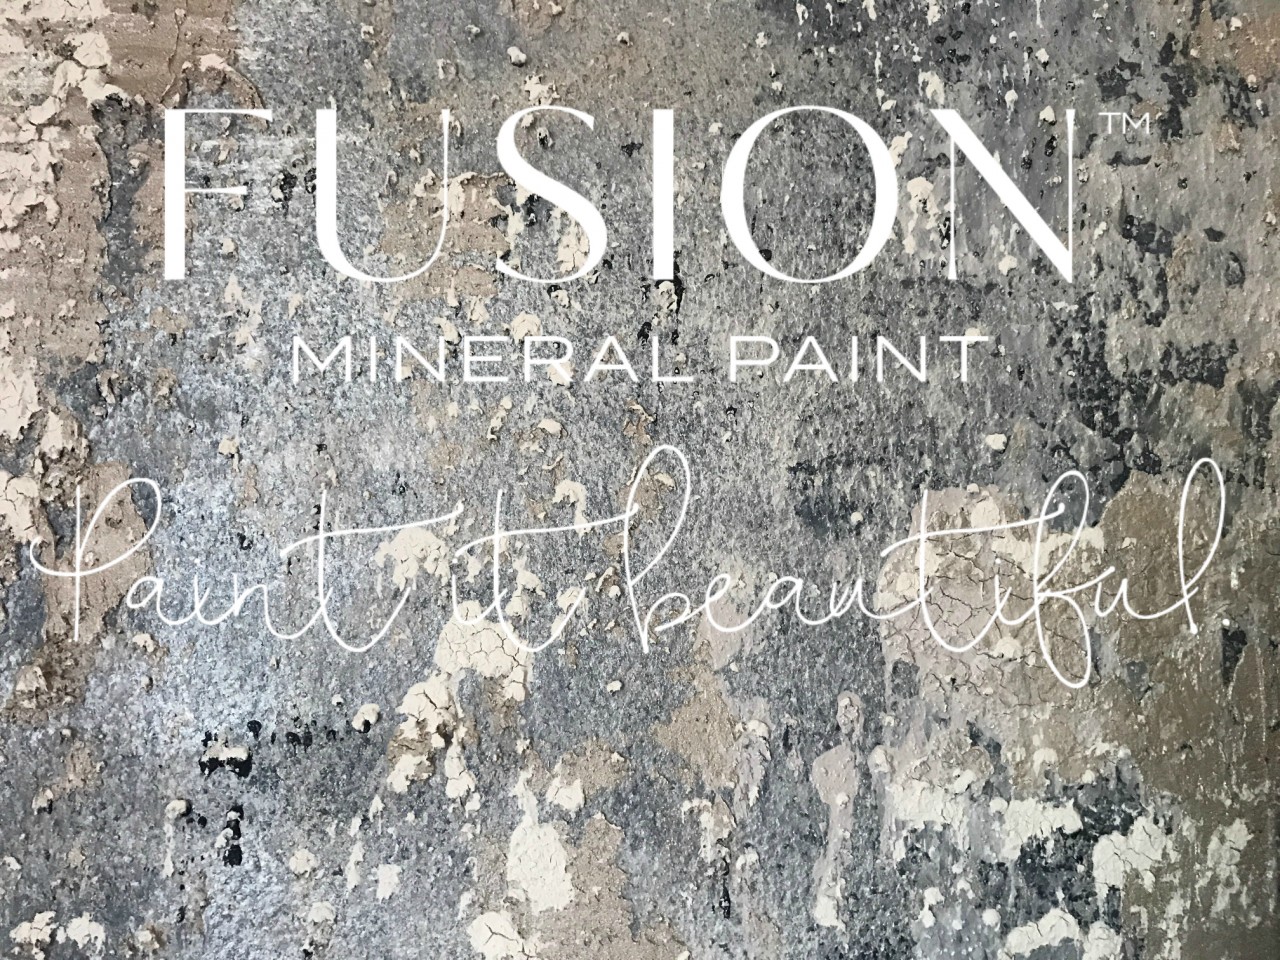
After I rolled my initial colours and fresco mix on, I then took a trowel and layered it on in a thin layer of a nicely mixed Casement with Fresco. The best way to get a great mix is by using the whisk. Mix by eye about 1 part paint to 1 part Fresco until you get a smooth icing cake-like consistency. Then load up your trowel, and apply it to the wall unevenly so that you can see some of the base colour come through. It will look something like this.
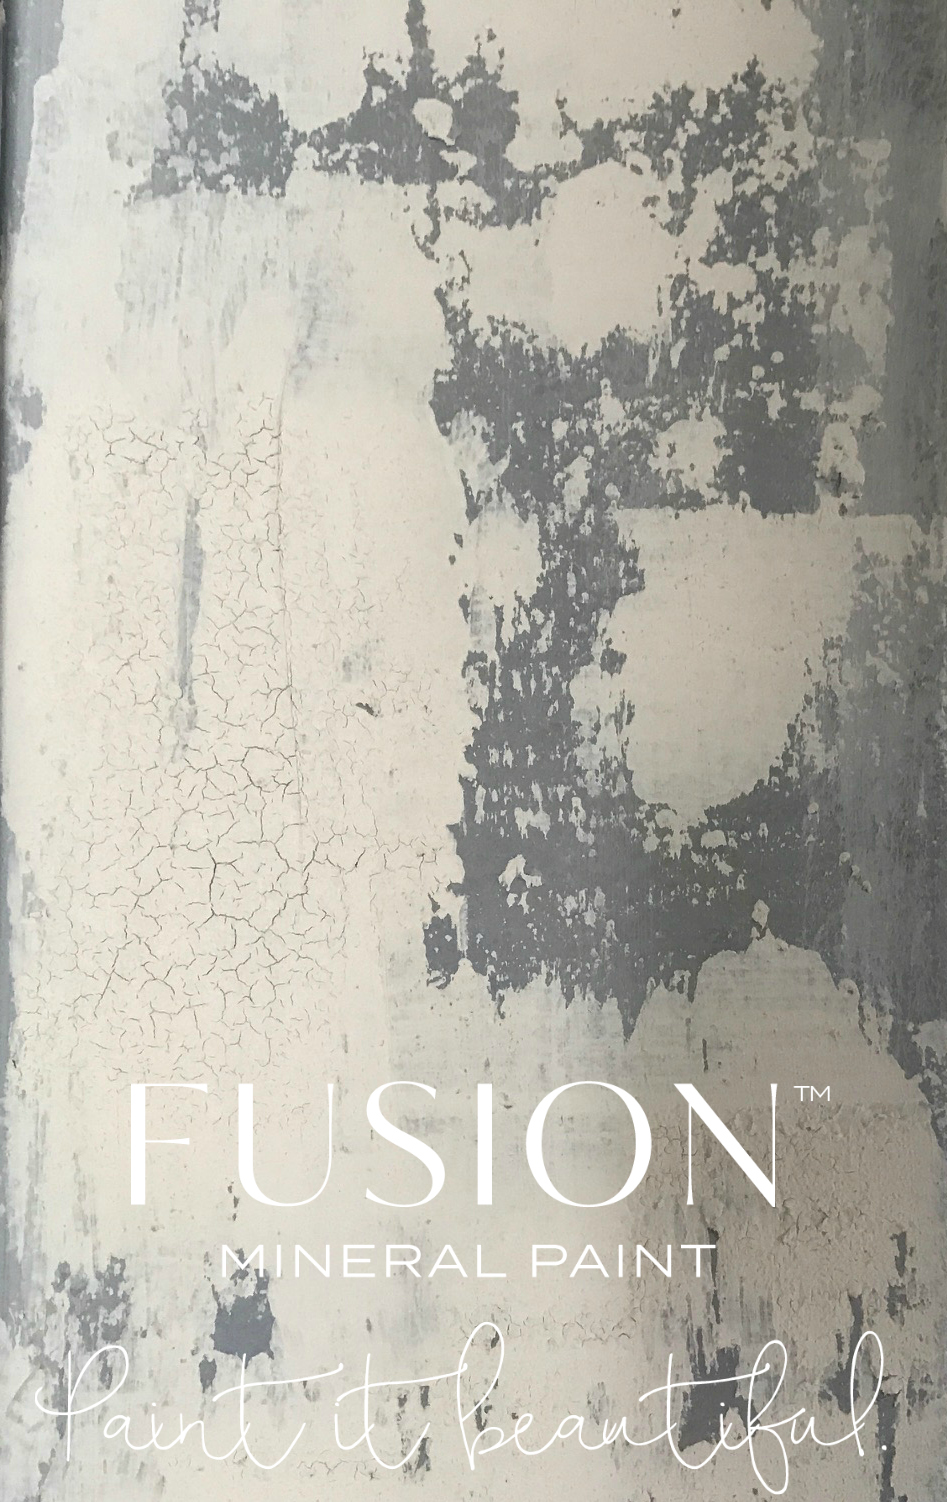
This may sound difficult, but it is super easy! I recommend a bit of practice, but imagine it’s like applying a layer of drywall mud. It is essentially the same concept, except easier as you don’t need to be a pro to do it! In fact, you’re going for the opposite effect, you don’t want a perfectly smooth flat finish, you want to apply a thicker layer, and just leave it! The thicker the layer it will produce a beautiful fine crackle effect.
You can continue layering over the entire wall until you’re satisfied with the end result.
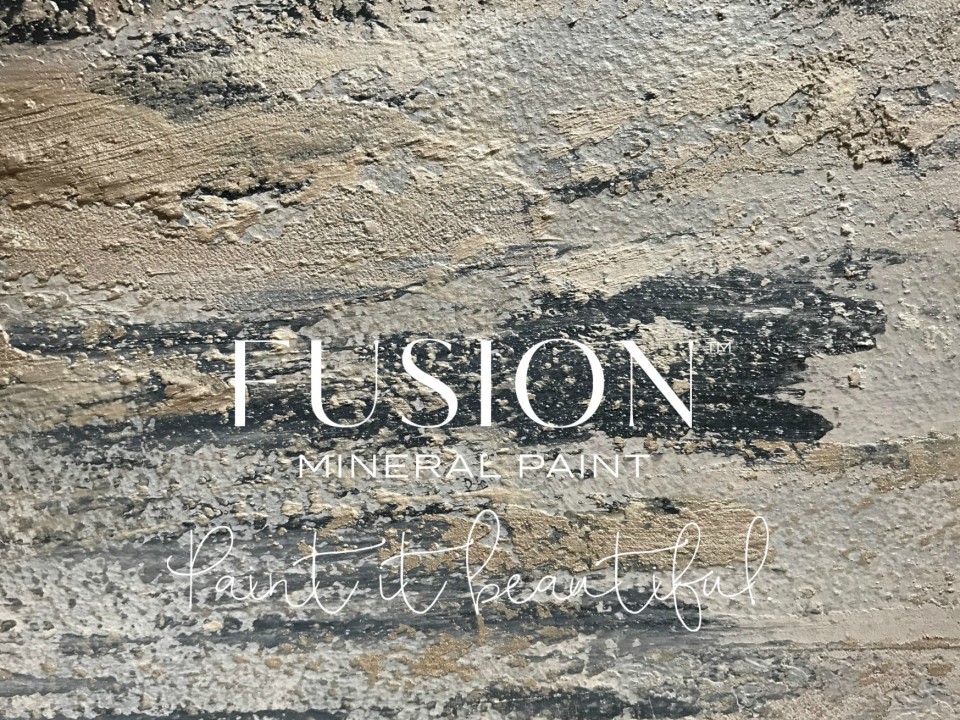
I then continued to layer the Champagne Metallic like this, as well as spots of Midnight Blue again to even it all out.
Keep layering and playing until you are satisfied.
Step 3. Brushing it On for Vintage Texture Fresco Walls
If you’re worried about using tools, you can get a very similar effect by brushing it on. It actually gives you a little more control with the level of texture. For example, you can apply it and really brush back and forth and get out any of the texture, or you can brush it on with minimal pressure to leave behind lots of texture. You are in control!
I wanted to further blend at the end so I dry brushed Pearl over the entire wall to soften and even out the entire finish, and give it that glam reflection.
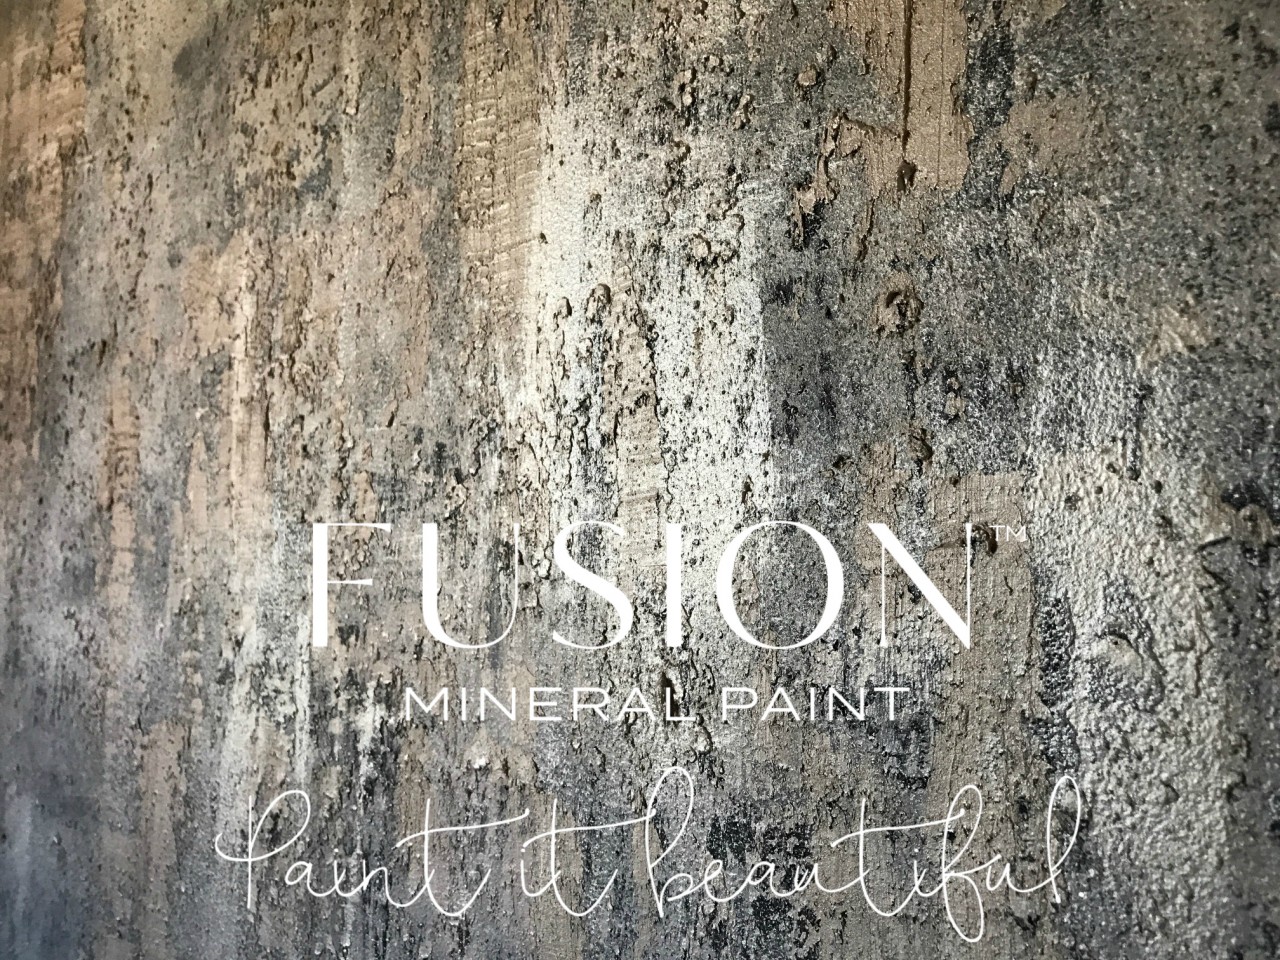
Whichever method you choose, you will get the hang of it very quickly for your own masterpieces with Fresco! This entire wall probably took me about 6 hours in total.
The options are endless, Paint Walls, Furniture, Candle holders, frames, outdoor pots etc.
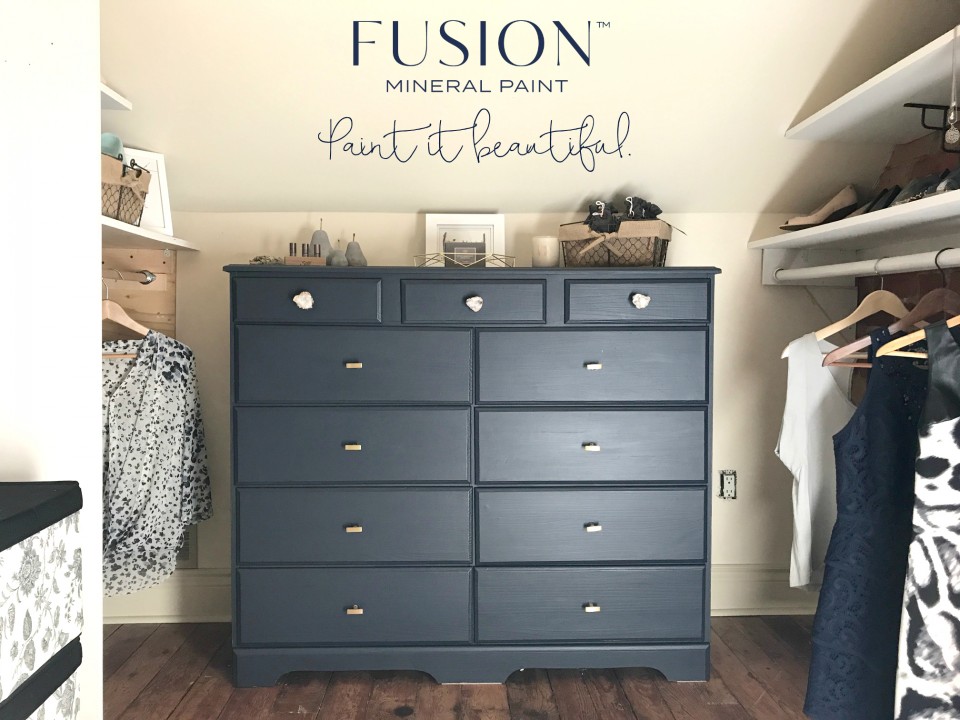
A few other pieces to complete the room. You may have noticed in the before photo a chest of drawers. Originally it was painted in Homestead House Milk Paint in Garden Seed and had a layer of Hemp Oil applied many years ago.
Typically you can’t paint with water-based paints over oil, but it was so dried out. I did a little test on the side, painted a swatch and let it sit for a few days, I tried to scratch it off and it wouldn’t budge, I knew that I was ok to continue painting the entire piece! Since I wanted a super sleek smooth finish I wiped it down to remove any dust, it was in excellent condition, so I just painted right over top with Fusion Mineral Paint in Midnight Blue.
I love that I can see the wood grain here from an angle. Who doesn’t LOVE real wood furniture?
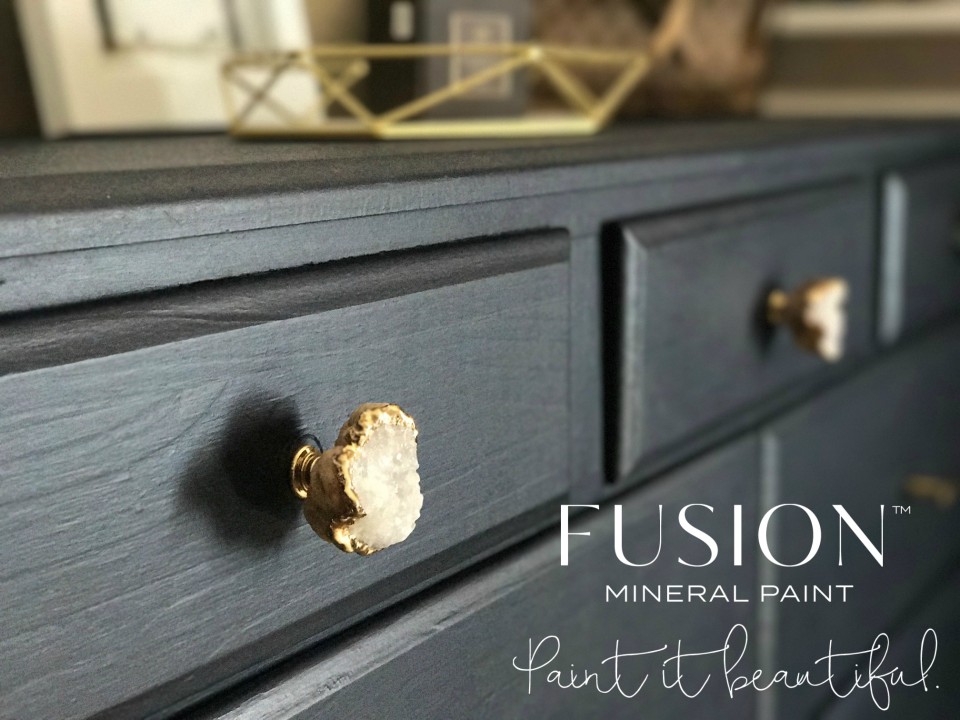
It is hard to see in this photo, but I had to snap one as I was finished painting, I ended up doing 2 coats on this piece to make sure I had supreme coverage, after the first coat it looked nearly perfect, but again I always prefer two coats to be sure.
I barely used 1/3 of the Pint of Midnight Blue for 2 coats on this entire dresser! And it’s not a small dresser!!
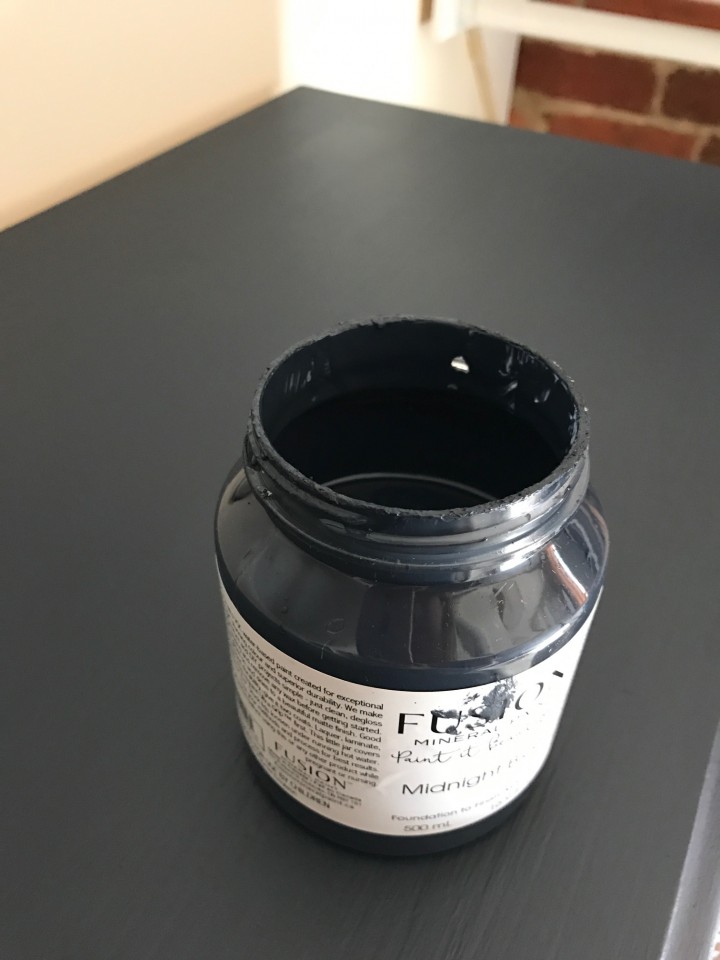
Here is a little video I did while painting this piece. Watch it here!
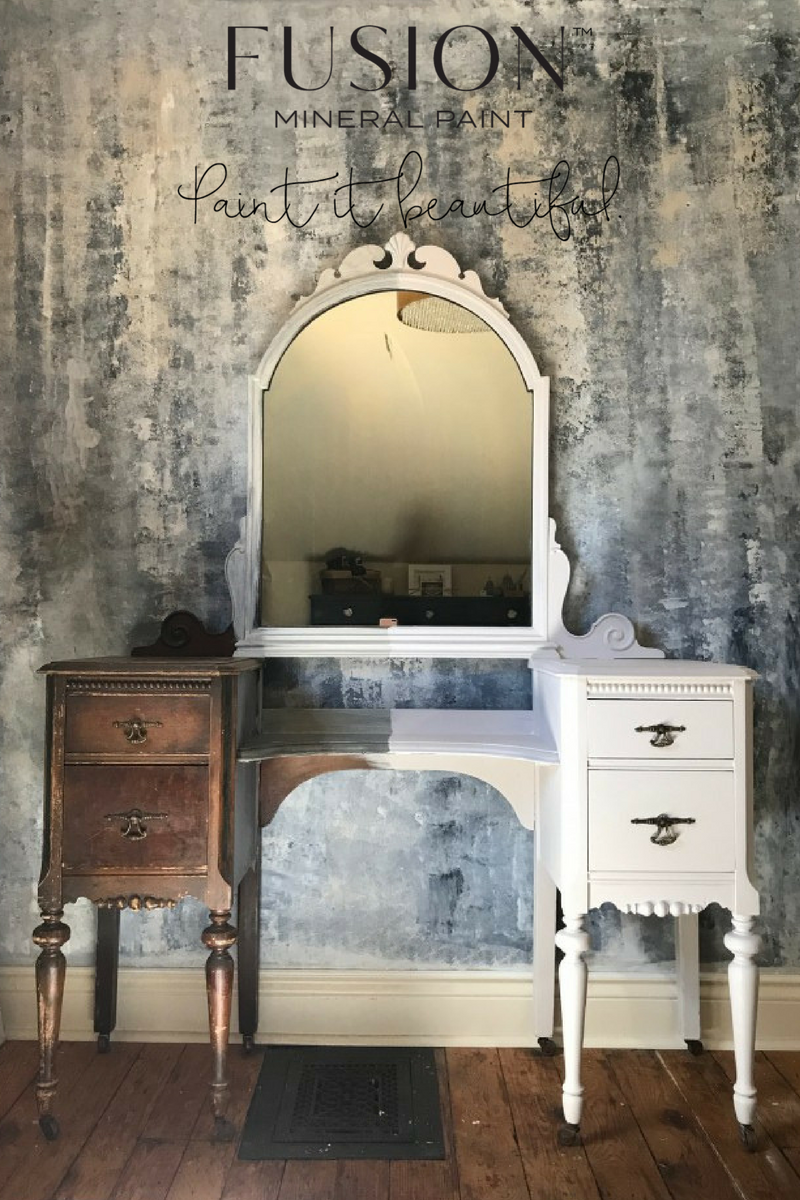
The vanity I painted a soft pastel lilac called Little Stork (discontinued). It’s ever so subtle that you can’t tell in this room and background that it has a hint of lilac. I didn’t want pure white so I chose Little Stork.
Here is a mid-way-through image of 1 coat of Fusion on half of the piece. The coverage is absolutely incredible. Almost pure solid coverage with one coat. I always recommend 2 coats to be sure to get everything. This was the stage of the walls where I had simply just rolled the initial base layer.
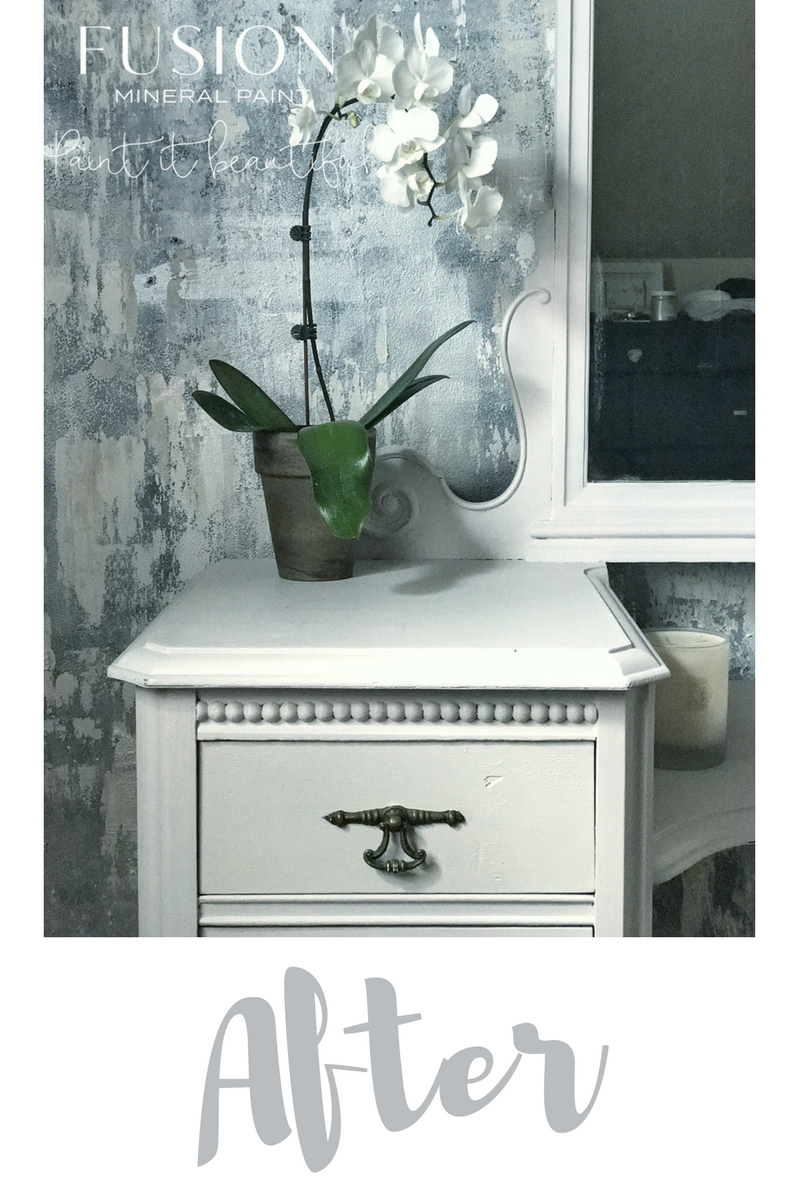
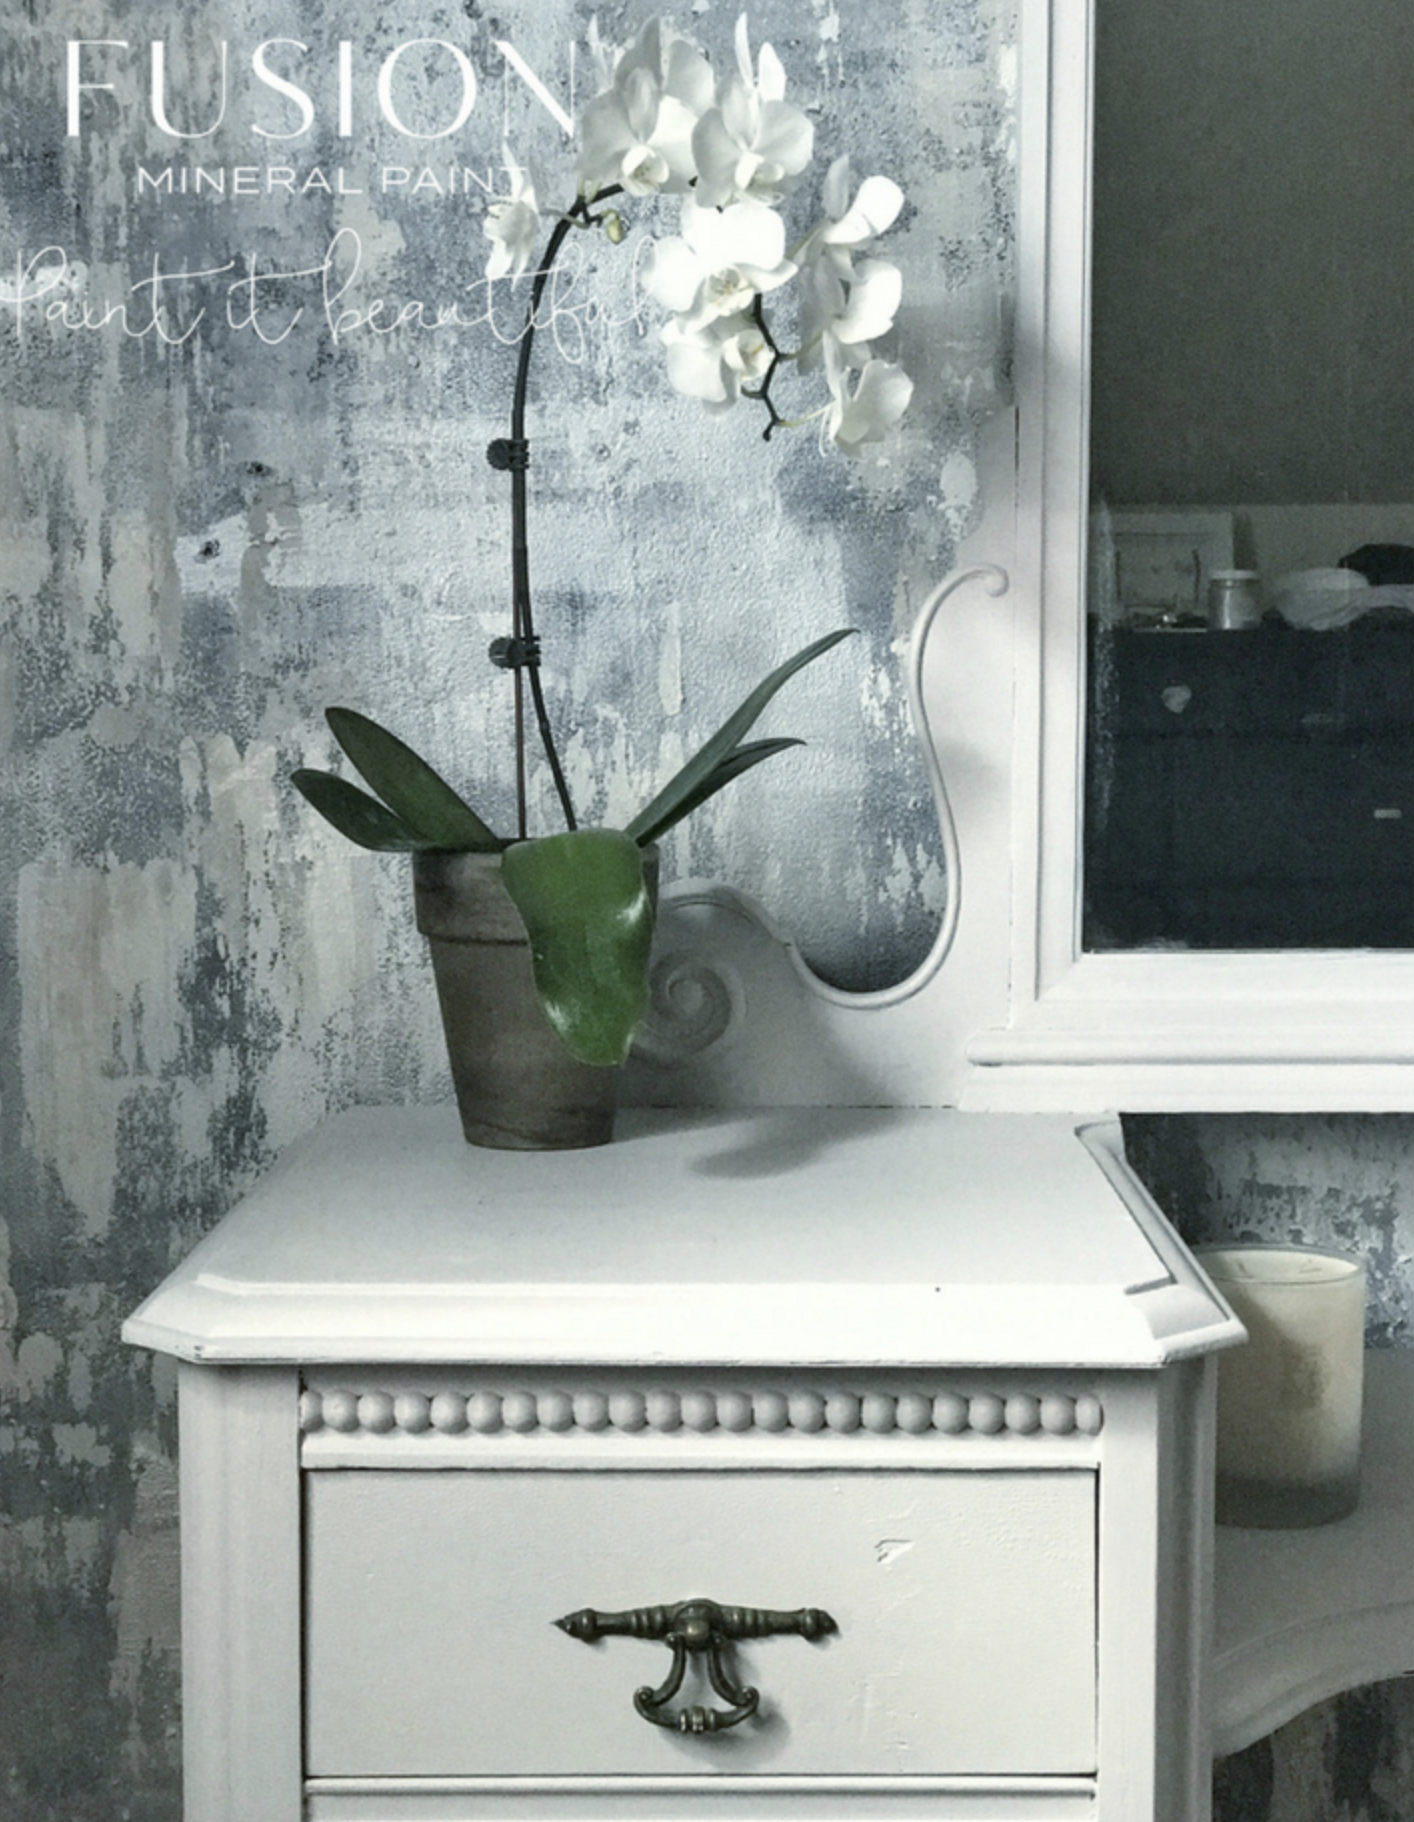
Here is a close-up of the after.
And there you have it! Somehow my desire to have a faux-finished Fresco-style wall turned into a mini remodel removing the shelves, moving the Dresser and giving it a new life with Midnight Blue, and adding a Vanity fit for any Chic urban dressing room!
Thank you all for your patience, this entire makeover took me nearly 4 months to complete even though each project was so quick! I wanted to document it and post each step so you would be able to try your own wall like this!
Remember you can use any colours you like for a softer more subtle look like my initial Fresco wall, or you can go bold and beautiful like my Dressing Room.
I would love to see what you create with Fusion Fresco!
Vintage Texture Fresco Walls

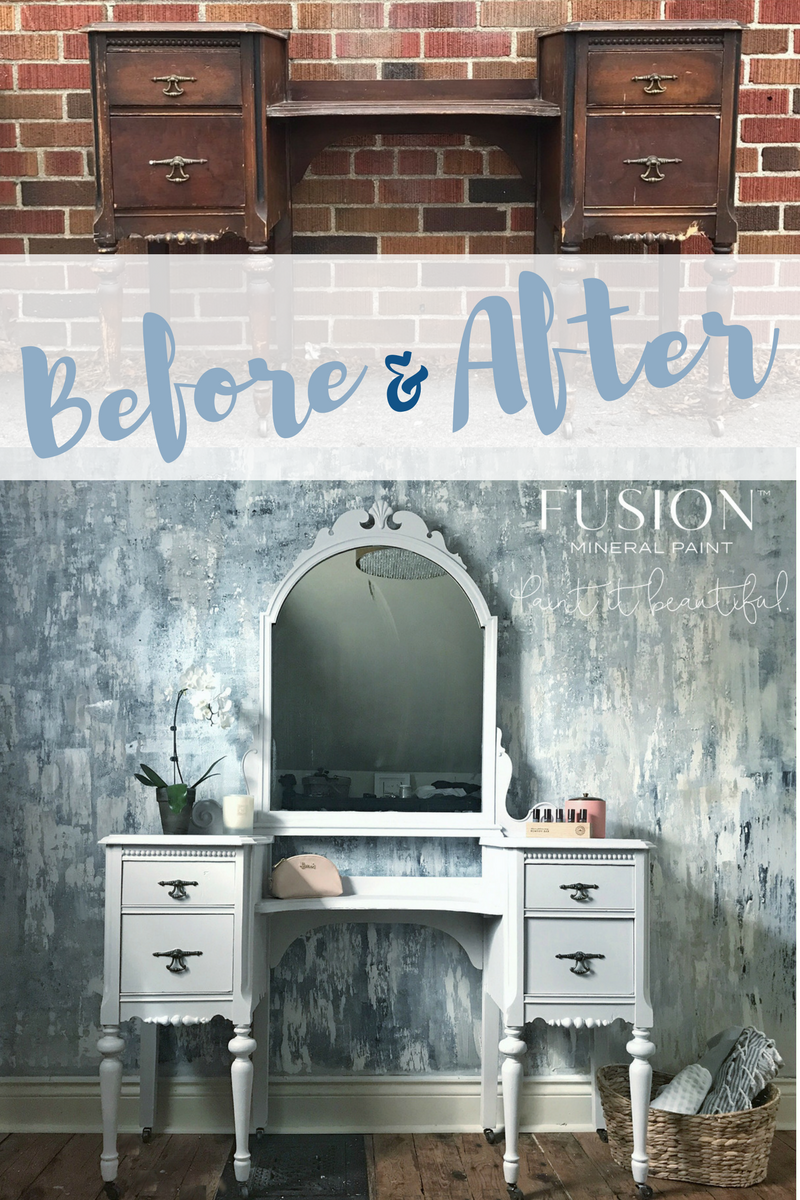
Look how badly treated this poor vanity had been before!



7 Responses