

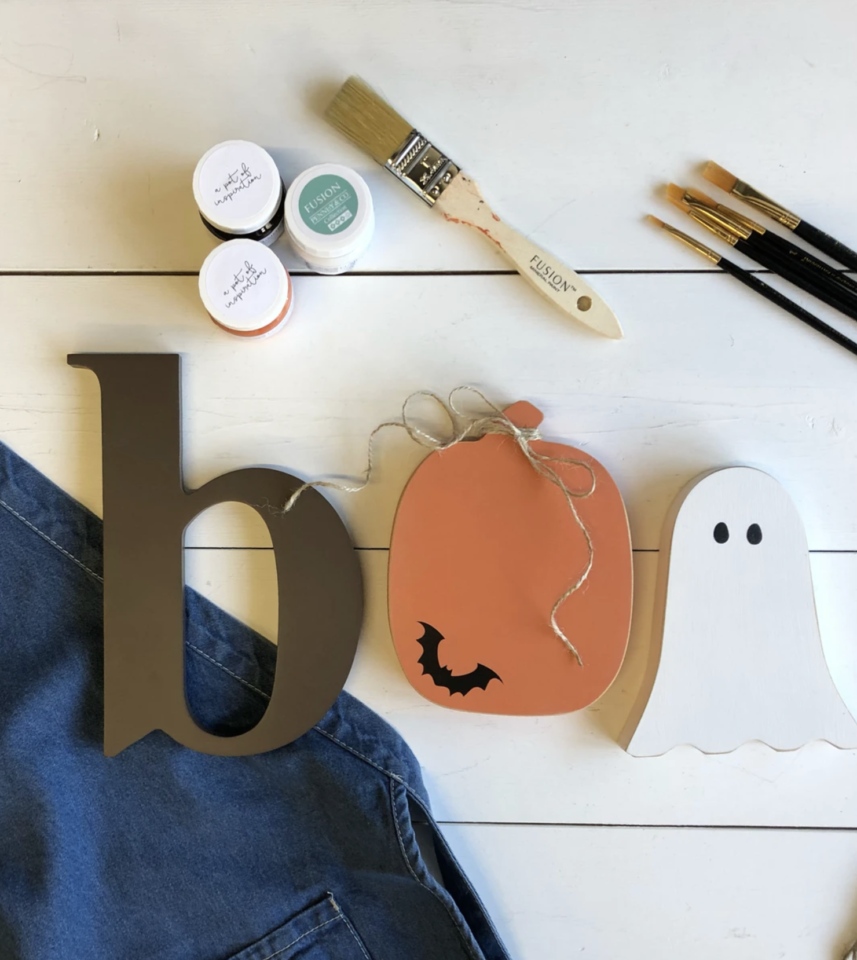
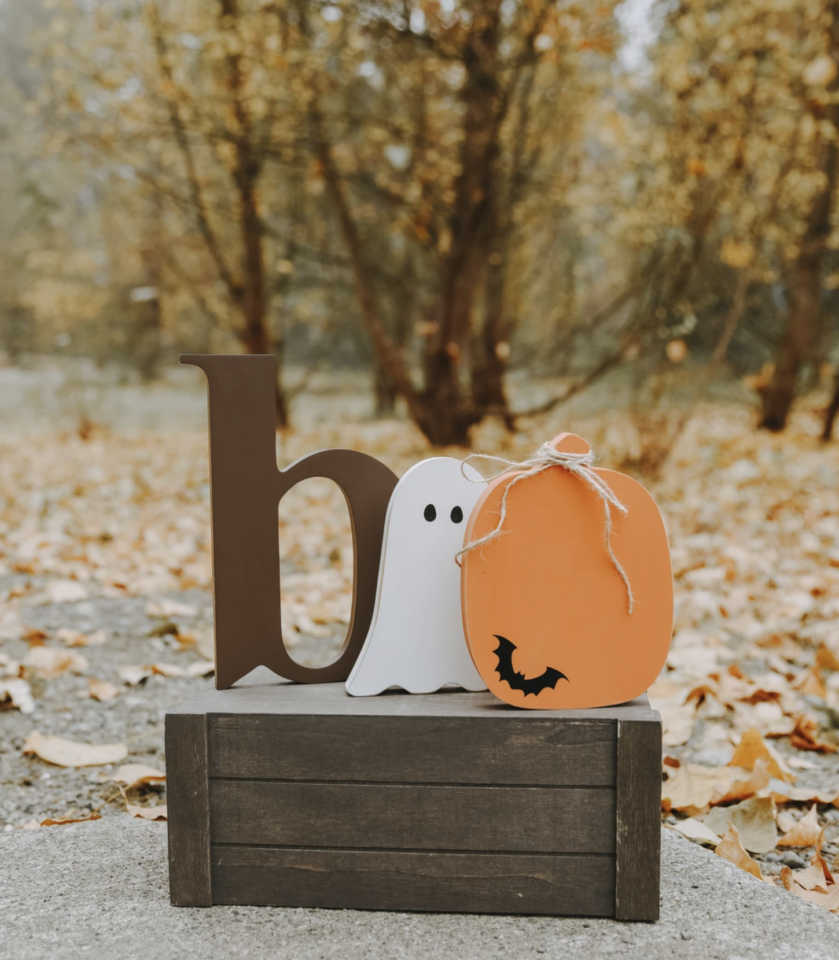
BOO! Create a Halloween Home Decor Project with Homeworks Etc. DIY Kits.Looking for a simple, fun, and easy home decor project to complete this fall? This “gourd-geous” DIY project is the perfect addition to your Halloween home decor. This three-piece wood set spells out BOO in spooktacular Halloween shapes including a pumpkin, ghost, and lowercase “B”. These stylish shapes combined with a selection of contemporary paint colours for Fusion Mineral Paint make for a project that is sure to impress.
This project is perfect to be displayed on your mantle, on a tiered tray, on a countertop, or even on a windowsill. Complete this DIY project with ease with Homeworks Etc’s easy-to-follow instructions. All the supplies for your DIY project are included in your Halloween decor-themed kit. To see our painted Fall sign craft project click here
Click Here To Purchase The Boo project Kit. ( This is an affiliate link )
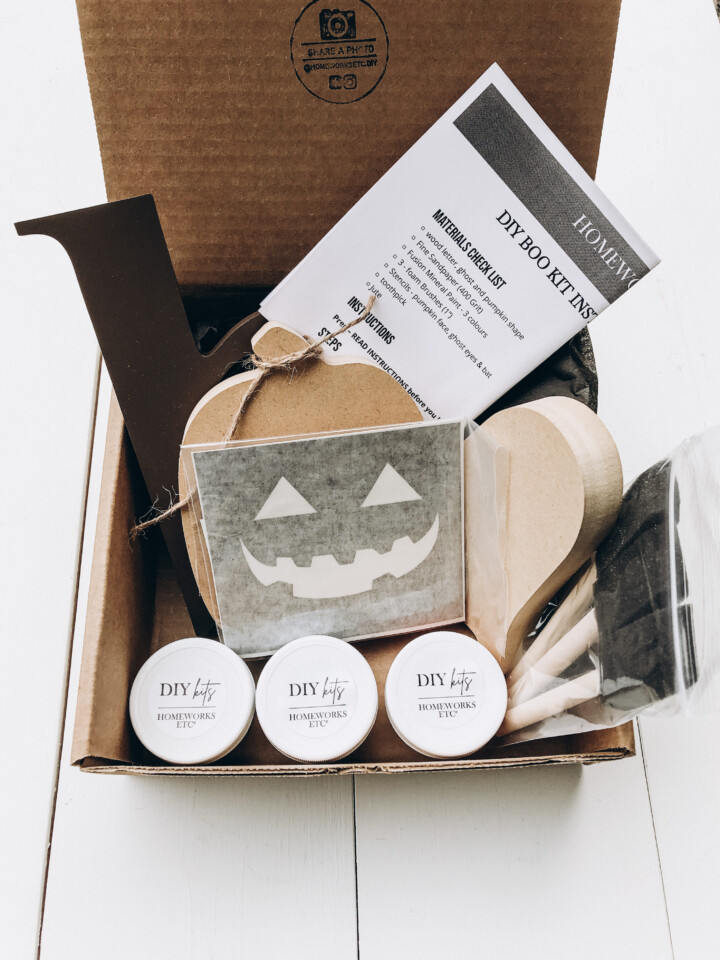
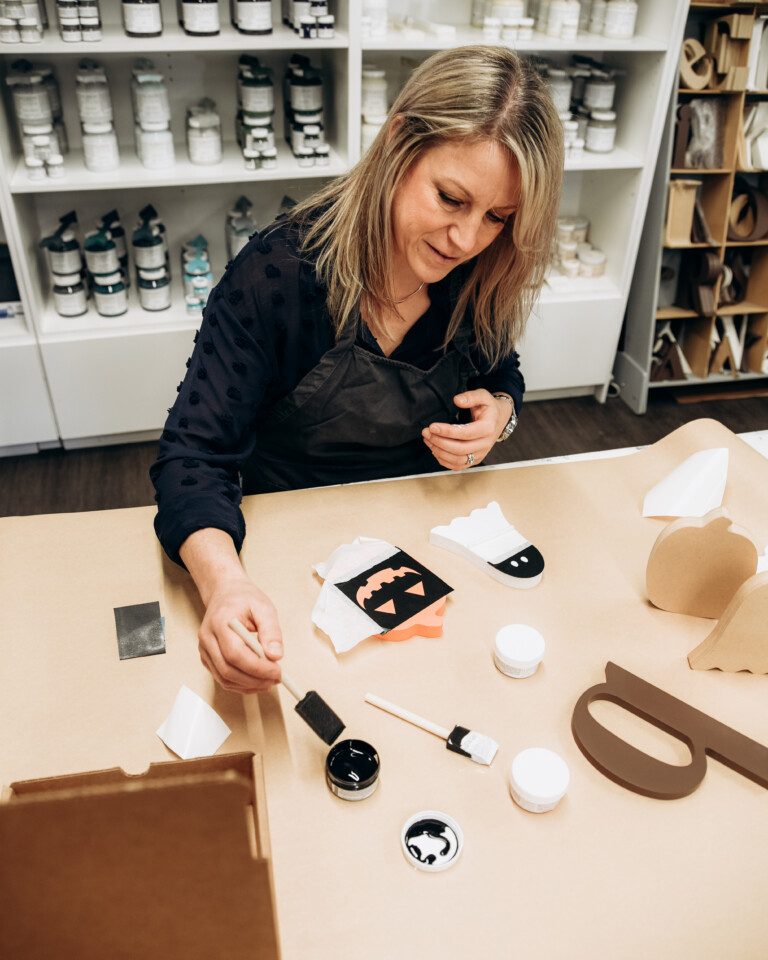
Inside the Boo 3-piece wood project kit, your supplies will include everything you need to make this Halloween-themed project.
- The wood letter, ghost and pumpkin shape
- Fine Sandpaper (400 Grit)
- Fusion Mineral Paint
- 3 – foam Brushes (1”)
- Stencils
- Toothpick
- Jute
Instructions
Prep – all the instructions come in the box, please read them before you begin.
Steps
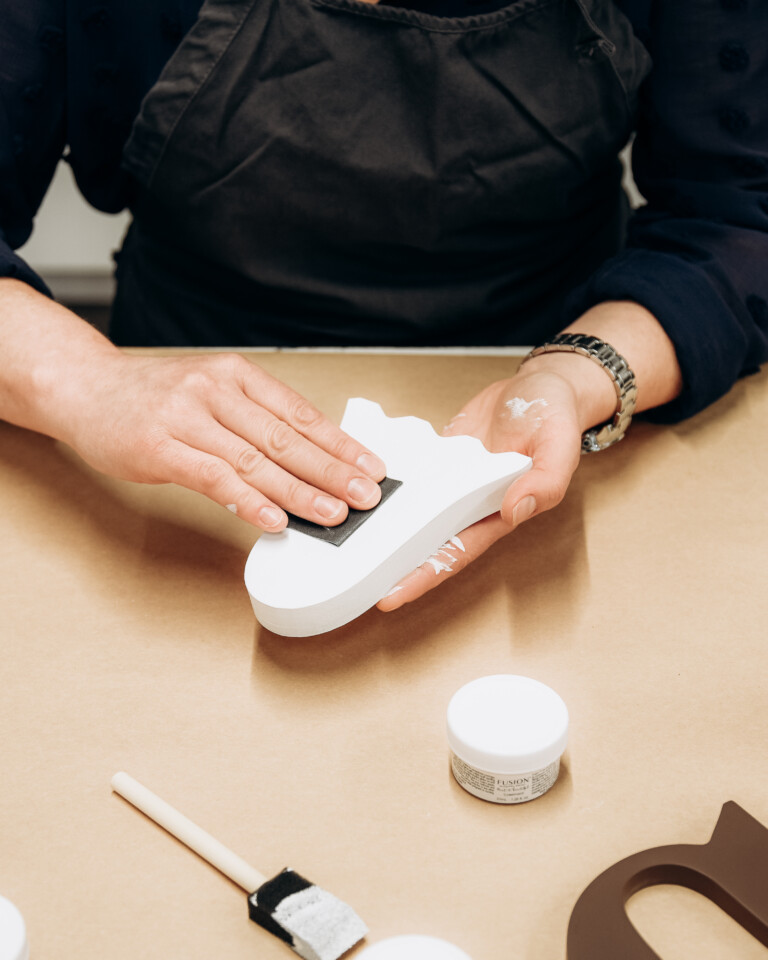
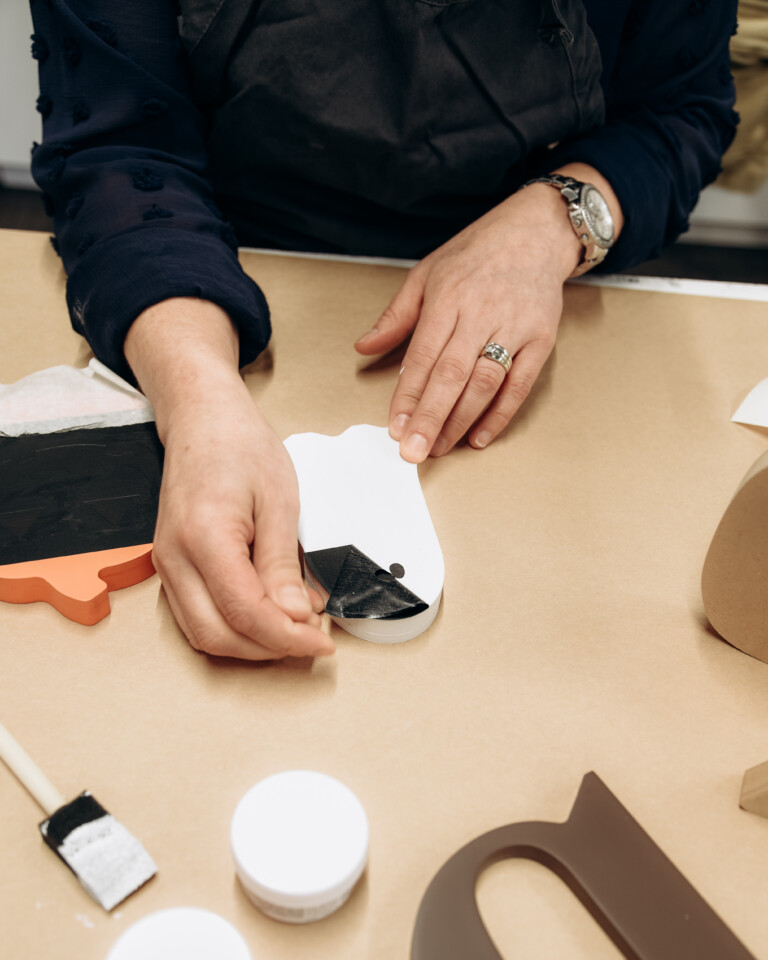
1. Paint the sides and base of wood pieces your desired colour, and let dry.
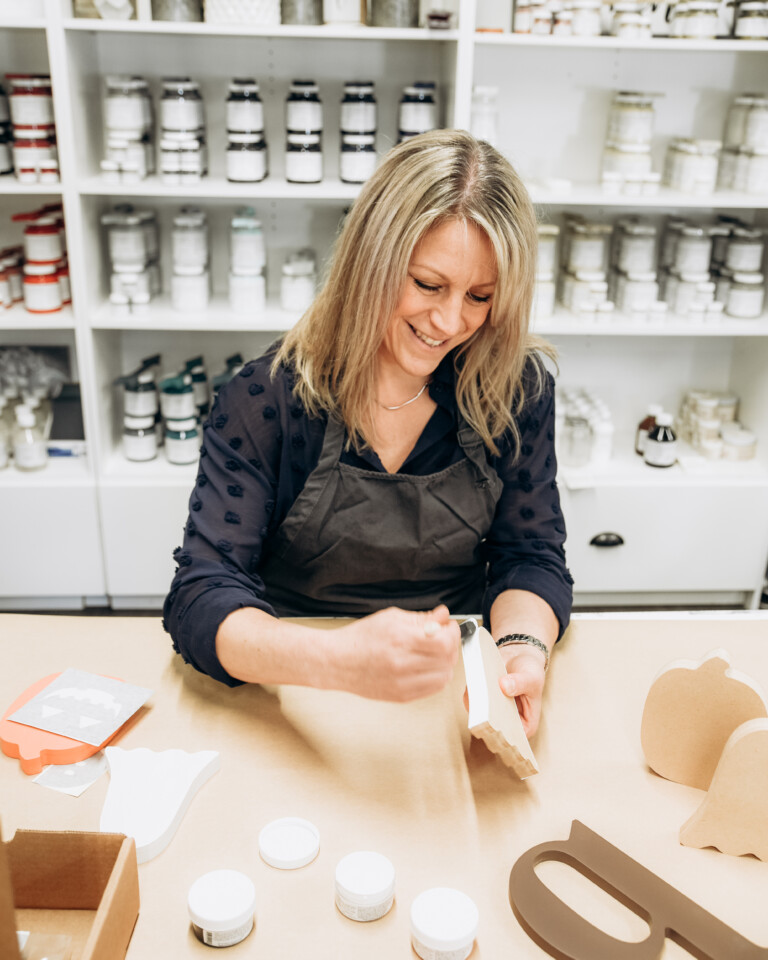
2. Sand smooth with sandpaper, paint a second coat (if desired), and leave to dry.
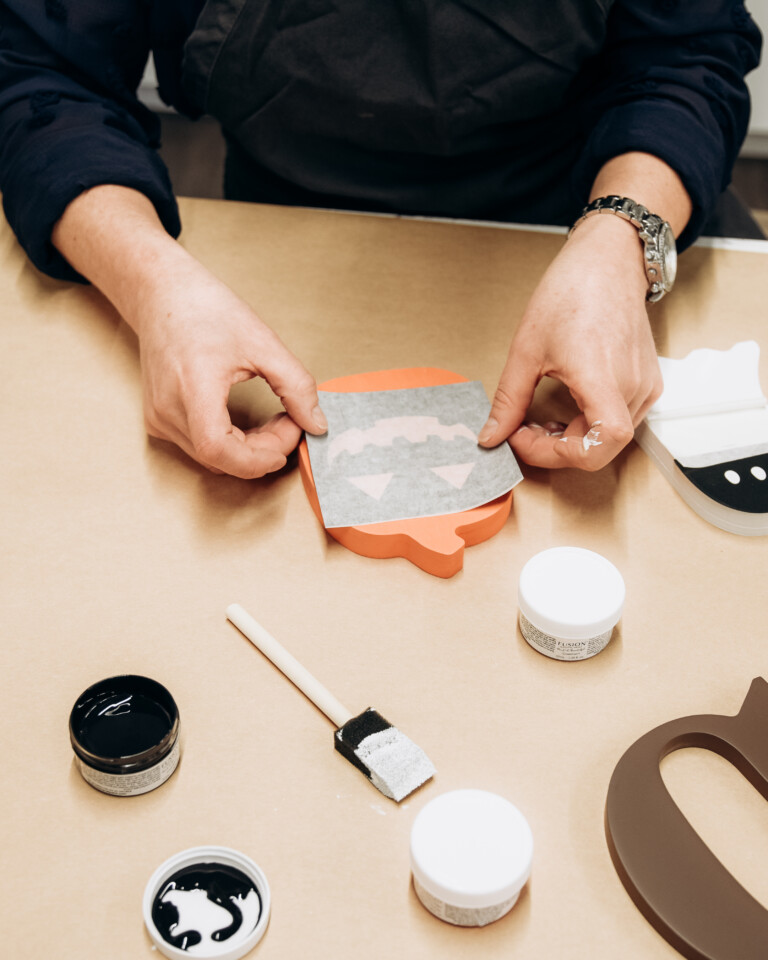
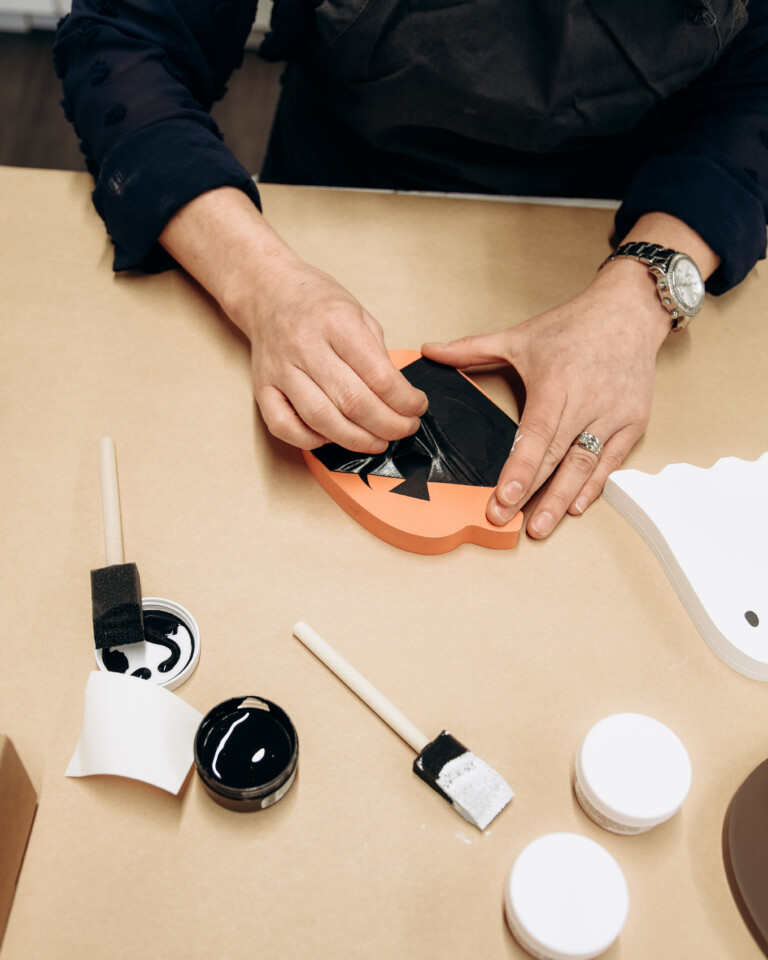
3. To adhere the vinyl stencil, lay the stencil upside down and peel the backing (grid side) off exposing the sticky side up.
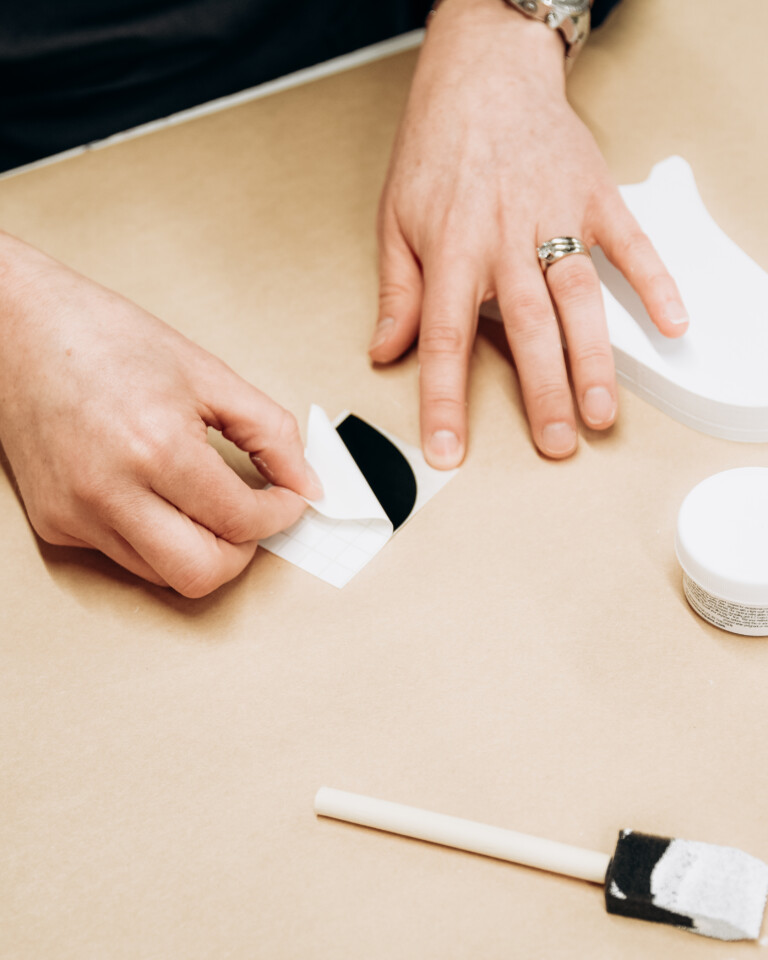
4. Place the stencil on the wood in the desired position.
5. Assure vinyl has adhered to the wood and there are no air bubbles. TIP: don’t press too hard.
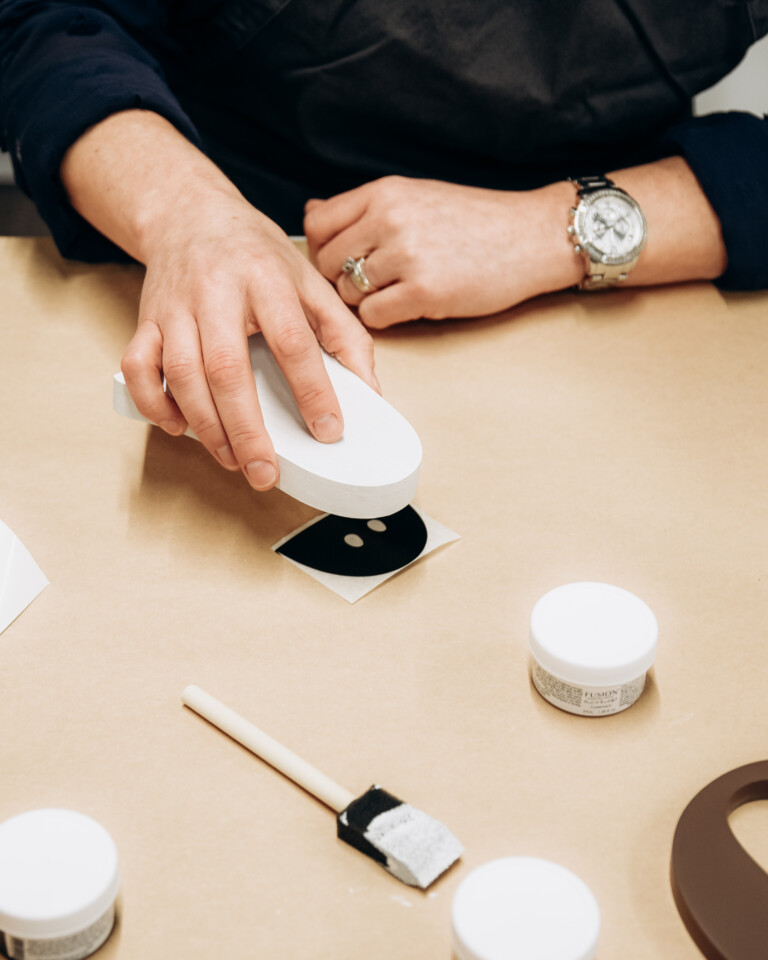
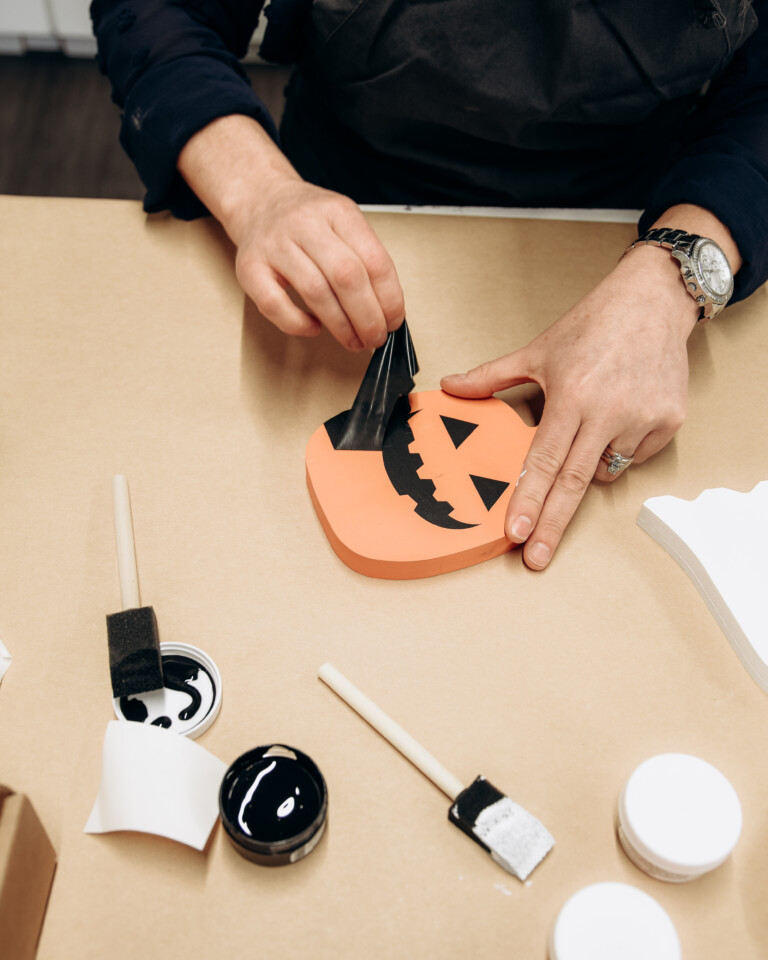
6. Remove the top transfer paper (top layer) leaving the stencil on the wood. TIP: You can reuse the transfer tape to protect the wood around the outer edge of the stencil.
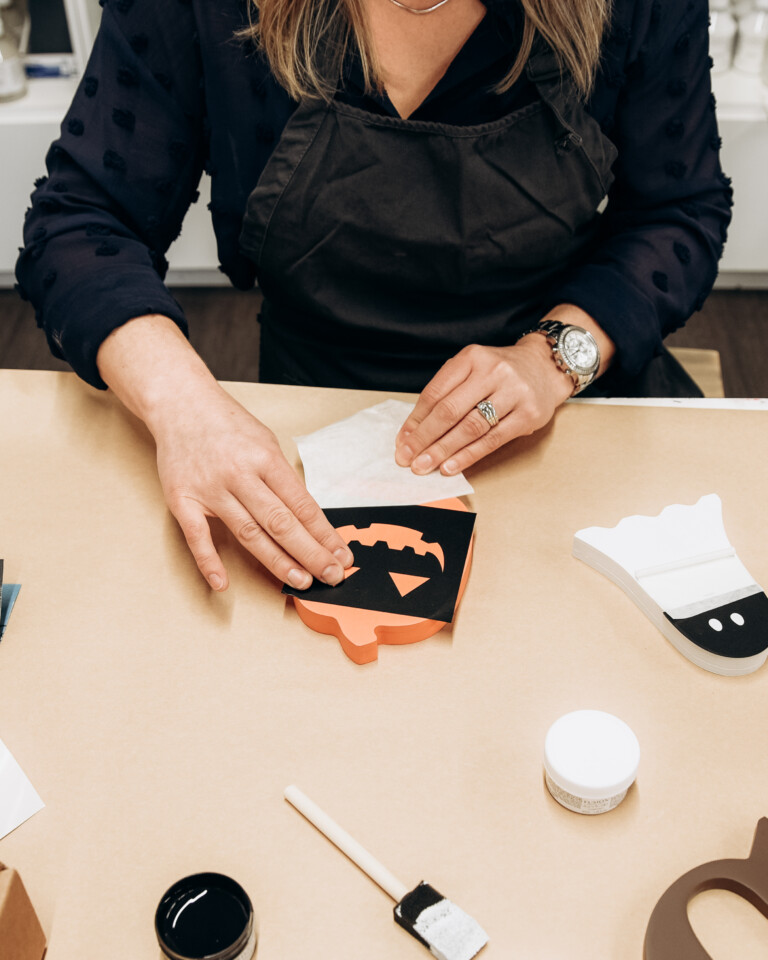
7. Paint words with the colour of your choice, and let dry. Apply two LIGHT coats. TIP: less is best to avoid paint bleeding under the stencil.
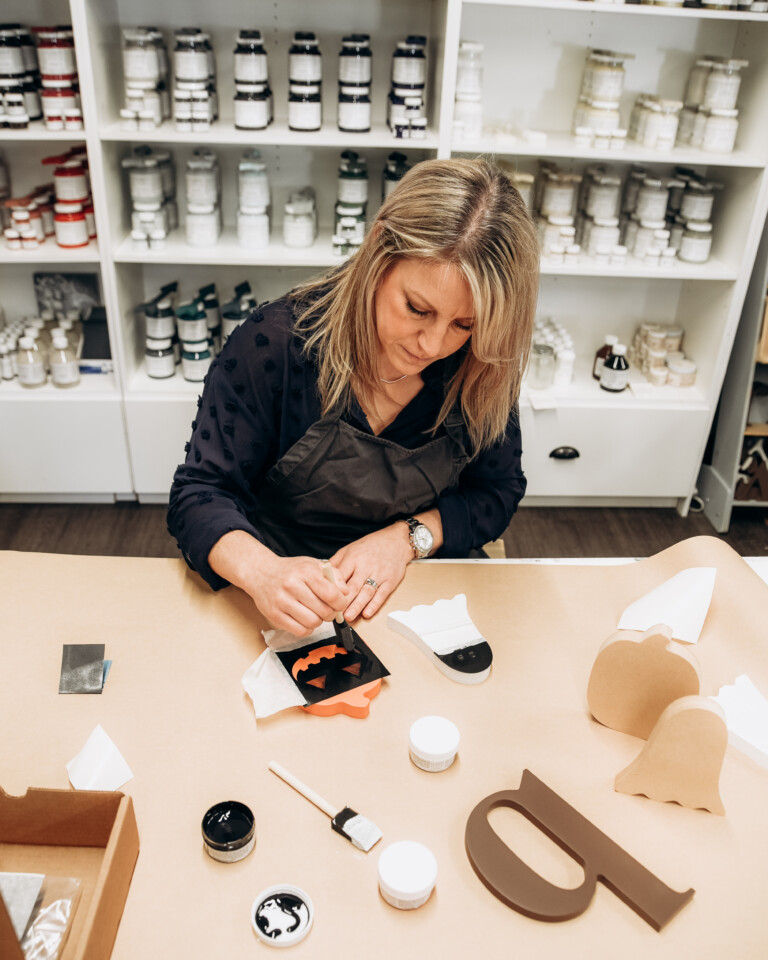

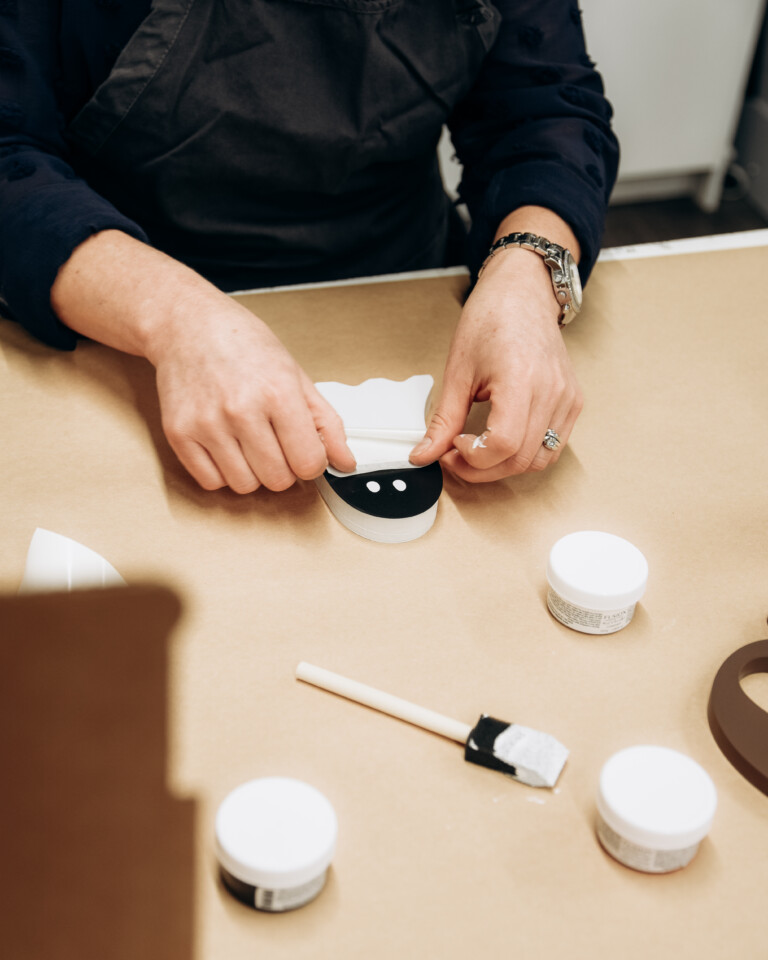
8. Remove the stencil. For any small ‘bits’ that do not pull off the initial removal, use a toothpick to gently pull up and remove.
Happy Creating!
Fall is a time for getting cozy and traditionally decorating our homes, we think this cute DIY kit will be perfect for you to do as a family activity or as a gift. Purchase yours here with our affiliate link!
Happy Fall y’all
Share your progress pics and completed Halloween decor projects with us on Instagram.
Tag @homeworksetc.diy and @fusionmineralpaint so we can see your creations!