

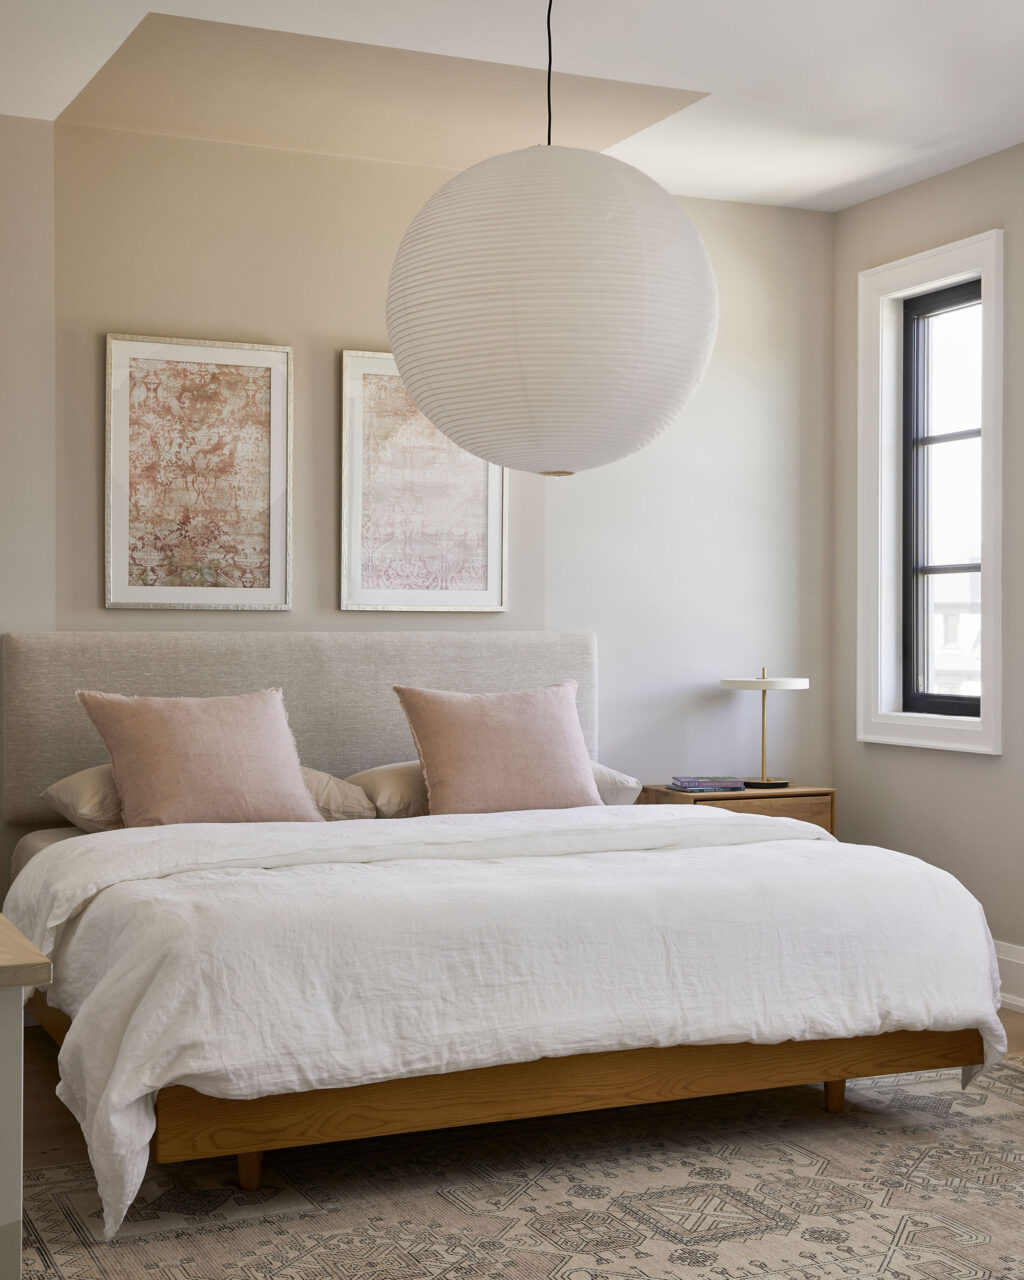
As the creator of Fusion Mineral Paint and someone deeply passionate about interior design, I love showing how simple projects can add personality and warmth to a home. In this guest bedroom, I wanted to embrace subtle elegance with a tone-on-tone colour-blocking feature wall that extends onto the ceiling. The result? A budget-friendly cozy, artistic space that’s easy to recreate, even if you’re new to painting.
Here’s how we brought this vision to life, step by step for under $50!

Step-by-Step: Creating a Colour-Blocking Feature Wall
Materials You’ll Need:
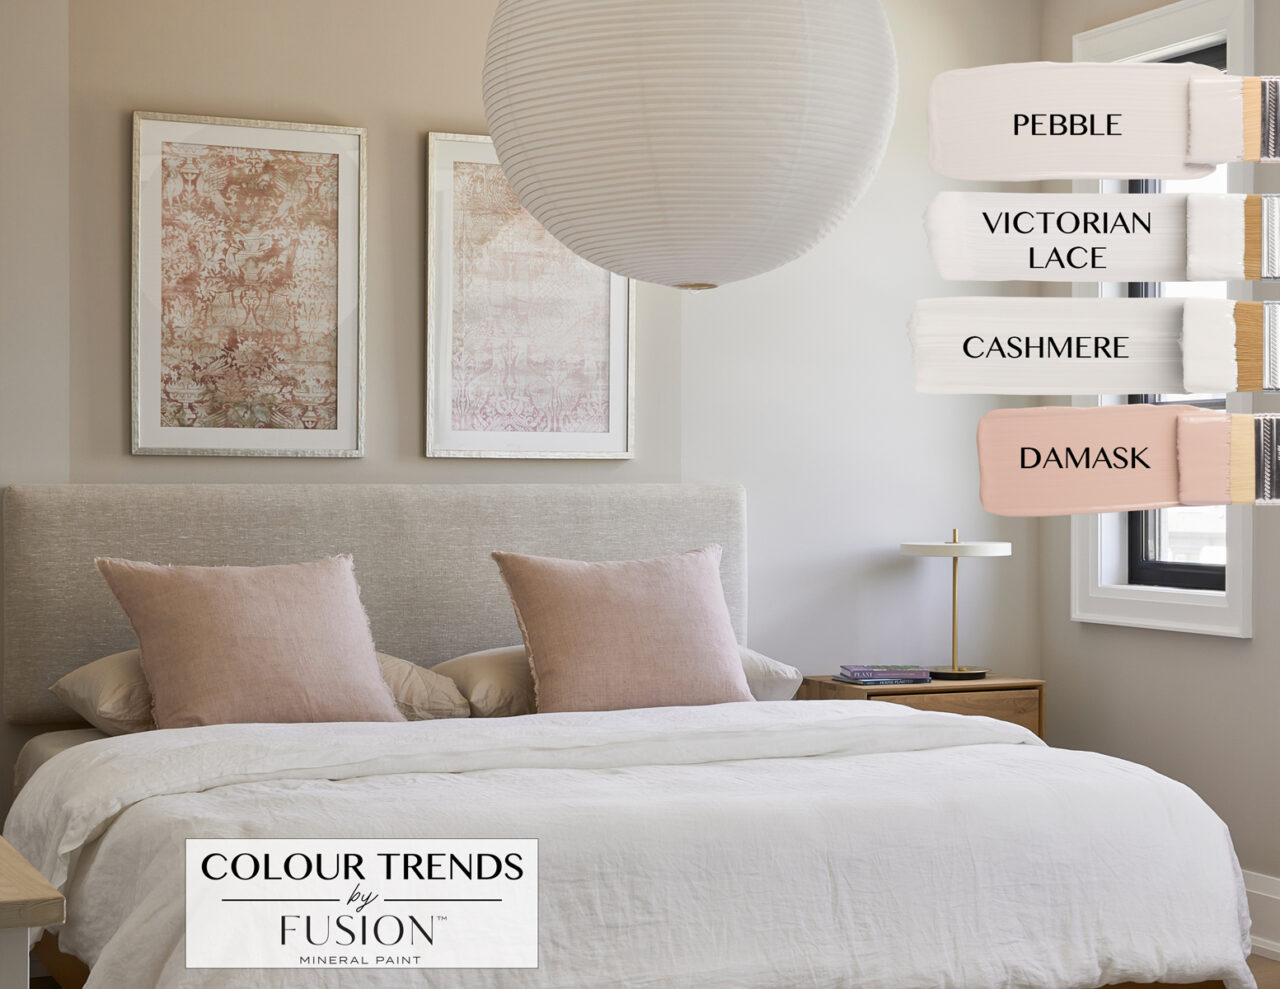
- Fusion Mineral Paint’s Cashmere (a slightly darker tone to complement the room’s neutral walls)
- Laser Level
- Frog Tape
- Measuring tape
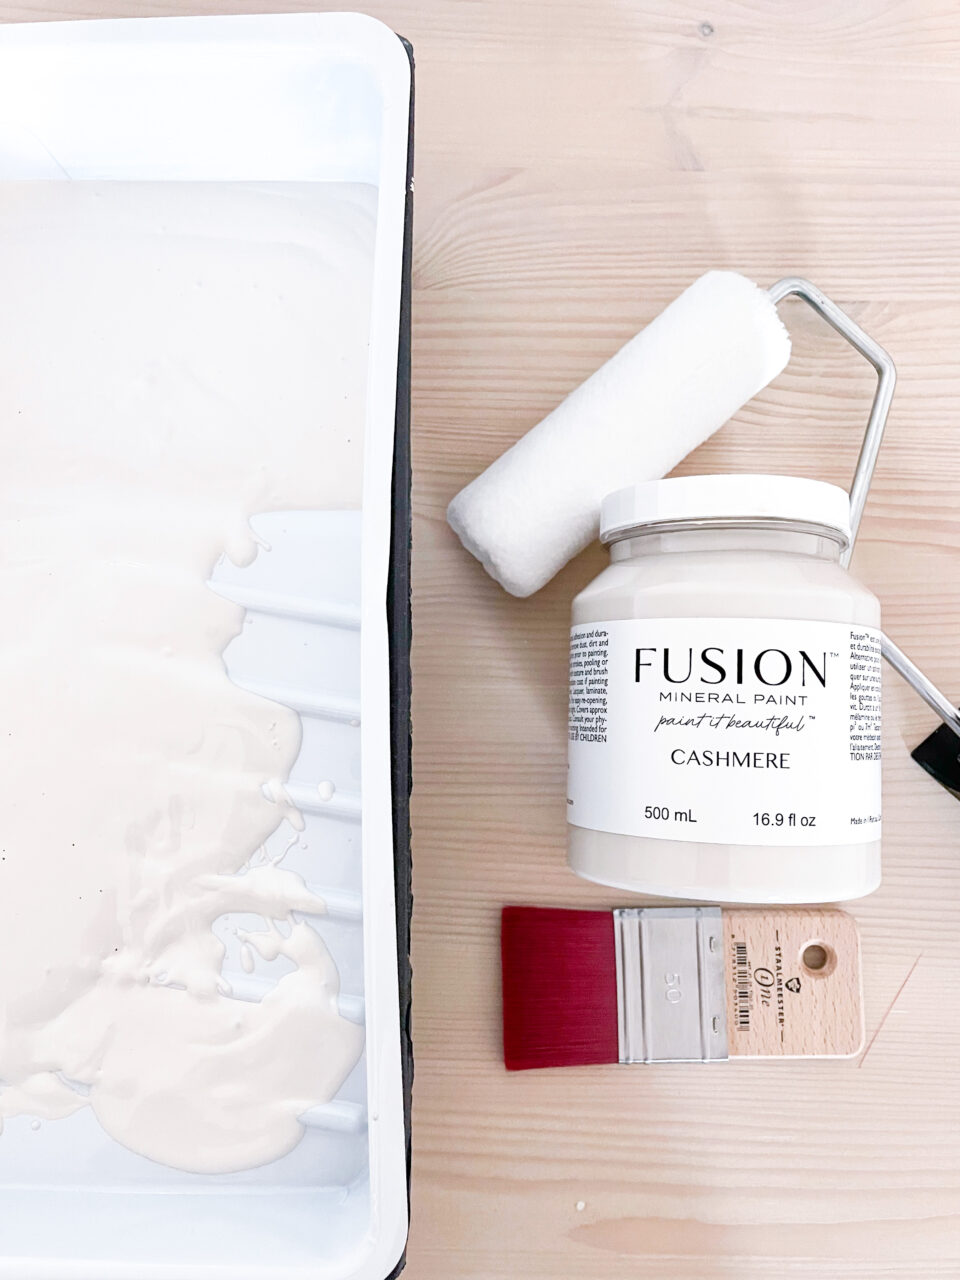
- Staalmeester Roller
- Staalmeester 2” Decoration Spalter Brush
The main walls are painted in Homestead House Interior Wall Paint, Raw Silk, Dead Flat Finish!
Step By Step
Step 1: Find the Center of the Wall We started by finding the center of the wall behind the bed. From there, we measured out equal distances on both sides to ensure the feature would be symmetrical and well-balanced.
Step 2: Map It Out with a Laser Level Using a laser level, we created a straight line across the wall and continued the line seamlessly onto the ceiling. This ensured our design would have crisp, professional-looking edges.
Step 3: Measure and Tape the Ceiling From the wall line, we measured 40 inches into the ceiling to define the area for the colour block. Once measured, we taped across the ceiling to complete the shape.
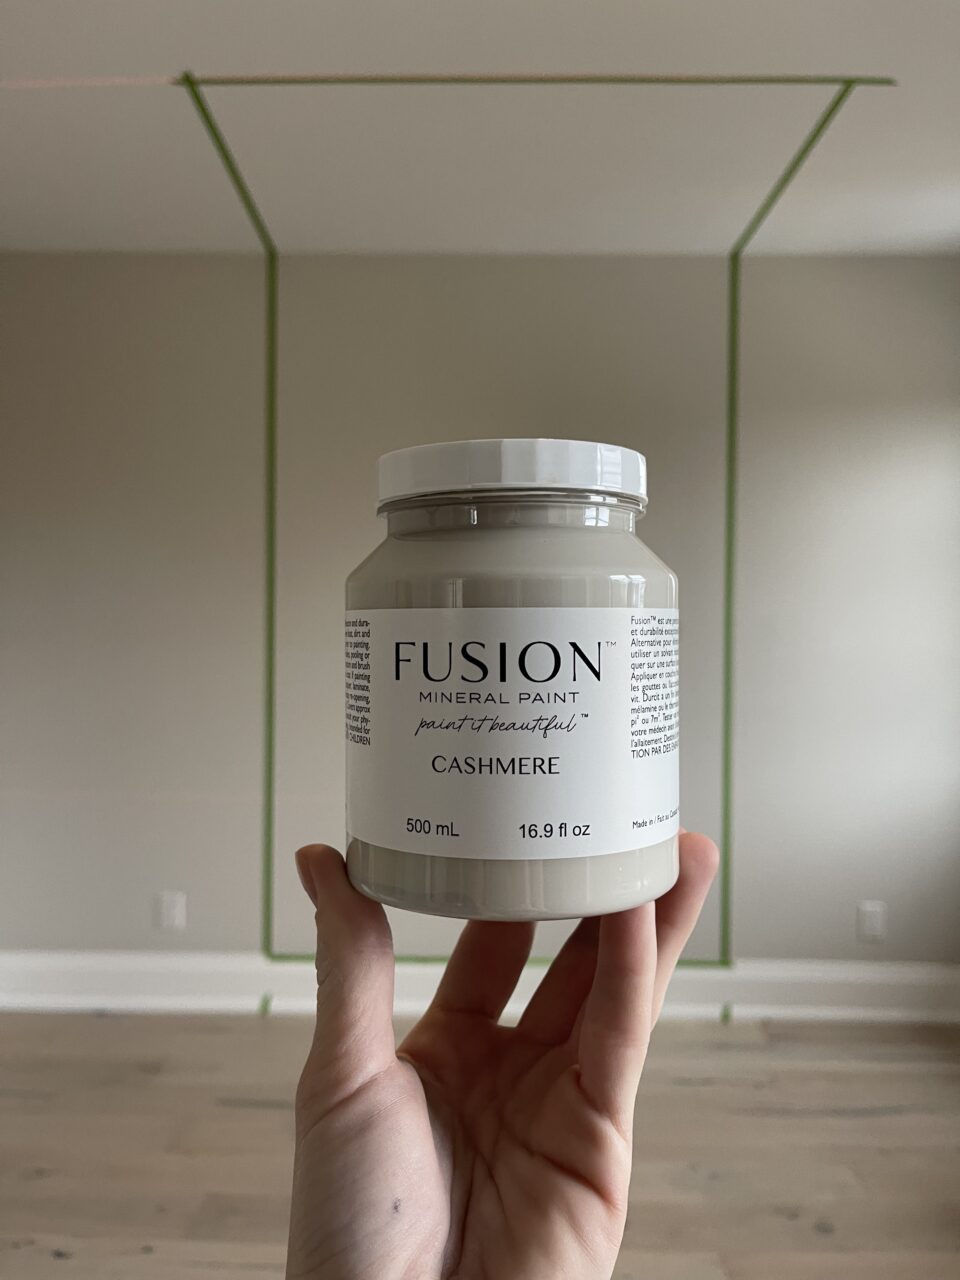
Step 4: Apply Frog Tape Next, we used Frog Tape to mask off the entire section, following the laser and ceiling lines for precision. Frog Tape ensures clean edges, which is key for any colour-blocking project.
Step 5: Paint the Section Using Fusion Mineral Paint’s Cashmere, we applied the paint with a Staalmeester Roller for smooth, even coverage. To get into the corners and edges of the ceiling, we used the 2” Decoration Spalter Brush, which gave us excellent control and a flawless finish. We only used 1 Pint of paint for full coverage!
Step 6: Remove the Tape While the paint was still slightly wet, we carefully removed the tape to reveal sharp, clean edges. This step is crucial for achieving that professional look!
And… Tada! The colour-blocking feature wall—and ceiling—is complete! It’s a simple yet impactful way to bring interest to a bedroom without needing a lot of time, money, or materials.
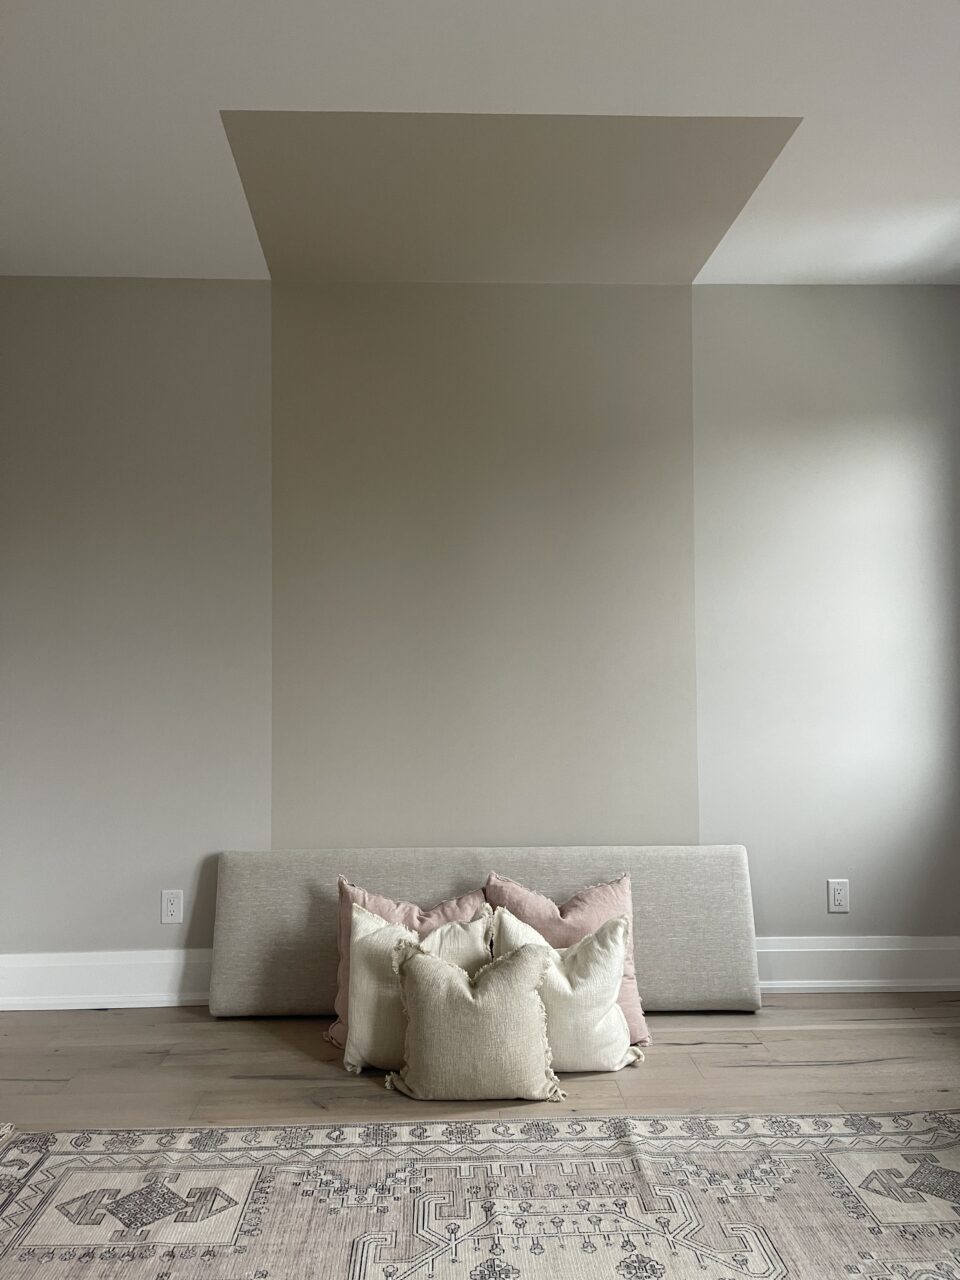
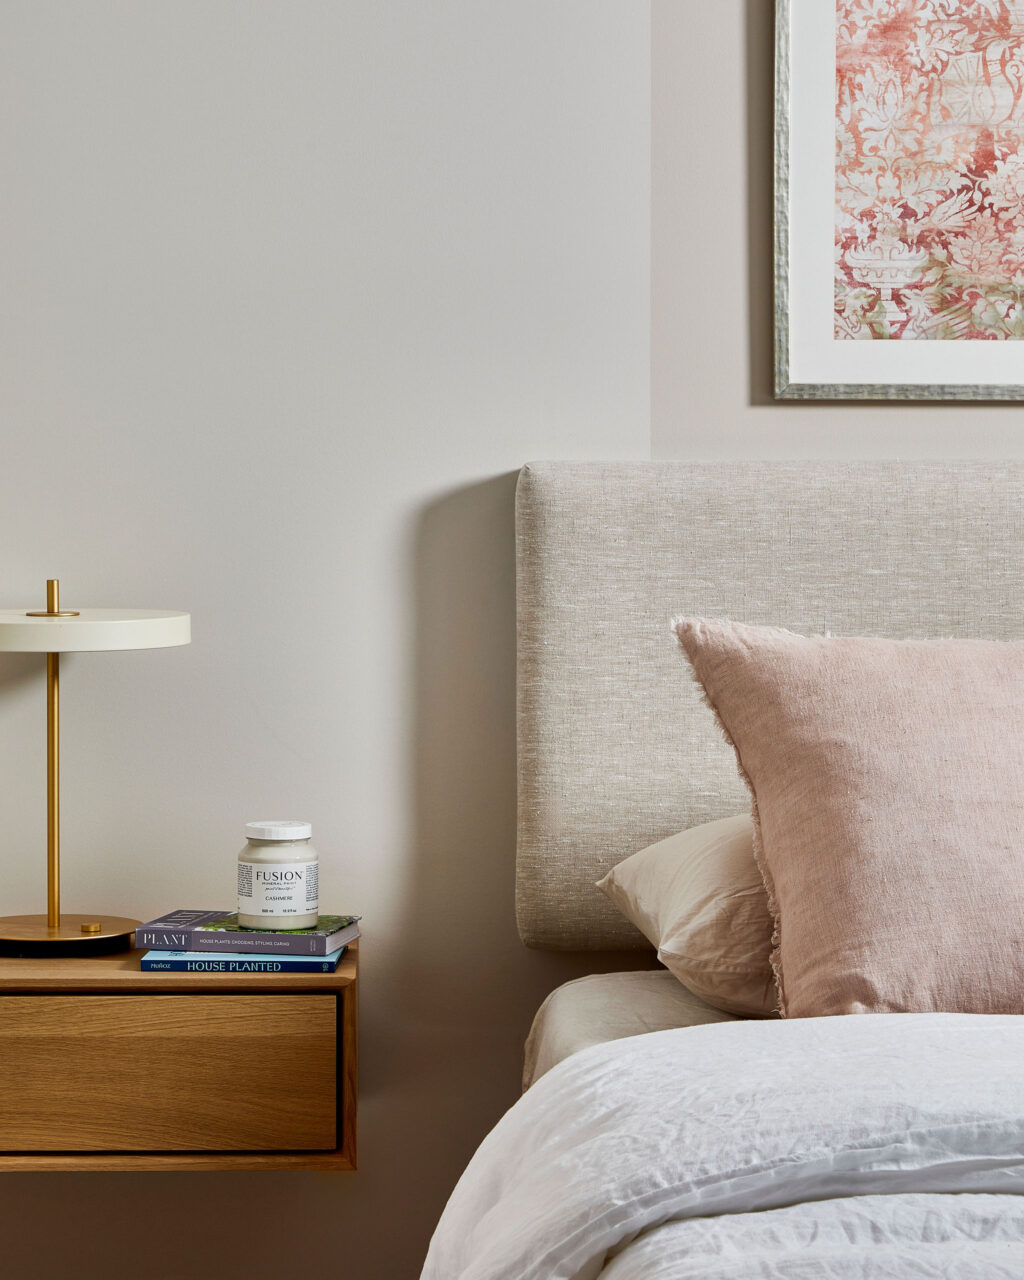
Designing the Rest of the Room
The feature wall was just the start of creating a cozy and functional guest retreat. Here’s what else we added.
Floating Shelves: Sleek and minimalist, these replace traditional nightstands and keep the room clutter-free.
Sitting Desk: Positioned under the large windows, the desk is perfect for writing, working, or journaling while enjoying natural light.
Layered Rugs: A soft rug under the bed adds warmth, while smaller rugs on each side anchor the space and provide comfort.

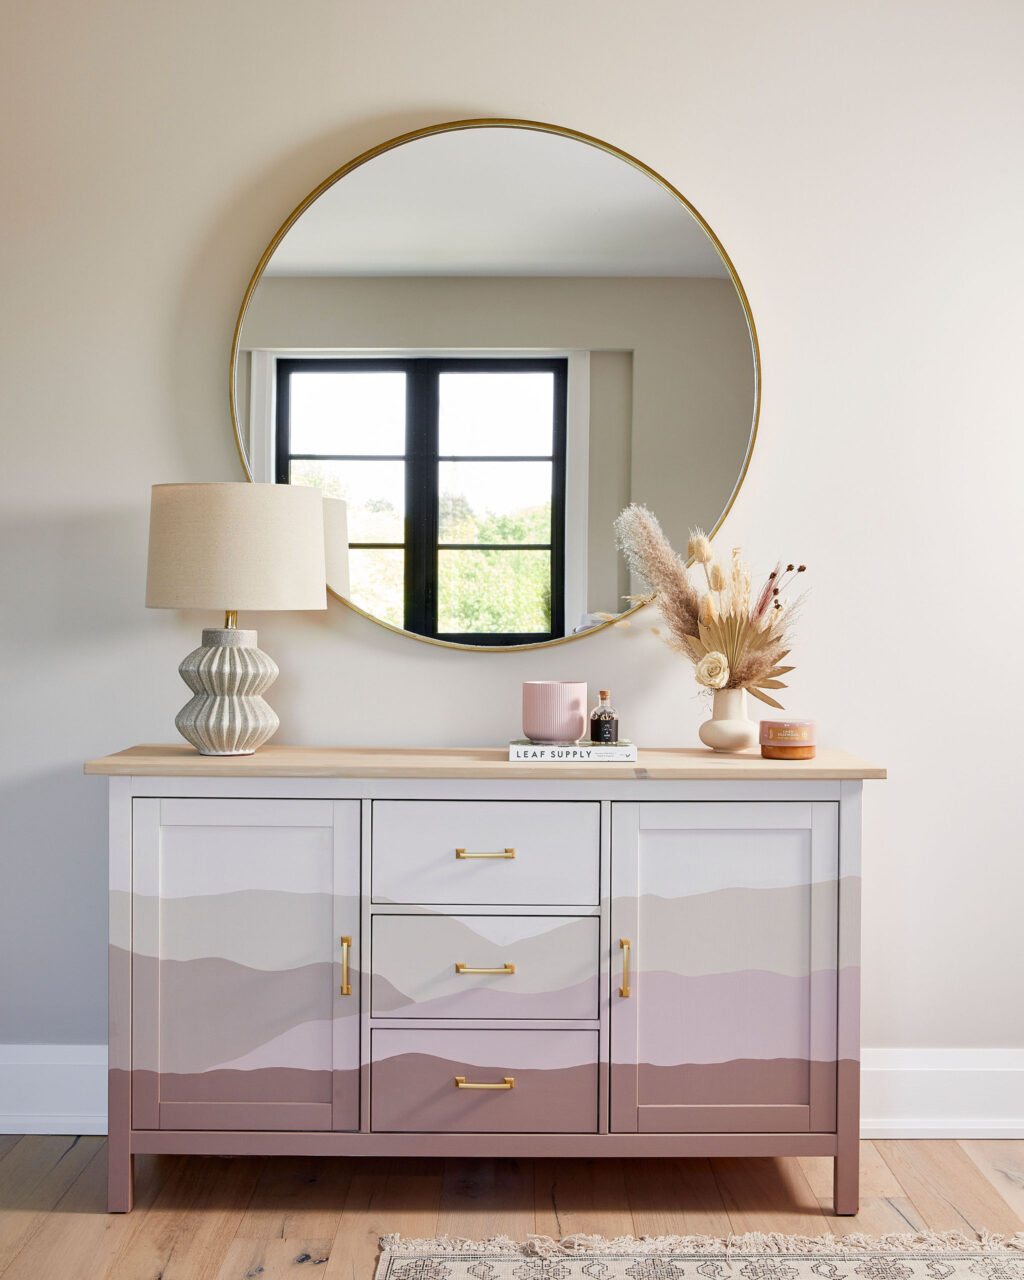
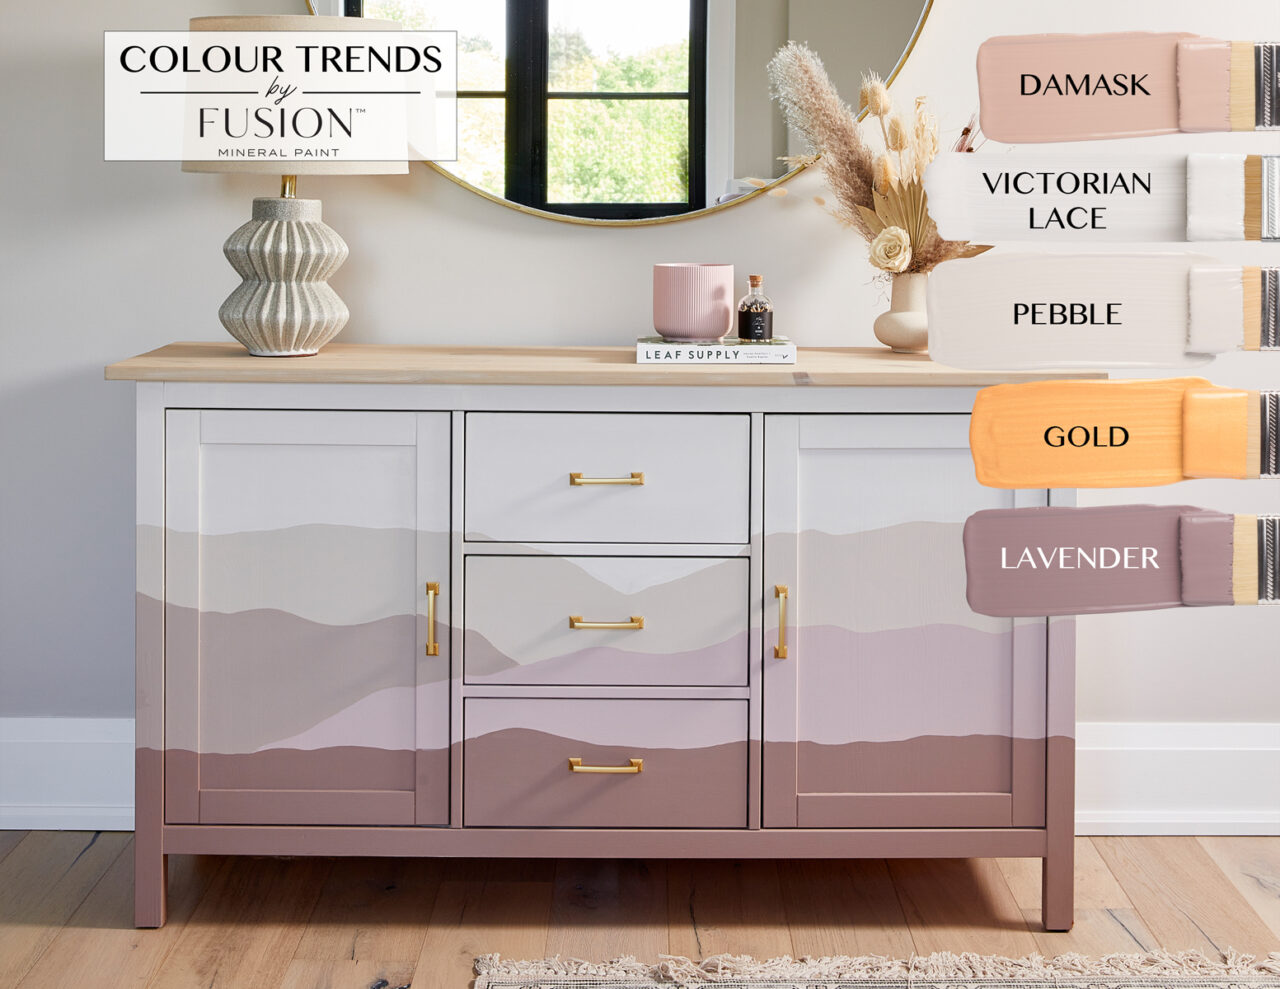
DIY Spotlight: The Painted IKEA Cabinet
To complement the wall, we transformed a basic IKEA cabinet into a stunning art piece. Inspired by mountain scapes, using Fusion Mineral Paint testers in multiple colours to create a layered design. We painted a base colour on the entire cabinet, and then using smaller brushes painted multiple colours. The top was sanded down and finished with a Liming Wax. This DIY project is easier than you think and adds a unique, artistic touch to the room.
More DIY Paint Ideas for Bedrooms
Looking for more ways to personalize your space? Try these easy projects:
- Painted Closet Doors: Transform plain doors by painting them in a complementary or bold colour. Add stencils or patterns for extra flair.
- DIY Wall Art: Use leftover paint to create custom art pieces. Even simple geometric designs can tie a room together.
- Custom Painted Lampshade: Add a pop of colour to a neutral lamp by painting the base or the shade with Fusion Mineral Paint.
Why Tone-on-Tone Colour Blocking Works
This project demonstrates how colour can transform a room. The tone-on-tone palette feels sophisticated yet calming, while the feature wall adds a creative, unexpected element. By carrying the paint onto the ceiling, the room gains a sense of height and dimension.
With a few inexpensive materials and a little creativity, you can turn any room into a harmonious and inviting retreat. Stay tuned as I continue to share how I’ve used colour and design throughout my Niagara home to tell a story in every space.