Just before we launched our new colour collection we reached out to some influencers in the UK and asked them to paint it beautiful. Let us introduce Sarah from Home Revival in the UK
Working with vintage worn and weathered furniture
Follow along to see the beautiful new colour on a decoupage desk.
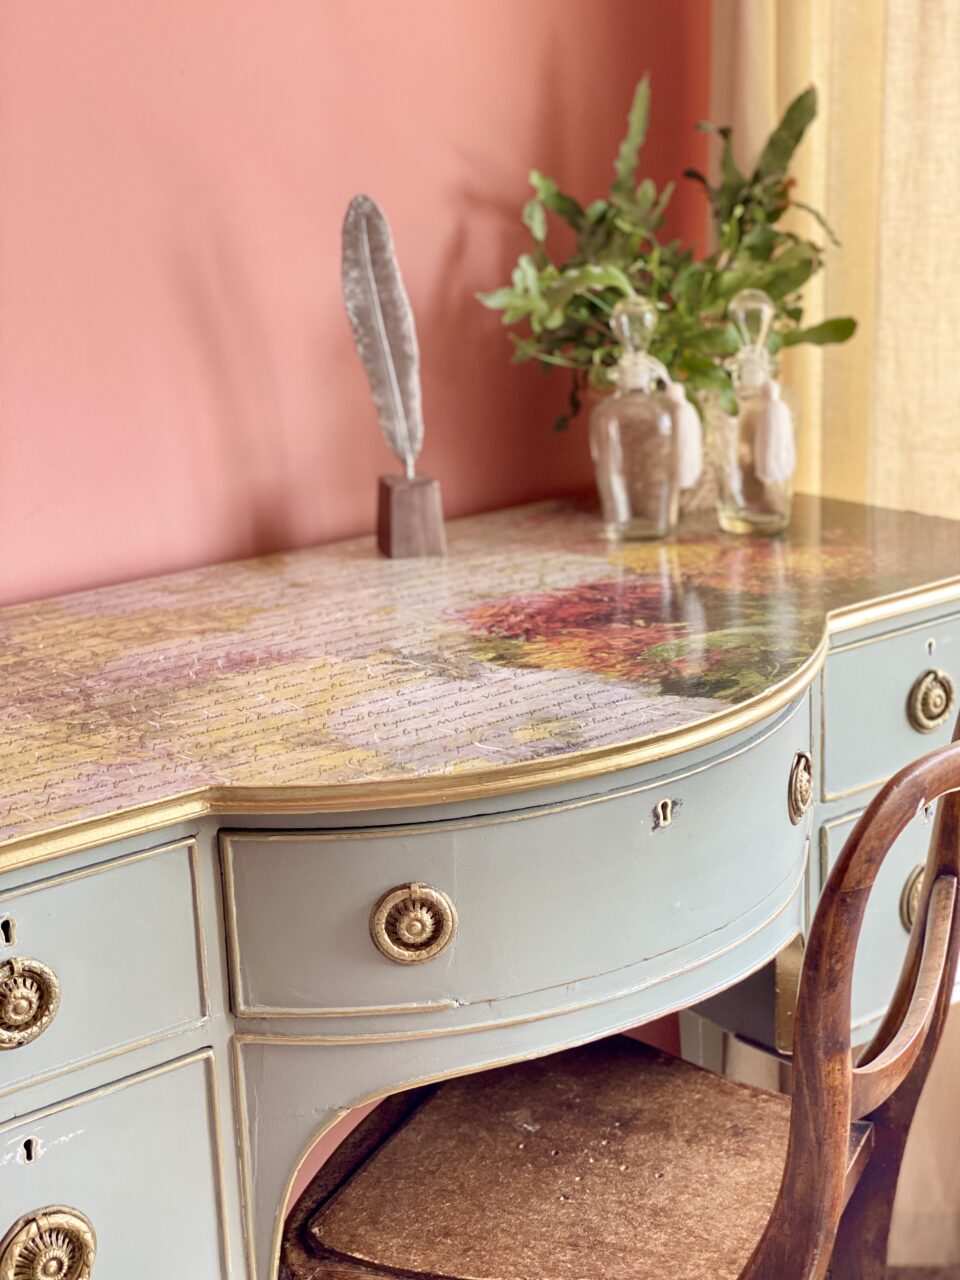
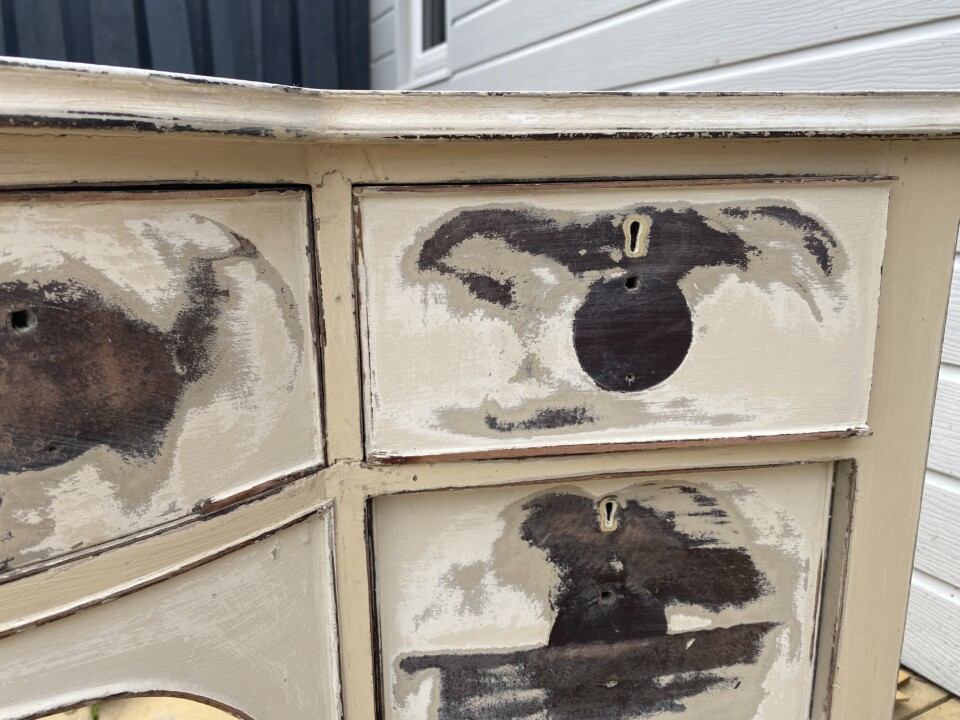
Having some lovely old pieces to work on can be a dilemma! Do you fill and sand every nick bump and bruise or do you leave the time-worn weathered age of the piece? There isn’t a simple answer, the look you are going for will determine if you need to take some extra steps or not. This piece was a dressing table and has been well-loved. It has age and history and we didn’t want to lose that. Not on this piece, it is Circa 1800 after all.
Prepping a painted piece
Prep for painted furniture is simple, clean it well and if it has a sheen, give it a scuff sand. The paint was matte on the desk but had some peeling paint on the top from cosmetics and face creams etc, it was a mess. The top got a good sanding and the body had a really good clean with TSP Alternative.
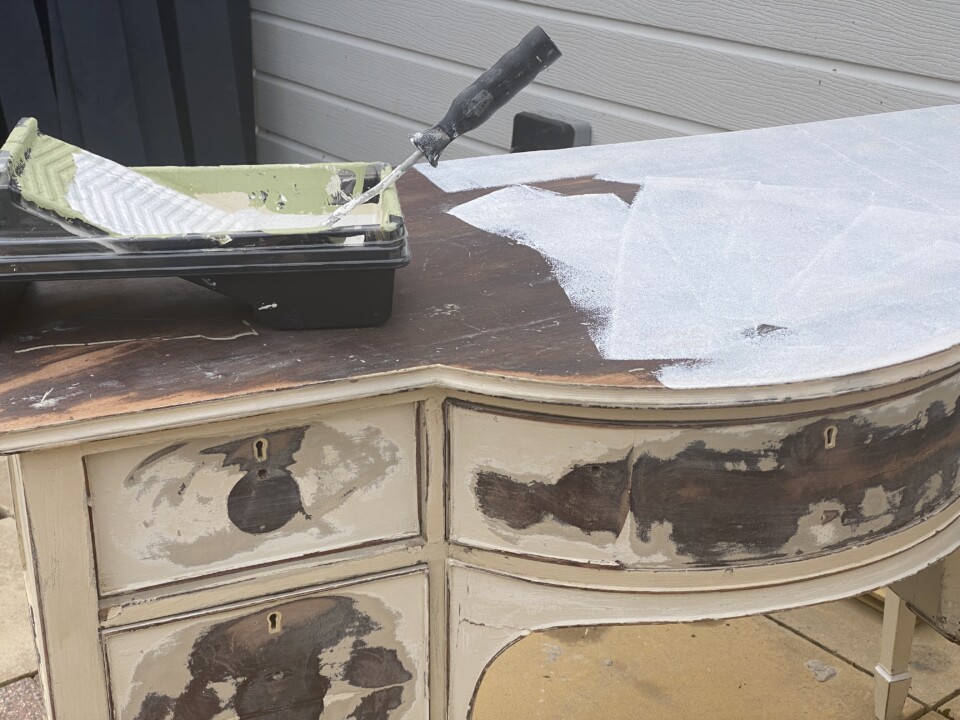
The top was dark so a coat of Casement was added before the coat of Bellwood.
The Vintage look
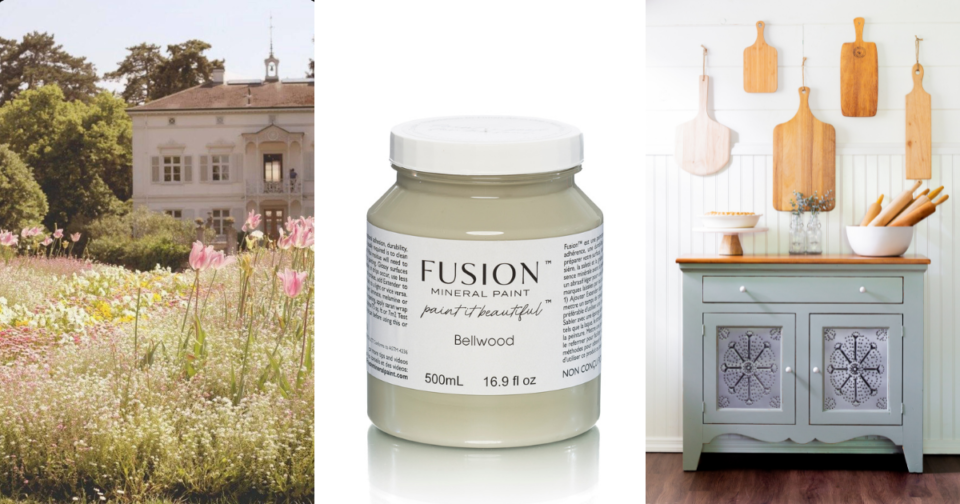
Keeping the vintage charm of this pretty desk we decided to paint and distress it a little after. A roller and a couple of different-sized brushes were used to give it 2 coats of the fabulous new colour Bellwood from Fusions’ new colour collection.
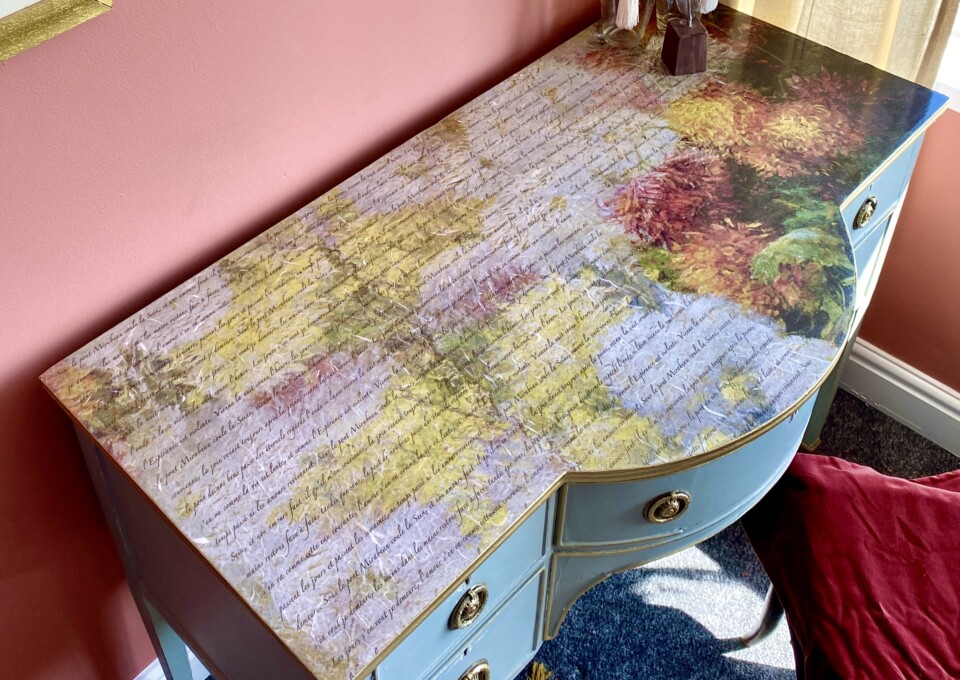
Decoupage desk
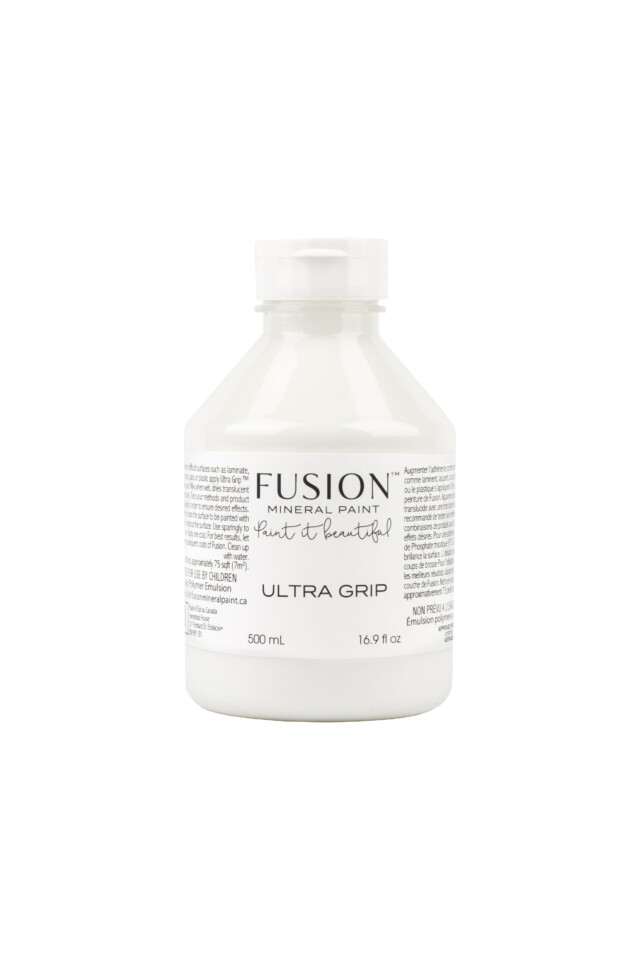
Ultra Grip was applied with a roller to the top of the desk and left overnight to dry. It needs drying time to do its magic so don’t cheat on that. The decoupage paper was laid on top and using a greaseproof piece of paper a hot iron was used to reactivate the Ultra Grip. The heat (no steam) reactivates the Ultra Grip which grabs the decoupage and you get an excellent bond. The decoupage paper is stuck to the top of the desk without any wrinkles or bubbles. The perfect decoupage desk
Click here to watch the video process of using Ultra Grip for Decoupage
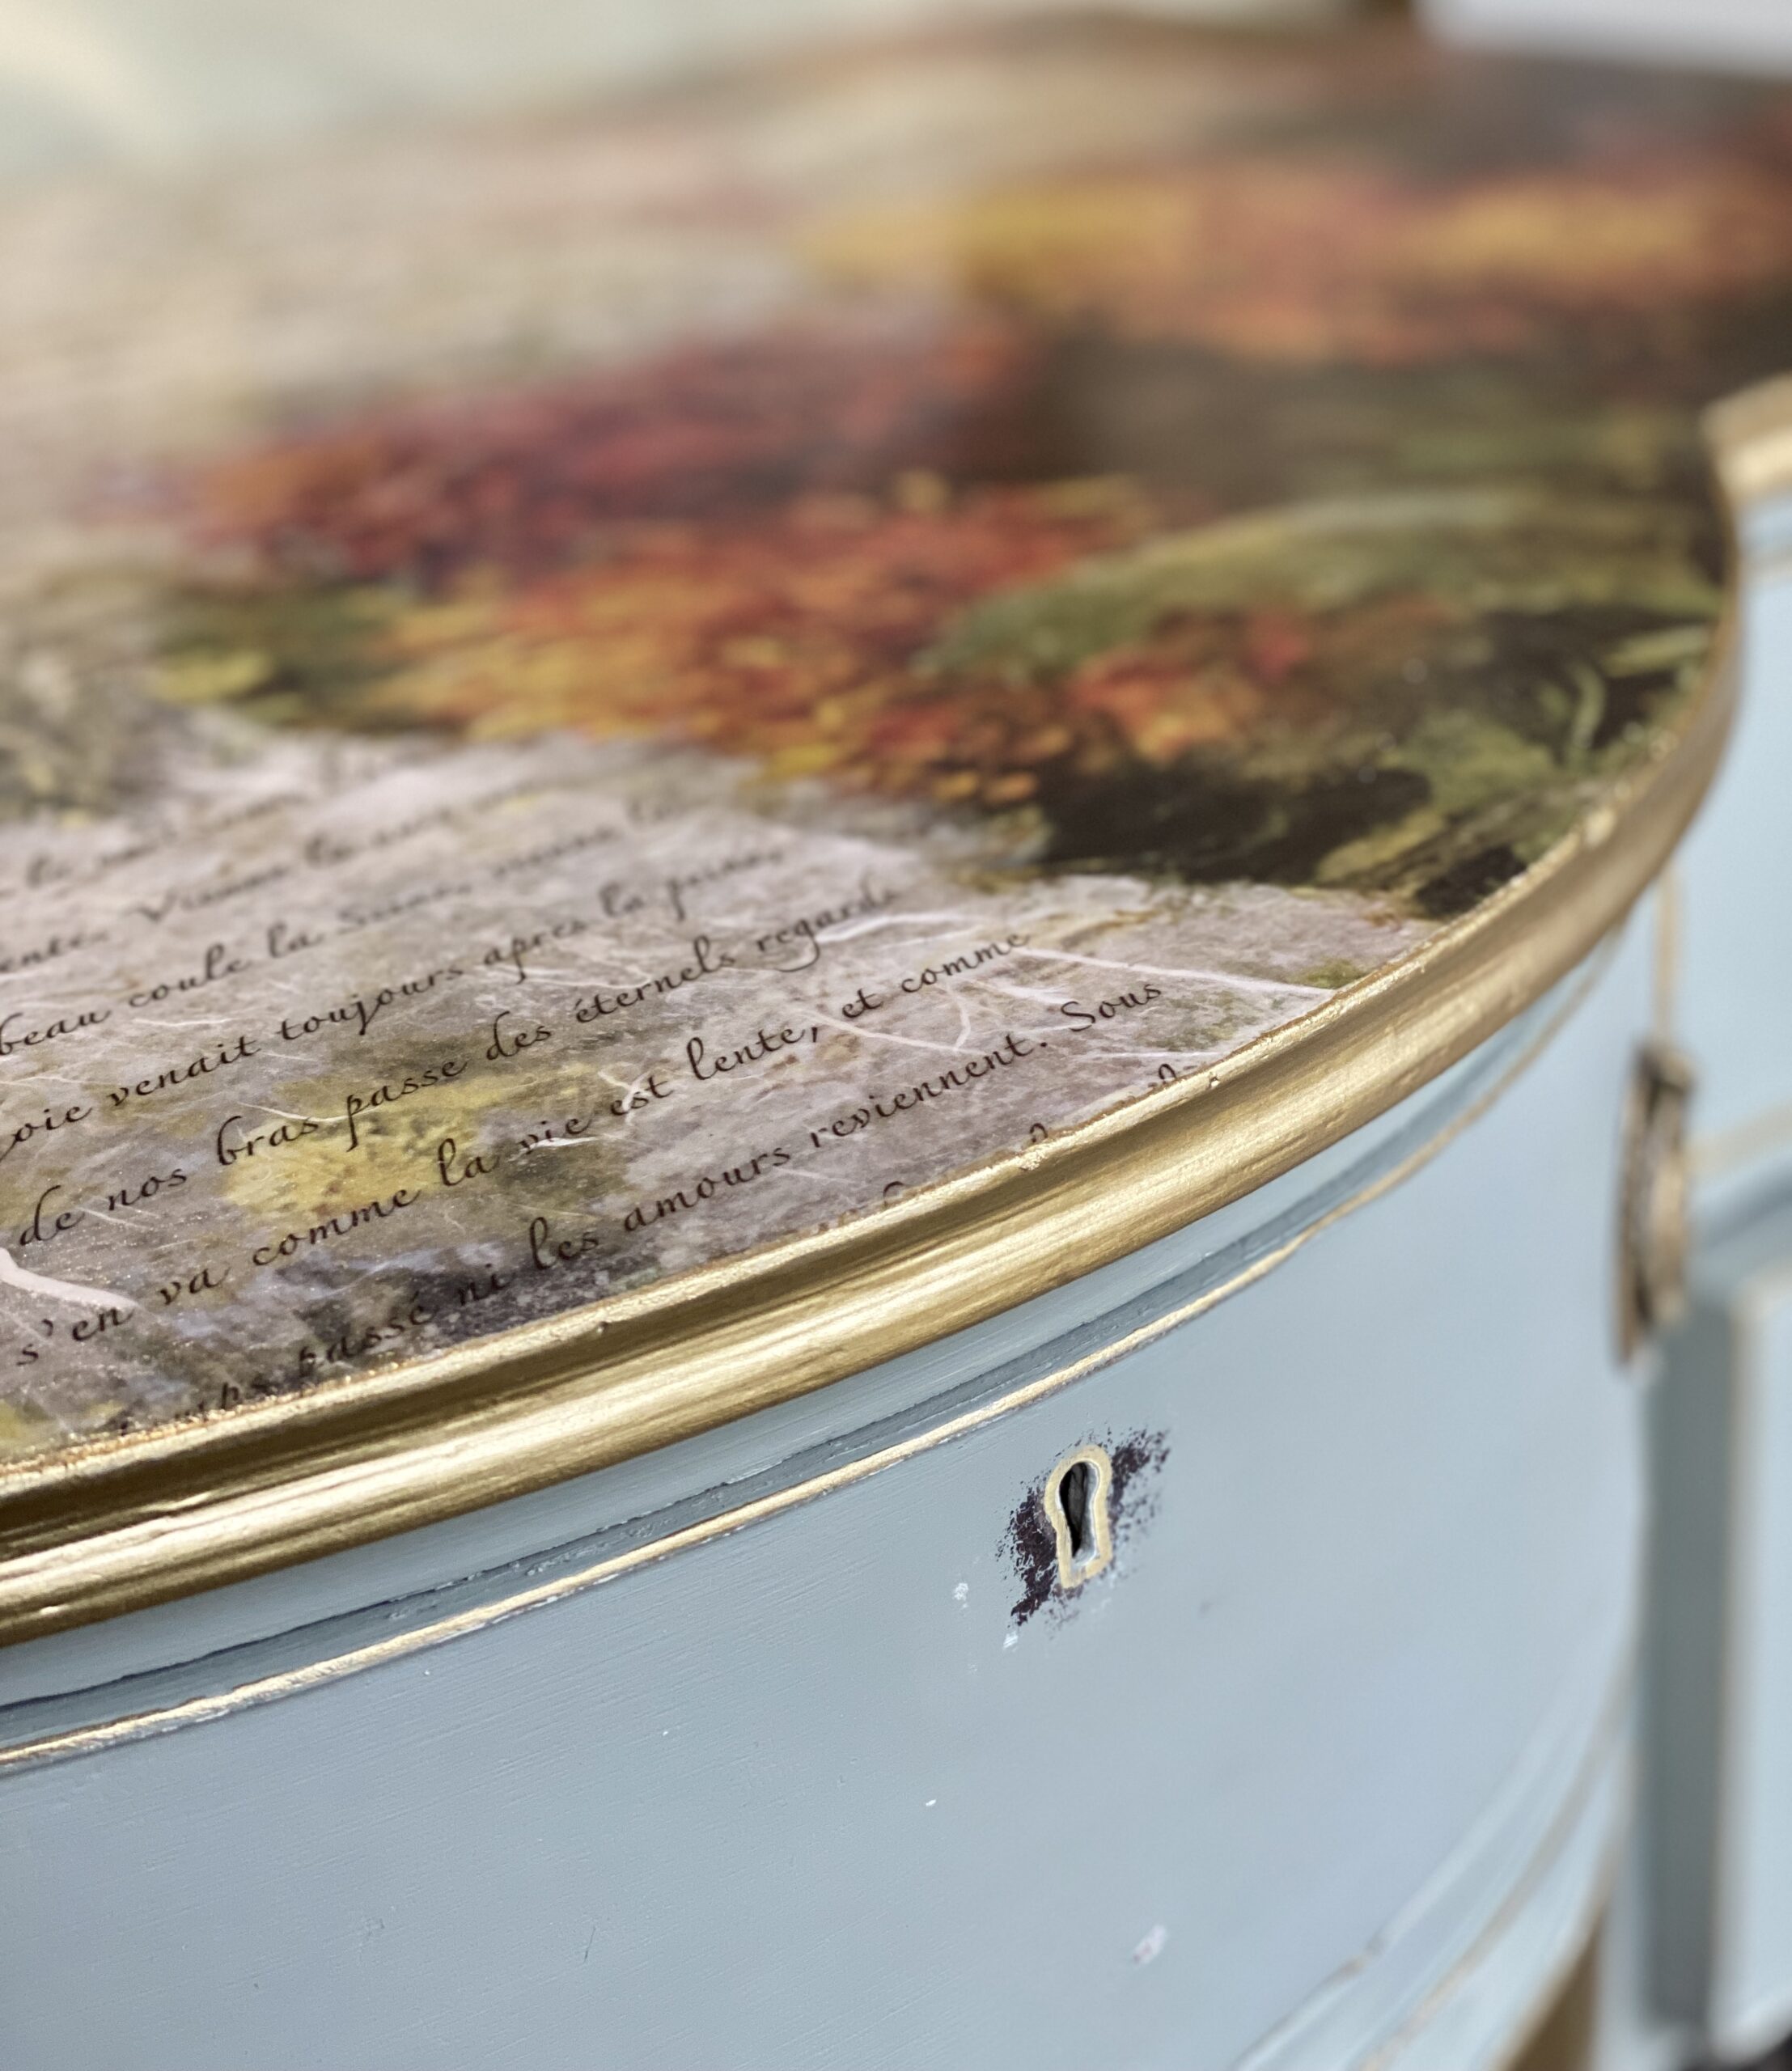
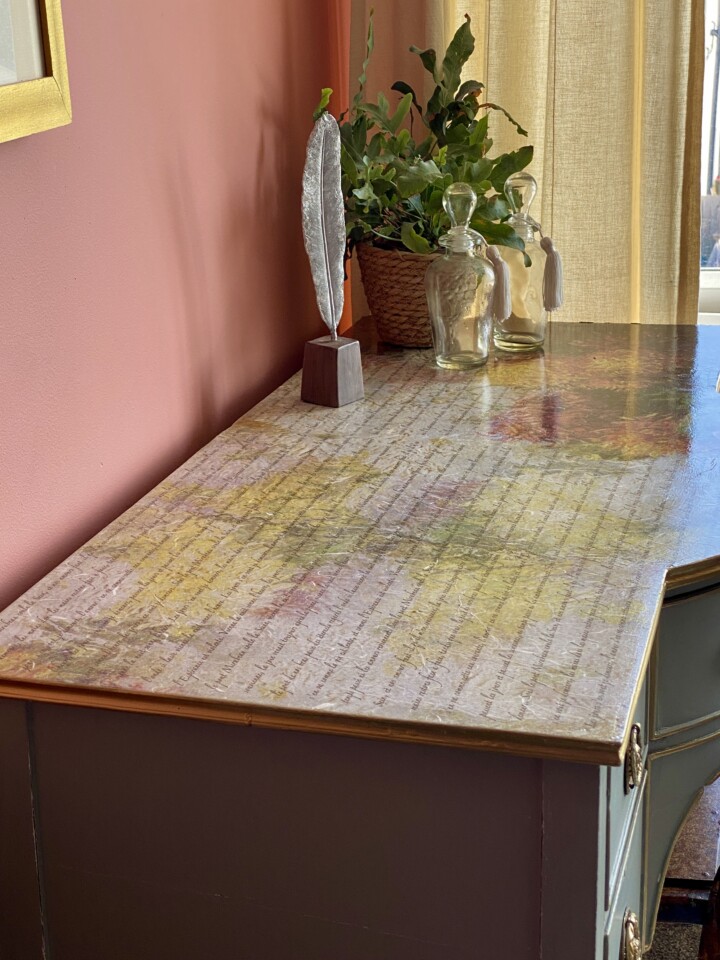
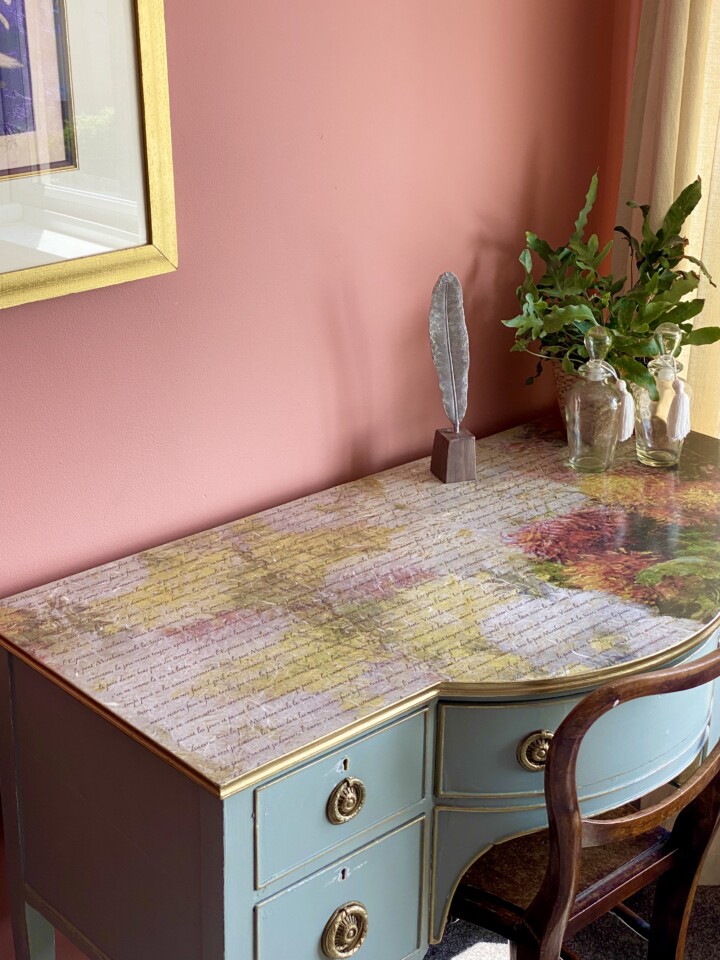
We sanded off the edges to leave a perfectly flat smooth surface. We applied another decoupage paper in the same way over the top of the first. A script-style paper, very apt for a desk!
Distressing for an aged look
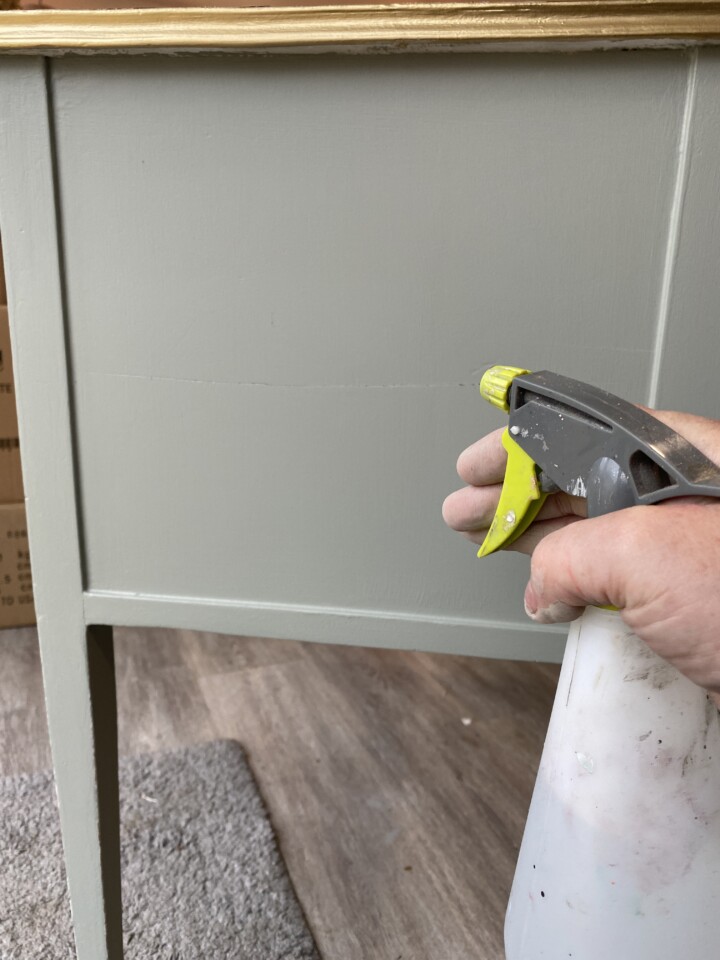
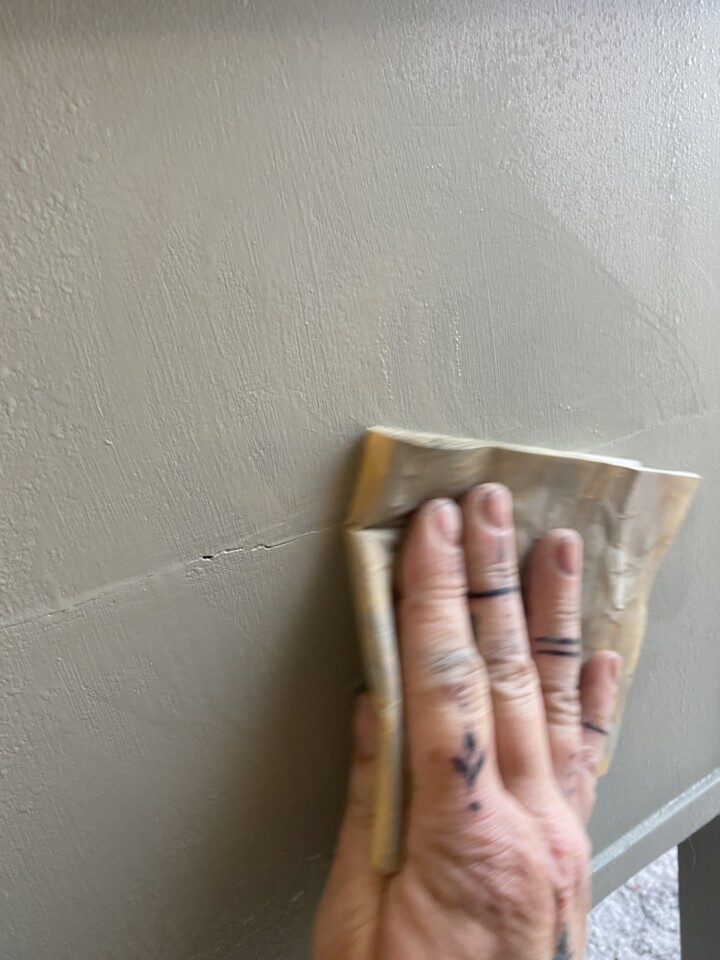
We used a wet sanding method to ensure there were no sanding marks and to leave a smooth buttery feel. If you haven’t tried this method yet, you are missing out!
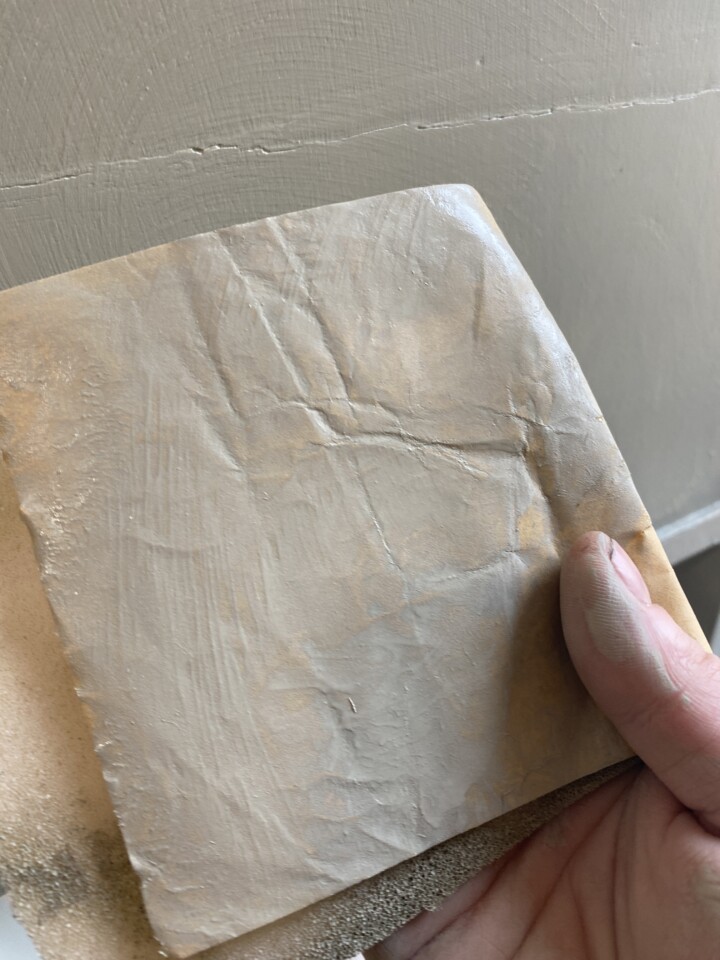
We sprayed the surface lightly with water and a soft grit sanding sponge was used in a circular motion. Wipe away the sludgy mess and viola! The perfect method for aging and distressing.
Highlighting Imperfections
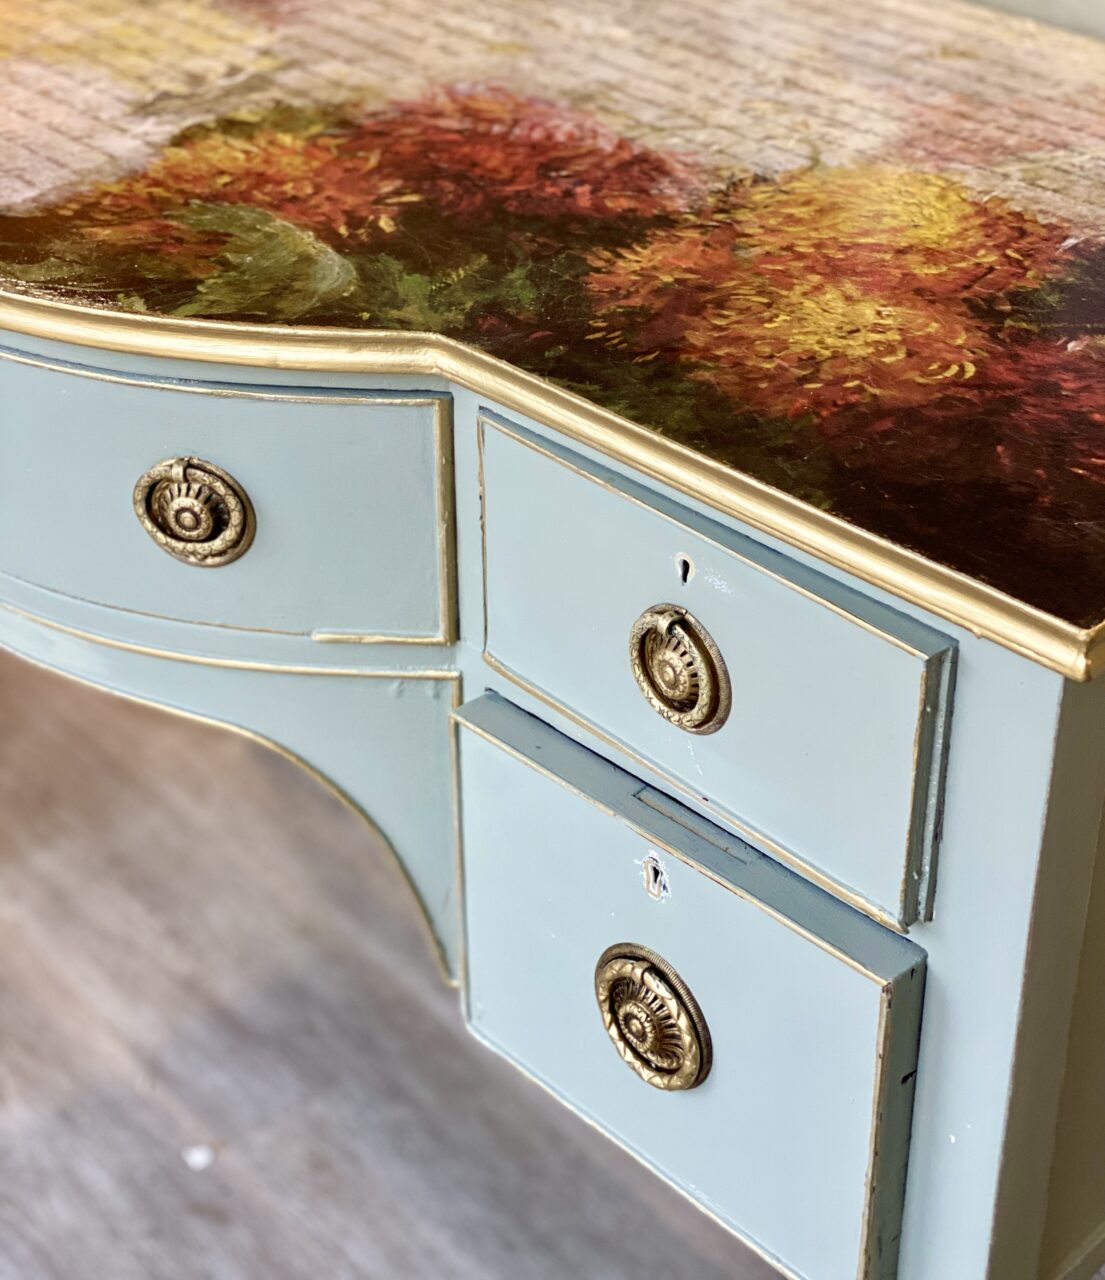
The distressing was in the places the paint had naturally worn previously. Generally, this helps it look authentic. The dings and dents were also sanded to reveal older paint or a little wood peeking through.
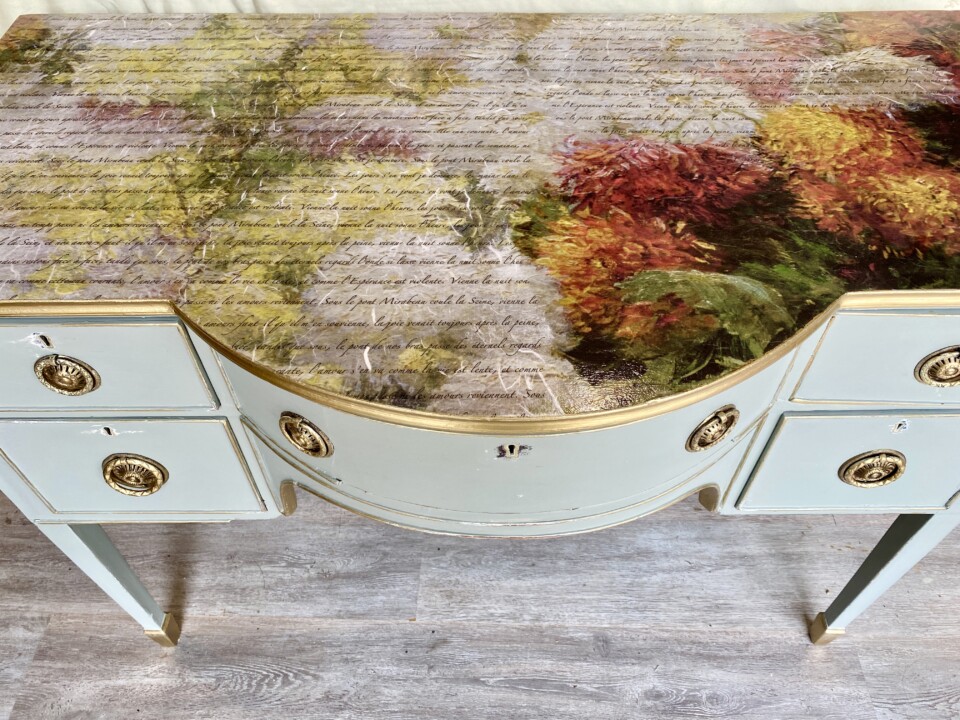
The Gold metallic paint made with Posh Chalk Metallic pigments added a little touch of glam to the recessed trim on the top and to the feet.. because why not? We then cleaned up the hardware and added a little aging wax to take the sheen back a little and added some patina.
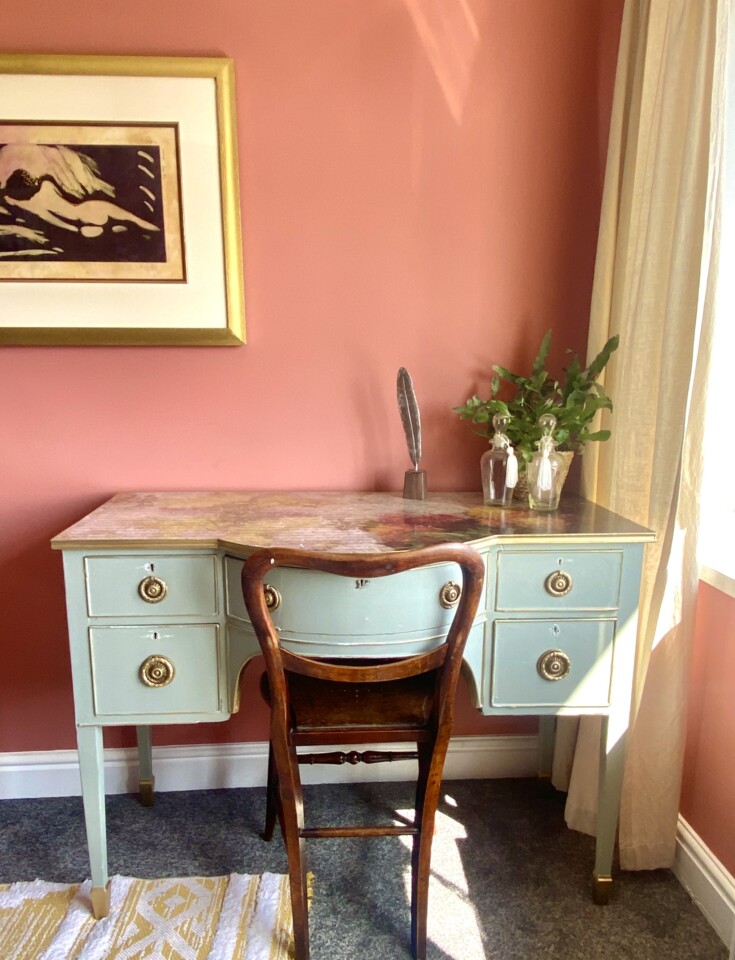
The decoupaged papered top had 2 coats of Glossy Tough Coat for protection and a luscious sheen over the top of the decoupage desktop.
Bringing an old desk back to life
This is the perfect example that not all painted furniture has to look brand new. Sometimes you just need to embrace the imperfections! Highlight that broken trim or cracked wood and fall in love with the patina of your antique refreshed furniture. Markedly, it really is perfectly imperfect on this decoupaged desk.
You can see more Fusion makeovers over on Sarah’s blog www.homerevivalinteriors.co.uk
List of supplies
- Sanding sponge
- TSP Alternative
- Rags
- Water mister/bottle
- Bellwood Fusion Mineral Paint
- Ultra Grip
- Posh Chalk Deluxe Decoupage Papers & Pigment
- Fusion Glossy Tough Coat
Lastly, check our YouTube channel for lots of tips, tricks, and tutorials using Fusion Mineral Paint


