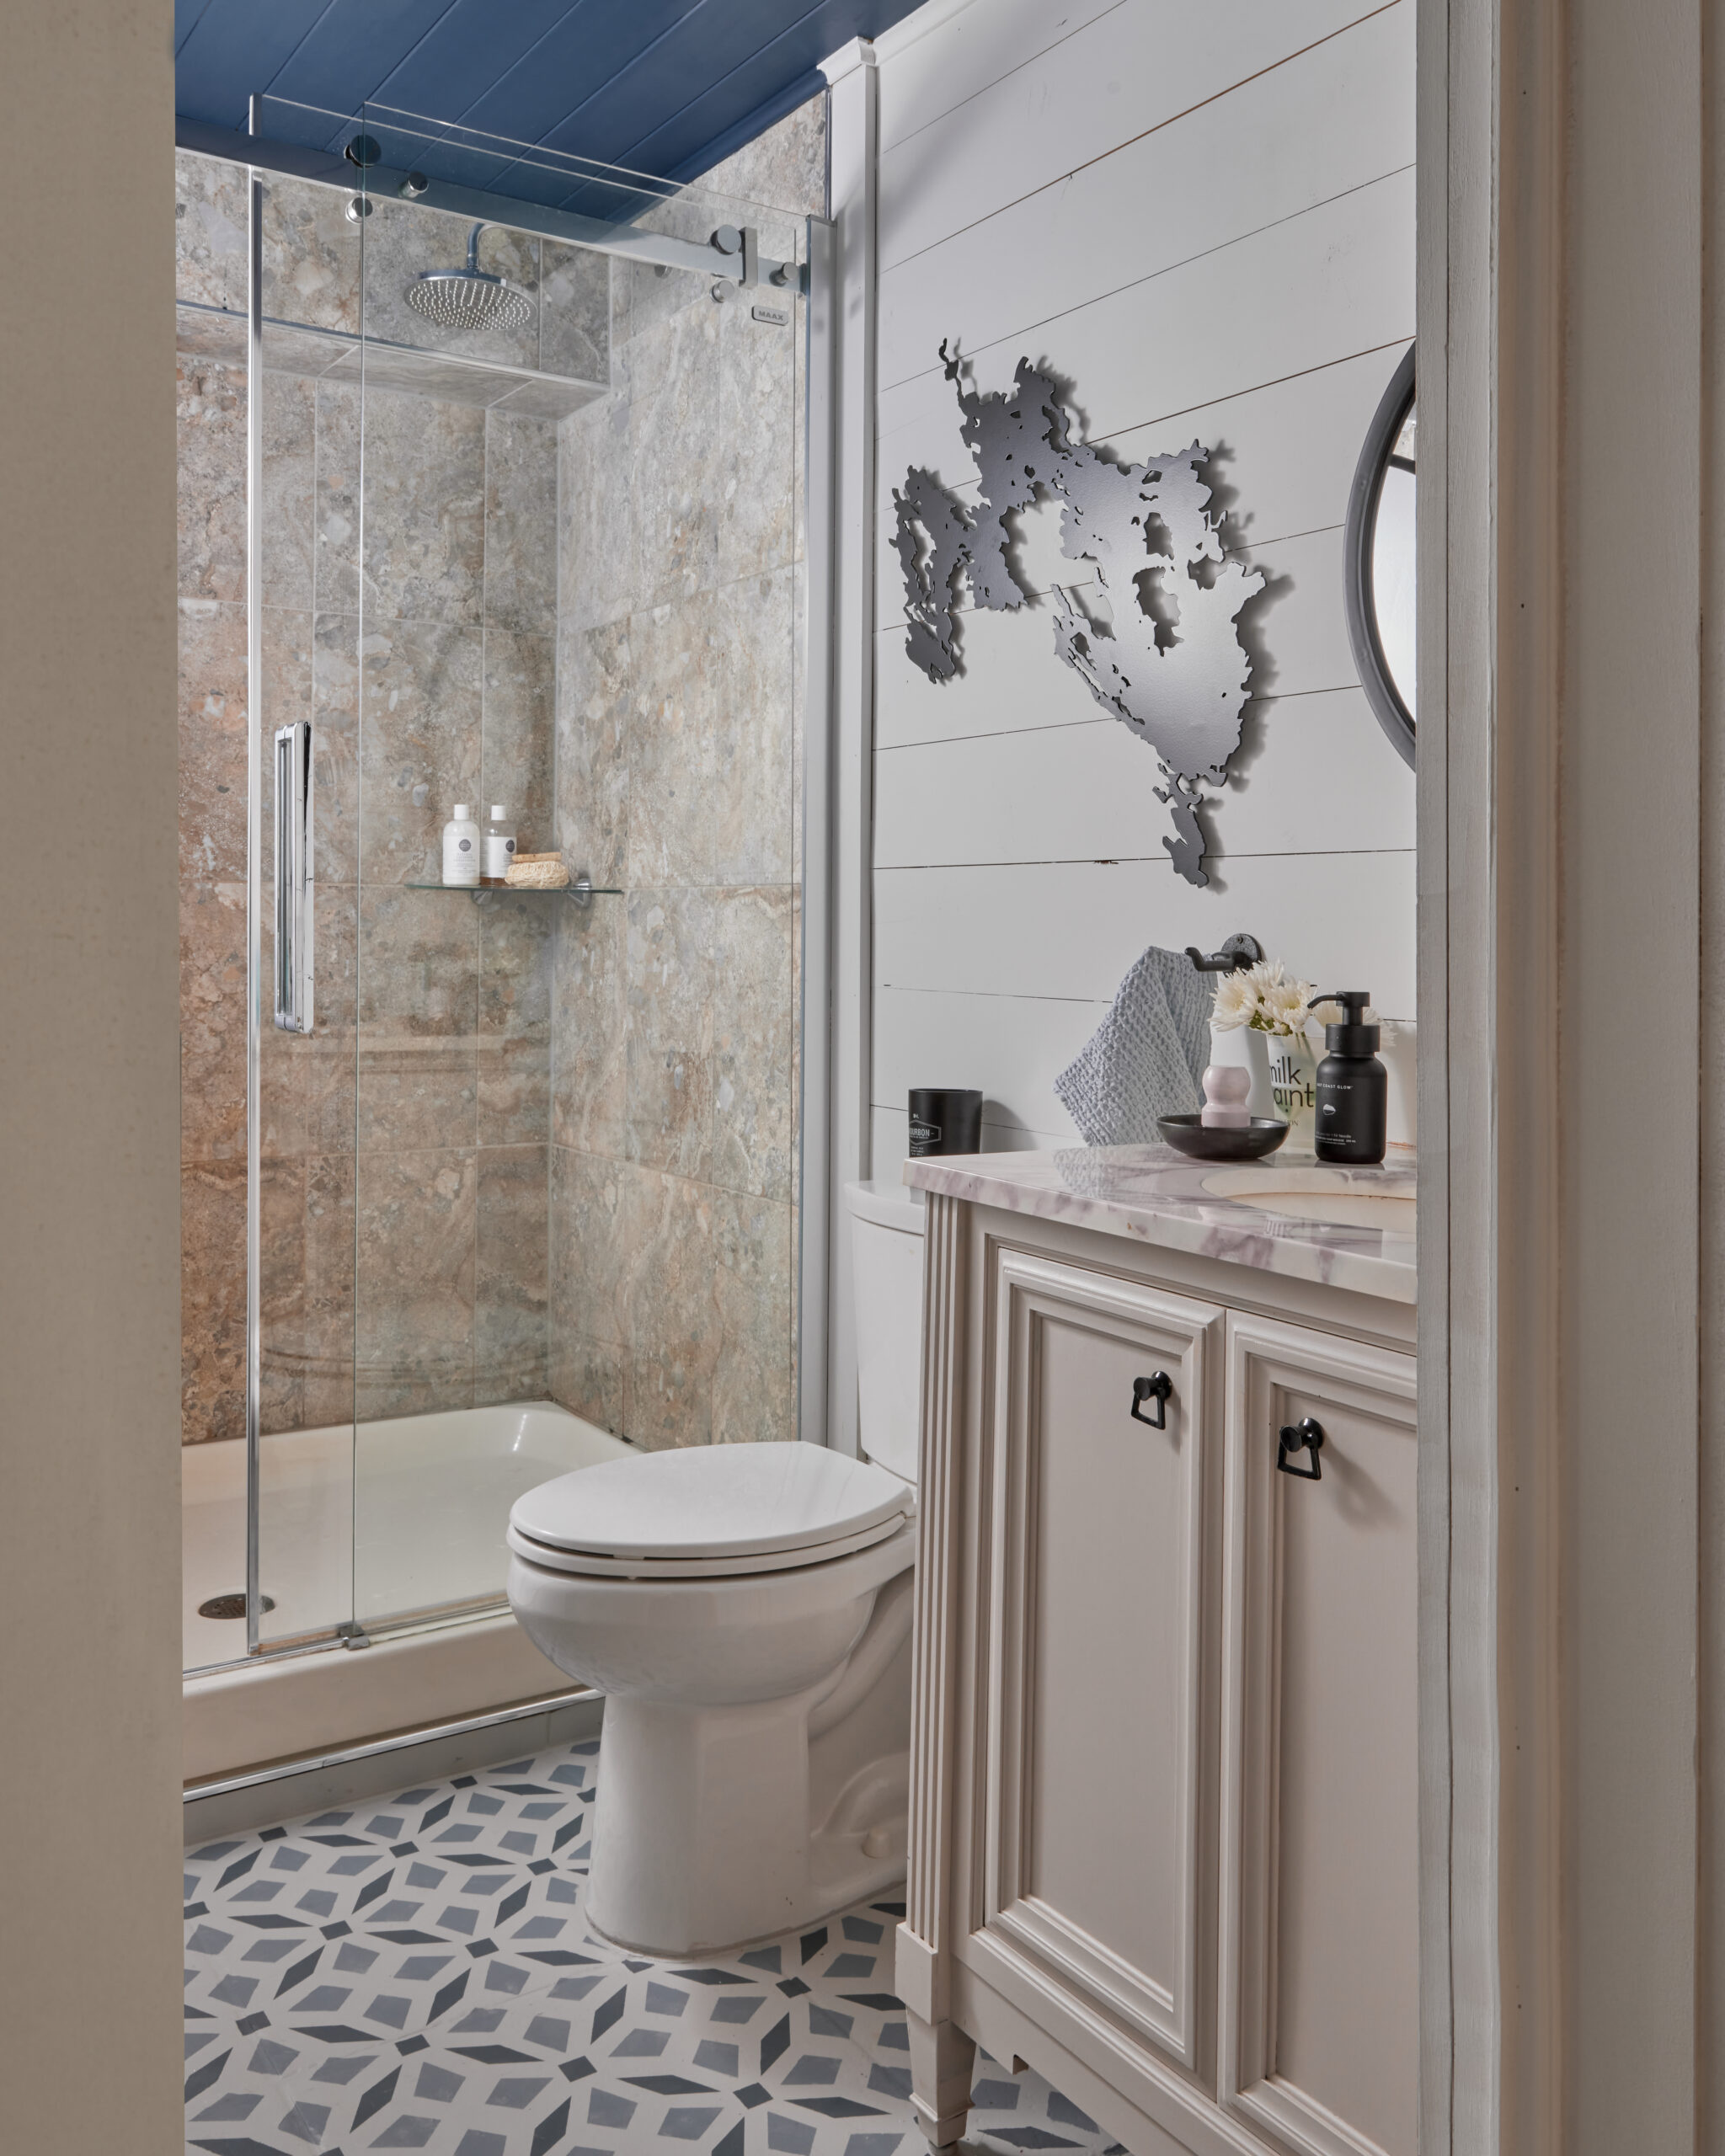
This is by far my favourite transformation in this cottage series. It really shows off the power of paint! And best of all anyone can do it. I’m going to walk you through every step of this cottage bathroom makeover so that you can do this in your home too!
Bathrooms are typically the most expensive renovation per square foot in your home other than the kitchen. Replacing your vanity or ripping up and replacing your tiles can cost thousands of dollars. I’m going to show you how with a little bit of paint, you can completely transform the look into something brand new. So, follow along as I take this…
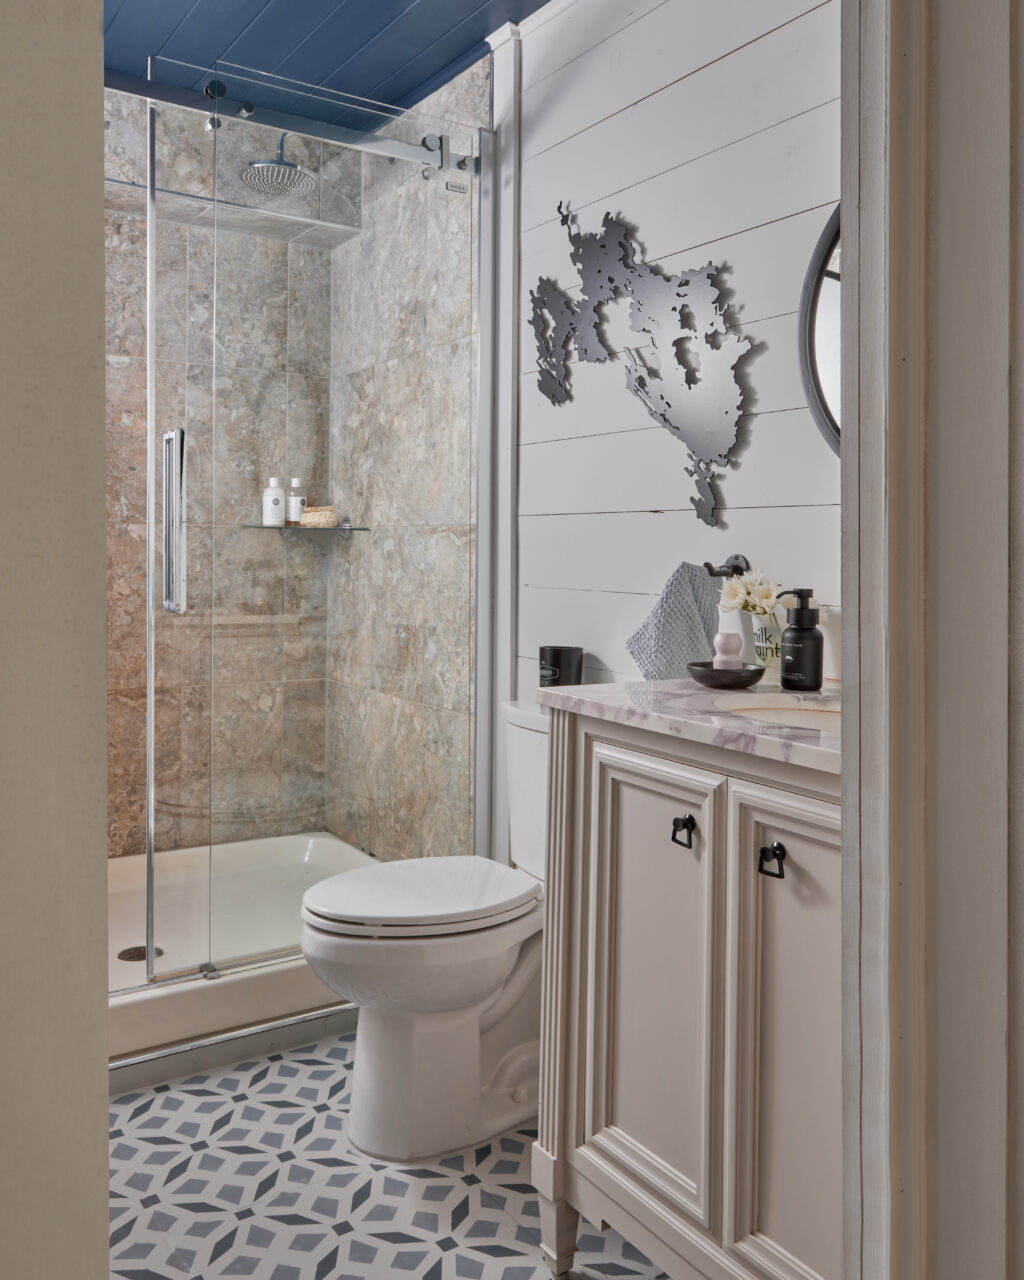
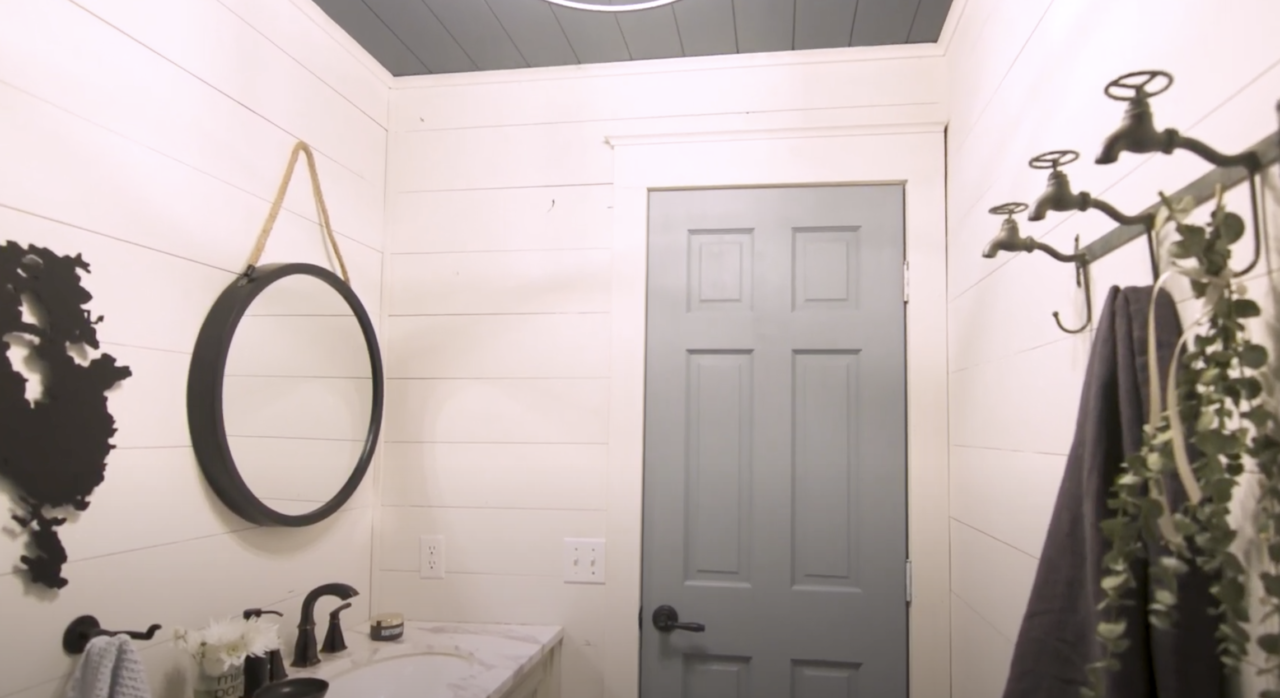
to this!!
The original decor was bland, with bare pine walls and overall a bit boring. Deeply stained pine walls, a dark vanity with a matching mirror and my least favourite part the old beige tile flooring. It just felt so heavy and outdated. Instead of an oasis of calm and beauty where I could go to bathe and rejuvenate, the dull atmosphere had the opposite effect on me.
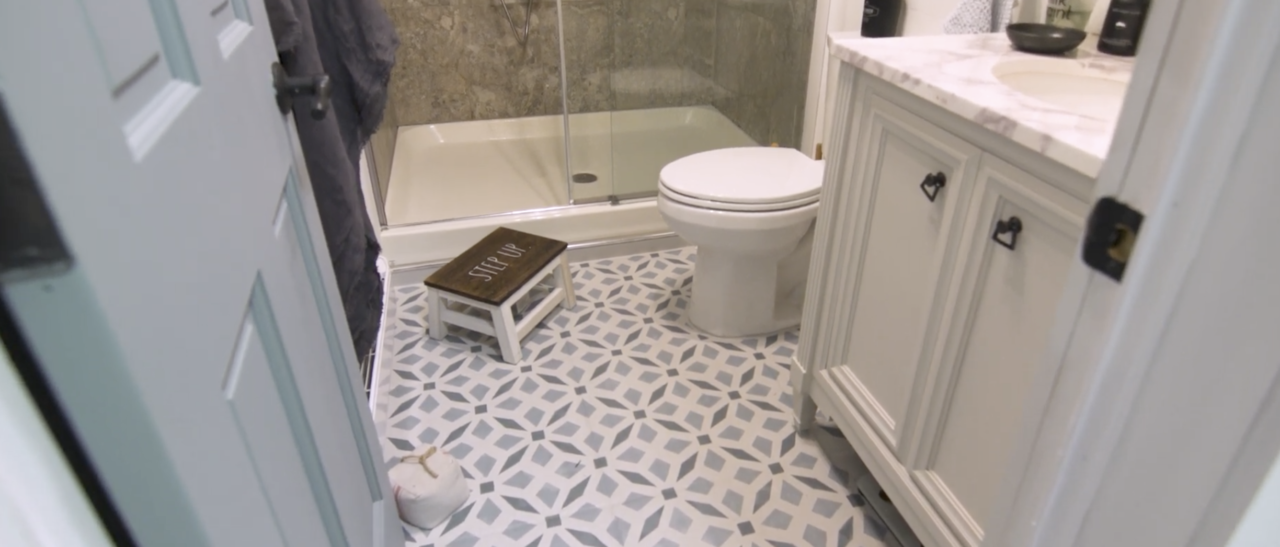
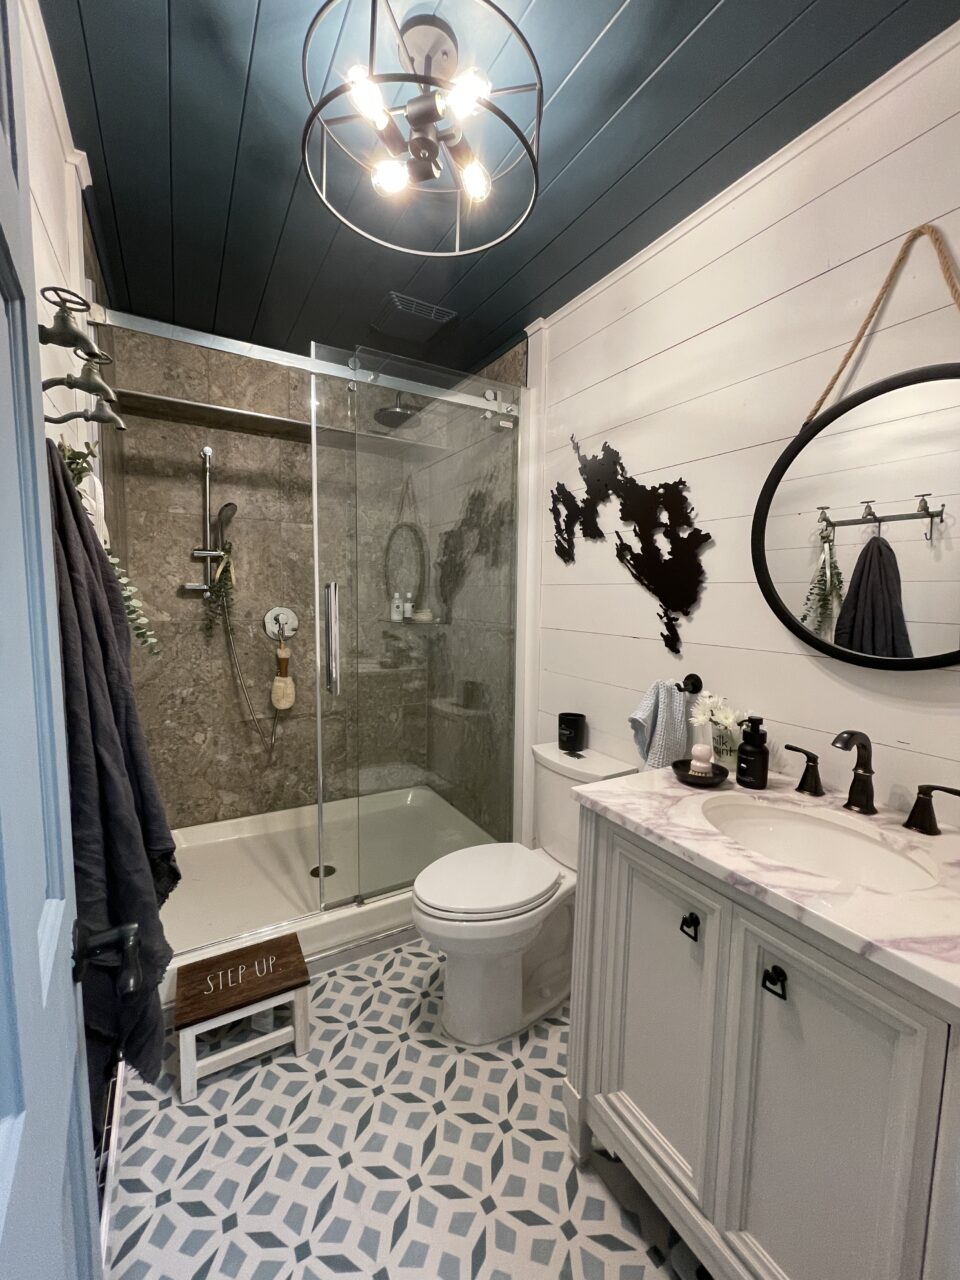
I decided to paint virtually everything in this bathroom, with the exception of the shower tiles. I painted the vanity, the door, the walls, the floor tiles — and even went one step further by painting the ceiling. This is such a fun and unexpected accent and a great way to add more colour!
The Theme
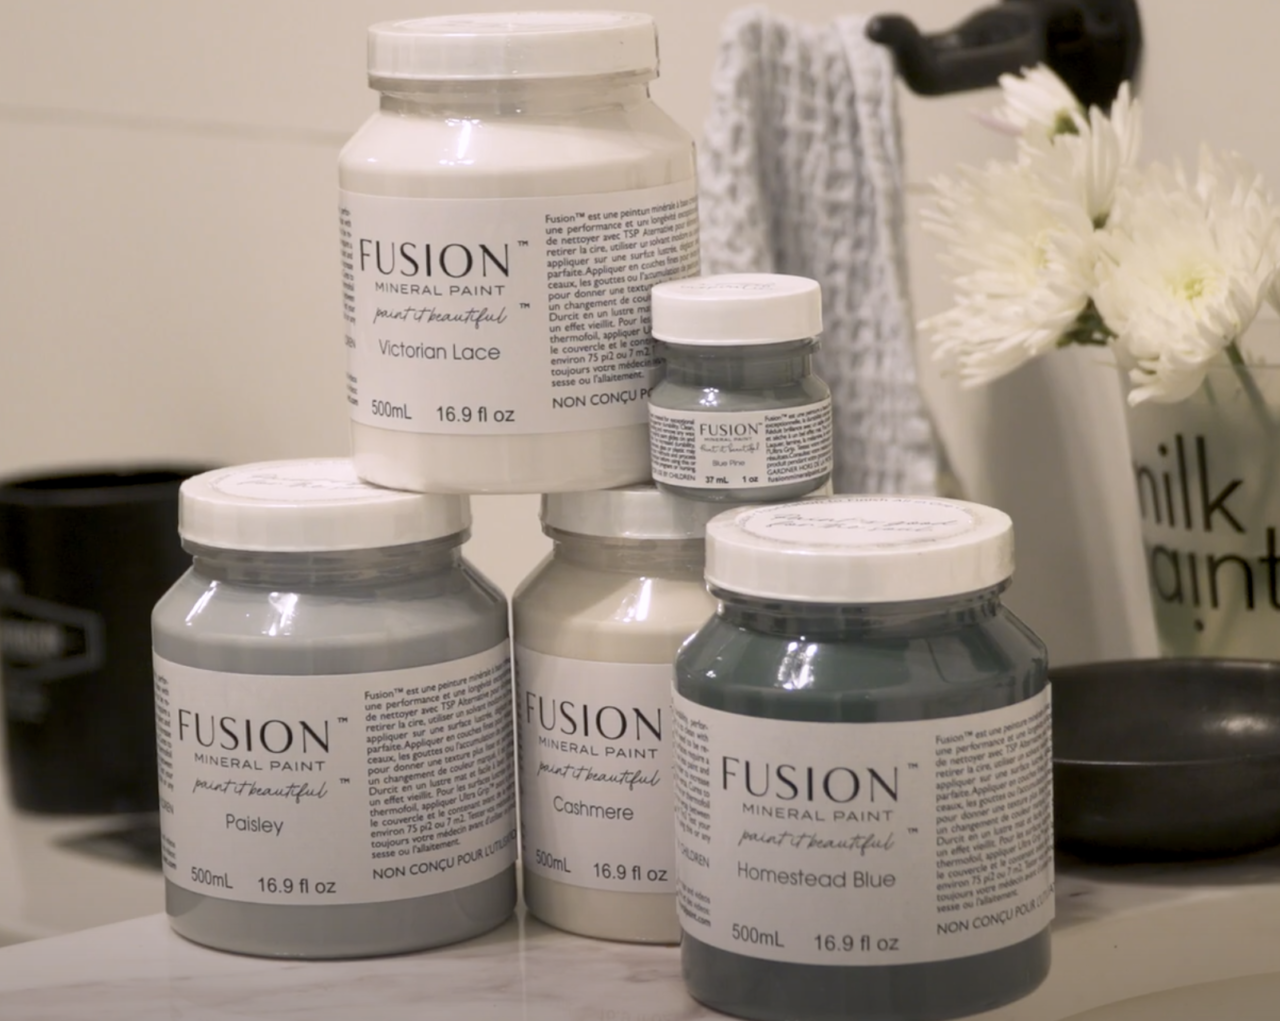
For the colour theme for this cottage bathroom makeover, I wanted to stick with blues. When picking a theme I try and pick one main colour. I suggest that you pick variations of tones of the same colour and then off-set it with neutral colours like whites and off whites.
The Tile Floor
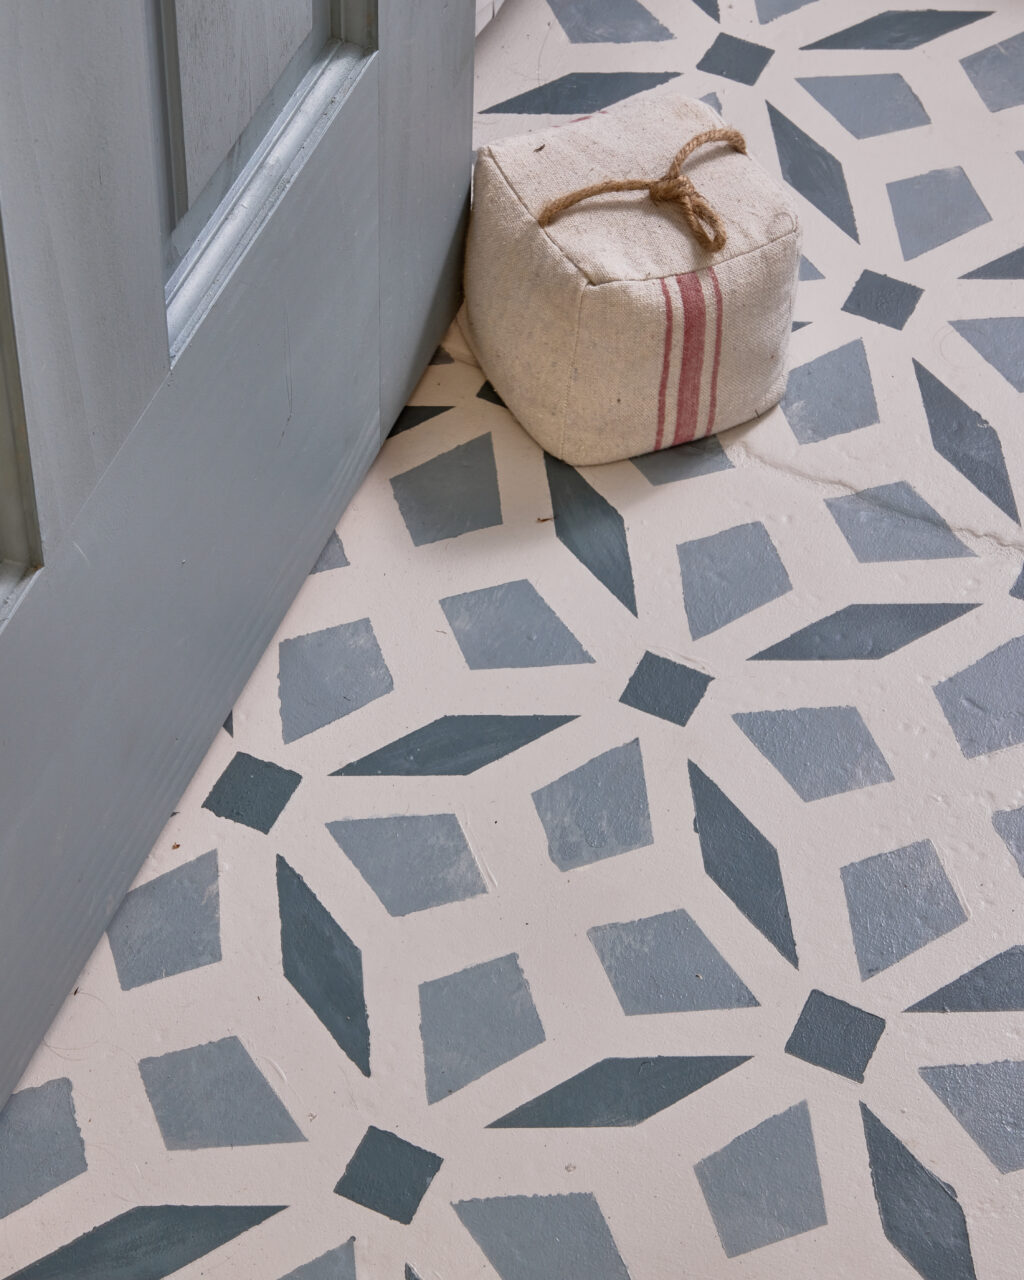
I wanted to really showcase this tile flooring, as the makeover on tile floors is always outstanding. I LOVE patterned tiles. From traditional Portuguese styles to more modern contemporary and Swedish designs. Whatever your personal style is, there is a tile pattern for it! Patterned tiles look expensive because they are! But you can paint yours to look like real tile, without having the same price tag! So, I reached out to my friends over at Muddaritaville studio stencils. They make beautiful quality stencils and have thousands of designs to choose from. They even helped me custom size my stencil to match my tile size exactly!
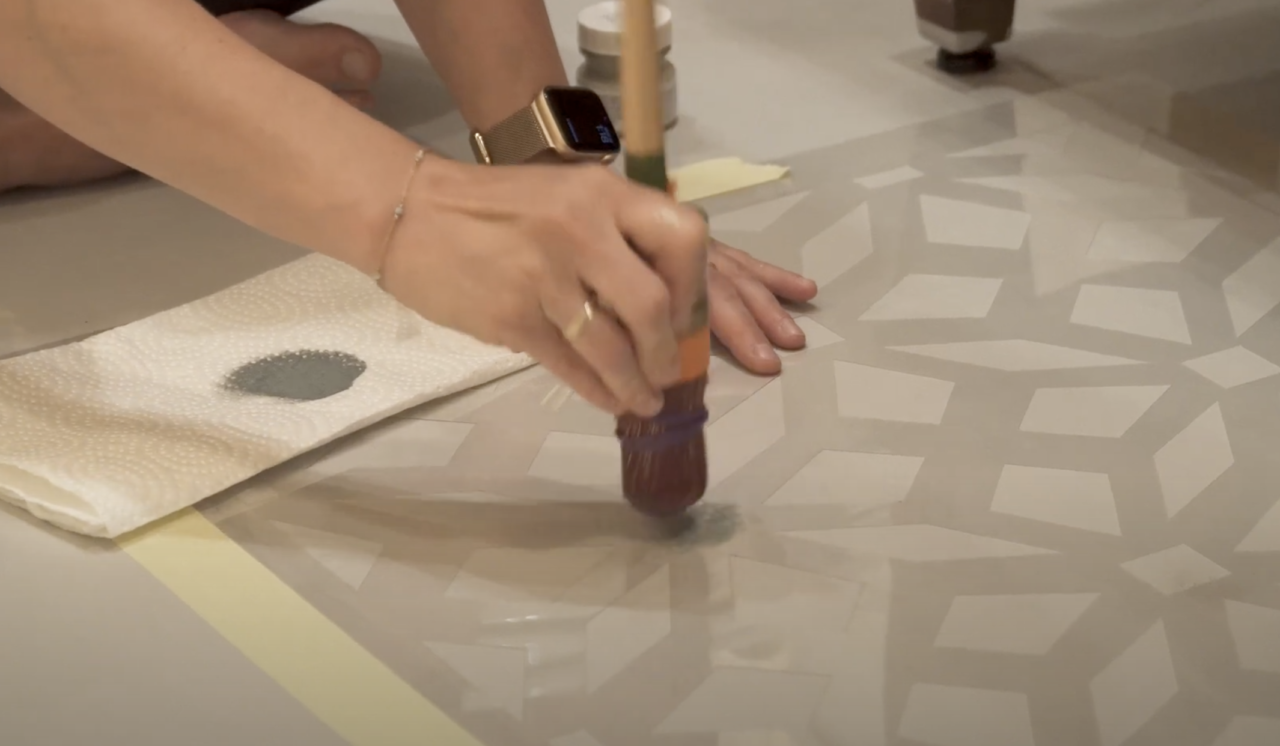
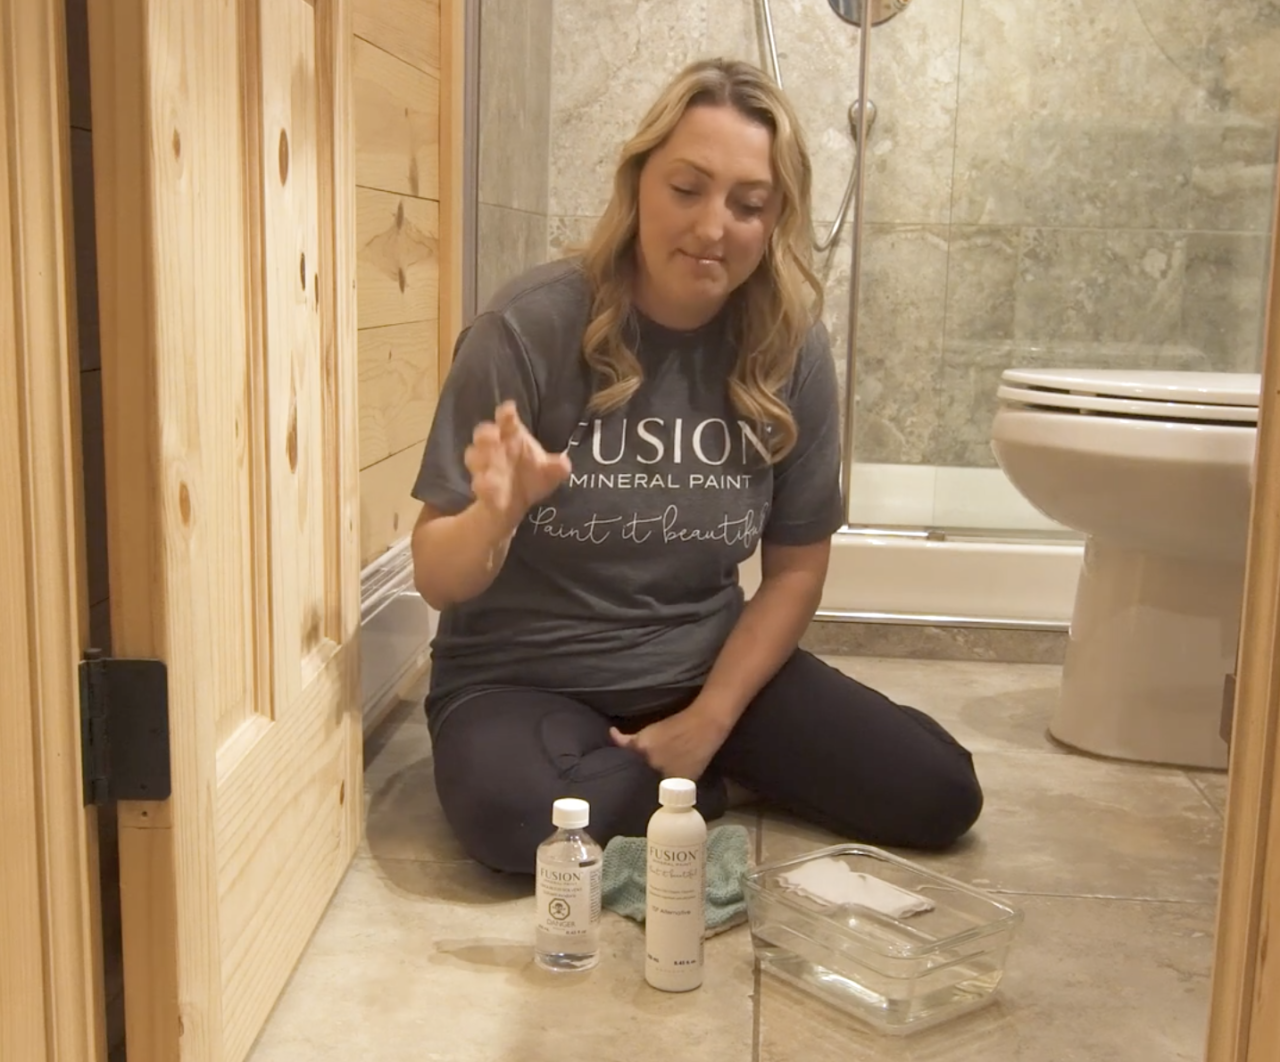
Not only is painting your tile flooring easy to do, but it’s also very durable and long-lasting. Even as a beginner painter, you can do this! To start I prepped my floors with a good deep clean using TSP Alternative, then a coat of Ultra Grip. Typically you don’t need a primer. However, I always suggest it on tiles as it makes the adhesion of the paint just that much more incredible. Once the Ultra Grip had dried for 12 hours, I painted a base layer neutral colour called Cobblestone. It’s always a good idea to use a complementary neutral colour for your base. Cobblestone is a light grey, with cool tones, which goes well with the blue colour theme.
For the main colour of the room, I chose Paisley a multi-tone cool blue. I made this the true focal colour of the room and decided to ground it even more by painting the door the same colour. Stencilling the tile flooring is actually quite quick. I blended different blues together over the tile stencil to create this stunning look. I added an additional top coat to the floor to make it extra durable because there’s lots of water from the shower. However, the durability of Fusion Mineral Paint is perfect for this type of project. This will last for many years to come and cost under $100 for the flooring.
The Walls
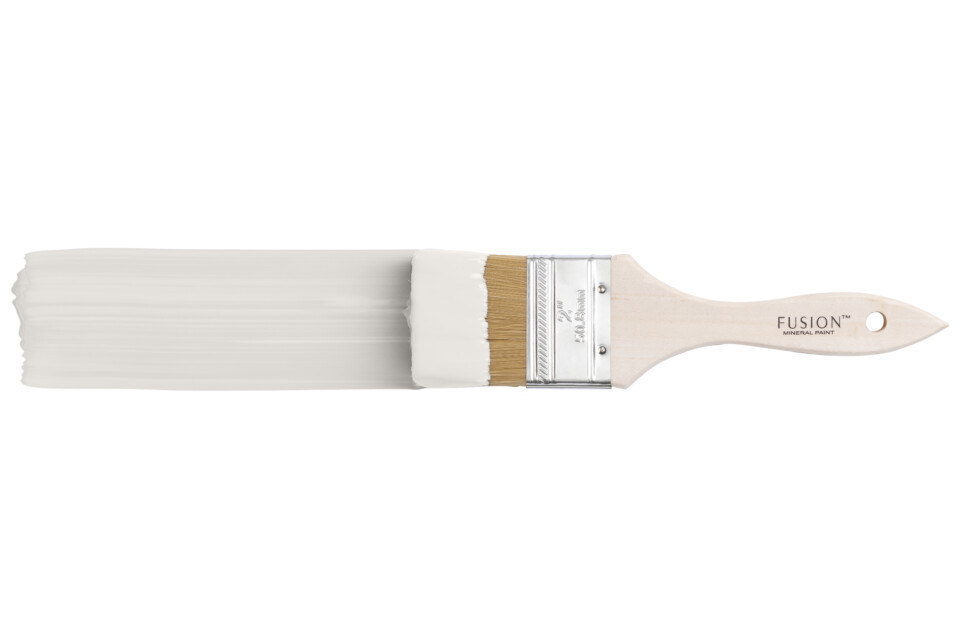
Overall this bathroom is quite small. To keep the space feeling larger it’s a good idea to keep the walls very light in colour. I chose our cool-toned off-white called Victorian Lace. It is a barely-there off-white with a hint of grey undertone. Three coats on the walls were all I needed for full coverage. On a project like this, you could use a transition coat which is less expensive. The bare wood can often soak up quite a bit of paint for the first coat. I didn’t end up spot priming the knots with shellac, so in the coming years I will eventually see knots bleeding through. I’m ok with this because it is a cottage after all!
The Vanity
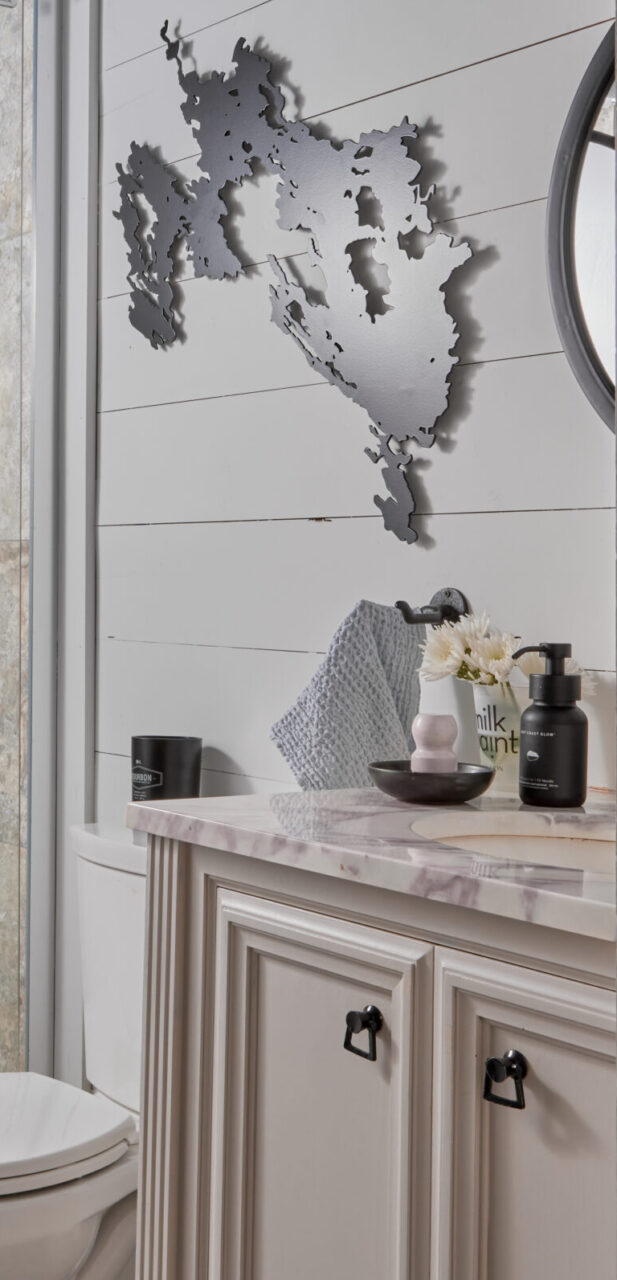
This vanity and matching mirror combo we’re screaming traditional and outdated. At first, I wanted to replace the vanity entirely. But the solid construction of it and it is solid wood was enough to make me keep it. It had beautiful lines and details, and although not 100% my style, I knew that a coat of paint would make it fit right! Plus it’s a huge cost saving as vanities are expensive.

When picking the colour for the vanity, I wanted to continue to keep the space light and airy. Since the walls we’re basically white, I wanted the vanity to pop a little but still be neutral. I chose Cashmere, an off-white with a warm undertone. You can mix both cool and warm neutrals with blues.
Painting the vanity was quick and easy. A quick clean with TSP Alternative and then 2 coats of paint was what I needed. I added some new black-accented hardware to complete the look. For a more budget-friendly option, you can simply repaint your old hardware. However, I wanted a more modern look so I opted for new hardware. Repainting this vanity only cost me $40!
The Ceiling
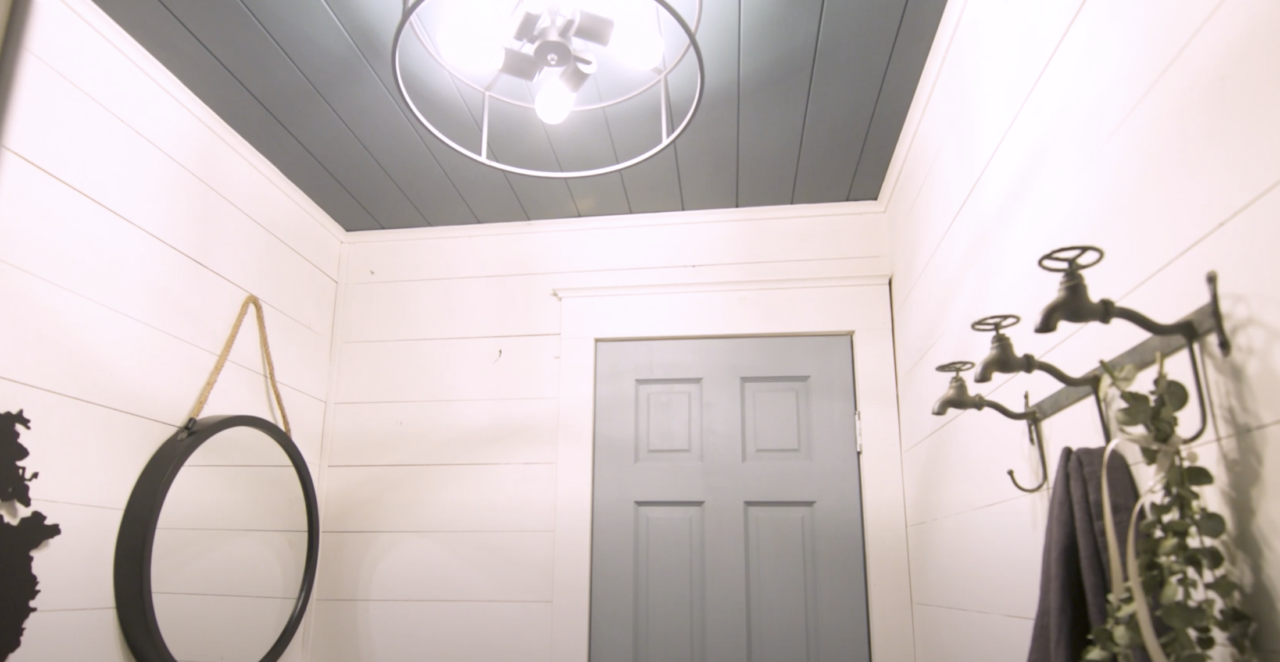
I really wanted to have fun with this bathroom – after all, we are at the cottage! I designed all of the spaces with pops of colour. So, I thought why not go bold and paint the ceiling! Keeping in line with the Blues, I used Homestead Blue. This is one of my all-time favourite colours, and you can see why.
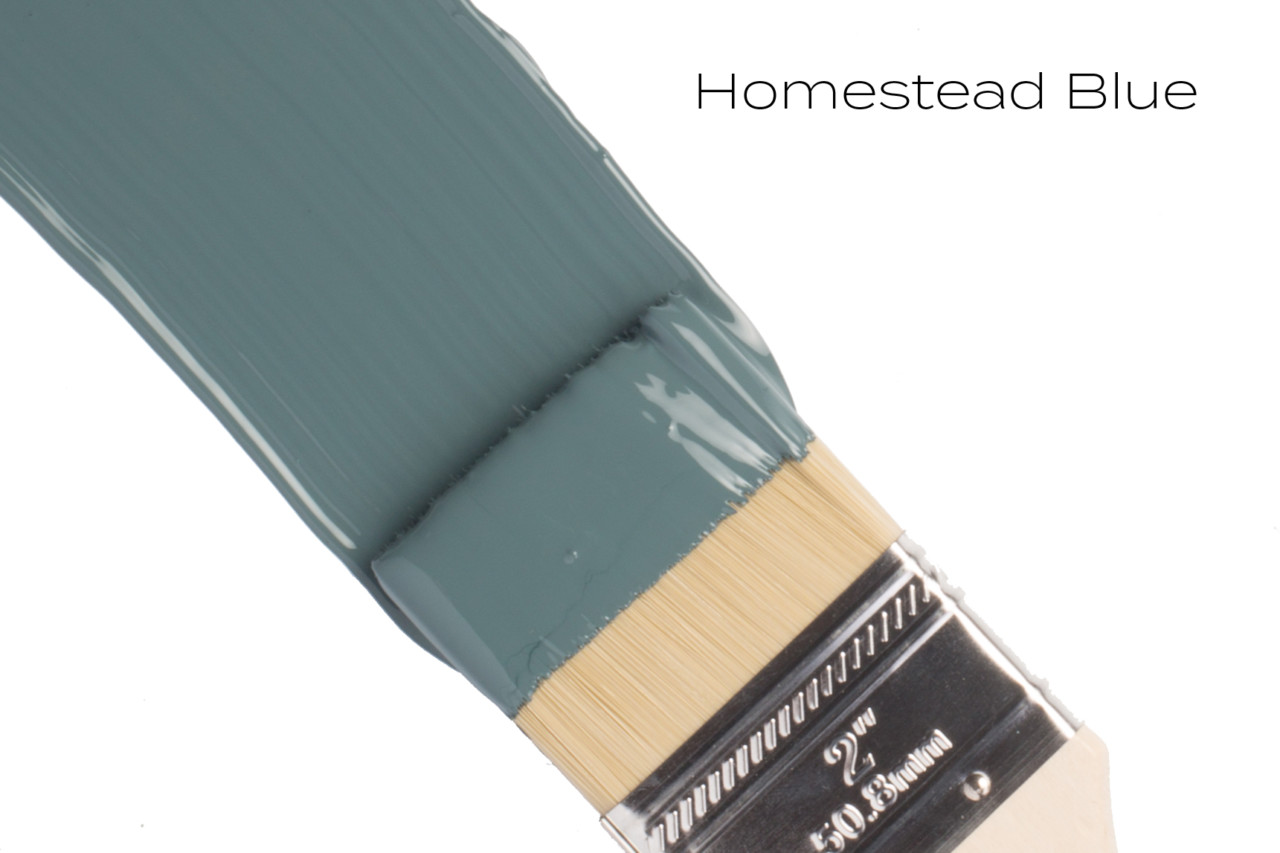
This bold statement feels incredibly luxe on a budget. You can see how beautifully it ties in with the flooring. All I needed was one coat of paint for solid coverage over the pine ceiling. There are no worries about using this paint in high humidity areas after it has had some time to cure. I would avoid using your shower for a couple of days to really let the paint cure hard. If there is too much humidity in your air, it will take longer for the paint to harden and cure. Be gentle with it for the first couple of days.
The Lighting
Lighting always adds a beautiful ambience to the space. I picked up this light from a local restore. It suited the nautical style perfectly with its dark accents and wood.
The Decor
It’s the little details that make a big difference. Black is the perfect accent colour for hardware. I used it for all the accessories like the soap dispenser, the handles on the vanity and even the towel holder. Black outlines give depth and texture without overpowering. I decided to replace the current mirror with something more nautical feeling. This matte black mirror with a rope to hold it in place is the perfect added touch.
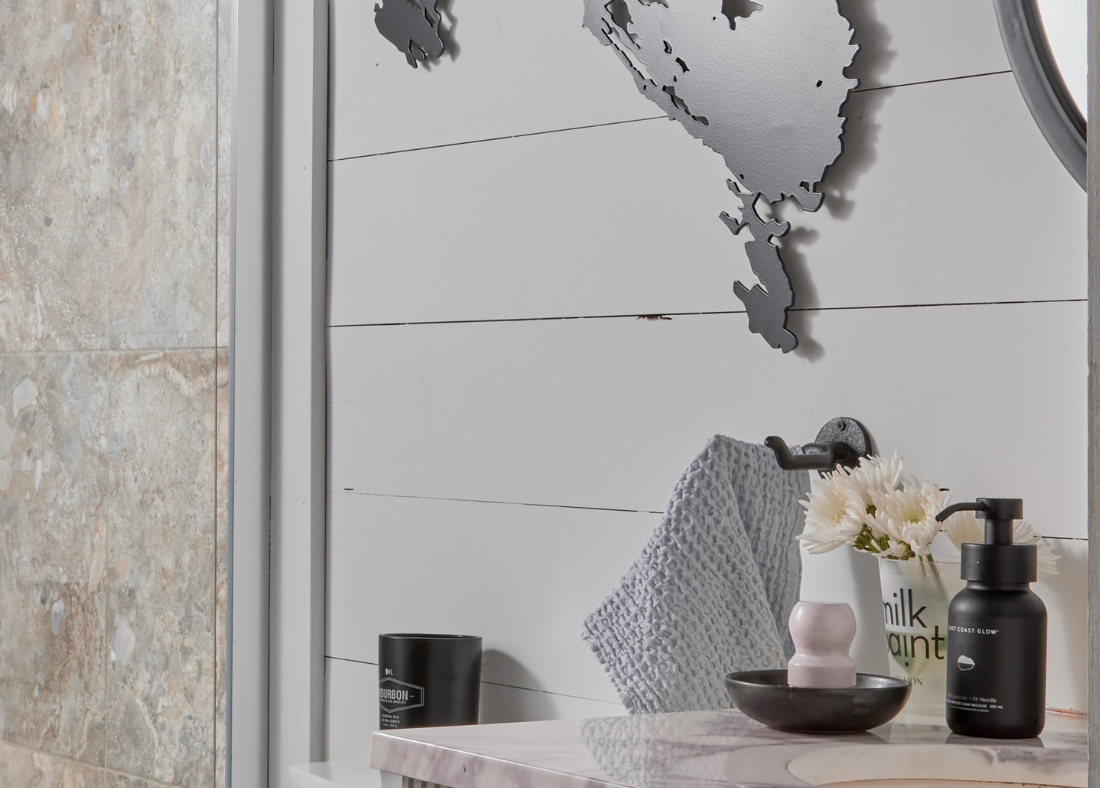
I wanted to add a creative art piece to the space that truly reflected the Muskoka lakes. So, I went shopping at the local farmers’ market and stumbled across this stunning piece. The handmade laser cut out of lake Muskoka was the perfect piece for this bathroom. This handmade craft really enriches this cottage décor.
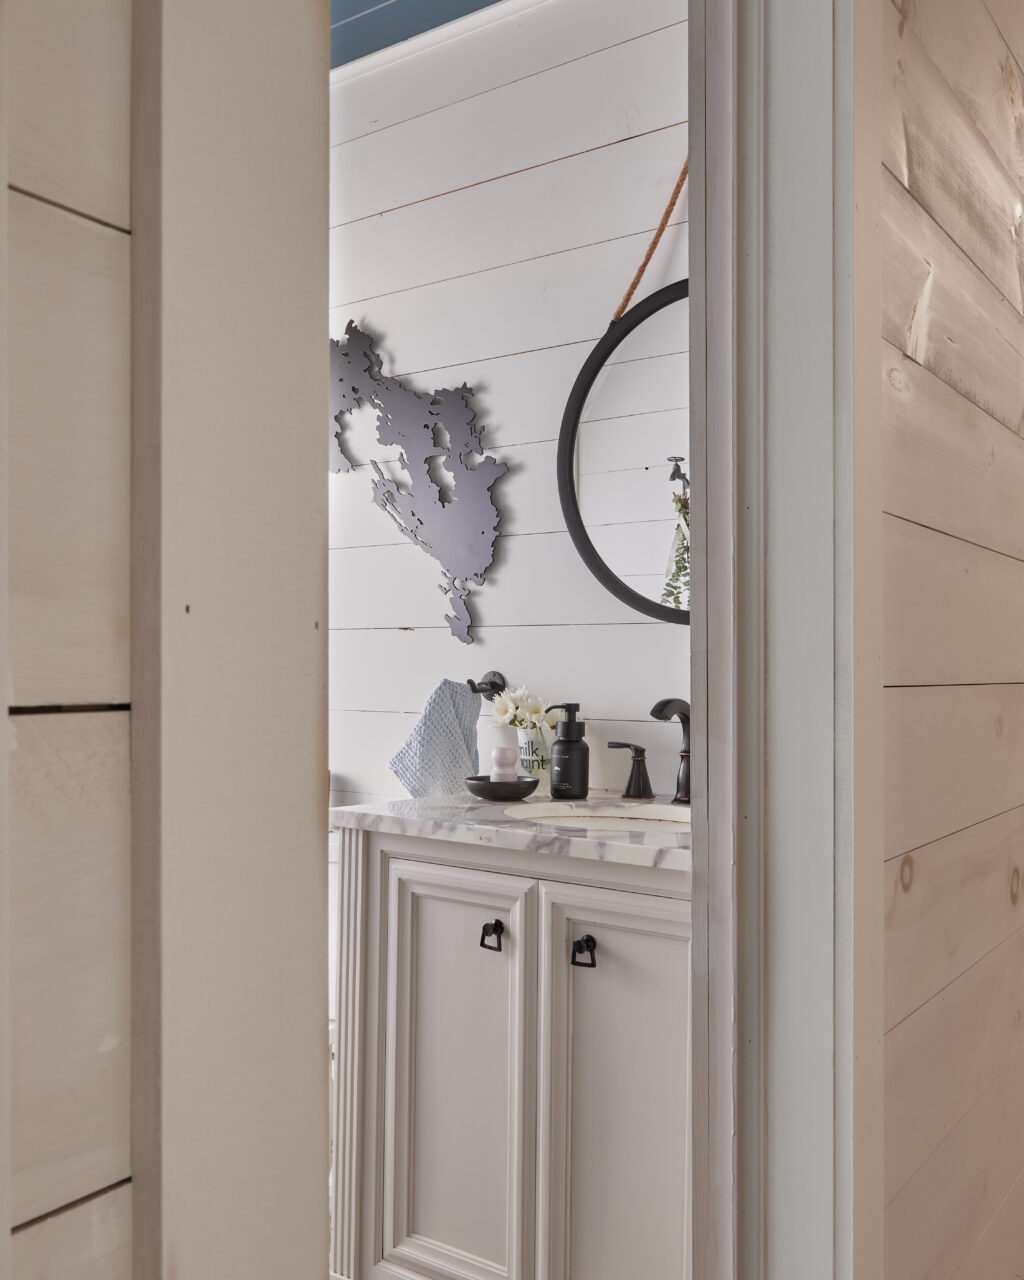
From the detailed stencilled floor to the boldly painted ceiling this cottage bathroom makeover is one for the record books. It’s truly amazing the impact a little paint can have! This cottage bathroom makeover looks high-end designer, on a budget! For this entire space the paint, prep products and top coats cost under $200 worth of paint. AND I still have lots left over for other projects since one container of Fusion goes so far!
See the complete bathroom makeover here
Catch up on the cottage makeover so far
If you enjoyed this makeover and want to see more of this series, check out these room makeovers we have shared so far!


