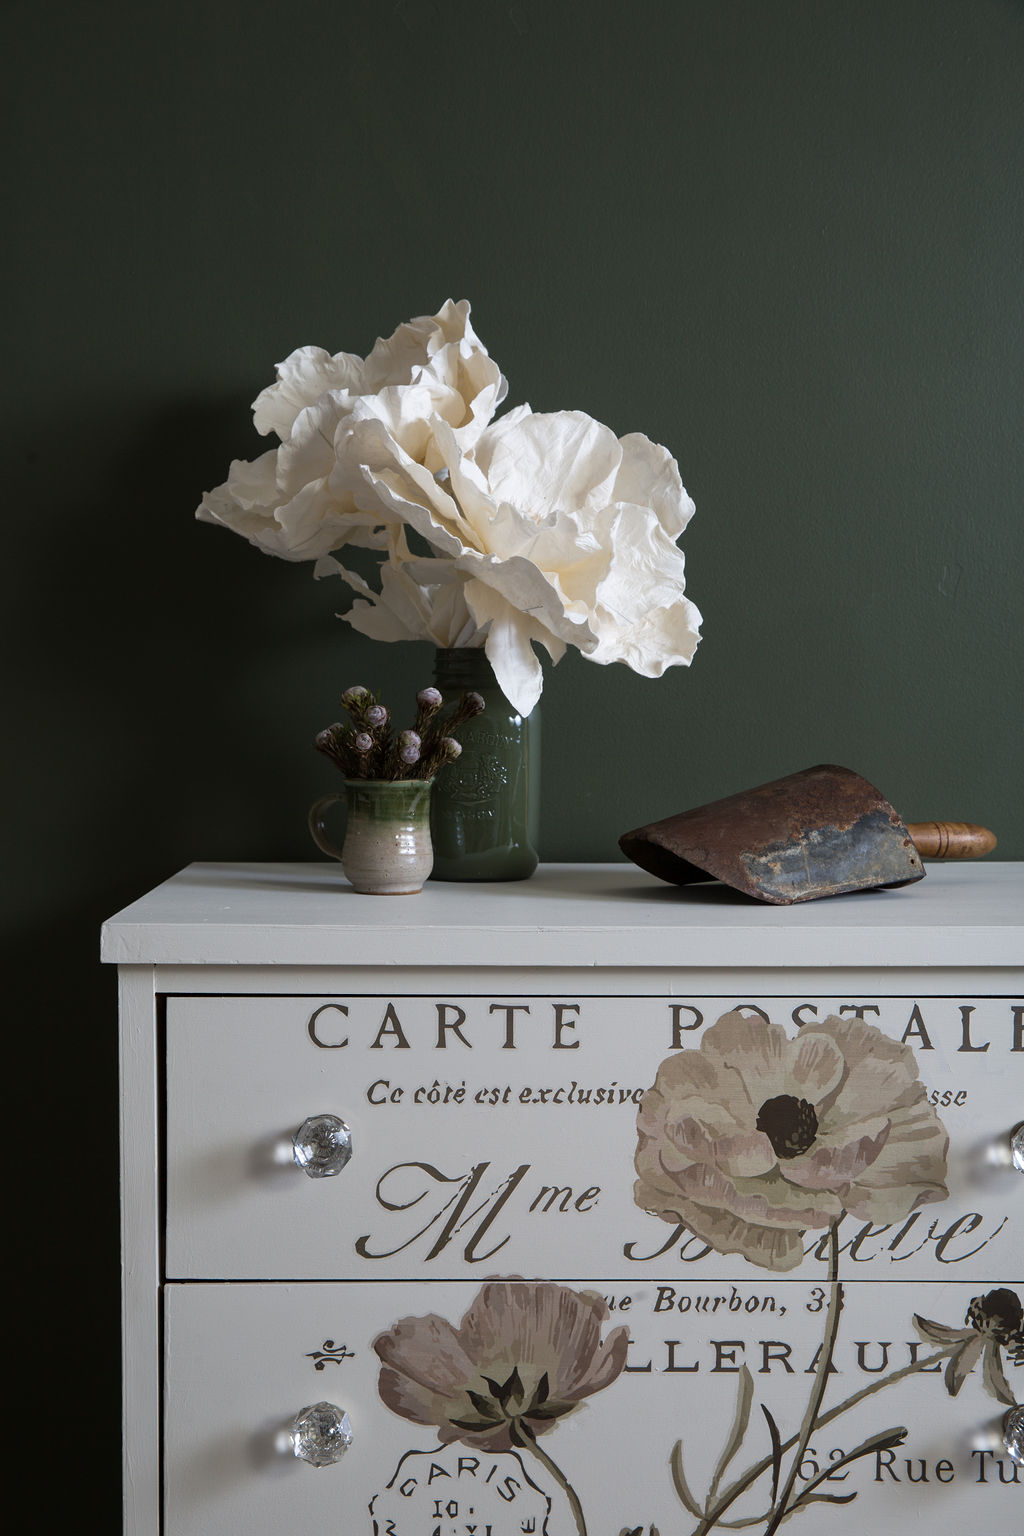
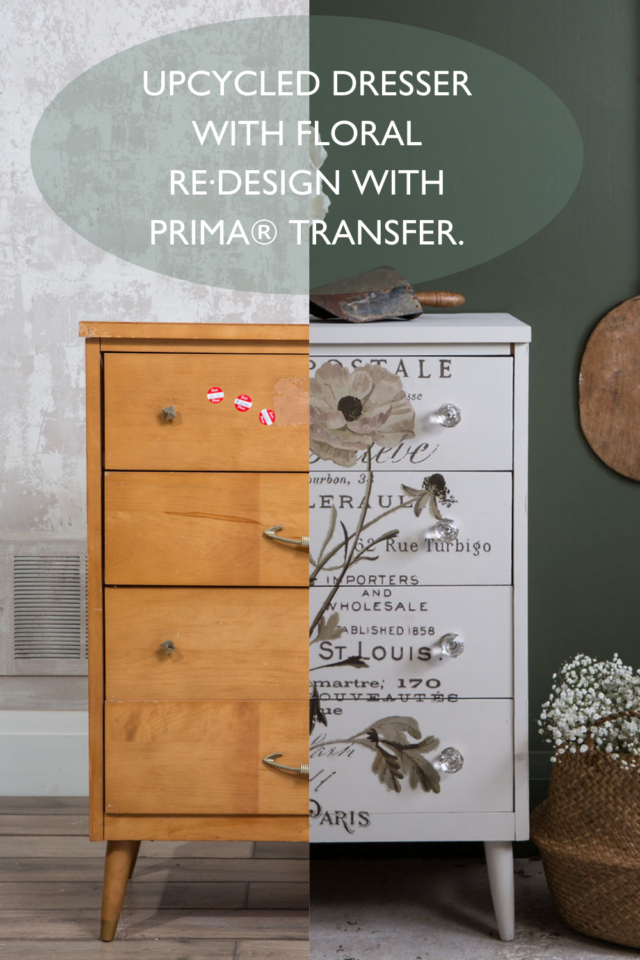
Now, this is impactful! This moody look was achieved with under $100 in supplies! A newly painted feature wall, new hardware, and a whole new look on the dresser that was destined for landfill have now been revamped with Fusion Mineral Paint. Follow along to see how you can Upcycle a thrift dresser with Fusion Mineral Paint and a Re·Design with Prima® transfer.
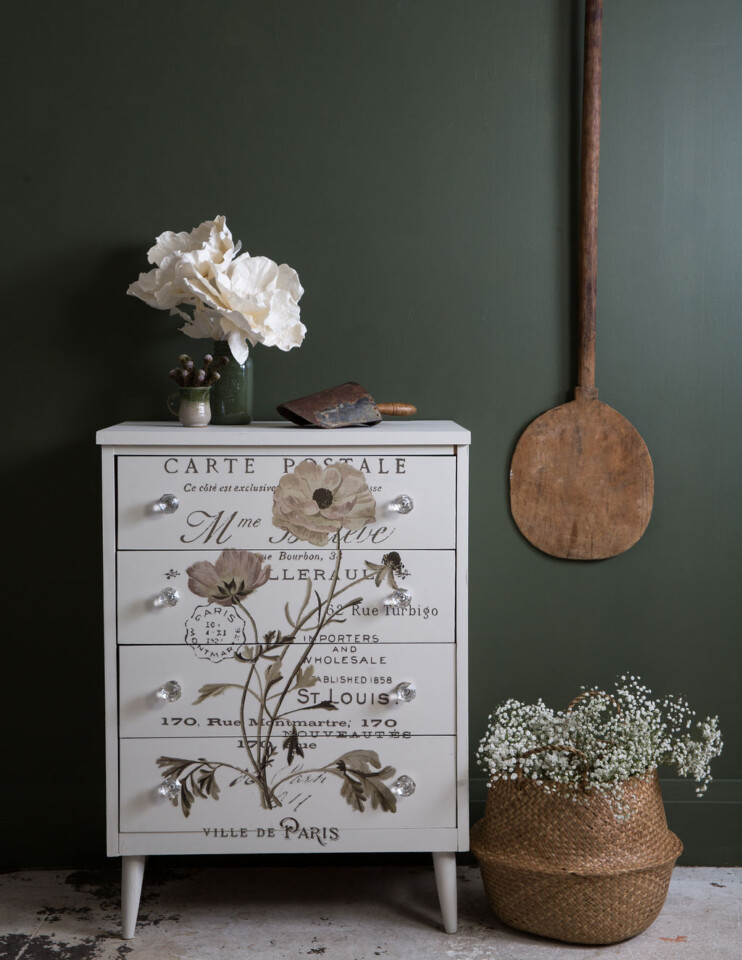
Painting Walls with Fusion Mineral Paint
Ever thought of changing it up, giving your space a fresh new look and feel? It’s super easy to do with a feature or accent wall! This moody deep green brings all the feels. Remember 1 pint of Fusion Mineral Paint covers 75sqmtrs so perfect for an accent wall.
We have updated lots of walls with Fusion and Fresco for extra texture. A European vintage look was achieved with Fresco, Midnight Blue and Champagne metallic. Read that post here .
How to use Fresco powder
How to upcycle a dresser and give it a whole new look.
This dresser had seen better days, the style was stuck in the ’80s and a fresh coat of paint was on the to-do list. On top of that we decided to swap out the hardware, and add a decor transfer to really make it special!
Step 1.
Prep and clean. As the story goes, your paint is only as strong as your surface and prep. “Prep, Paint, Repeat!“
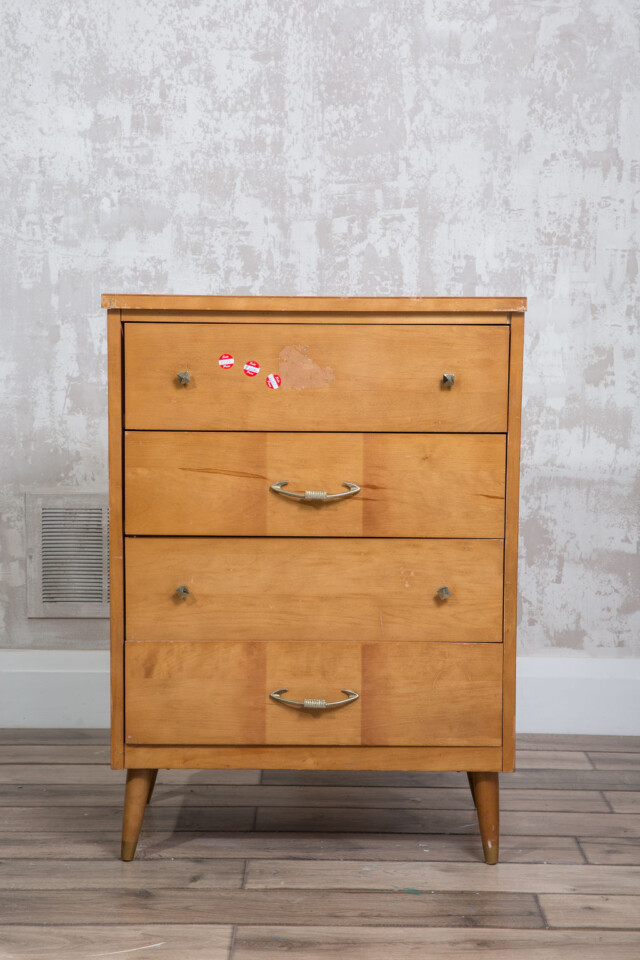
These little stickers needed to be removed and for the surface under them we used odourless solvent to remove the excess stickiness. Then the entire dresser was wiped down with TSP Alternative to remove any grease or dust. Tip – if your stickers leave behind a residue, be sure to remove it by using Goop Off or something along those lines.
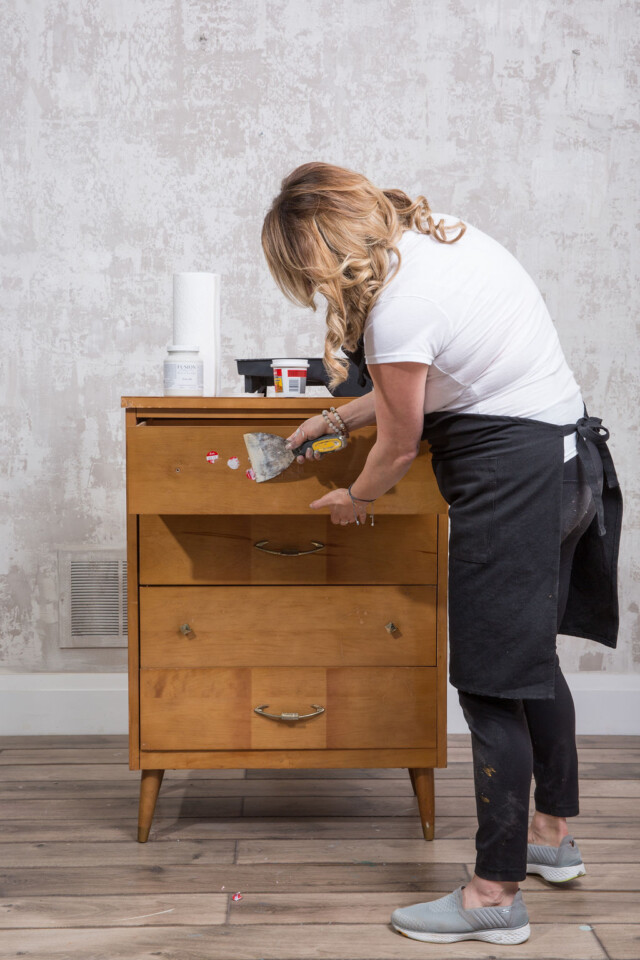
Step 2. Remove Hardware and fill holes
An easy way to give your piece a new look is to swap out the hardware. Using some wood filler, we filled the holes and let them sit to dry before painting. Be sure to come along with some sandpaper and gently smooth out the area where the holes were, you may need to refill at this point if the application was uneven initially.
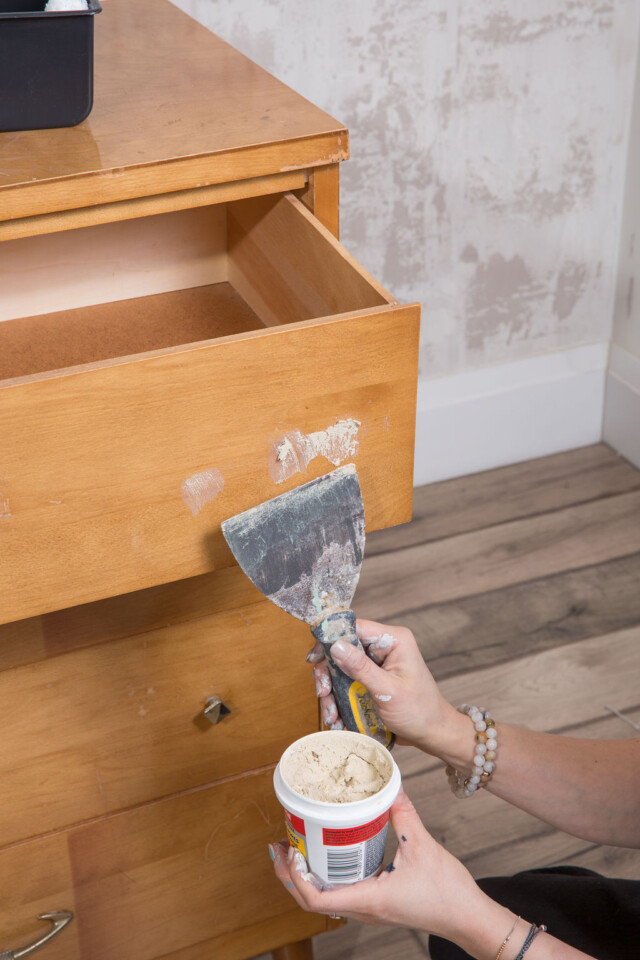
Step 3.
Painting! Using a roller to paint large flat surfaces is my favourite way to cover a lot of ground quickly and easily! Here we are using Raw Silk. This is one of our favourite off-whites because the coverage is so good! Typically 2-3 coats will give you full coverage. It’s also a great transition colour if using something like Casement or Picket Fence (more white than Raw Silk)
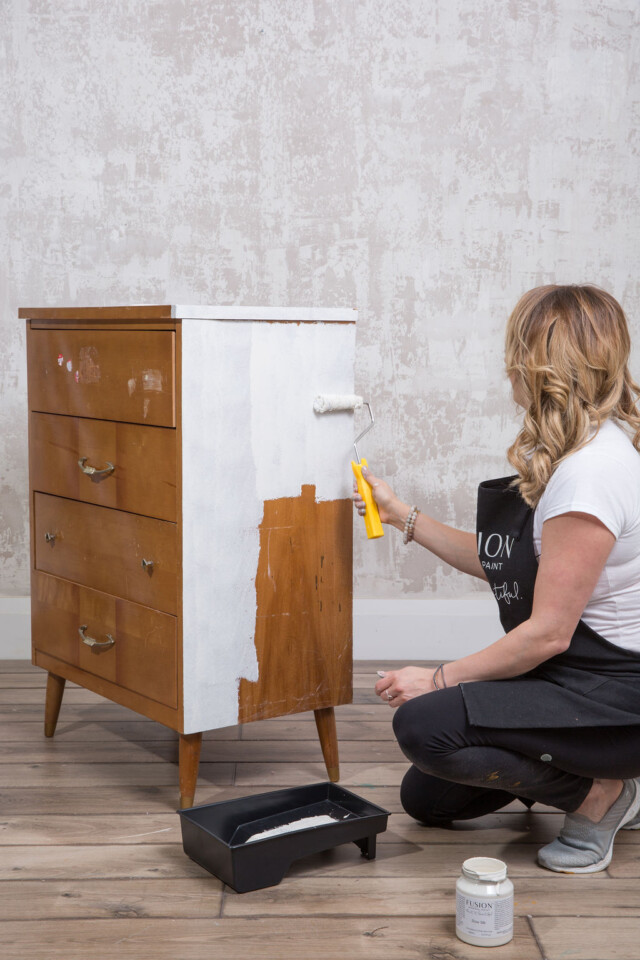
Next apply a coat with your roller and let it sit for 1-2 hoursn before applying another coat. Reapply too soon, you will remove your previous layer as you will activate it with fresh paint.

The best way to roll your paint is to not have too much paint on your roller, a general rule of thumb is if you see excess paint on your roller, it won’t give you the best coverage, and instead of rolling, your roller will slide and won’t properly deposit the paint behind.
Step 4,
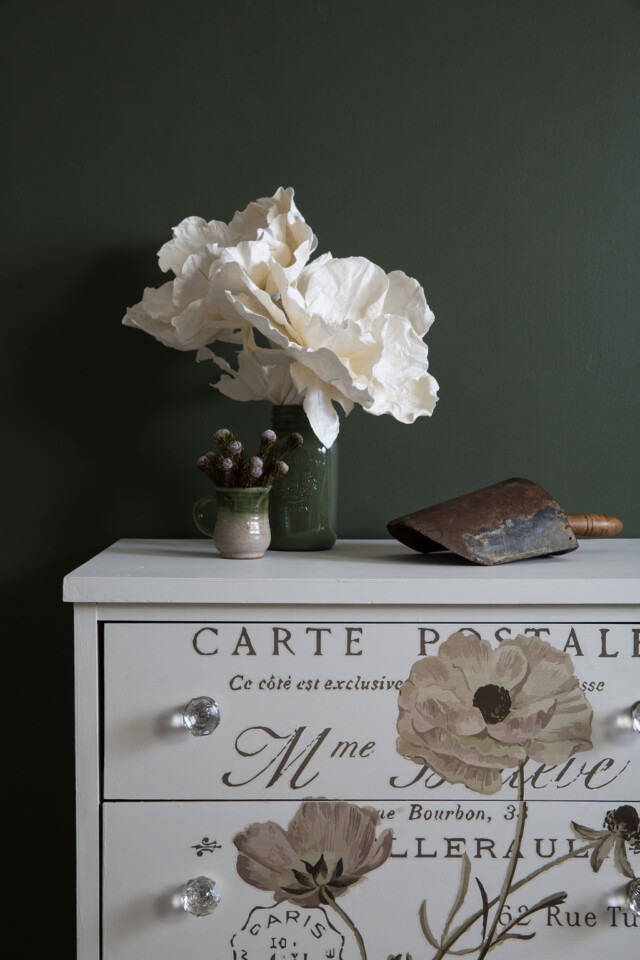
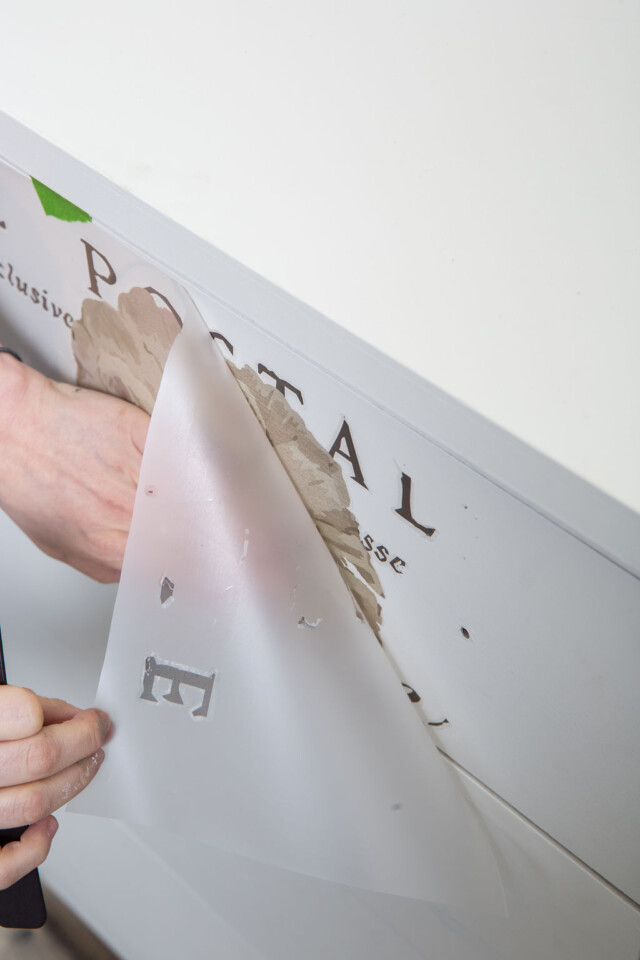
Apply the transfer! This is much easier than you would think to do! Simply peel back the plastic, adhere it to the dresser, and use pressure to apply it ( please find more notes on the Re·Design with Prima® website for how to apply these)
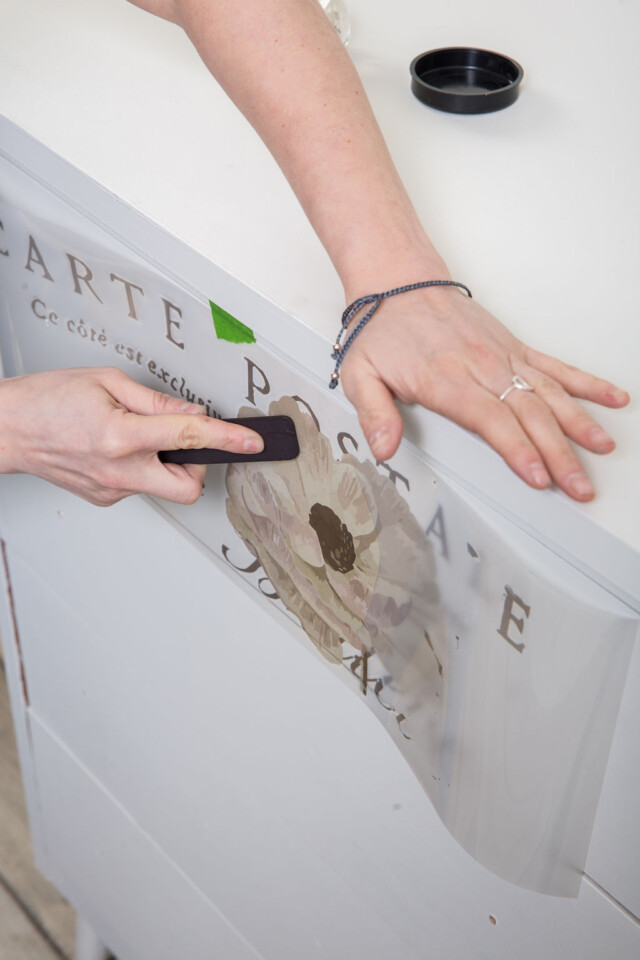
You can cut The Re·Design with Prima® transfer to fit your project.
Step 5.
Apply hardware and you’re done! These see-through crystal hardware does not to distract and pull from the design of the transfer.

With a few accents and florals and this bedroom-thrifted beauty is ready! No need for a topcoat, Fusion Mineral Paint has a built-in topcoat. The Bayberry feature wall really makes this piece pop!

The best reason to upcycle
This dresser was a whopping $25 at a thrift store! It needed a little TLC and some Fusion Mineral Paint to really give it a new life. Just a few supplies and this pretty dresser has been upcycled. Saving the planet one piece of furniture at a time 🙂
Pin this resource for later or check out all the inspiration on our Pinterest account


