One of the best ways to freshen up a front entrance is with a great new doormat. Well, sometimes you can’t find what you really want in stores, in which case you can easily DIY one with Fusion and a personalized stencil. So we are going to show you how to stencil an IKEA doormat and share a round-up of some amazing DIY door mats from our Fusion merchants!
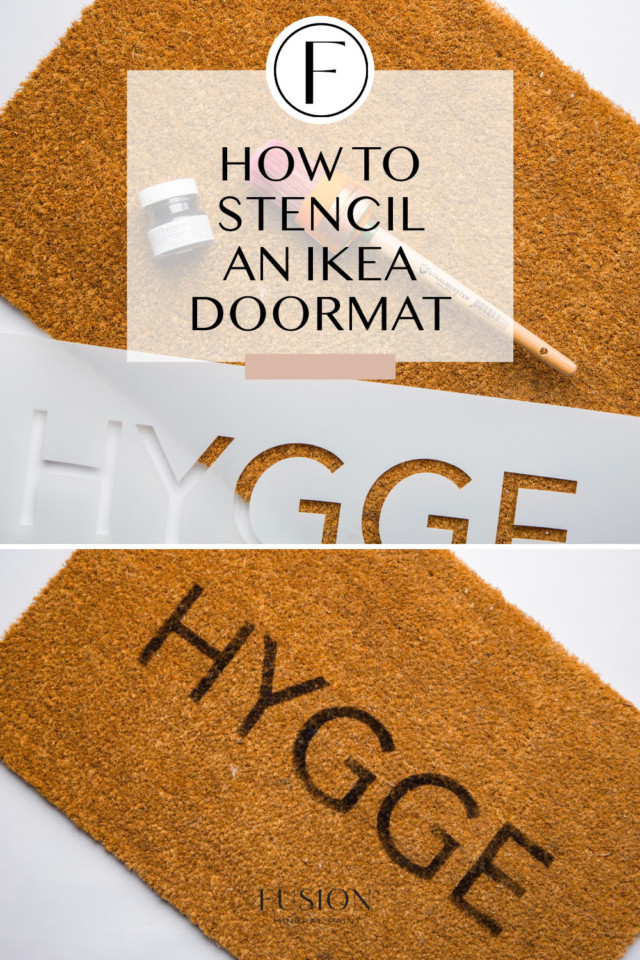
How to stencil an IKEA doormat and a DIY doormat round-up!
Fusion’s CEO and creator Jennylyn Pringle is a big fan of Scandinavian decor and one of the more popular trends to arrive over in North America (even though it’s basically already a lifestyle for a lot of people) is Hygge.
Pronounced “Hue-gah” it’s a Danish concept that doesn’t have a direct translation into English, but it’s more of an embodiment of a feeling of coziness, warmth or just “being”. Imagine reading a book under a soft blanket by a fireplace while drinking a latte or anything in your home that creates a warm atmosphere, such as candlelight or snuggling on a couch with lots of pillows – that’s hygge. So for her home, Jennylyn chose to use Muddaritaville HYGGE stencil but you can choose an alternate one to suit your home aesthetics and they have so many options!
SUPPLIES USED:
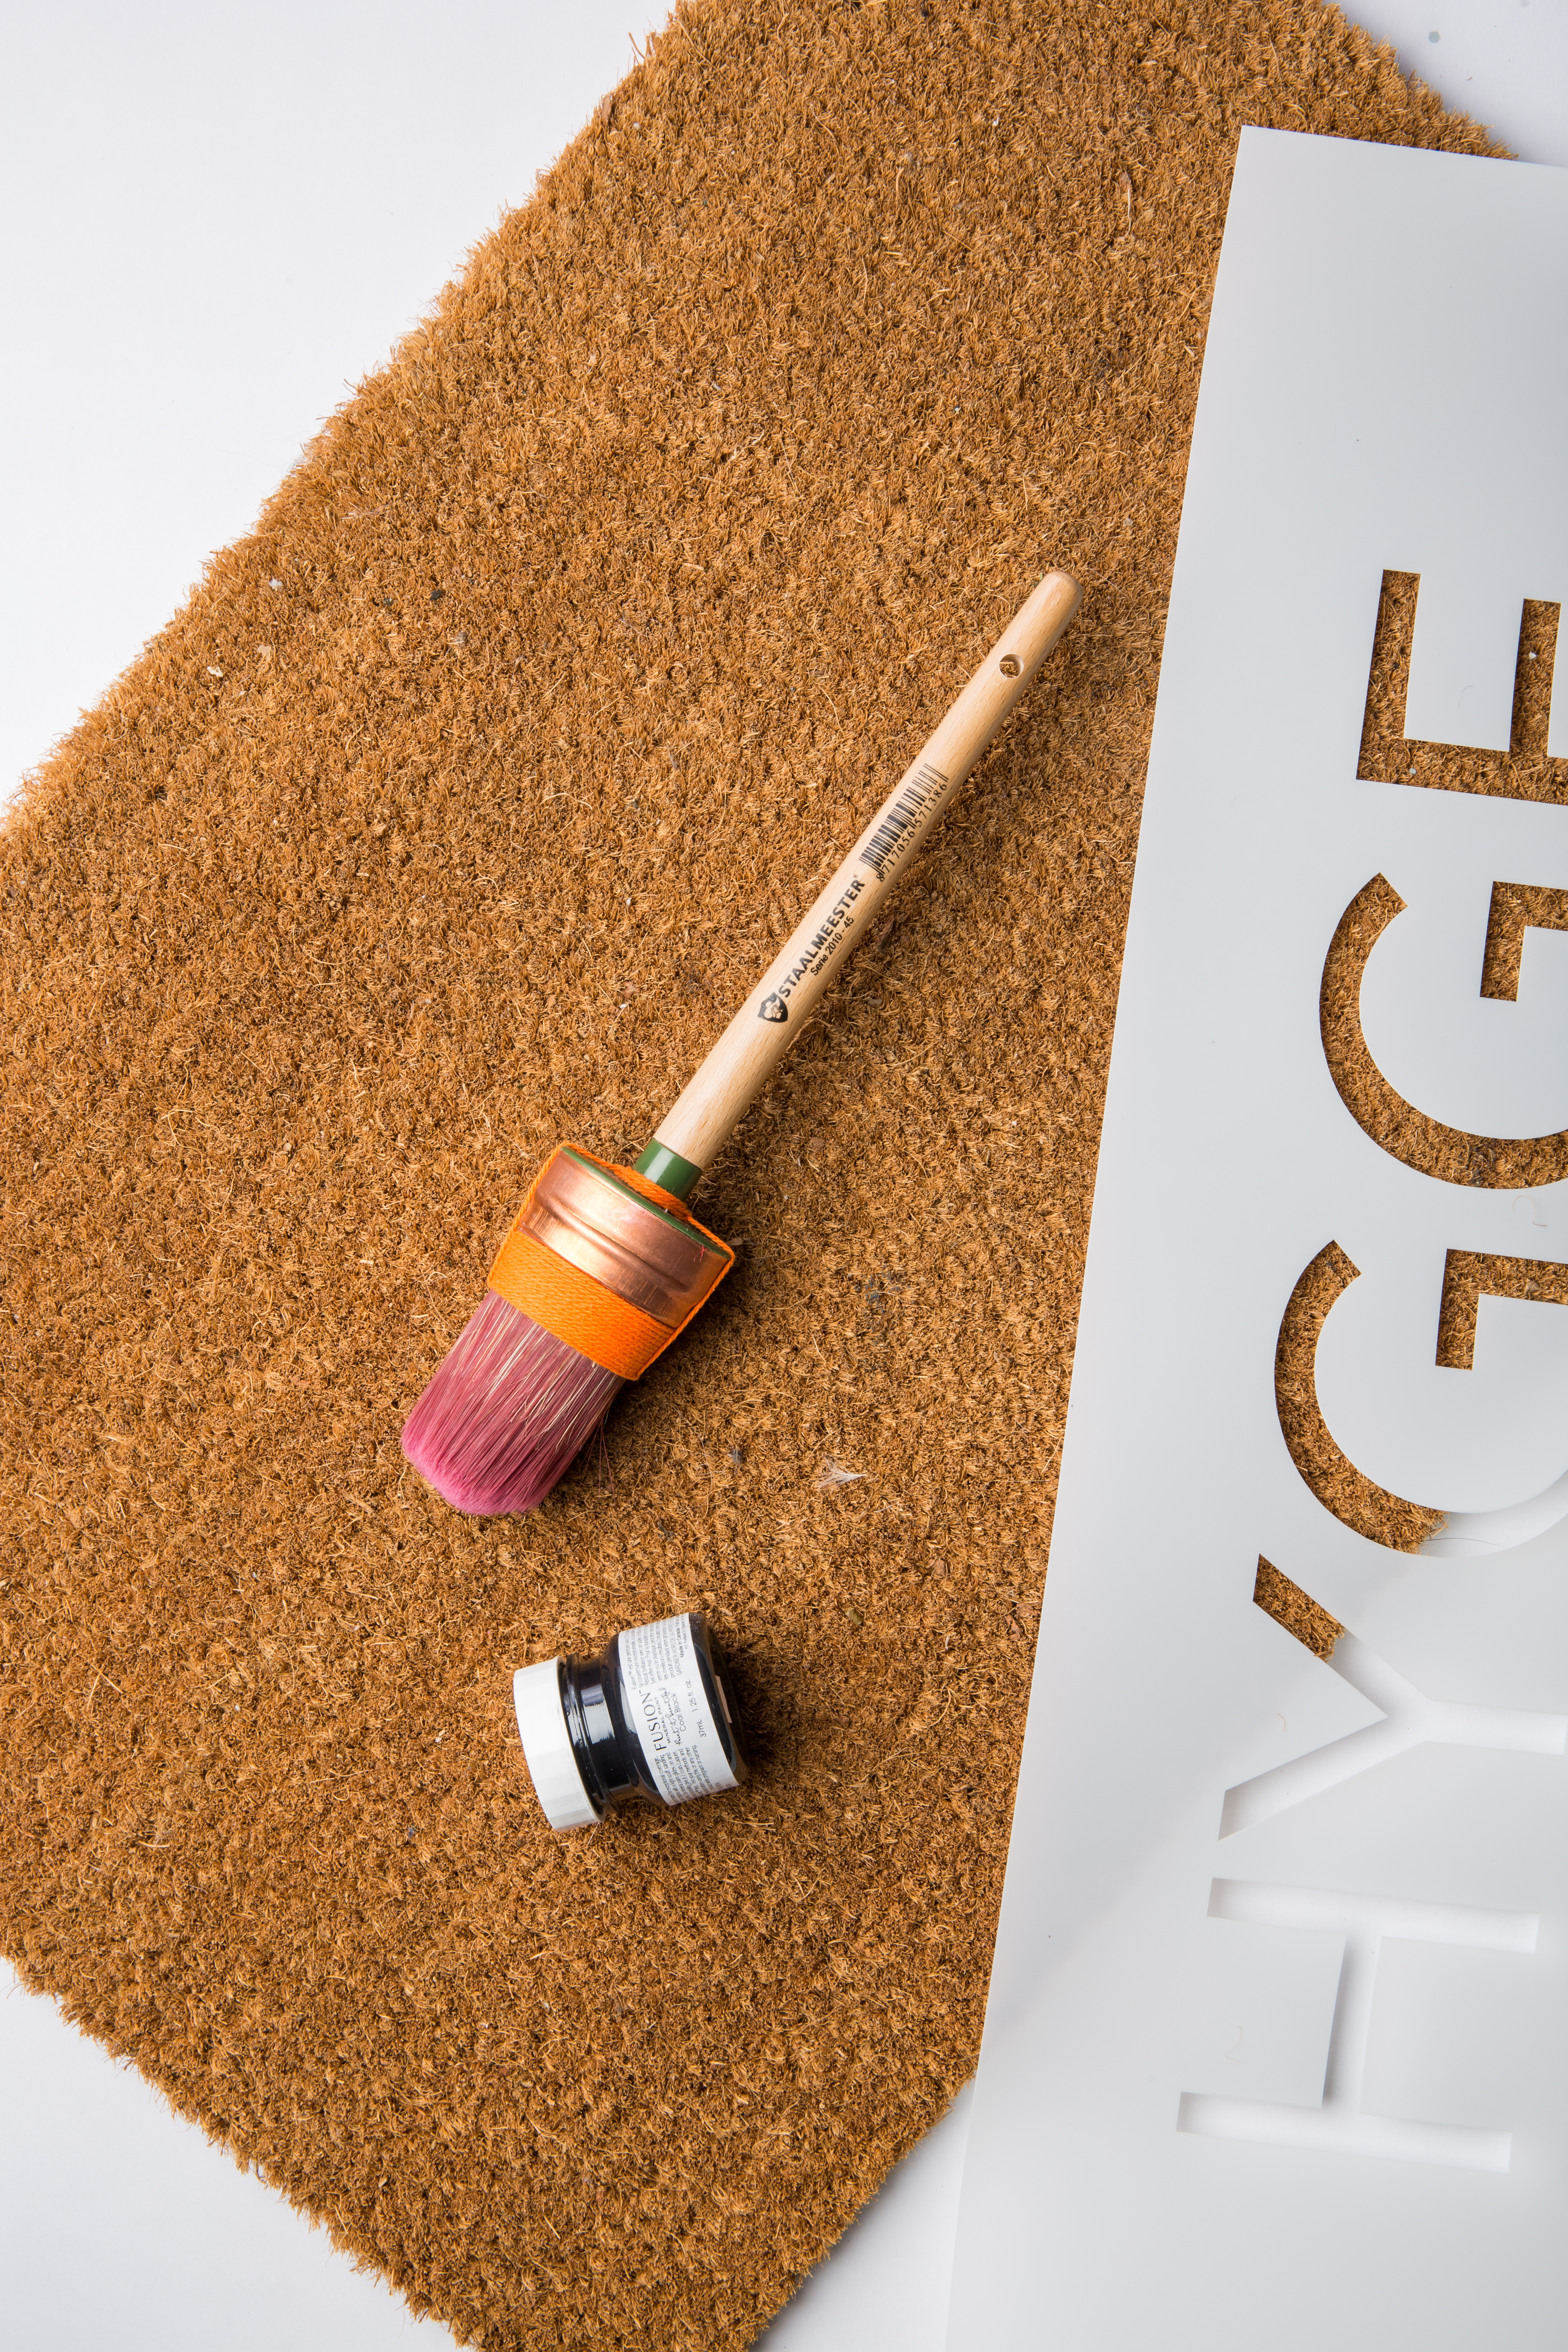
- Muddaritaville HYGGE stencil
- IKEA doormat
- Fusion Mineral Paint tester in Coal Black
- Staalmeester Oval #45 Brush
- Elastics (optional)
- Paper towel or cloth
STEP 1
LINE UP YOUR STENCIL
We used an IKEA doormat for this and it’s a basic coir doormat. You can however paint just about any doormat in their selection if you prefer a different one. If you can’t find an IKEA one because there is no IKEA near you, almost any home improvement store should have a variety of coir doormats.
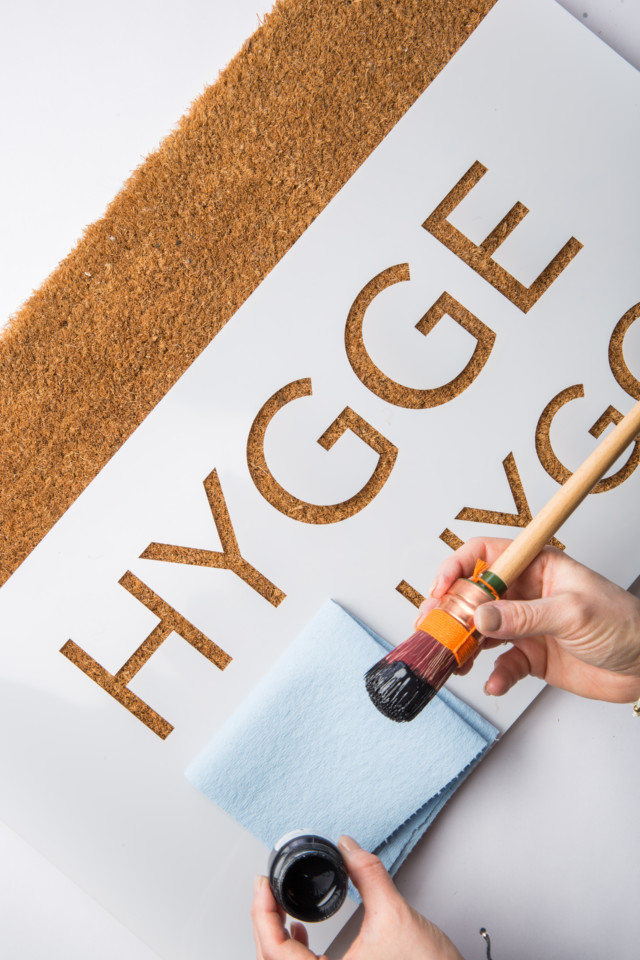
Place your stencil where you would like it to be on your doormat (centered, top or bottom) and then if you want, you can use painter’s tape to hold it in place, or any tape that won’t leave a residue for that matter.
STEP 2
PAINTING
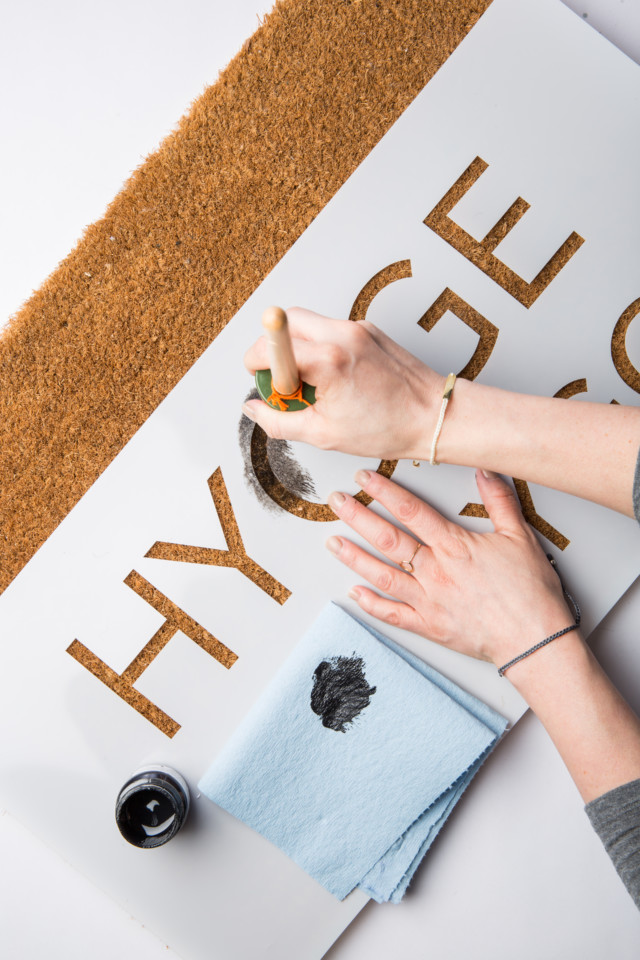
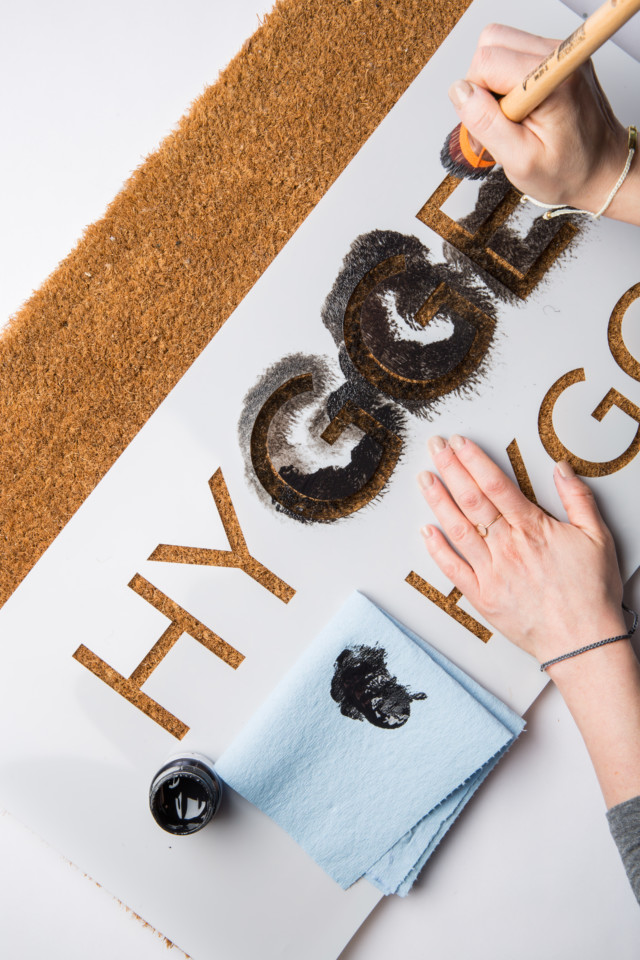
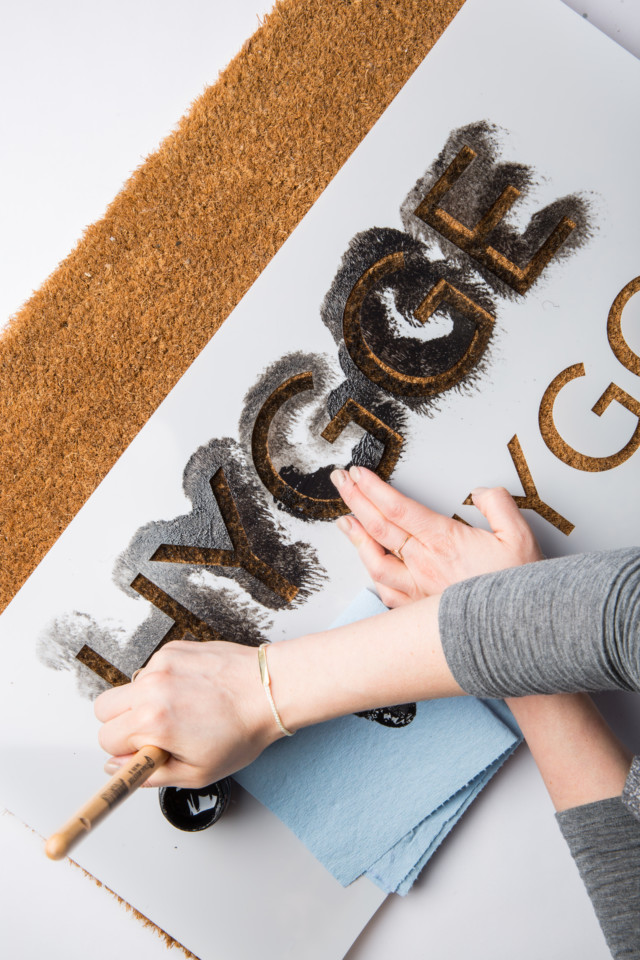
Using the Staalmeester Oval #45, dip it into the tester of Fusion Coal Black and wipe off any excess paint on your paper towel. Then just dab it inside your stencil letters.
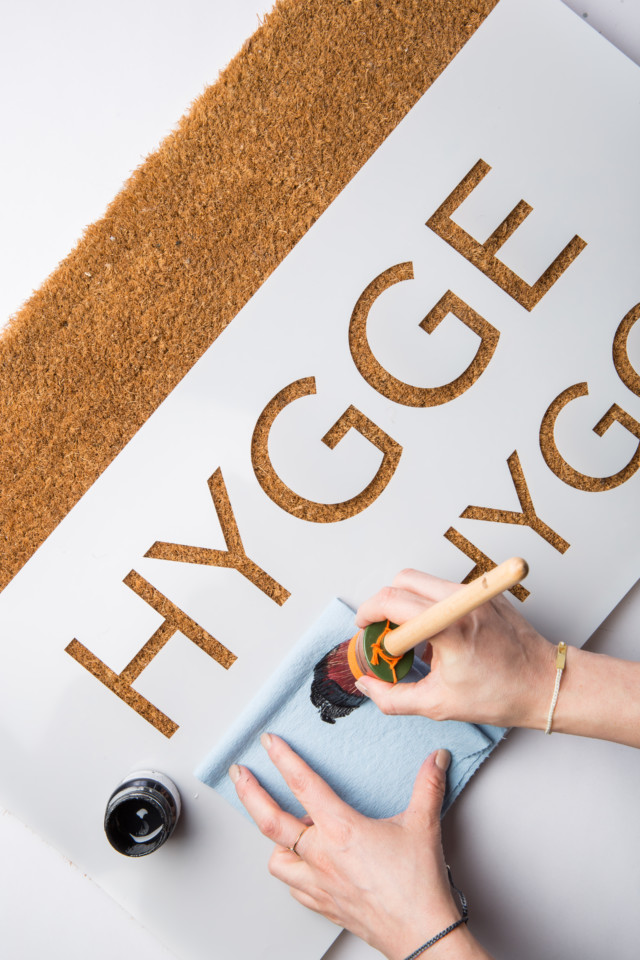
One good tip for converting the brush to a more stencil-friendly brush is to put an elastic around the bristles and have them more tightly wound, thus making the brush part stiffer and perfect for stencilling. This is absolutely optional though.
STEP 3
FINISHING
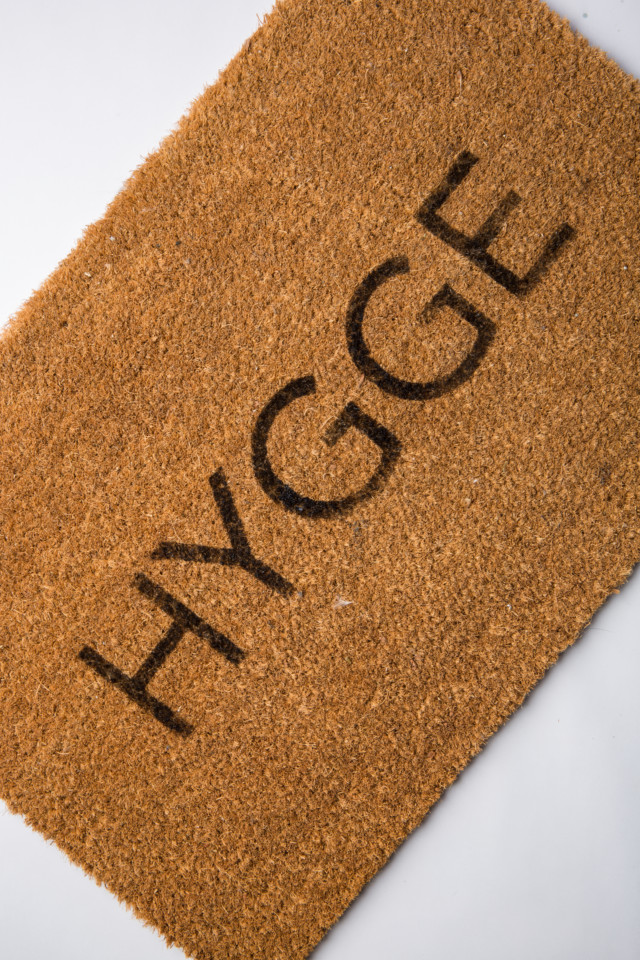
Remove the stencil and let your doormat dry as per Fusion’s container instructions.
DISCLAIMER: We often get questions as do our merchants who offer doormat workshops with regards to protecting the mats after painting to prevent fading or wear and tear. It should be clarified the paint wears off after a year or so of use however it’s not actually the paint that’s wearing down but the mat itself. Doormats made of coir are not meant to last forever and when people are constantly wiping their feet on them, which tears the fibres of the mat.
Some Fusion merchants have offered the following tips to increase the longevity of the doormats (choose which one speaks to you):
- Use a protective spray such as Flex Seal Clear spray (which is clear, liquid rubber sealant coating), Clear Shellac from Zinsser or any brand of clear lacquer spray after painting.
- Paint the doormat with more Fusion than normal and press really hard into the doormat to ensure that the paint really soaks in.
- Try out Fusion’s Tough Coat over the painted parts.
Jennylyn loves her HYGGE mat and you get the stencil from Muddaritaville right here!
We also love the creative ideas our merchants do at their workshops. So here is an inspiring round-up of DIY door mats!
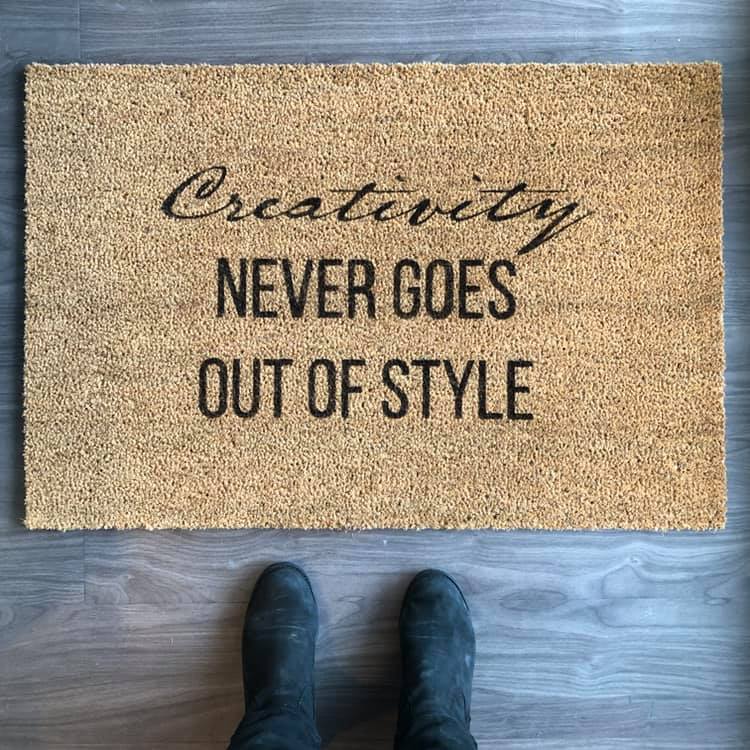
Doormat by Homeworks Etc.
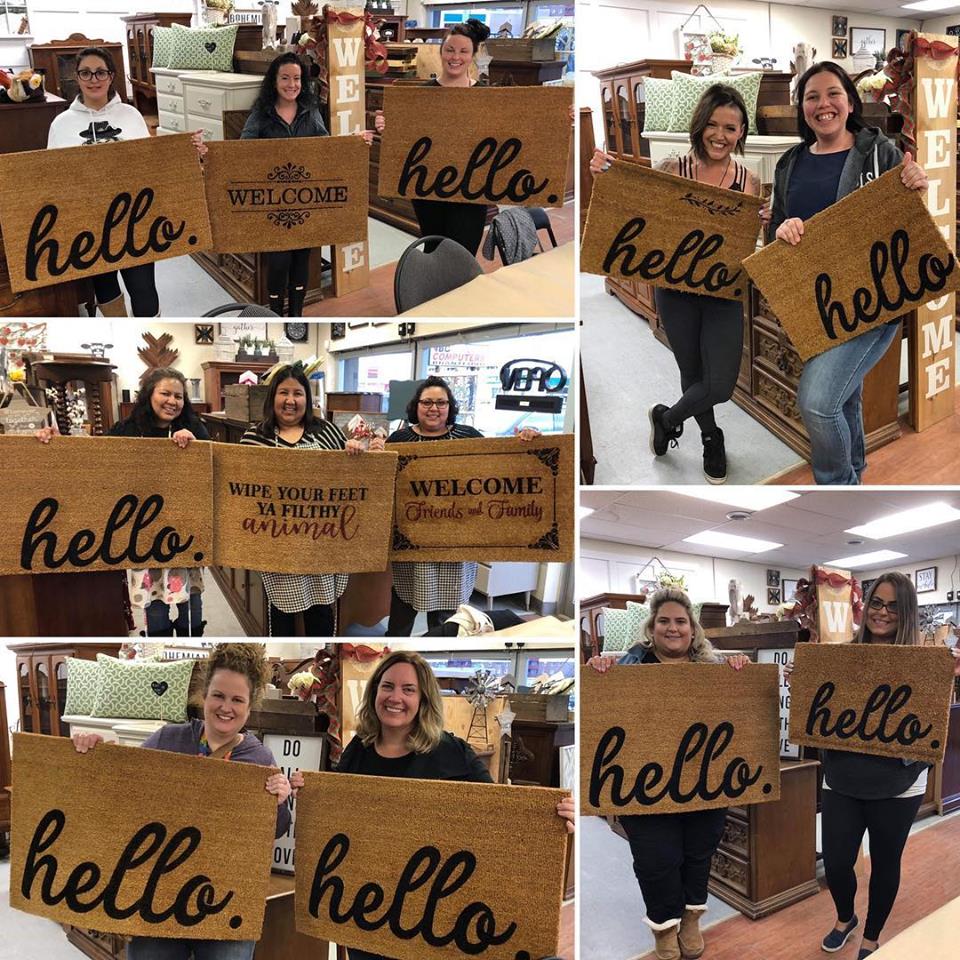
Doormats and workshops by Brantford Finders Keepers
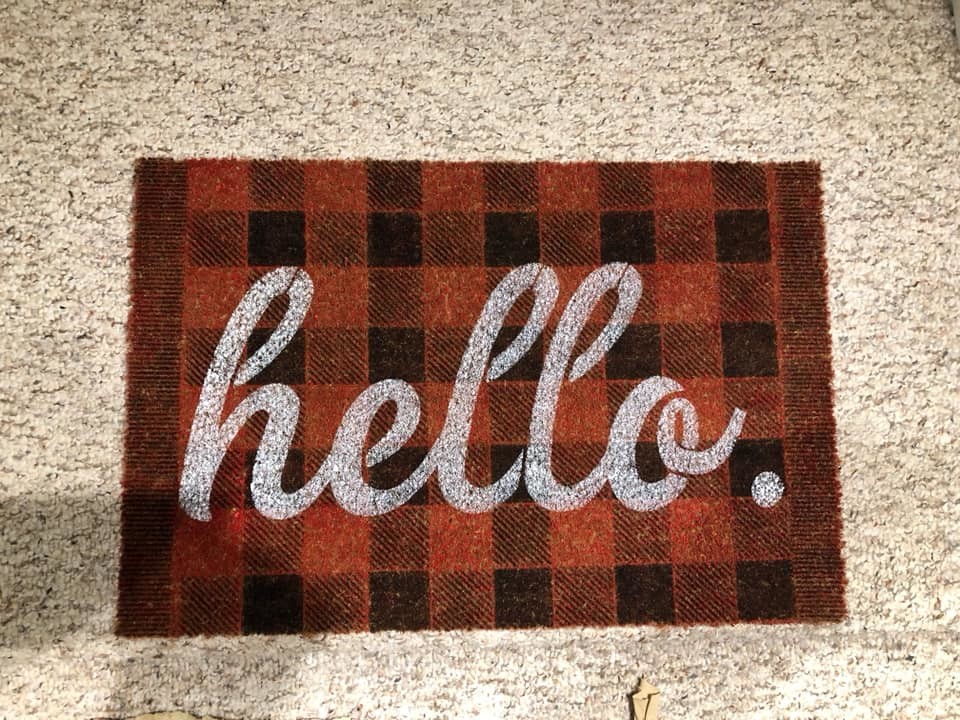
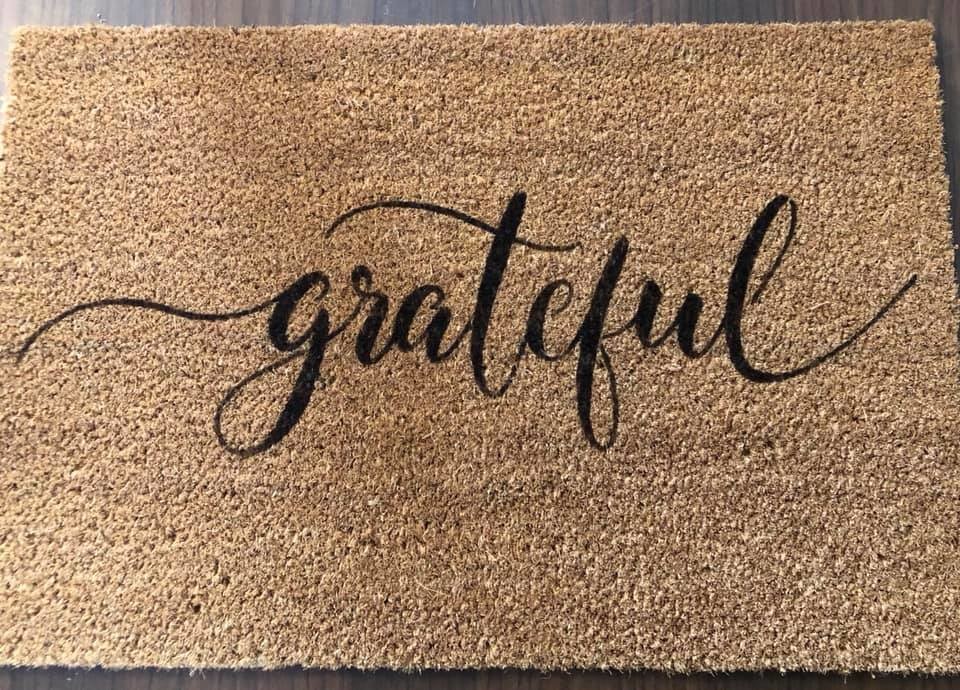
Doormats by Painted Brush Creations
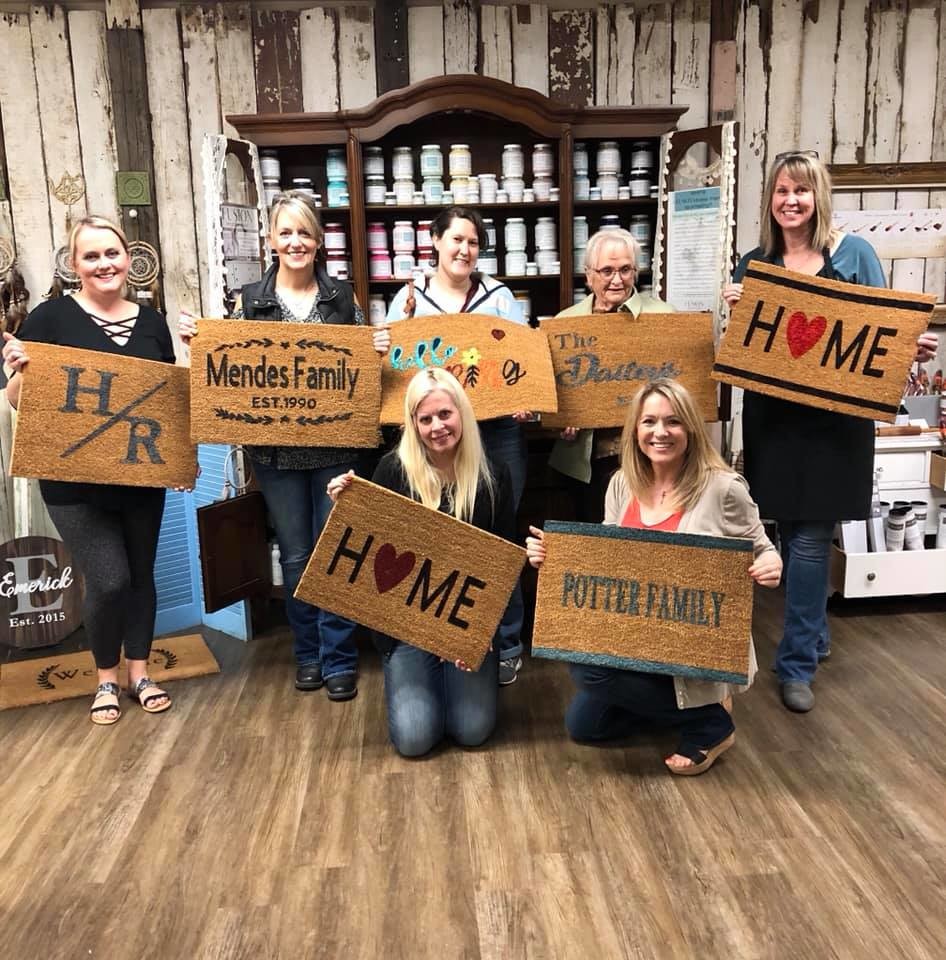
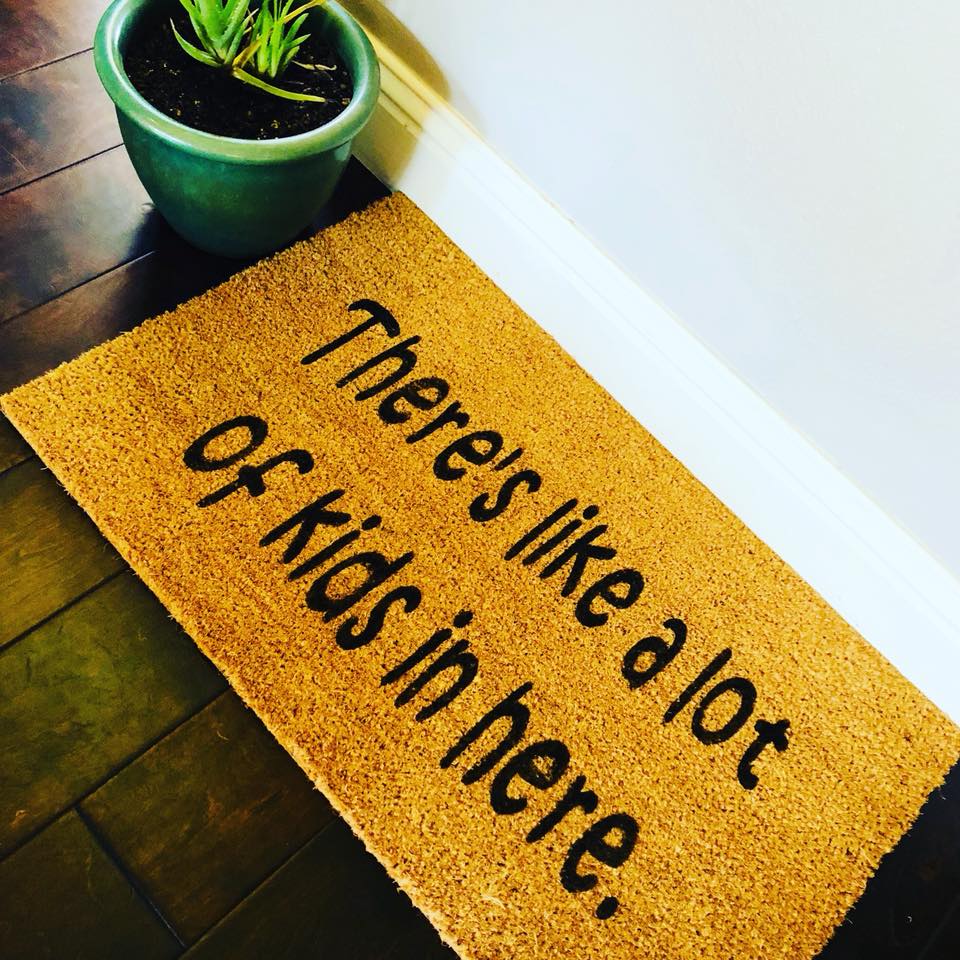
Workshop and Doormats by Makery 1900
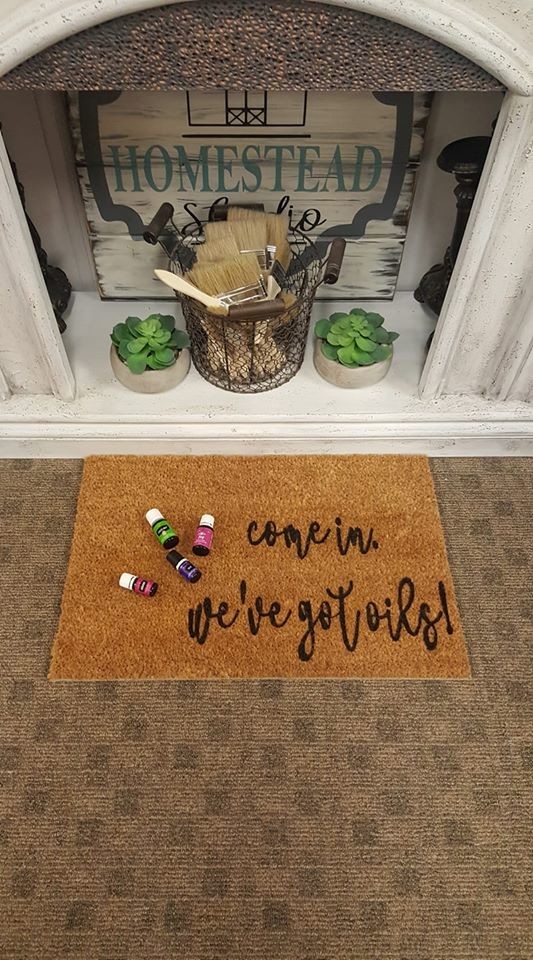
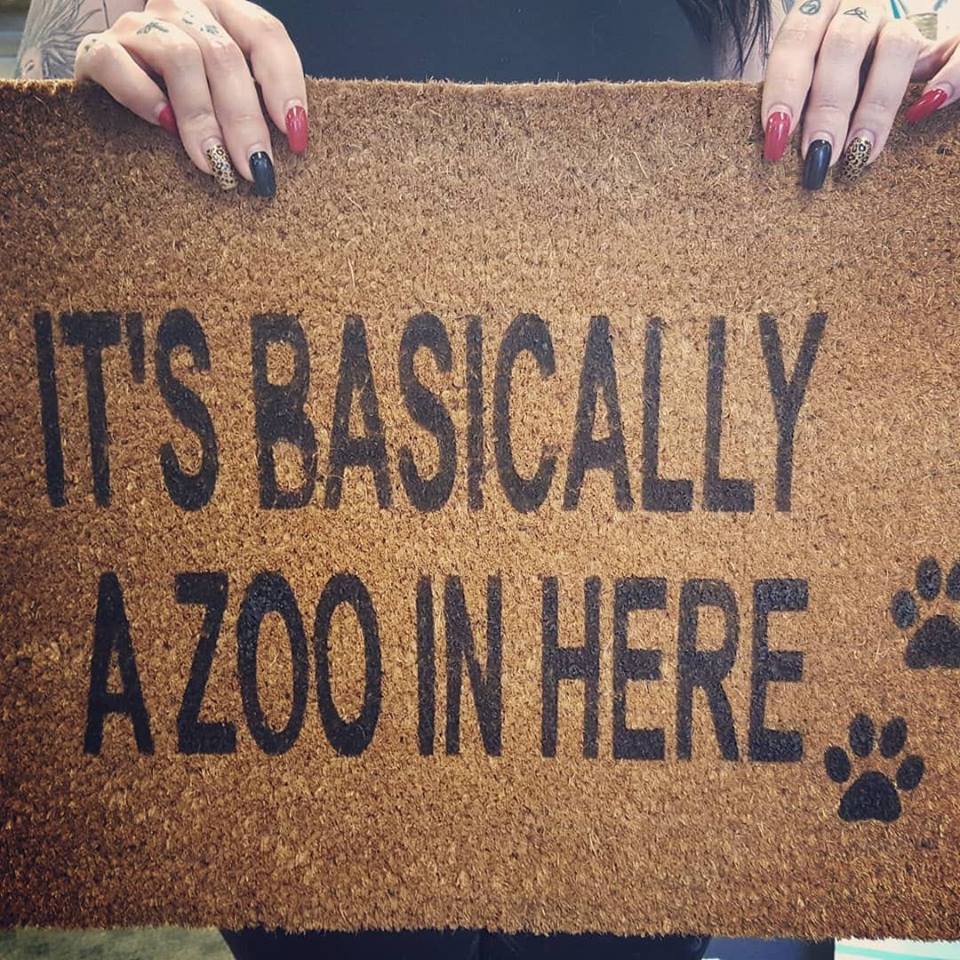
Doormats by Homestead Studio


One Response