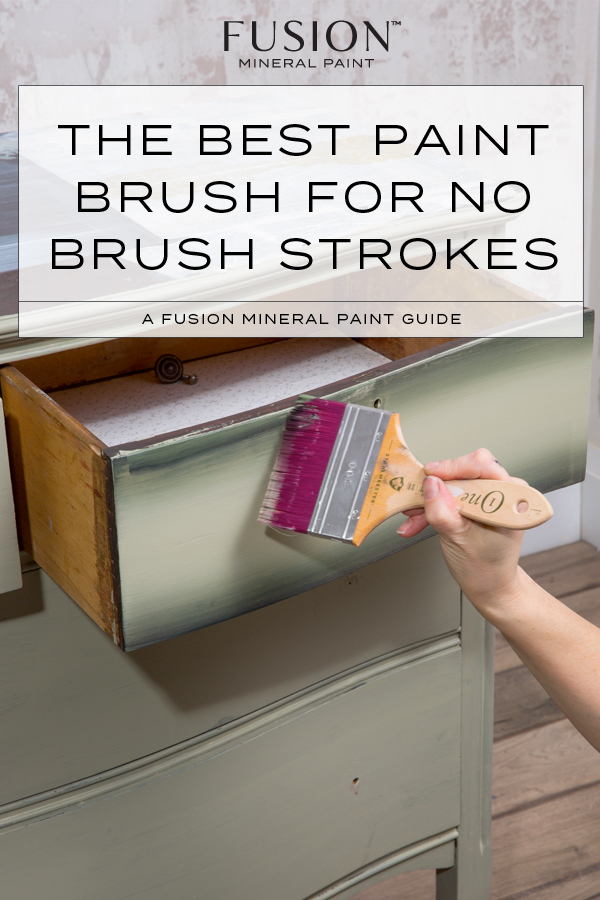
We’re always searching for the best paint brush for no brush strokes. Well, we have fallen in love with a paintbrush like we have never fallen in love with one before! When we tried out the Staalmeester Ultimate ONE synthetic brushes, it was like painting something for the first time again. No really. The Staalmeester Ultimate ONE synthetic brushes will change how you see paintbrushes and it is absolutely the best paint brush for no brush strokes! The blending and quality make of this brush is so good that Jennylyn could not stop raving about it when we got them in stock for the first time. But how does one use it? Well, we’re going to share our Top Tips for using the Staalmeester Ultimate ONE Synthetic brushes so that when you try one, you’ll understand why it is the best paint brush for no brush strokes.
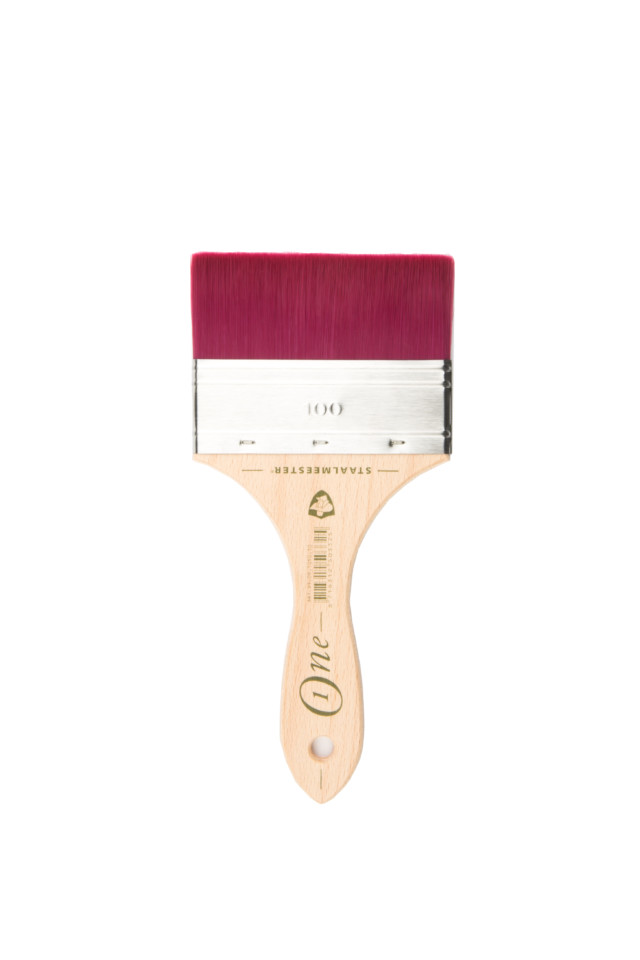
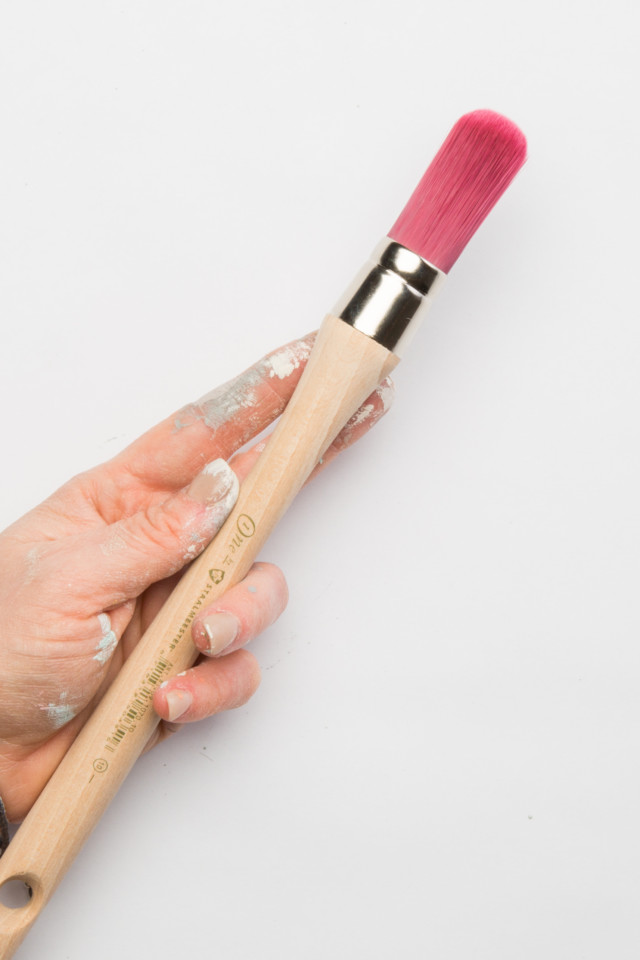
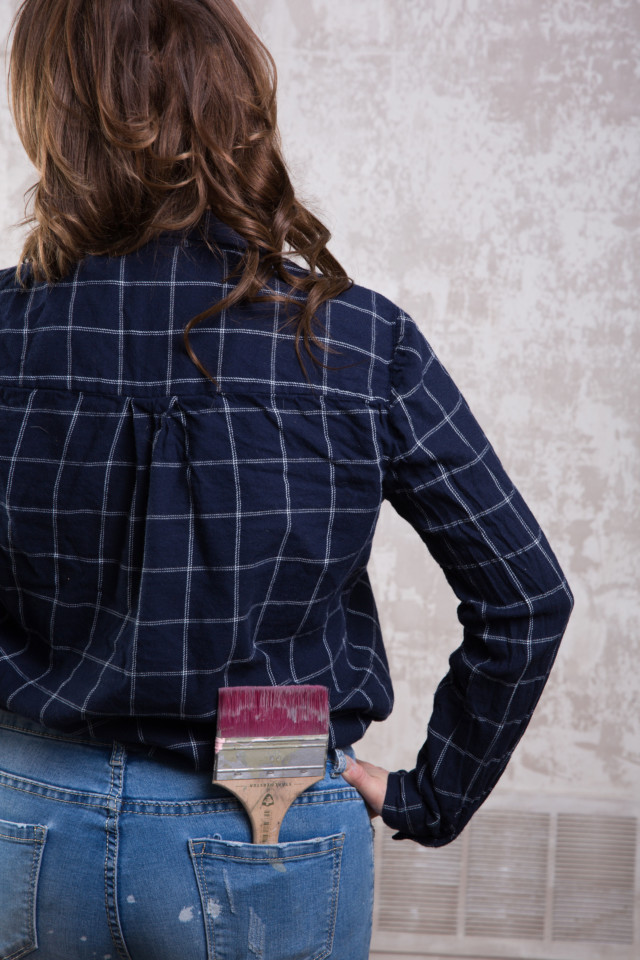
The two Staalmeester brushes that we will be talking about are the Staalmeester Flat Ultimate ONE Synthetic #10 and the Staalmeester Round Ultimate ONE Synthetic #16. Why are these the best brushes for no brush strokes from Staalmeester? Each of these brushes are made from a strong synthetic fine fibre that allows for precise coverage of Fusion Mineral Paint. They can be used for artwork, fine furniture, blending and dry brushing techniques, and more! They deliver such a smooth deposit of paint when you use them that they make blending a dream! With the Flat Synthetic brush you can achieve a chiseled straight edge covering a large area as it is 100 mm ( almost 4”) wide.
THE BEST PAINT BRUSH FOR NO BRUSH STROKES FROM STAALMEESTER
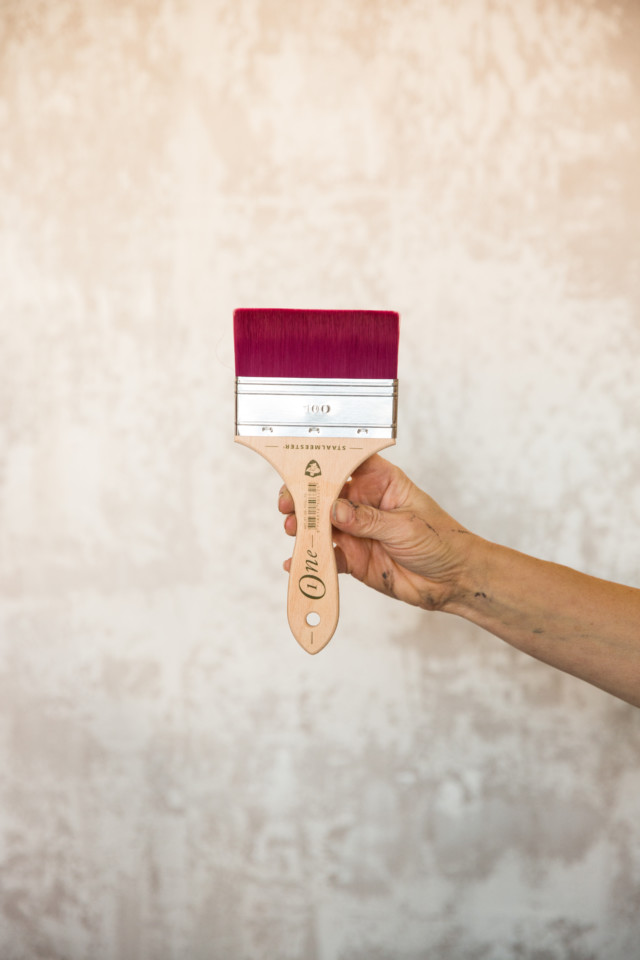
Staalmeester Flat Ultimate ONE Synthetic #10
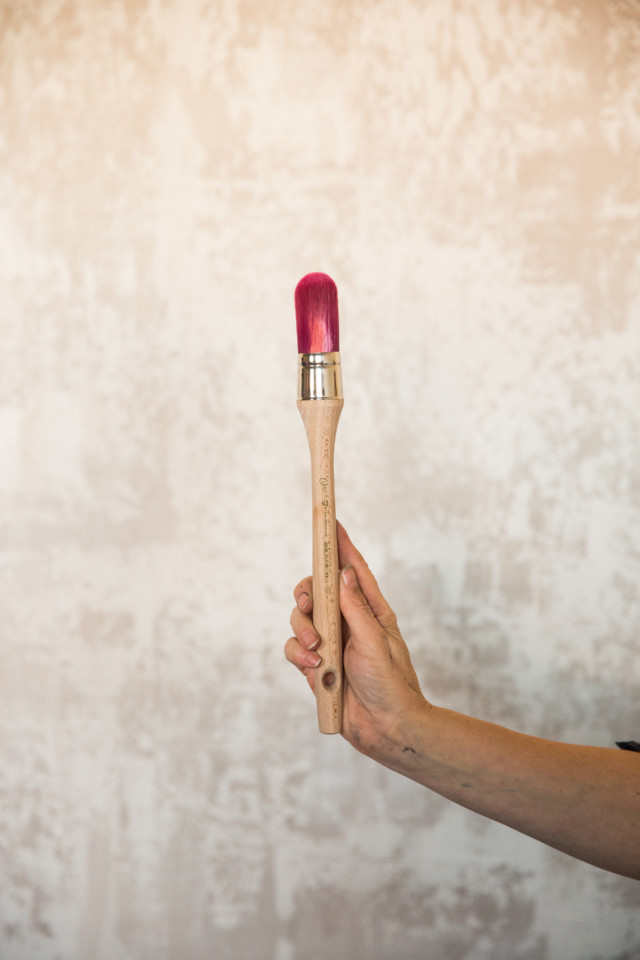
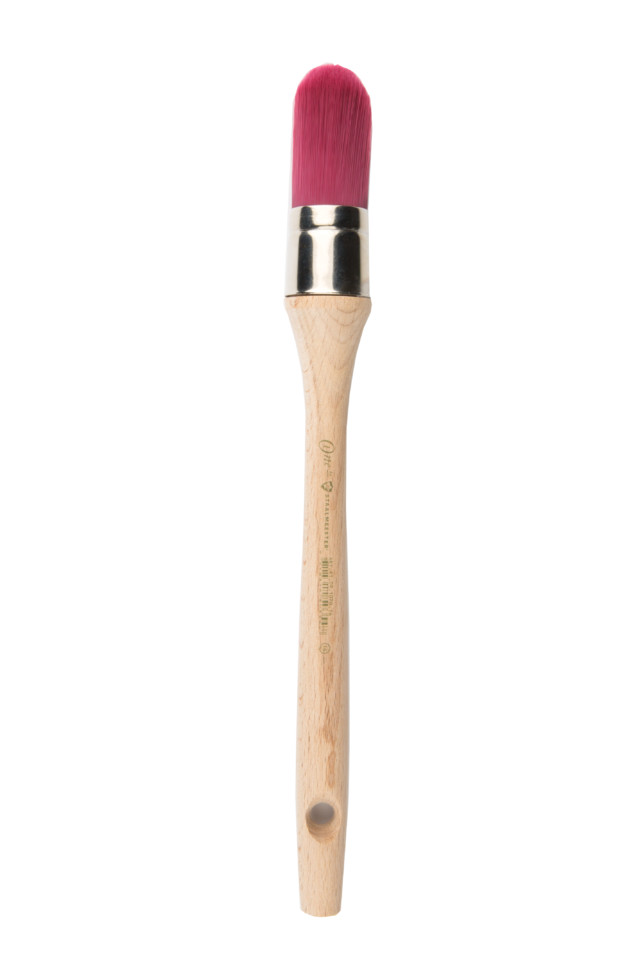
Staalmeester Round Ultimate ONE Synthetic #16
TOP TIPS FOR USING THE ULTIMATE ONE SYNTHETIC FLAT BRUSH
TIP # 1
LARGE FLAT SURFACES
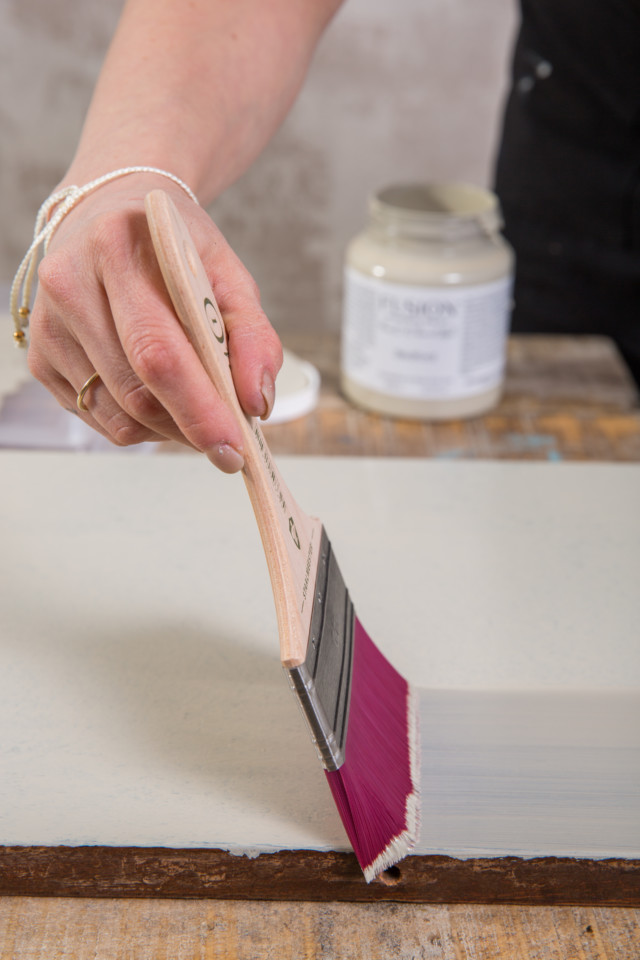
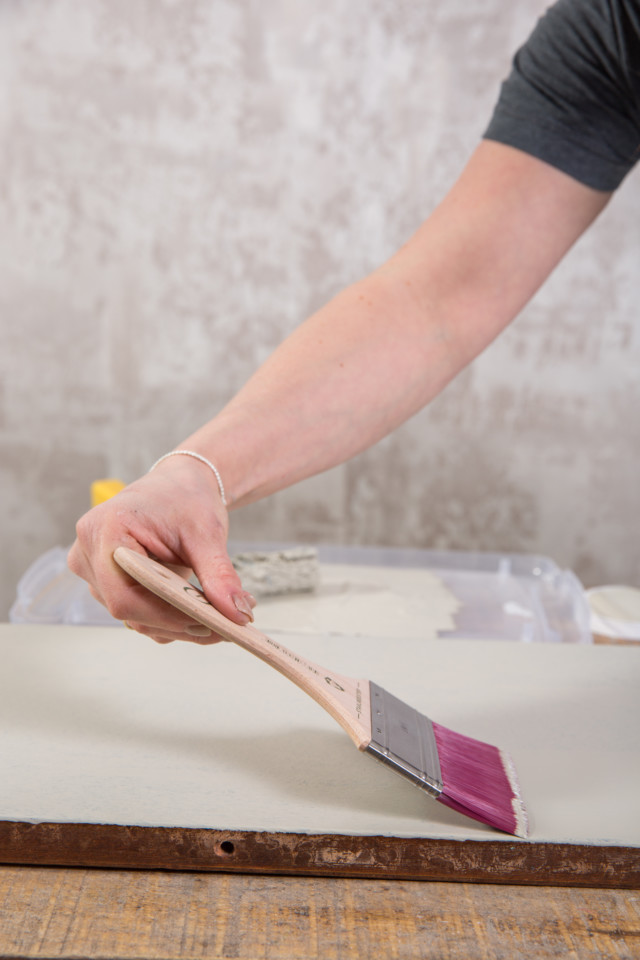
- For large flat surfaces, roll your paint on with a microfiber roller first to get even coverage. Then, lightly brush the surface with the Staalmeester Flat Ultimate ONE Synthetic #10. At this point you are not using any pressure, just sweeping the surface. Make sure to do this while the paint is still wet. If you need, to, you can spray some water to reactivate the paint, but don’t use too much or you may lift the paint off.
TIP # 2
BLENDING PAINT – METHOD # 1
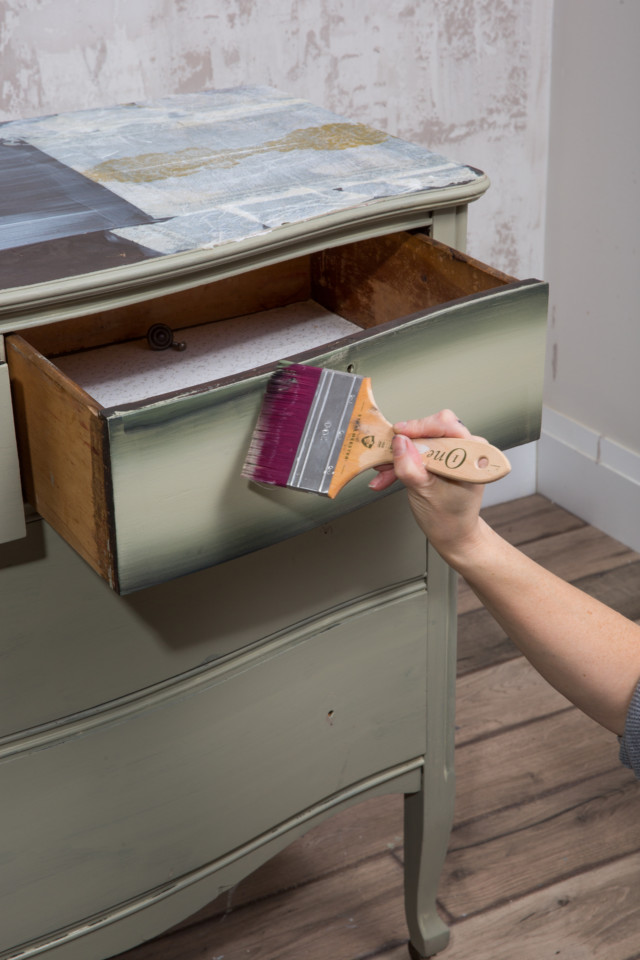
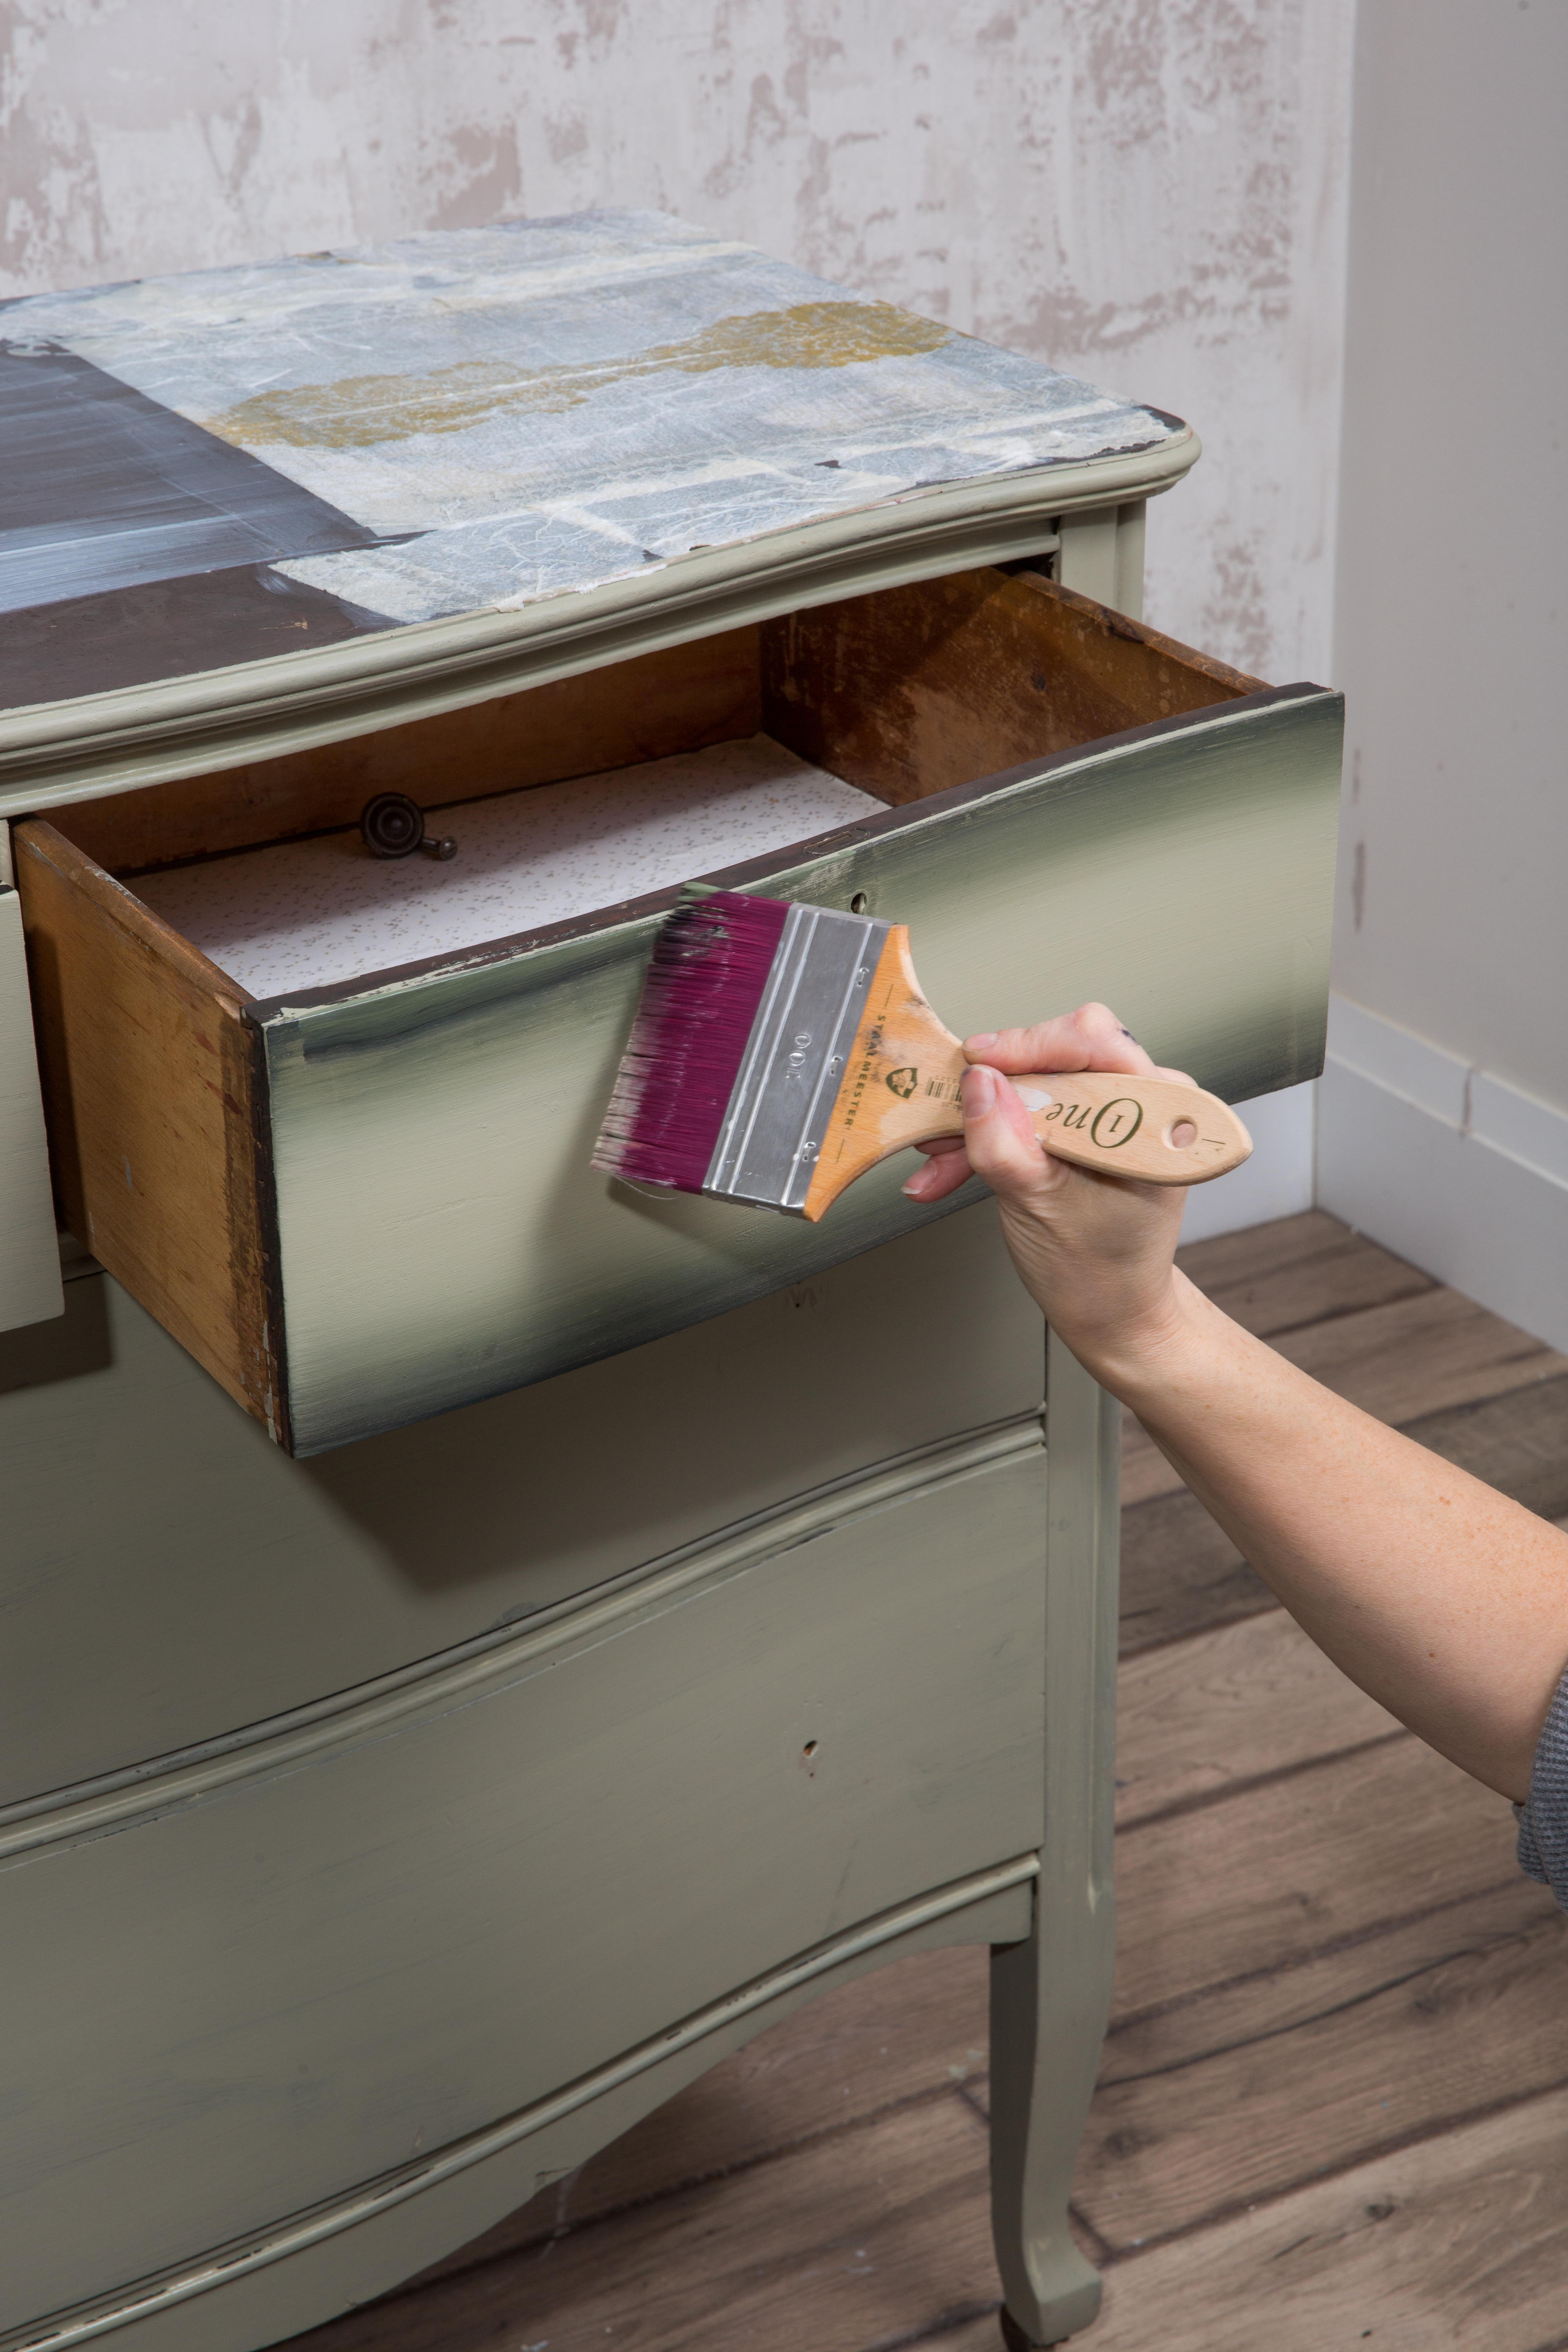
- For blending paint colors, you can use a couple different methods. The first is the simple way – and that is to brush your colors on the surface where you want them, using whichever Staalmeester brush you like. This was similar to the method that Jennylyn used on the ombré metallic vanity. She first brushed on Vintage Gold, Champagne Gold, and Rose Gold in the areas she wanted them. Then she used the Staalmeester Flat Ultimate ONE Synthetic #10 to seamlessly blend one metallic color into the next.
- NOTE: Once again, you can use a spray bottle with water to keep the paint activated for easy blending if you find the paint is drying too fast. To avoid lifting off the paint, spray the brush with water rather than the surface.
TIP # 3
BLENDING PAINT – METHOD # 2
- Make a palette of the colors you want to blend with before you apply the paint. Then dip your brush into the paint where you would like each color to end up. It’s similar to the ombré nail polish videos where the nail polish is applied to a makeup sponge, except here you would be using the best blending brush ever.
- Afterwards, brush your paint on and spray the brush with water to keep the paint activated and not dry. Remember, more brush sweeps equals a better blend.
TOP TIPS FOR USING THE ULTIMATE ONE SYNTHETIC ROUND BRUSH
TIP # 1
FLAT SURFACES
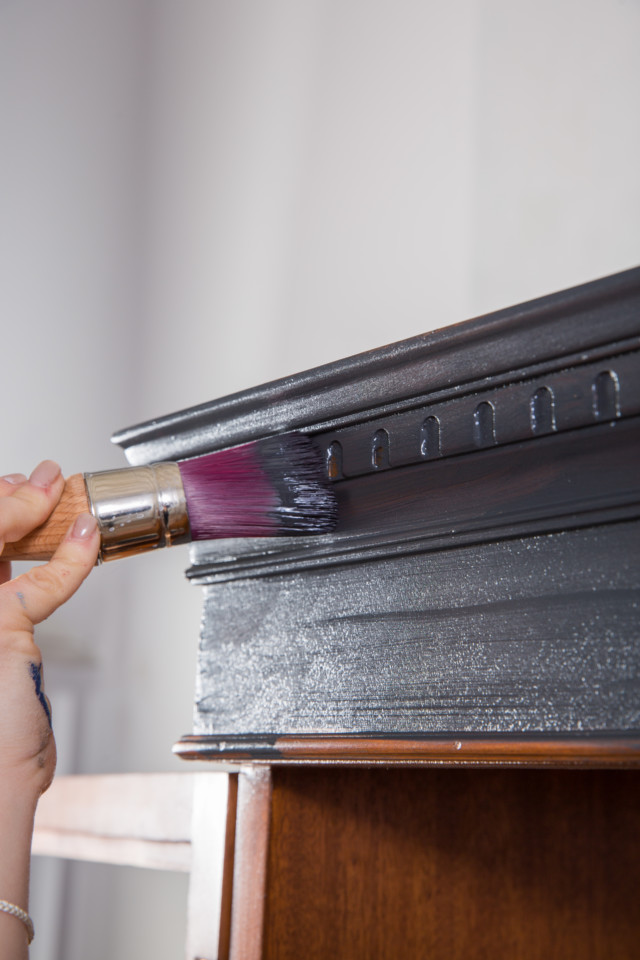
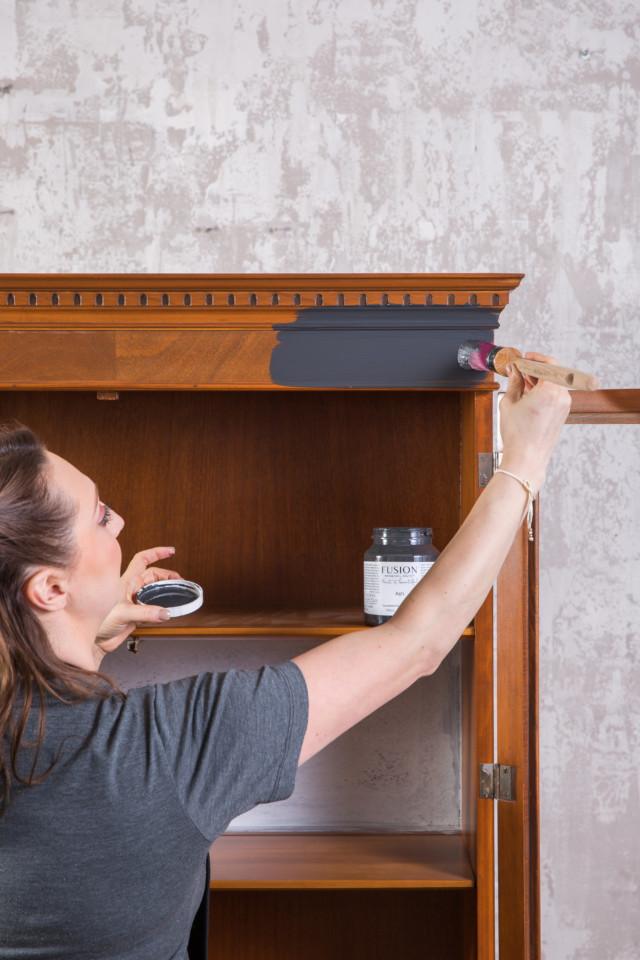
- For flat surfaces, make sure you don’t have too much paint on your brush. This magical Staalmeester allows the paint to flow off so smoothly that you barely need any paint at all to get great coverage. More paint could mean more drips and possibly more brush strokes too. As per usual, less paint is more!
- You also want to do your best to brush all the way across the surface, rather than starting in the middle of an area you already painted to avoid any lines or blotches in the middle of your surface. If you can’t reach all the way across your surface because it’s too long, just be sure to blend “into” the area that you already painted and also, do try to start in a dry spot versus a wet patch of paint. This is because if the surface is still wet, you risk adding too much paint and creating an uneven amount of paint in that area.
TIP # 2
EDGES
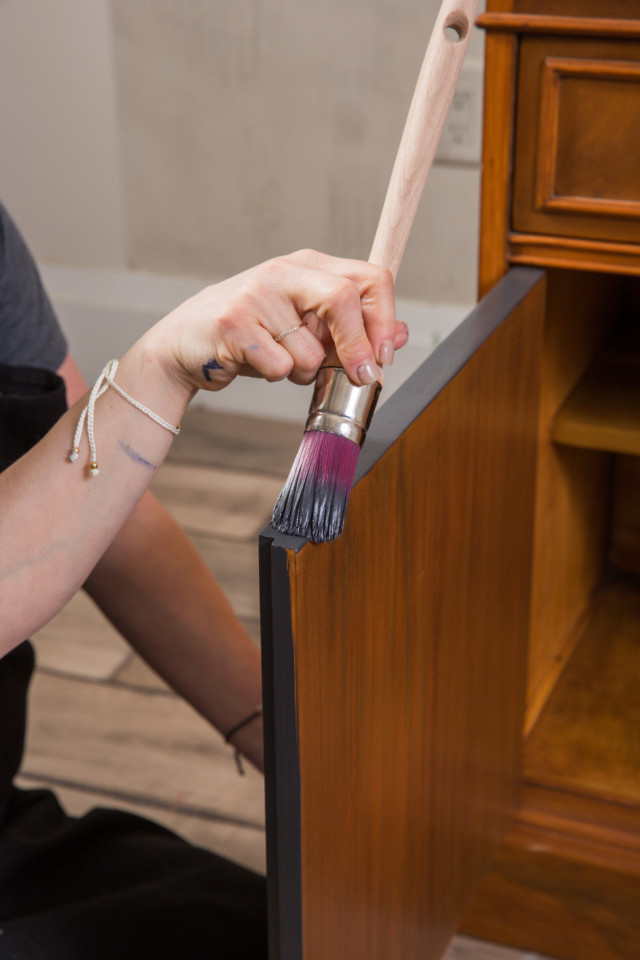
- As per flat surfaces, you really want minimal paint on your Ultimate ONE Synthetic Round brush. You almost want to be dry brushing so that you avoid overlapping and competing brush strokes on surfaces that meet at an edge (i.e. the brush strokes you get when you paint in two different directions.) This will also help you avoid drips!
TIP # 3
FIXING ANY MISTAKES
- The best mistake you can make is not using enough paint. Simply wait for the paint to dry and add another coat.
- If you’ve started and stopped in the middle of an area you already laid paint onto, you’ll likely see where you’re going to have brush strokes. Simply take your Staalmeester ONE Round brush and with very little (we mean VERY little, just enough to be wet) paint on the brush, softly run the brush across the surface in the direction of your brush strokes (horizontal or vertical). It only takes a little bit of pressure to even the paint out. The beautiful synthetic bristles do most of the work!
- The last thing you might be doing is using too much paint and it’s another thing you’ll notice right away. You may see bubbles, and drips or you’ll again notice brush strokes. Simply remove as much paint as you can from your brush’s bristles and then use it to smooth out the surface as mentioned above. Please note, you can actually remove paint by doing this method so be sure to scrape off the paint from the brush every few strokes. What’s even easier is if you haven’t painted the whole surface yet. You can just continue to spread the paint onto the rest of the surface, no need to dip your brush again.
We hope these tips are helpful for you to use the Staalmeester Ultimate ONE Synthetic brushes. We are absolutely positive you will fall in love with them like we have! If you want to achieve that perfect
PIN IT FOR LATER!
If you have finished any project using these brushes, share them with us in our Paint it Beautiful Facebook group or tag us on social media with #FusionMineralPaint and #PaintItBeautiful


Very nice wrіte-uρ. I definitely appreciate this website.
Keep it up!