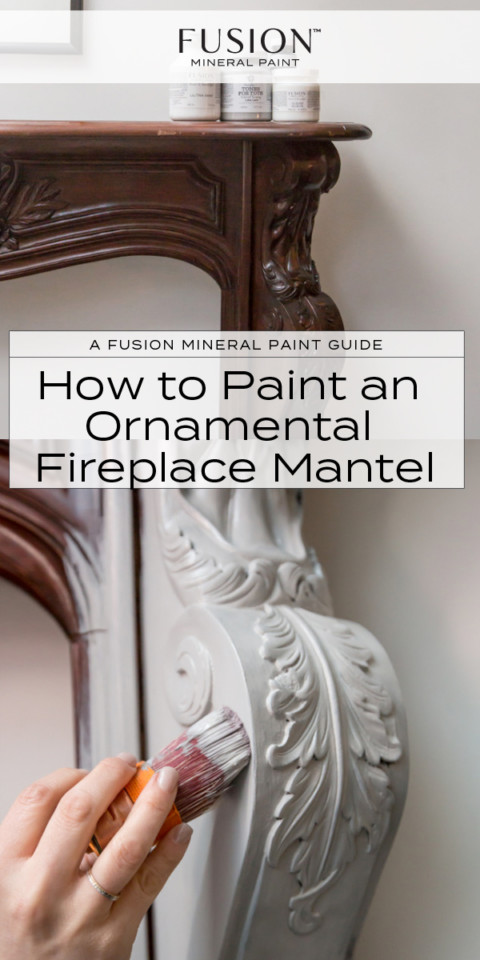
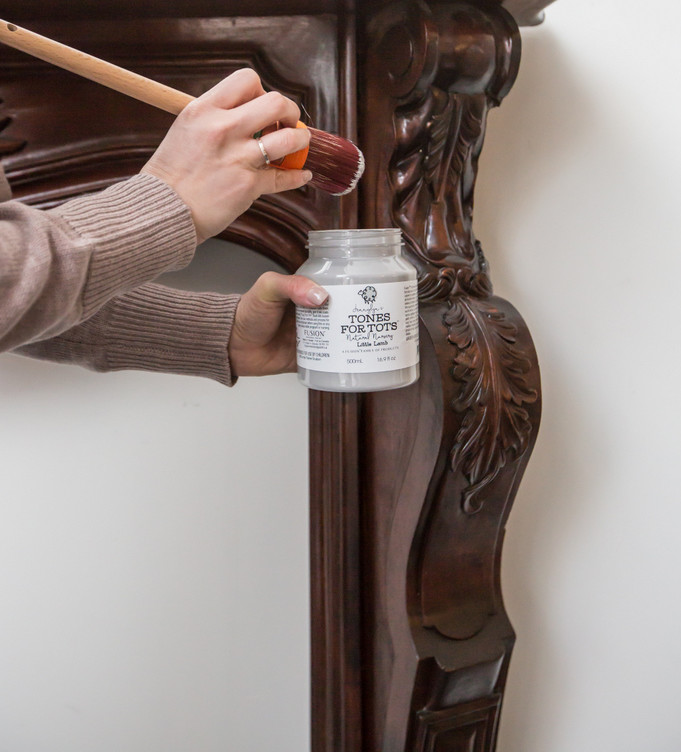
Let’s talk about painting fireplace mantels! We get a lot of questions about this topic. Lots of people have old worn-out fireplace mantels that have seen better days. We’re going to show you how to paint an ornamental fireplace mantel with Fusion because we want to not only share the technique but answer some questions you may have about how Fusion Mineral Paint holds up with the heat. And of course prep? Do you need to use Ultra Grip? What if you want to embellish the details such as wood decals and other ornamental details on the fireplace mantel? Well, we are going to show you exactly how to paint an ornamental fireplace mantel! Jennylyn Pringle went to one of our favourite stores Home Smith and we photographed the whole tutorial there.
Disclaimer: Fusion is not a heat-rated paint and should only be used on areas well away from high heat and flames.
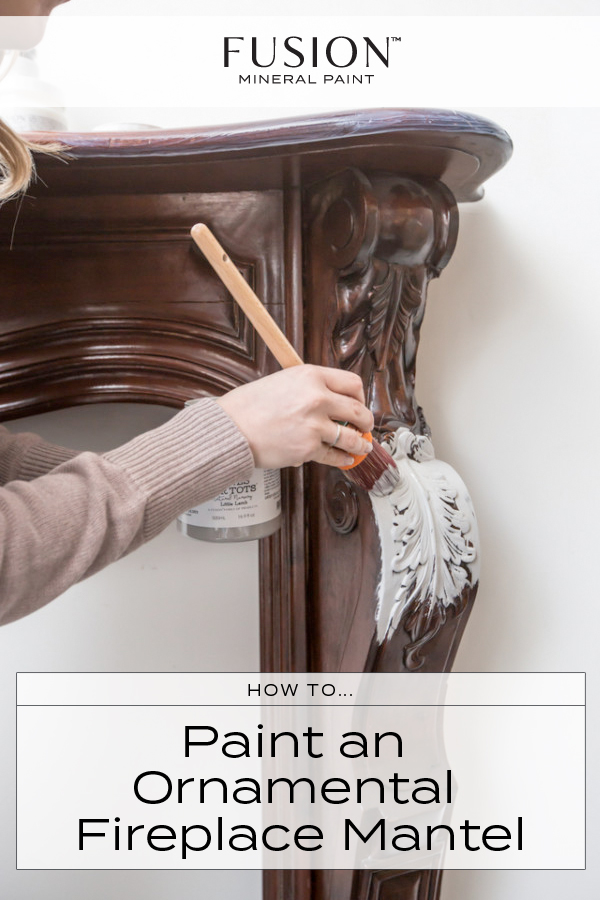
How to Paint an Ornamental Fireplace Mantel with Fusion
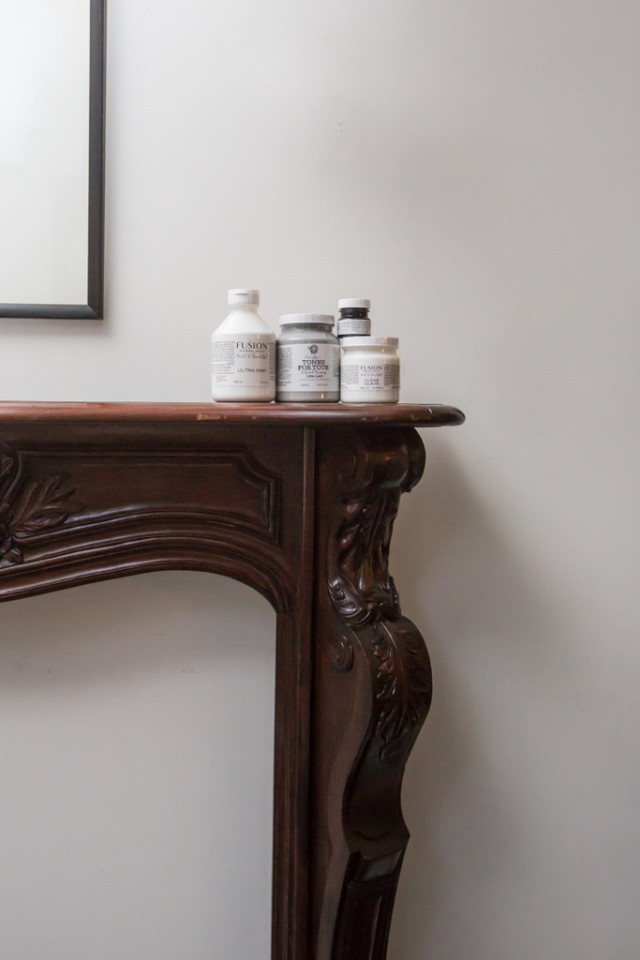
ITEMS YOU NEED FOR THIS PROJECT:
- TSP
- Ultra Grip
- Fusion Mineral Paint in Little Lamb
- Fusion Mineral Paint in Coal Black tester size
- Fusion Clear Glaze
- Bowl for mixing
- 1 brush for Ultra Grip
- 1 brush for painting
- 1 brush for glaze
STEP 1
CLEAN AND DE GREASE
This fireplace mantel was a shiny, ornamental surface that we knew scuff sanding would not work on. So here is what did instead. As with all furniture pieces, always start with cleaning and PREP – our favourite 4 letter word. Our Fusion brand TSP is the perfect tool for cleaning any residue, grease, grime and oil from the surface of the object you are painting. Do not skip this step. We cannot emphasize prep enough, especially because we are not sanding or scuffing the surface.
STEP 2
ULTRA GRIP
In regular painting circumstances, our Ultra grip doesn’t normally need to be used. However, this piece had a very shiny finish that could not be removed with a scuff sand. It also had a lot of ornamental detailing that was pretty much impossible to scuff and get around without a lot of time and effort. Other finishes such as melamine or thermofoil are also surfaces that can’t scuff sand and this is where Ultra Grip comes into play. Ultra Grip makes surfaces that are hard to paint, and easy to paint.
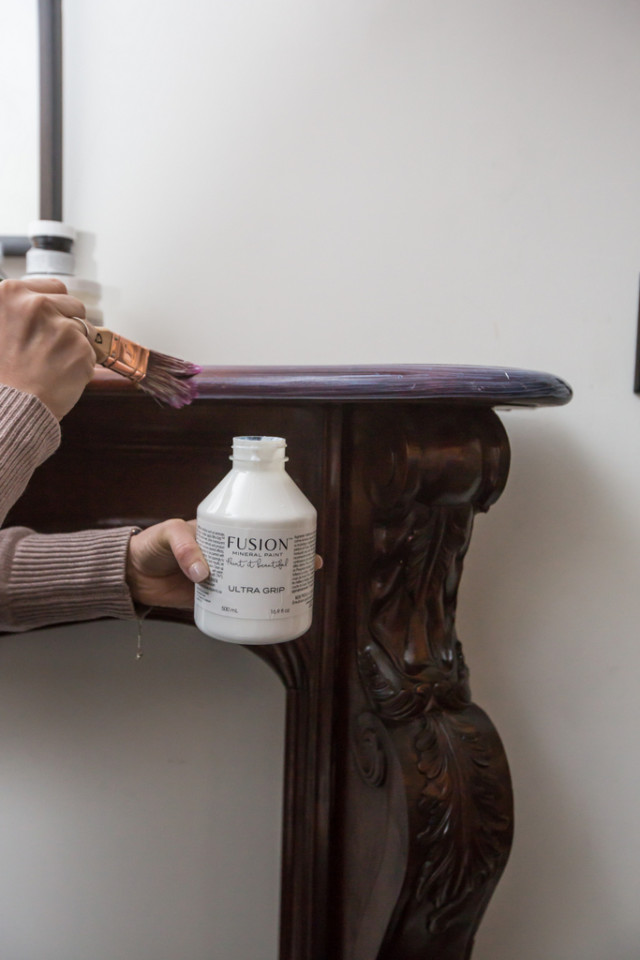
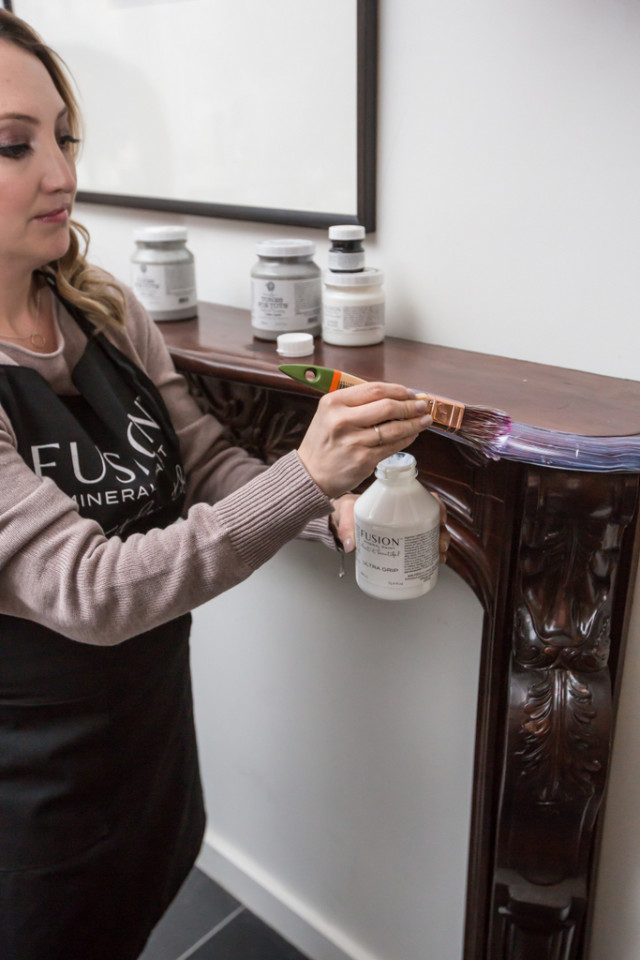
Apply Ultra Grip in a very thin layer. So thin that the normally white liquid goes on clear, it almost looks purple when you first apply it but within a minute it goes clear. The most important part with Ultra Grip is to ensure a very thin layer is applied, don’t apply it thickly like you might paint as it tends to hold any texture you give it with your application technique. Let it dry for 12 hours to ensure it has had the time it needs to bind to the original finish for the best results.
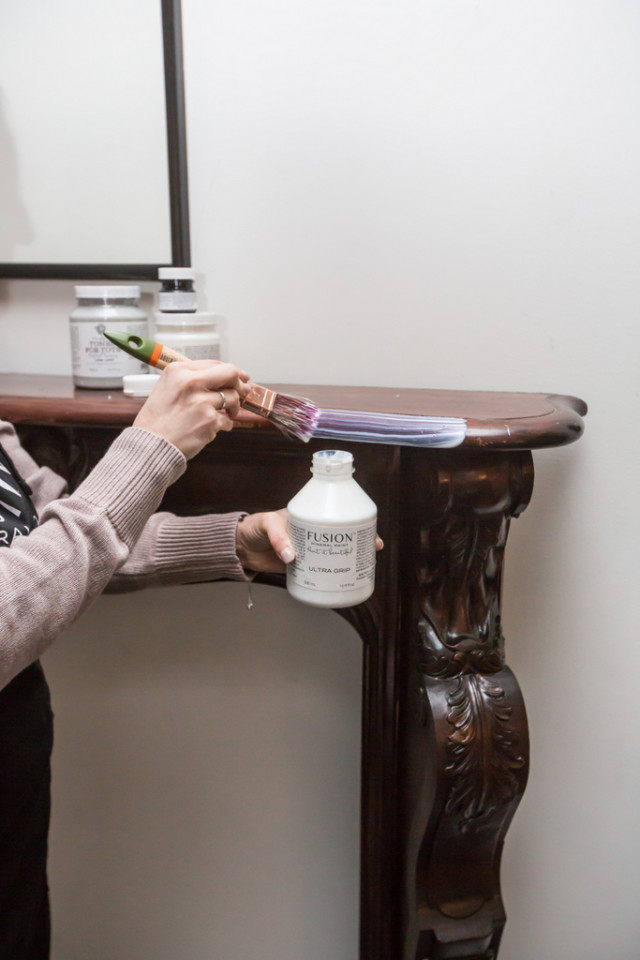
This is WAY TOO much on the brush! Do not apply it so you can see lots of white, you should see very little and it will look almost purple.
STEP 3
PAINT!
Once your Ultra Grip is dry, you won’t even notice that it was painted, it will be clear looking.
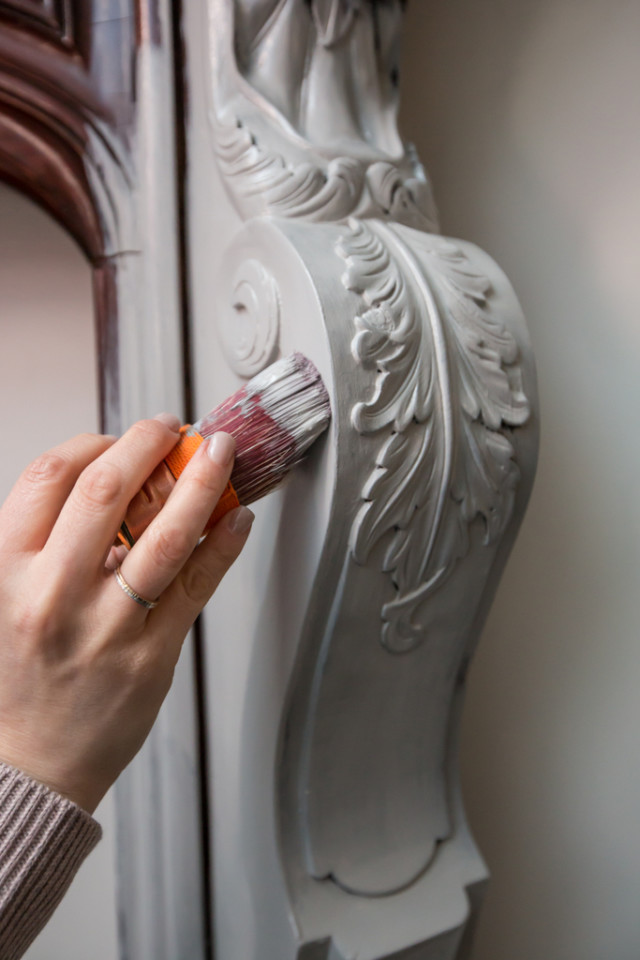
The colour we chose to paint our ornamental fireplace mantel was Fusion’s Little Lame. It’s definitely not just for kids and is a beautiful soft grey. We used a Staalmeester #45 oval brush for this because this particular brush has a round tip that is amazing for details and because it’s a little wider in one direction, it also works well for flat surfaces. A dual-purpose brush if you will.
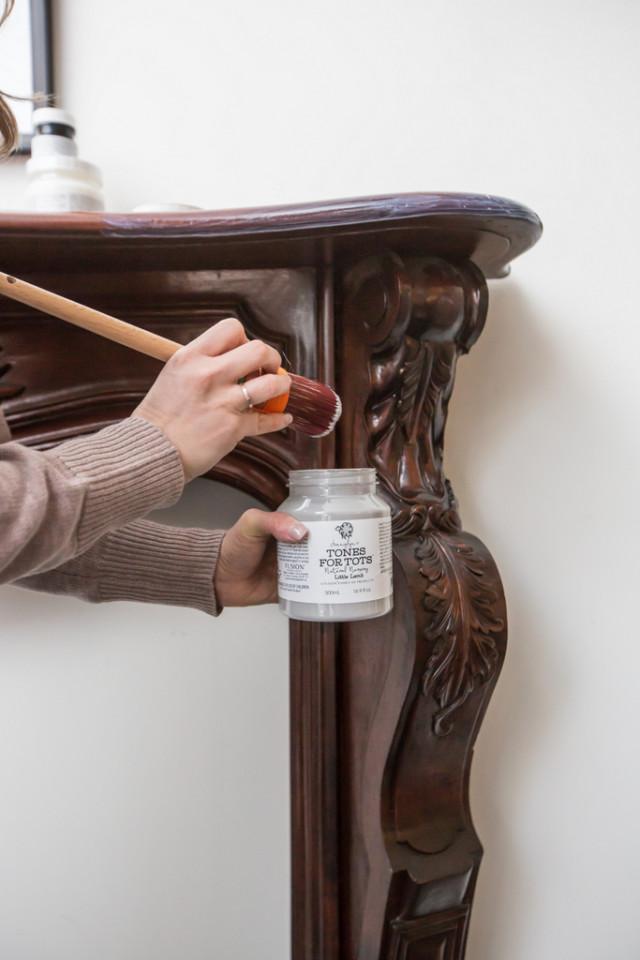
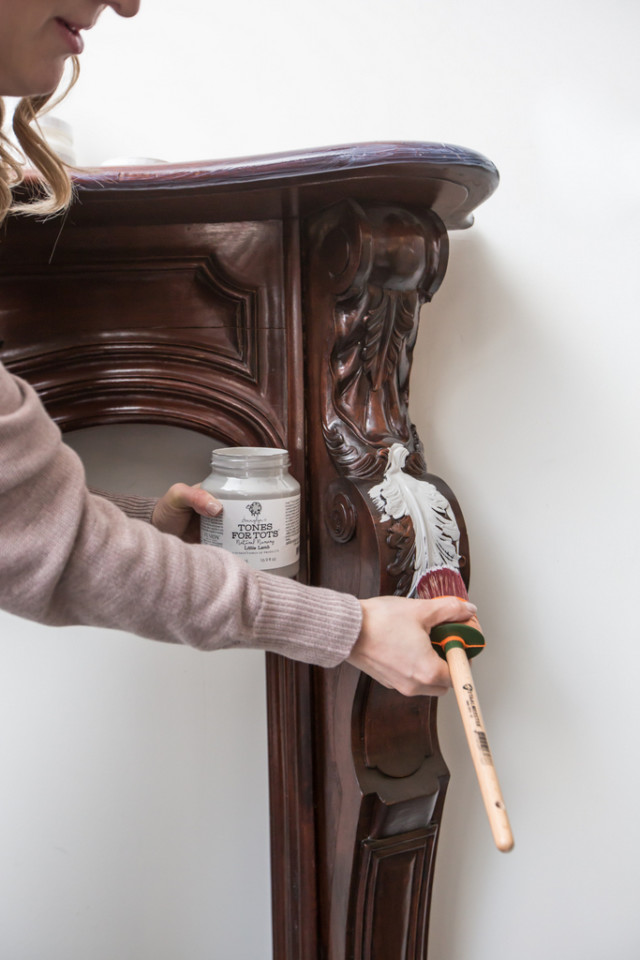
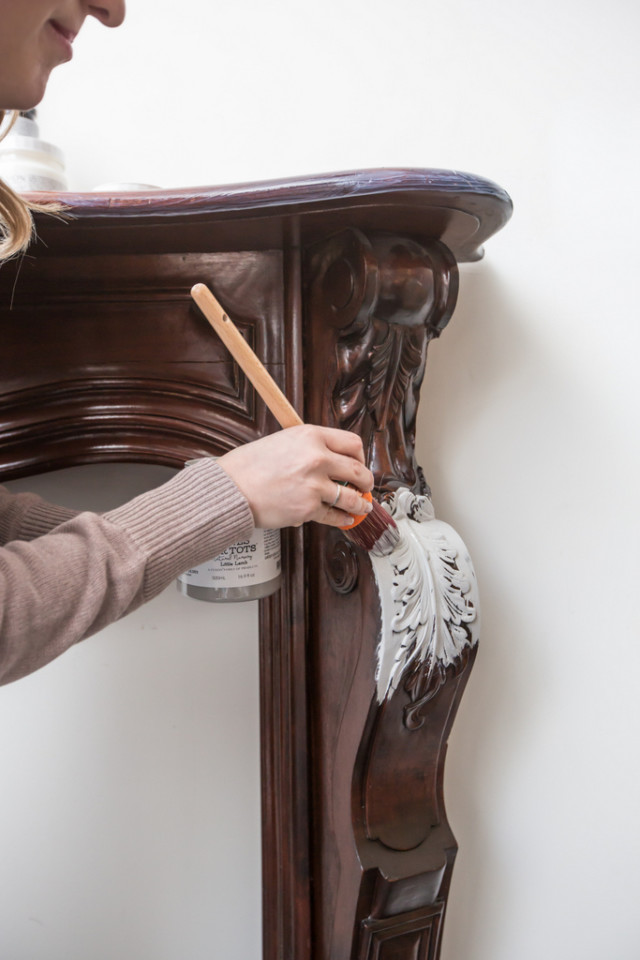
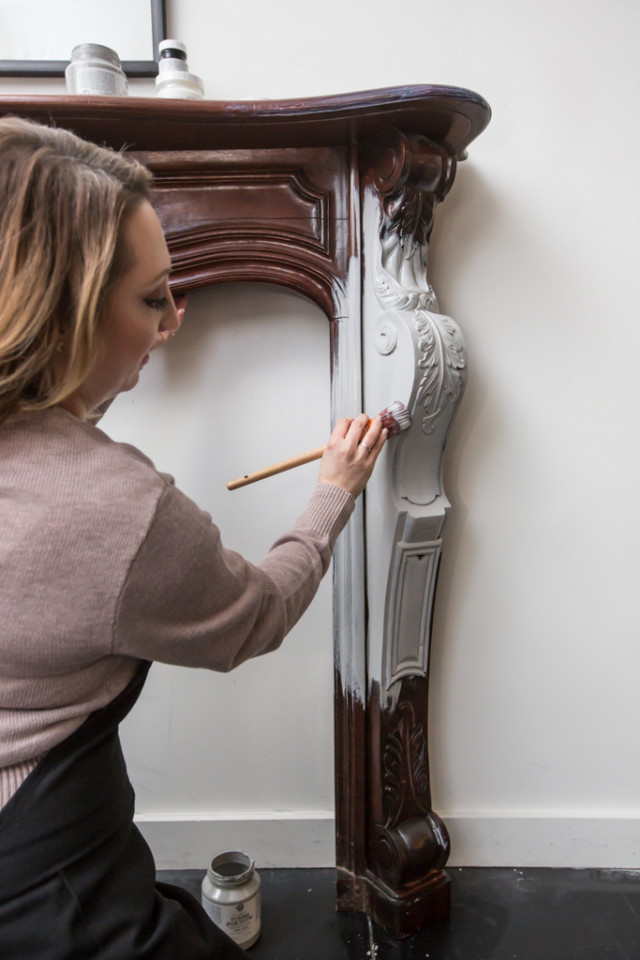
It only took us one coat with Fusion in Little Lamb to paint the fireplace mantel because the coverage of Fusion is that amazing!
STEP 4
MIX THE GLAZE
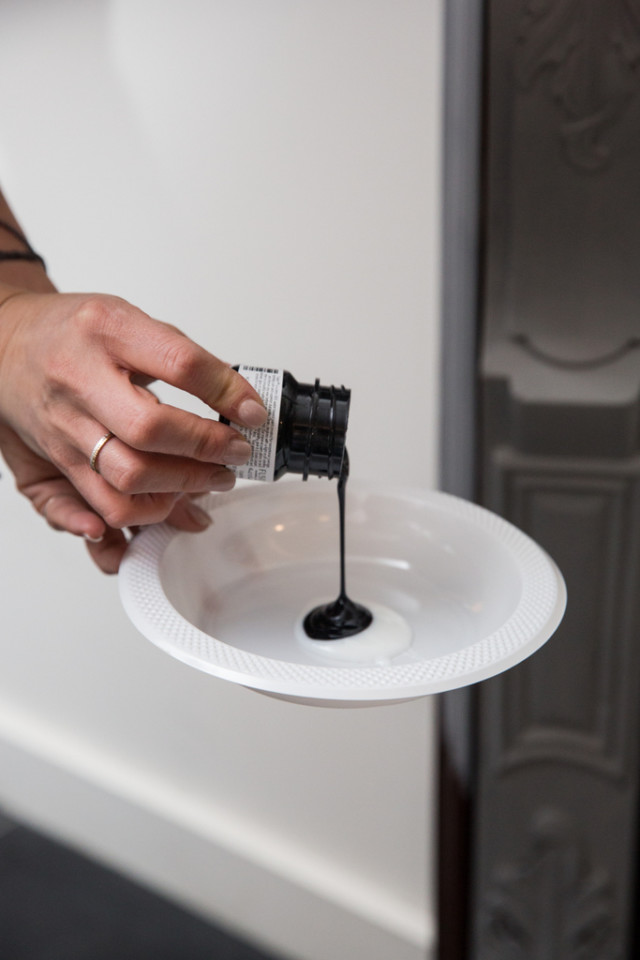
A little bit of our glaze goes a long way, so we poured some of our Fusion Clear Glaze into a separate container to work from. Then we poured Fusion in Coal Black from a tester – but we did not use the whole tester! The pigment in the Fusion Mineral paint is really intense so it only takes a very small amount of paint to tint the glaze. This is again, another testament to the great value of Fusion!
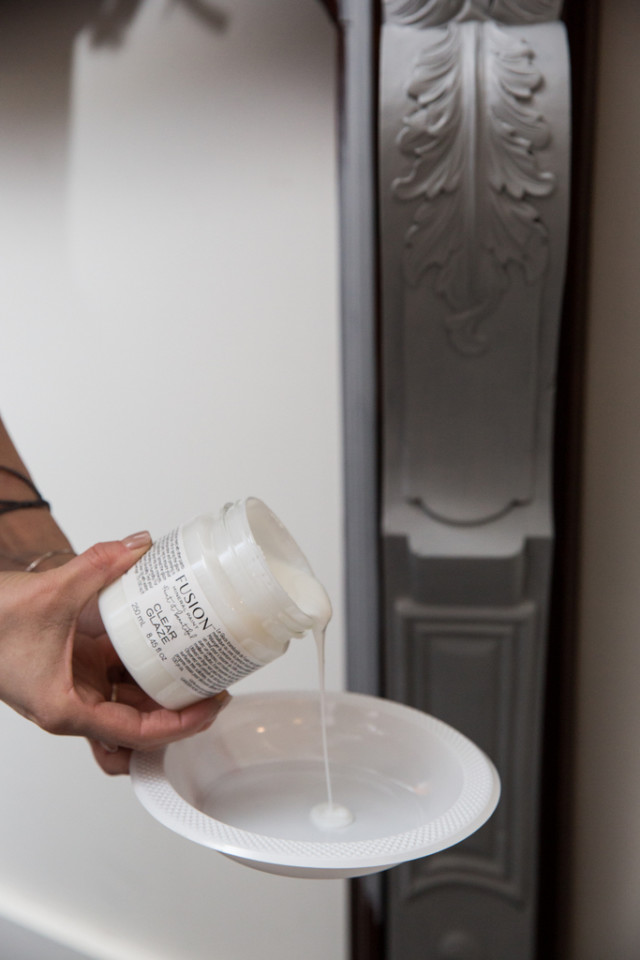
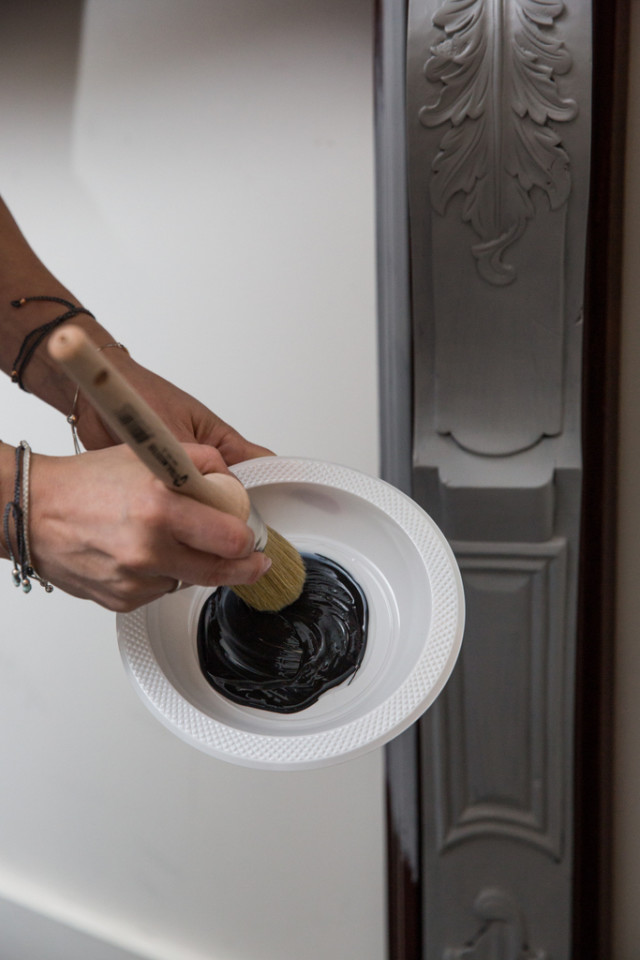
We thoroughly mixed both the Glaze and the Coal Black paint. a Good rule of thumb is 4 parts glaze to 1 part paint. A part can be anything you want, a tablespoon, or a cup!
STEP 5
APPLYING THE GLAZE
For this part, we used a natural bristle, round Staalmeester brush. Why natural? Because it holds more product on the brush. We knew that we were going to be removing some of the glazes after, so at this point, we’re not worried about getting a smooth application. The natural Staalmeester brush natural soaks up the glaze/paint mixture and this means we don’t have to dip to get more product as often.
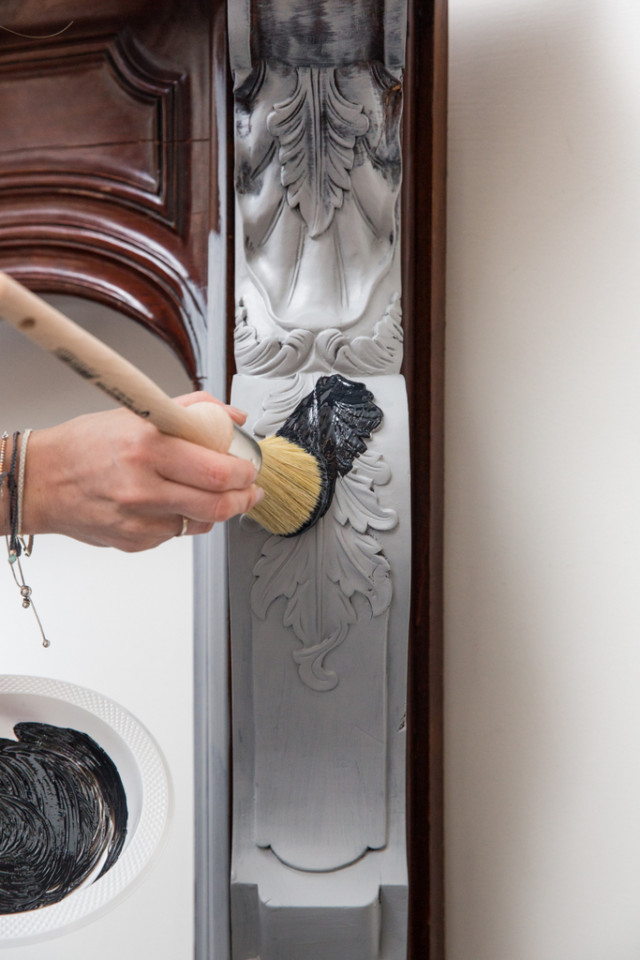
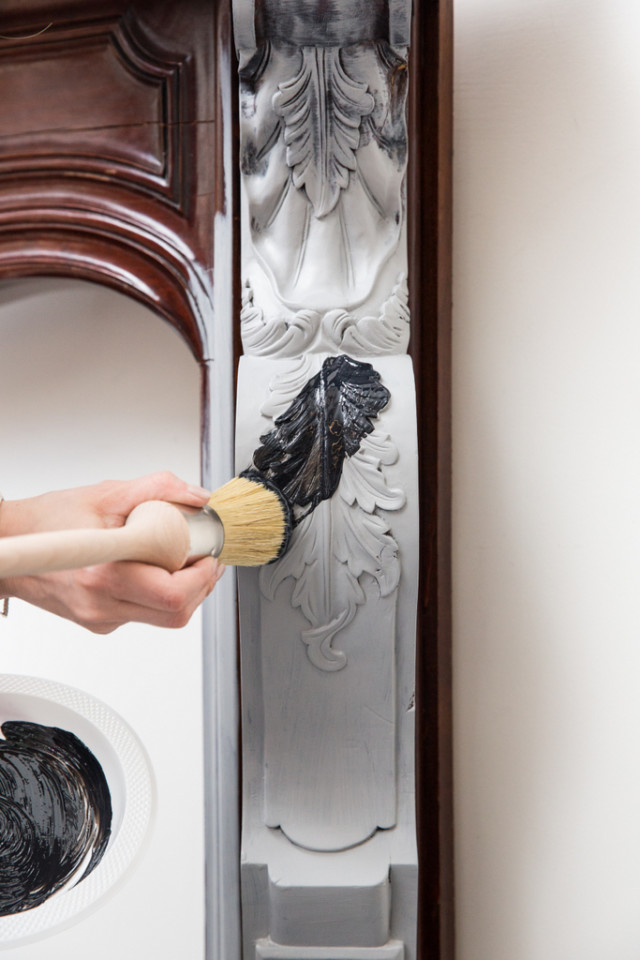
We want to warn you, this technique can be messy. You want to get the glaze into all the crevices so swirling your brush in circles is encouraged. Don’t be afraid if it looks like a big mess. This is perfect!
STEP 6
REMOVE THE EXCESS GLAZE
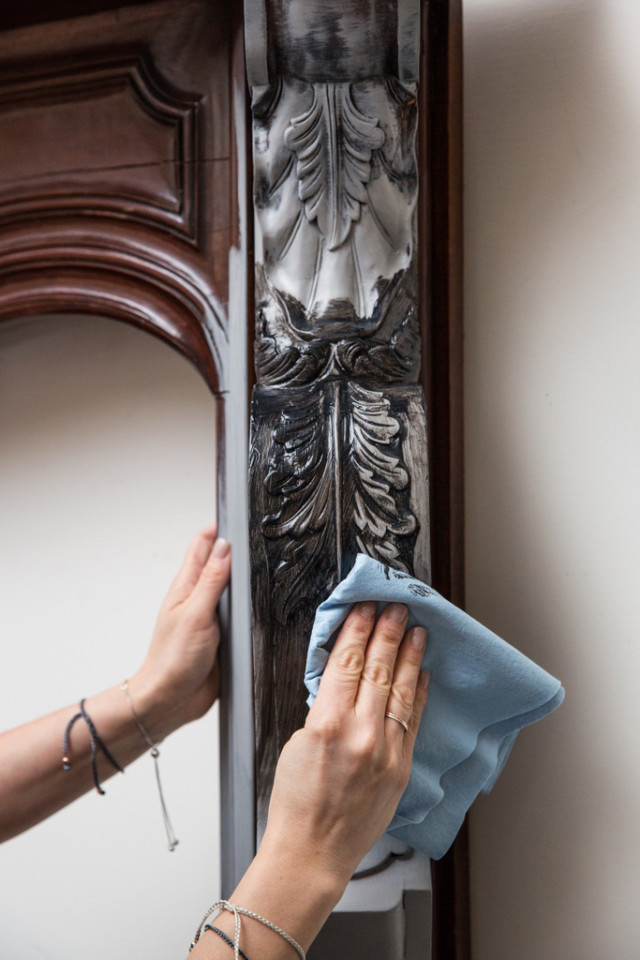
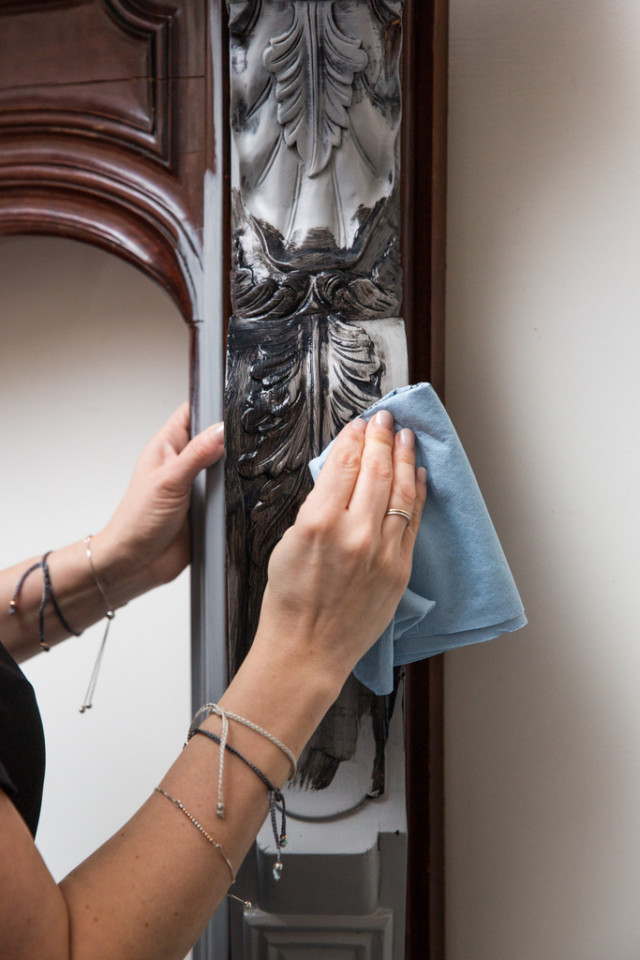
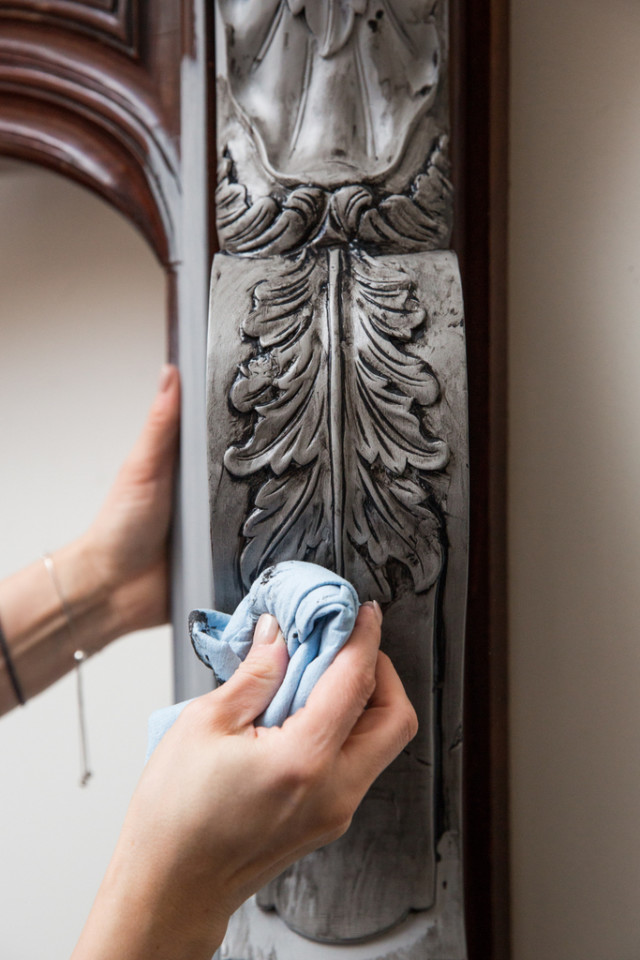
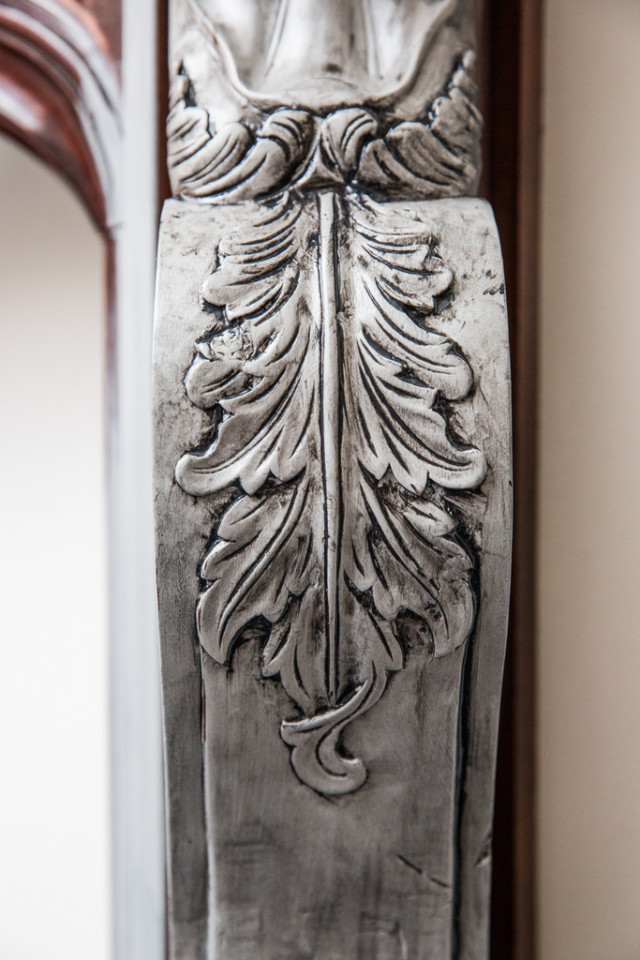
We used a lint-free shop cloth to remove the excess glaze. The glaze has a really long open time which means it takes a long time to dry. So you have lots of time to get it to look the way you want it to. Wiping it away will remove the glaze from the higher areas and the recessed details will have the darker glaze left behind, making it look antique and aged.
STEP 7
Let it dry and enjoy your new fireplace mantel!
CAN YOU PAINT A FIREPLACE WITH FUSION MINERAL PAINT?
Fusion is not flammable, but it also is not heat-rated. So we do not paint anything that will be in direct contact with flames as this will very likely ruin the paint. We don’t recommend painting radiators because the paint is not tested to see how that will stand up over time.
In fact here are some amazing fireplace mantels that were painted using Fusion Mineral Paint, shared in our Paint it Beautiful Facebook group and from our Fusion merchants.
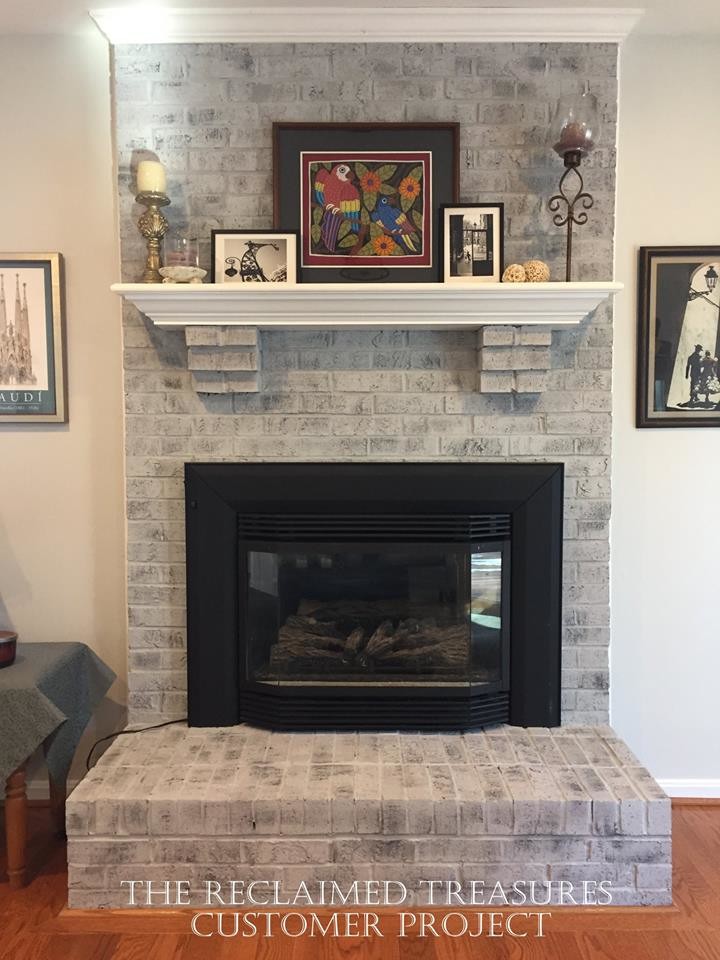
Source: The Reclaimed Treasures
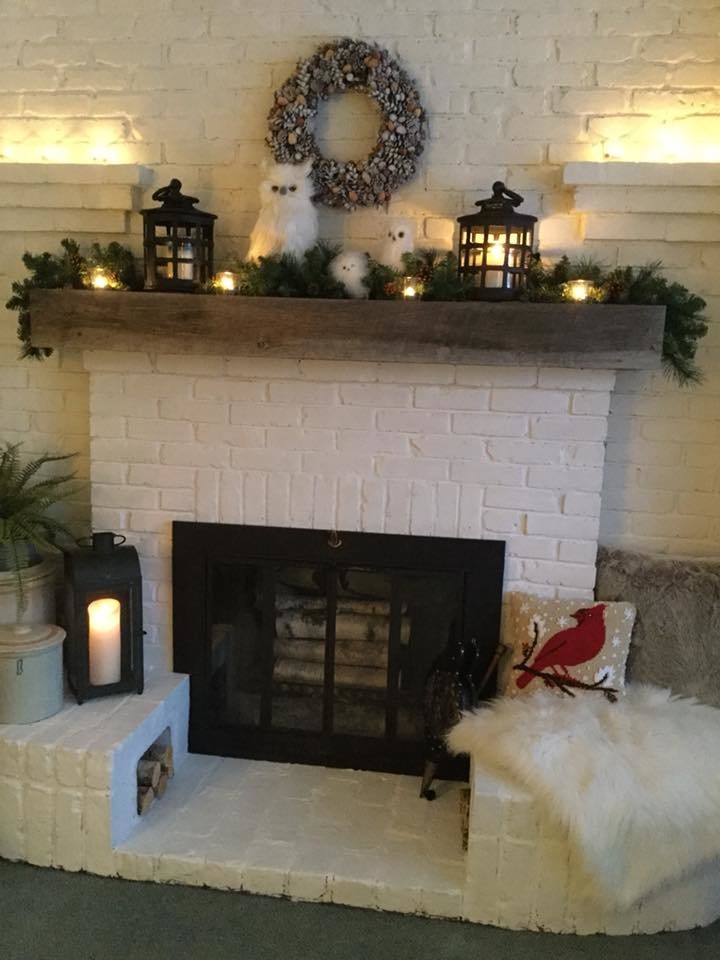
Source: Paint it Beautiful – Leona Malone
If you have ever painted a fireplace mantel we would love to see it! Share it with us in Paint it Beautiful!
PIN IT FOR LATER! “How to Paint an Ornamental Fireplace Mantel with Fusion”
