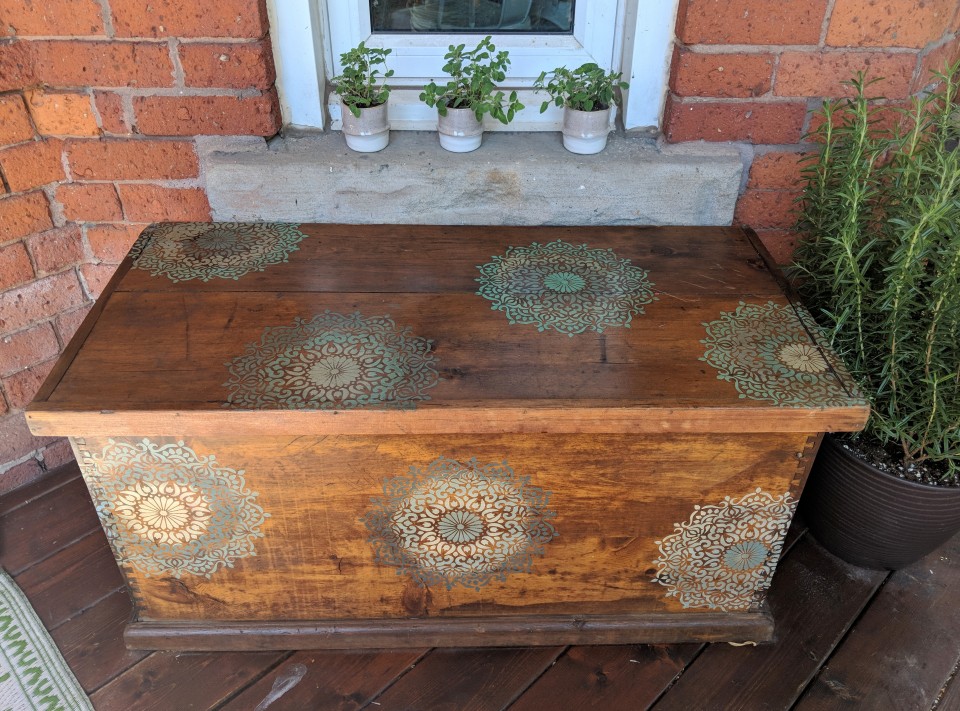
One of the things we love to do here at Fusion Mineral Paint is make old things new again. Whether it’s a roadside dresser find or old picture frames. We have all the products to update old items and give them a new lease on life! We loved bringing an old wooden chest back to life – today we are sharing a DIY Stencilled Outdoor Chest.
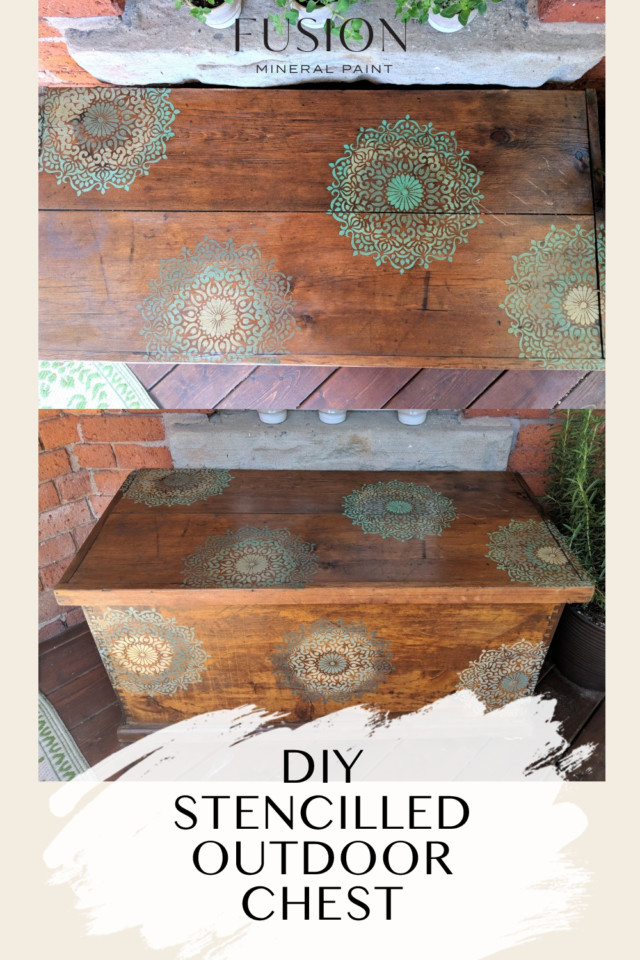
That’s just what we did with this wood chest. It was quite dry, quite old and needed a bit of TLC to restore it to its former glory. We decided to do it using a Mandala stencil.
Mandalas are Hindu or Buddhist graphic symbols of the universe. A graphic and often symbolic pattern usually in the form of a circle divided into four separate sections or bearing a multiple projection of an image. Mandala art is everywhere right now and we can see why! It’s just gorgeous!
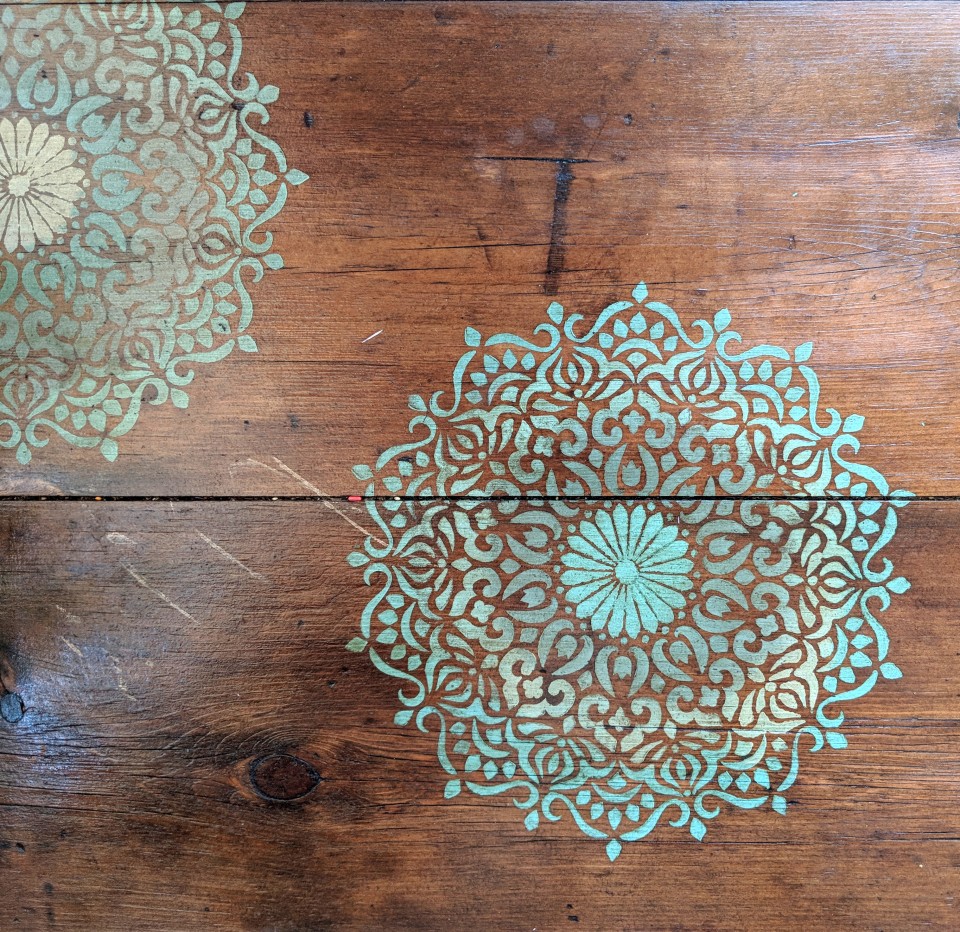
Items needed to make your DIY Stencilled Outdoor Chest
- Fusion Mineral Paint in colors of your choice (we used Azure, Inglenook and Raw Silk)
- Staalmeester Ovol brush for blending a flat paint brush for the oil
- Mandala stencil from Muddaritaville Studio
- Tray or plate to mix paint colors
- Stain and Finishing Oil (we used Golden Pine)
How to make your DIY Stencilled Outdoor Chest:
Step 1 – PREP and clean things up
Prepping your surface! This is always step #1. We made sure our chest was clean from any dirt or grime. We always recommend using our TSP for this. As well, we lightly sanded any areas that felt rough.
Step 2 – prepare the colors for the stencil
We poured some small drops of each Fusion paint on a tray and then and mixed certain colours together. You can choose whatever colour you’d like for each ring around the Mandala stencil for this, as we changed the colour order for each Mandala stencil that we did, just to give the chest some variety. If you prefer a repetitive pattern, you can always do the same colour order for each stencil.
Step 3 – apply stencil to surface
Placing the Mandala stencil on the chest, we used the Staalmeester Oval brush to lightly blend the colours for each ring around the stencil.
Step 4 – remove stencil
Carefully peeling off the stencil and we moved it on another spot on the chest and repeated the process.
Step 5 – apply Stain and Finishing Oil
We were planning to use this chest as a makeshift bench on a front porch so it needed some waterproofing. Fusion Mineral Paint has a built-in top coat that allows for water permanency but the rest of the wood could not be left exposed to the natural outdoor elements. So we used our Stain and Finishing Oil (SFO) in Natural to coat the entire chest.
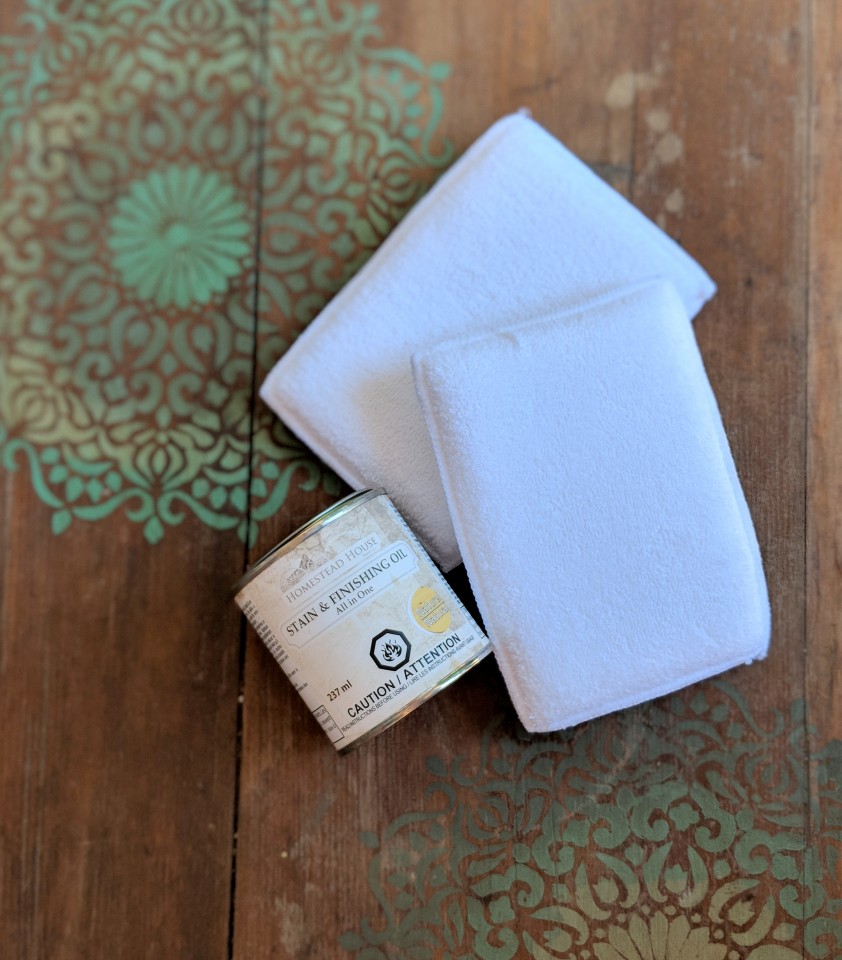
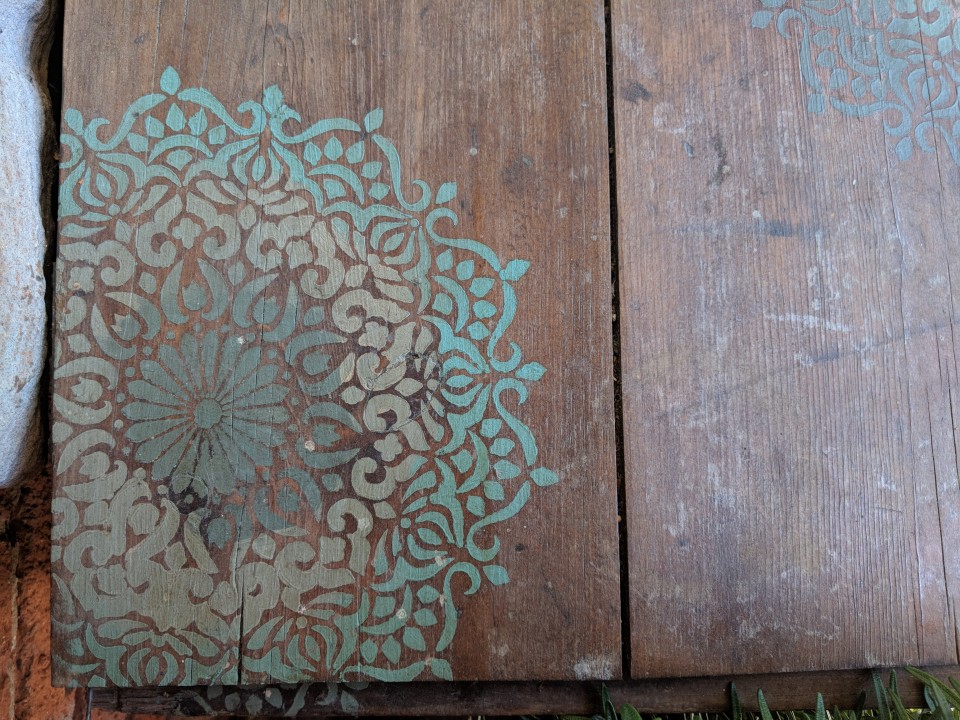
We make Our Stain and Finishing Oil with a combination of natural oils and resins that penetrate into wood fibres to create a durable, scratch-resistant and waterproof finish. It does not leave a surface film that sits on top, rather it soaks in and becomes part of your wood. You can wash pieces finished with SFO over and over again & SFO has excellent resistance to abrasions, making it perfect for wooden table tops!
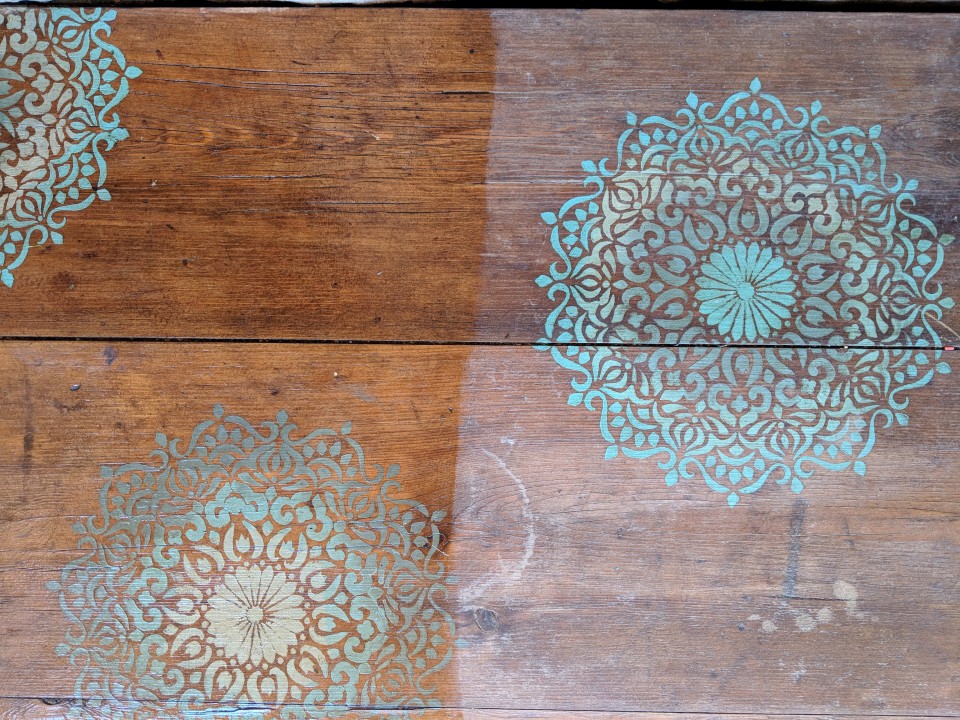
The difference in the wood is amazing! Look at that richness and change of colour. You can see on the left side, the SFO has been applied while on the right, the wood is worn and dried out.
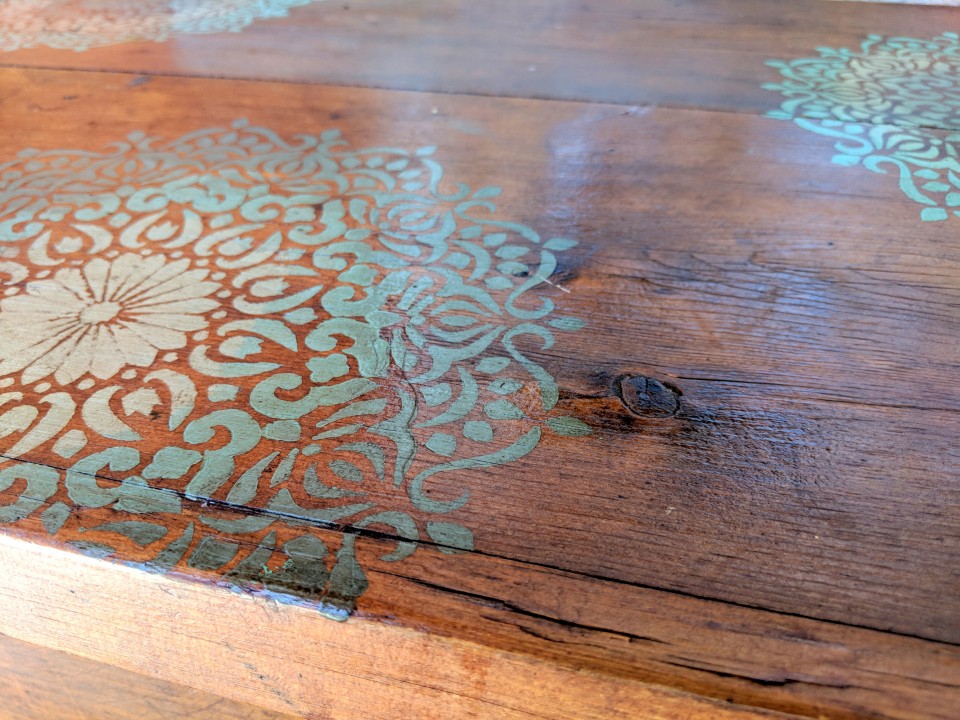
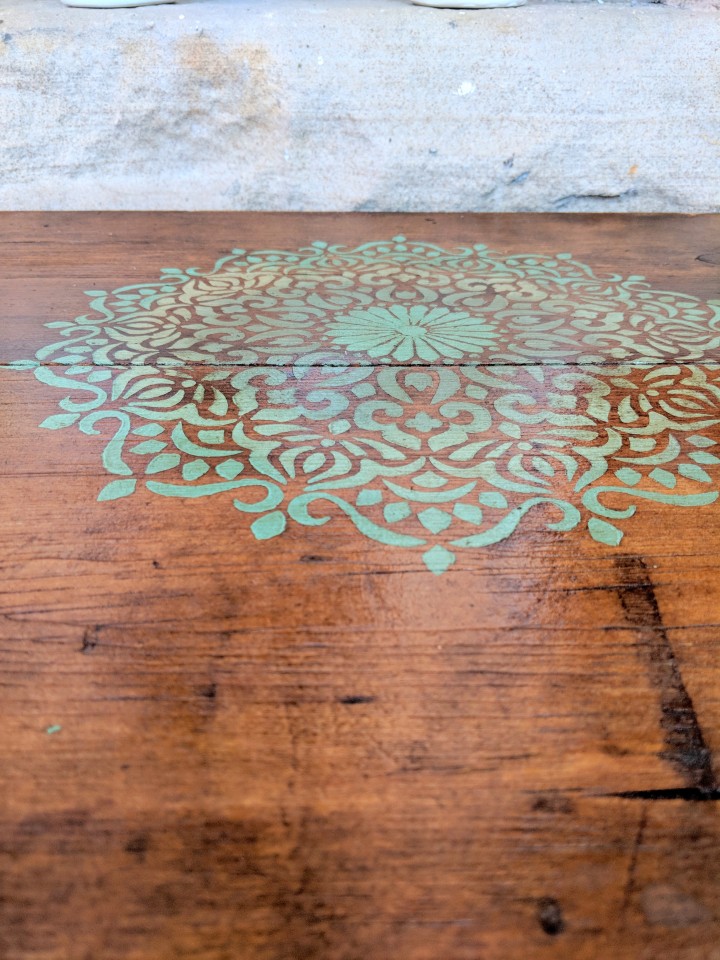
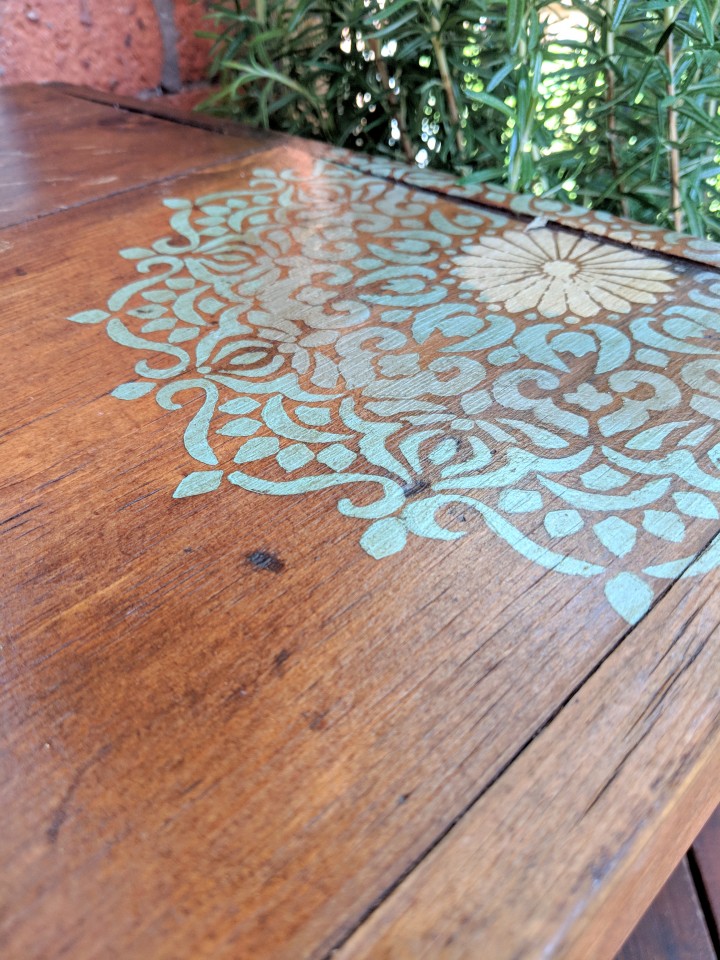
DRY time for SFO – Please allow 3 days after applying the Stain and Finishing Oil to begin regular use and 10 days for any cleaning products. If it is extremely humid, you may need to wait a little longer for your SFO to cure.
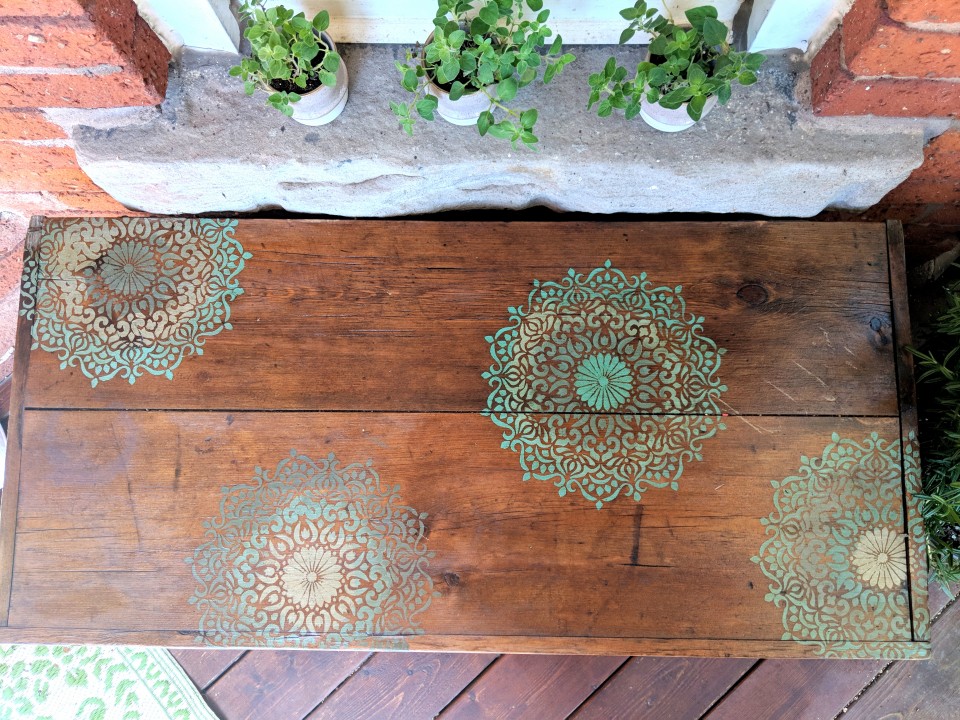
And there you have it! A gorgeous stencilled chest that’s safe to keep outdoors. Our SFO is extremely durable and perfect for outdoor use.
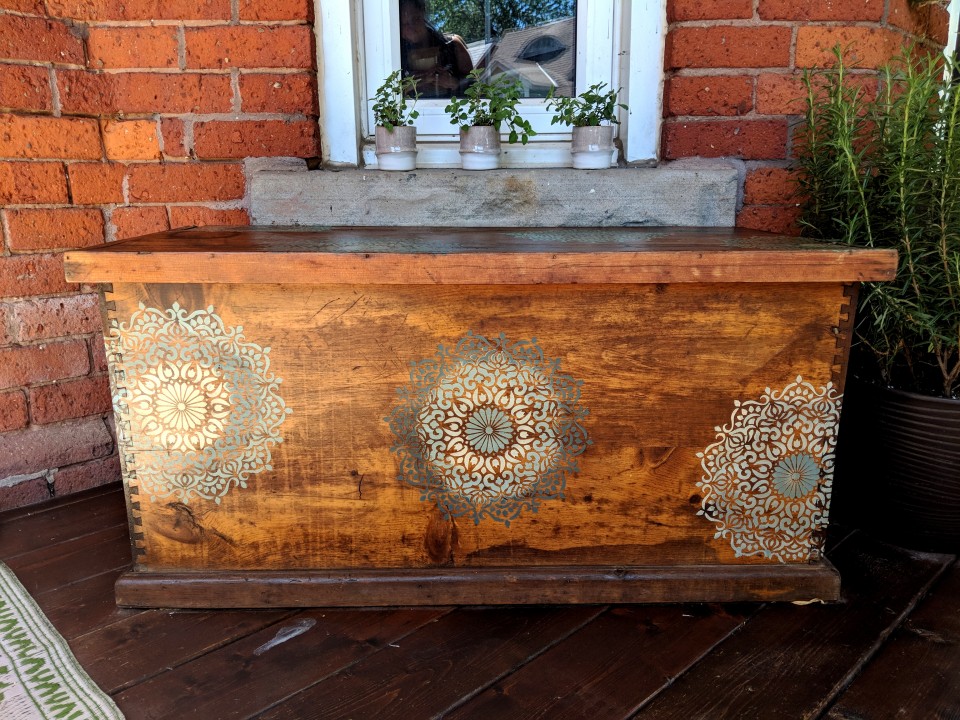
We also shared a video process of this tutorial to help you achieve this same look for your own home!


