
There is something so charming about giving an old cabinet a completely new personality, especially when the finish feels layered, aged, and full of beautiful vintage detail. This vintage cabinet makeover combines chalk paint, decorative transfers, resin moulds, dry brushing, and wax to create a soft stone-inspired finish with plenty of depth and character.
Using Spruce and Alabaster Alchemy paint, this piece was transformed from a primed cabinet into a romantic, old-world statement piece. The combination of texture, soft contrast, decorative mouldings, and dark wax gives the cabinet that collected-over-time look that feels both elegant and artistic.
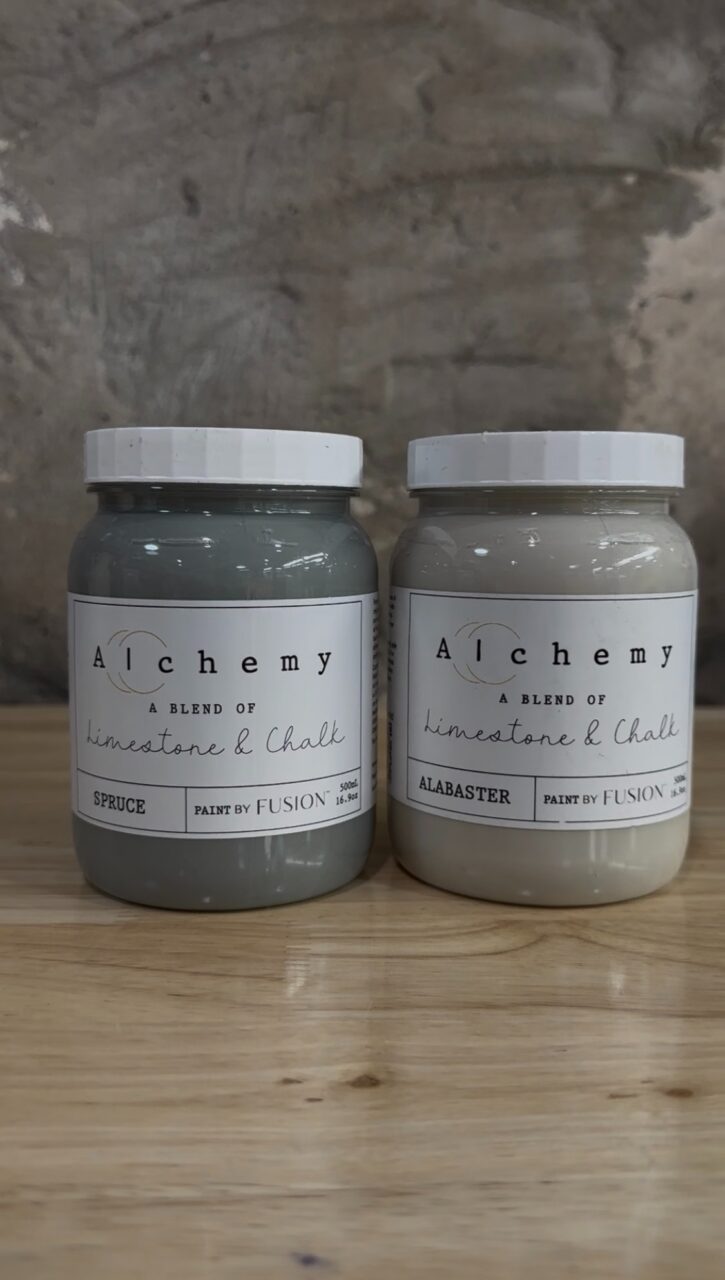
Alchemy paint is a blend of acrylic, limestone, and chalk. Alchemy by Fusion brings you the sought after chalk-like qualities combined with Fusion and Milk Paints durability.
Products Used
For this vintage cabinet makeover, the following products were used:
- Alchemy “Spruce“
- Alchemy “Alabaster“
- Fusion “Clear furniture wax“
- Fusion “Black furniture wax“
- Ultra Guard Satin
- Continuous Spray Mister
- Staalmeester Pro-Hybrid Round Brush #20
- Staalmeester One Series Decoration Spalter Brush 2”
- Decor Transfer: Jardin Secret
- Decor Moulds: Soho Fusion, Bloom of Eternity, and Ombre Florales
- Decor Poly: Delicate Motif
- Gorilla Wood Glue
- White resin
- Small craft brush
- Cloth
- Baby wipes
Step 1: Starting with a Primed Piece
This cabinet was already primed, which gave the paint a nice base to adhere to. When working on a piece with lots of details, doors, edges, and moulding areas, starting with a properly prepped or primed surface helps create a more even and durable finish.
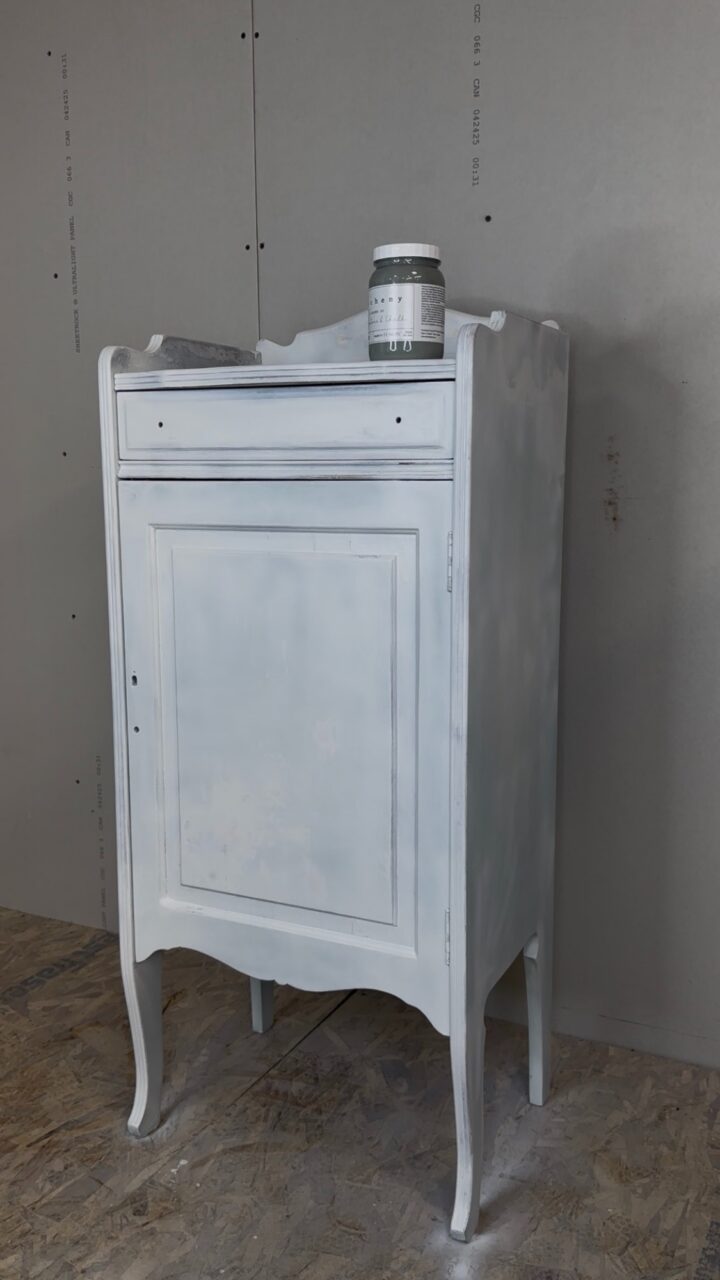
A good base is always key. Even when you are going for a vintage, textured, or aged look, the prep underneath still matters. It helps the finish last and gives you more control over the final result.
Step 2: First Layer of Spruce Chalk Paint
The first coat was applied using a flat brush and Spruce.
Spruce is a beautiful, deep green-blue shade that creates the perfect moody base for a vintage-inspired piece. Using a flat brush for the first layer helps lay down the paint smoothly and gives full coverage over the primed surface.


This first coat does not need to look perfect. Since this piece is going to have texture, sponge work, transfers, mouldings, and wax, the goal at this stage is simply to build a strong base colour.
Step 3: Adding Texture with a Round Brush
For the second layer, Spruce was applied again, this time using a Staalmeester Pro-Hybrid Round Brush #20.

Instead of brushing the paint on smoothly, the paint was applied using soft dabbing motions. This creates a textured finish and gives the cabinet more dimension. The dabbing technique is a great way to add movement to the surface, especially when you want the final look to feel aged, layered, or stone-like.
This is where the piece really starts to come alive. The texture catches the later layers of paint and wax beautifully, giving the finish more depth than a flat painted surface.
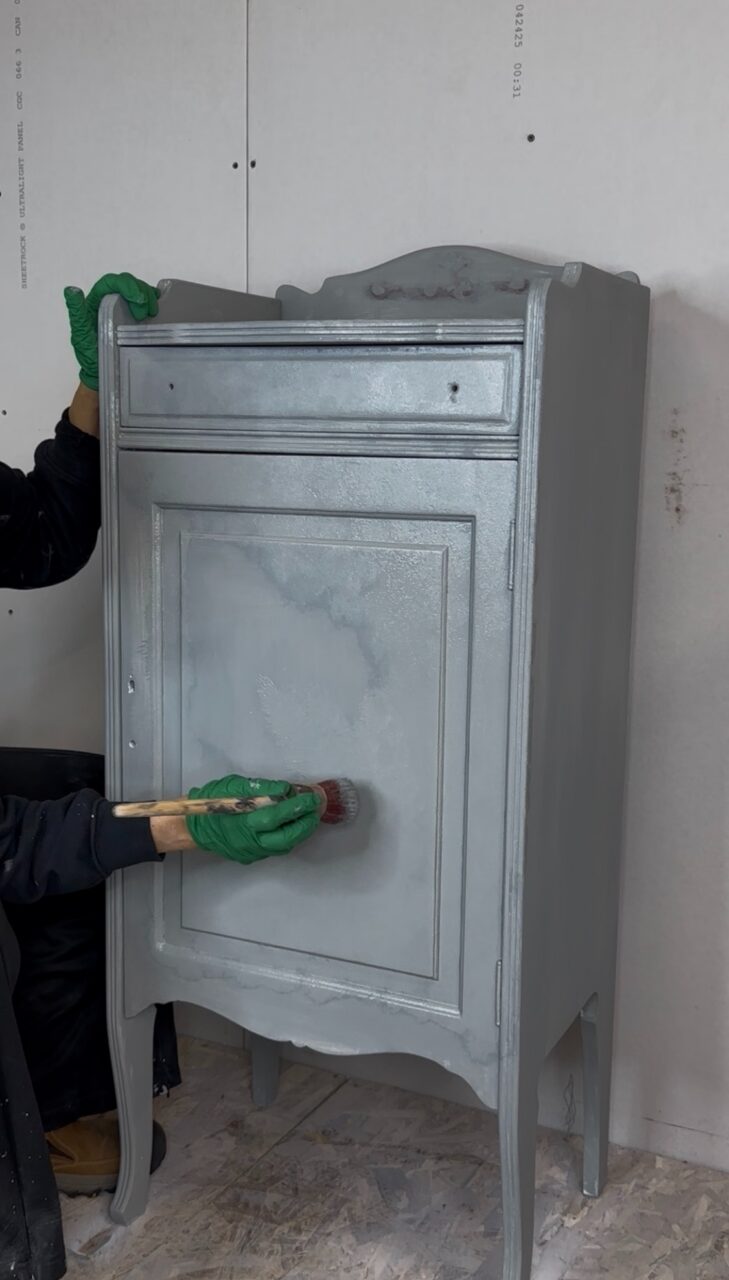
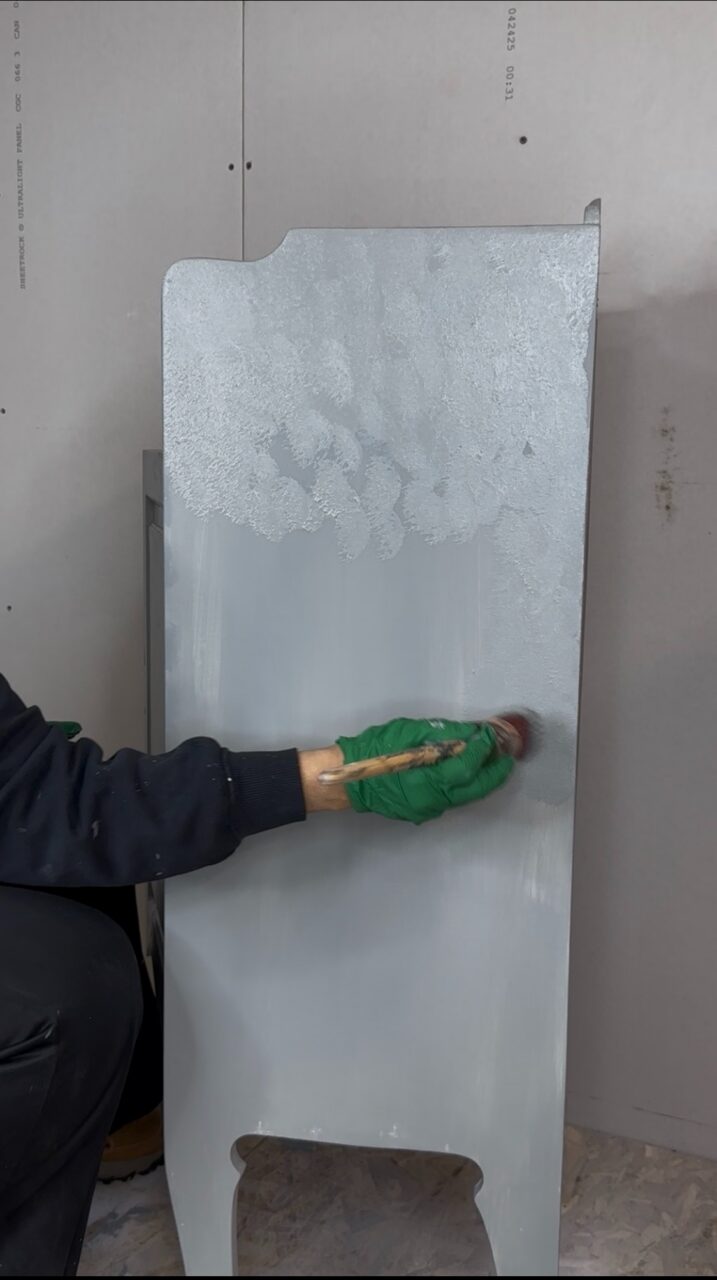
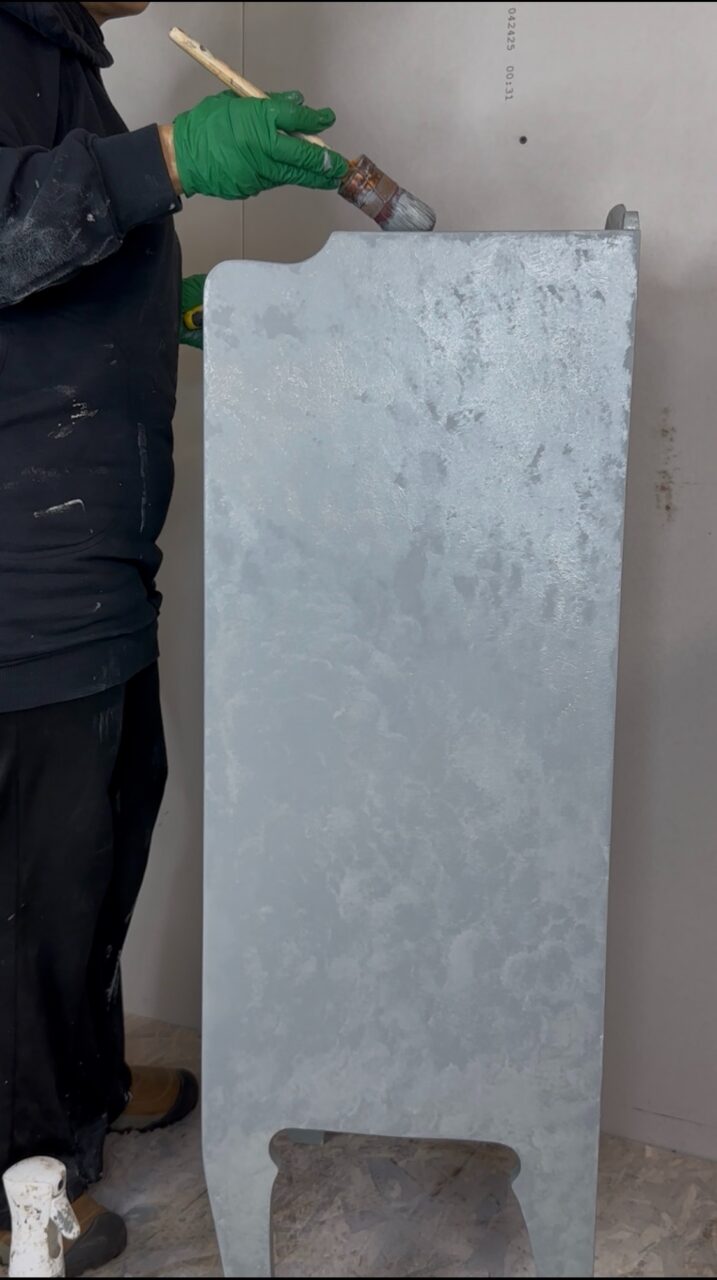
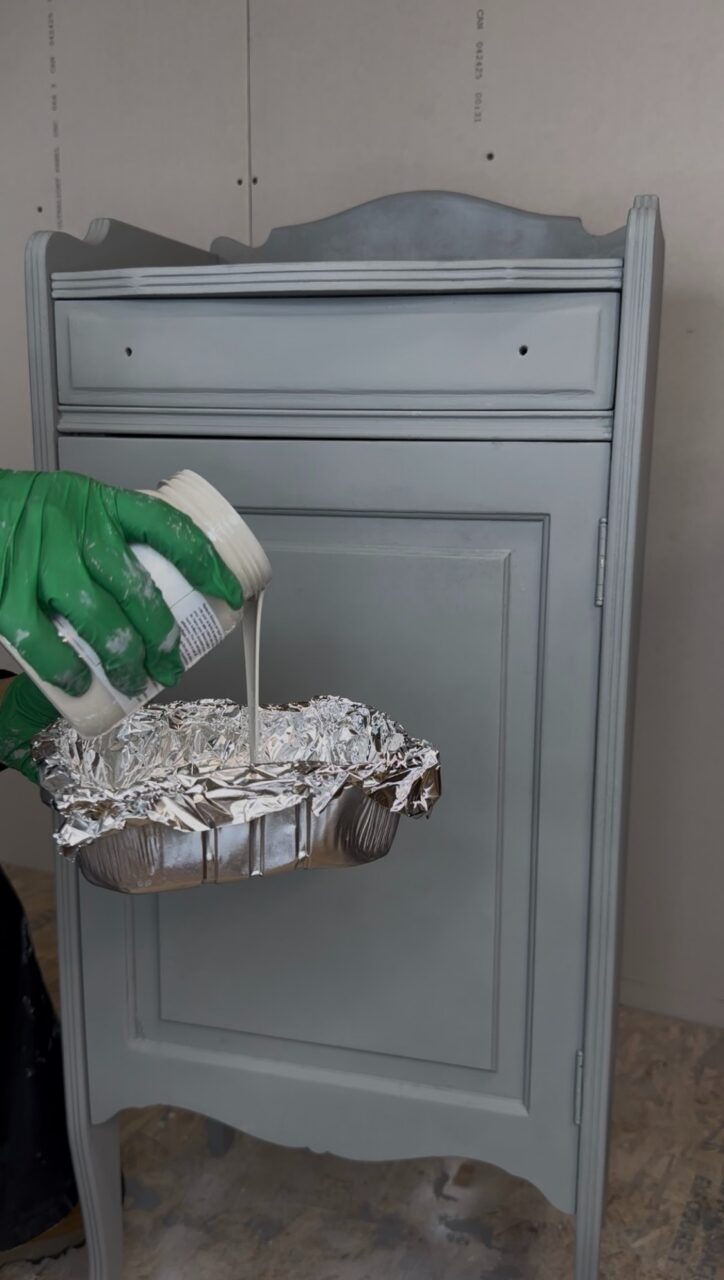
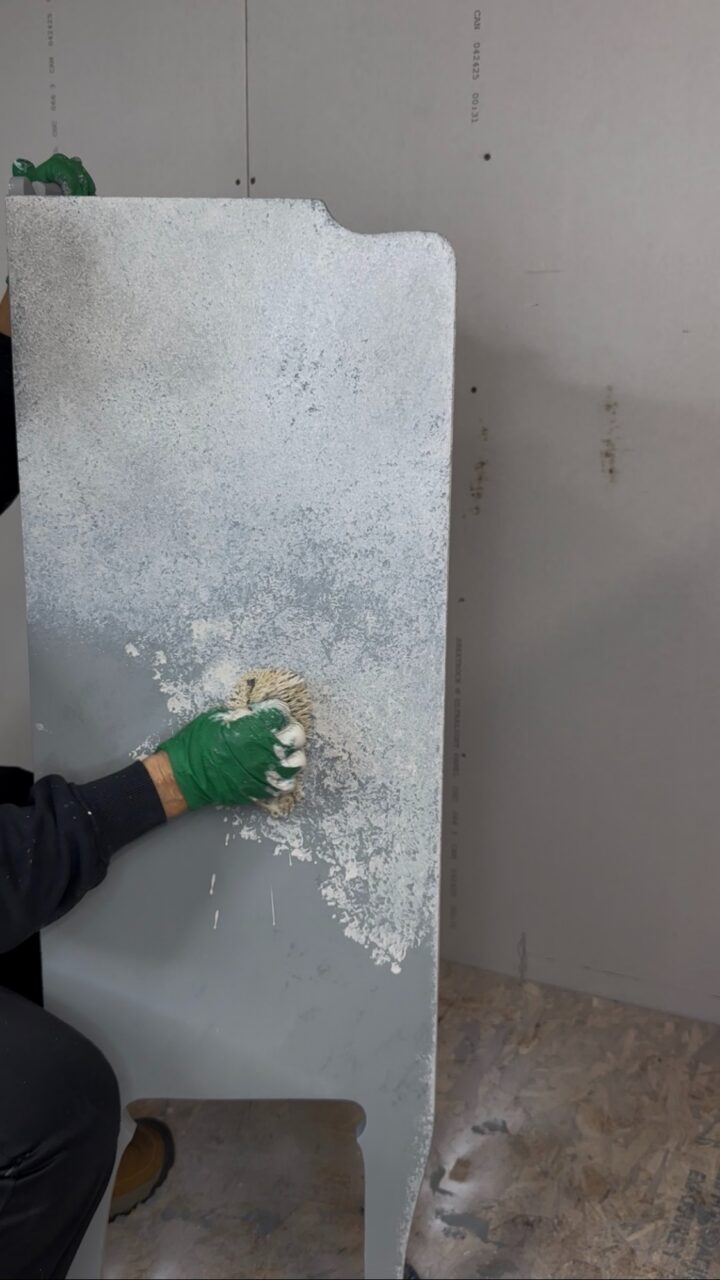
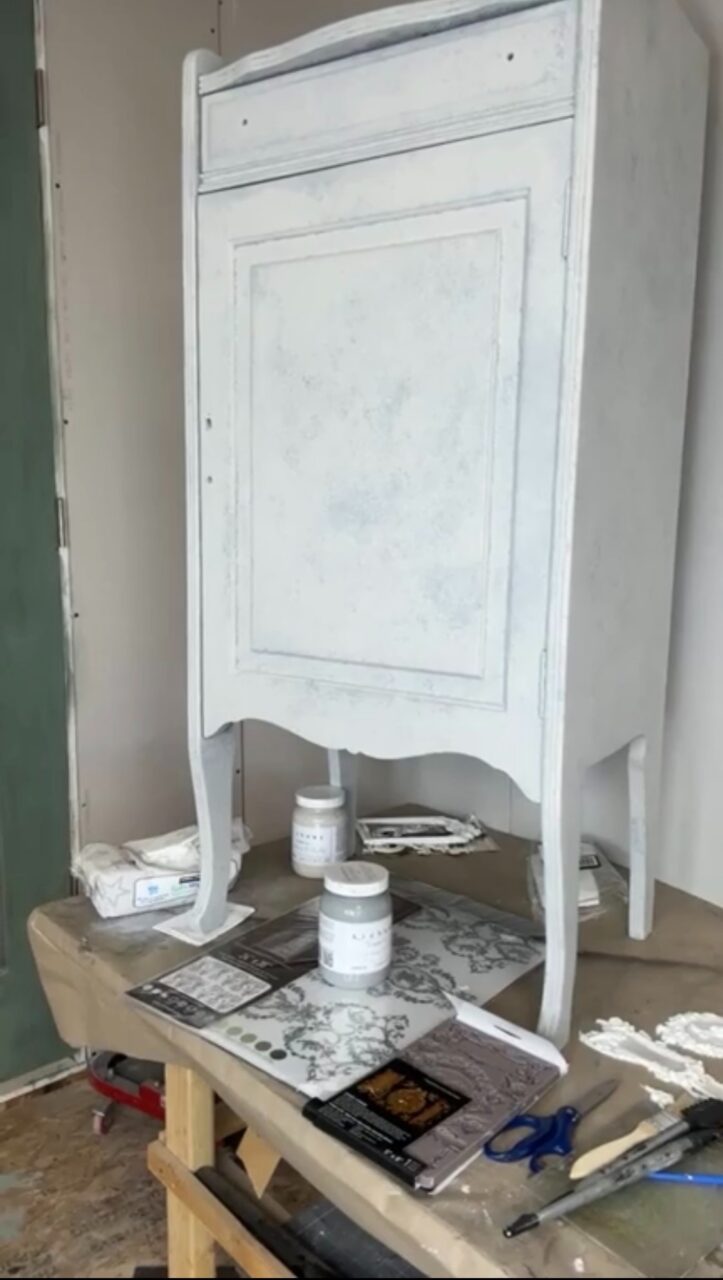
Step 4: Creating a Stone Effect with Alabaster
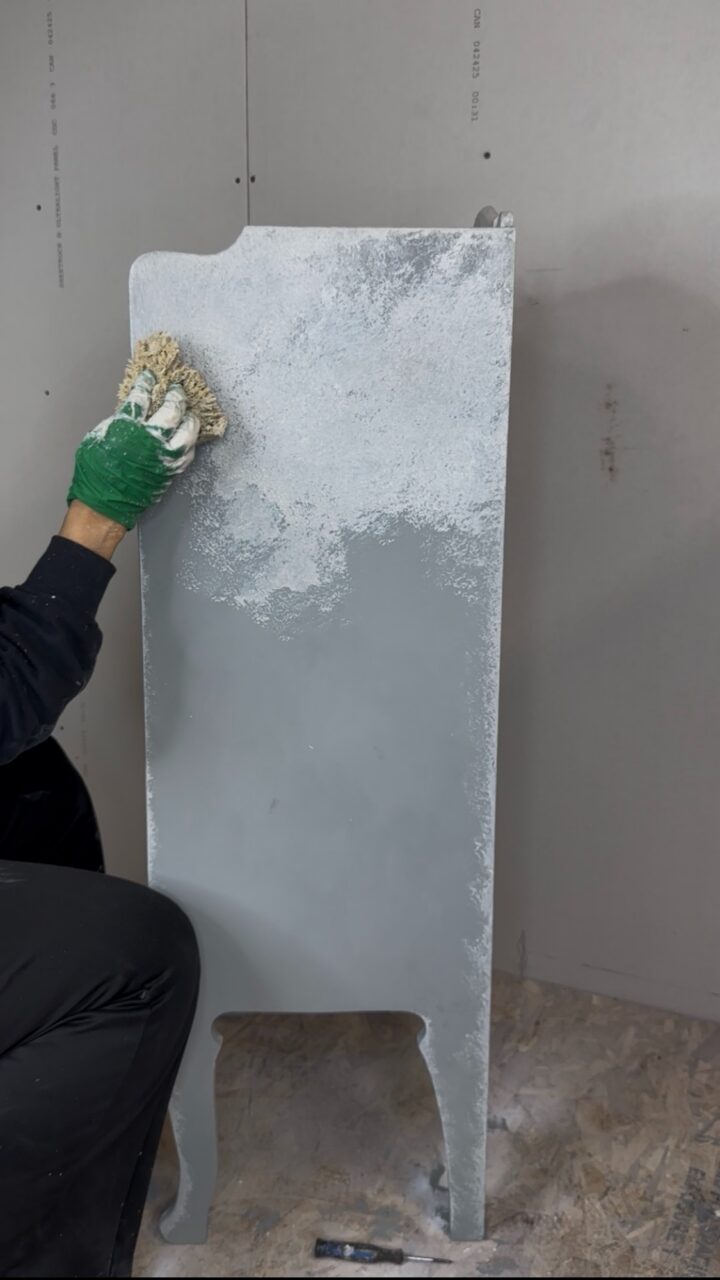
To soften the Spruce and create a stone-inspired effect, Alabaster was mixed with water and applied over the Spruce using a sea sponge.
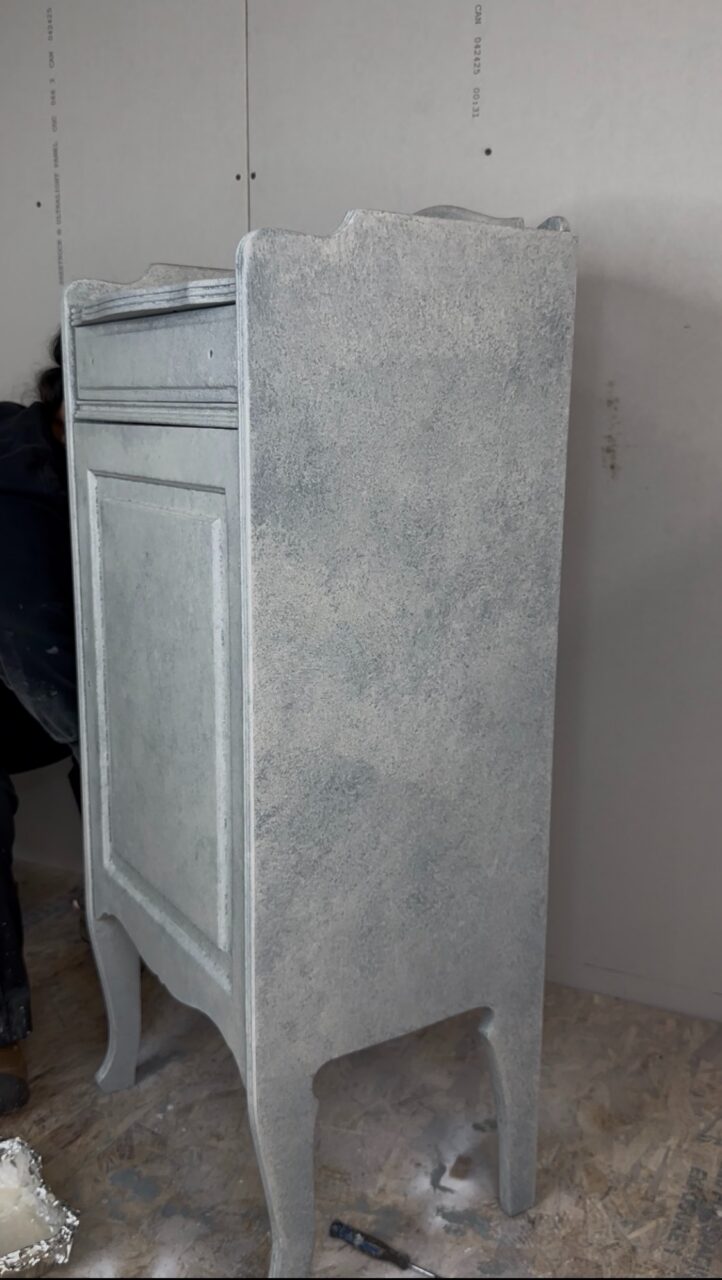
The sponge technique gives a soft, organic pattern that looks less painted and more naturally aged. By layering Alabaster over Spruce, the finish starts to resemble weathered stone, plaster, or old European cabinetry.
A continuous spray mister is helpful here because it keeps the paint workable and allows the colours to blend more softly. The key is to build the effect gradually. It is always easier to add more than to take too much away.
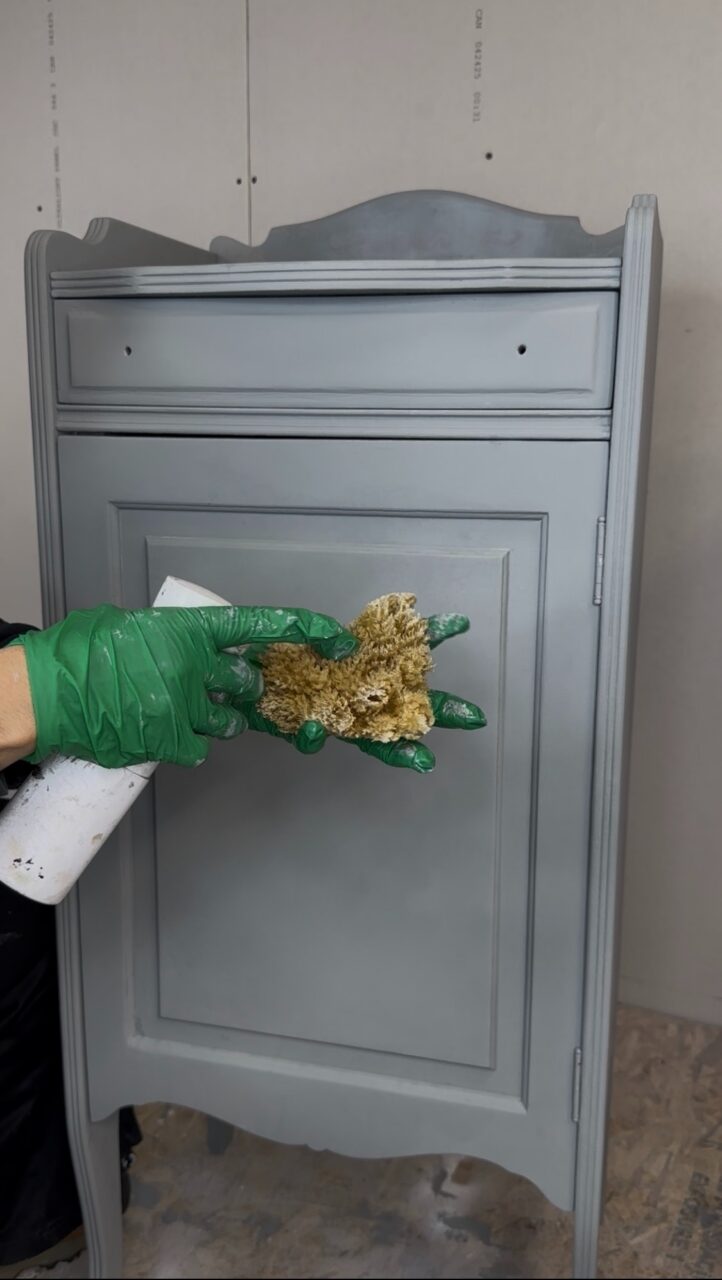
For a natural finish, lightly sponge the Alabaster in uneven areas rather than covering the whole piece equally. Vintage finishes look best when they have variation.
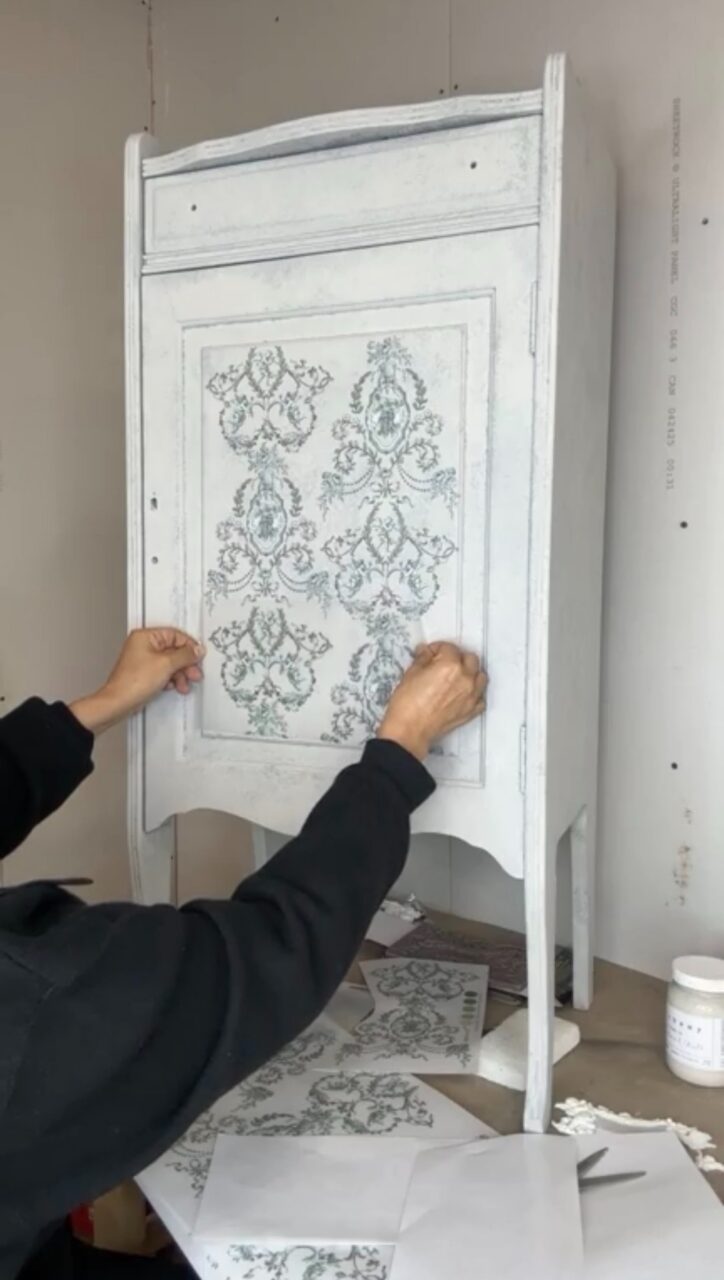
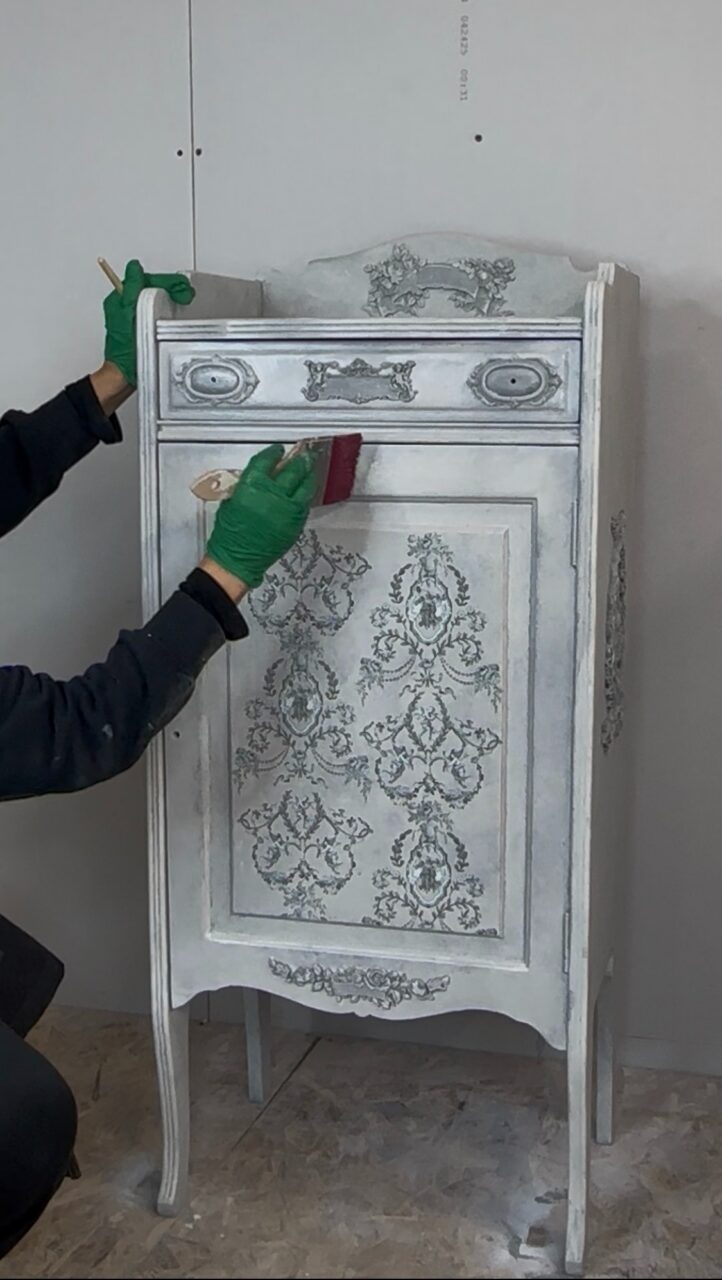
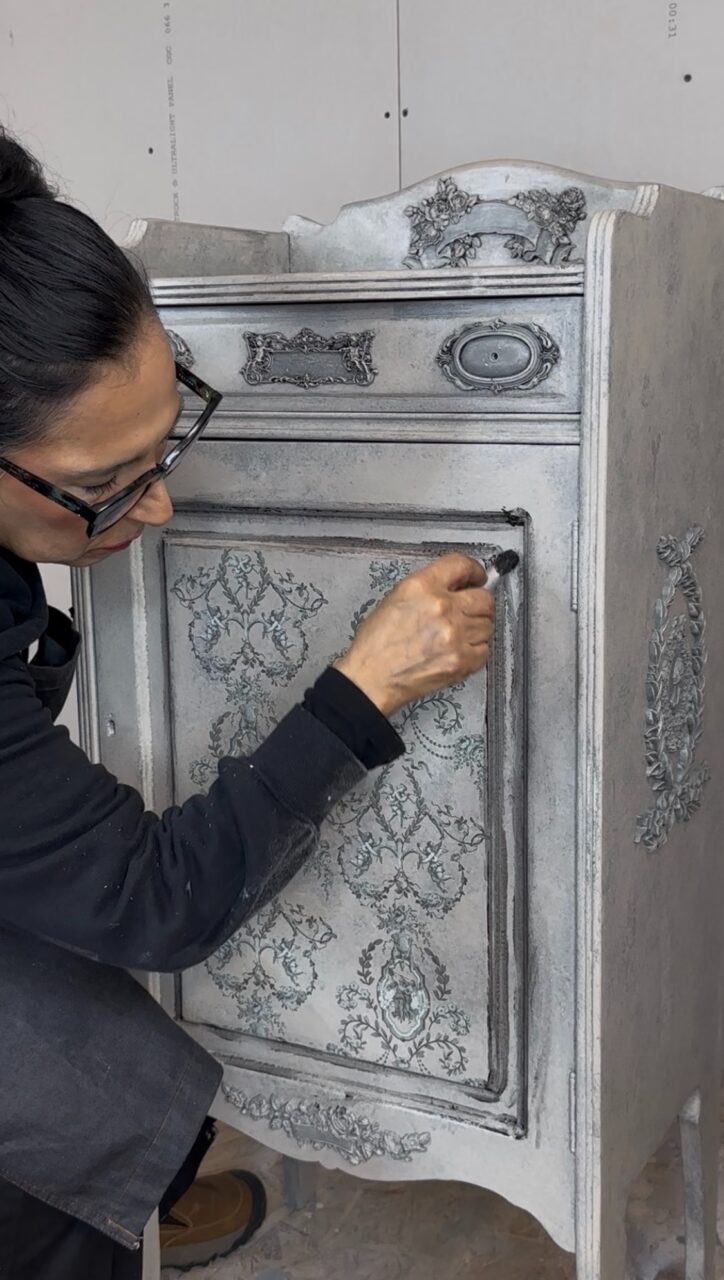
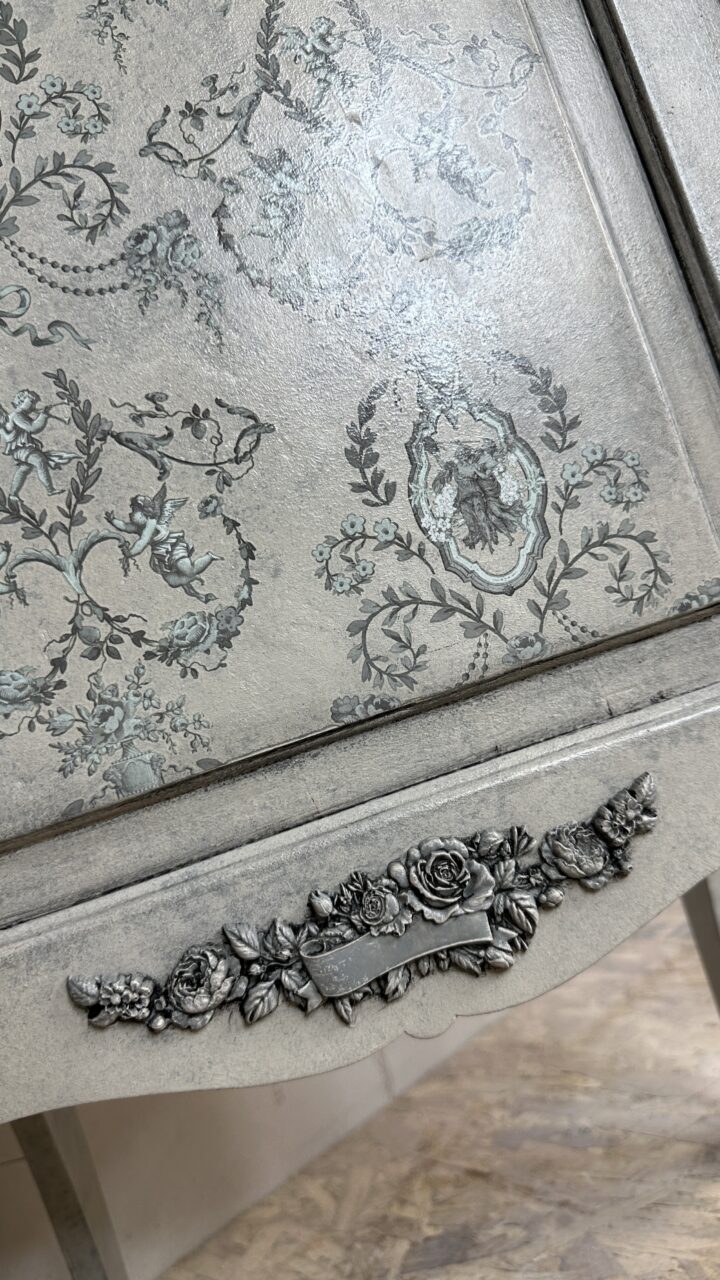
Step 5: Applying the Decor Transfer
Once the painted finish was dry, the Jardin Secret decor transfer was applied.
Decor transfers are such a beautiful way to add instant detail to a furniture piece. They can make a cabinet feel hand-painted or custom-designed without needing advanced painting skills.
For best results, place the transfer carefully before applying. Once you are happy with the positioning, rub the transfer onto the surface according to the manufacturer’s instructions. Take your time around textured areas to ensure the design adheres properly.
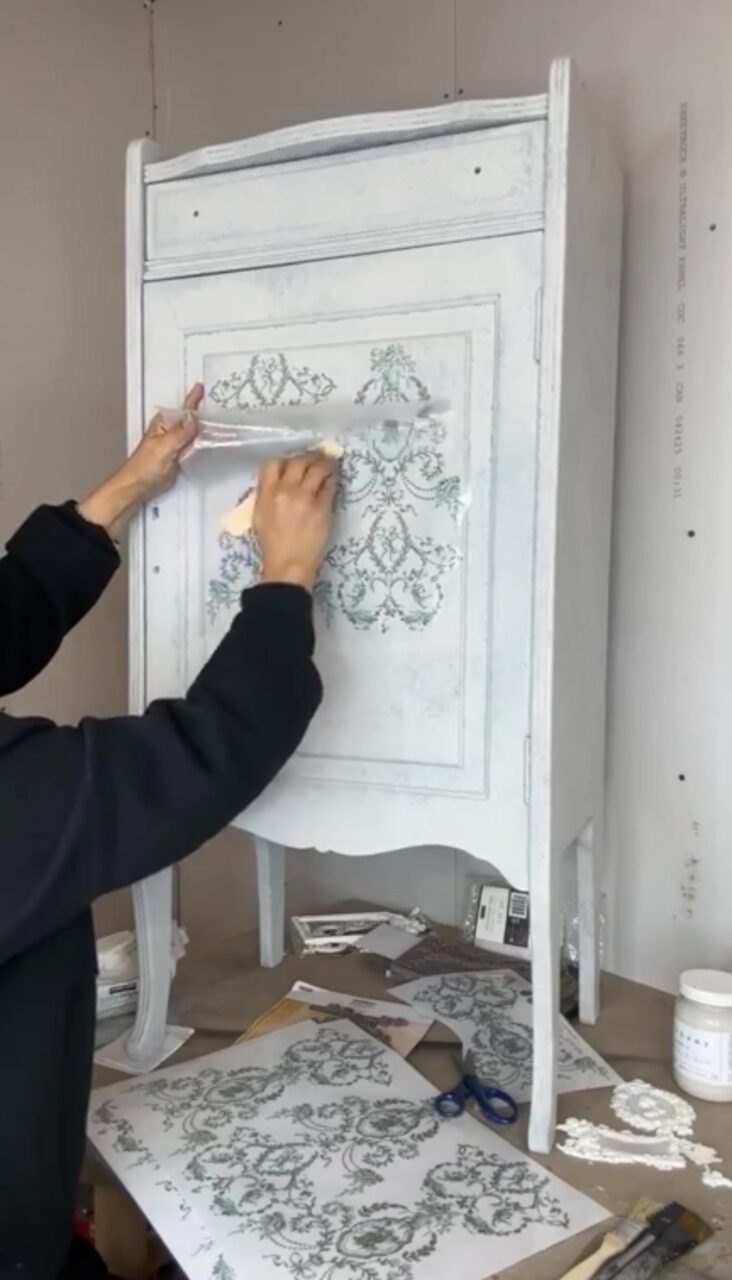
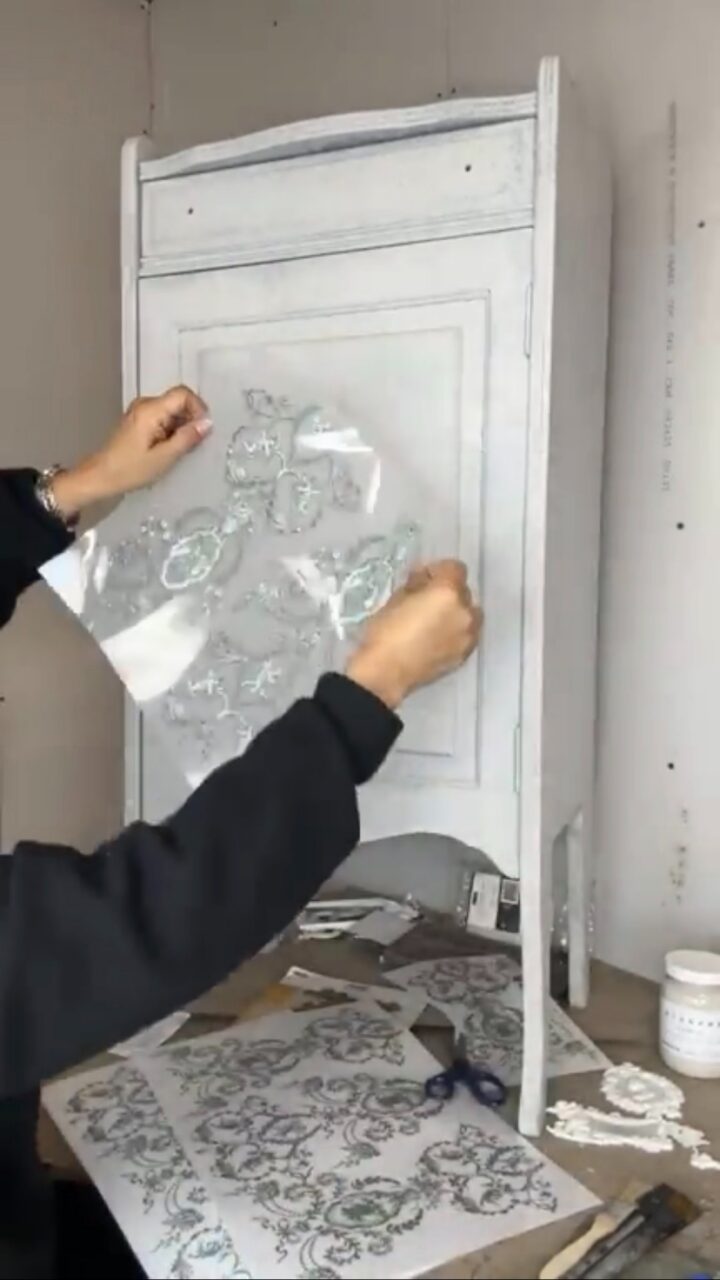
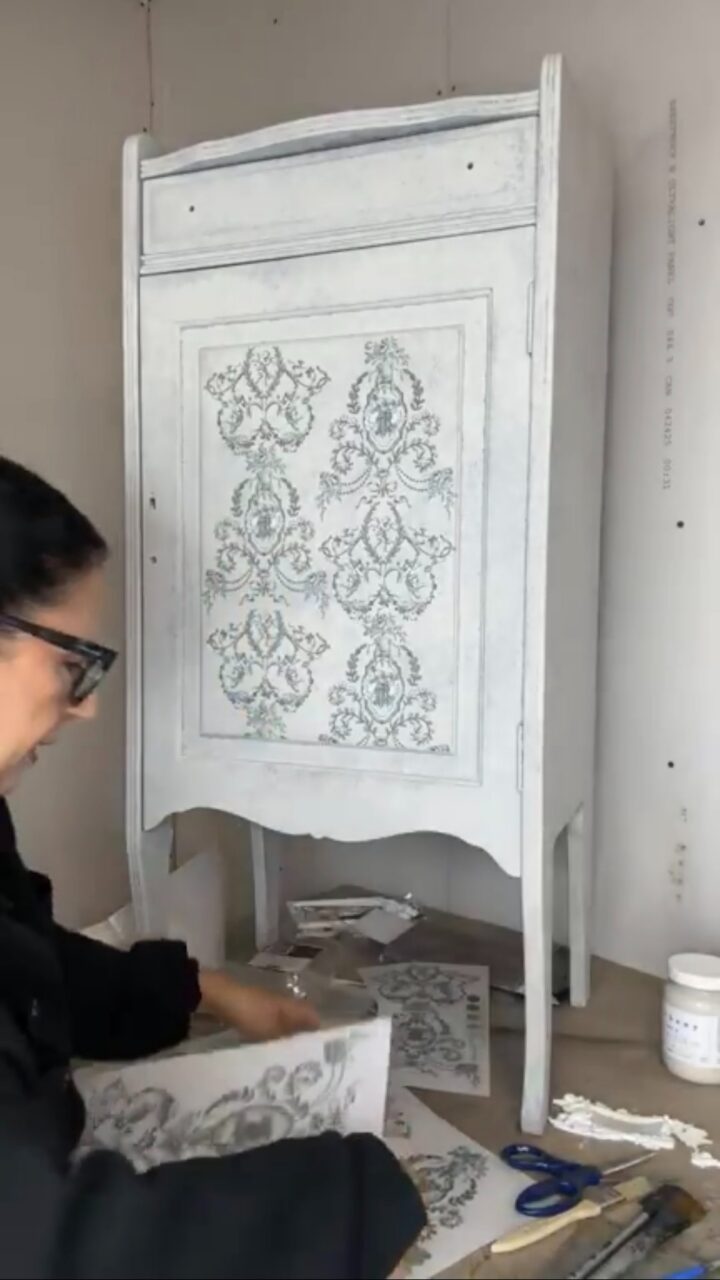
After the transfer is applied, gently smooth it down with a clean cloth to help it settle into the painted finish.
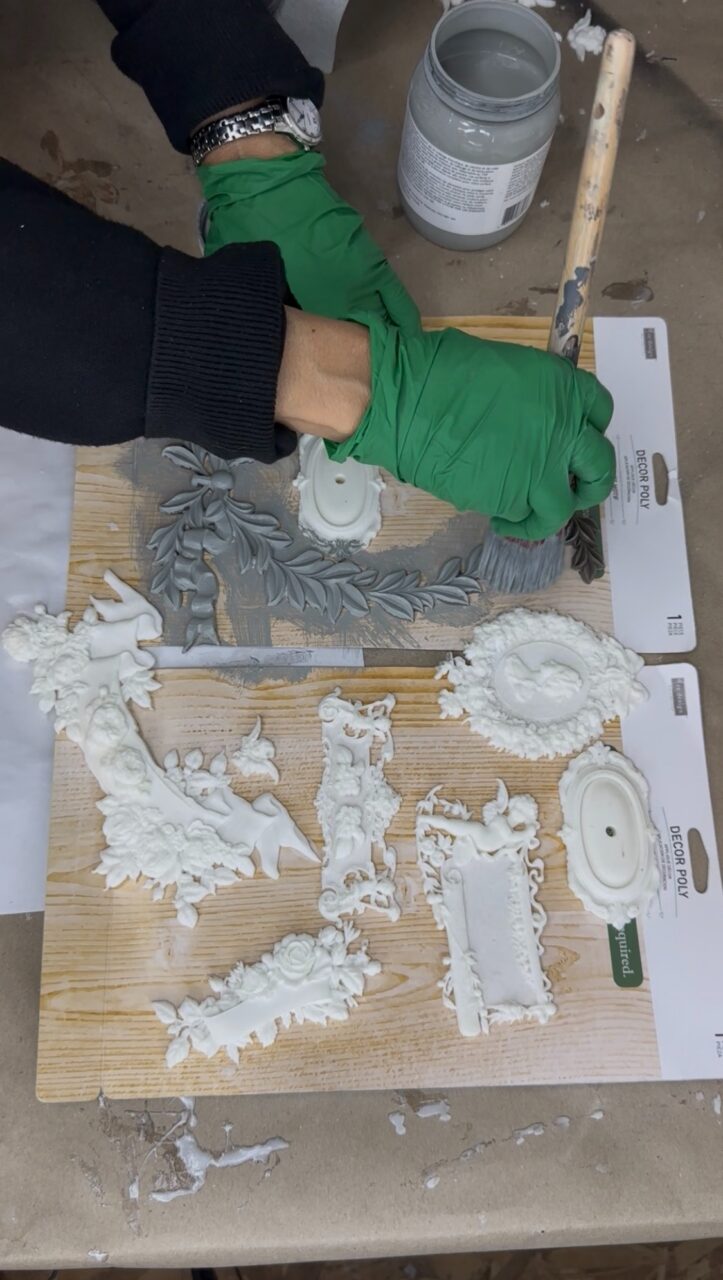
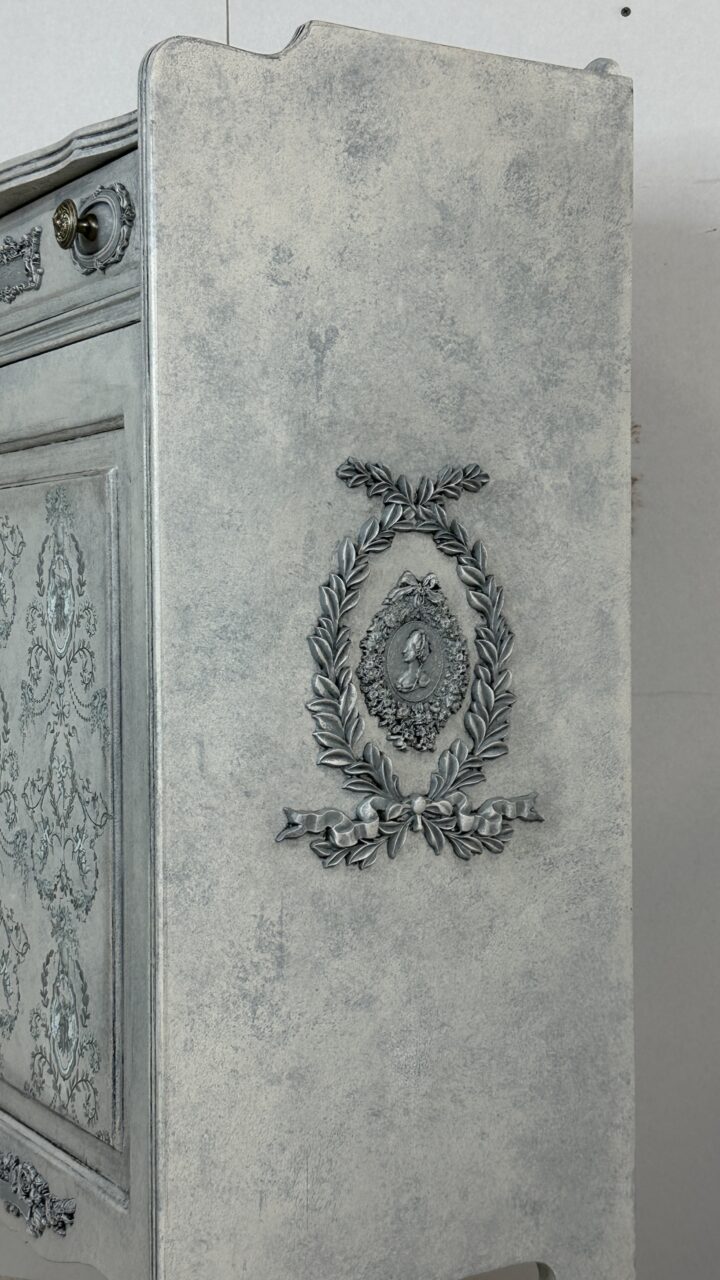
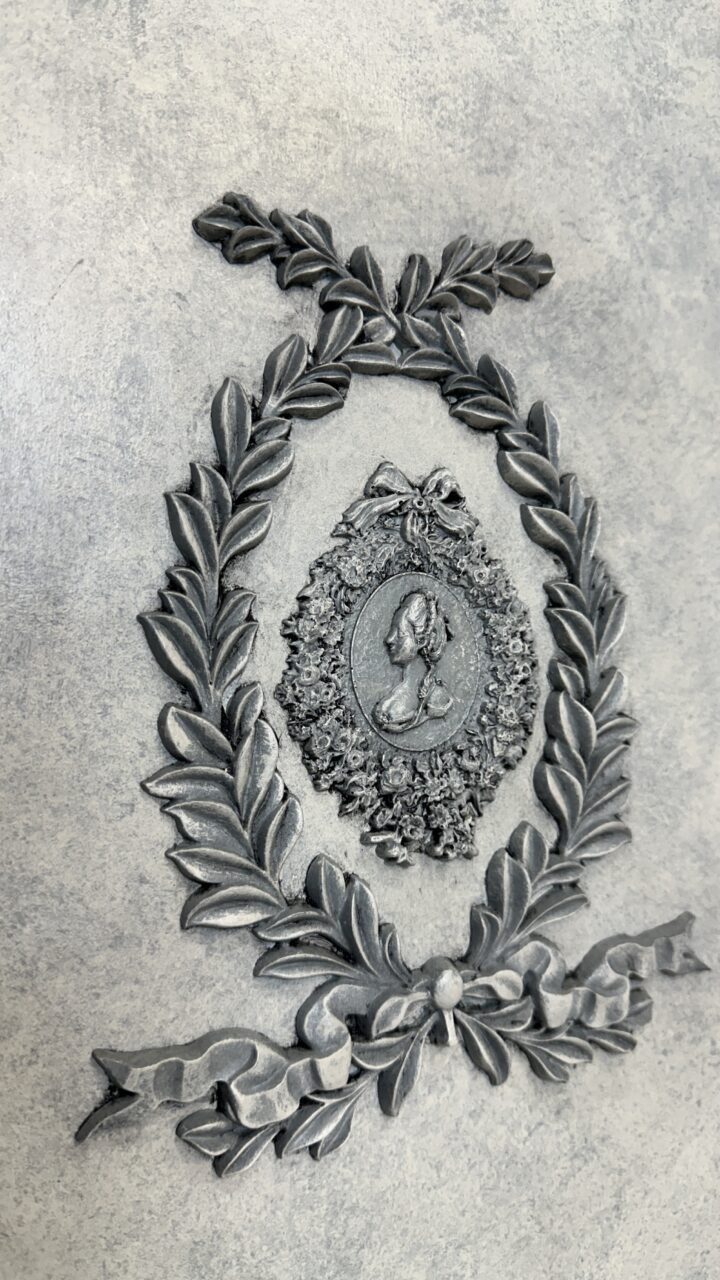
Step 6: Creating Resin Moulds
Next, white resin was used with decorative moulds, including Soho Fusion, Bloom of Eternity, and Ombre Florales.
Resin moulds are perfect for adding raised decorative details to furniture. They can make a simple cabinet look like a carved antique piece. Once the resin pieces are formed and cured, they are ready to be attached to the cabinet.
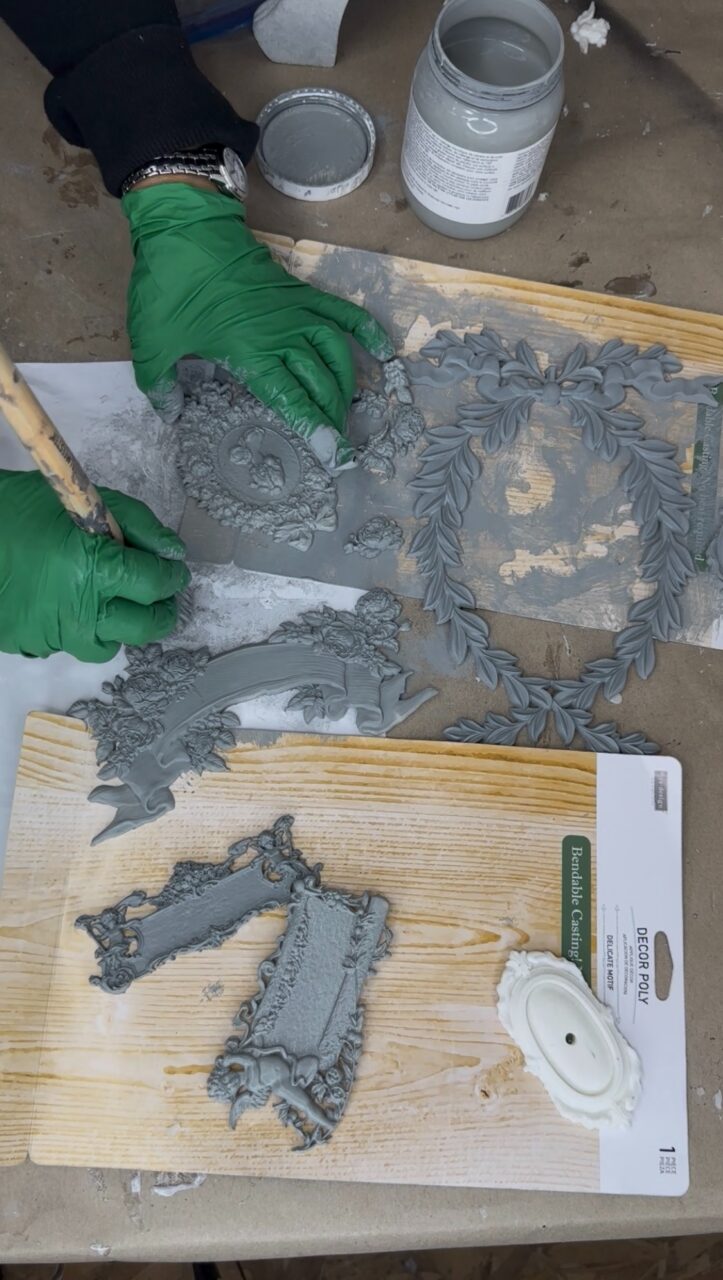
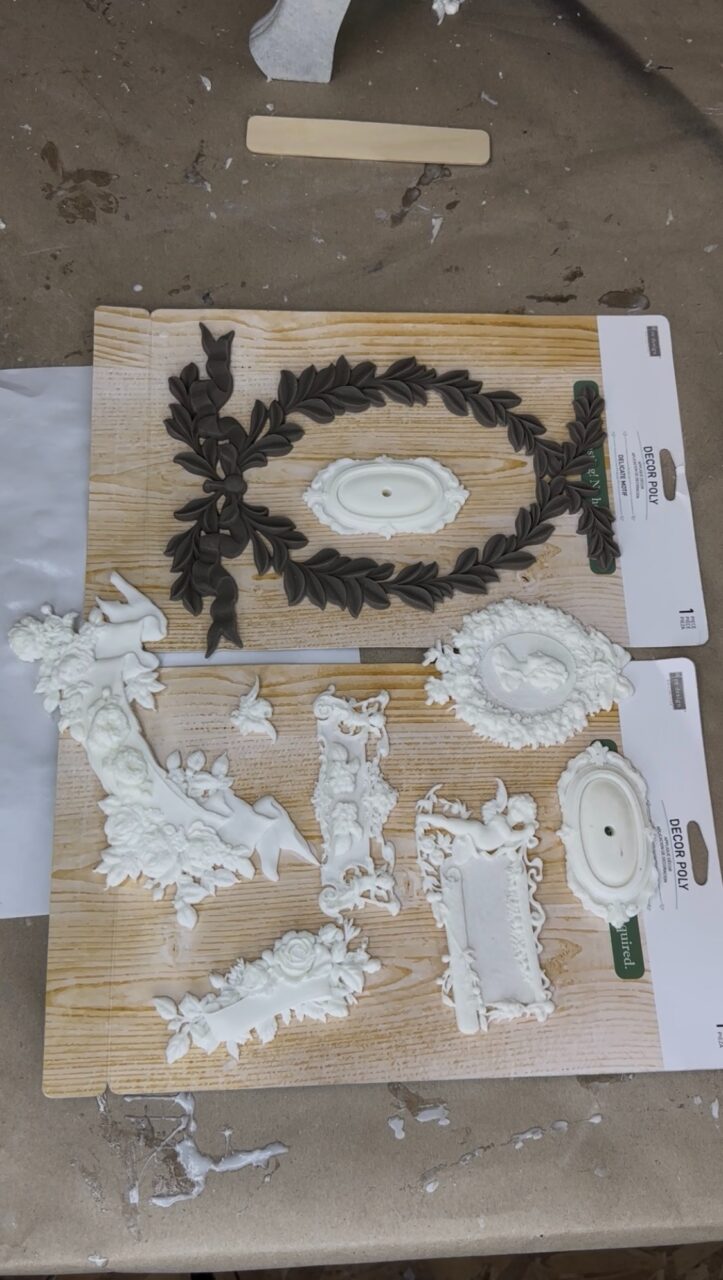
These moulds add a beautiful architectural quality to the piece and create areas where dry brushing and wax can settle, making the details stand out even more.
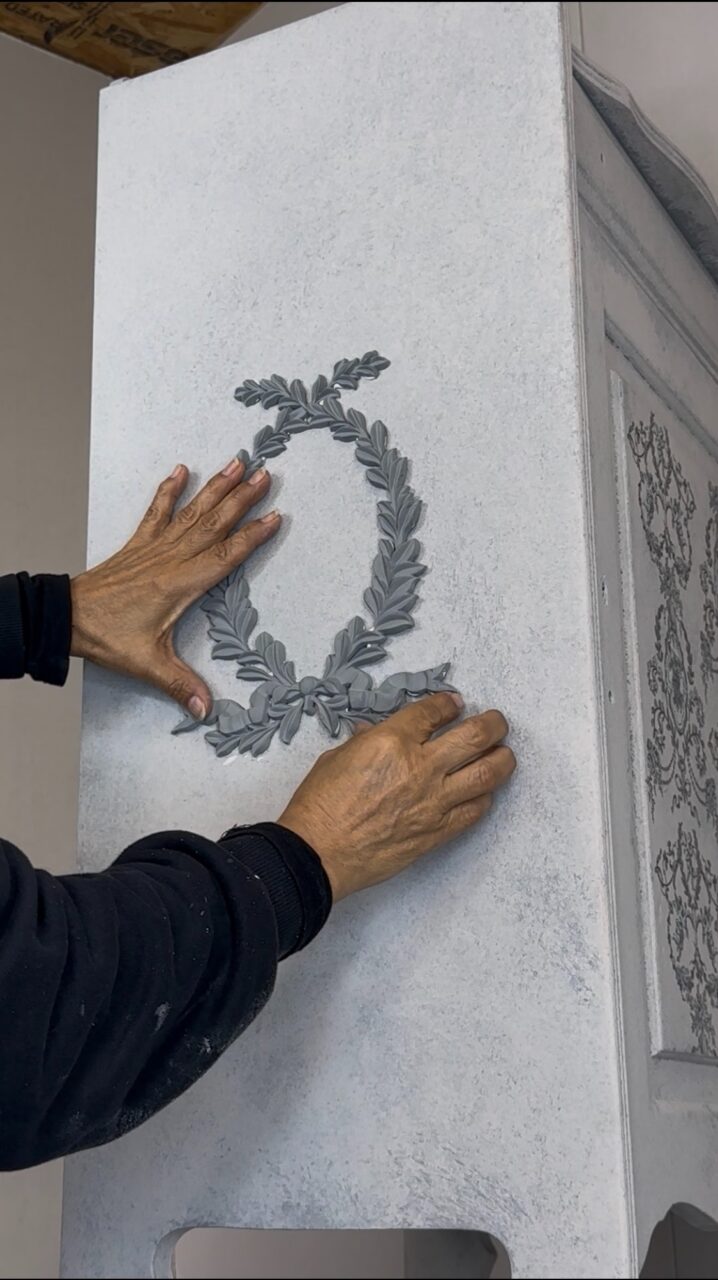
Step 7: Attaching the Mouldings
The resin mouldings were applied using Gorilla Wood Glue.
A small craft brush was used to spread the glue onto the back of each moulding, helping ensure even coverage. Once the mouldings were placed onto the cabinet, a baby wipe was used to remove any excess glue around the edges.
This is an important step because dried glue can show through your final finish if it is left behind. Cleaning up as you go keeps the piece looking polished and professional.

Allow the mouldings to dry fully before moving on to painting or sealing.
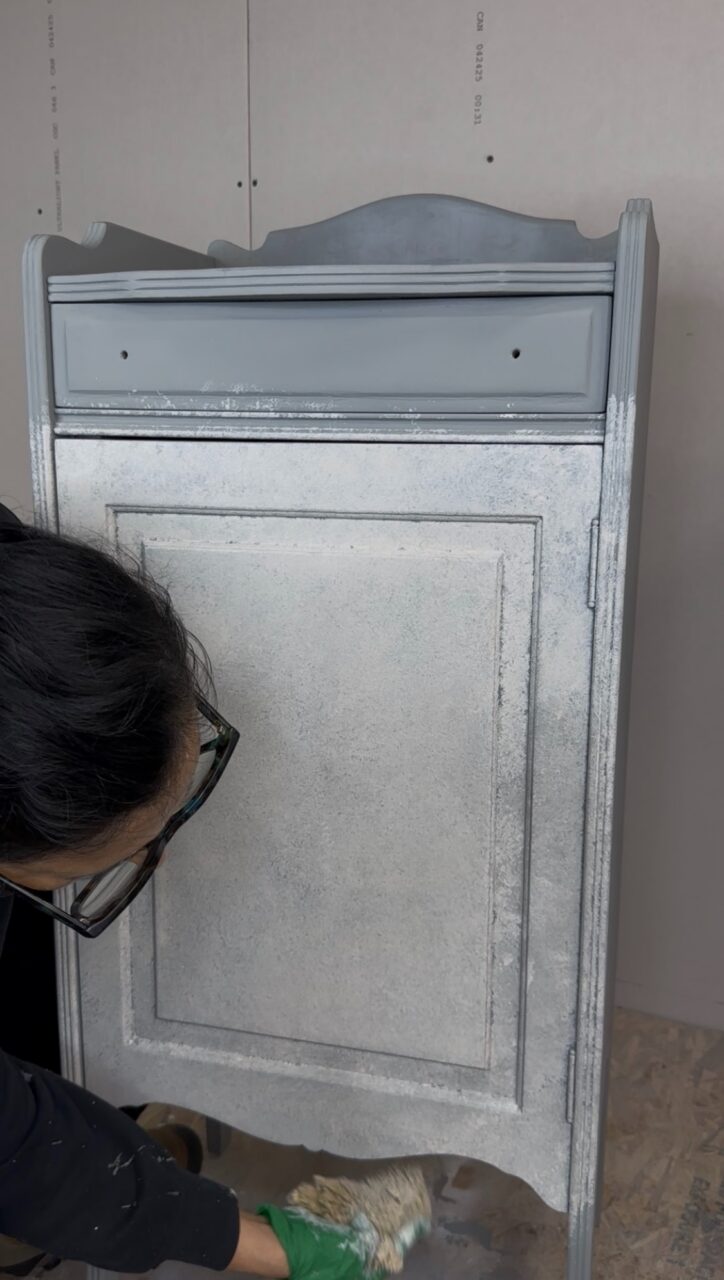
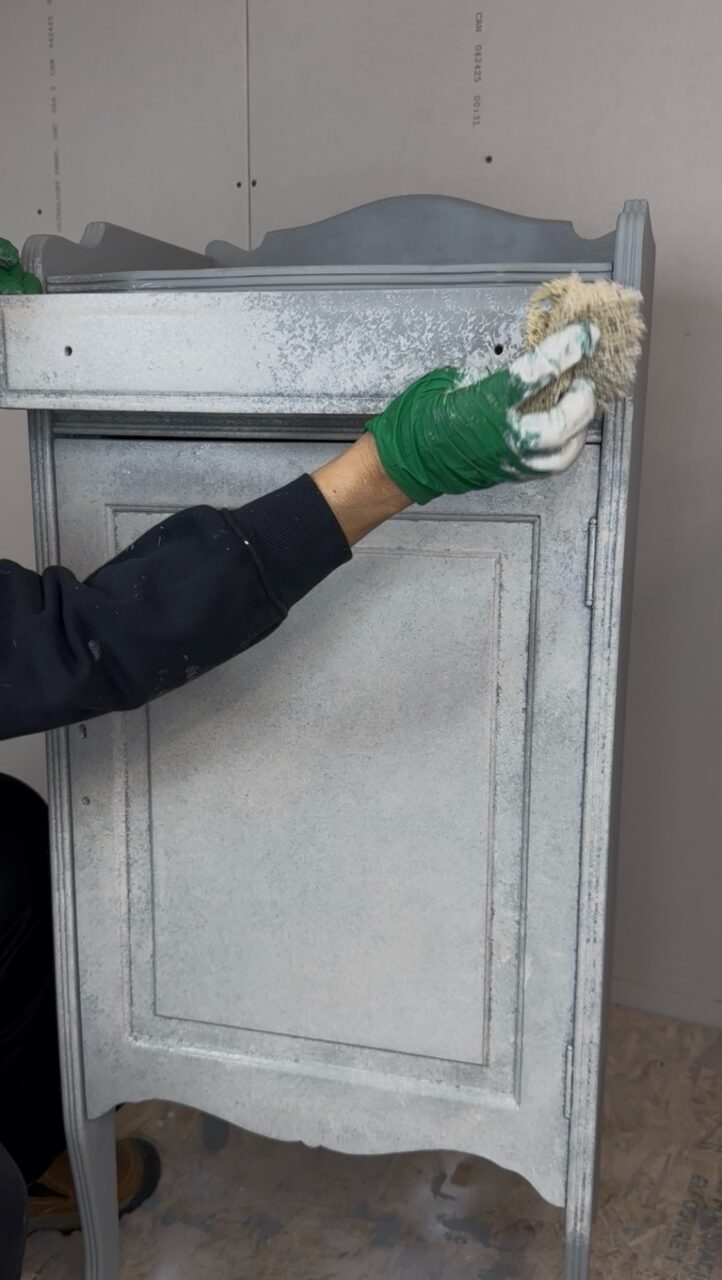
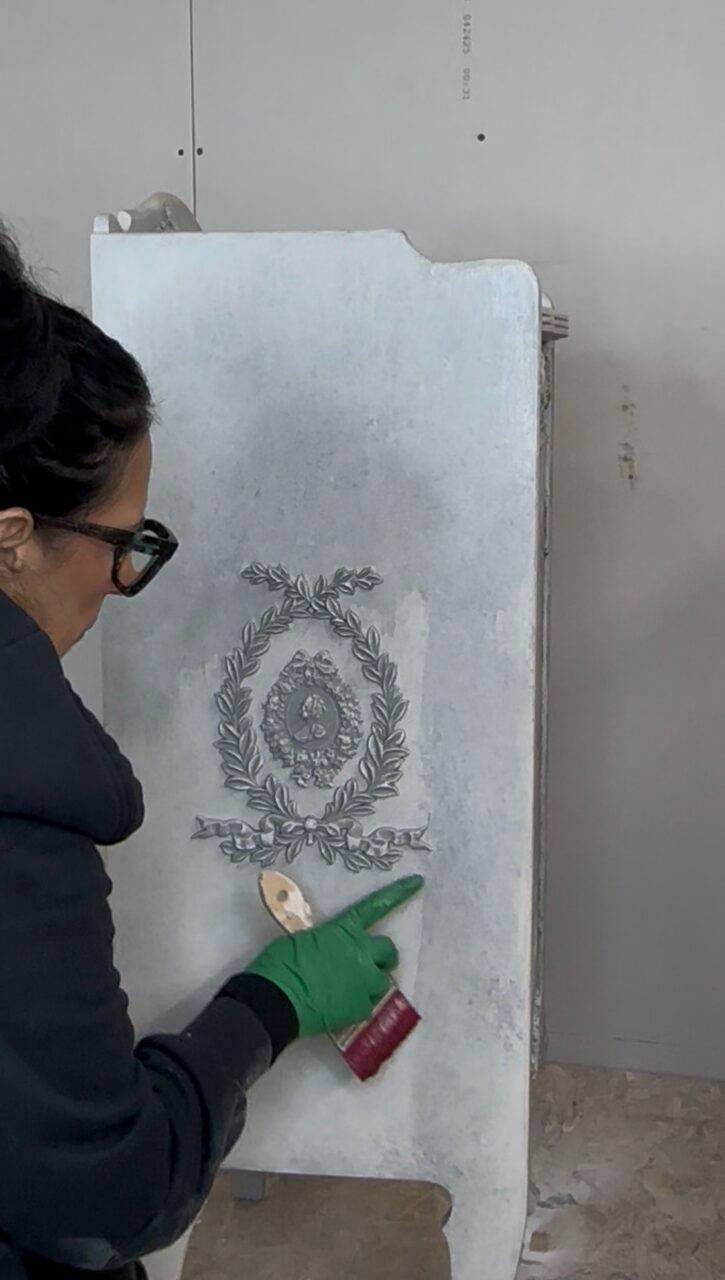
Step 8: Dry Brushing with Alabaster
Once the mouldings were secure, Alabaster was dry brushed over the raised details.
Dry brushing is one of the easiest ways to highlight texture. Load a small amount of paint onto your brush, wipe most of it off onto a cloth or paper towel, then lightly brush across the raised areas.
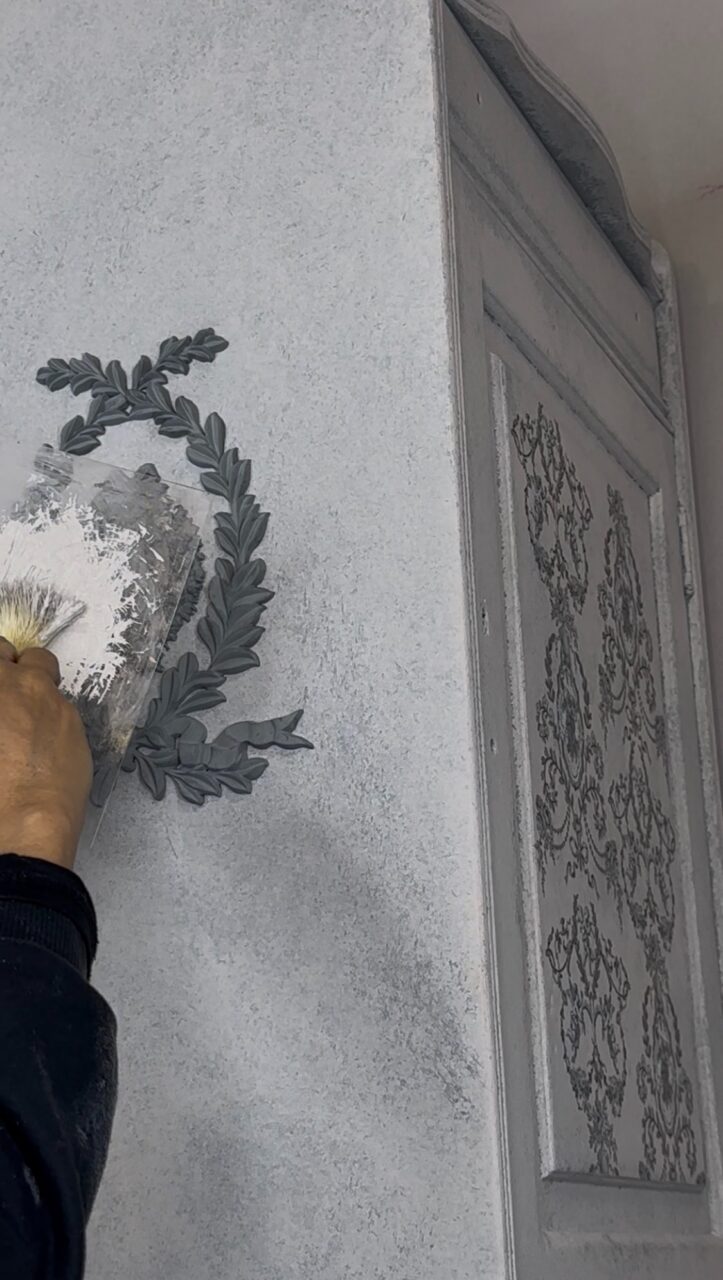
This technique catches the high points of the mouldings and makes the details pop. It also ties the mouldings into the stone-effect finish so they look like they have always been part of the piece.
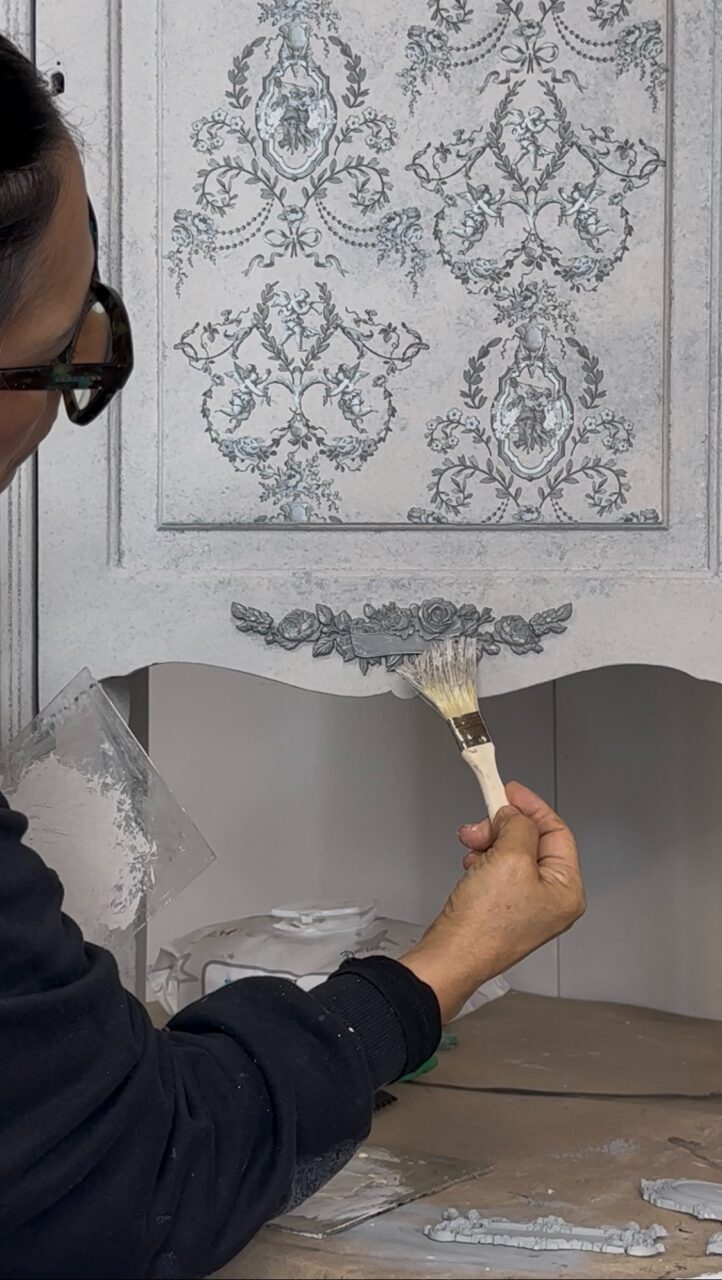
The beauty of dry brushing is that it does not have to be perfect. A light, uneven touch creates the most natural vintage effect.
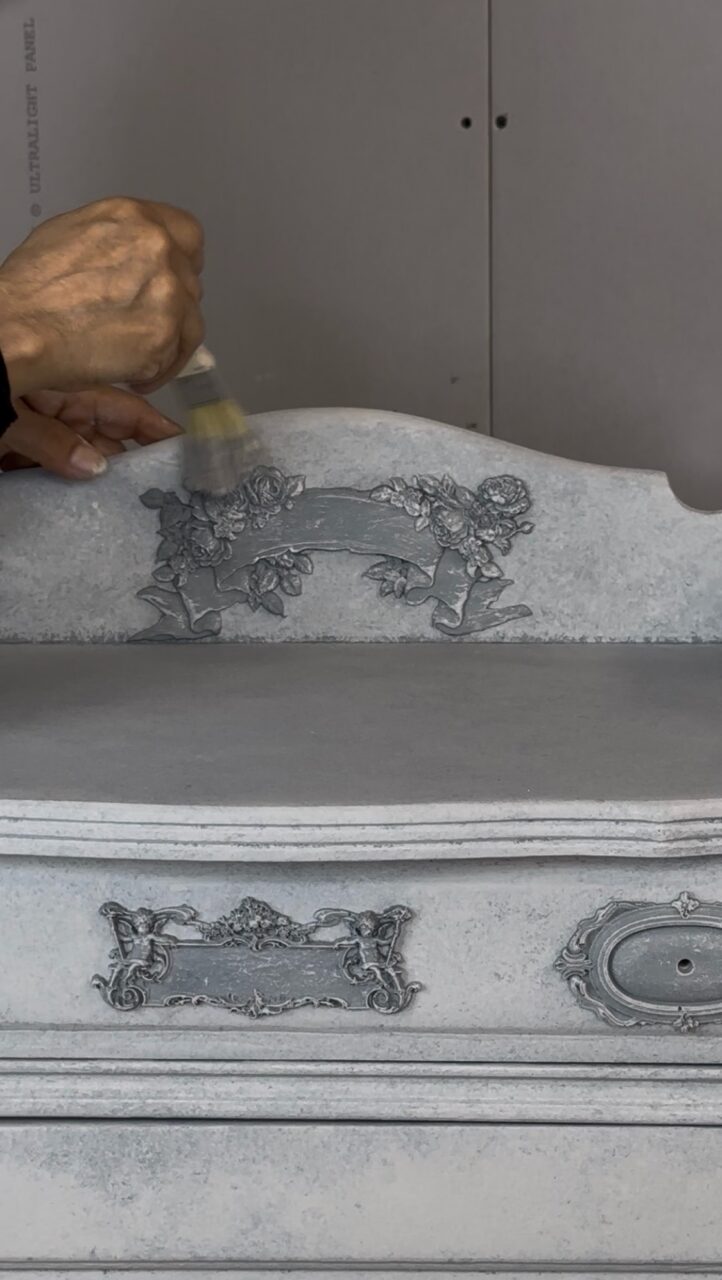
Step 9: Sealing with Ultra Guard Satin
To protect the painted and decorated surface, the piece was sealed with Ultra Guard Satin using a flat synthetic brush.
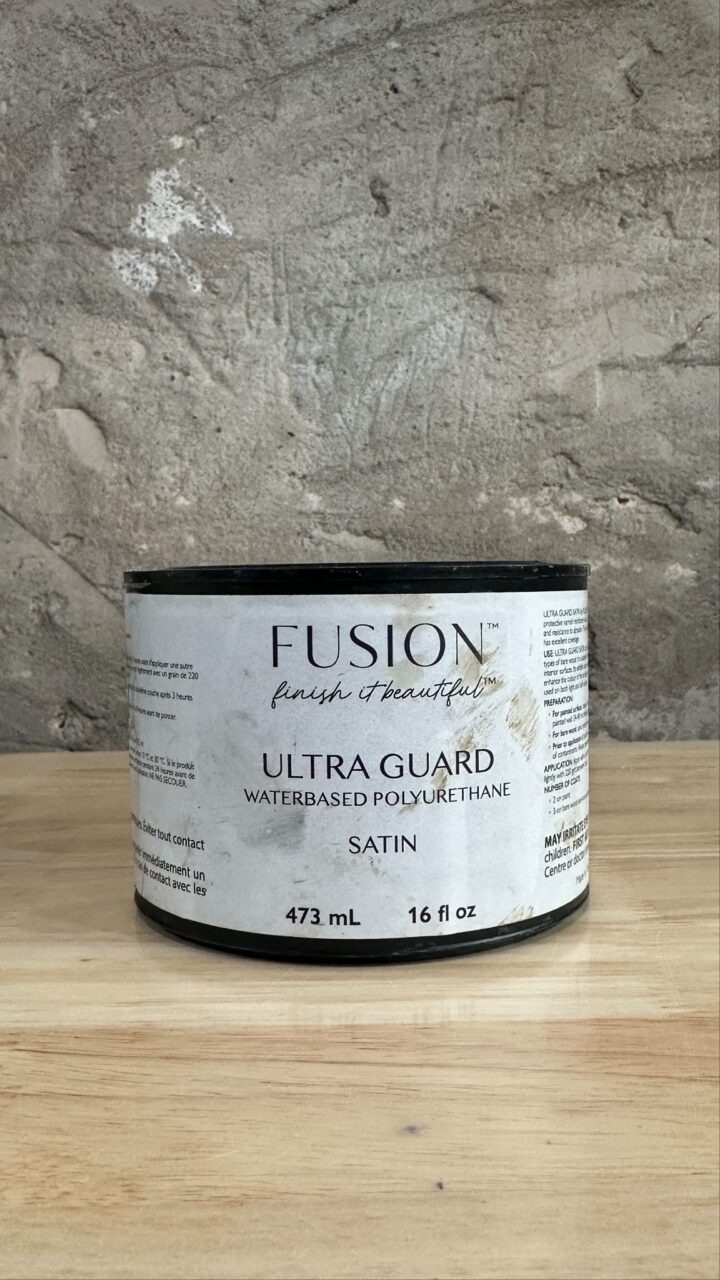
Ultra Guard Satin adds durability while giving the cabinet a soft, subtle sheen. It is a great choice when you want extra protection but still want the finish to feel elegant and refined.
When sealing over transfers, mouldings, and textured finishes, use light, even strokes and avoid overworking the product. Let each section settle naturally for the smoothest result.
Step 10: Adding Depth with Clear and Black Wax
The final aging effect was created using Clear Wax and Black Wax.
First, Clear Wax was applied and the excess was removed with a cloth. Clear Wax helps create a workable barrier, giving you more control when applying Black Wax over top.
Next, Black Wax was added and then wiped back, leaving darker pigment in the textured areas, around the mouldings, and in the details. This creates the illusion of depth and age.
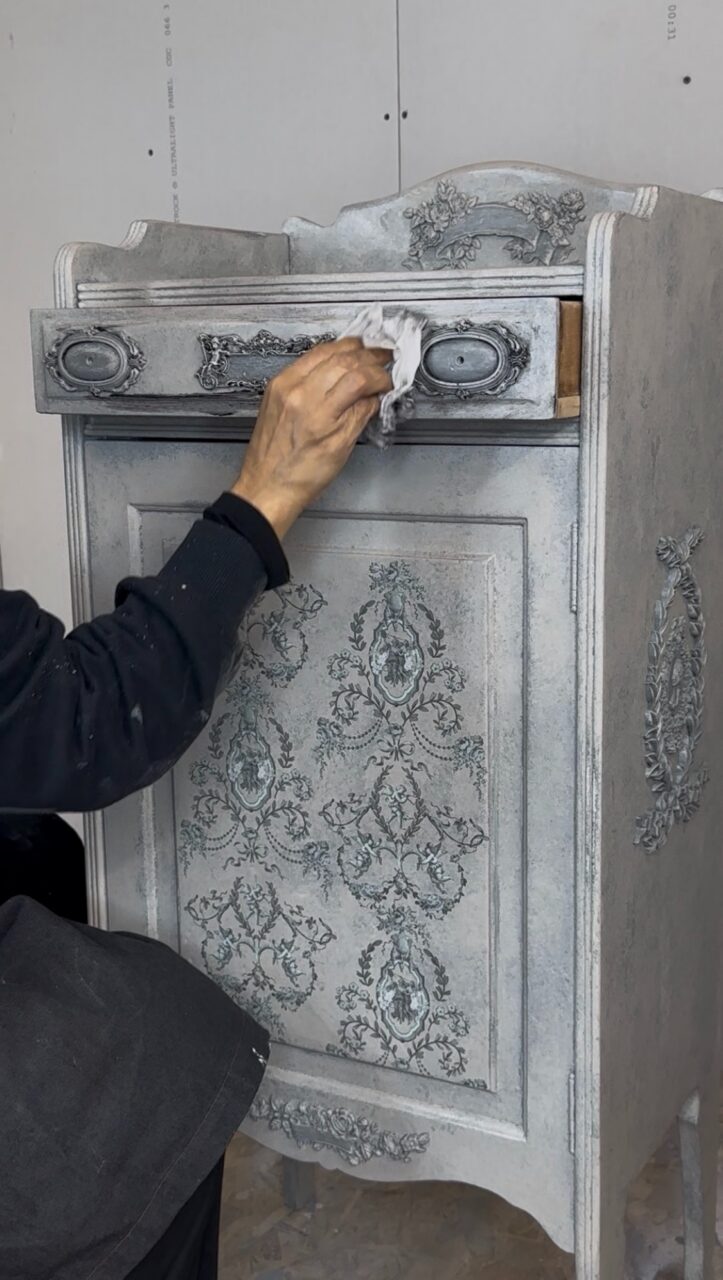
Black Wax is perfect for bringing out carved details and adding that antique, timeworn character. The trick is to apply it gradually and remove the excess until you are happy with the look.
Baby wipes or a clean cloth can help soften areas where the wax feels too heavy.
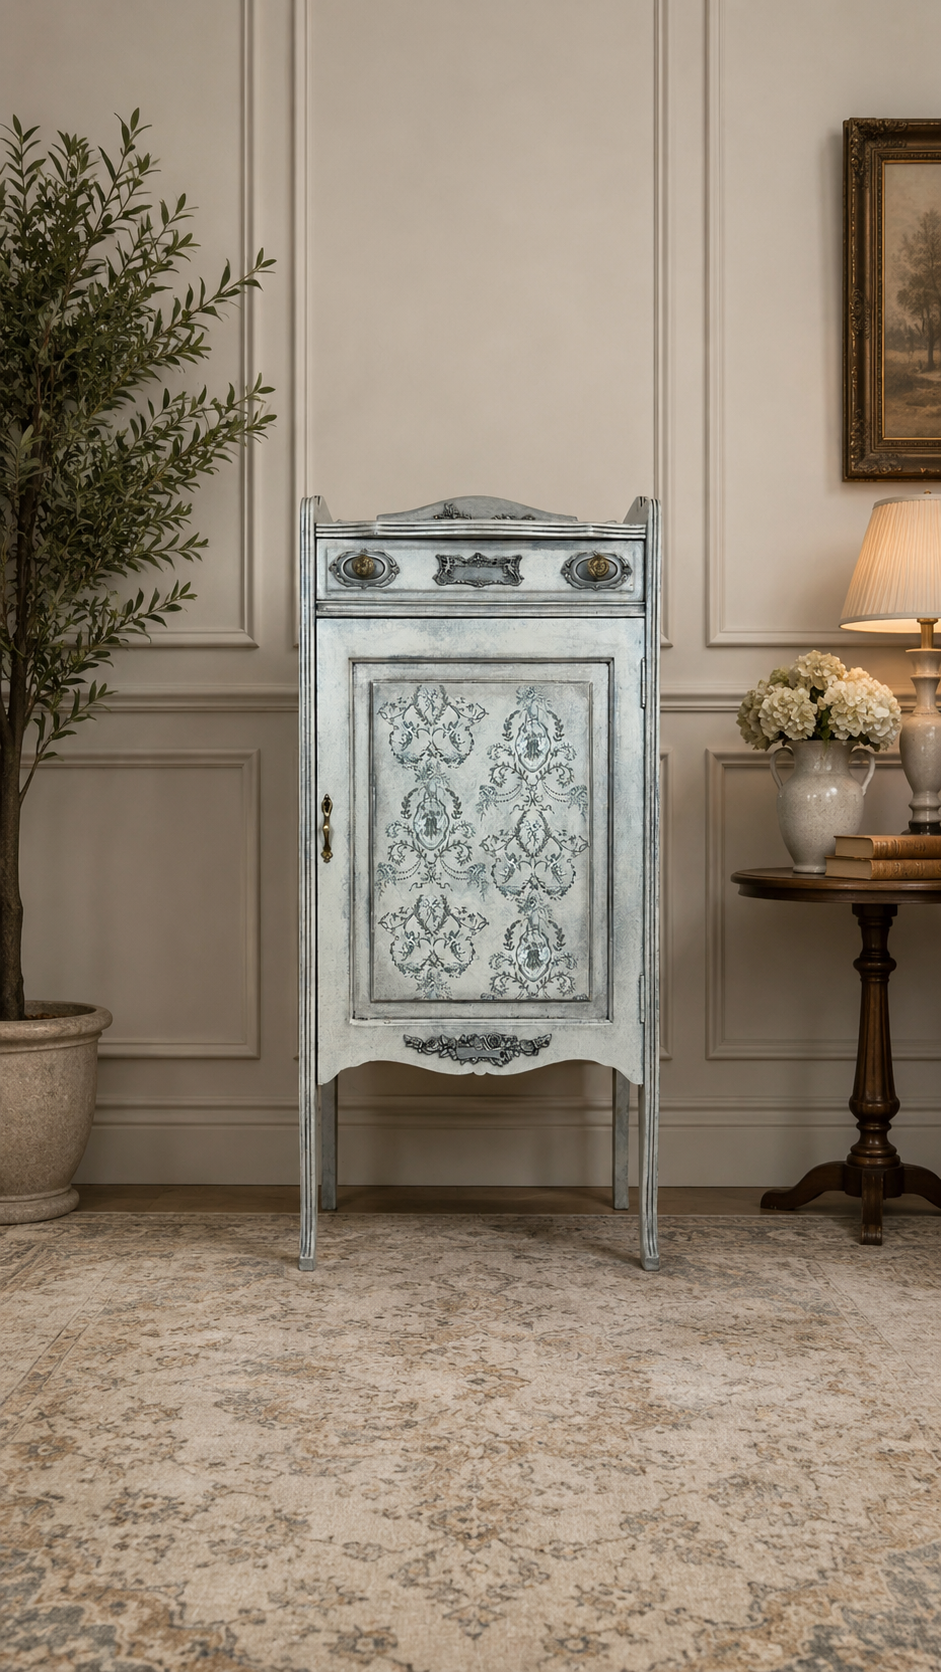
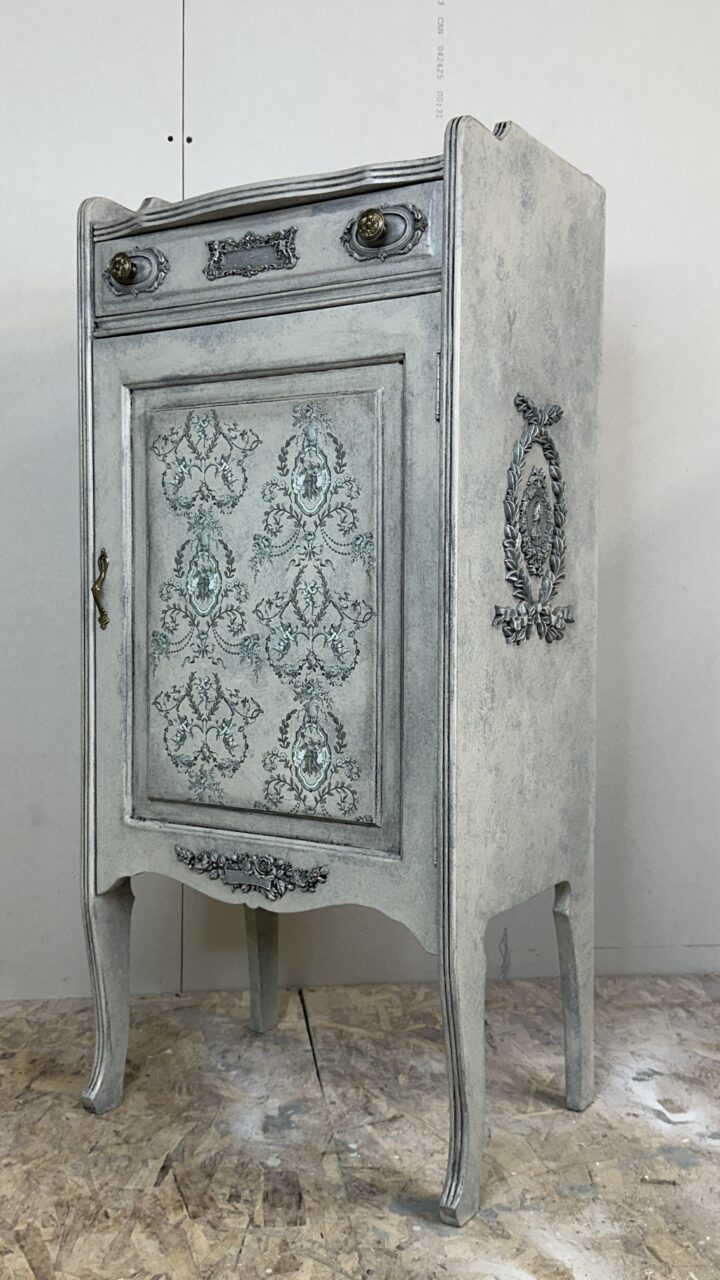
The Final Result
The finished cabinet has a beautiful vintage stone effect with soft layers of Spruce and Alabaster, romantic transfer details, raised resin mouldings, and rich depth from the wax.
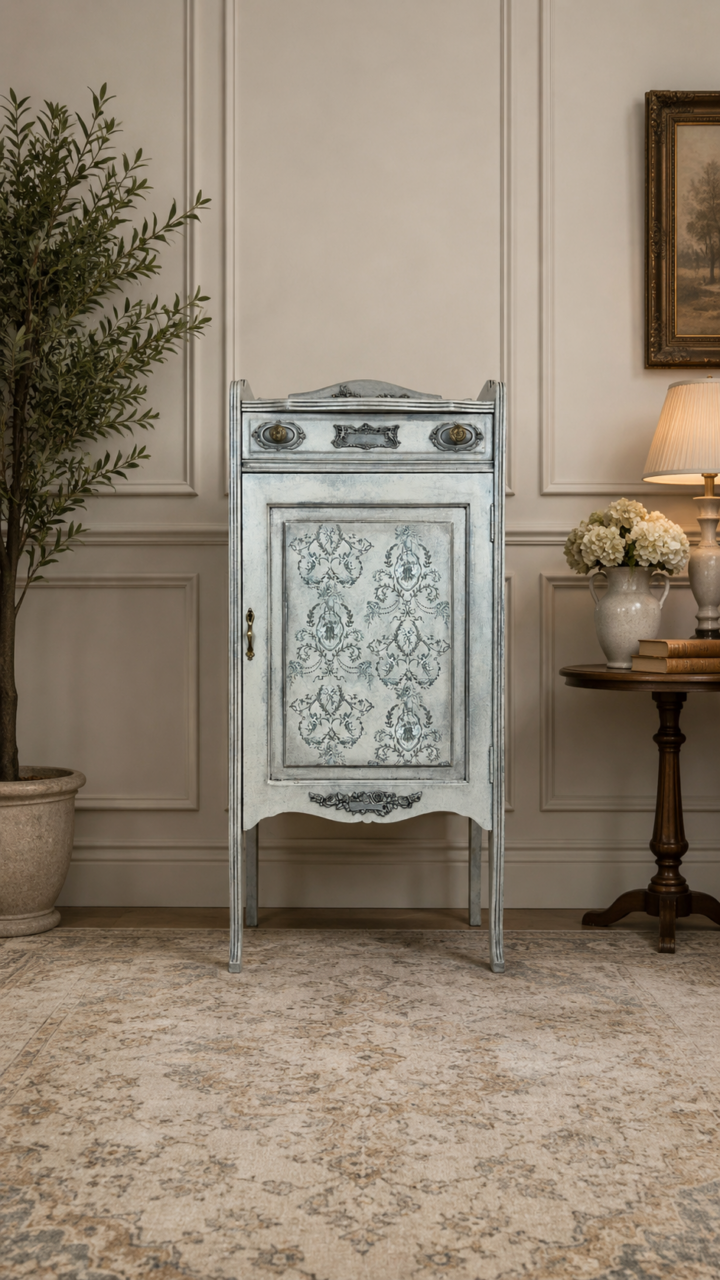
The combination of texture, decorative details, and aged finishing makes this piece feel unique and full of character. It is the kind of cabinet that looks like it has a story — elegant, weathered, and beautifully transformed.
This project is a wonderful example of how paint can completely change the feeling of a piece. With a few creative techniques, even a simple cabinet can become a stunning vintage statement piece.
Tips for Creating This Look
For the best results, build your layers slowly. Start with your base colour, add texture, soften with a sponge effect, then bring in your decorative elements. The final wax layer is what gives everything that aged, dimensional finish.
If you are new to textured finishes, this is a great project to try because it does not require perfection. In fact, the imperfect layers are what make the finish so beautiful.
Use the mister to keep your paint moving, use a light hand with the sponge, and do not be afraid to step back often to see how the whole piece is coming together.
The magic is in the layers.