

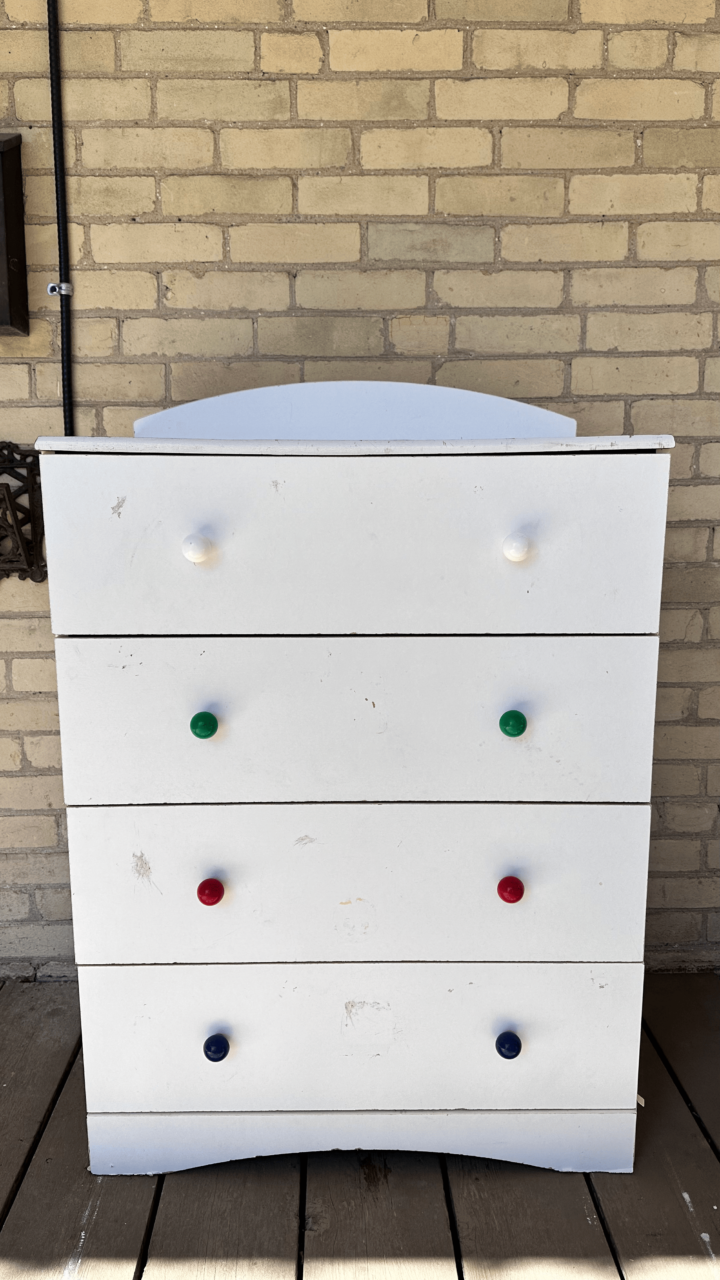
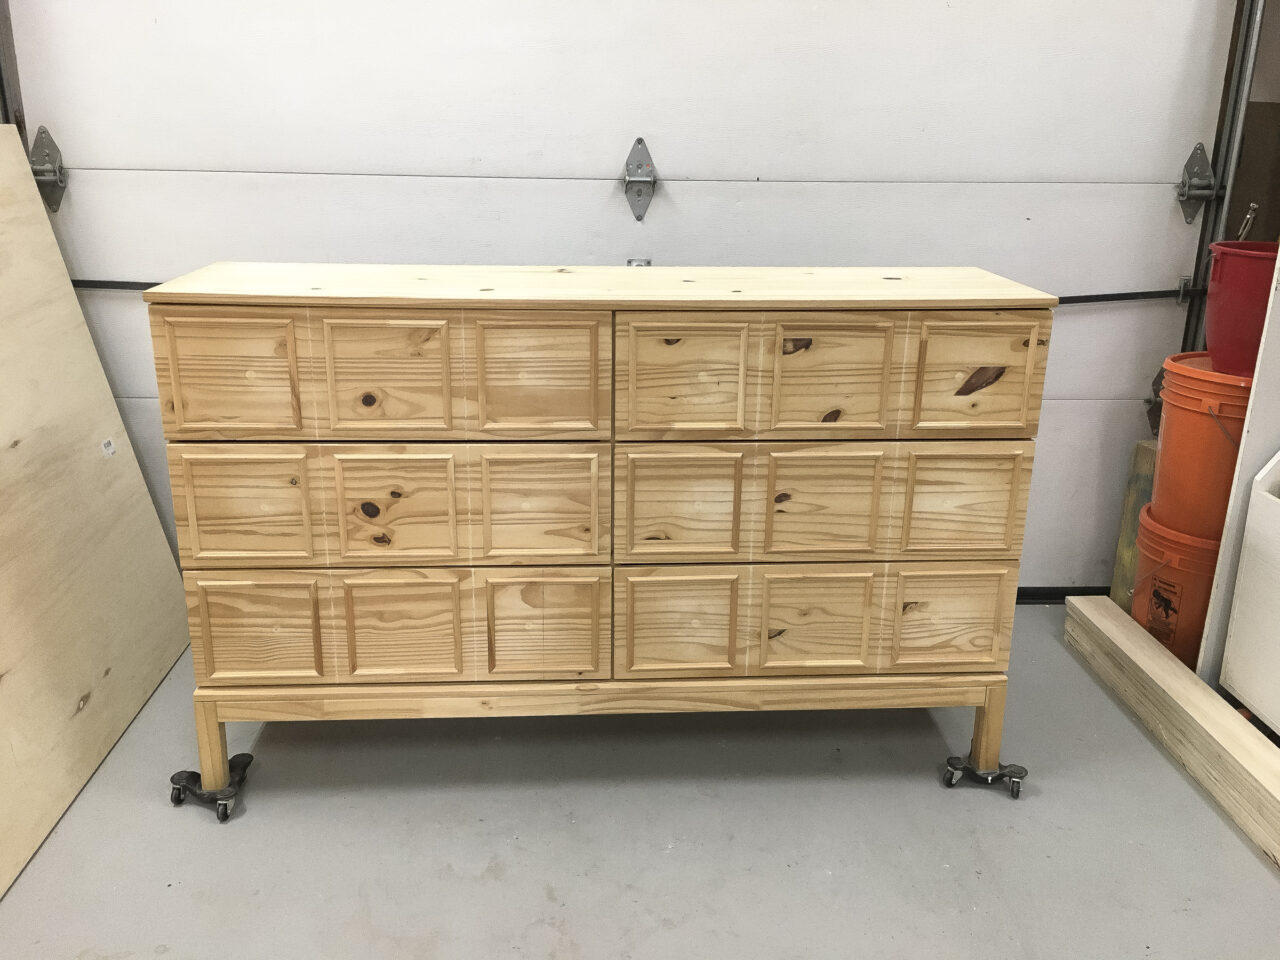
Thinking of starting a side hustle that’s creative, eco-friendly, and profitable? Flipping furniture might just be your ticket! Painting and restoring furniture is not only a great way to make extra money, but it also helps you save beautiful pieces from ending up in landfills. You’d be surprised at the treasures you can find for free—yes, even on the side of the road! These older furniture pieces are often made from high-quality solid wood, unlike the particle board you find in stores today, making them a much better long-term investment for both you and your customers.
Why Choose Furniture Flipping?
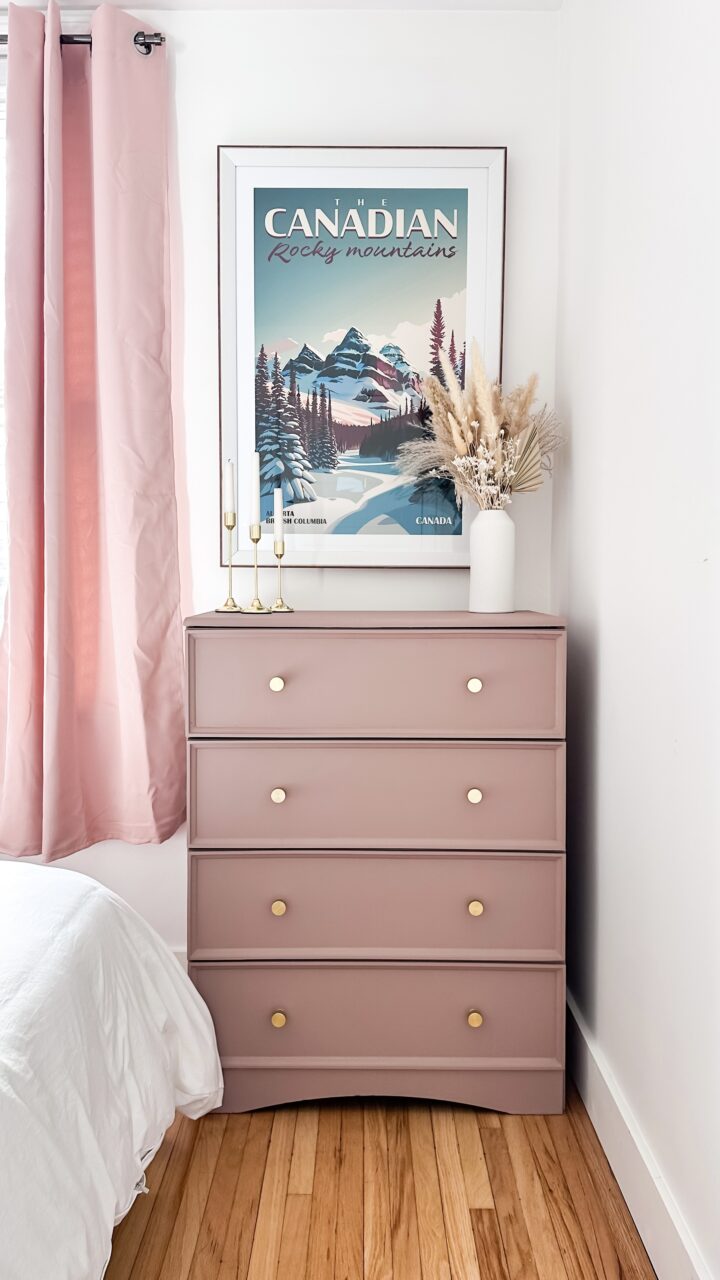
- Cost savings: Instead of buying expensive new furniture, salvage a piece for a fraction of the price (or even for free!) and turn it into a stunning one-of-a-kind item.
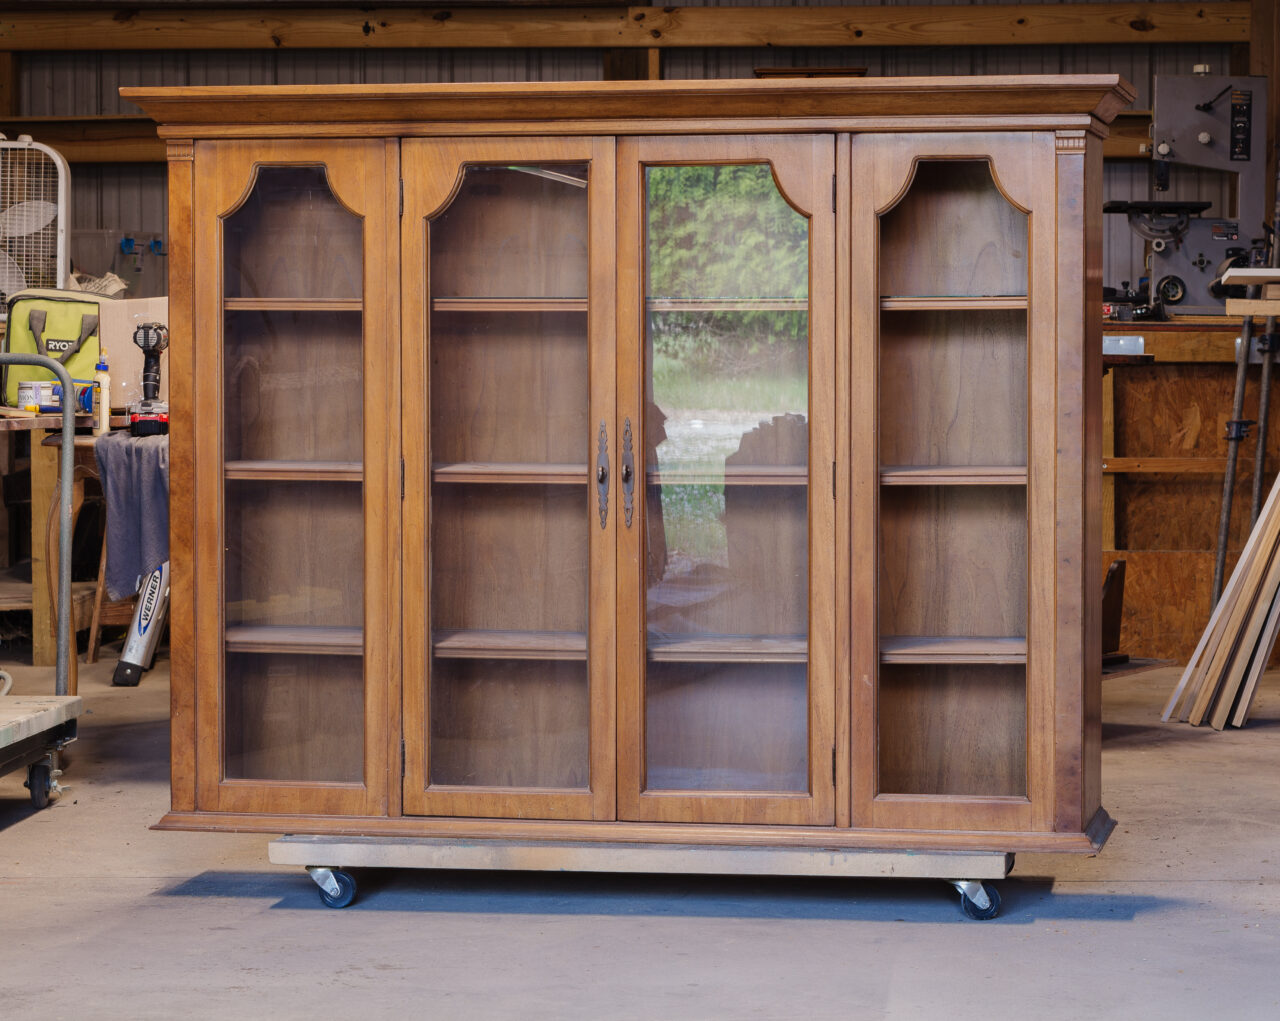
- Eco-friendly: By repurposing old furniture, you’re helping the environment by reducing waste and minimizing the demand for new, mass-produced items.
- Better quality materials: Older furniture often features solid wood and craftsmanship that you just don’t find in today’s mass-produced furniture. These pieces, when properly restored, will last much longer than new, cheap alternatives.
So, if you’re ready to turn trash into treasure, grab your paintbrush, and follow these tips to start flipping furniture like a pro!
Want to be Flipping Furniture Like a Pro and Boost Your Sales?
Flipping furniture can be an exciting way to express your creativity, make money, and breathe new life into old pieces. But to get those top-dollar sales and keep customers coming back for more, you’ve got to do the extras that make a difference! Here’s a fun and practical guide to transforming your furniture flipping projects into cash-generating masterpieces.
1. Prep Like a Pro to Keep Your Paint from Chipping
How to Prepare Furniture for Painting and Avoid Chipping
Yes, prep work can seem tedious, but it’s crucial for a durable finish that lasts. If you’re doing this as a business, following all the steps and not cutting corners is essential to ensure the finished piece can stand up to wear and tear. Fusion Mineral Paint is incredibly durable, but proper prep might just be the most important step to get that long-lasting finish.
Clean thoroughly:
Always start with a good cleaning, no matter how clean the piece looks! Use Fusion’s TSP Alternative, an organic, concentrated, biodegradable degreaser and cleaner. It’s the best choice to make sure your surface is free from oils and grime that could affect paint adhesion. Tip: Flip the piece over and clean underneath—dust and grime love to hide in unseen spots. And always remember to rinse off the cleaner thoroughly.
Hardware matters:
Remove all hardware (unless you plan to paint it) and clean those too! Number the drawers on the back so they go back exactly where they came from. No one wants wobbly drawers that don’t fit right.


2. Sand for a Smooth Finish
Best Sanding Techniques for Flipping Furniture
Sanding might not be your favorite part, but trust us—your future self will thank you! A quick scuff sand with 220 grit is a game-changer when it comes to making paint stick.
Pro Tip:
For that silky-smooth, pro-level finish, sand between coats with a fine grit (like 200 or 400). This extra effort makes your piece feel flawless to the touch!
3. When to Prime (and When You Don’t Need To)
Do You Really Need to Prime Furniture Before Painting?
The beauty of using Fusion Mineral Paint is that it’s self-priming! Most of the time, you won’t need a primer. But here are a couple of scenarios where you’ll want to prime:
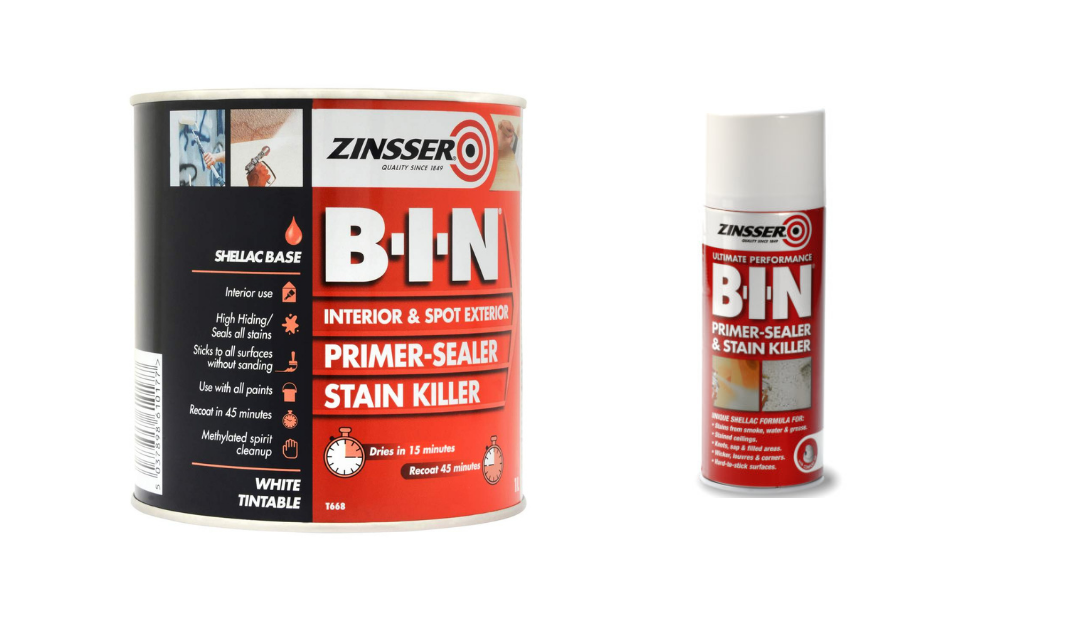
- Stain blocking or knotty wood: Use a stain-blocking primer like Zinsser Shellac BIN to stop wood tannins from seeping through the paint.
- Slick surfaces: For shiny or tricky surfaces like melamine or high-gloss finishes, use Ultra Grip for extra adhesion. It makes painting those tough surfaces a breeze!
Tip for Color Changes:
Don’t waste time priming just to switch from dark to light. Instead, use a mid-tone transition colour like Sterling Grey to cut down the number of paint coats you need.
4. Choose the Best Brush for Your Project
Choosing the Right Brush for Professional Furniture Painting
Your brush choice can make or break the final look of your piece! Pick the right brush for the size of your project—small brushes for intricate work, large brushes for big pieces.

Pro Tip:
Invest in high-quality brushes like Fusion’s Staalmeester range. They’ll last longer and give you that flawless finish that customers love. Plus, take care of your brushes with Fusion’s Brush Soap to extend their lifespan!
5. Time to Paint!
Furniture Painting Tips for a Professional Finish
Now that the prep is done, it’s time for the fun part—painting! Start by turning your piece upside down so you don’t accidentally mess up the top when you flip it later.
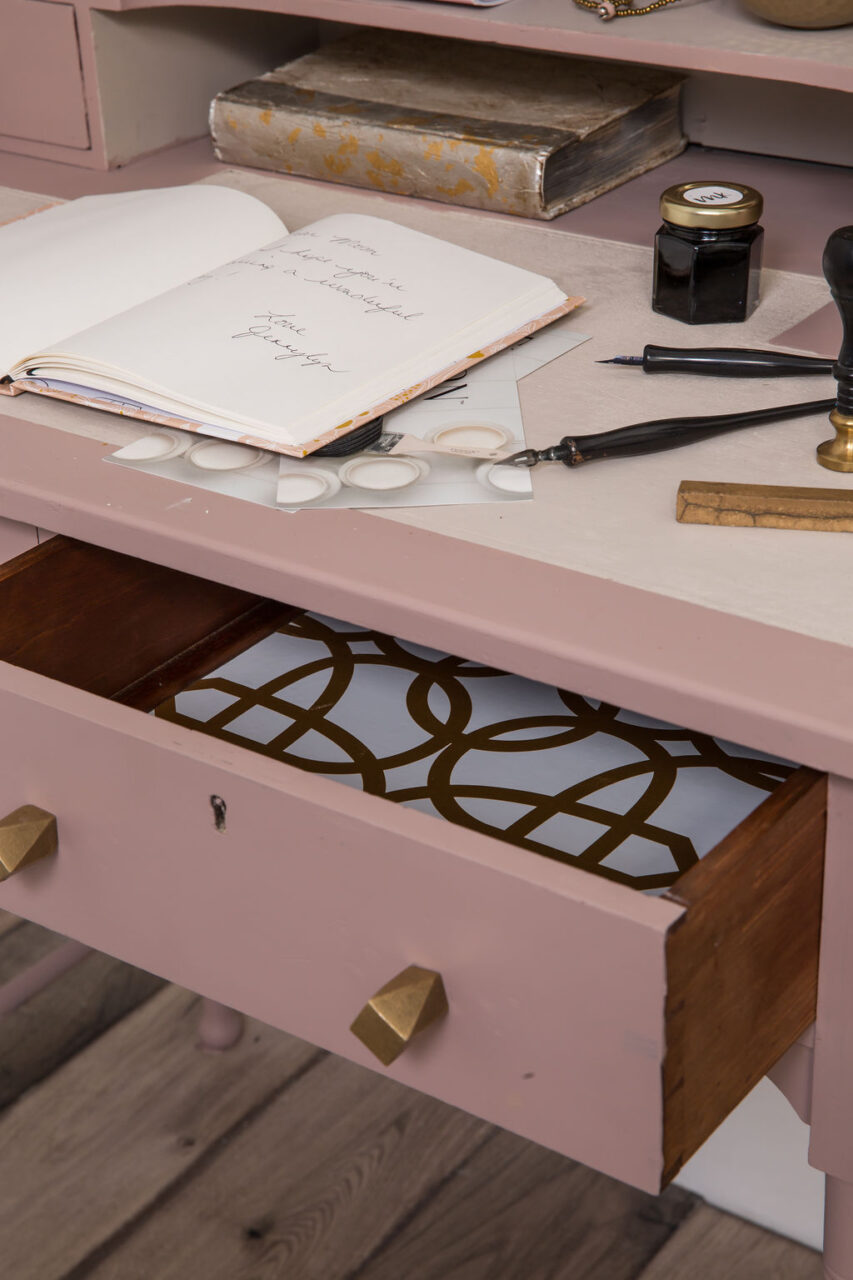
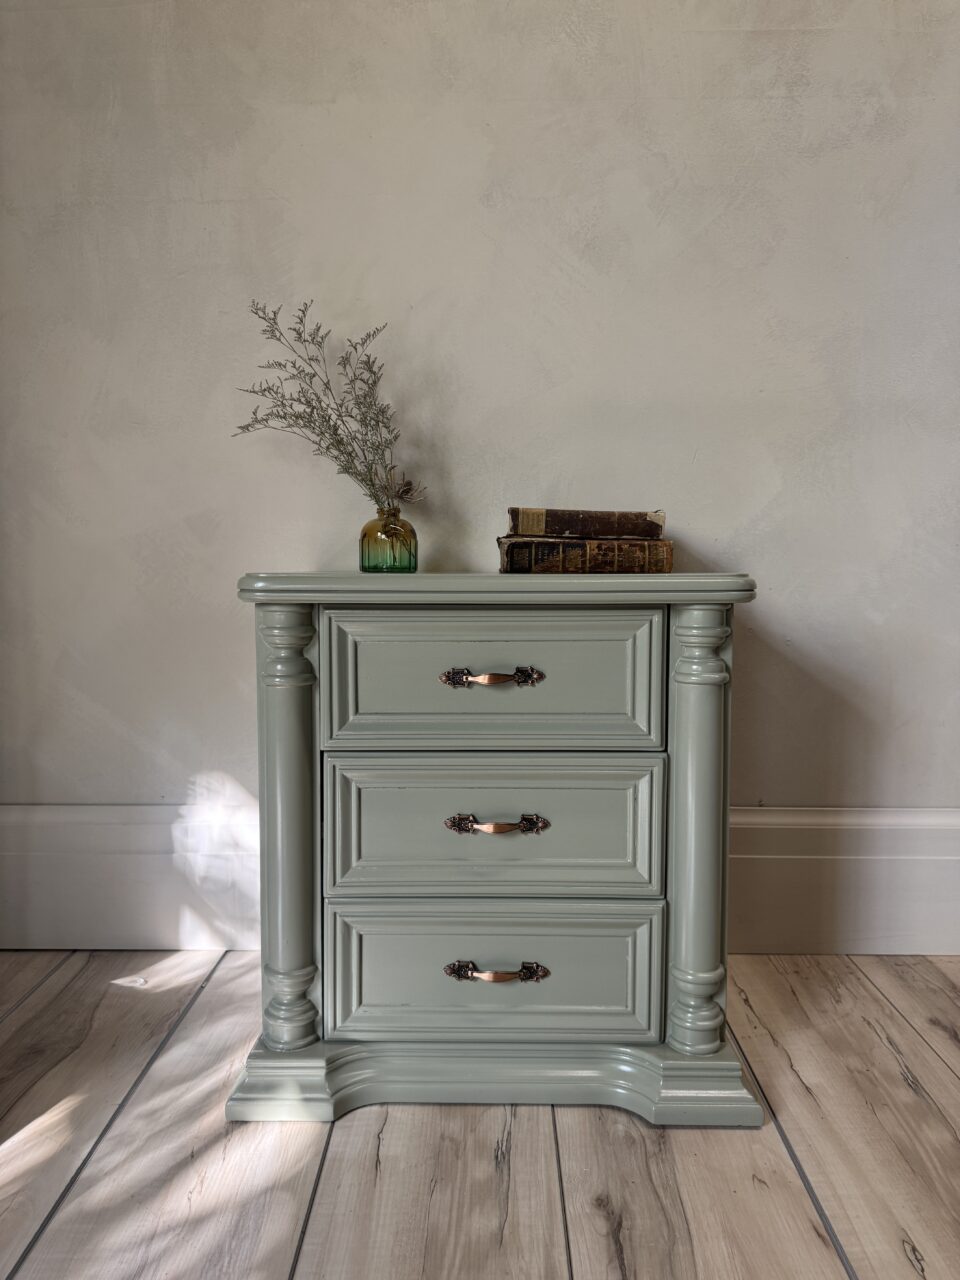
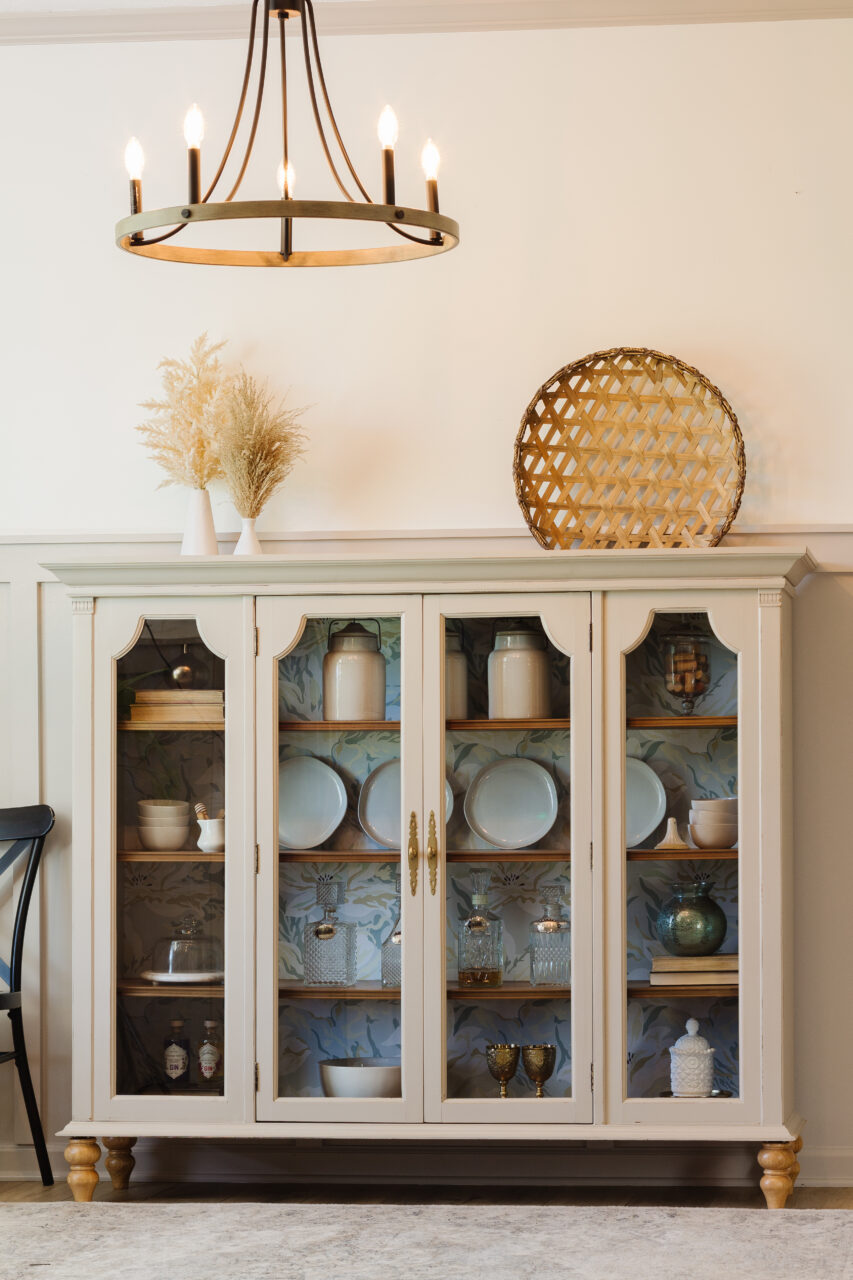
- Attention to detail: Paint the inside of drawers, the back, and don’t forget the top. You never know when someone will place your piece in a spot where all angles are visible!
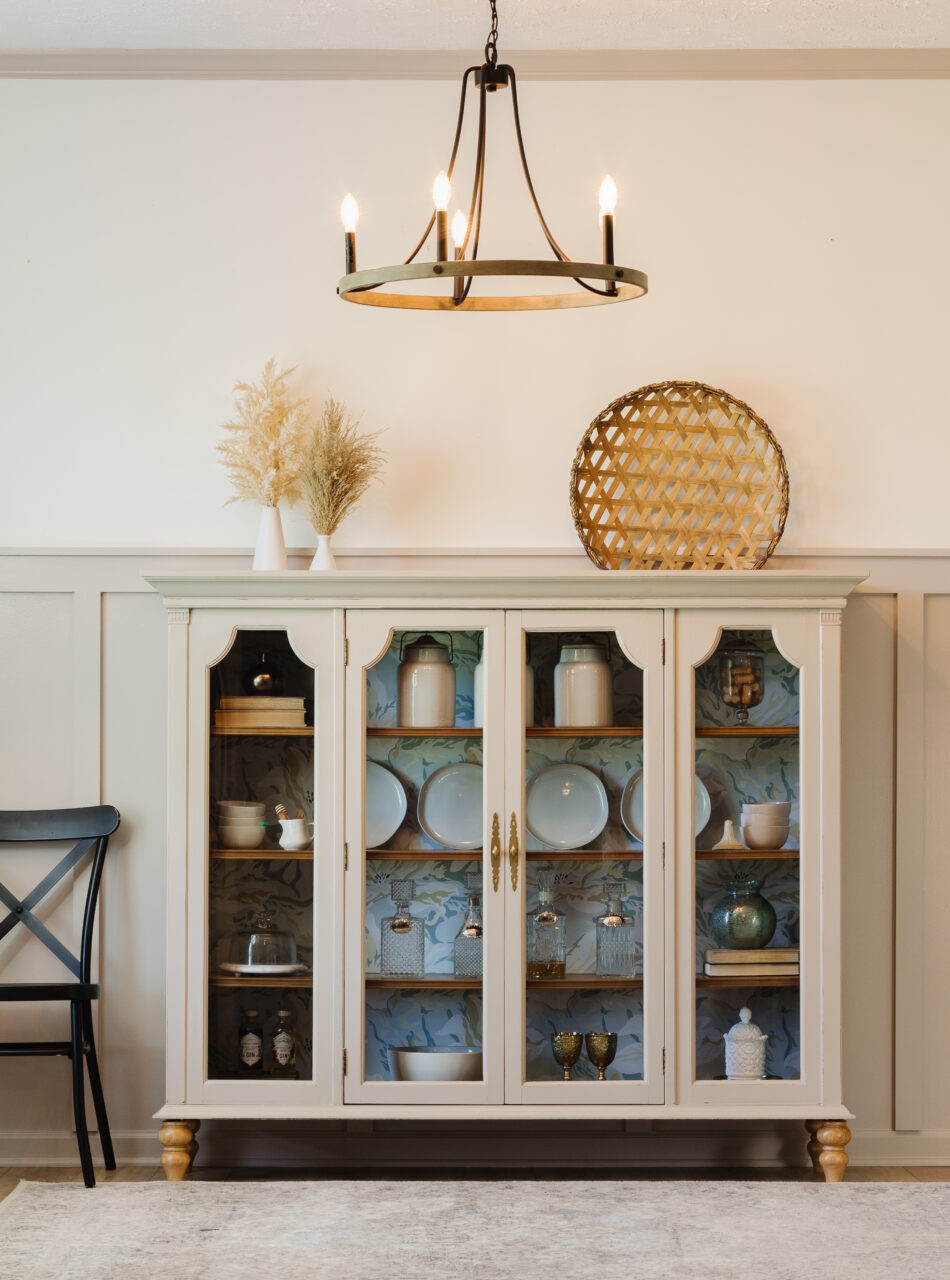
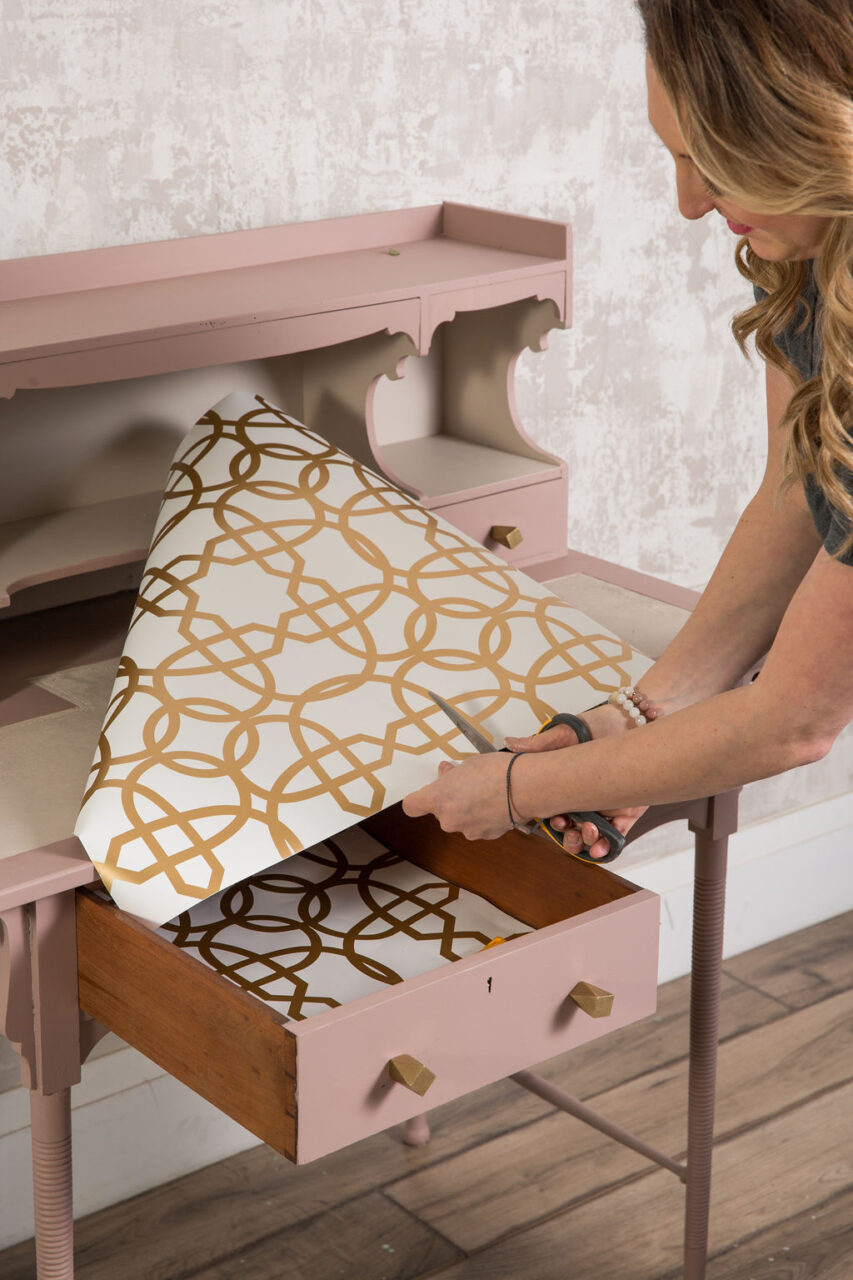
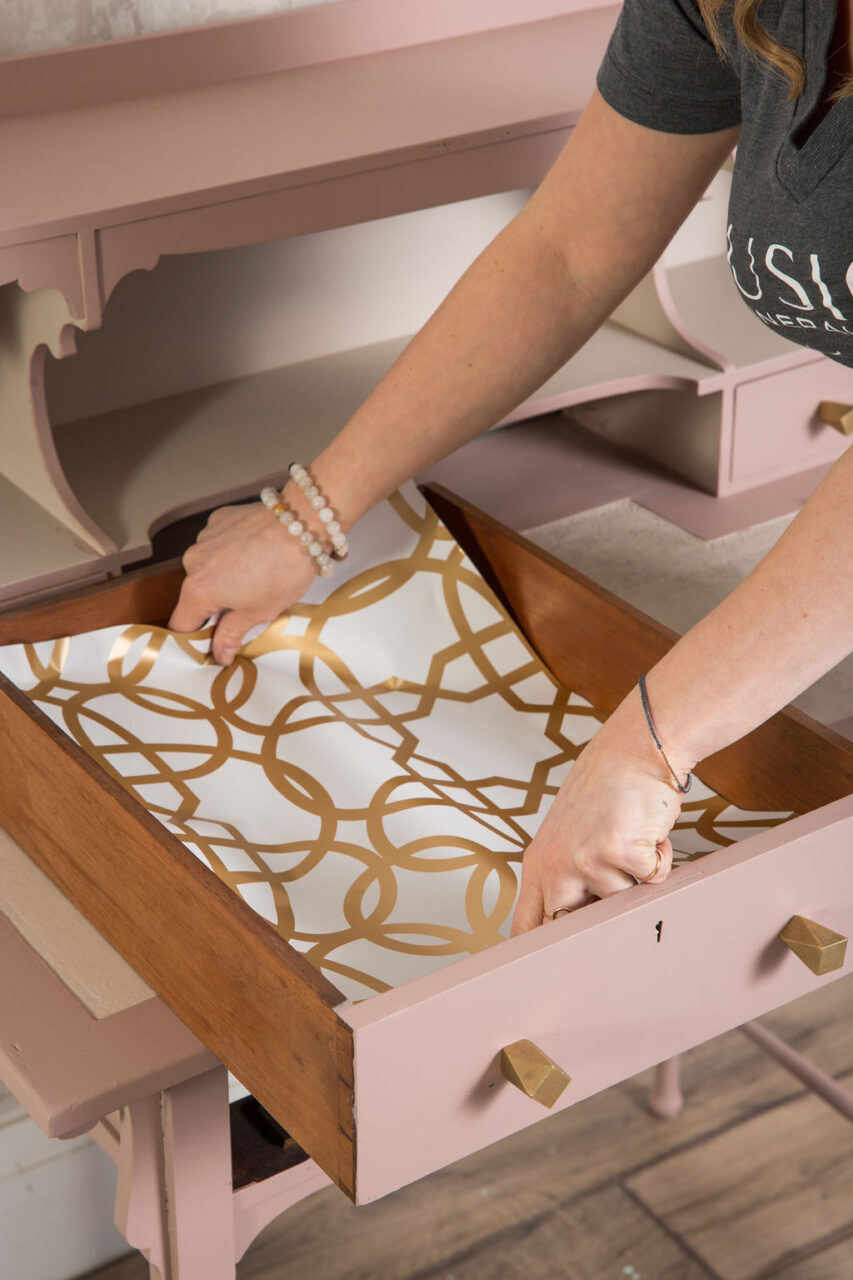
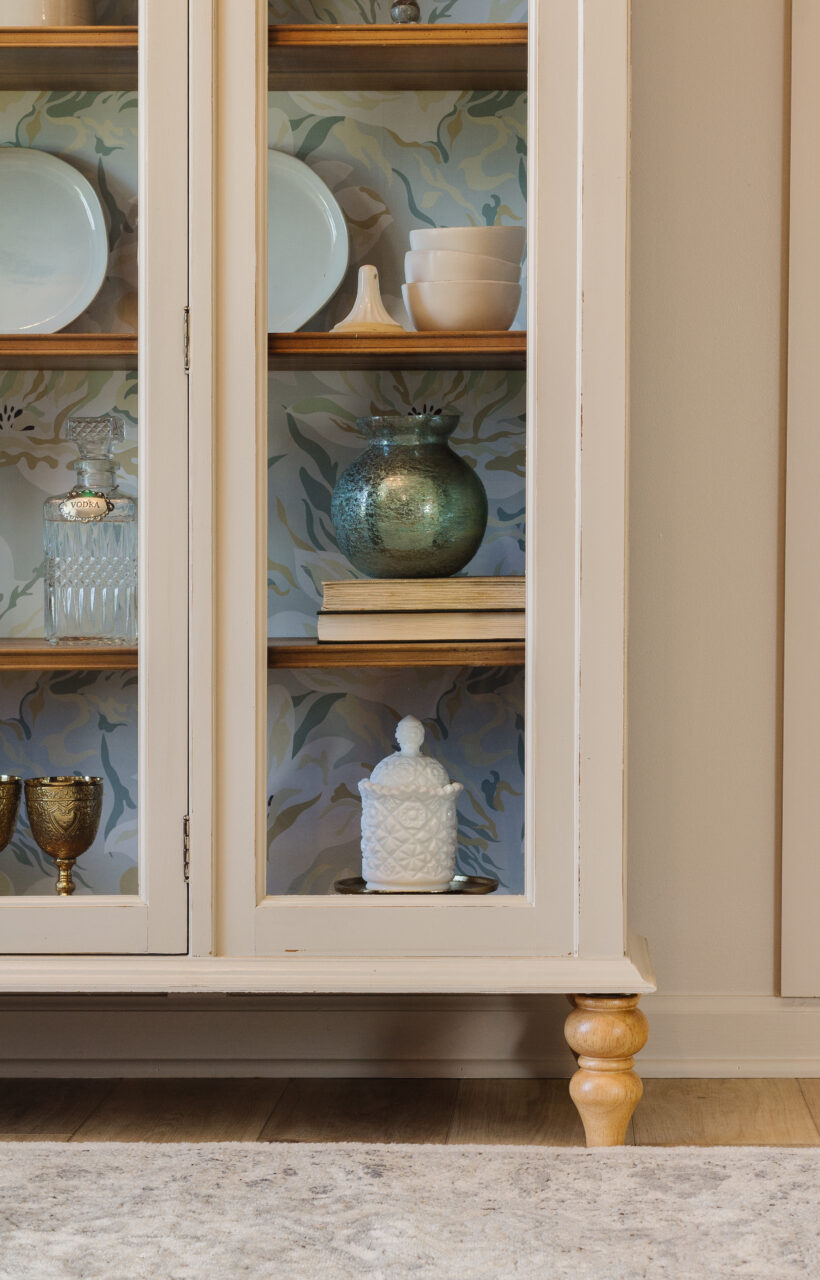
- Add some flair: Cool new hardware, pretty drawer liners, or fun stencils inside the drawers can elevate your piece and set it apart from others on the market.
Pro Tip:
Experiment with layering colours for a unique look. Tone-on-tone or a pop of colour under a neutral topcoat can really make your pieces stand out. Don’t be afraid to play around with different colour combinations!
6. Want to Distress? Do It Right!
How to Distress Furniture for a Vintage Look
Distressing can give your piece a charming, lived-in look that customers love. But it’s important to know how and when to distress properly.
- Try wet distressing: It’s gentler on the paint and gives a more natural worn look compared to sandpaper.
- Use a Beeswax Block: After applying your base coat, rub the beeswax on natural wear points before painting the final coat. When you distress later, these areas will rub off beautifully.
Pro Tip:
Always test your distressing technique on a small, scrap piece first—especially for custom orders. Have your clients approve the sample before you move forward!
7. To Top Coat or Not to Top Coat?
Do You Need a Top Coat on Painted Furniture?
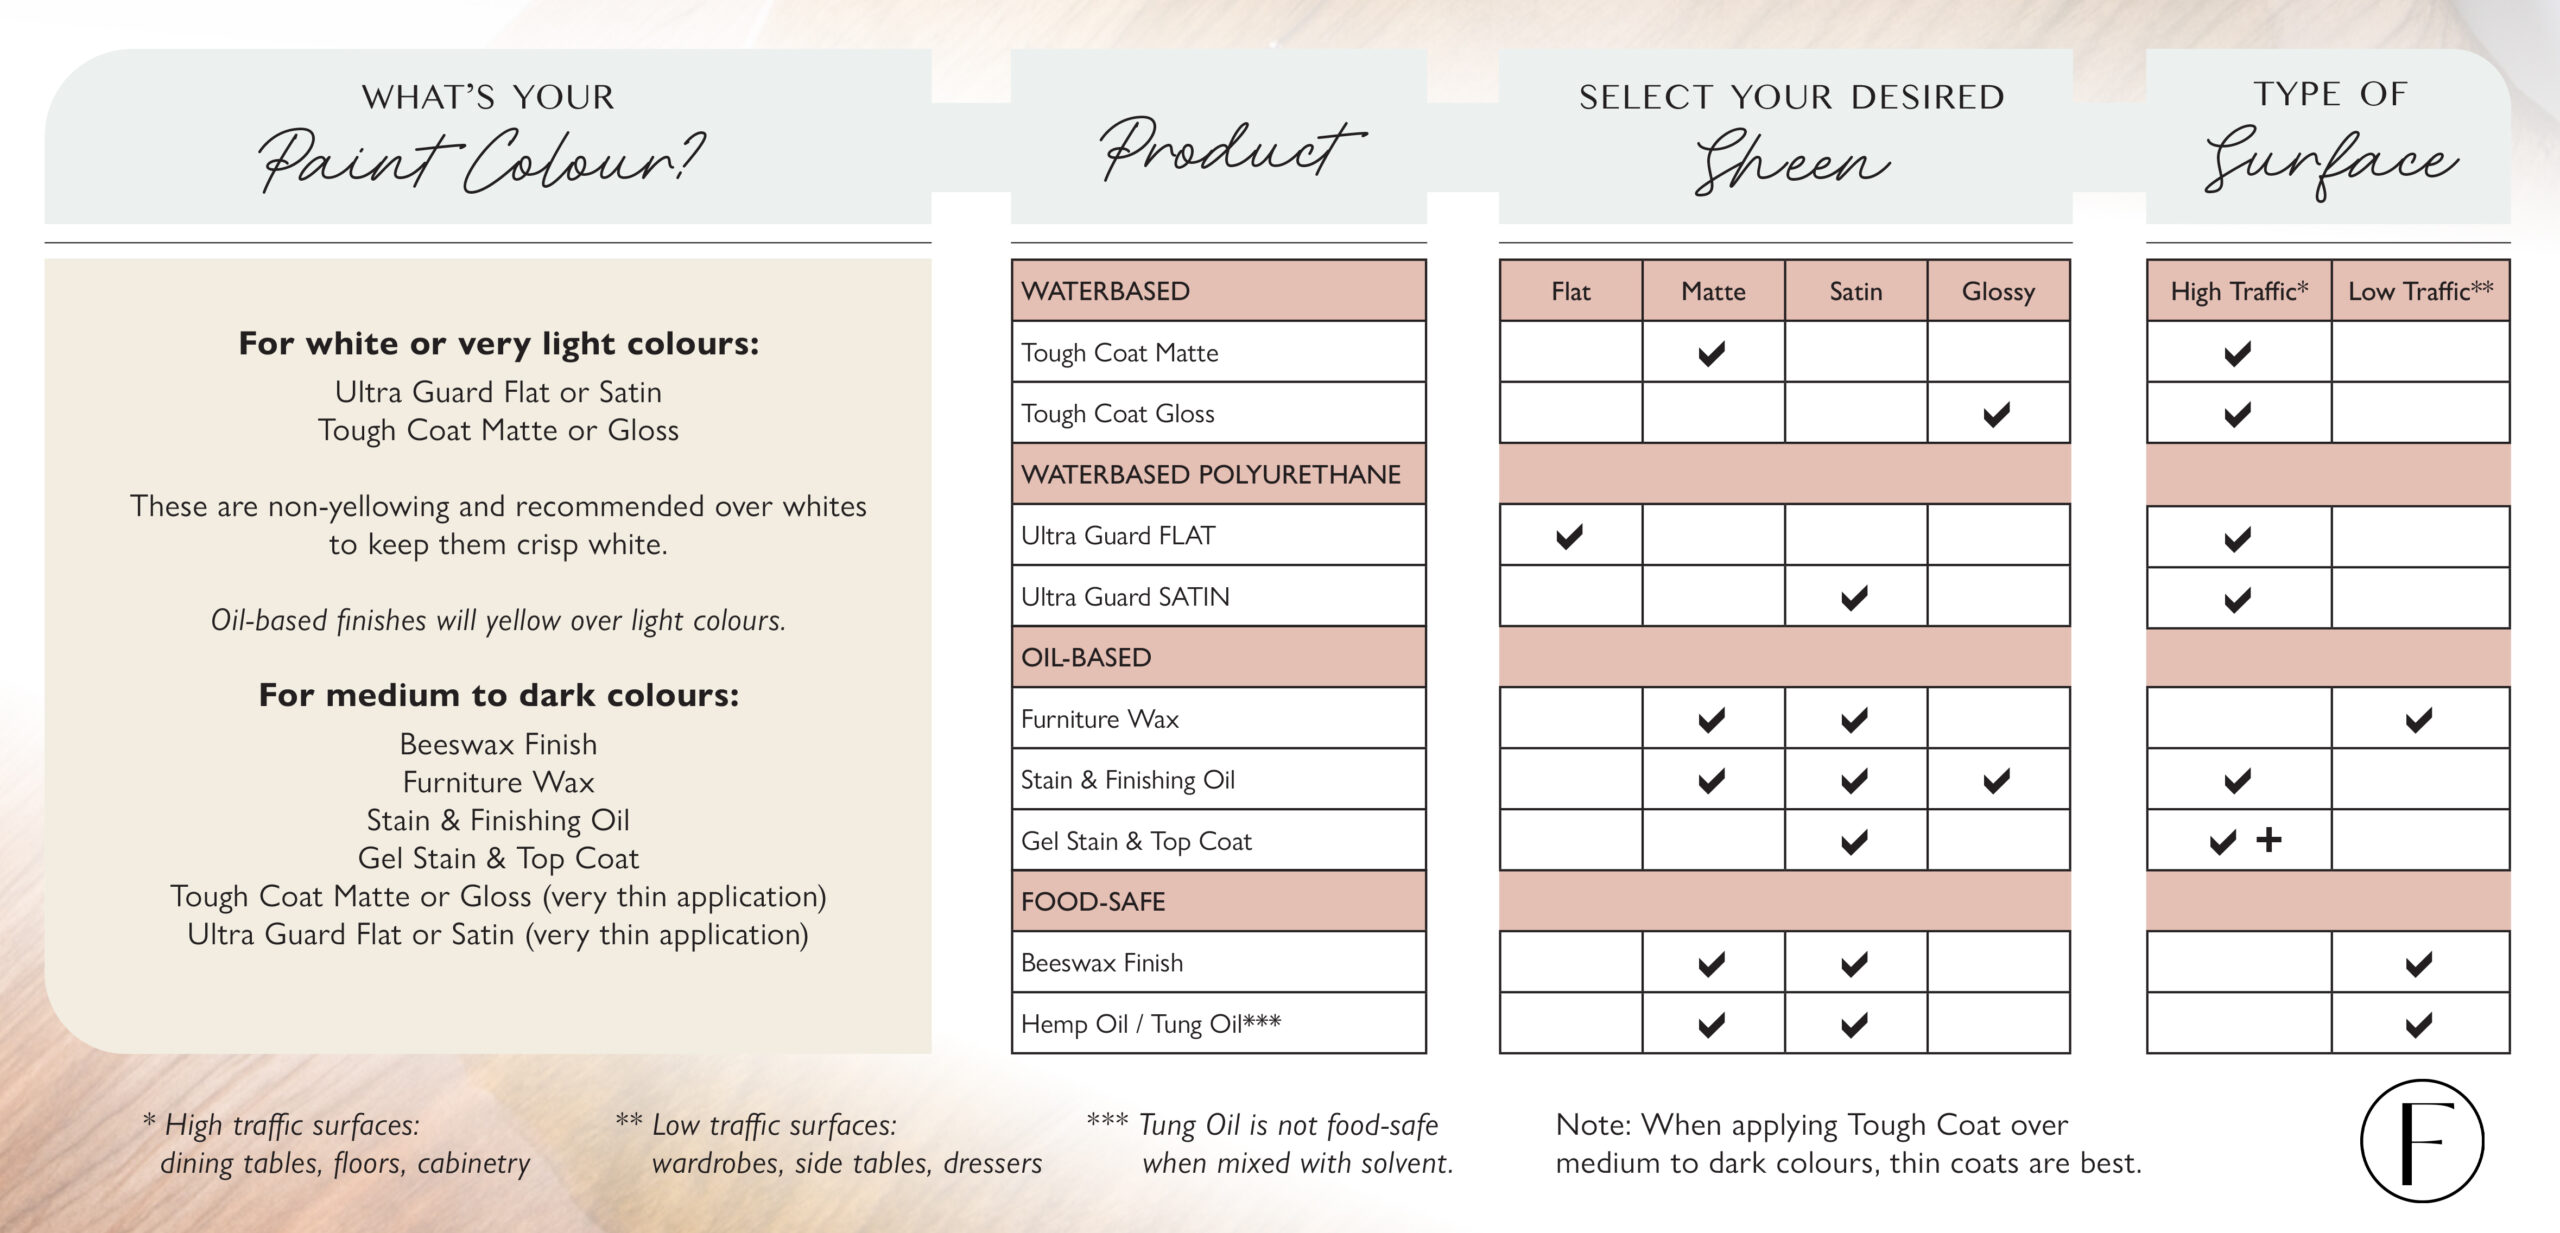
With Fusion Mineral Paint, a top coat isn’t always necessary, but sometimes it’s a great idea depending on the use of the piece.
- For high-traffic areas like tabletops and cabinets, use Fusion’s Tough Coat Clear for added protection and durability.
- For darker colours, you might want to use Fusion’s Beeswax Finish to keep the surface looking clean and fingerprint-free.
Final Tips for Boosting Your Profits when Flipping Furniture
How to Make More Money Flipping Furniture
Want to sell more pieces, faster, and at a higher price? Here are some quick tips to maximize your profits:
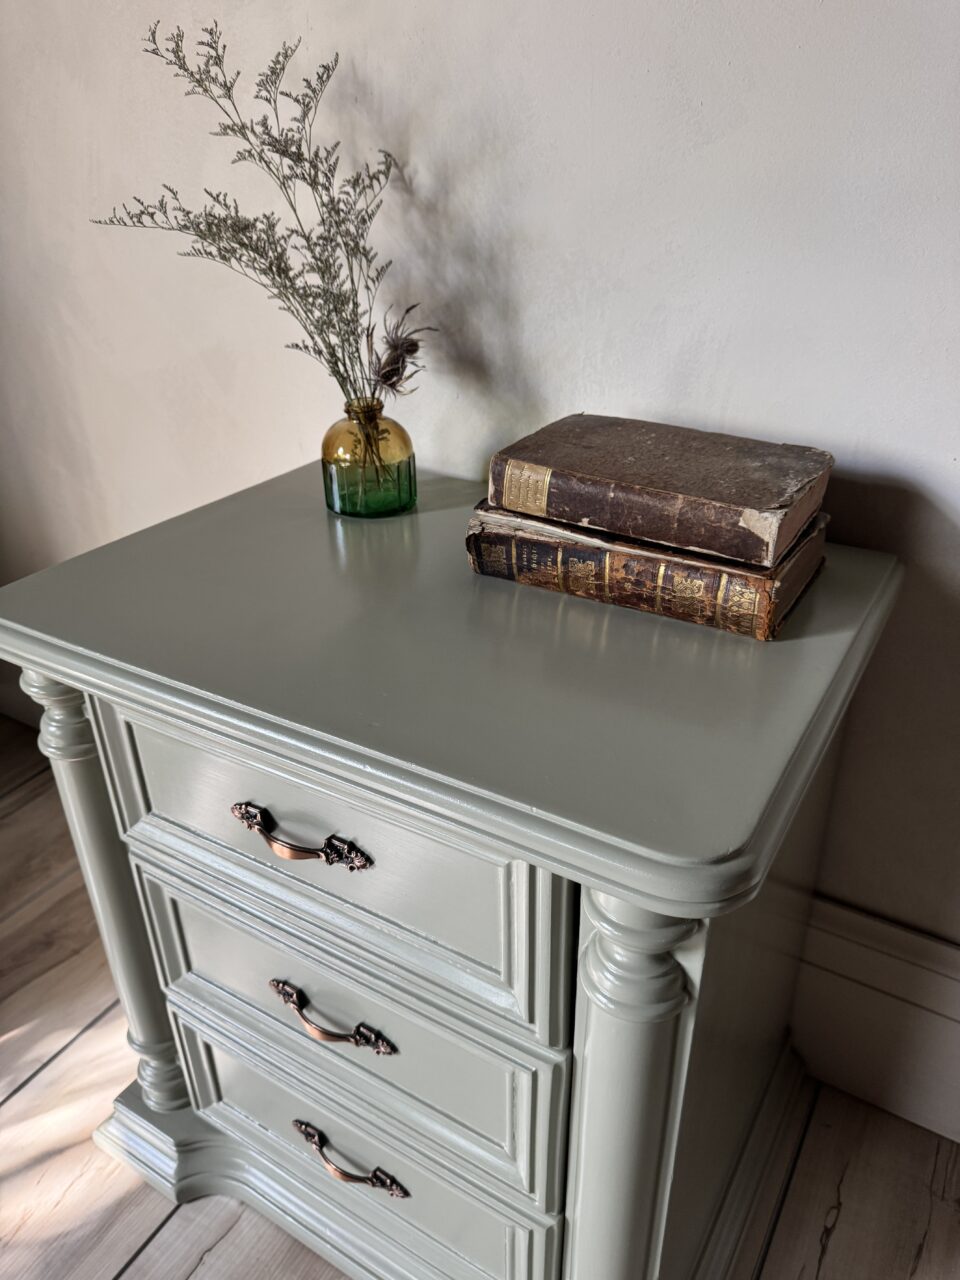
- Presentation is everything: Make sure your listing photos show off your piece from every angle, including close-ups of special details.
- Tell a story: In your listing description, talk about how you transformed the piece, what inspired the colour choices, or how it can fit into different types of home decor.
- Add value: Simple extras like unique hardware or lining the drawers with beautiful paper can make your piece feel like a premium item.
Flipping furniture is not just about painting—it’s about giving old, unloved pieces a new story and finding them a happy home. By taking the extra steps and giving your pieces some personality, you’ll not only sell more but also build a reputation as a true furniture artist.