Are you worried that your paint finish will look less than professional? Do you get brushstrokes or unwanted texture in your finish? Avoiding brushstrokes, achieving a smooth application, and getting a professional paint finish is made easy with our ultimate guide – How to Apply Fusion Mineral Paint. When you combine the very best paint, with the very best brushes, perfection comes easily!
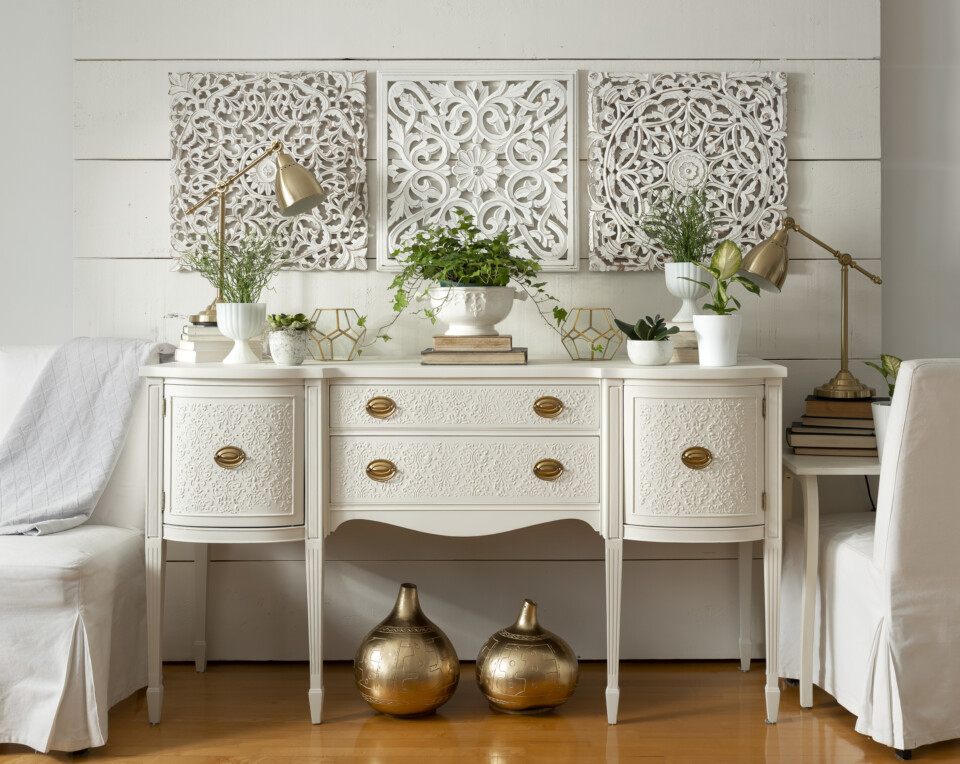

Application Tips, tricks, and a few words of wisdom.
When you find your perfect paint project we know you are super keen to get started. The most important step always is the prep! Do not skip the prep process, it will give your paint finish the right foundation to properly adhere to and last generations. Keeping in mind, this is a hand-painted piece, so we must embrace that it won’t look like a sprayed factory finish. If it isn’t perfectly perfect it’s ok! This guide will help give you the knowledge and understanding of how to achieve a smooth flawless finish.
Download The Ultimate guide on prep here.

Choosing the right Brush & Tools
The first step to a great paint finish is the very best paint and a good quality brush! Not only should the brush be of good quality it also should be the right size for the job. Imagine you have a 1-inch brush and the top of your dresser is a few feet wide. To get from one side to the other you will have to brush it at least 10 times. That gives you the chance of having 10 brushstrokes in your finish. Using a larger brush covers the area in fewer strokes, instantly eliminating possible brushstrokes. It would not be unusual to use a couple of different-sized brushes for each project depending on its shape and size. Not to worry, this guide will walk you through how to choose the right brush.

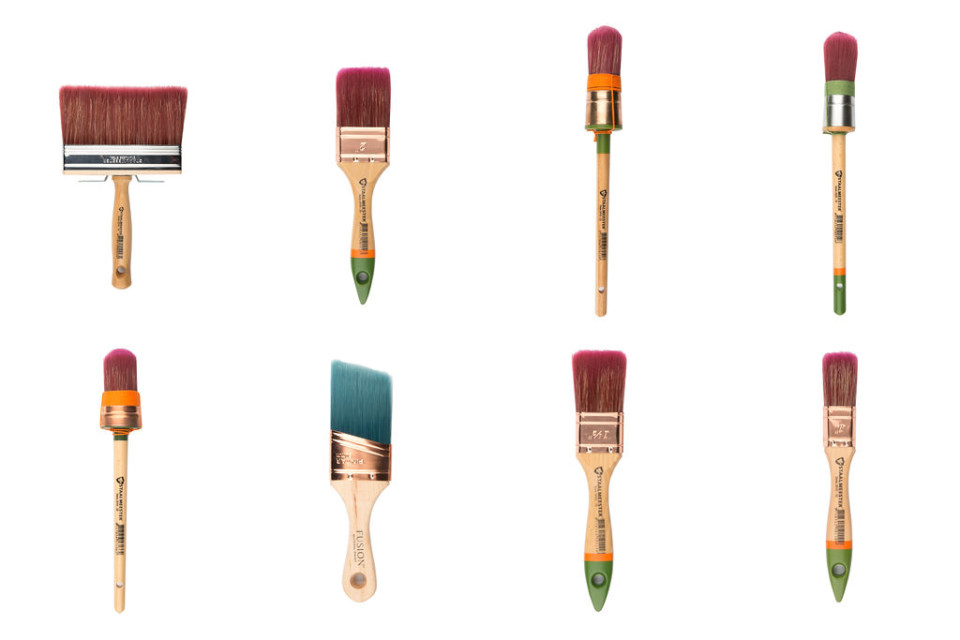

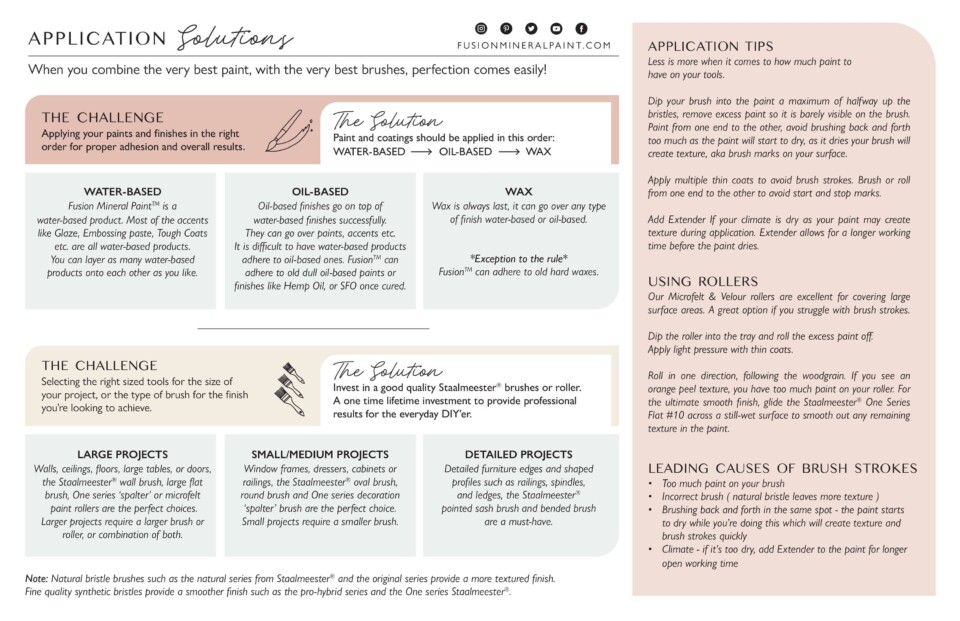
We have a blog post that helps you decide which brush is best for your project. This card helps choose the right brush for your project which helps you get the best results.
The right tools for larger surfaces.
When you’re painting a large surface like a wall, ceiling, floor, large table, or door, the Staalmeester® wall brush, large flat brush, One series ‘spalter’ or micro felt paint rollers are the perfect choices.
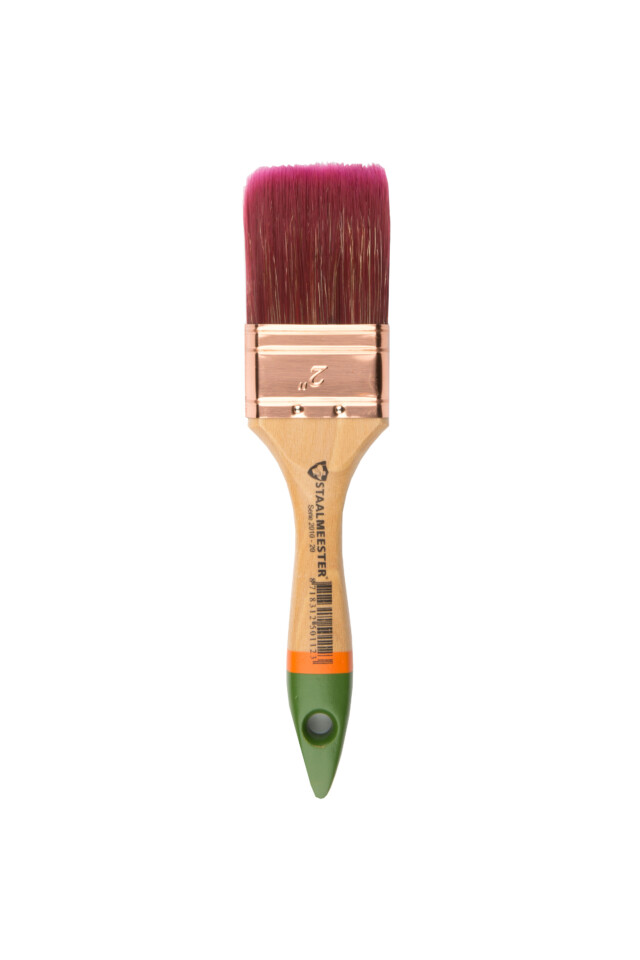
1 The flat brush is available in all the Staalmeester® series except for the One series. The flat brush is the perfect choice when painting medium to large tables, doors, or dressers.

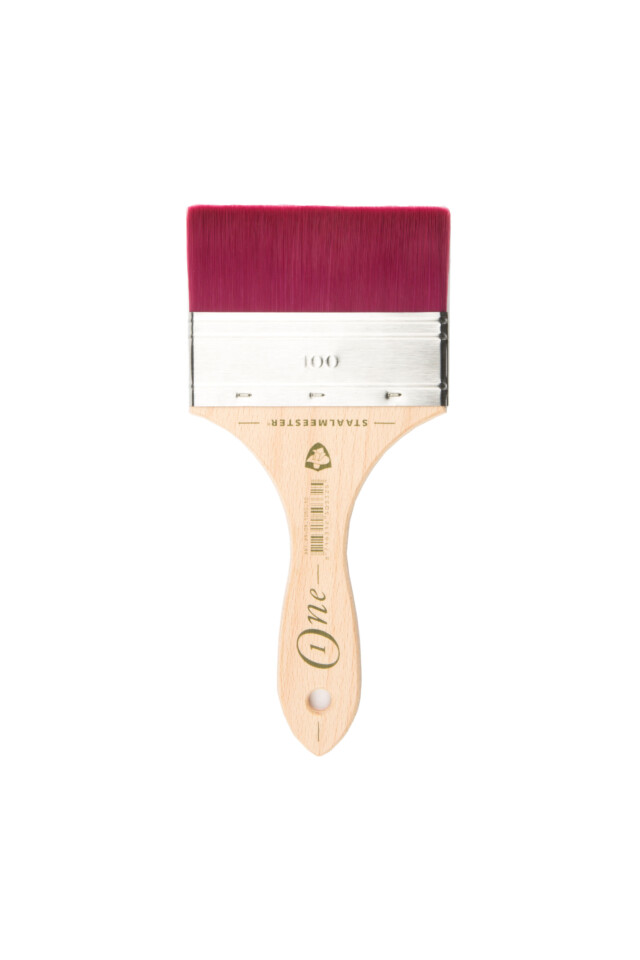
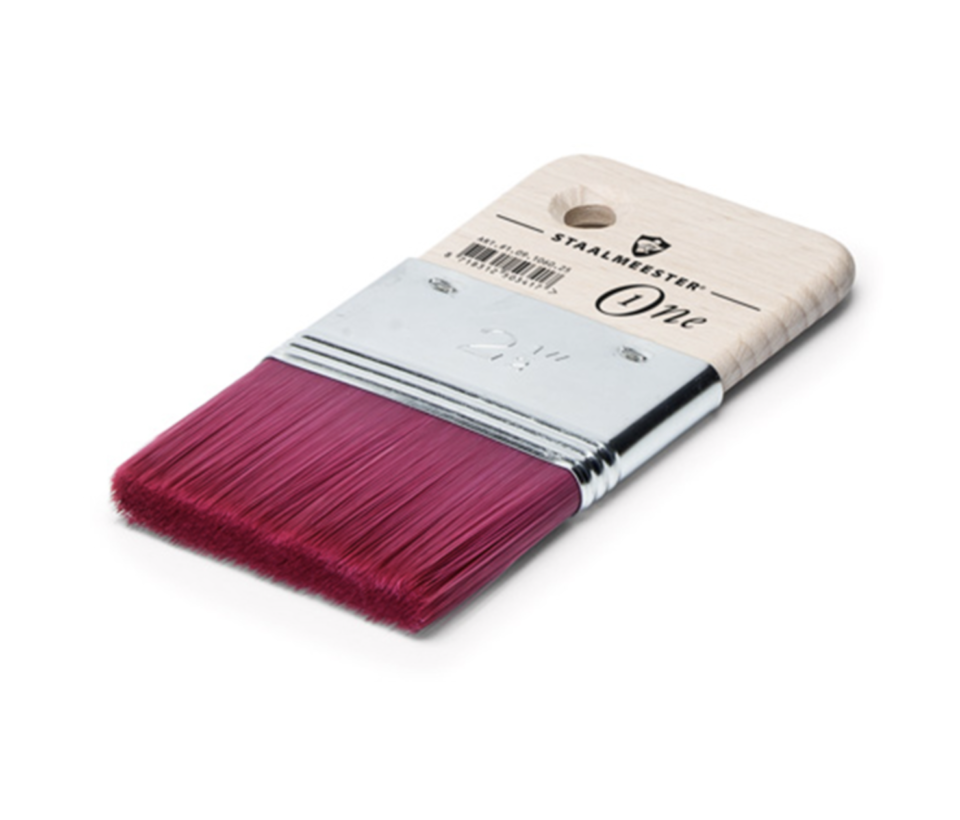
2 The flat ‘spalter’ brush from the One by Staalmeester® series is the perfect finishing brush for more extensive projects, from walls to doors. Its high absorbing power and high adaptability to different surfaces make for a brushstroke-free result!

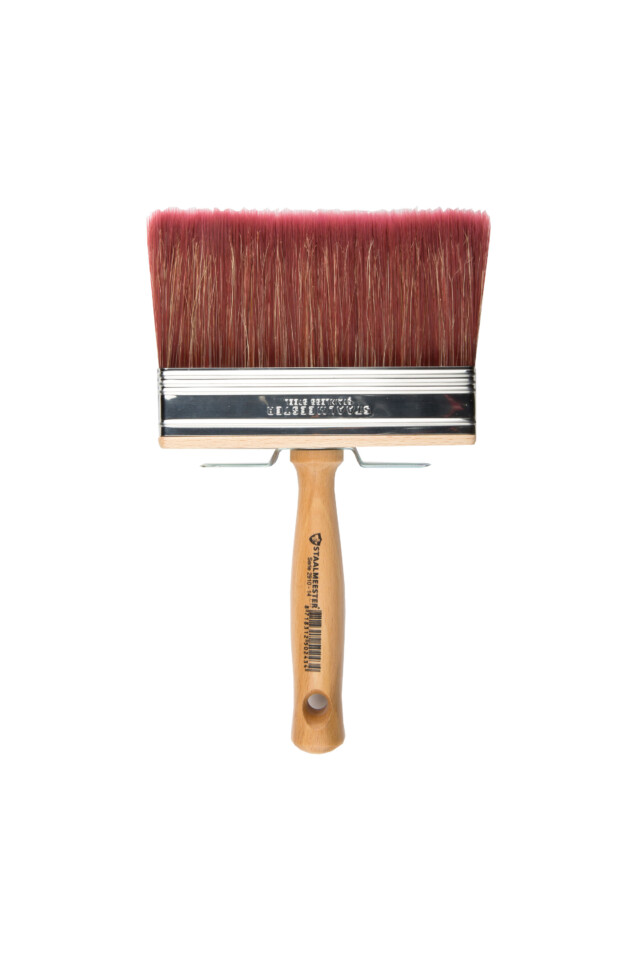
3 The wall brush is excellent for large surfaces such as walls, ceilings, floors, and tabletops. The wall brush allows for quick application and brushstroke-free results. Great for all paints and finishes.

4 The micro felt paint rollers by Staalmeester® are available in three sizes: 5 mm-10 cm, 5 mm-12 cm, and 9 mm-18 cm. The rollers are suited for all paints and finishes and give a smooth and even finish. Great for any large smooth surface, from floors to dressers and cabinets.
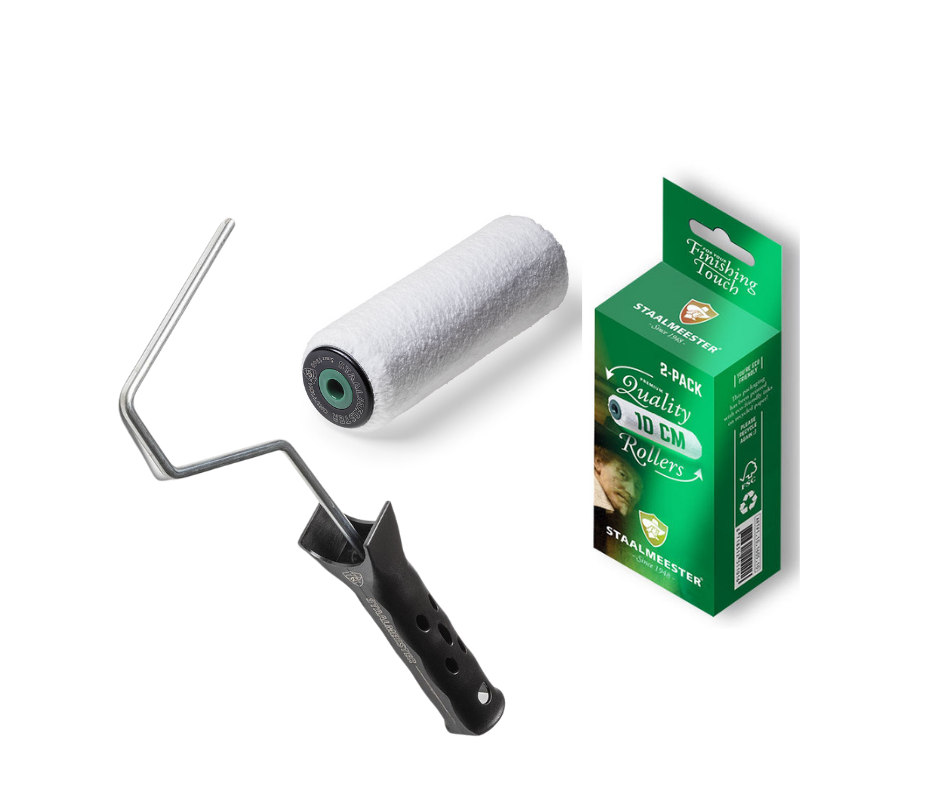

The right tools for smaller / medium surfaces
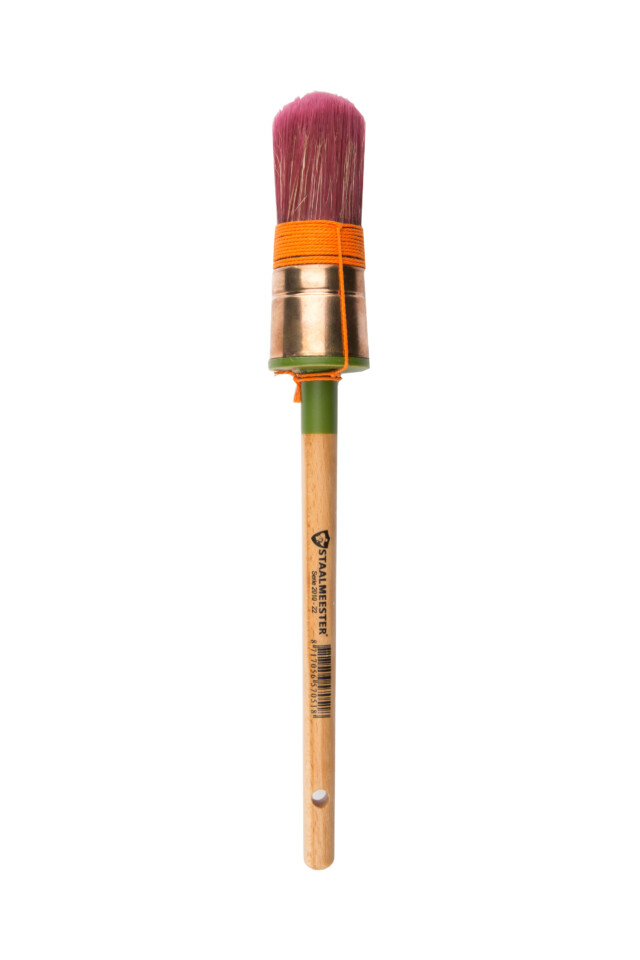
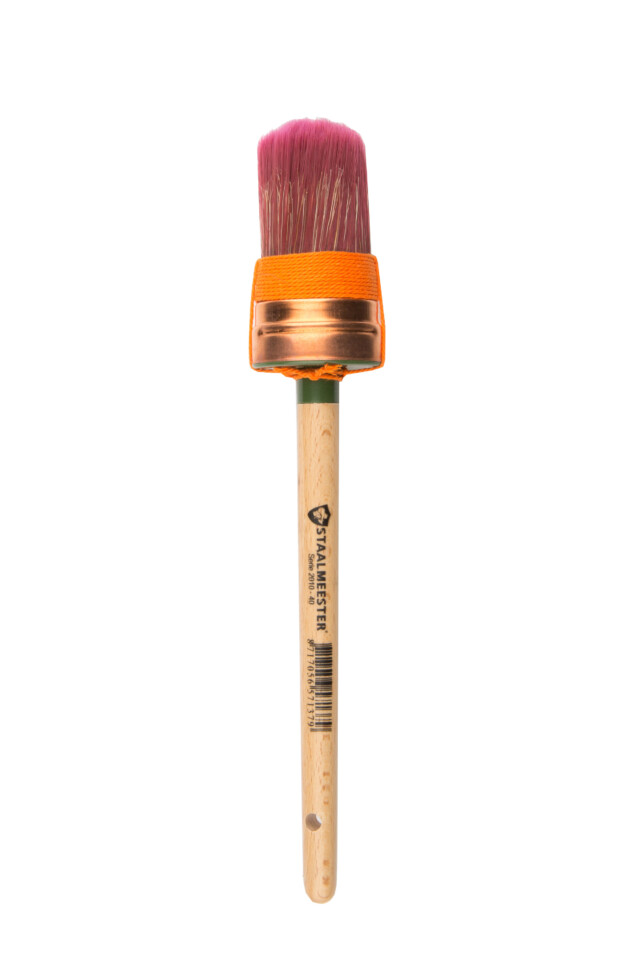
When you’re painting small or medium surfaces such as window frames, dressers, cabinets, or railings the Staalmeester® oval brush, round brush, and One series decoration ‘spalter’ brush is a perfect choice.
1. The round brush is the universal round brush and is extremely versatile and perfect for painting window frames, doors, spindles, and kitchen cabinets. The One series round brush is especially ideal for finishing and you’ll notice that the brush strokes disappear immediately during the application.

2 The oval brush is the most popular brush for furniture painting because the oval shape makes it easy to switch between narrow and larger surfaces with the same brush. The oval brush is only available in the Staalmeester® original series.

3 The decoration ‘spalter’ brush is a must-have for all painters. It has a very short handle, which helps you neatly smooth out the paint even in the trickiest corners. Excellent for flat surfaces for a super smooth finish. Works great with topcoats. The wood end can be used to apply gold leaf.

To have your own handy version of this brush guide download here and keep it.
The right amount of paint for application
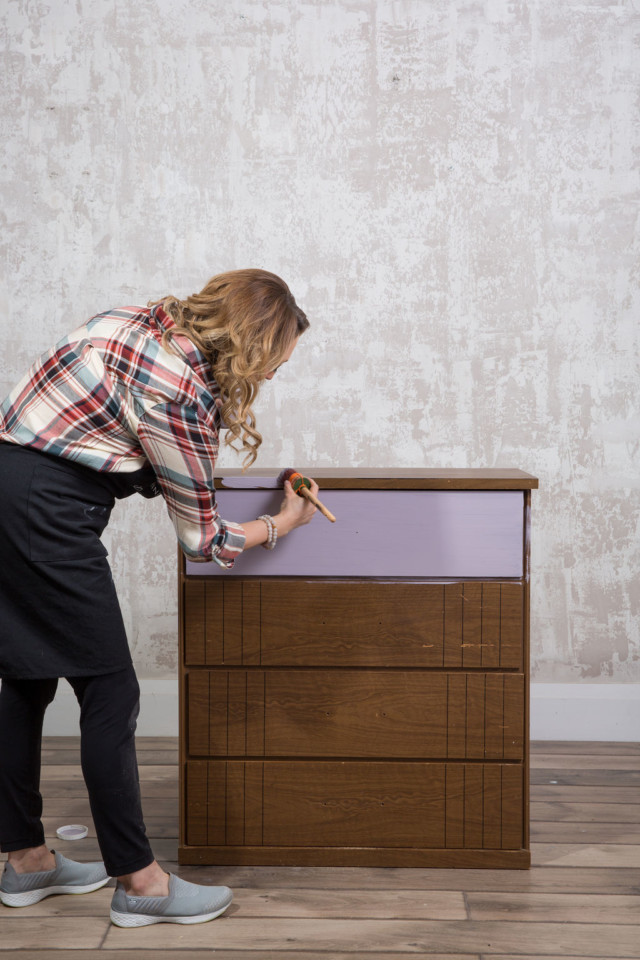
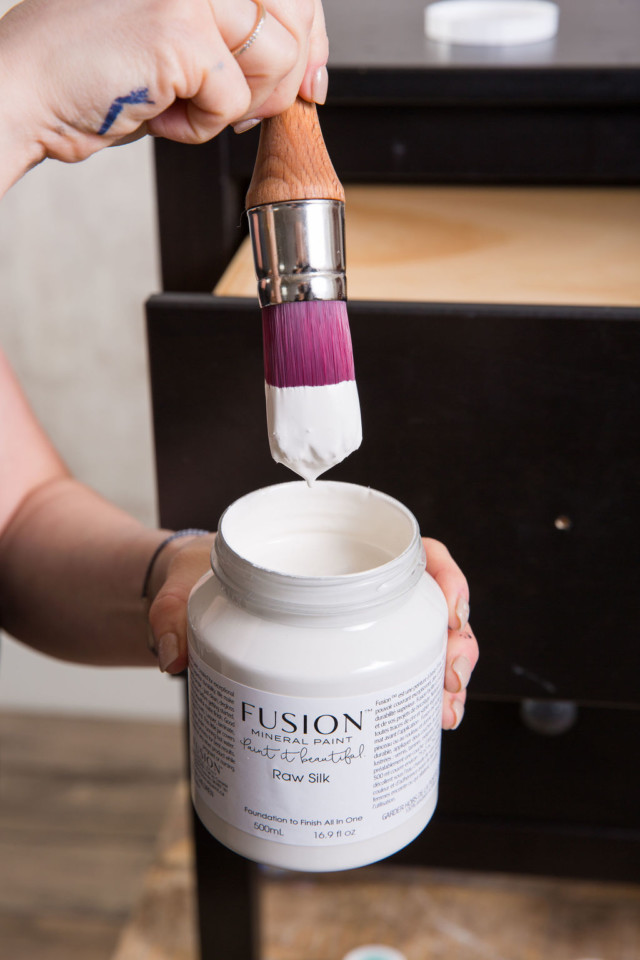
Would you believe that the leading cause of most brushstrokes is using too much paint? It may seem counterintuitive but loading your brush with lots of paint causes brushstrokes because ultimately brush strokes are simply too much product drying with texture created by the brush. The brush should be dipped into the paint no more than halfway up your bristles. You want enough on the brush to be full but not dripping off the paintbrush. Wipe off excess paint. It is a little learning curve to know exactly how much paint to apply, but you’ll be a pro in no time!
Jennylyn shows you the best practice in this video.
Your aim is to add a couple of thin coats of paint, in the direction of the grain of the wood. Allow dry time between coats, if it seems rough to the touch, you could use soft/medium-grit sandpaper to smooth out any irregularities before applying your second coat.

Unwanted texture in your finish
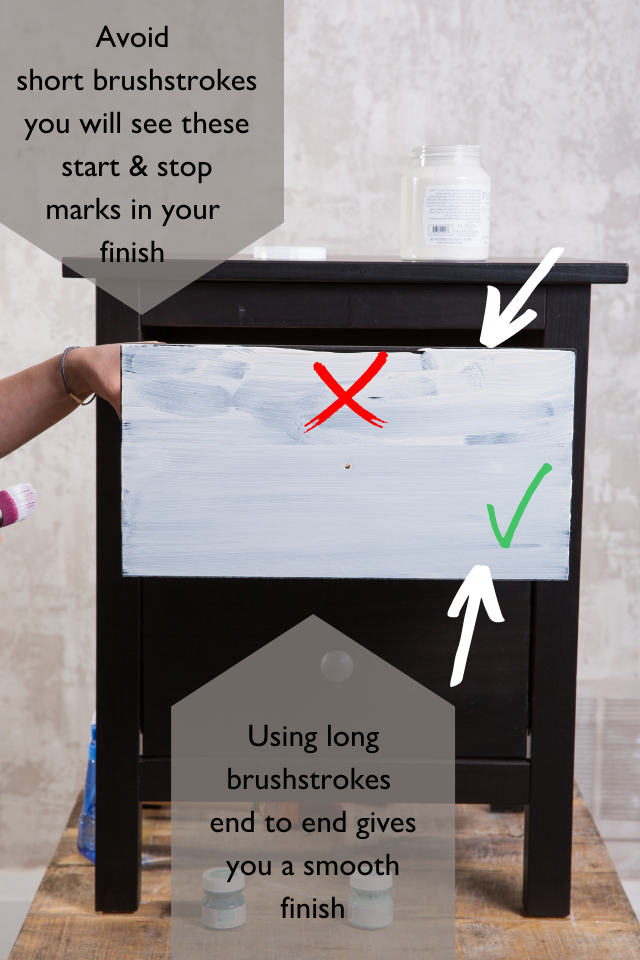
Fusion is made with 100% industrial-grade acrylic resin which means it doesn’t need a topcoat, is super durable and tough. As this resin dries it holds its shape firmly, so any brushstrokes or texture you have created will stay in the finish. Brushing back and forth as the paint is drying creates this texture. For best application get the paint on your surface ( work in sections ) and work quickly to apply it in nice long strokes in the direction of the wood grain. Once it is covered do not go back over it. Fusion dries quick. Another culprit for unwanted texture is stop and start marks, which can be seen in your end finish. As demonstrated in the image below. So be sure to paint from end to end.

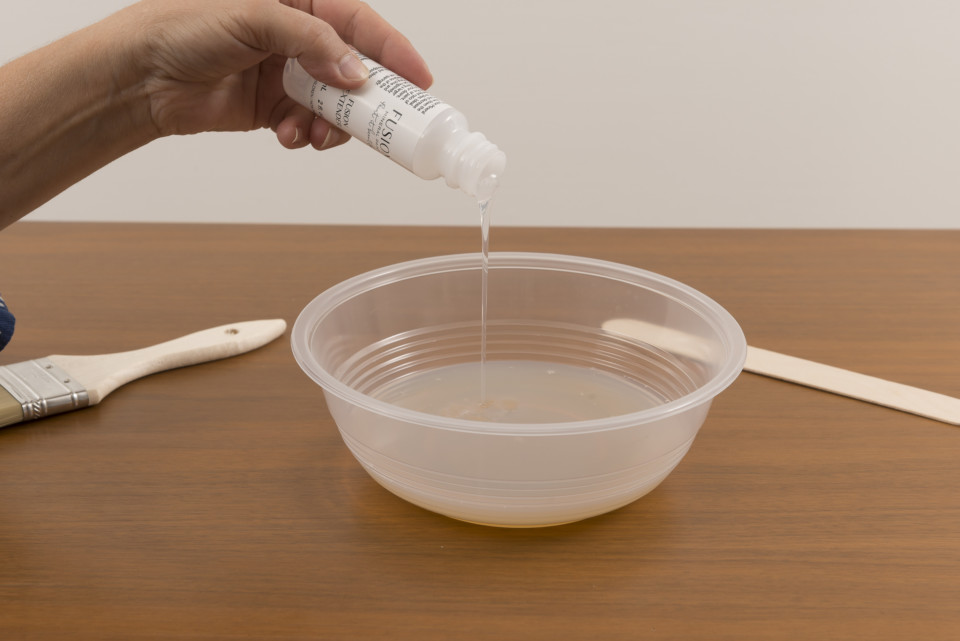
Drying quickly is another way the unwanted texture can be created. If you are painting in a very dry climate or if it is a hot day, adding Fusions Extender into your paint will give you a longer working time. It allows the paint to have a greater open time ( stays wet longer ) so you can get your project perfect before it dries on you. It also works with our Tough Coat topcoats! We wrote a blog post telling you how this works here.

Using a roller
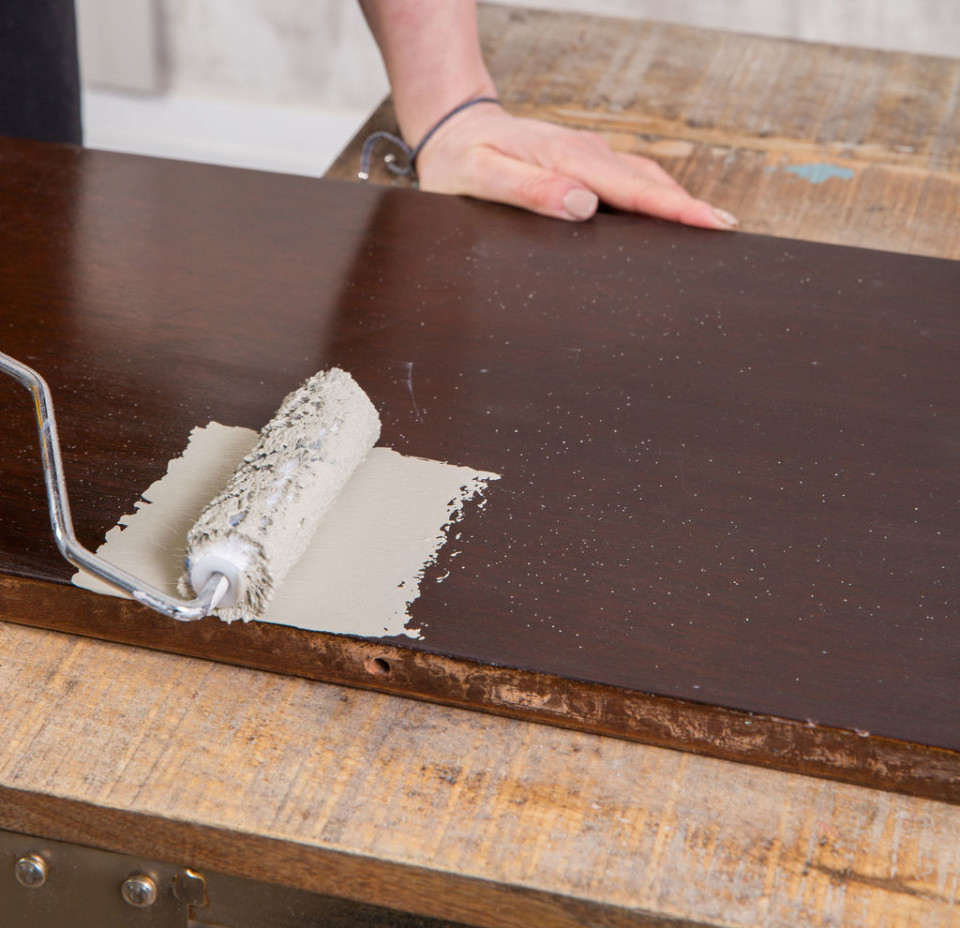
Using a roller on large flat areas cover the surface quickly and evenly. We have 2 types of rollers available, our Microfibre & Velour rollers. Both work extremely well for furniture painting and more. If you have used a roller before you know it can sometimes leave a little texture behind. This is barely visible in the end finish but if you are a perfectionist the Extender would help in this situation. Even laying off the paint which simply means rolling the paint on and lightly dragging a soft synthetic brush through it to remove the texture. The brush should be at a low angle and a feather-like application. For this, we would recommend the Spalter Staalmeester brush.

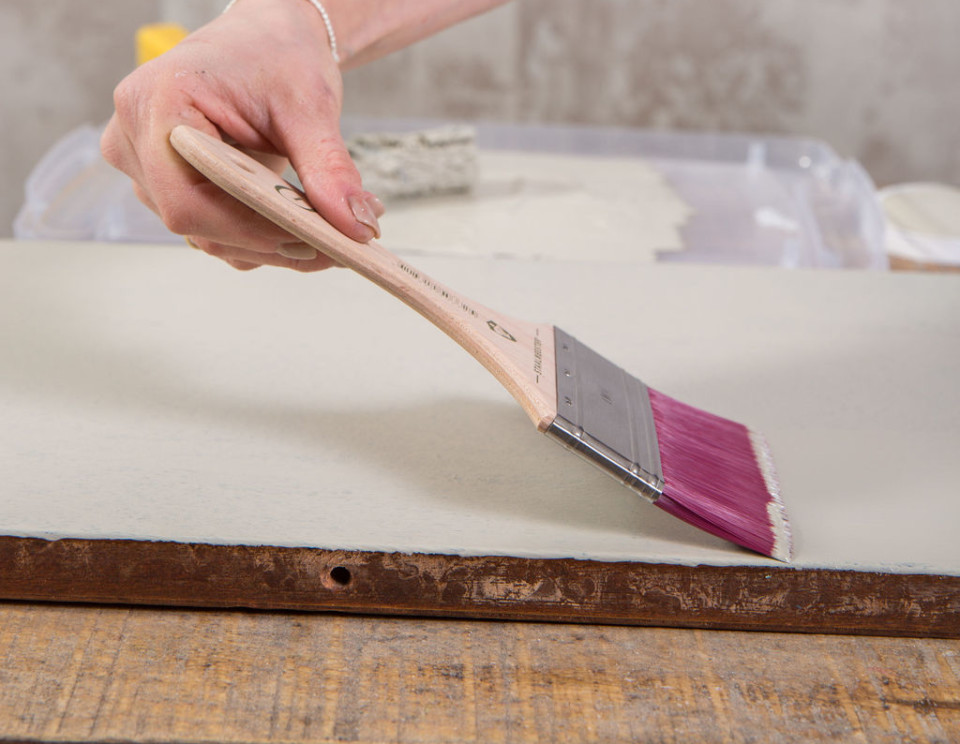

How long after application should I wait to re-coat?
We recommend 2 hours in between coats of paint for the best results! You can cheat just a little, but remember the reason for waiting is we want the water to evaporate off. The more coats of paint you apply the longer it takes to cure! This includes topcoats, so when painting your projects keep in mind the fewer coats the better. Sanding between coats of paint or even on your final coat can give it a buttery smooth finish. It isn’t needed of course but can eliminate any pesky brushstrokes you find.
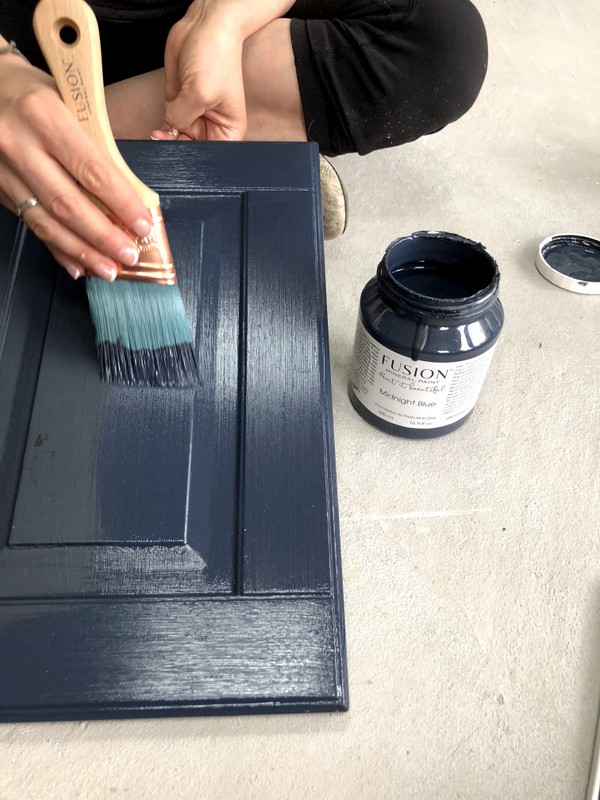

Which order should you apply your paint coatings?
The application of paint and finishing products in the right order will help for proper adhesion and the best overall results. They should be applied in this order after proper prep has been done. Water-based products first then Oil-based and then Wax … Wax is always last…always! Fusion Mineral Paint as a built-in topcoat. You really only need a topcoat if you think your surface will get a lot of traffic or use. Our beautiful range of waxes are the perfect decorative accents, More on Top Coats to come
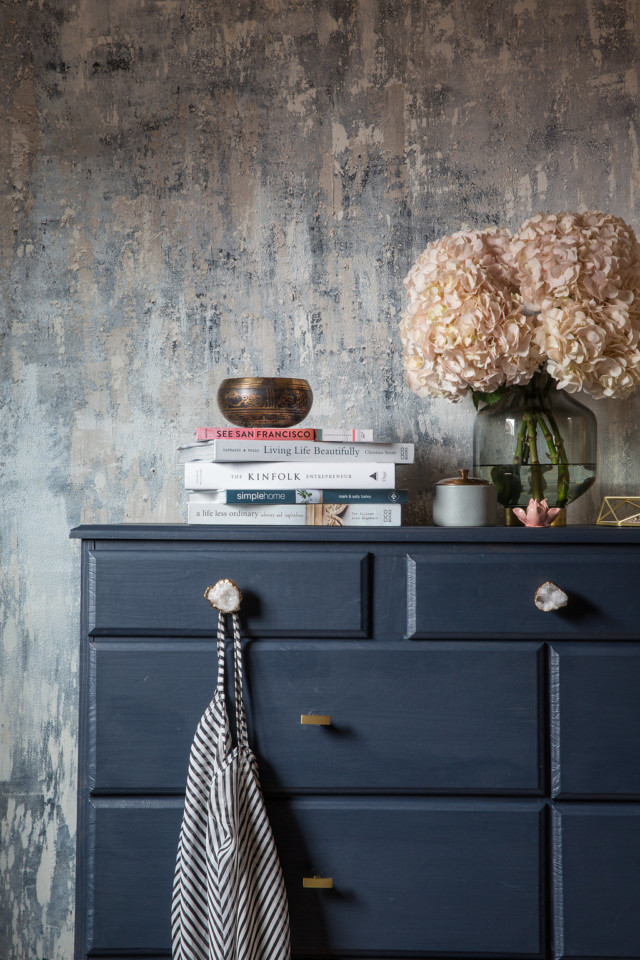

Grab your Fusion Application Guide card to keep handy on your phone or even print it out and pin it in your workroom.
