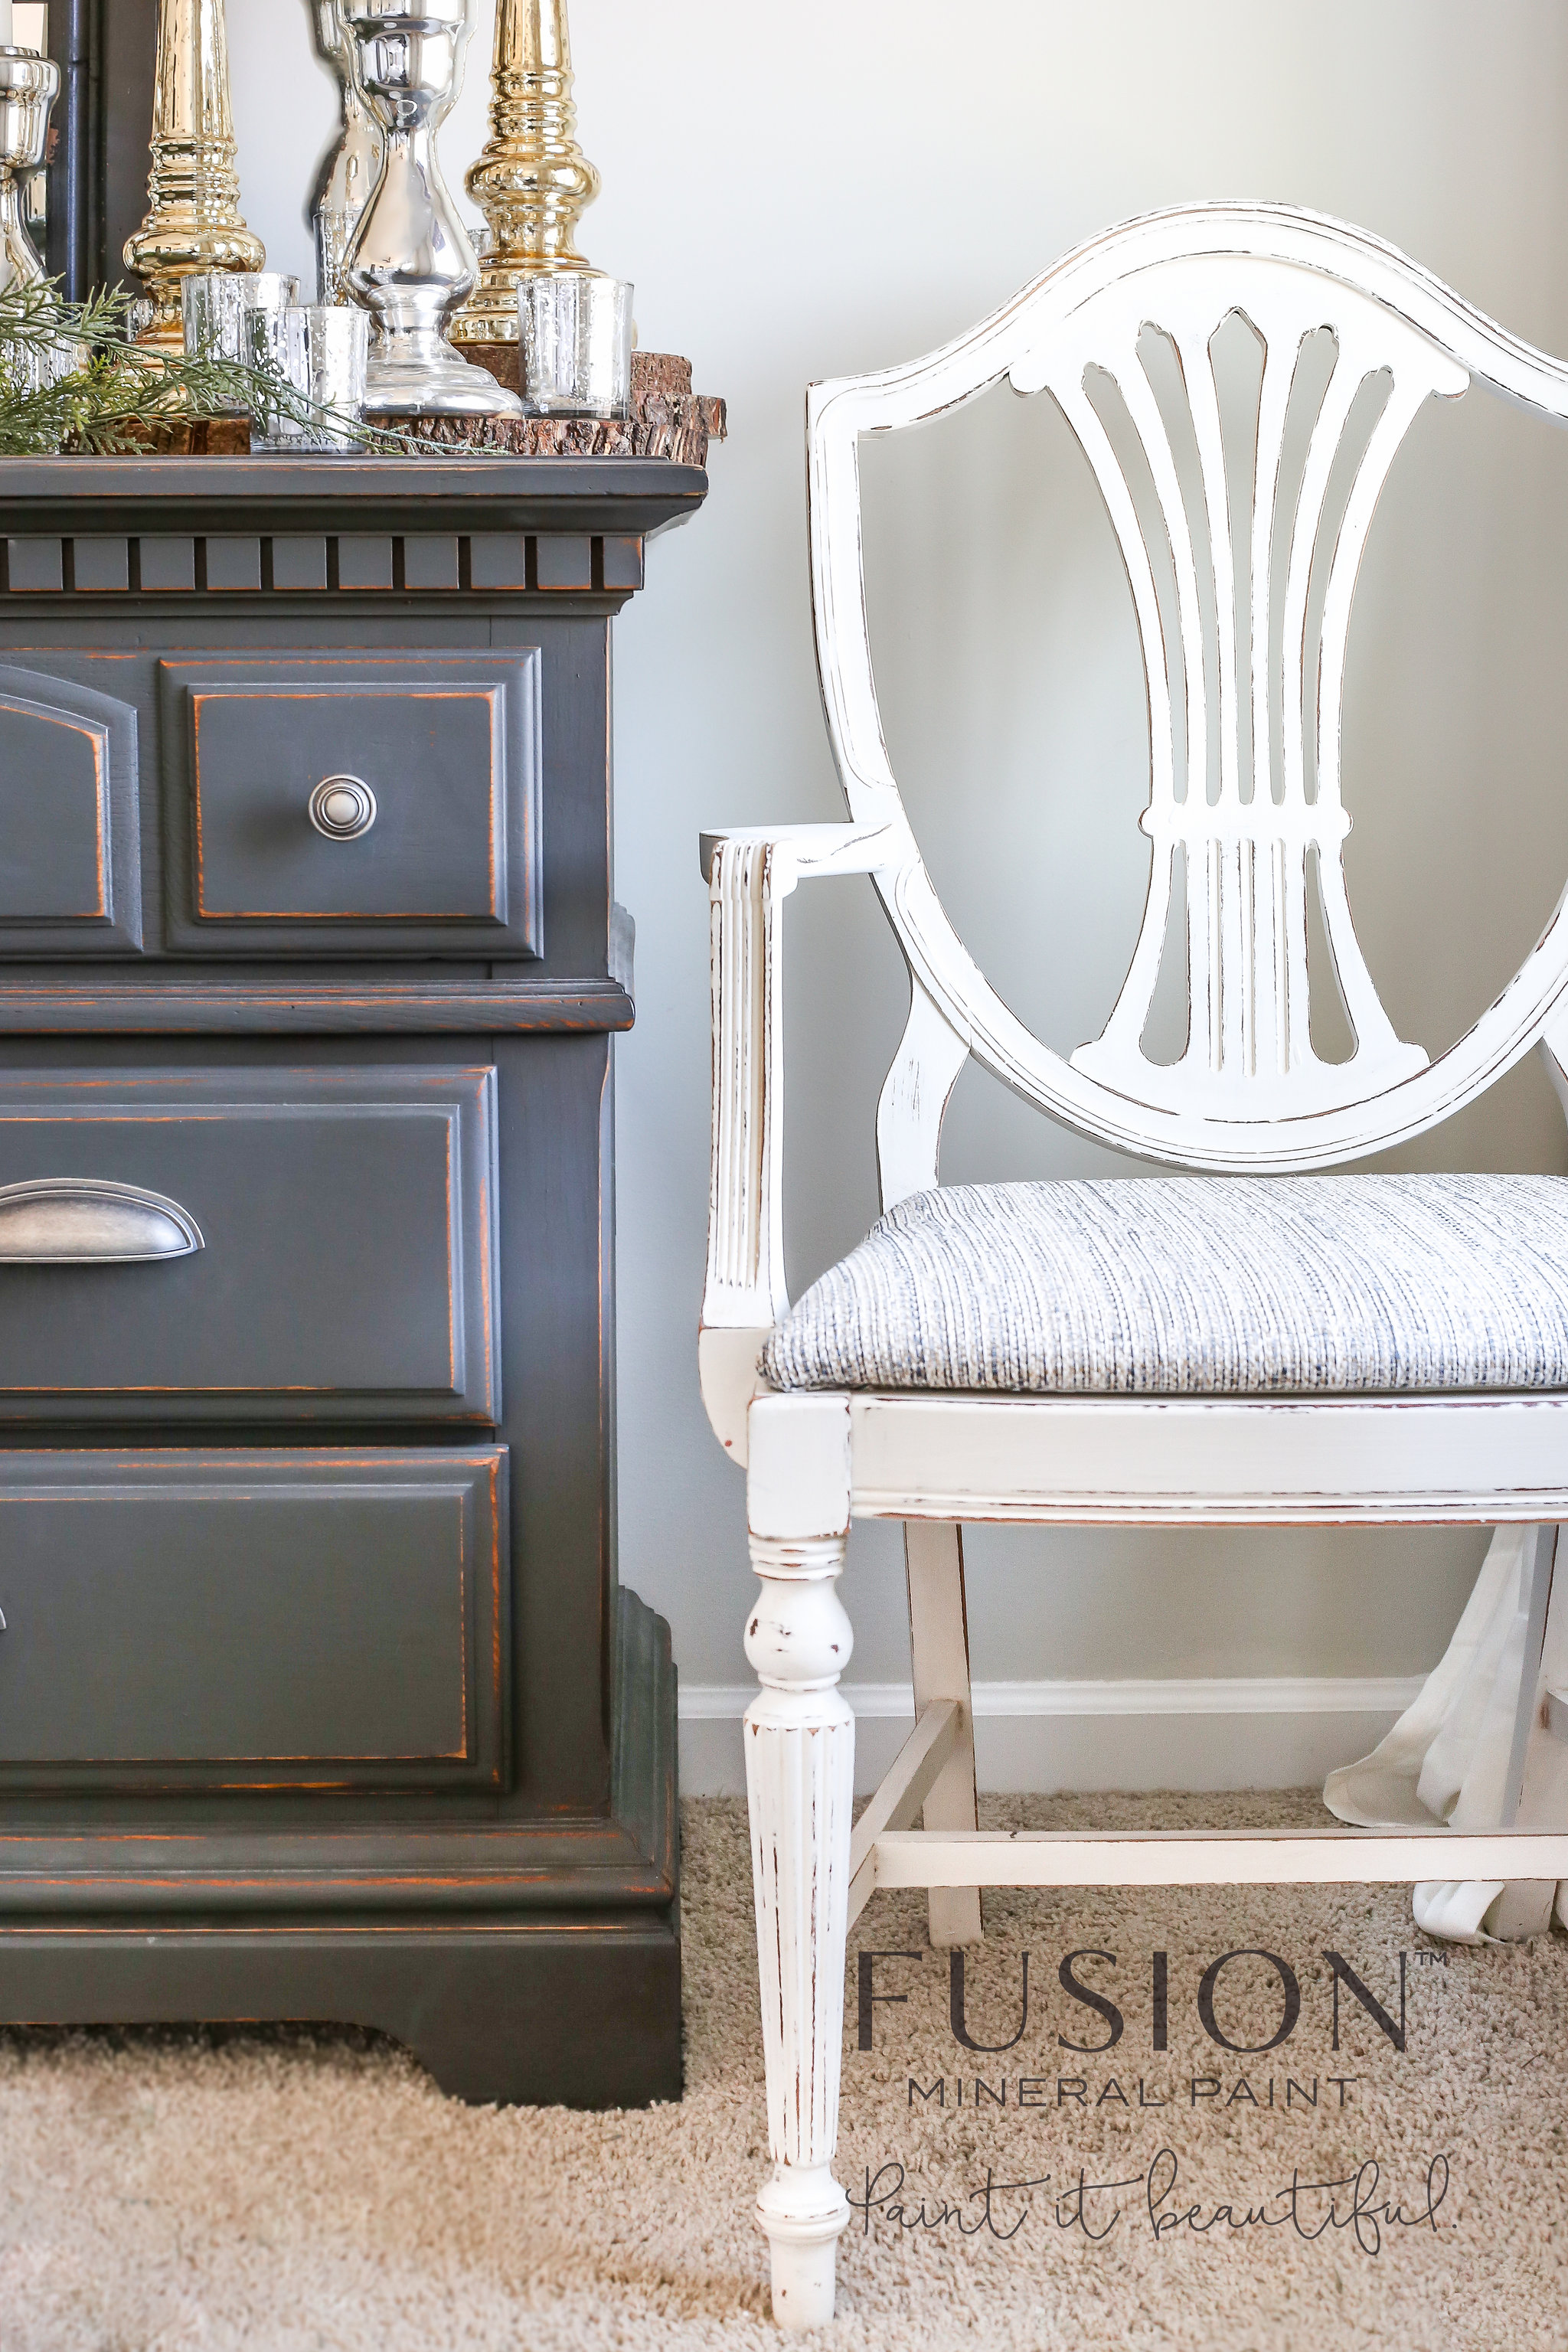
We can’t tell you how many times we’ve heard “I wish I could paint furniture as they do.” Many first-time painters feel intimidated at the idea of painting an item for fear of ruining it. It’s one thing to paint a small side table, and it’s a whole other to paint your kitchen cabinets. The truth is, no matter what item you’re painting, big or small, the basics of furniture painting are all the same.
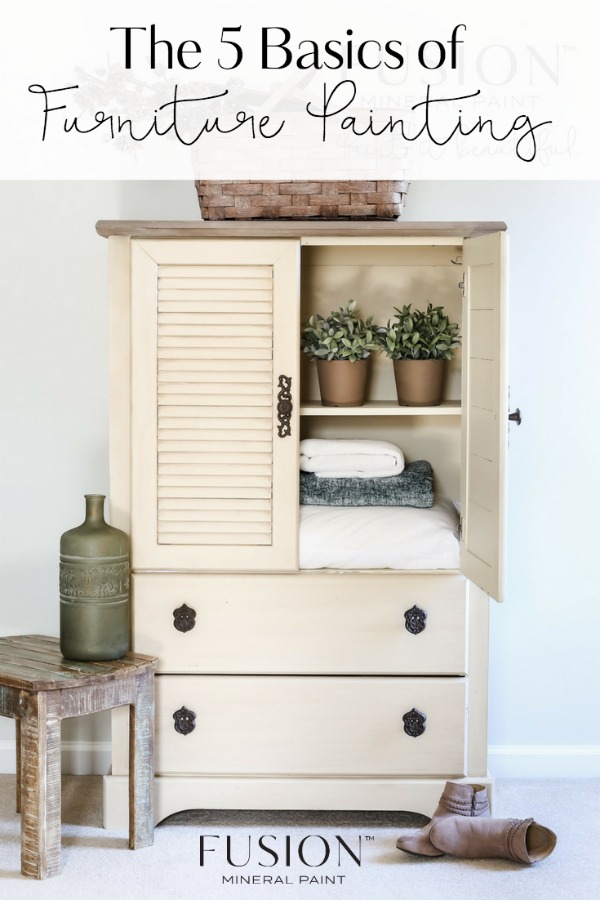
We wanted to share our Top 5 basics of furniture painting that you should follow to ensure you get the best results.
1- Always Prep
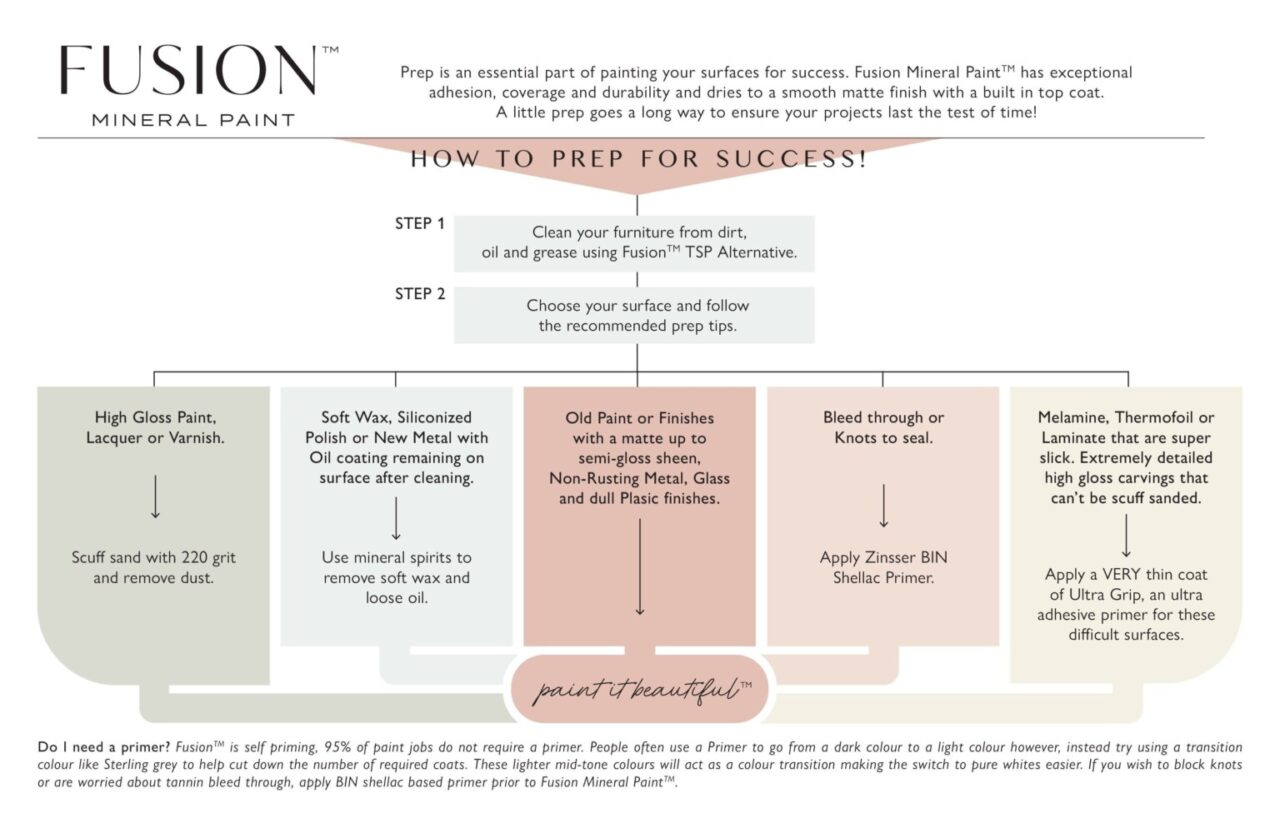
No matter what you’re painting, you always need to do some level of prep. We cannot stress this enough. The end result of your project in so many ways lies in how you prepare your surface before that first drop of paint even touches it. It could be as simple as cleaning your piece to remove any dust or dirt. Or it could require sanding off old paint or built-on residue (think cooking oils and waxes).
Refer to this easy-to-follow prep card to see what’s the right prep for the piece you are painting.
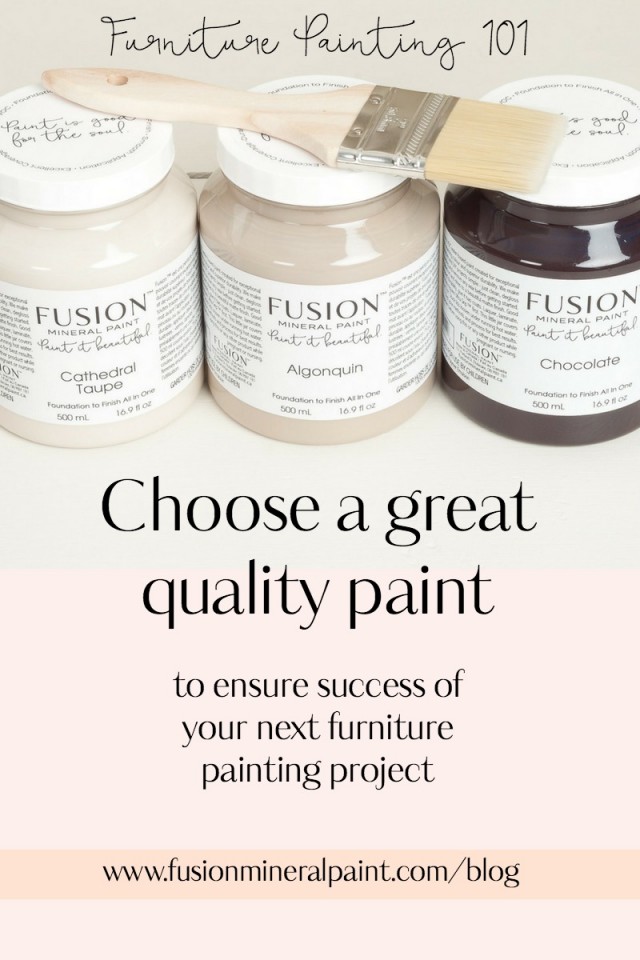
2. Choose a great quality paint
The paint you use for your furniture matters. Fusion Mineral Paint took over 10 years to develop, test and refine to ensure that it was a premium product for painting furniture. It features an environmentally conscious formulation, superior durability, easy one-step application and significantly improved strength. Delivering an exceptional matte finish, it is formulated with a built-in top coat, the 100% acrylic resin. You do not need to use a top coat for water permanency.
To find out more about what is in Fusion Mineral Paint and why it is completely different than other furniture paints, visit the About Us section.
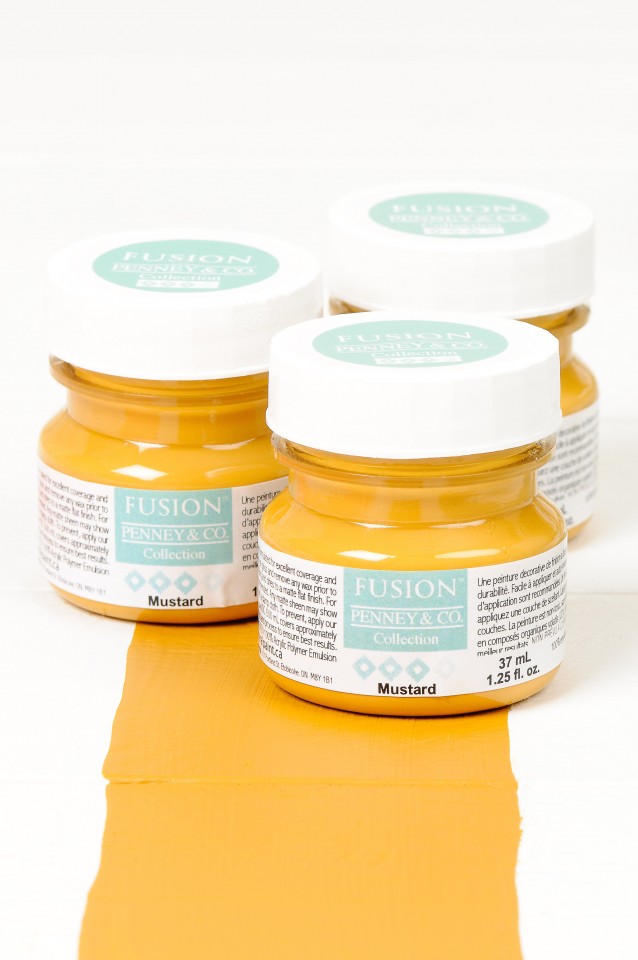
If you are doing a larger project like a kitchen and still are cautious about the project, try out your process and all the steps as well as the accent finishes on a spare piece of wood first (such the back of one of the kitchen cabinets), to make sure you love the look. Keep in mind your lighting changes how the end result will look as well. Our small testers available in-store are super helpful for this and you’d be surprised at how much coverage one tester will get you.
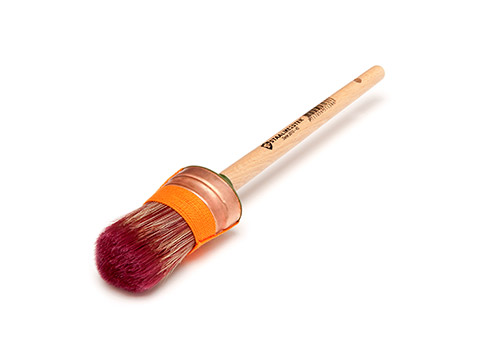
3. Choose the right brush – Staalmeester Brushes
There are different sizes and shapes of brushes depending on your project. Everything from flat to oval to round to pointed sash. Each one has its very own purpose and all the different sizes are great as well. Being a good furniture painter requires excellent tools and it is worth the investment. Find out more about why we love Staalmesster brushes here.
4. Deciding to accent or use a top coat
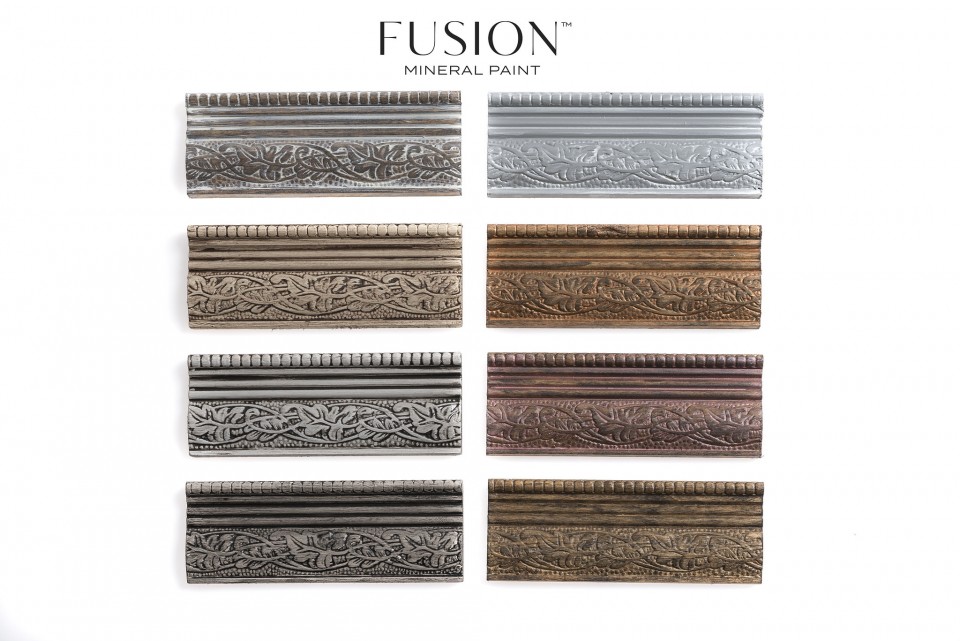
Accenting a piece of furniture with waxes or glazes is a great way to enhance your piece and it’s exceptionally easy to do. Waxing allows you to add depth, tone, and definition to decals and places on your piece of furniture where you want that little bit of something extra. Fusion has a great collection of waxes that feature a range of shades from matte to metallic for you to choose from.
You could even distress your piece if you wanted as well. Wet distressing is a very popular method these days to get that old rustic charm look without the giant mess that sanding can cause.
And if you still feel that the item needs that bit of extra protection, there is our Tough Coat. It’s perfect for those high-traffic areas like the top of a table or your kitchen cabinets.
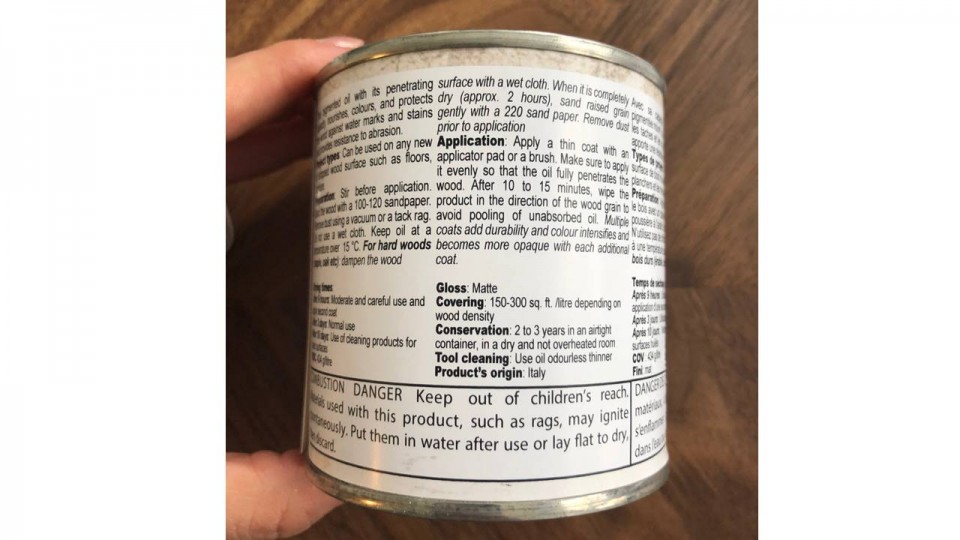
5. Read the directions on the product label
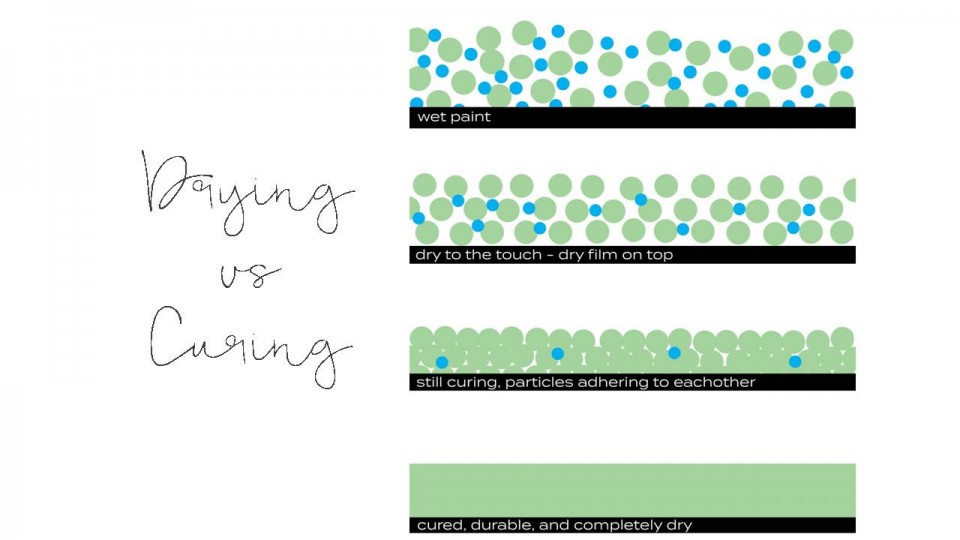
This may seem like a given but you’d be surprised at how often this step is overlooked or ignored altogether. Every product has very thorough directions on how it is to be used. If you have years of experience painting furniture, you will eventually understand the science behind paint and how it adheres to a surface. To keep it simple all paints require some sort of curing and drying time.
Please ensure that you allow enough time between coats to dry before applying your next one. Typically this about 30 minutes. Keep in mind that Fusion, like any water-based paint, requires an average of 21 days to cure and fully harden. Within that time just use your item gently. Typically after 24 to 48 hours, it can endure some pretty incredible wear and tear.
Confused about ‘Drying vs Curing’, read our blog post that breaks it all down for you.
We hope this helps you take on your next painting project with confidence. Once you start painting with Fusion, you’ll never look back with any doubt again. If you have any questions about specific pieces of furniture that you may need help with, don’t be shy! Visit our Paint it Beautiful Facebook group and ask your questions there. You’ll find a great deal of help and encouragement from our community.


4 Responses