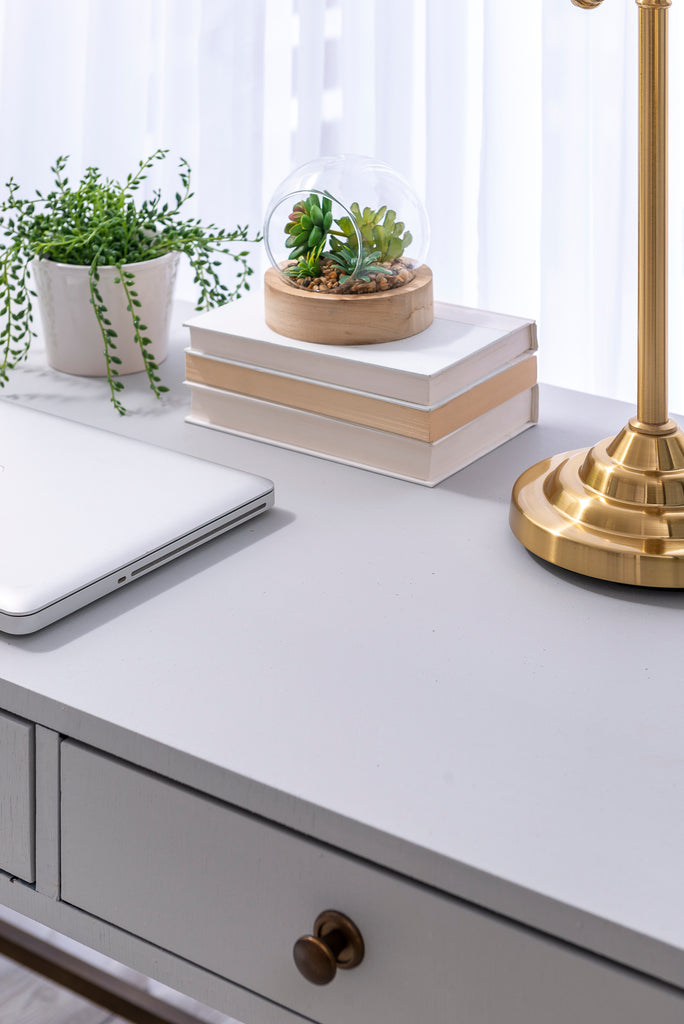
With so many of us working from home these days, we wanted to freshen up this home office and give our writing desk a new look! This piece was super sleek, and we were looking for a modern finish, so to ensure no chipping we’re going to use Bonding Agent. We wanted to lighten up this dark wood desk with a light grey colour to give it a sleek modern desk feel! We chose the colour Silver Screen in Milk Paint by Fusion.

Here’s what you’re going to need for this project:
- Silver Screen Milk Paint by Fusion
- Fusion TSP Alternative
- Fusion Ultra Grip Bonding Agent
- Microfibre Roller
- Staalmeester Flat Brush
- Fusion Tough Coat
- 220 and 400 grit Sandpaper
Disassemble, Clean and Prep
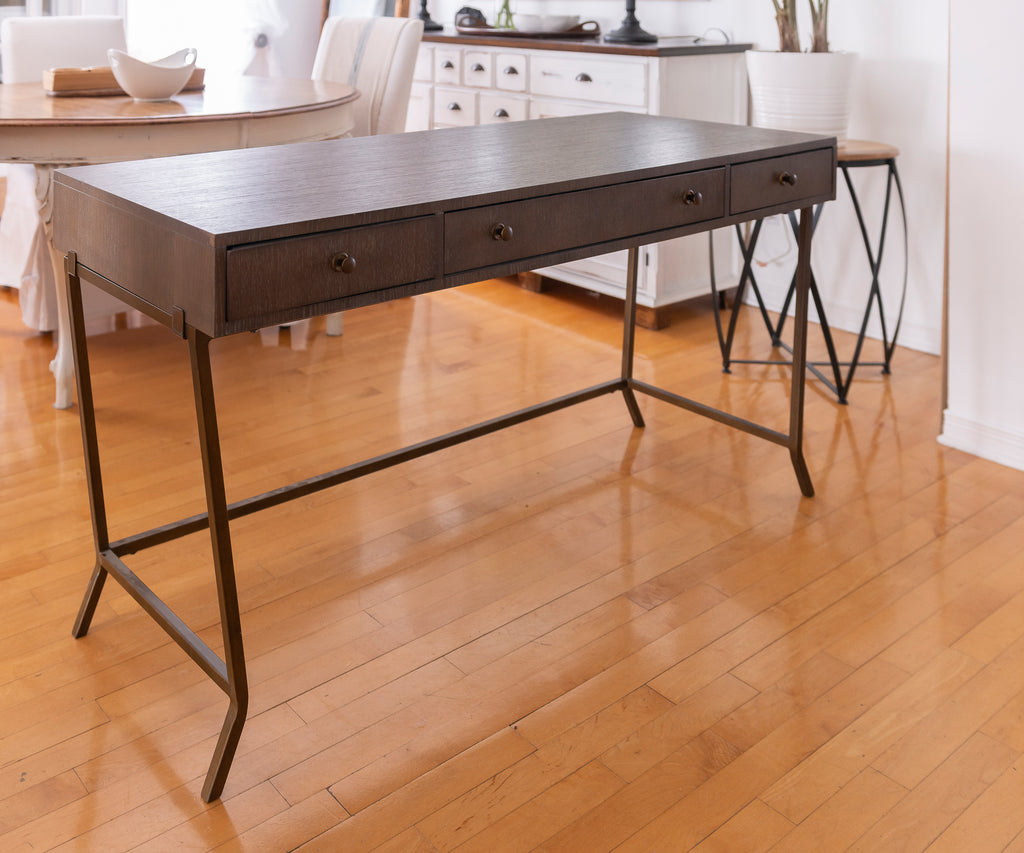
We decided it was best to remove the top to work on the desk, so we dismantled the top section from the legs. We love how the steel legs looked, it goes with our Silver Screen vibe, so we decided not to paint them! Tip – if you wanted to paint them, all you would need to do is add some bonding agent to your mixed Milk Paint by Fusion.
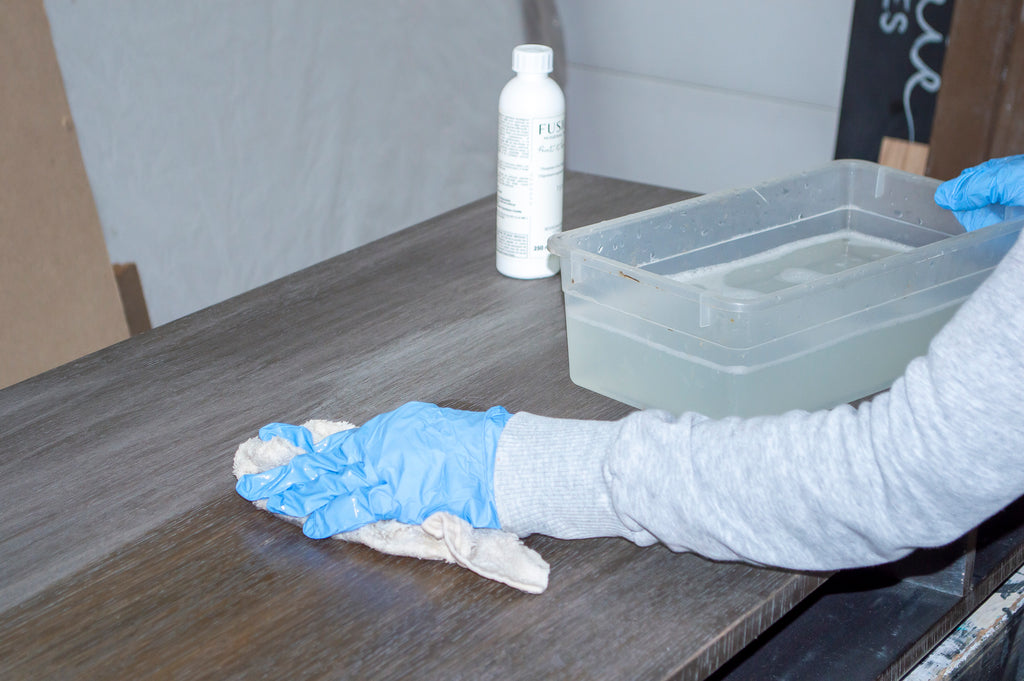
To prep this piece for Milk Paint by Fusion, we cleaned it with Fusion TSP Alternative.
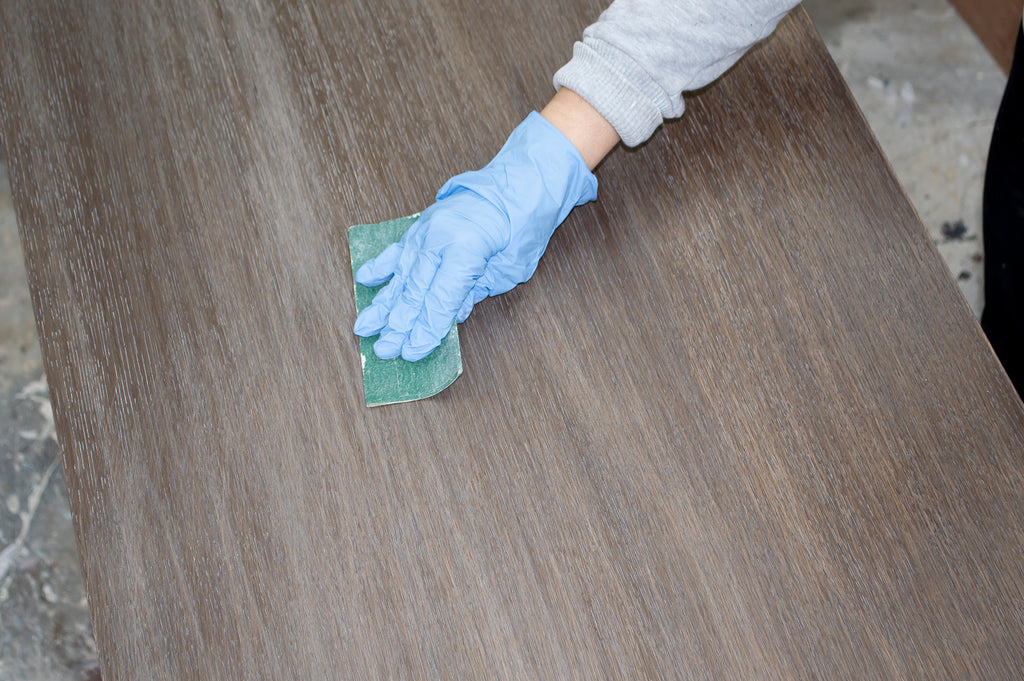
Then we scuff-sanded all over with 220 grit to remove any gloss so the Milk Paint would adhere well without chipping.
After completing the prep we assessed the surface and noticed that parts of the wood were a bit shiny and super sleek. When this happens, and we don’t want the chance of chipping to occur, we recommend adding bonding agent into your mixed milk paint.
Mixing and Applying your Paint
We mixed our Silver Screen with a ratio of 1 part powder to 1 part water. We tested it, and it wasn’t opaque enough, so we added another ½ part of powder to the mix to make it a little more opaque. You can easily change the opaqueness of the paint, making it thicker or thinner, just by adjusting how much powder or water you add. Essentially the more water in your mix, the more transparent the paint can become. That’s right; you can make a stain out of any Milk Paint colour! Ok back to the task at hand!
We added 1 part bonding agent into 1 part of the mixed milk paint to ensure excellent adhesion, as we wanted a sleek modern look here with no chipping.
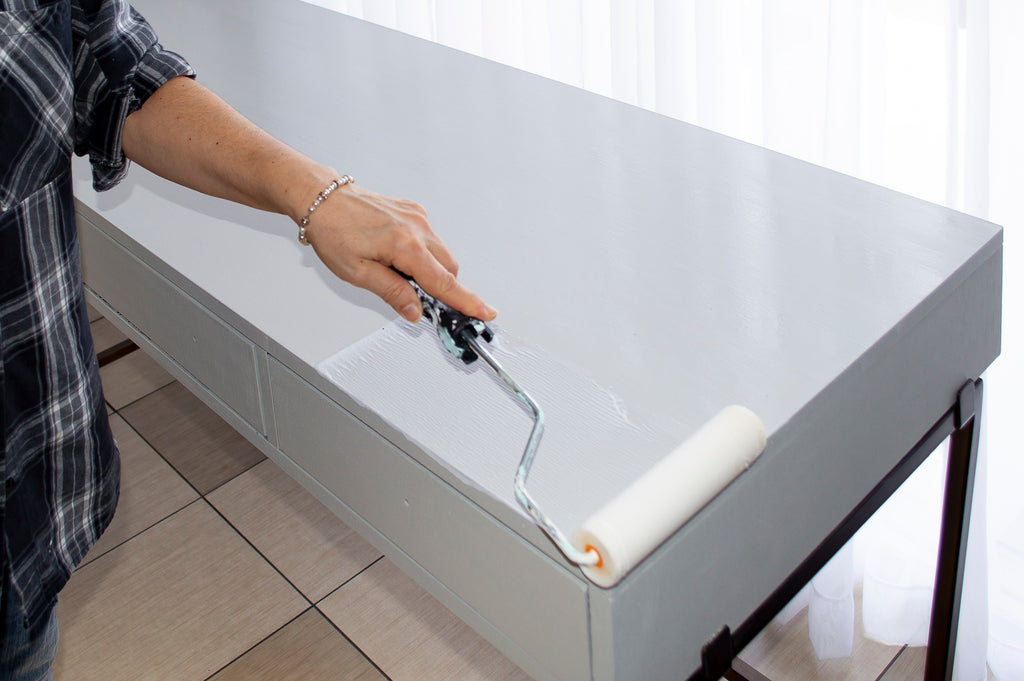
When painting large flat surfaces, for quick application, we prefer to roll on the paint using a microfibre roller, followed by brushing over with the wide Staalmeester flat brush, starting from one end to the other, in continuous strokes. Make sure your flat brush also has some paint on it, so it glides easily. You will get a flawless brush stroke-free paint finish this way.

We allowed 12 hours to dry between coats; we only needed 2 in total. When using the bonding agent, we like to wait a good 12 hours. This allows enough time to set and cure before applying another coat, which can reactivate the base layer. This step is essential on surfaces like melamine or thermafoil. If you were a little less patient, it is possible to recoat only after a couple of hours. But your best bet is to give it the complete 12 hours if possible.
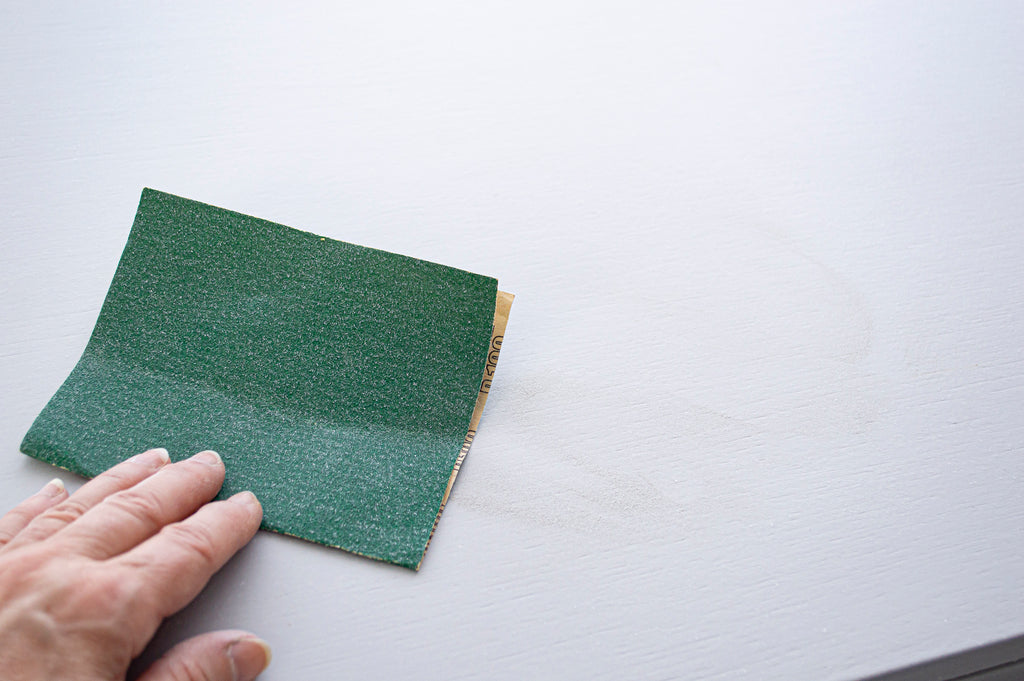
After the second coat dried for 1 hour, it was fully opaque. We were satisfied with the coverage, so we lightly sanded over the paint with 400 grit sandpaper. This knocks down any bumps left from the Milk Paint, which leaves the smoothest buttery finish and feels beautiful.
Step 3. Applying your Top Coat
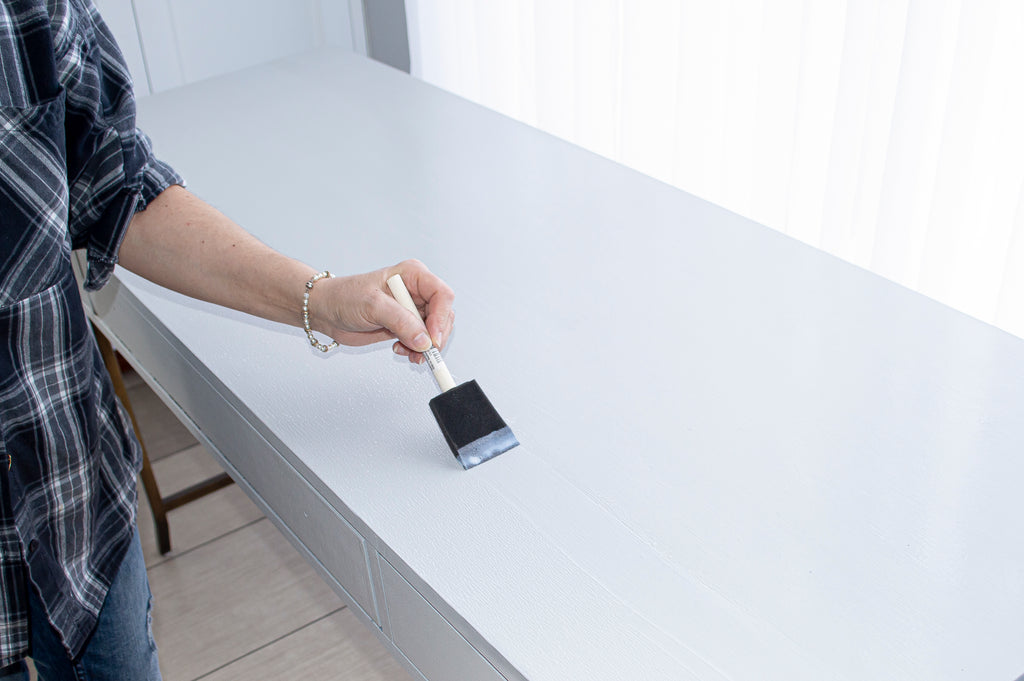
To seal the desk, we applied two coats of Fusion Tough Coat. Again, to ensure a smooth, even application, we used the same technique as with the paint. We rolled on the tough coat and then went over the same stroke with a brush. In this case we used a sponge brush for the Tough Coat application. However, if you want, you could use a large car sponge. The best tips for applying Tough Coat are to use very little on your applicator tool. This helps to avoid lines or start & stop marks. If you wish to use a more effortless alternative finish, we would also recommend the Stain & Finishing Oil in Natural. SFO also provides a very durable hard finish that is very easy to apply.
We are so happy with the finished result.
