

Who doesn’t love a good curbside find? We stumbled upon this top-less table on the side of the road—and saw nothing but potential. With a little TLC, some lumber from Home Depot, and a whole lot of Fusion Mineral Paint magic, we transformed this forgotten piece into a rustic showstopper. Follow along to learn how to do a Paint Wash and Distressed Finish the easy way!
If you’re curious about paint washes (yep, that gorgeous, soft, see-through effect that lets wood grain shine), or how to create that layered, perfectly imperfect distressed look—this makeover is for you.
Paint Wash and Distressed Finish The Easy Way
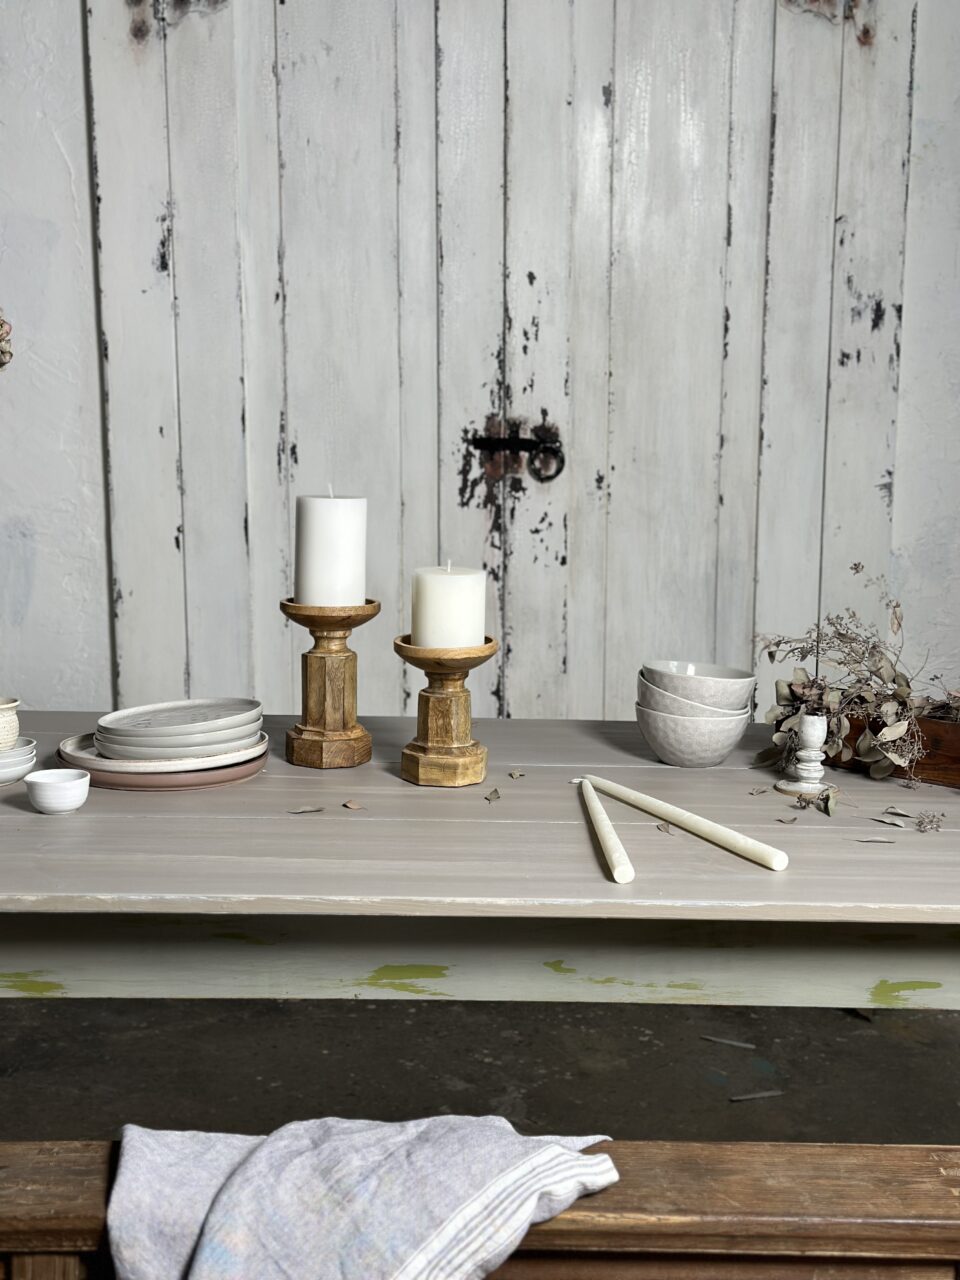
Step One: A Fresh New Top + Paint Wash 101
This table needed a new top, so we secured wide wooden planks to the base and got ready to paint it beautiful. For the top, we went with a paint wash using Birch from Fusion by Alchemy —a soft, off-white that’s dreamy on raw wood.
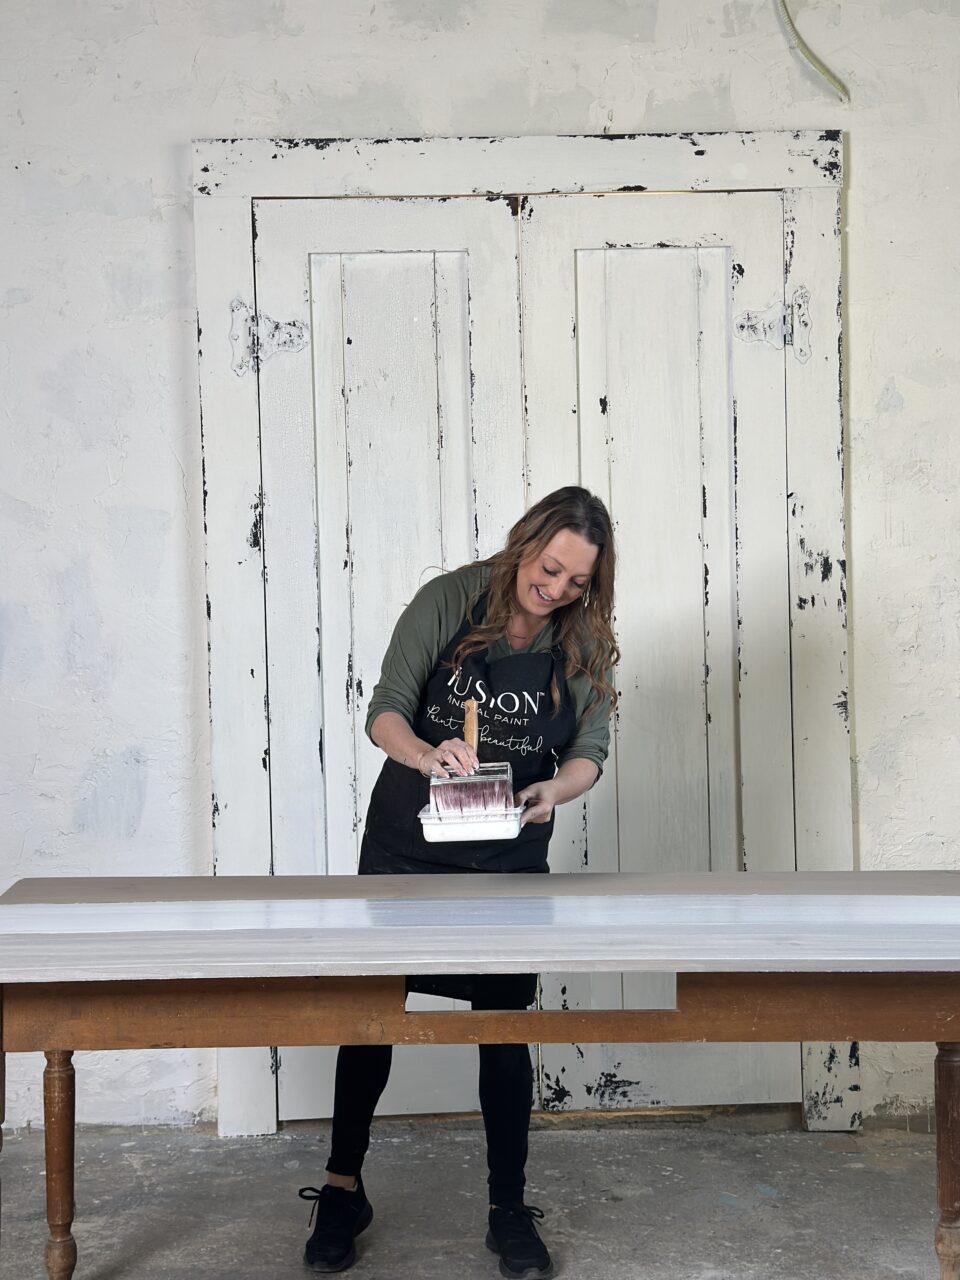
What is a Paint Wash?
Think of it as a stain… but with paint. You dilute paint with water (we recommend a 1:1 ratio) and brush it on generously. Then, wipe it back with a lint-free rag before it dries. What you’re left with is a whisper of colour that still lets all that gorgeous wood grain shine through.
Pro Tip: This works best on raw, porous wood. If your surface has a finish, sand it back first.
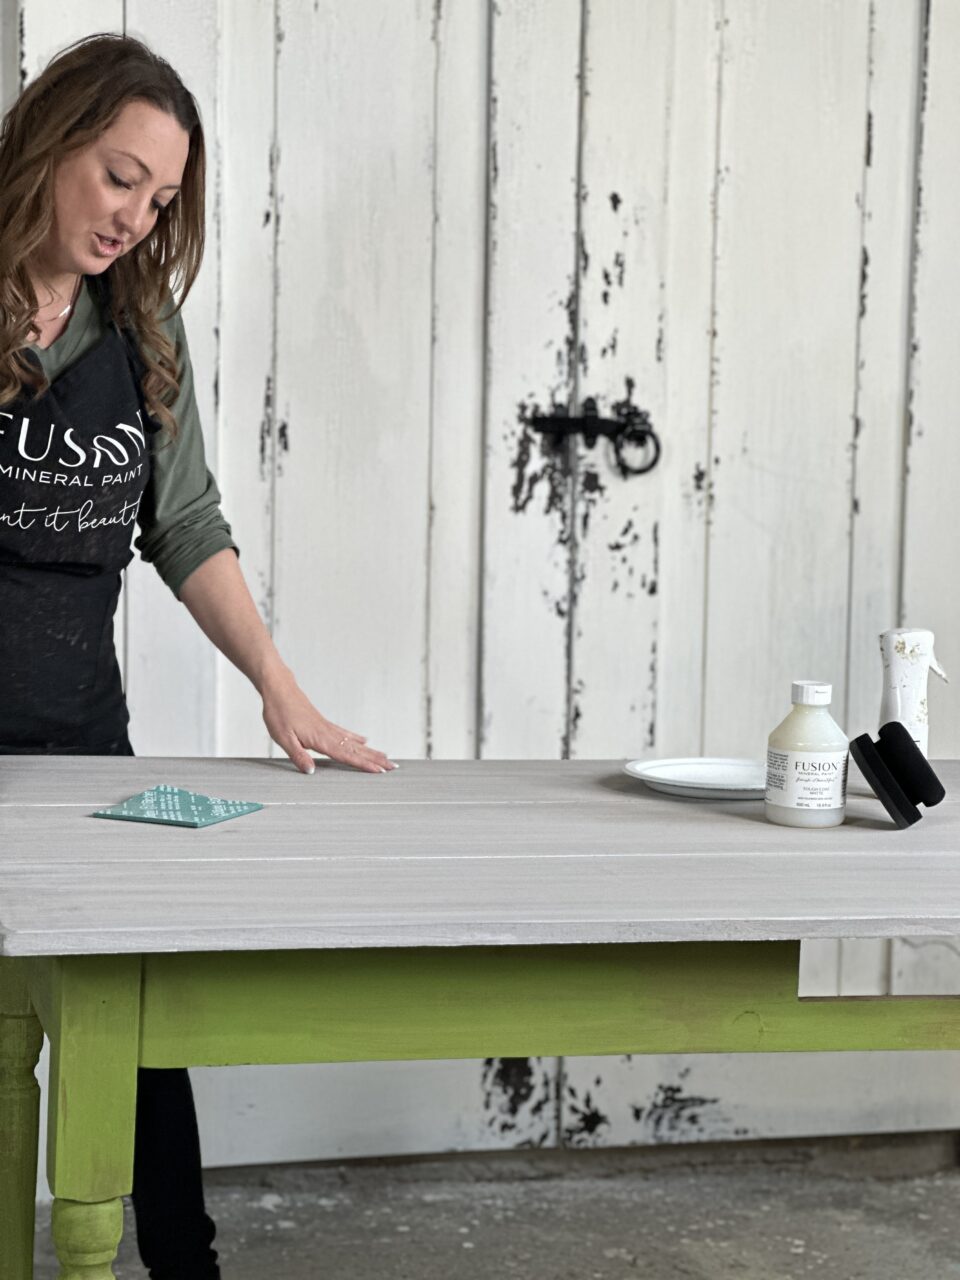
Step Two: Sand Smooth + Seal the Deal
Once the wash dries (give it a solid 12 hours), the wood grain may raise slightly. No worries! A quick pass with an ultra-fine sanding sponge will bring back that silky feel. Then it’s time for the top coat.
We used Fusion’s Tough Coat in Matte, applied with our sponge applicator for a streak-free finish. Just dampen the sponge slightly, pour your Tough Coat onto a plate (never dip directly into the container), and apply super-thin, even layers. Allow each coat to dry for approximately one hour before applying the next.
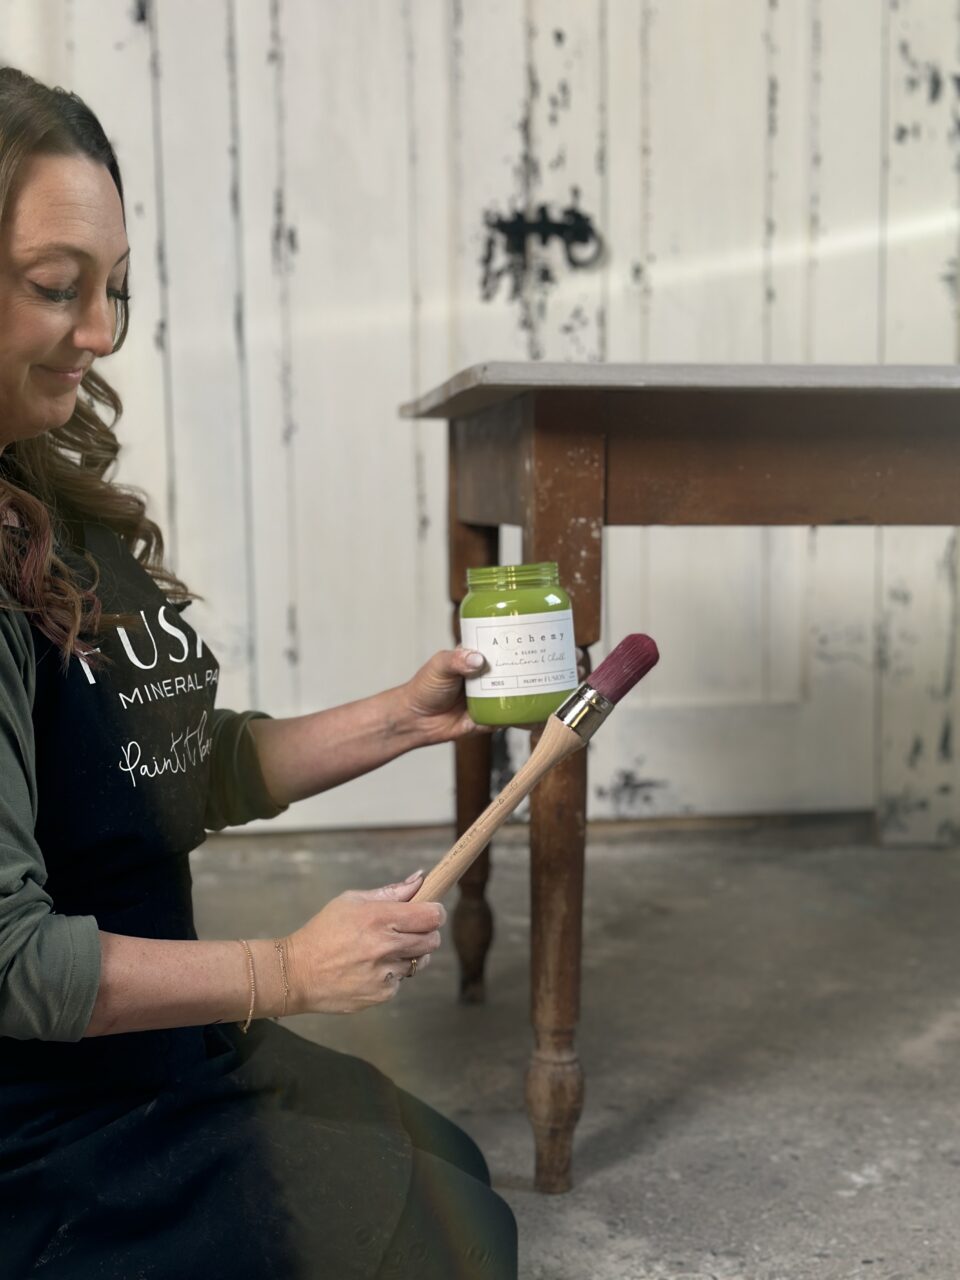
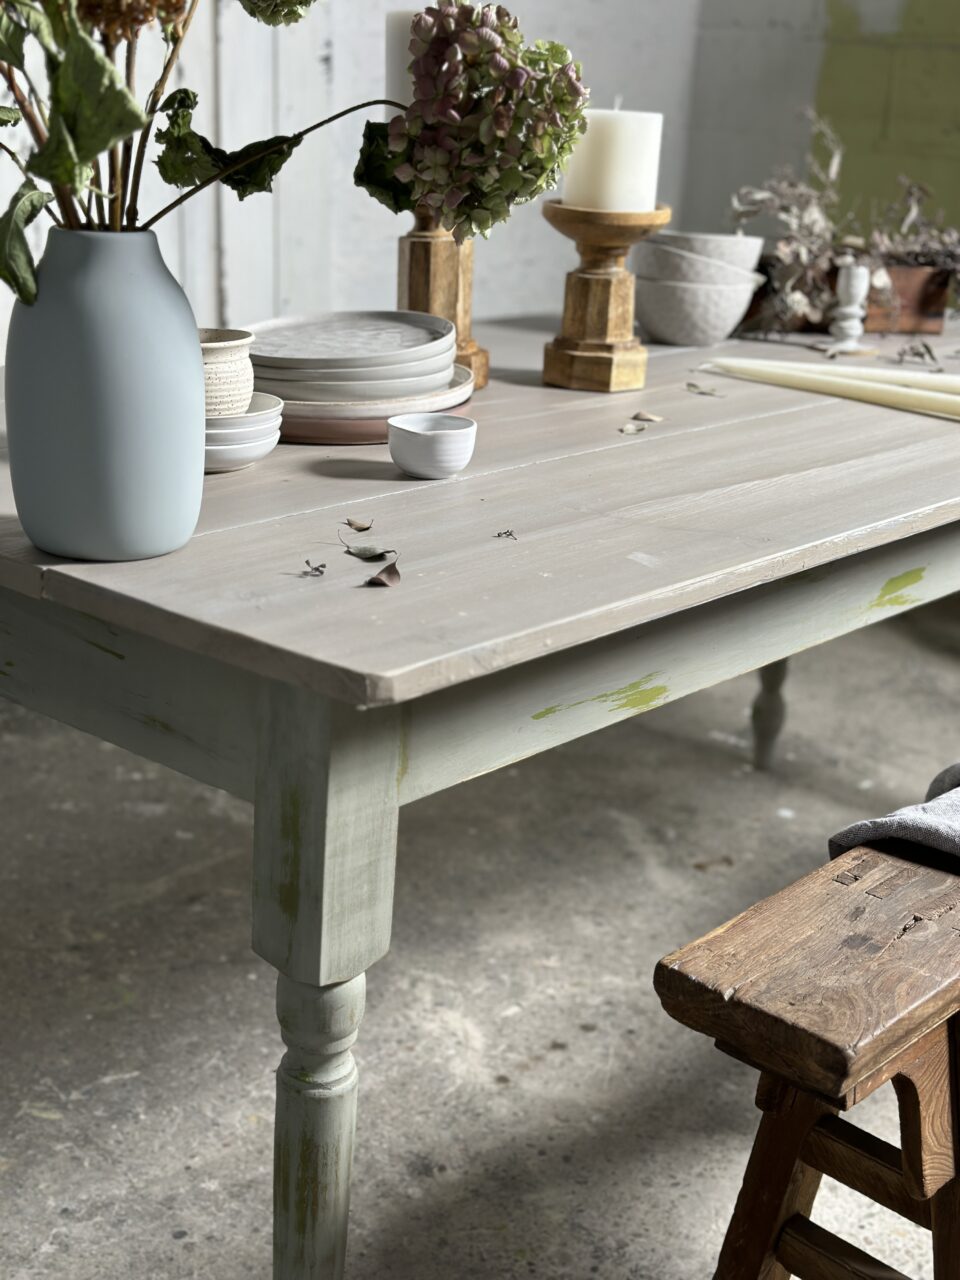
Step Three: Make Those Legs POP
Now for the fun part—layering colours and distressing for that lived-in, vintage farmhouse look.
We started by brushing on Fusion’s Moss, a vibrant green that makes a great undercoat. But here’s the secret to high-contrast distressing: beeswax resist. Wherever you want that Moss to peek through later, rub on a bit of Fusion’s Beeswax Finish. It’s food safe, super oily, and perfect for this technique.
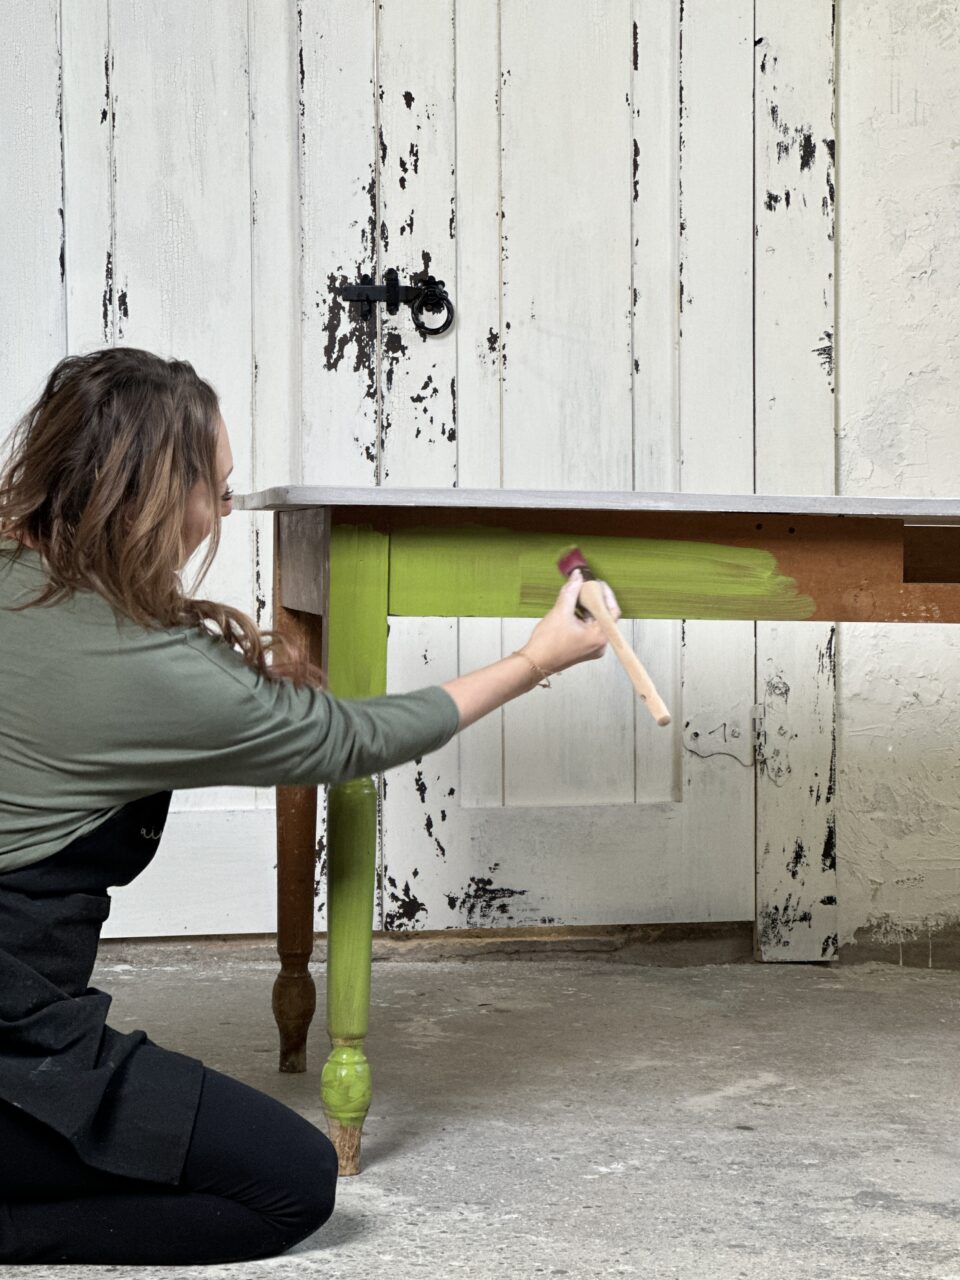
Next, we layered on our top coat of Sage, a beautiful, muted green. Already, we could see spots where the paint resisted and started to separate—exactly what we want!
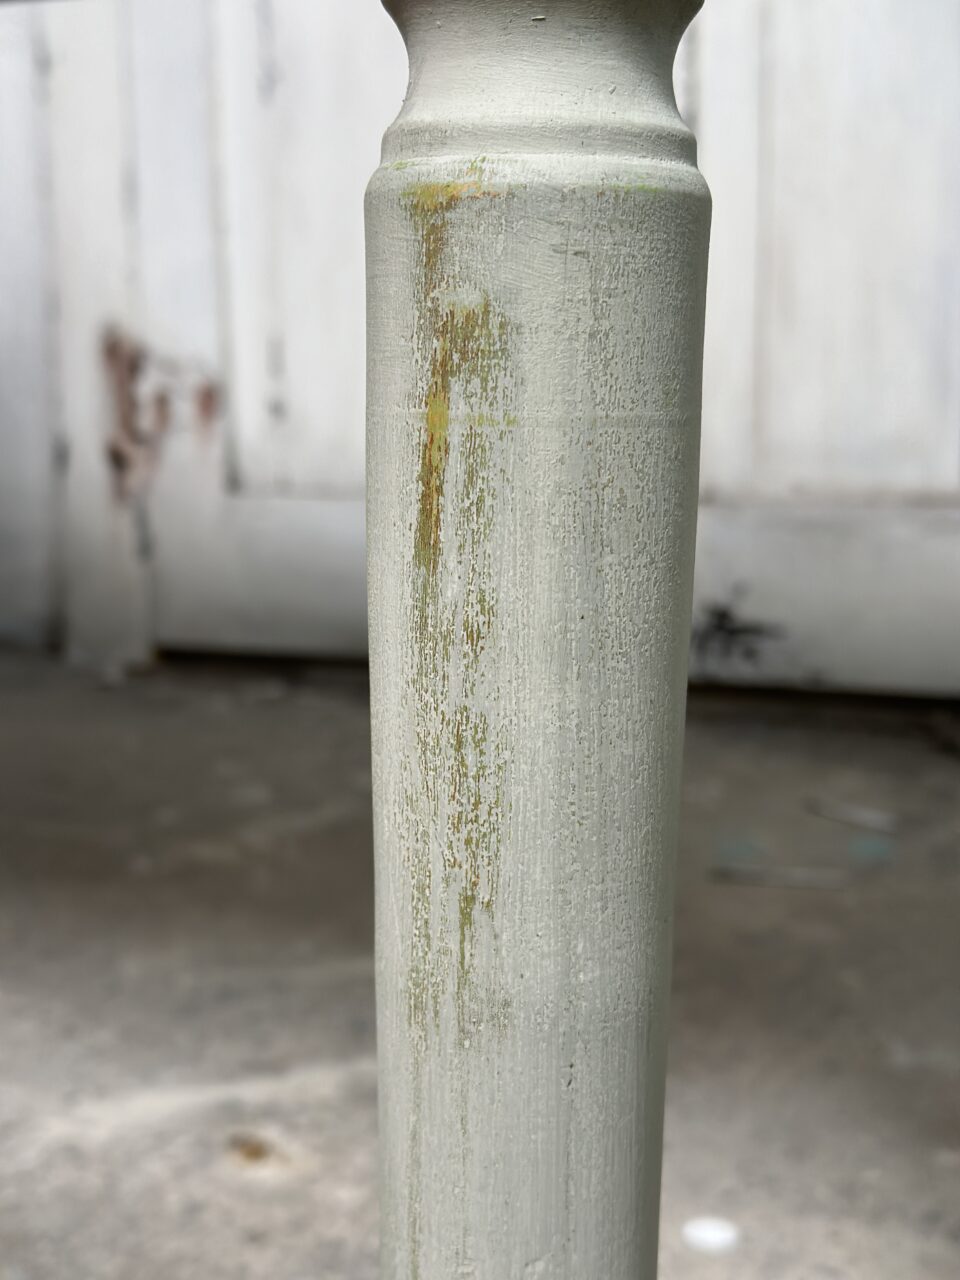
Step Four: Distress Like a Pro
Once the Sage layer dried, we grabbed our sanding sponges and pads (start with a fine grit and go heavier as needed) and gently revealed the Moss underneath. It’s such a satisfying process—watching vibrant colour pop through those worn edges.
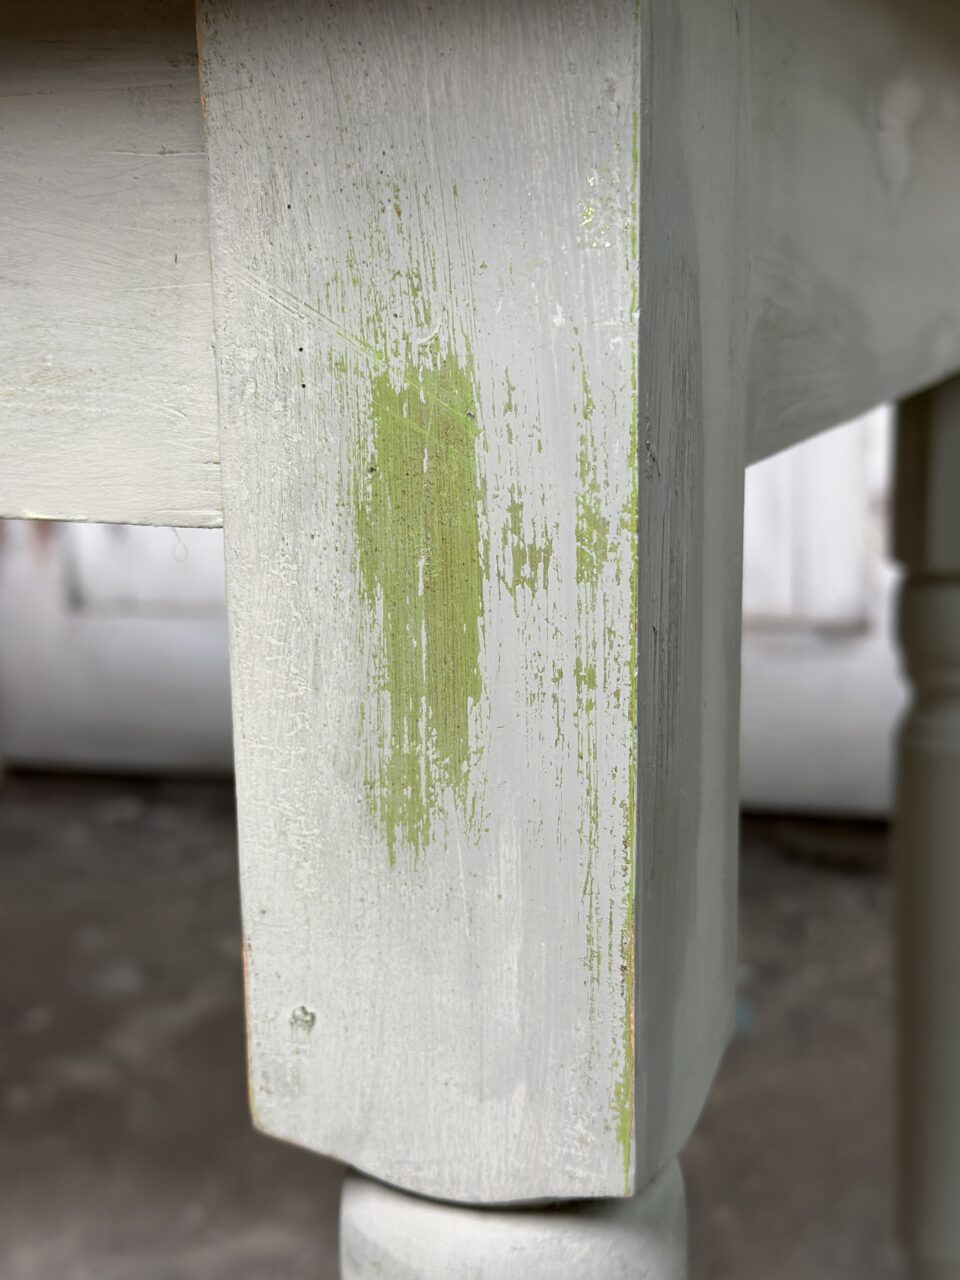
Pro Tip: Don’t overthink it. Step back often, check your progress, and remember—there’s no “perfect” in perfectly distressed!
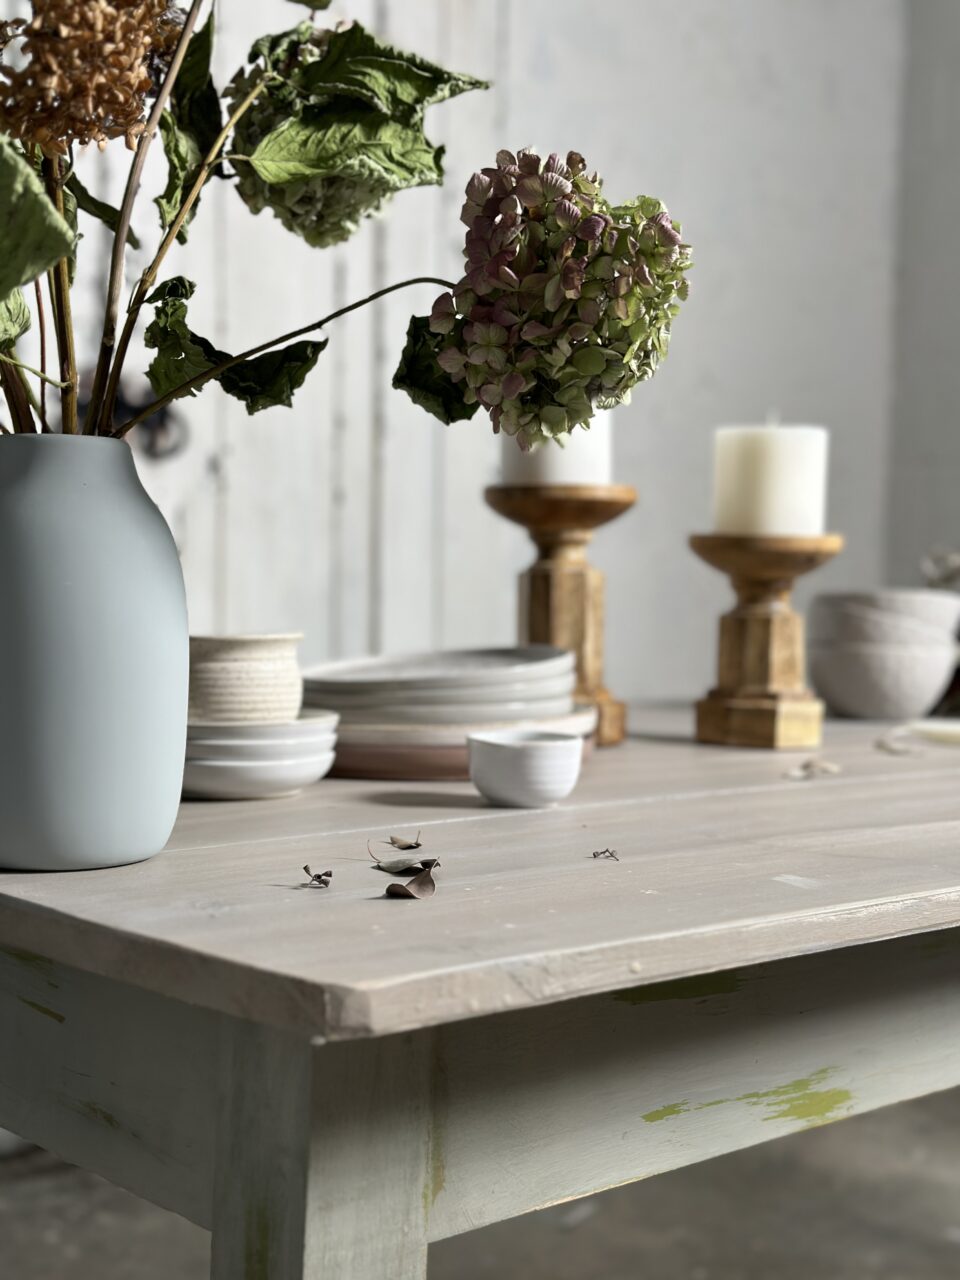
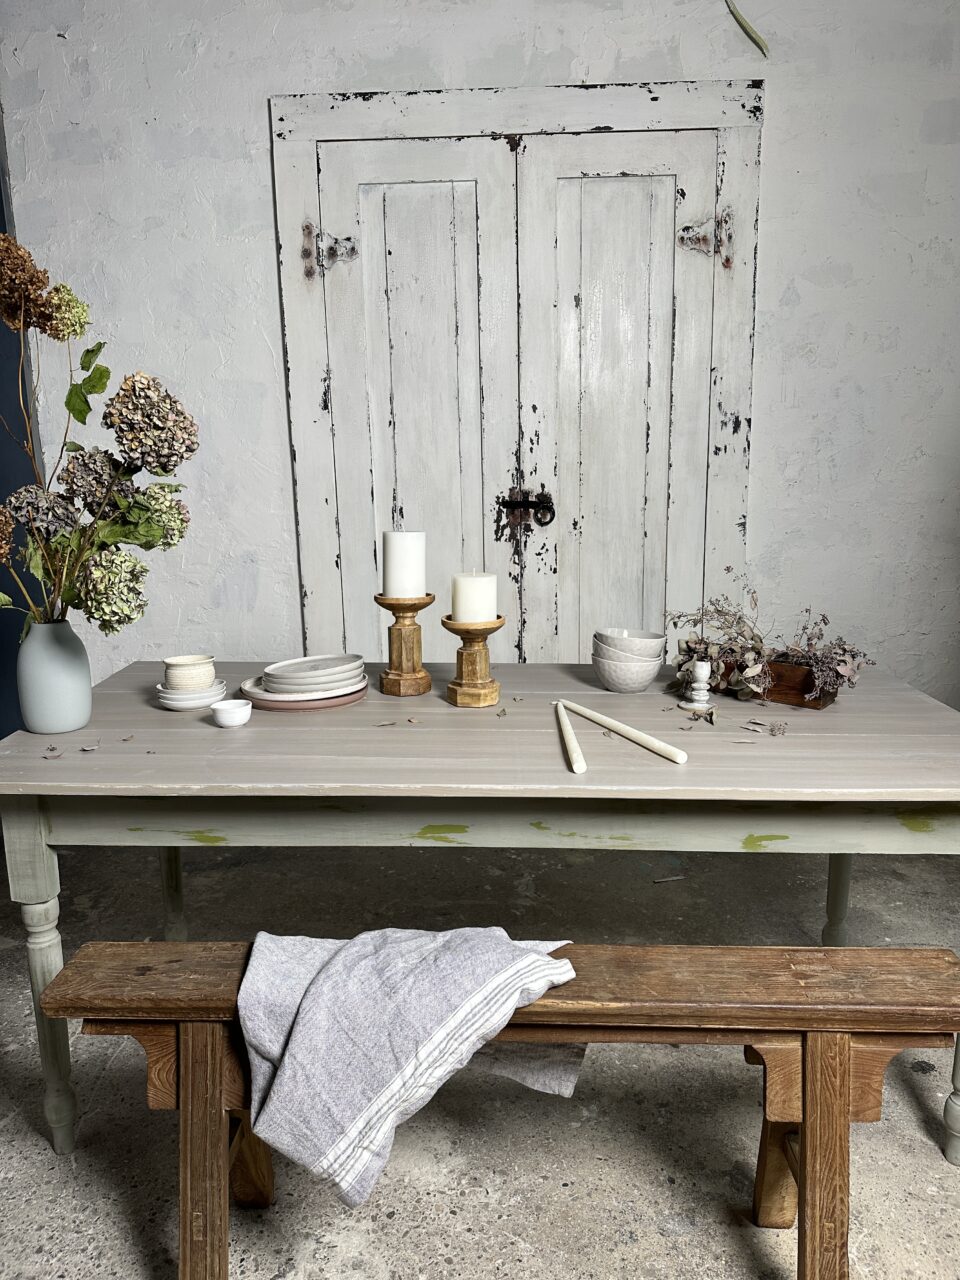
Final Touches: Sealing & Smiling
After distressing, we gave the whole piece a quick dust-off and added another coat of Tough Coat for extra durability. And voilà! What started as a roadside rescue became a rustic, charm-filled centrepiece.
Paint Wash and Distressed Finish the Easy Way
Ready to try this at home?
🎥 Want to see it in action? Catch the full step-by-step video tutorial on our YouTube channel.
✨Unleash your creativity, unleash your inner alchemist!
👉 Grab everything you need on our site and use this shopping list below to make it even easier:
| Product | Description |
| 🖌️ Fusion Mineral Paint – Birch | Soft off-white paint for the tabletop wash |
| 🎨 Fusion Mineral Paint – Moss | Vibrant green undercoat for distressed areas |
| 🎨 Fusion Mineral Paint – Sage | Soft, muted green for top color on the base |
| 🕯️ Fusion Beeswax Finish | Used for wax-resist technique before distressing |
| 🧽 Fusion Tough Coat – Matte | Durable, water-based top coat |
| 🖌️ Staalmeester Wide Brush | Ideal for large surface paint wash |
| 🖌️ Pointed Sash Brush | Great for corners and spindles |
| 🧽 Sponge Applicator | Best for applying top coat evenly |
| 🧼 Sanding Sponge & Pads (Fine + Medium Grit) | Smooth finish & distressing |