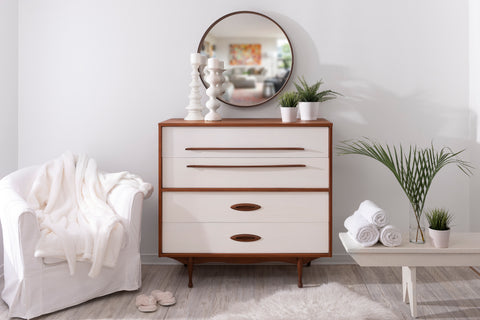
MCM is back! Who knew this 70’s style would make a come back nearly half a century later, but it’s here and not going anywhere! and you know what, we’re liking it!
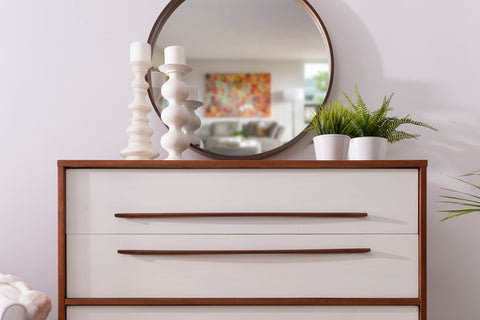
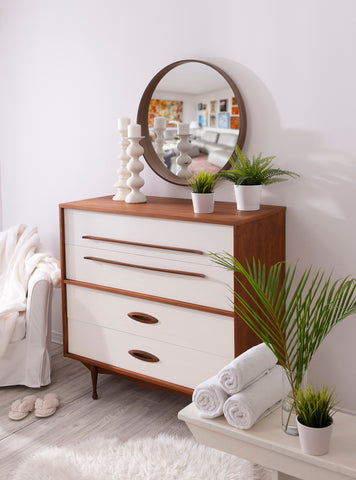
How about lightening this dresser up? Our brightest white in the line, giving it a sophisticated look, Hotel Robe Milk Paint by Fusion.

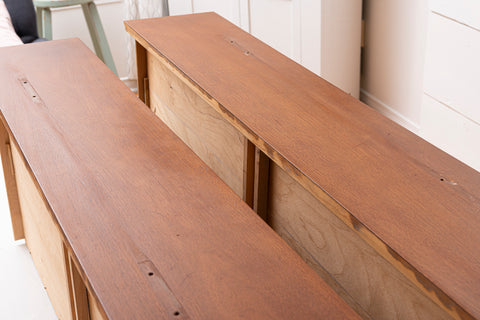
Here’s what you’re going to need for this project:
Prepping your surface
For many, using White Milk Paint can be daunting, there will be OMG moments where you think it’s all gone wrong (like the first coat, never look at the first coat, or you’ll promise to yourself never to use milk paint again!) and then there will be magic moments, like when you add that gorgeous top coat and the milk paint gleams!
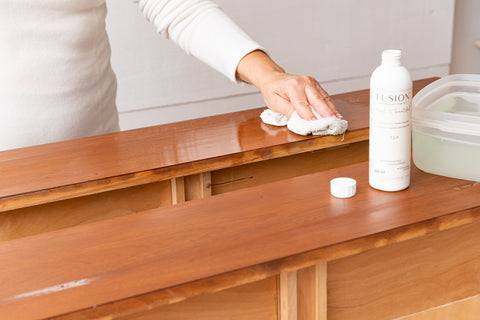
To clean and de-grease we cleaned the drawer fronts with Fusion TSP Alternative and water. We repeated this process two times.
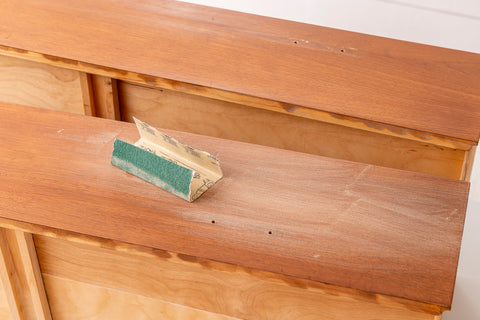
After the cleaning process, the drawer fronts were sanded down so the milk paint would adhere, if we wanted to avoid the sanding, we could have just added the bonding agent, but we love how easy it was to remove the coating on these drawers, and just love how the milk paint soaks into the wood. On flat surfaces, we will always opt-out to bring out the sander!
Using white in ANY paint typically requires more coats. Who doesn’t love a crisp white finish? Classic!
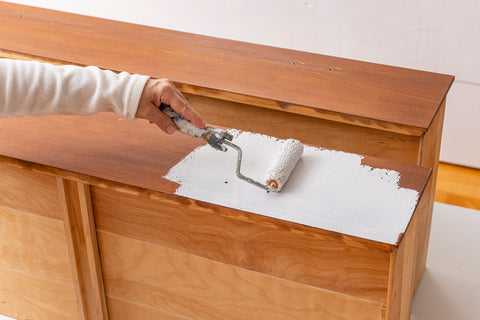
White Milk Paint for solid coverage
Always follow the basics of mixing for the best results.
1 Part water to 1 part Milk Paint powder. Give it a little whisk for a minute then let it sit for about 5 minutes so all the powder dissolves, and then stir again.
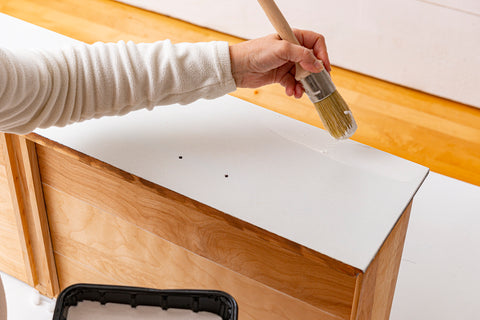
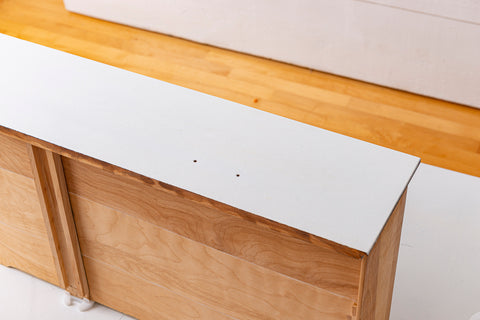
Tips for great coverage with white milk paint
Here is where you can cheat a bit… You’re going to want to test out your paint and ensure that it is opaque enough in coverage. For whites, your first coat will look like a wash, so you can add a couple more tablespoons of Milk Paint to your mix. Be careful not to add too much powder, you still want the paint to flow nicely.
Helpful Tip: It’s always important to continuously stir as the pigments are heavy and will settle to the bottom, and hint- the pigments are what cover oh so well!! The water stays at the top- so mix it up!
*Note if you’re needing to add a bonding agent due to the nature of the piece being very shiny, you will want to make your mix thicker so that when you add the bonding agent, it is the consistency of table cream.
Sealing Milk Paint
Be sure to let each coat fully dry in between, so as not to lift up or pull up any previous coating. 30 minutes should be enough time between coats.
You will know the paint is too thick if there is texture, dragging, lumps or brush strokes. It should still overall flow like a table cream consistency.
If you mix it too thick, as it is drying it will crack (which is a super cool effect!) but maybe not so much for our super sleek MCM finish.
We always say you can break the rules, as long as you understand them!
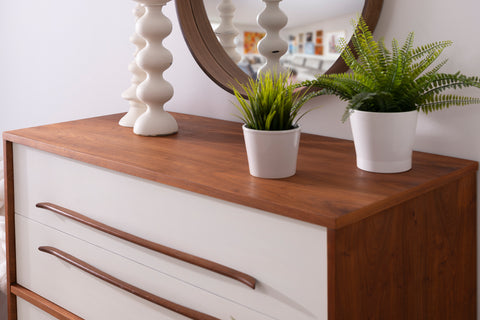
To seal the drawer fronts, we applied Fusion Furniture Clear Wax.
TOP TIP
Did you know that with your white milk paint you could also create a whitewash effect? You got it! Actually, your first coat as it is will essentially look like a wash, because white milk paint doesn’t have the best coverage.
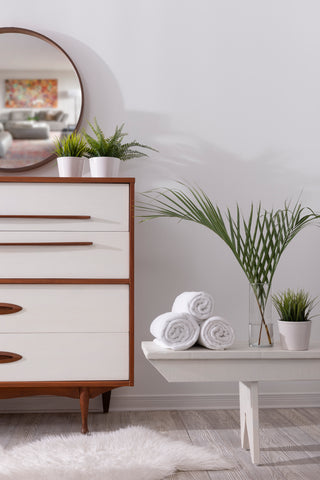
This look is stylish and timeless and this piece will have another 50 years at least. What was the last thing you painted with Milk Paint? Don’t forget to tag us in your Milk Paint by Fusion projects #milkpaintbyfusion
