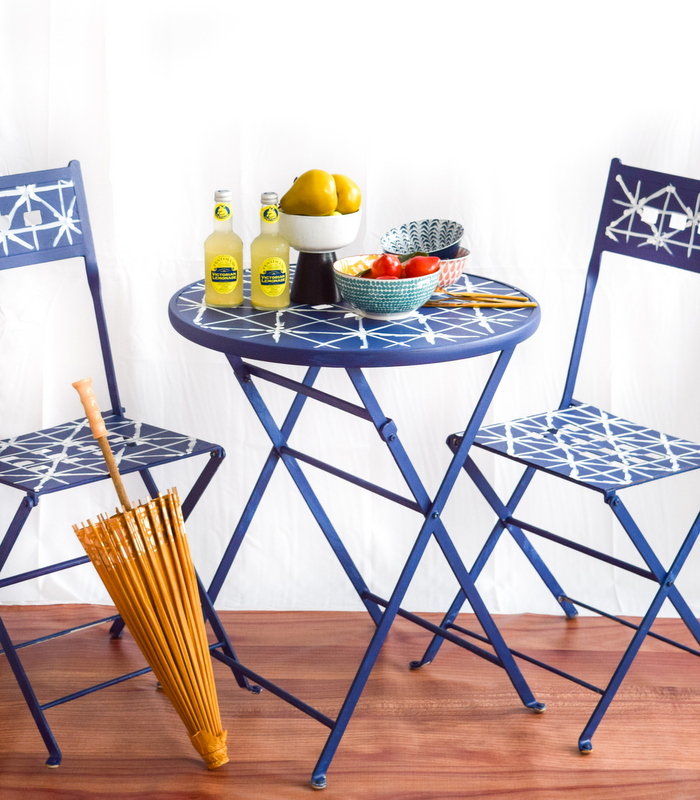
Summer brings outdoor adventures and backyard living (#patioliving for those in apartments). Instead of dropping big bucks on a brand new patio set, fulfill all your global decor goals with a DIY Shibori Painted Table. You can use any old metal patio, and some Fusion Mineral Paint to create the pattern, without having to dye anything. This DIY Ikea Patio Table is an easy weekend project that you could complete in no time at all. This Ikea hack is an easy way to recycle an outdated table and bring your patio decor back to life!
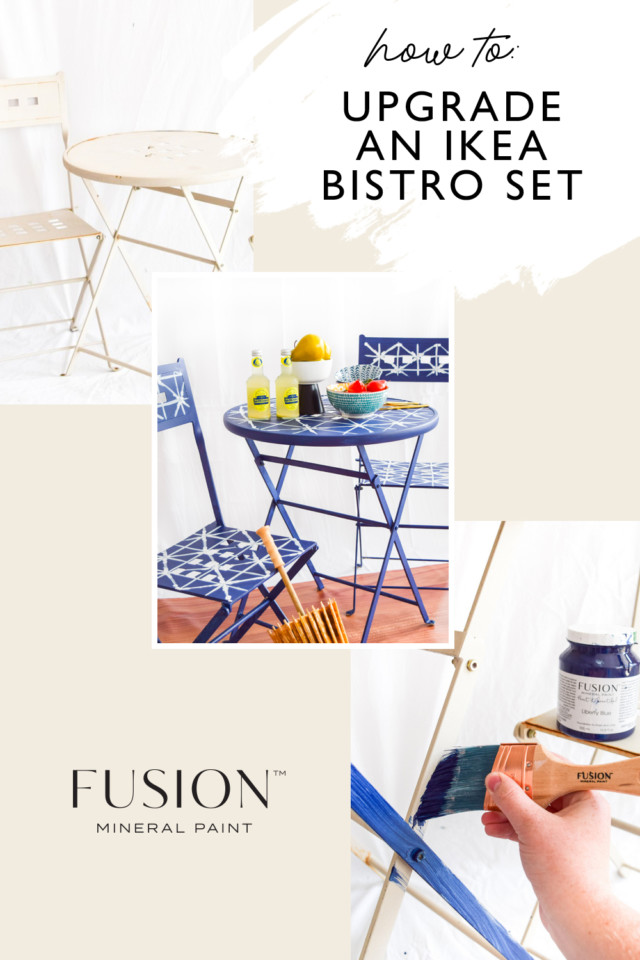
Shibori is a Japanese dyeing technique that typically involves folding, twisting or bunching cloth and binding it, then dyeing it in indigo. But there are many DIYs that involve bleach pens for reversed colours, so it’s all about preference. The more you look at the patterns, the more you’ll notice the wabi-sabi aspect to them – that means, nothing is crisp and perfect. Lines are fluid, some are irregular, and most have a little colour bleed going on. That’s what makes them unique.
So let’s learn how to make your own DIY Ikea Patio Table with Fusion Mineral Paint. INSTANT UPGRADE!
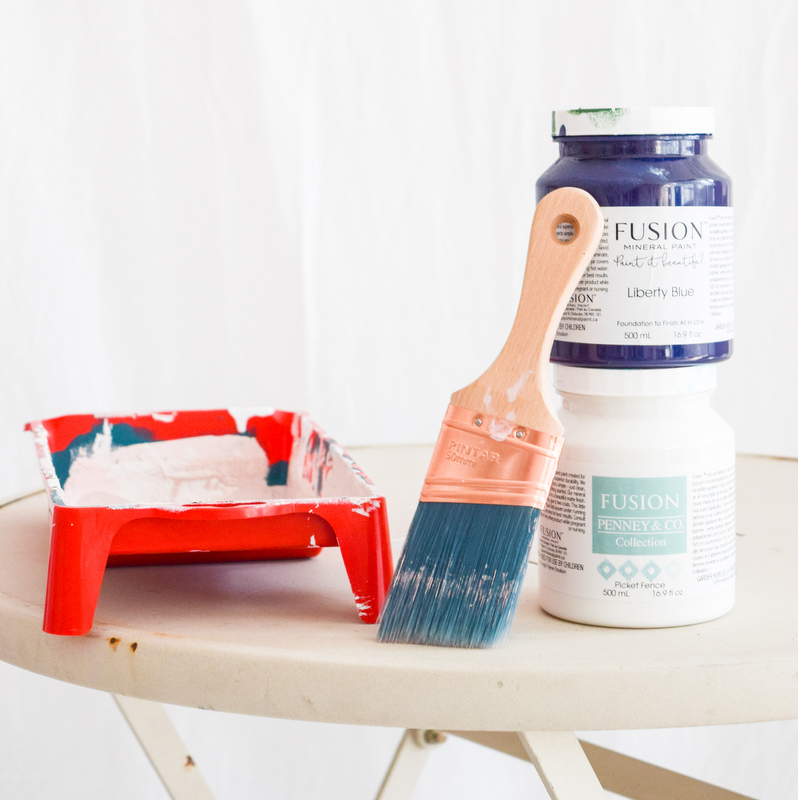
What you’ll need for your DIY Ikea Patio Table:
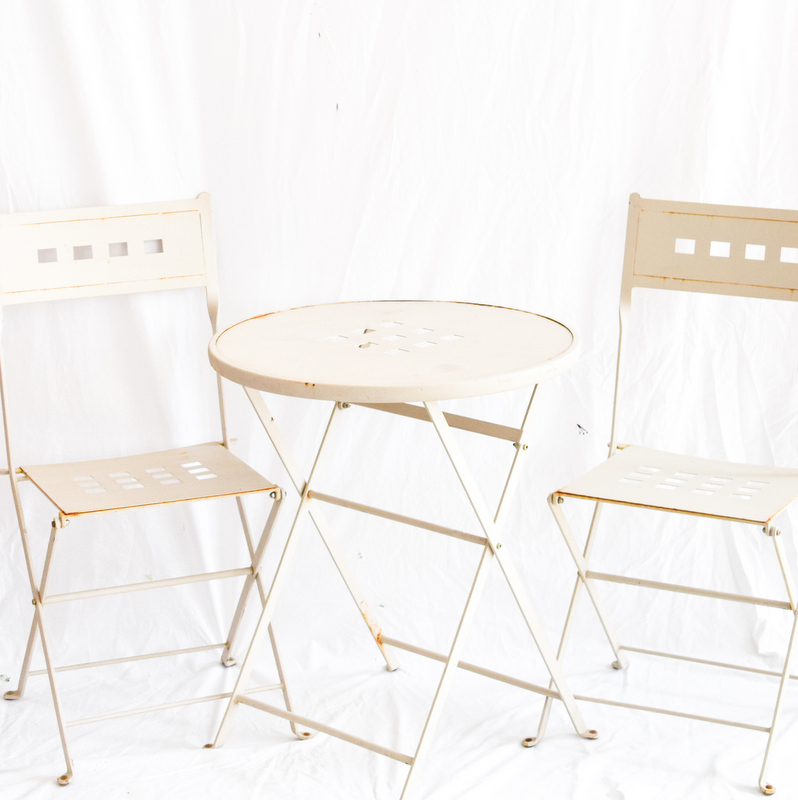
- Old patio table (we got ours from Kijiji, it is an old IKEA bistro set)
- Fusion Mineral Paint in Picket Fence
- Fusion Mineral Paint in Liberty Blue
- Your favorite Fusion Brush & lint free rollers
The BEFORE. Look at this poor table… Boring… Starting to rust… Looks worse for the wear.
Step 1: PREP YOUR OUTDOOR FURNITURE FOR PAINTING
Give the table and chairs a quick clean. You don’t want any obvious dirt or grim to wreck your paint job!
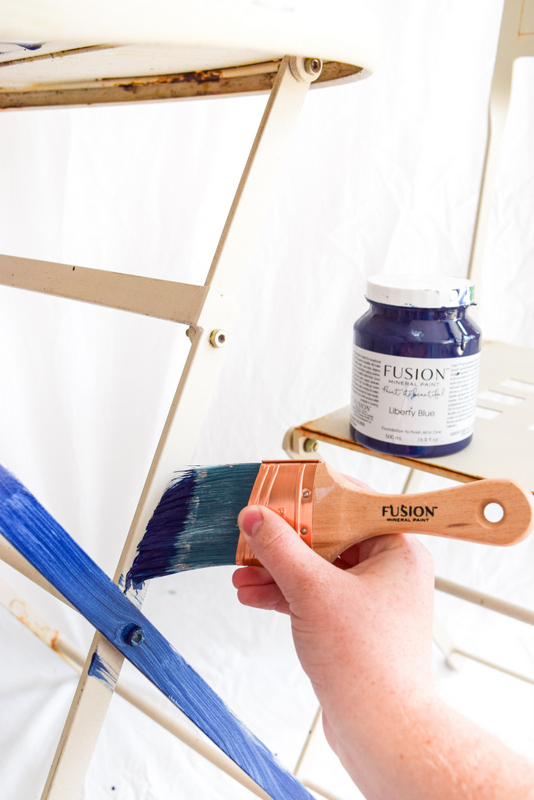
Step 2. PAINT YOUR OUTDOOR FURNITURE
Paint the table and chairs in Liberty Blue. You could paint them all Picket Fence and do the reverse colour scheme if you prefer. But because we have little ones in the house, we went with a darker hue to help mask any fingerprints or food marks.
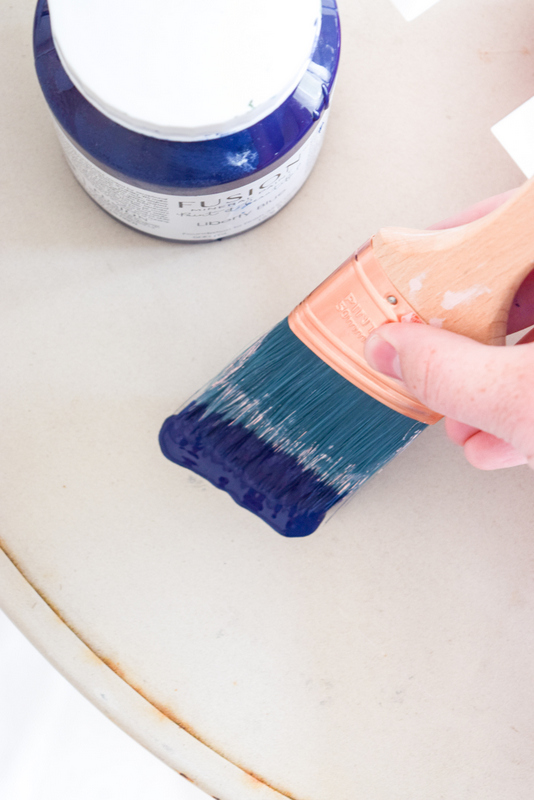
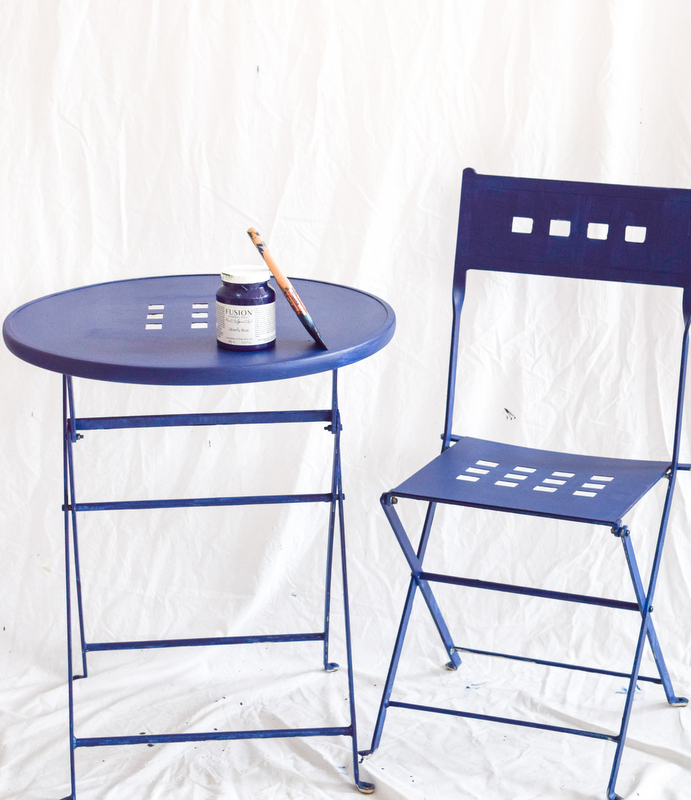
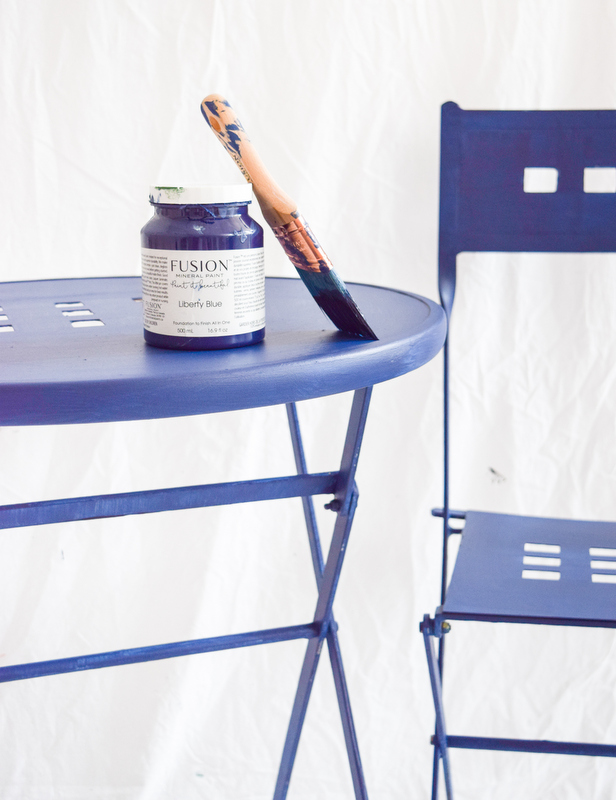
Step 3: PAINT YOUR PATTERN
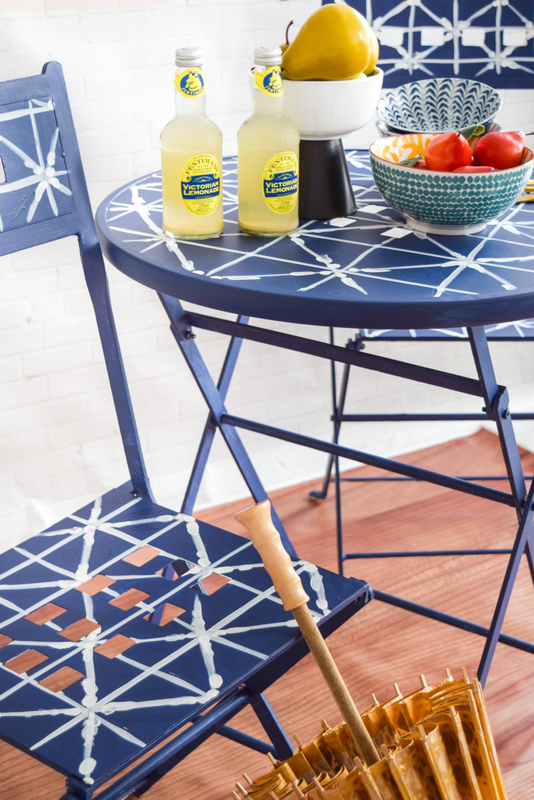
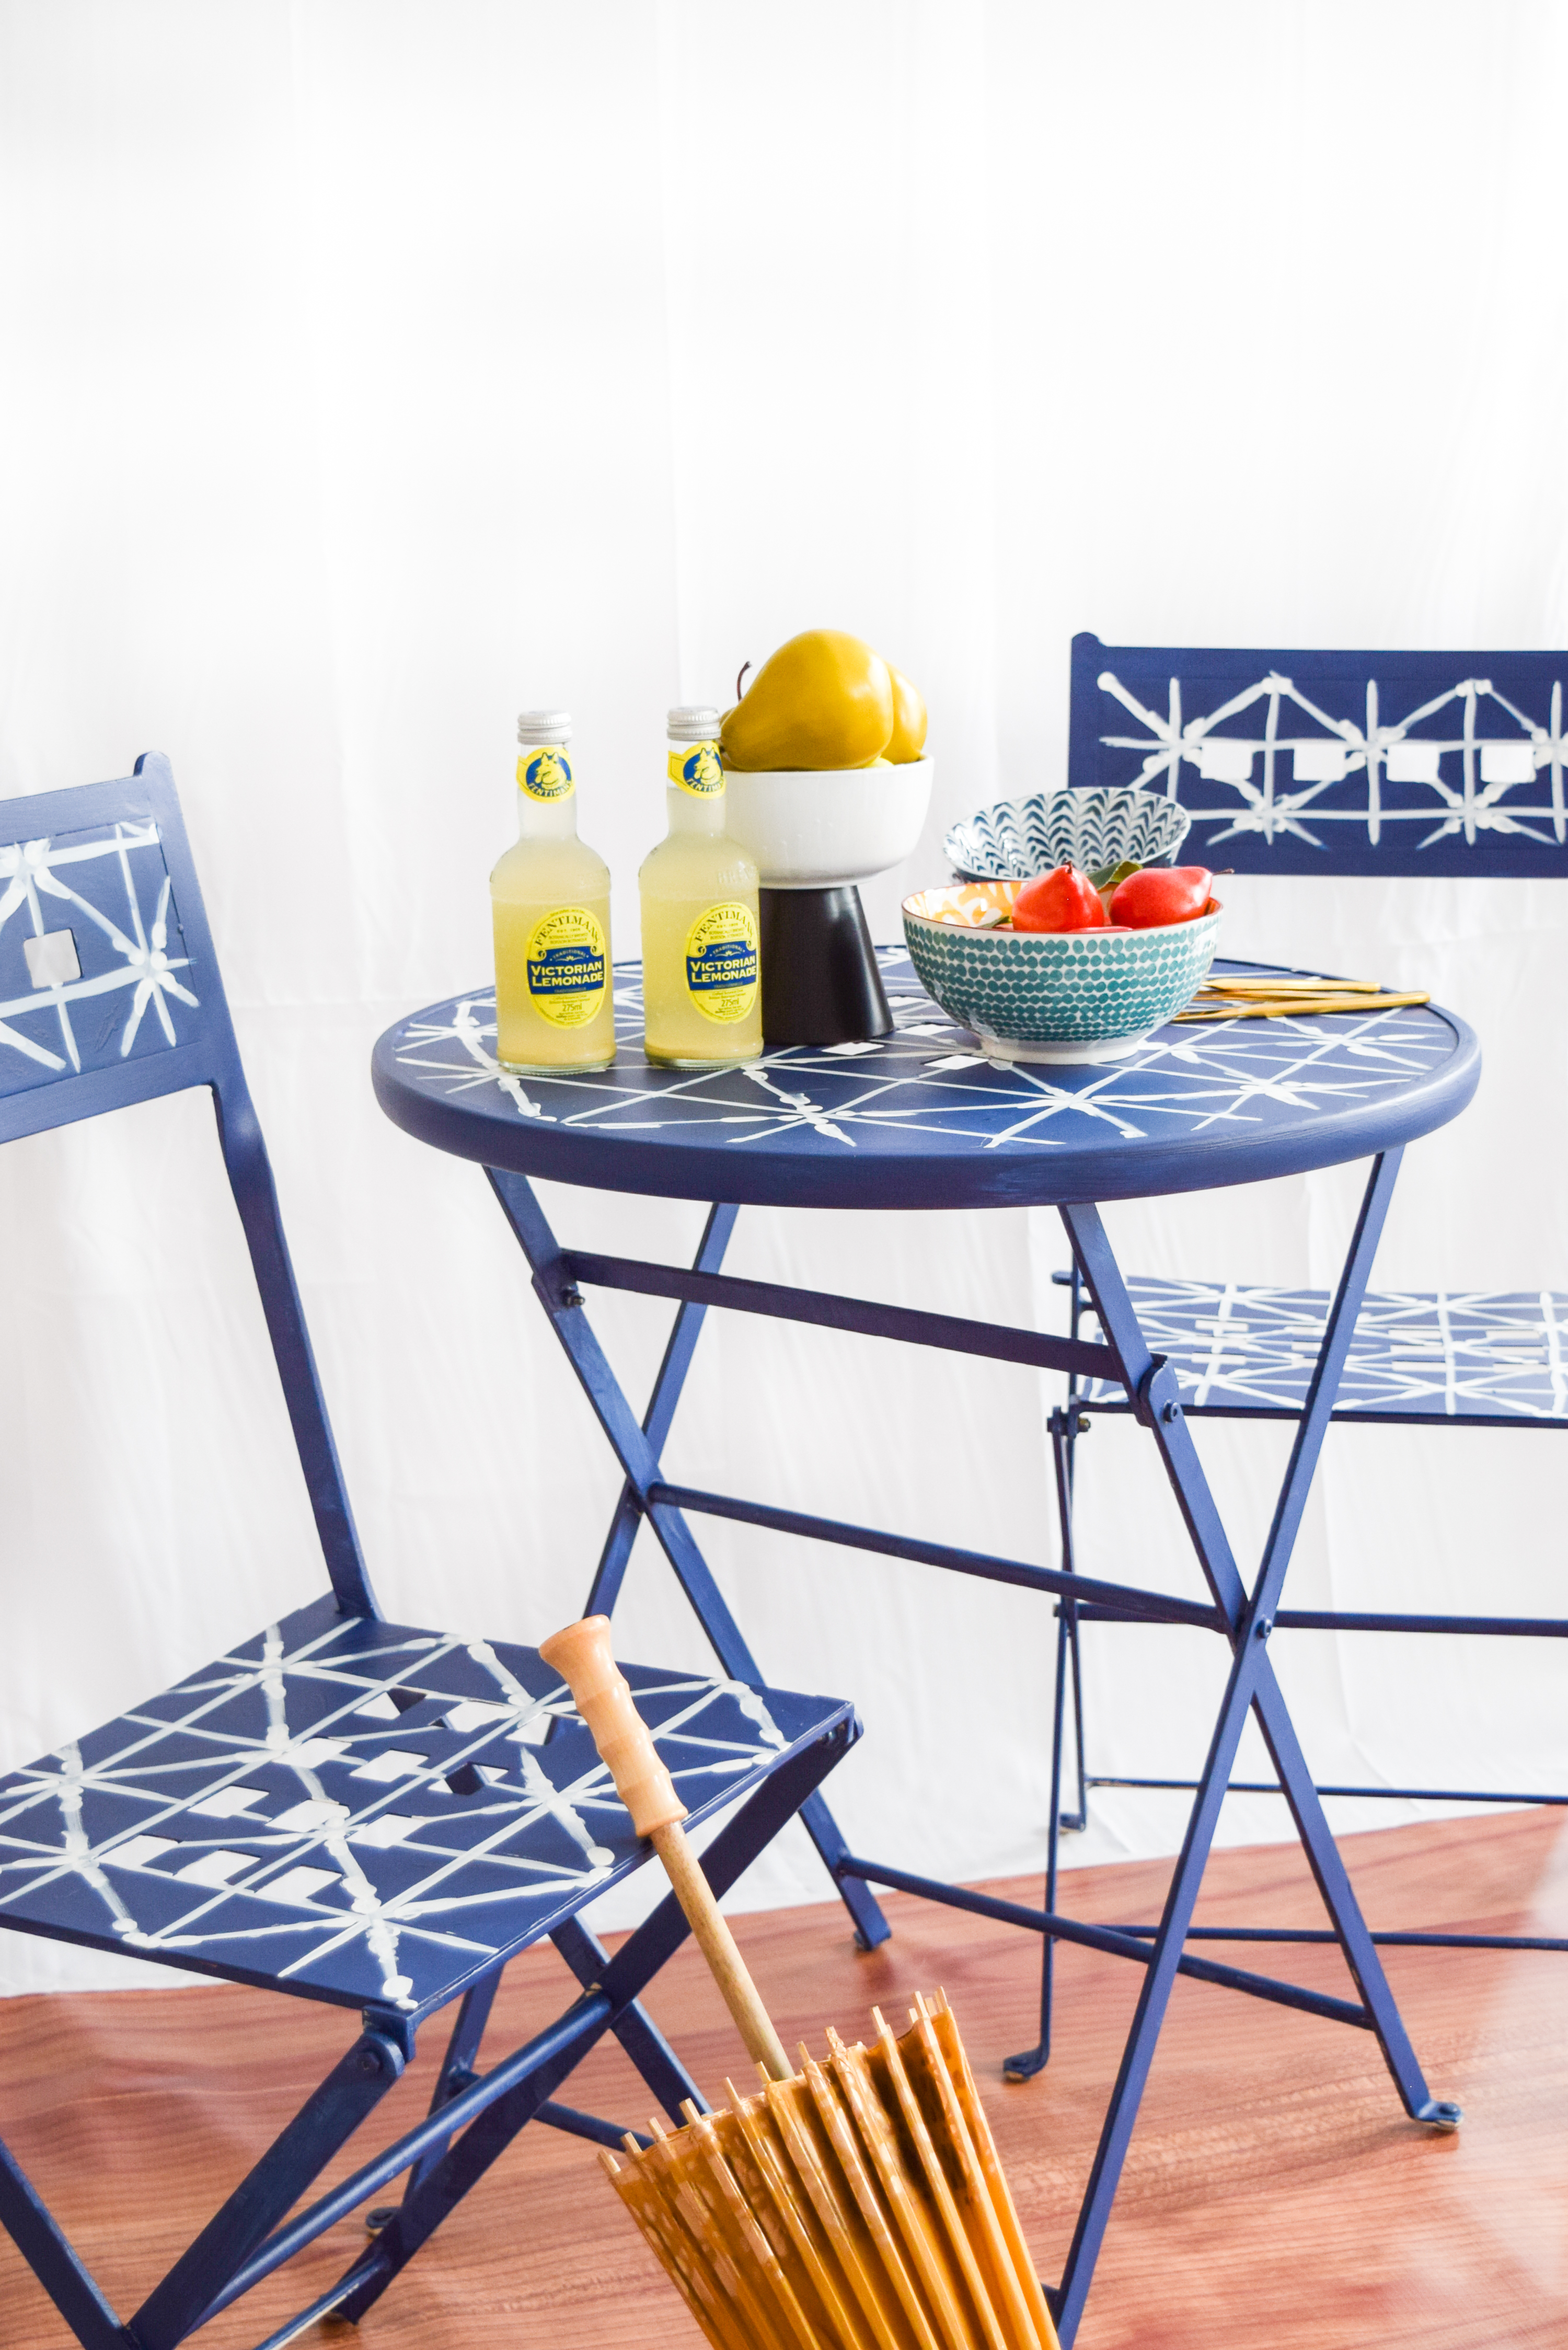
Once your first colour choice (in our case, Liberty Blue) has dried and has sufficient coverage (we only needed one coat with our outdoor furniture), choose a shibori pattern. This grid pattern is a great place to start because it’s easier to replicate.
Start by painting a simple checkerboard on your tabletop, chair backs, and chair seats.
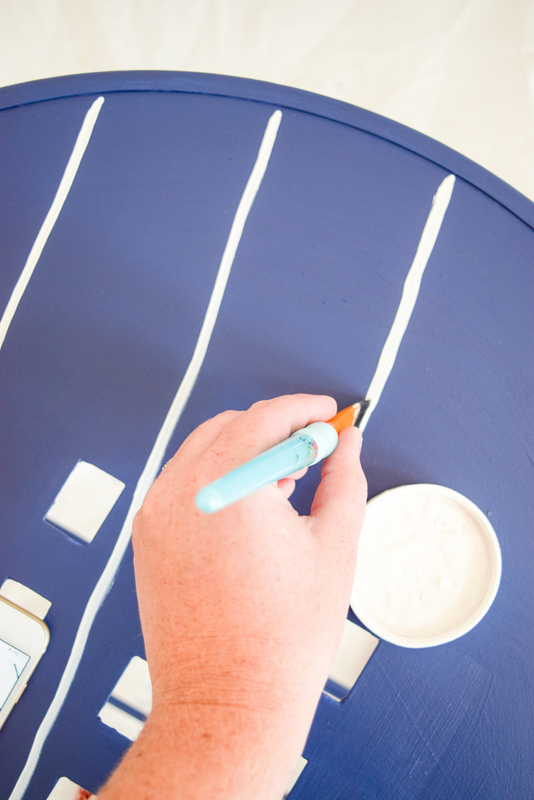
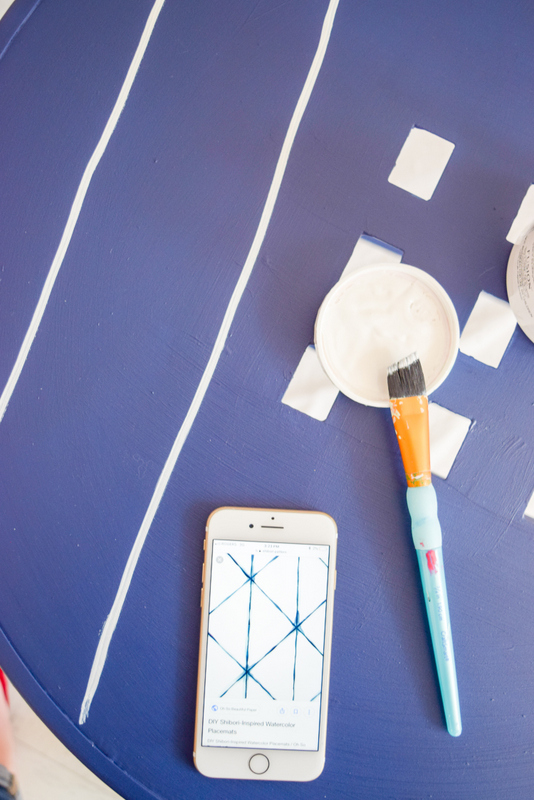
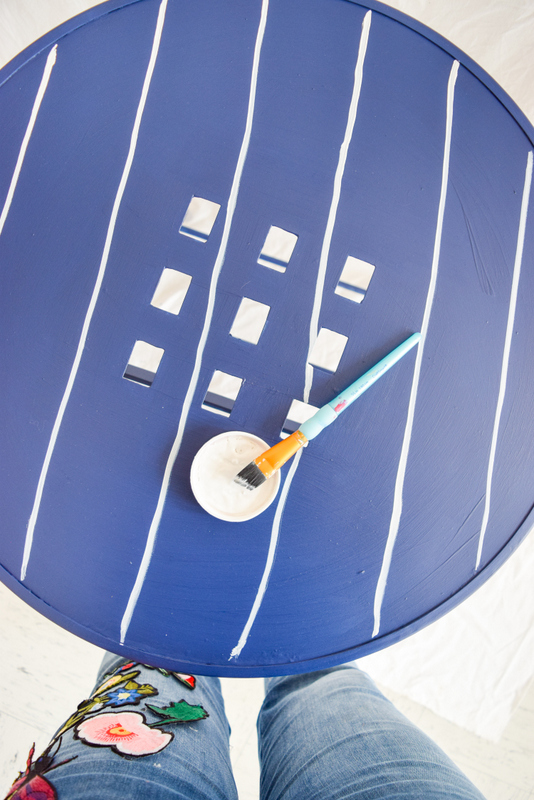
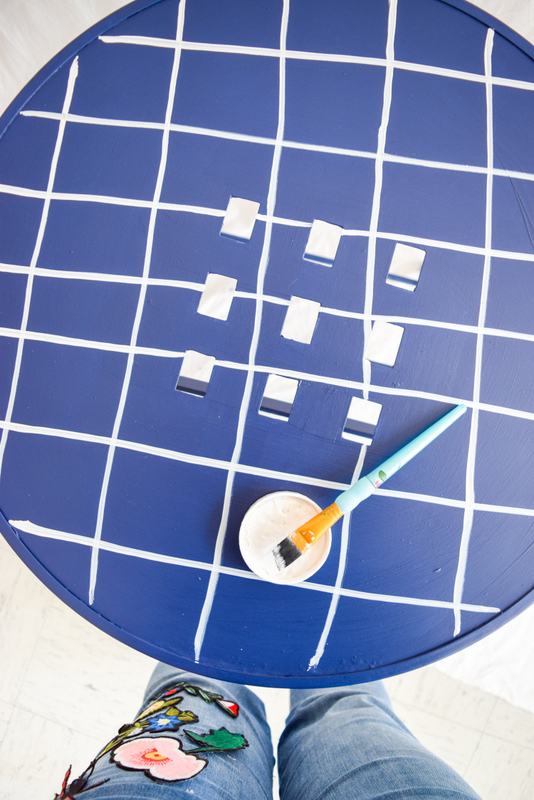
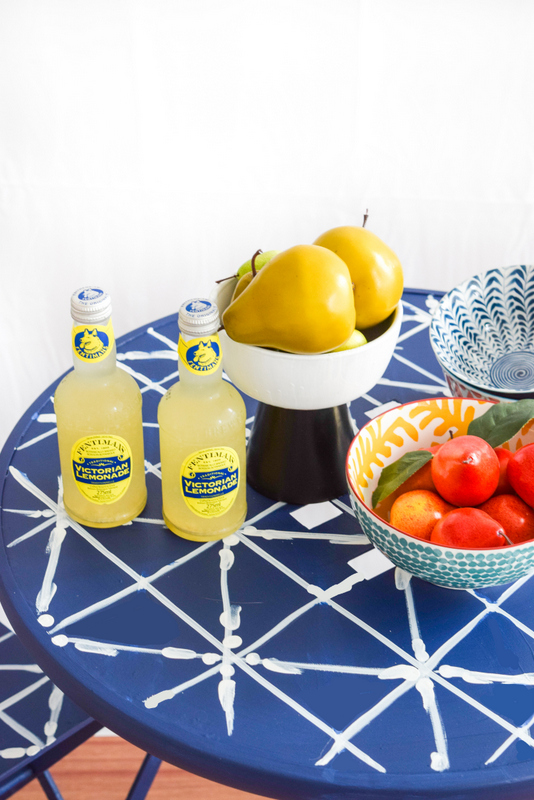
Once the grids are dry, using diagonal lines on inverted repeats, create a “star” effect” from the center of a grid.
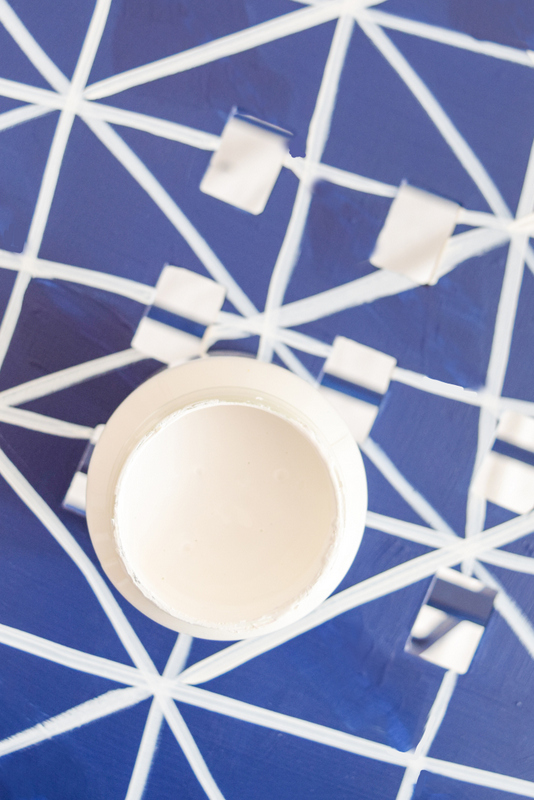
If you happen to mess up the pattern, don’t panic! Just wait for the paint to dry and then use some midnight blue to cover up any mistakes.
Once you’re happy with the pattern, dip your finger in some Picket Fence. At the center of each “star” add a dot on the angled strokes.
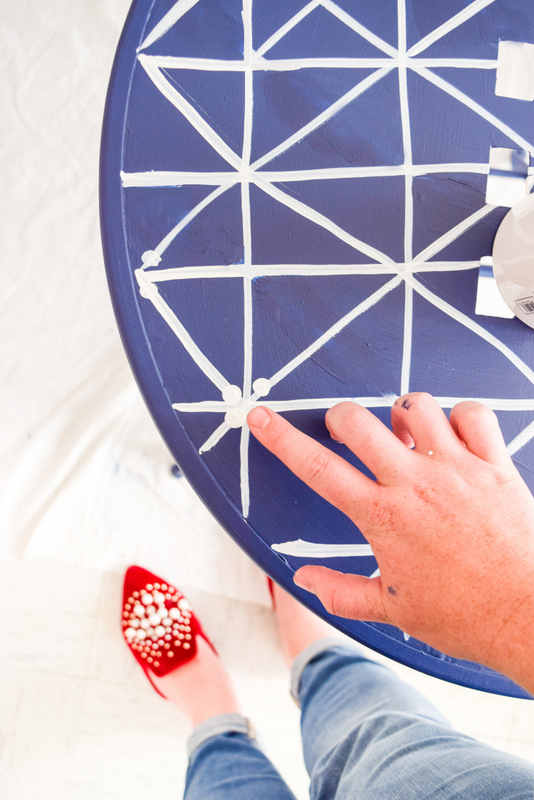
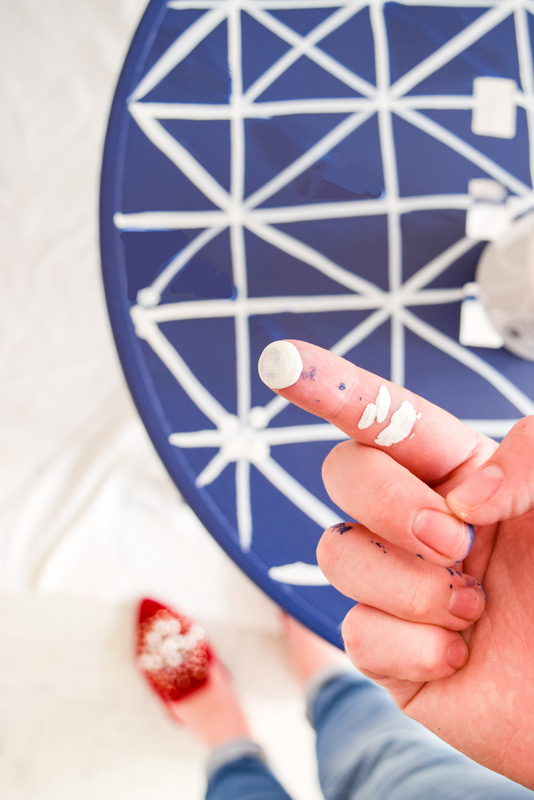
Refresh your painted tip if needed, and then on each of those strokes where you placed a dot, place another dot a little further down, and then smear your finger going away from the center.
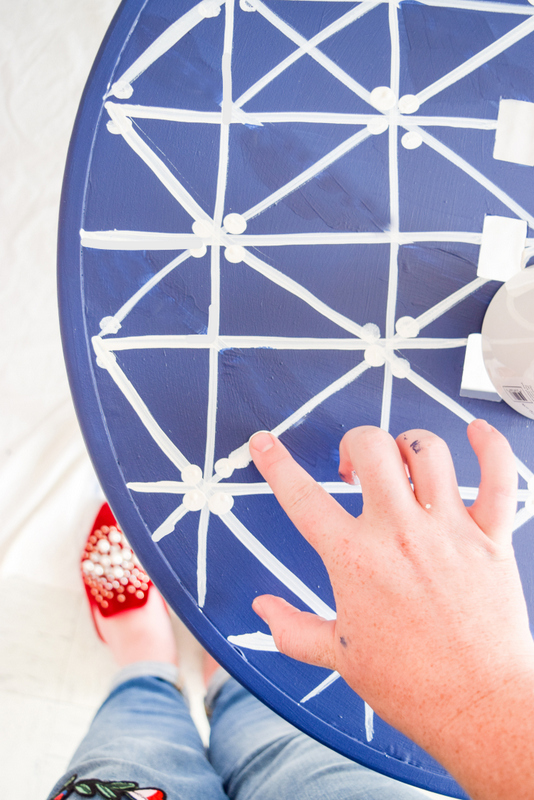
Step 3: CREATE A REPEATING PATTERN ON OUTDOOR FURNITURE
Repeat this process across the tabletop, chair backs and chair seats until complete. Let it all dry for a few hours, and if your want additional protection, seal with Fusion’s Tough Coat for maximum durability.
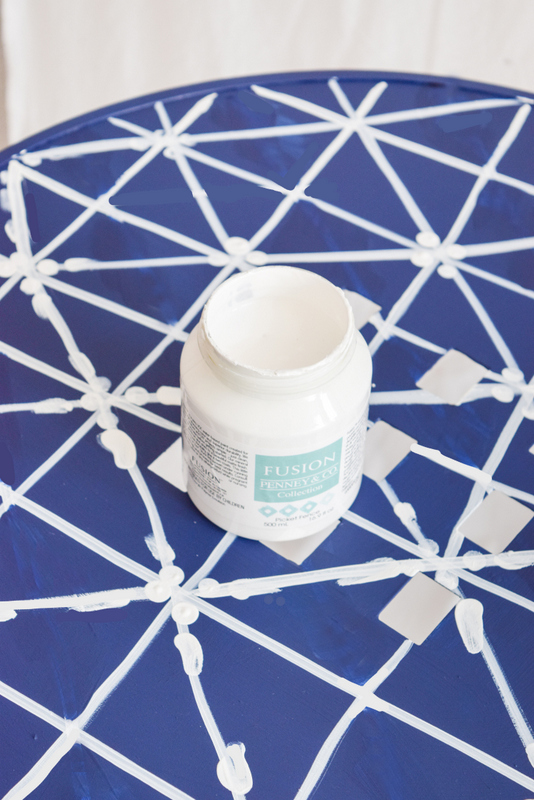
You can have a lot of fun with the shibori pattern and create various styles, swirls, and grids. Just remember that everything is mirrored (because of the folding), so as long as your design has a repeat around a certain point, you’ll maintain the look.
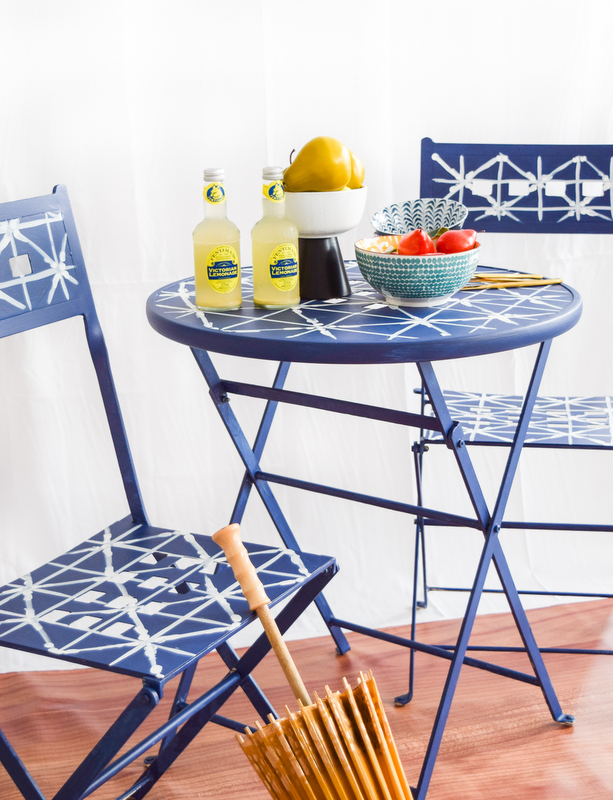
And then you have yourself a very fun shibori patterned table! What a fun patio makeover!
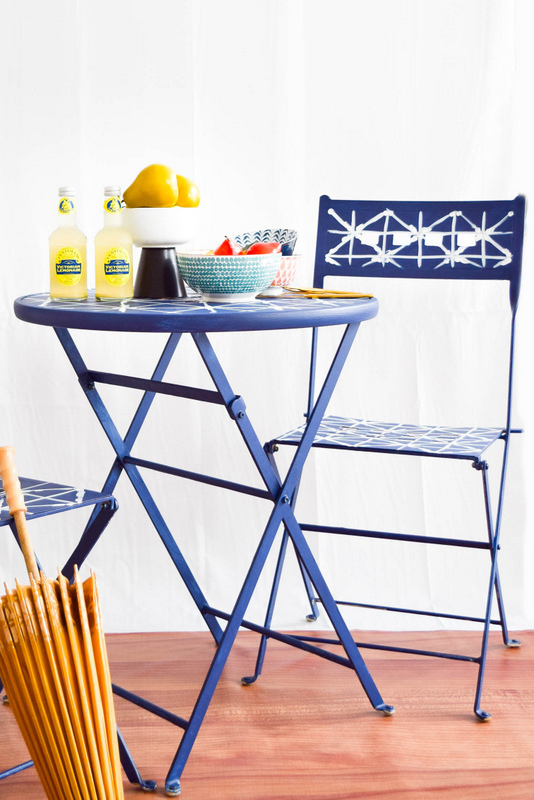
We always encourage you to have fun when painting creative projects and if you’ve finished any outdoor projects lately, share them with us in our Paint it Beautiful Facebook group! We would LOVE to see them!


2 Responses