Staalmeester rollers
Although our Staalmeester rollers might seem like a simple tool, there are a few tricks to using them for the best results. In this blog post, we’ll outline the basics of how to use a paint roller so that you can get the perfect finish on your next DIY project. Whether you’re new to painting or just need a refresher, keep reading for tips on how to use and clean a Staalmeester paint roller like a pro!
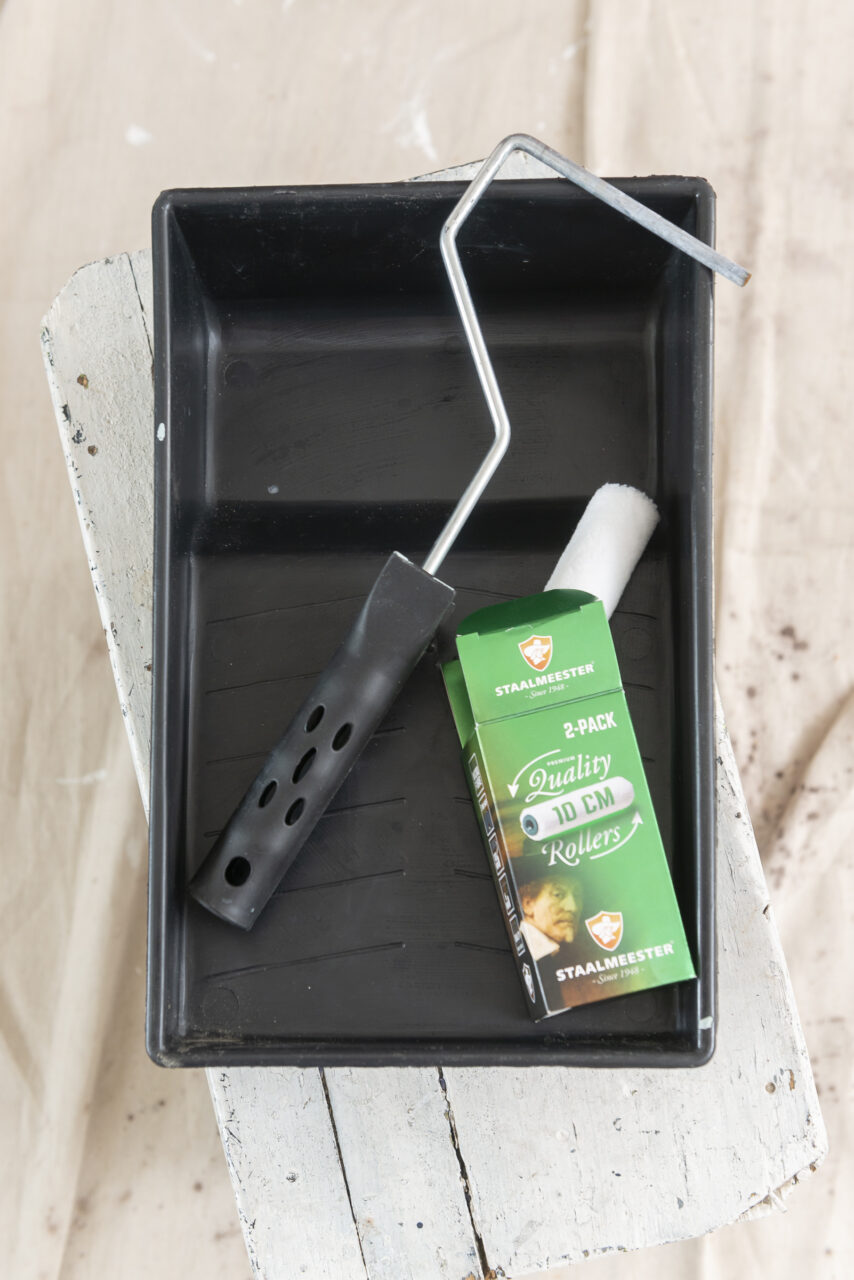
Staalmeester quality management system ensures the same standard as for their brushes. The rollers are therefore suited for all lacquers and varnishes, and a perfect match for Fusion Mineral Paint to give a smooth & equal finish.
Tips for using a Staalmeester Roller
- Choose the right roller for the job
- Load the roller with paint correctly
- Roll evenly with equal pressure for a smooth finish
- Troubleshoot any problems that might occur
- Clean up properly when you’re finished
- Store your roller correctly so it lasts longer
We have the perfect roller for you! Choose between 3 sizes of Staalmeester rollers, 10cm, 12cm, & 18cm. In a similar way that you would choose the right brush ( see here for more details ) choosing a roller depending on the size of your project. For small projects and infrequent use of rollers the 10cm will work for most general jobs. Slightly larger areas like a dresser or wardrobe the 12cm is the best choice. Paint jobs like a kitchen tables, doors, or even a feature wall the 18cm will work best.
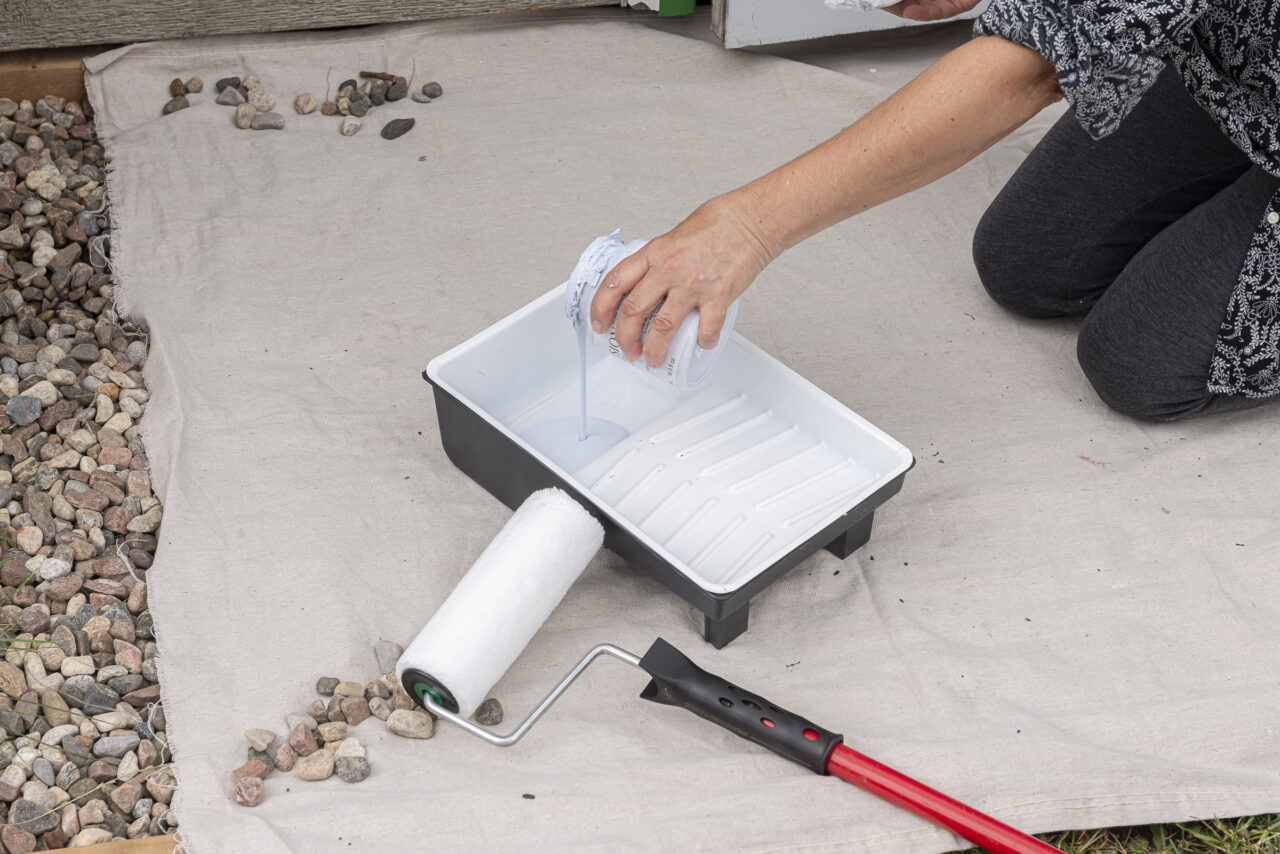
Loading your roller the correct way
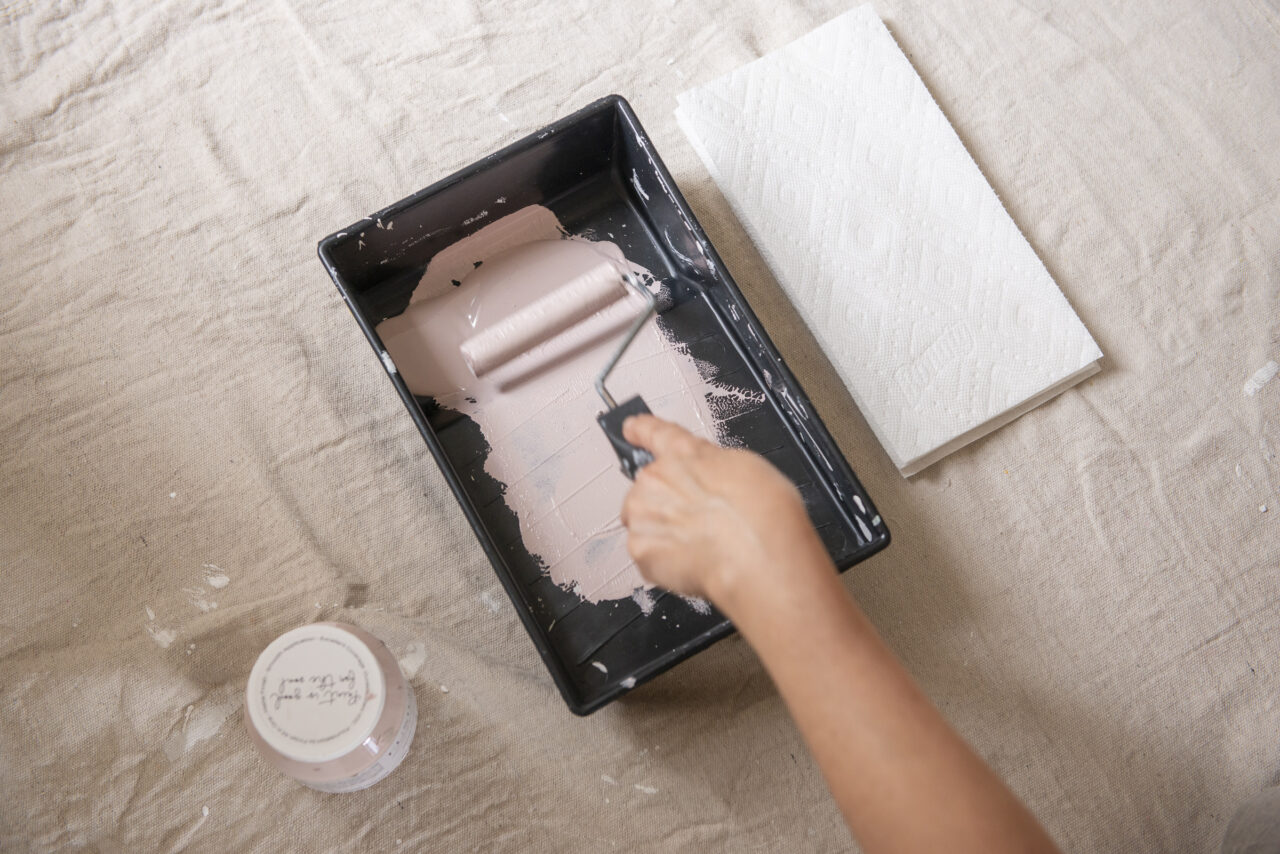
Loading the paint correctly onto your roller is where you see the results in the paint finish. You want to saturate the roller so it is covered and then use the roller tray to roll back and forth removing all the excess paint. A good thin even coverage over the roller is what you are looking for. This ensures good even distribution of the paint to your surface.
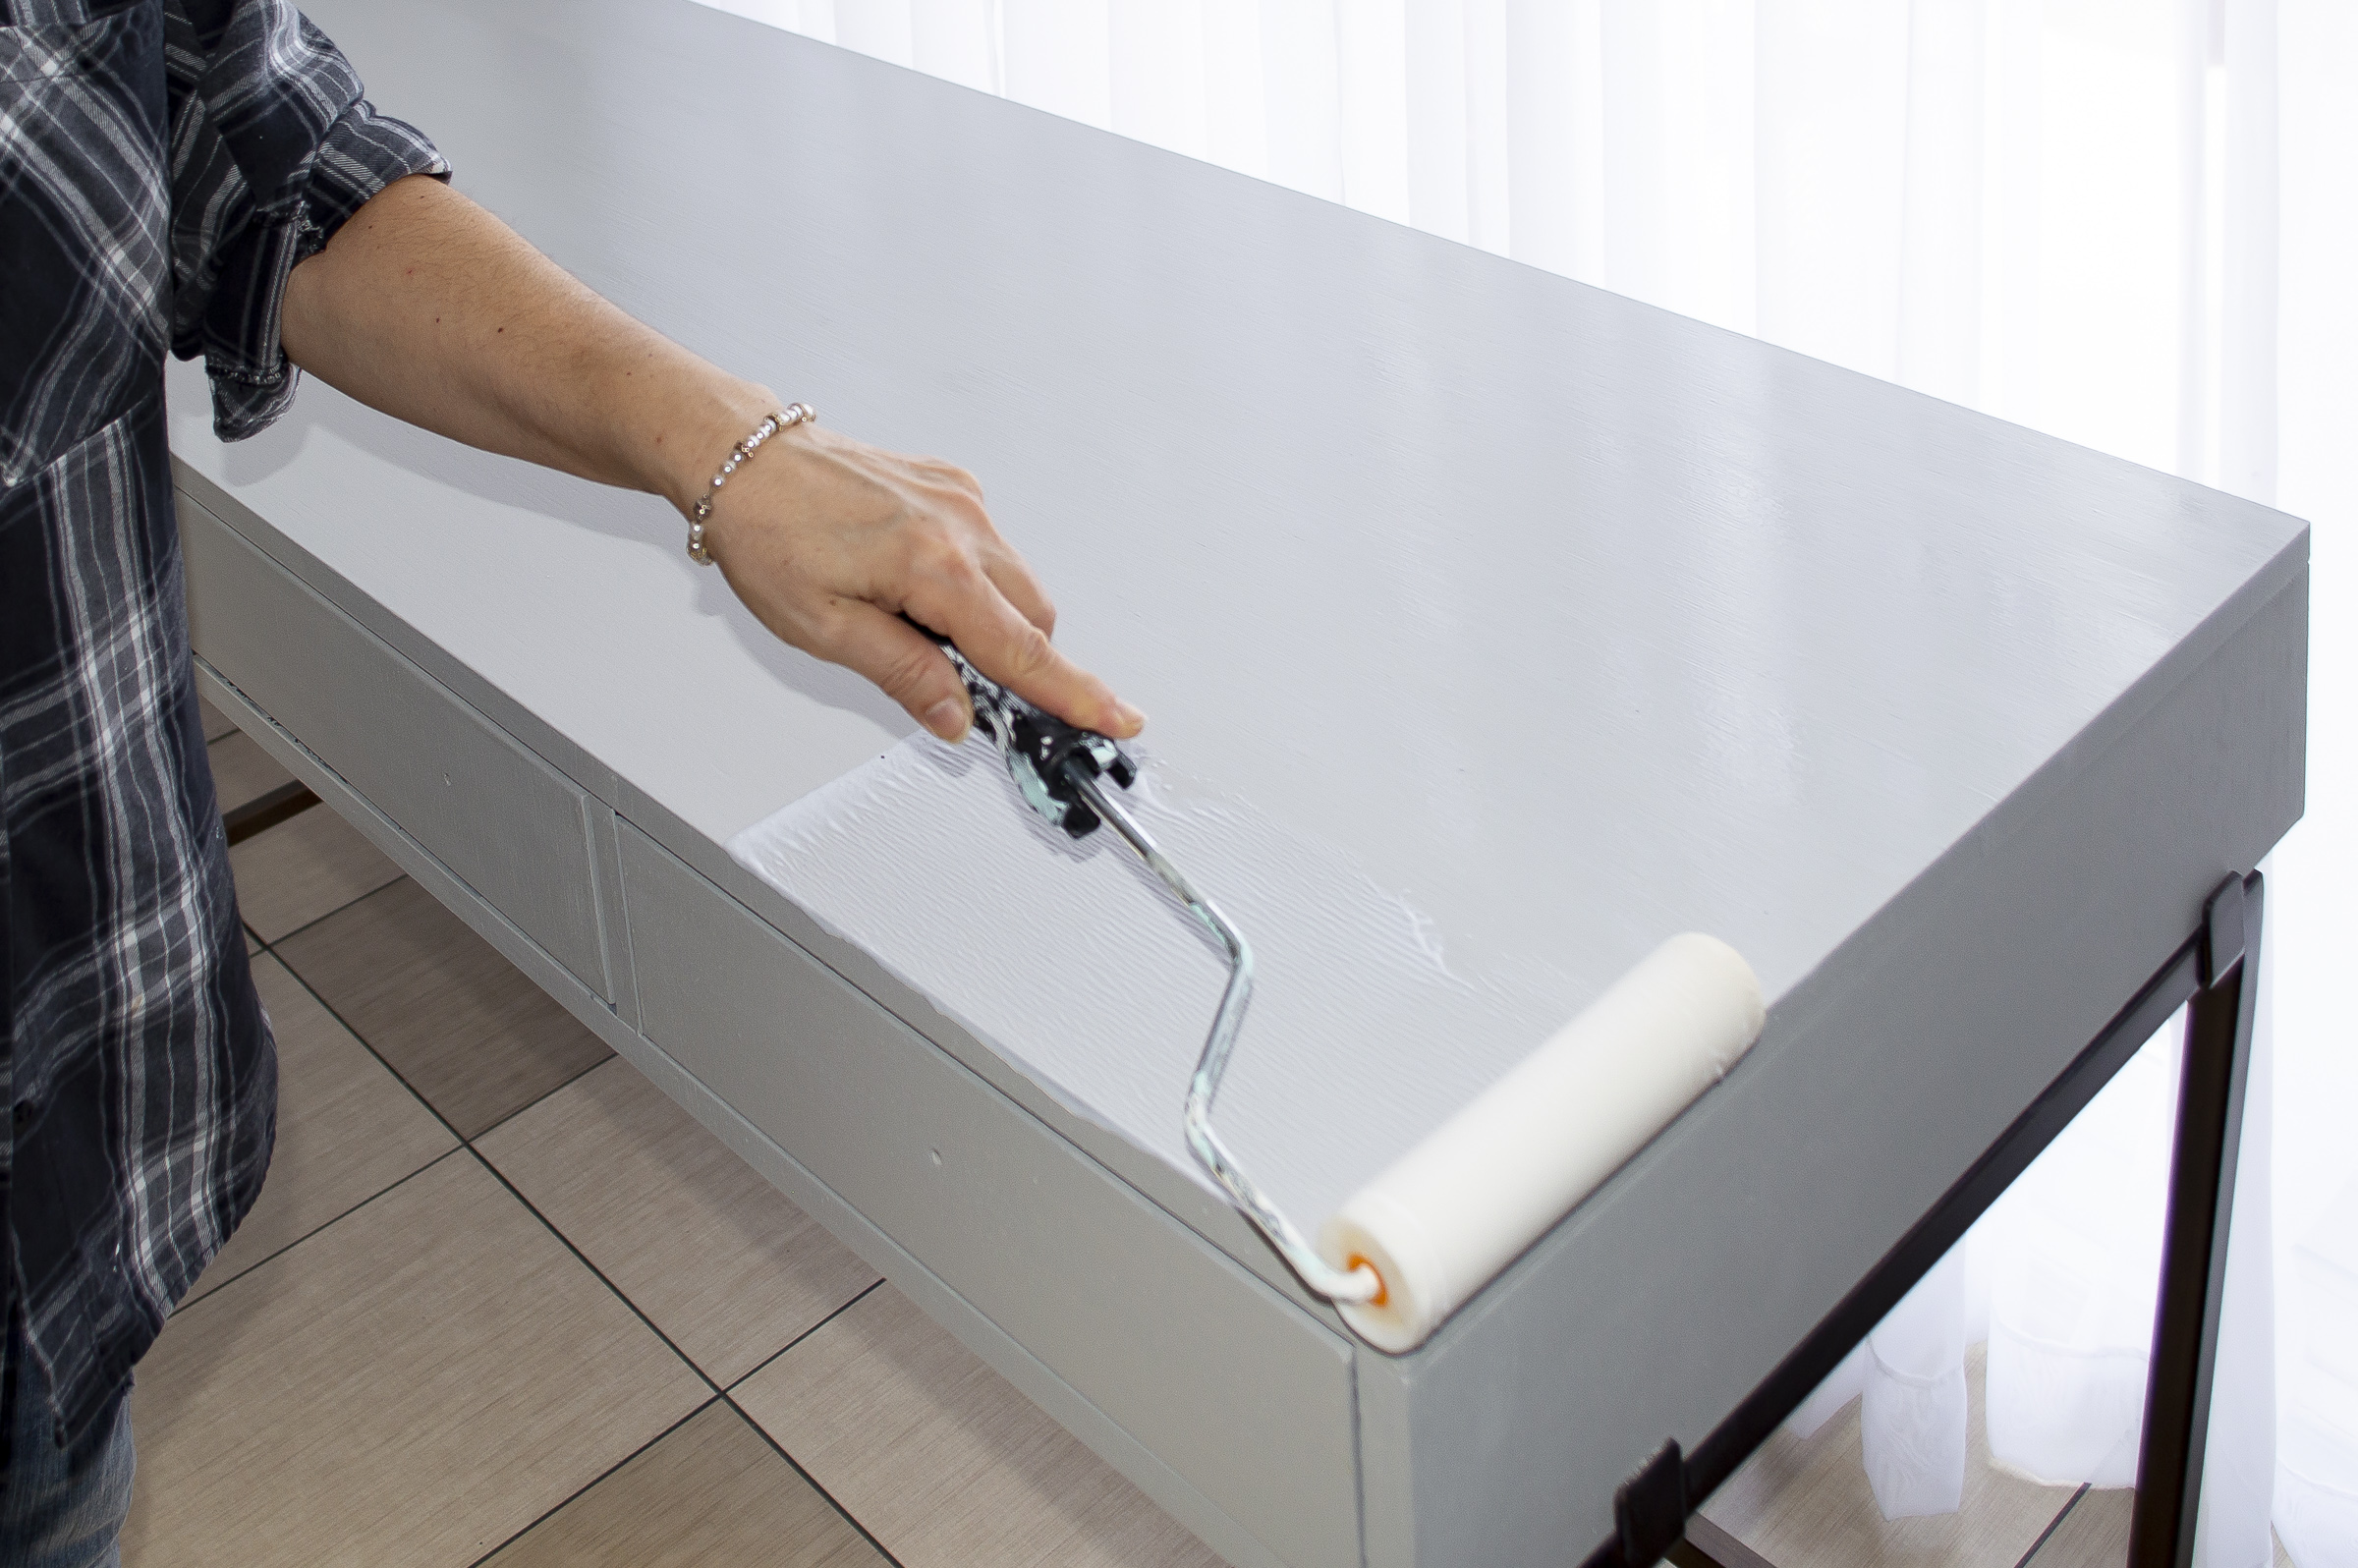
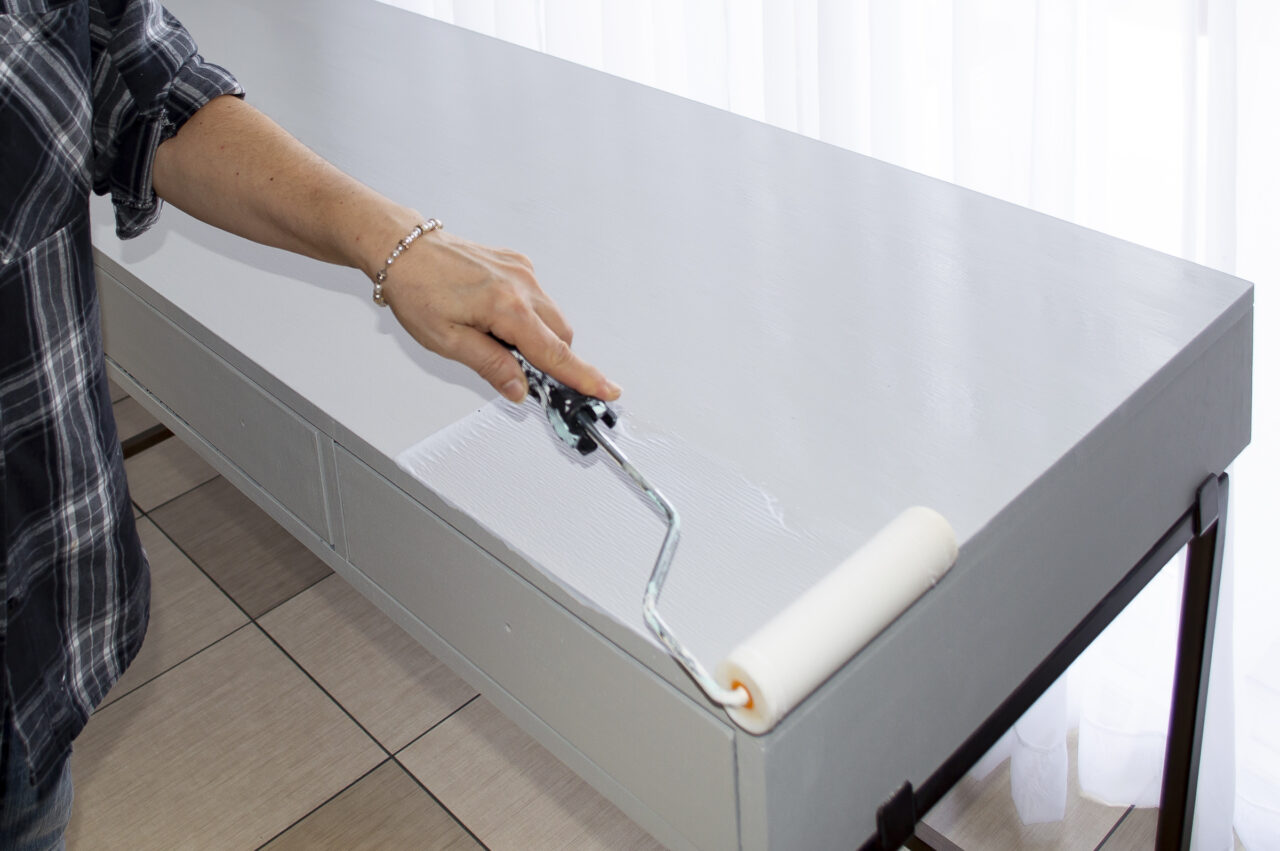
Once the roller is loaded with paint the next tip is to apply equal pressure over the surface. This ensures you get the same paint distributed over the surface. You are not looking for full coverage, just even coverage. The paint will dry quickly in thinner coats and you will achieve a beautiful smooth finish
Staalmeester roller
There are a few things that can go wrong when using a roller. Sliding and unwanted texture. If too much paint has been loaded on the roller it can slide across the surface leaving a mess. Remove the excess on the roller tray and continue. The unwanted texture left in your paint finish can happen for 2 reasons. Too much paint is being applied and when dry leaves a rippled texture. The other way you can get is going back over your surface as the paint is drying causing texture. For large areas or working in high humidity, we recommend using our Extender to avoid this.
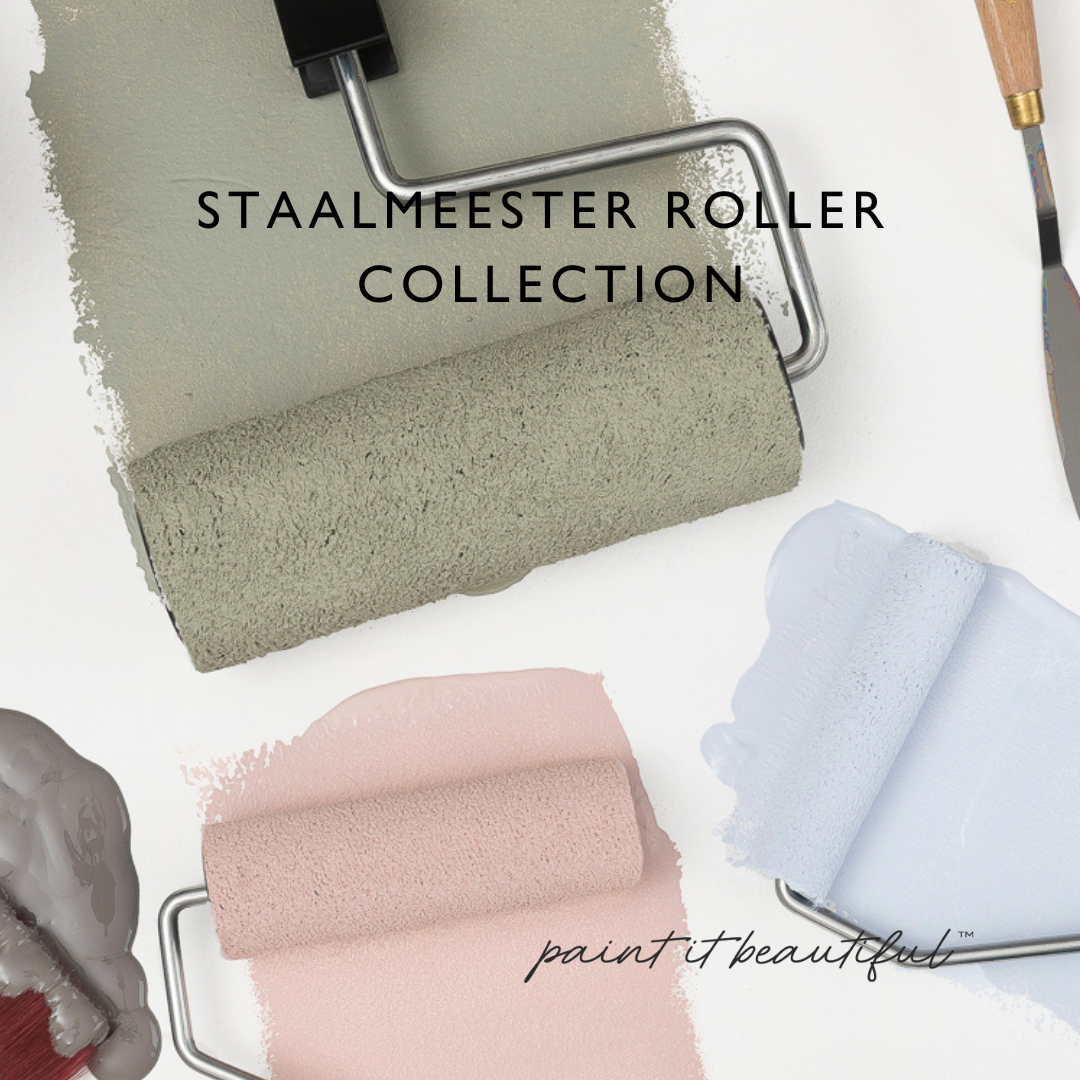
How to clean your roller
You have invested in high-quality paint and tools for a great painting experience, so here are our top tips on the best way to look after and clean your rollers.
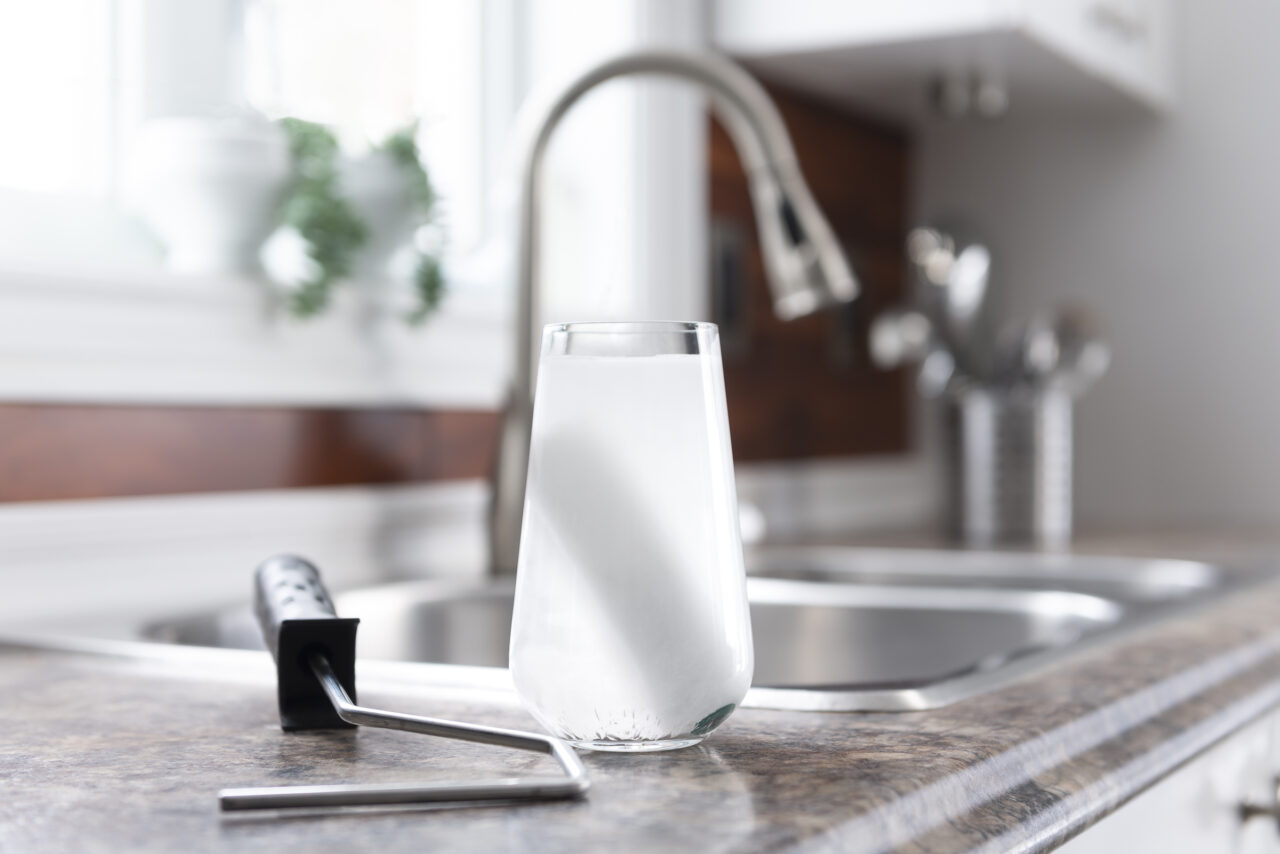
First, remove as much excess paint and pop the Staalmeester rollers into water. This will help loosen the paint deep in the nap. This can stay in the water until you are ready to clean it. Some of the paint and mineral pigments will settle in the water.
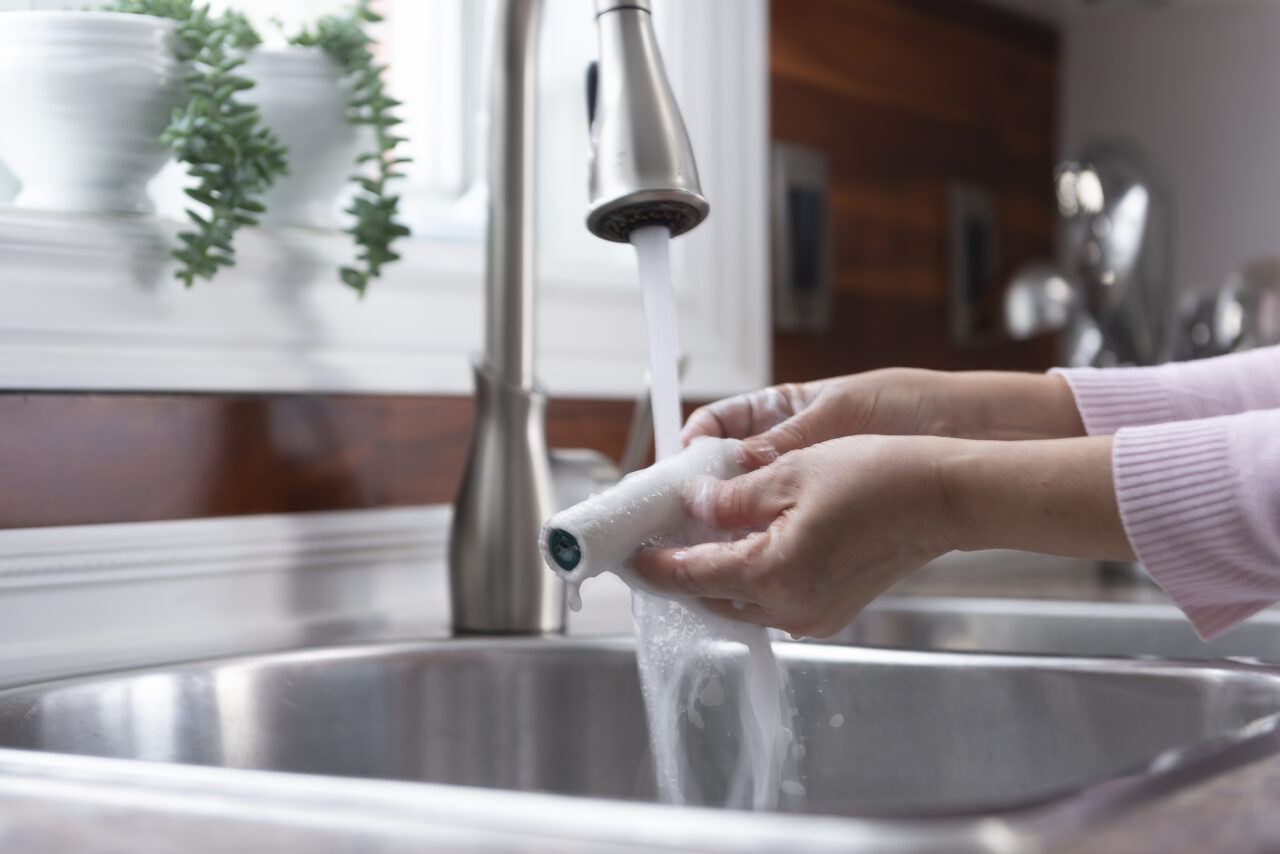
The next step is to thoroughly wash the roller under running water. We recommend using a pea sized amount of our Brush Soap. Massage the soap into the roller while running it under the tap.
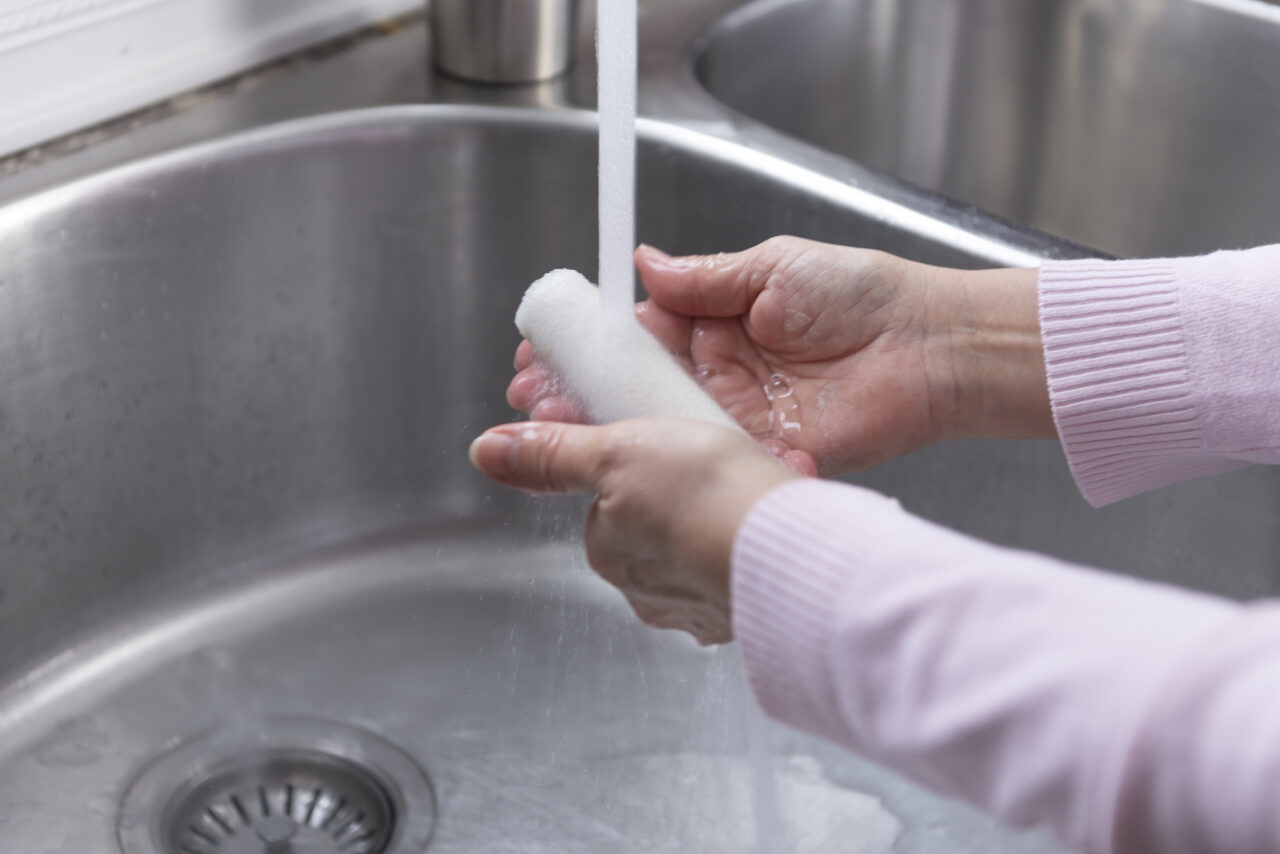
Repeat this until the water runs clear. Then shake the excess water off and allow to dry. When your roller is dry give it a fluff to get the nap even and store in a dry area. You are ready for your next paint project!
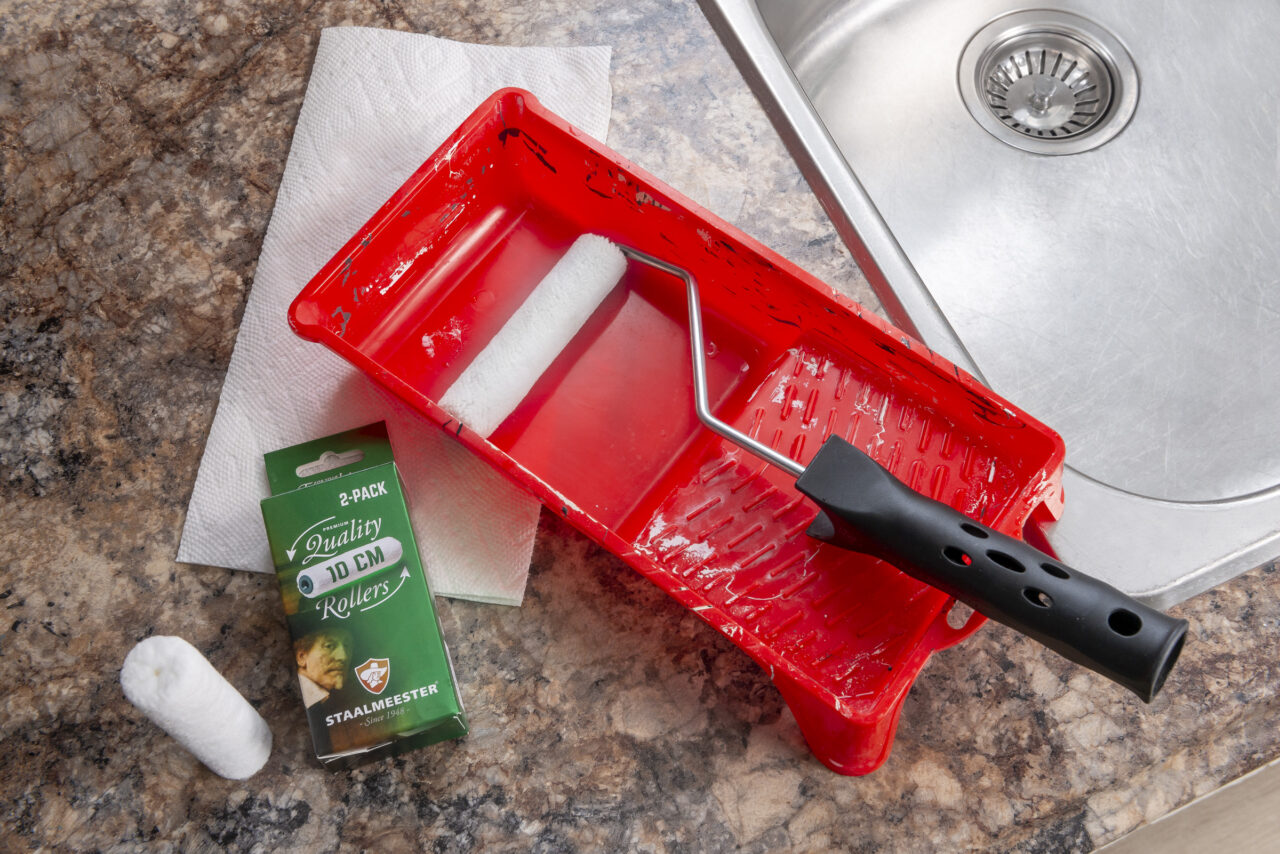
If looked after Stallmeester rollers can last a very long time. You should be able to get at least 15/20 projects from each roller! That is a testament to quality craftsmanship.


