Ever wondered how to upcycle a dresser? Custom furniture is definitely making a statement in the interior design world. Especially when it comes to smaller homes that sometimes have weird, quirky spaces where nothing standard seems to fit. You try bar carts and shelves to fit the space. Or maybe you like how that cute dresser looks there, but it’s not really functional. What you need is a custom piece of furniture that is both stylish AND functional, and the best way to get there is to upcycle what you have!
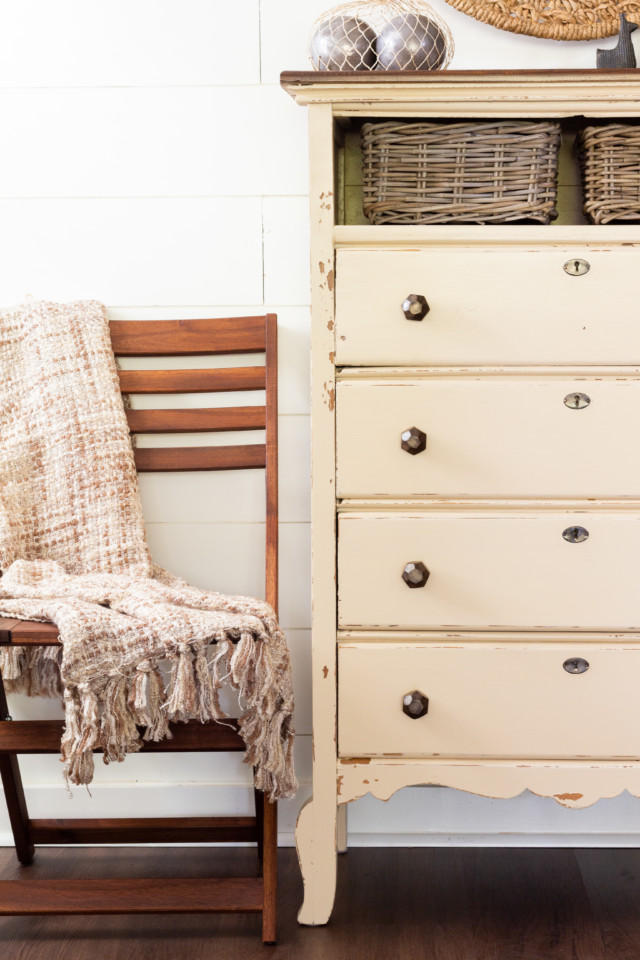
In this tutorial, we will show you how to pick the right piece to upcycle into a media console with storage. Here is a list of supplies you will need:
Supplies Used
- Furniture piece of your choice
- Wood filler/Bondo and a putty knife
- ½ inch Plywood sheet cut to size
- Fusion TSP Solution
- Sandpaper (various grits)
- BIN Shellac Primer & Shellac Spray
- Fusion microfiber roller
- Staalmeester Flat Brush
- Fusion Milk Paint Toasted Coconut
- Baskets for Storage (Optional)
Find the right piece to upcycle
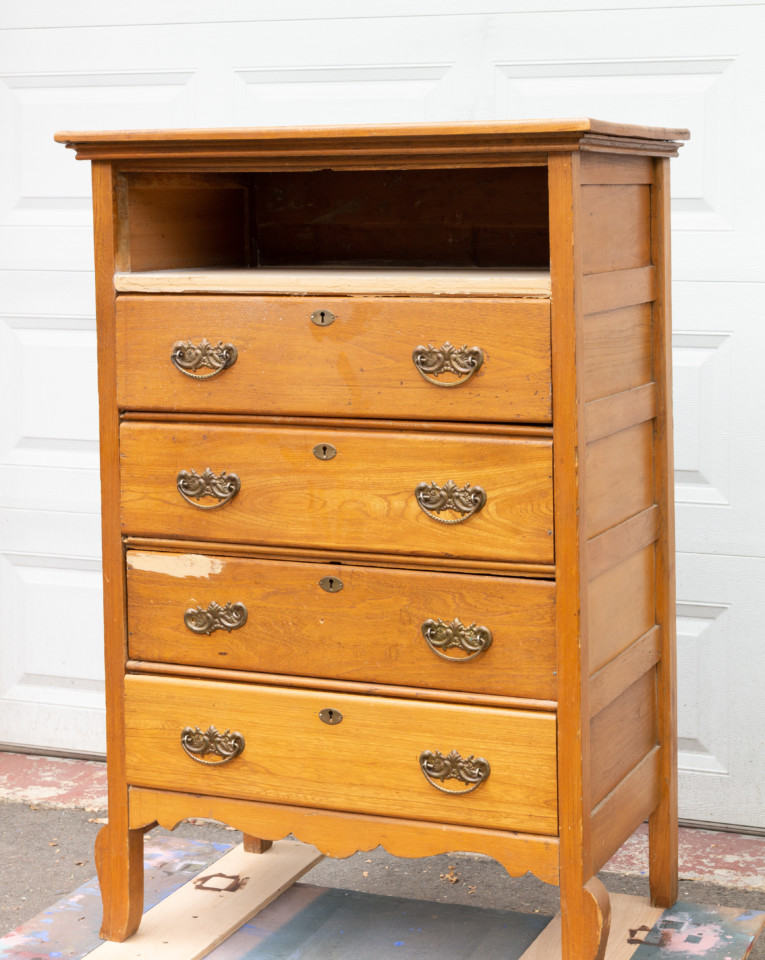
Find a piece of furniture that spits your space well without looking overcrowded or undersized. It could be anything from a dresser to an old cabinet. Media consoles require space for cable boxes or movie/game players, so anything with additional storage for DVDs, games, movies, photo albums, and books is a bonus. For this project, we choose a high chest of drawers. As it happens, this piece was missing a drawer so it was the perfect candidate for a media console.
Creating a shelf
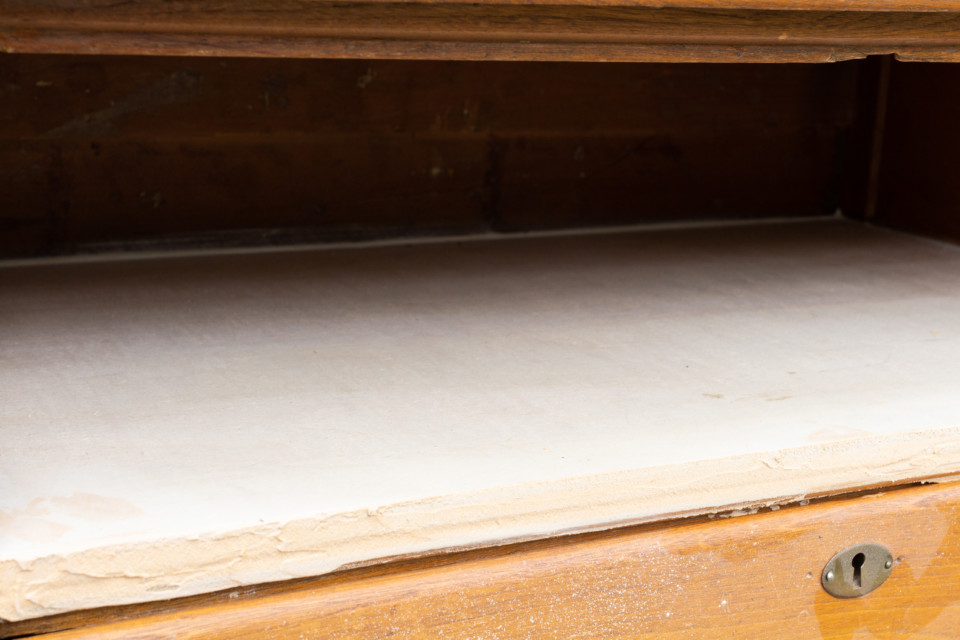
You will need ½ inch plywood (paint/stain ready) to act as your shelf. Choose a thicker wood you want to ensure whatever items you will be storing on that shelf will not cause the wood to sag over time. Don’t worry about using a saw to cut your piece. Most home improvement stores have smaller pieces of plywood ready to go or they can make the cuts for you if you tell them what size you need.
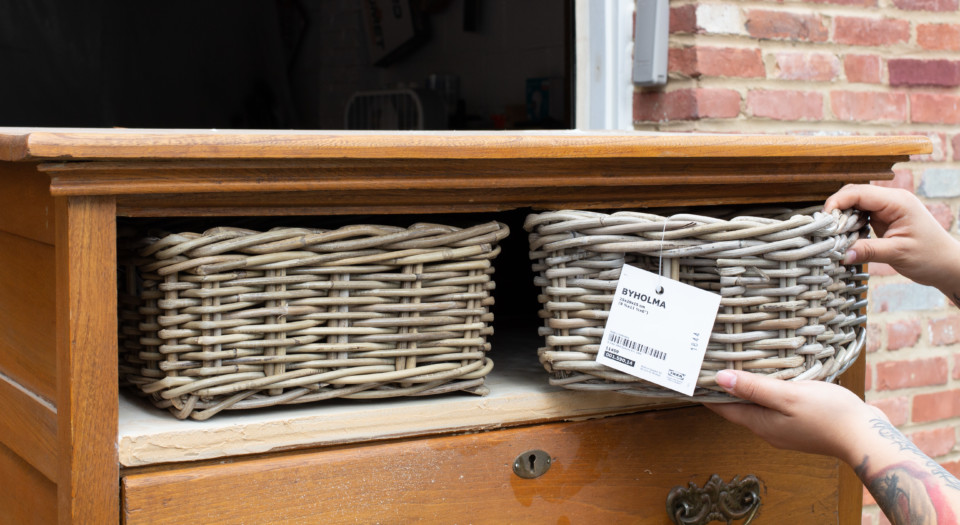
You also have the option to use the shelf for basket storage. Smaller baskets from thrift stores or IKEA are great for spaces like this.
Prep your piece for Milk Paint
Next, carefully remove your hardware if you plan to reuse them. Store them in plastic bag with the original screws or bolts to keep from having to source new hardware.
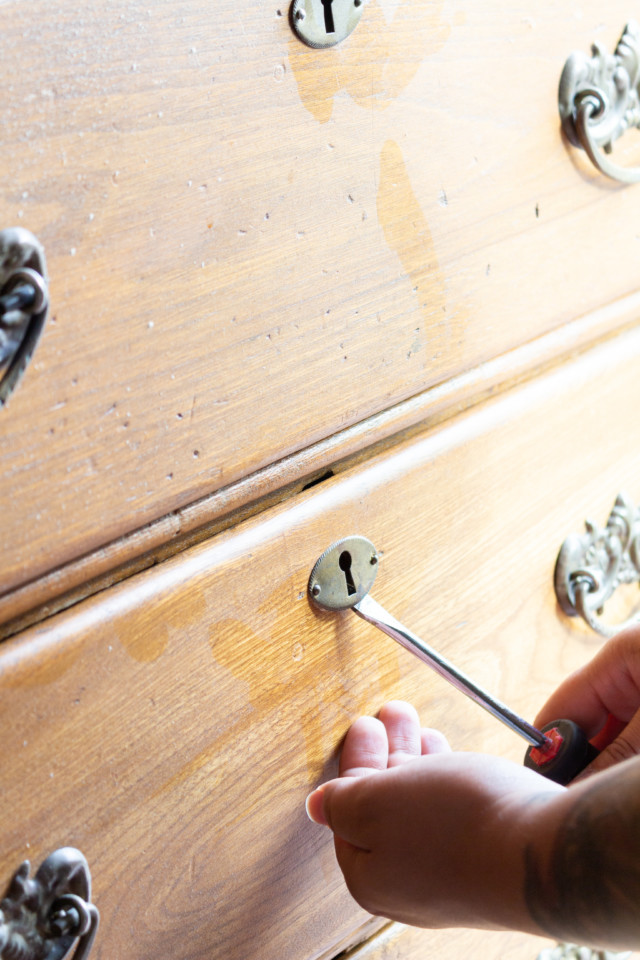
All good furniture prep starts with a good cleaning. Use a Fusion TSP solution to degrease and wipe away any residual oils or dirt from your piece. Fusion TSP is great because it is non-toxic, with no odour and no rinse is required.
After your piece has been cleaned, asses for any repairs. Since we planned on replacing some of the hardware we used a wood filler to plug old hardware holes and excessive gouges and dings. We also used it to hide the seams on the shelf. After your wood filler has dried, use an orbital sander to sand the filler flat so you have a smooth surface to paint.
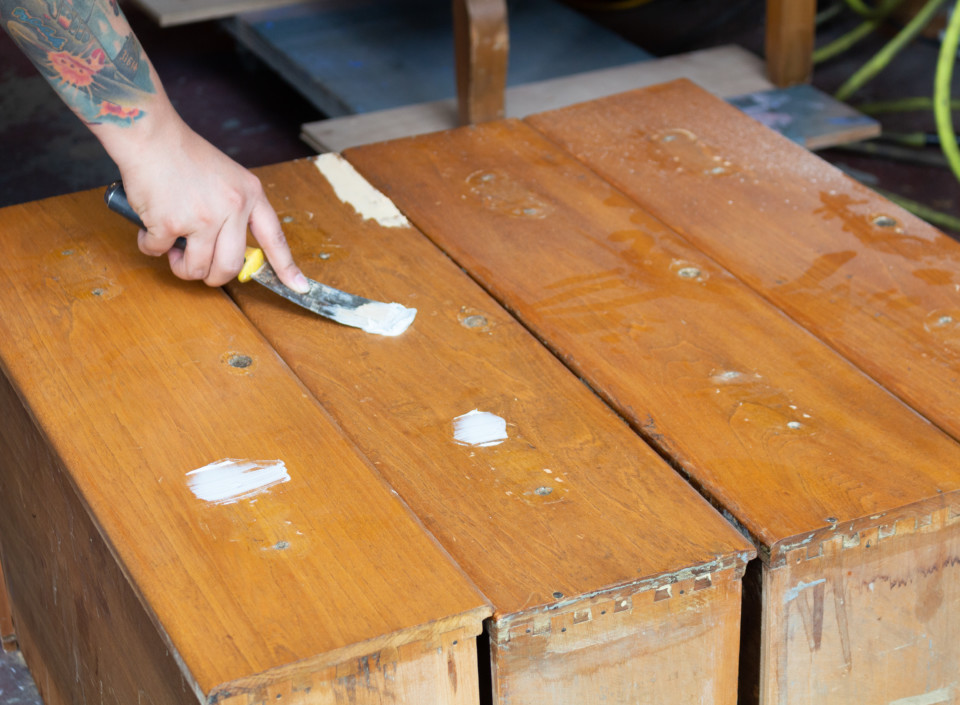
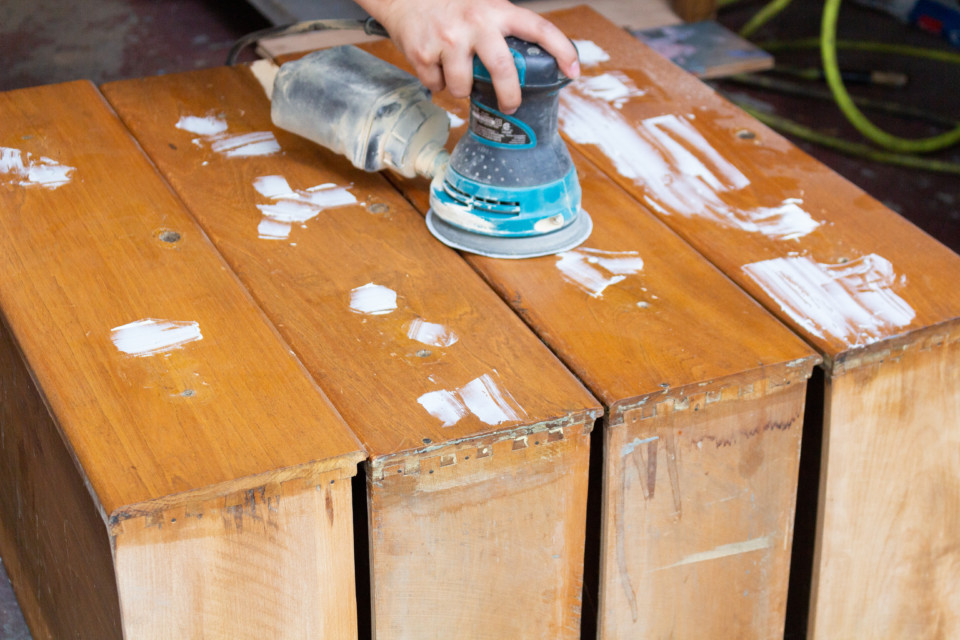
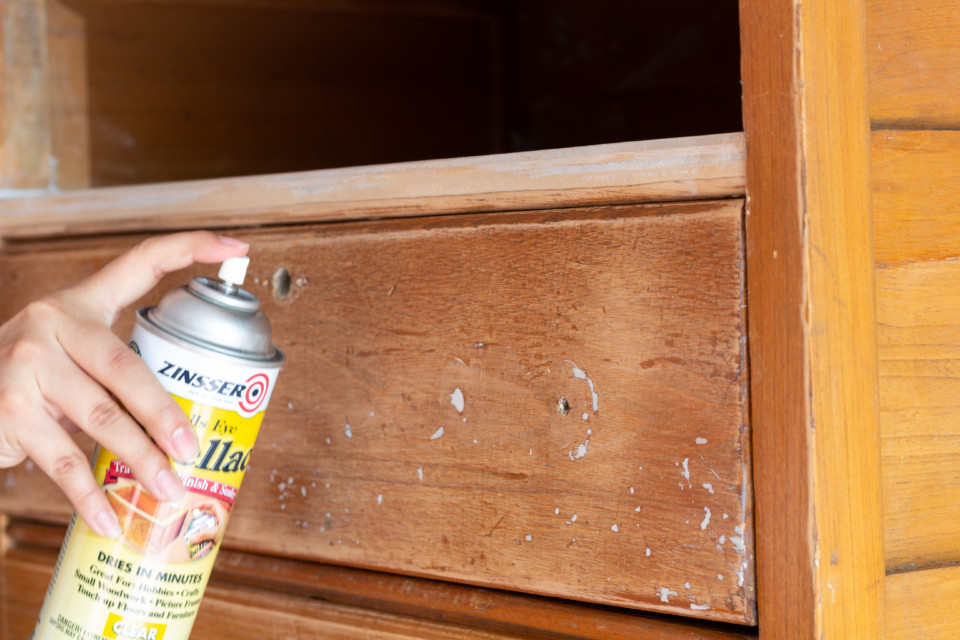
This next step is optional, though highly recommended. Sometimes wood filler texture contrasts with the original texture of the furniture. We recommend adding a thin layer of shellac to provide an even surface for the paint so you don’t see the filled hardware holes. Don’t forget to scuff the shellac with 220 grit paper so your paint will stick.
How to upcycle a dresser
Now we are ready for paint! We used the Fusion Micro Fiber roller to apply paint to the shelf and interior portion of the dresser. The roller makes it easy to get into spaces a paintbrush can’t and it holds paint really well. We only used two coats of paint for full coverage of the interior.
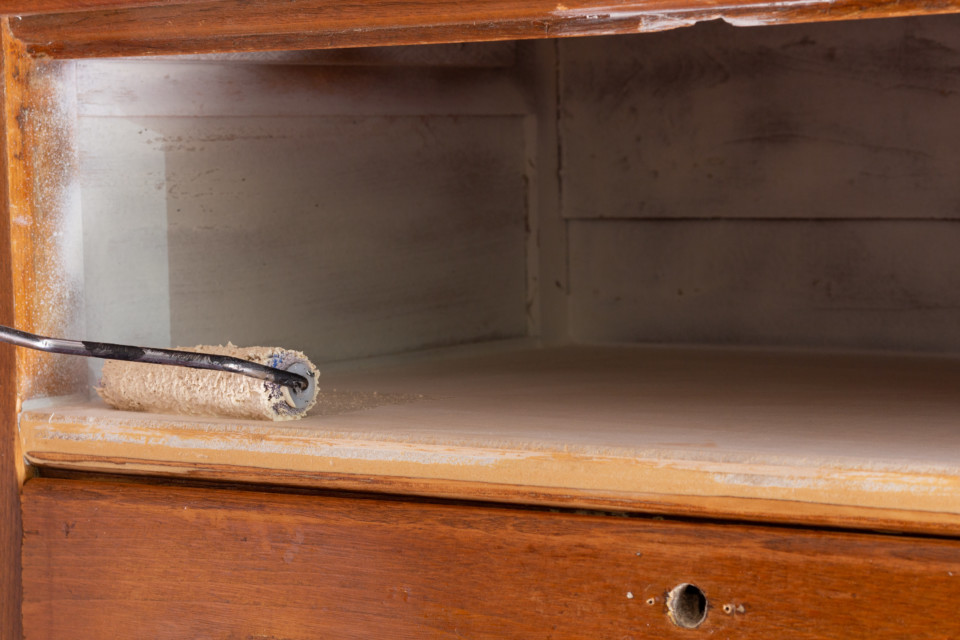
The fun part about custom furniture is definitely picking a paint colour. For this piece, we wanted to choose a creamy neutral that would pair wonderfully with a variety of colours. We picked Fusion Milk Paint’s “Toasted Coconut” as the base colour of this piece.
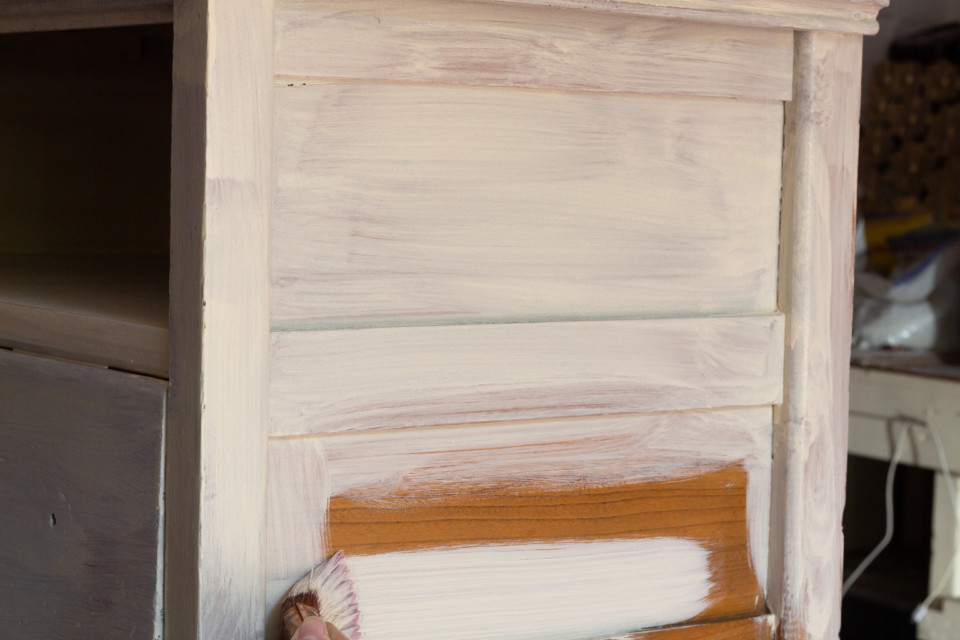
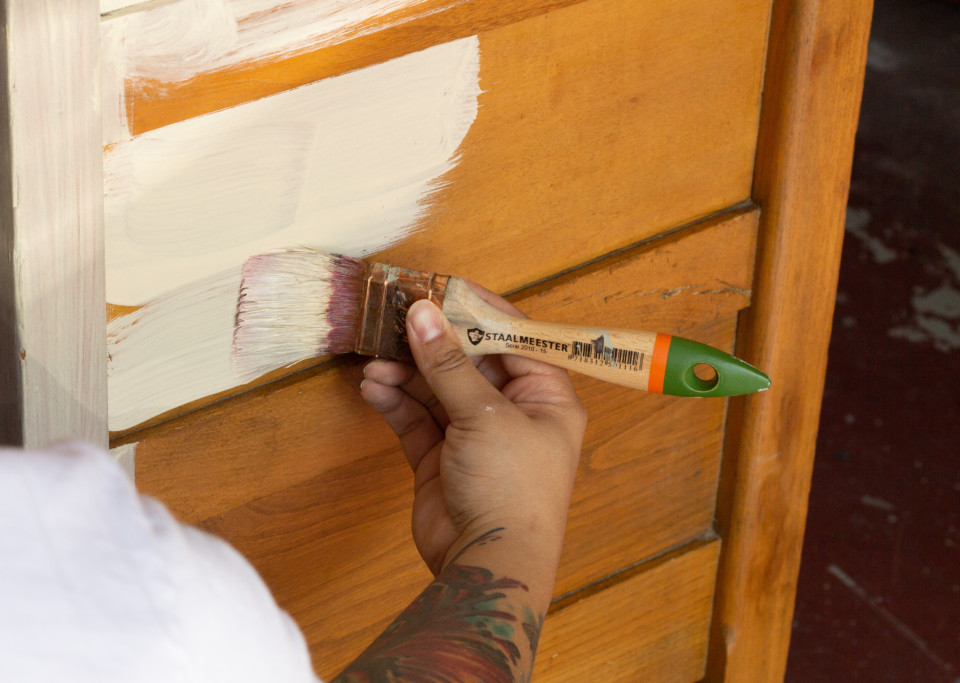
We like to use the roller on larger flatter surfaces, and the Staalmeester Flat Brush for corners and grooves. This brush is wonderful for surfaces that have size panels like these. It also holds paint extremely well and leaves almost no brush strokes. You can see here how it brings out the beautiful buttermilk cream colour of Toasted Coconut.
Look out for some chipping! It’s a quality of milk paint we love when we want an aged or distressed finish, so if you see the chips, just use a scraper to remove them. The more coats of paint you add, the more chipping you can get.
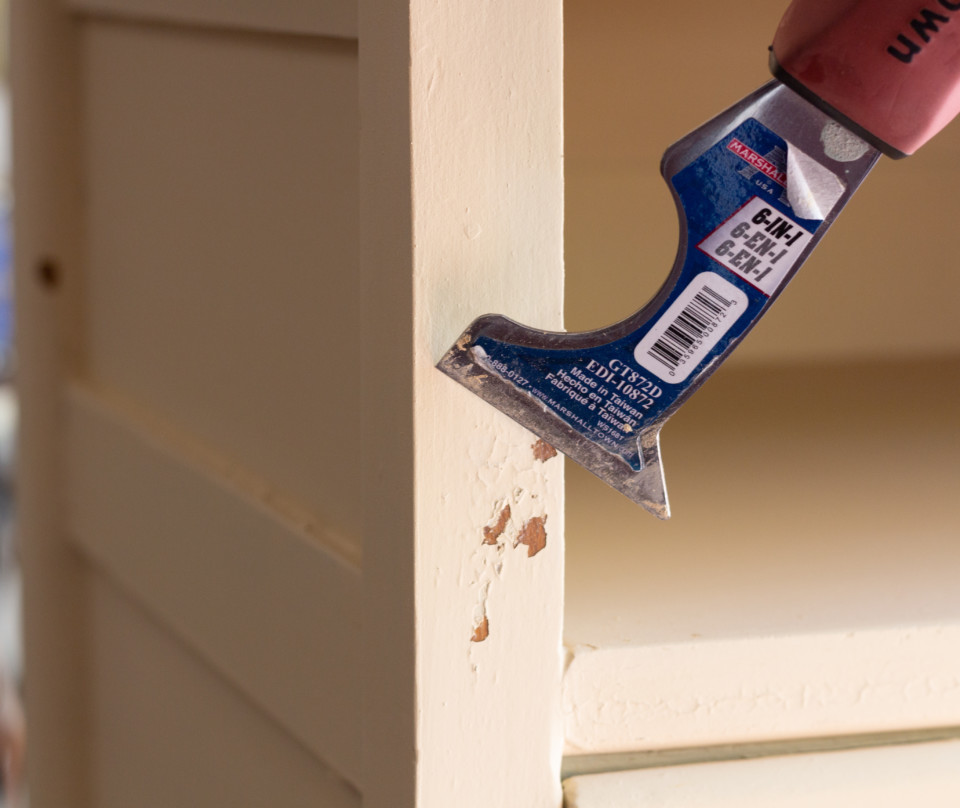
If chipping is not your thing, Add a bonding agent to your first coat of Milk Paint. For this rustic look, we kept the chippyness and crazing for authenticity.
Accessorise
Now that all the hard work is done, your piece is ready for use! Get it into your space to visualize how you will use it. Will there be baskets or books in the shelf? Will you set your TV on top or mount it just above? The possibilities are endless!
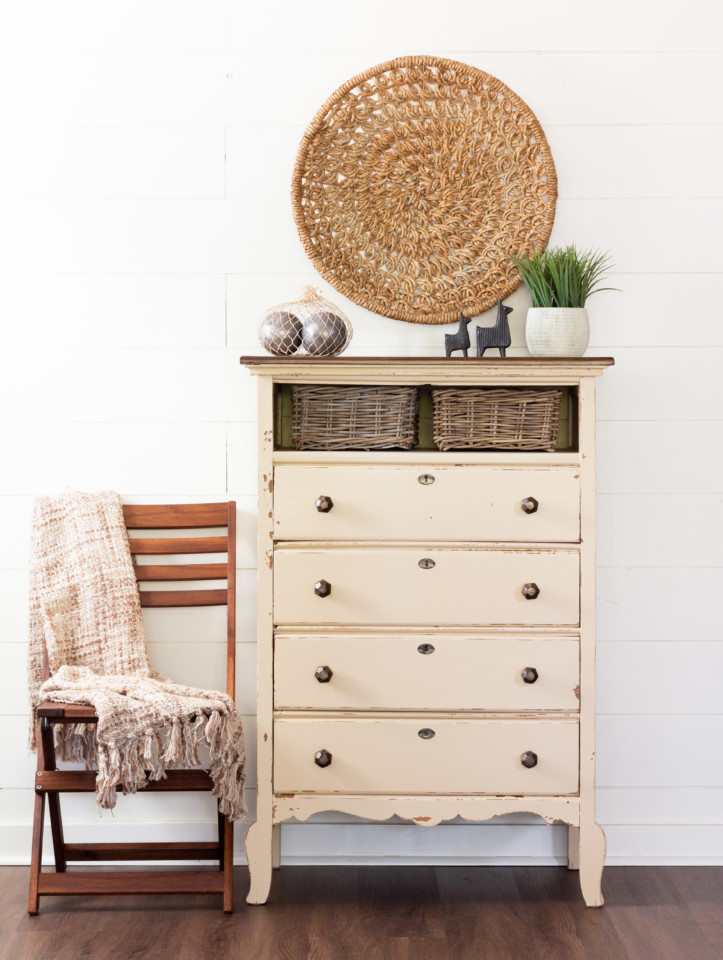
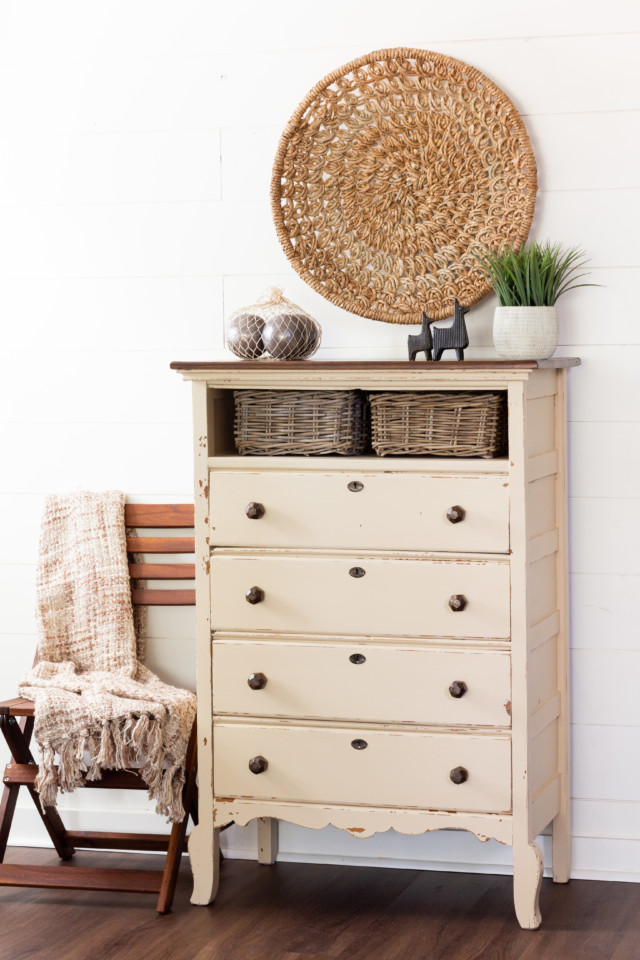
This piece is so versatile, you could even repurpose its use to go from media console to bar cart or mudroom storage! With the option to add a wine rack in the shelf space or add larger baskets as a catchall, you can move this piece from room to room and find a unique use for it in every space!

Adding unique hardware is also another way to update your dresser. We love the rustic combination of the chippy paint, paired with a contemporary neutral colour like Toasted Coconut. Adding some wood and metallic elements to the piece is another way to make it more modern and tie the best of 3-worlds into one functional piece!
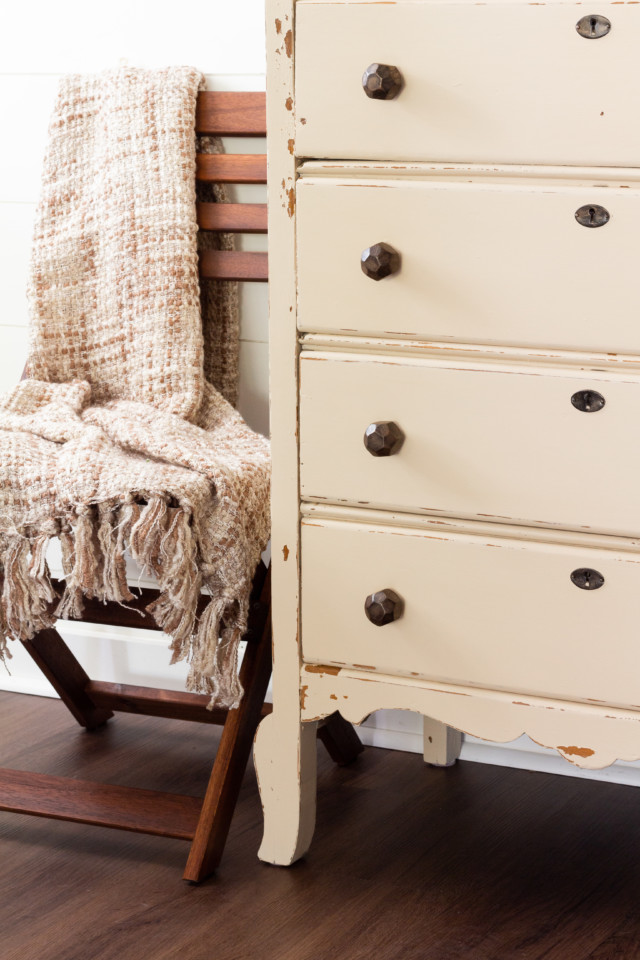
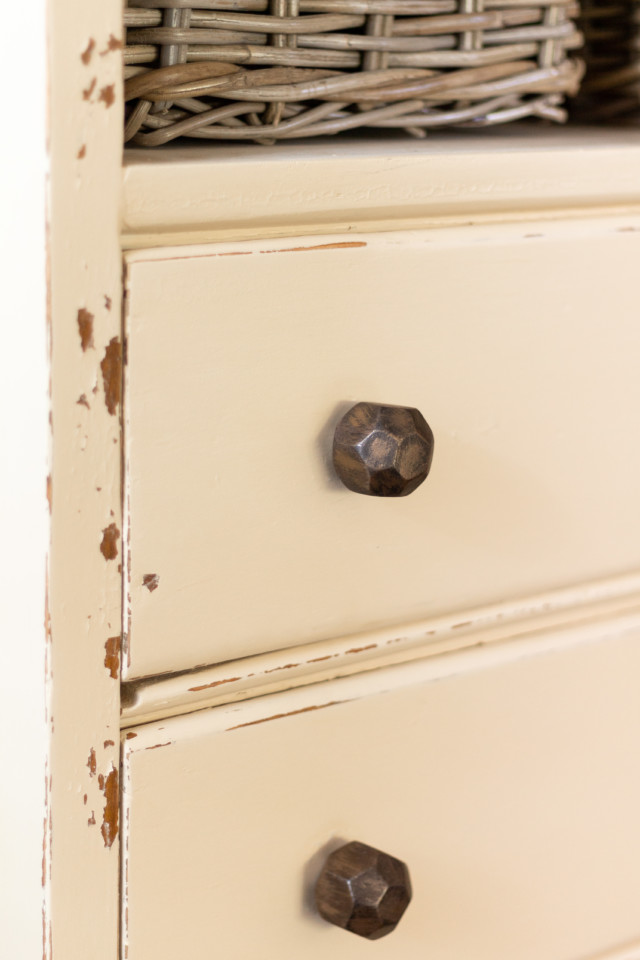
Wicker baskets are the perfect addition to the shelf space. Their woodsy elements tie in with the rustic look of the dresser and can serve many purposes for both storage and organization. These baskets can even fit into the drawers to keep your games and movies organized!
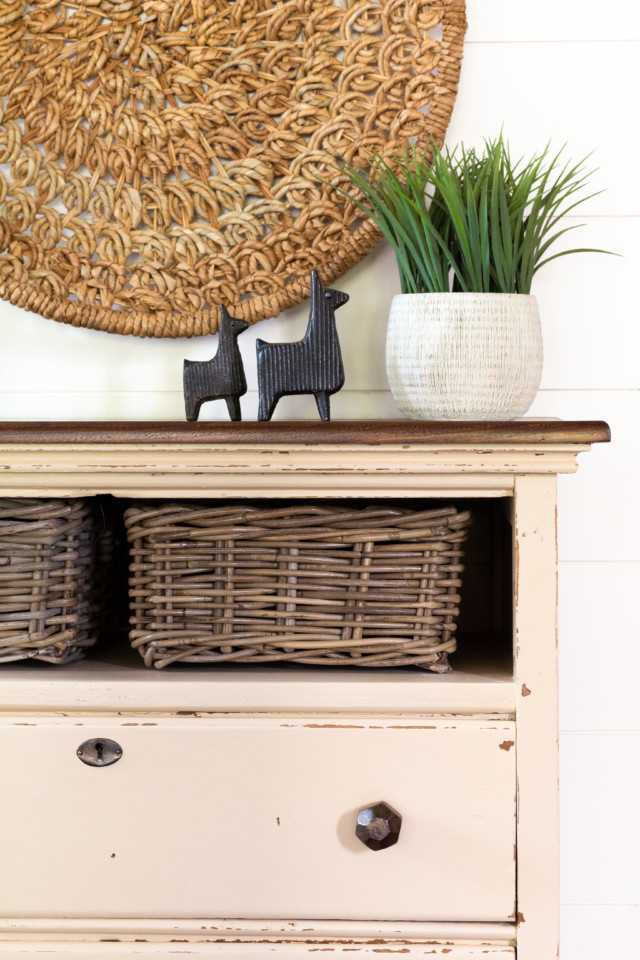
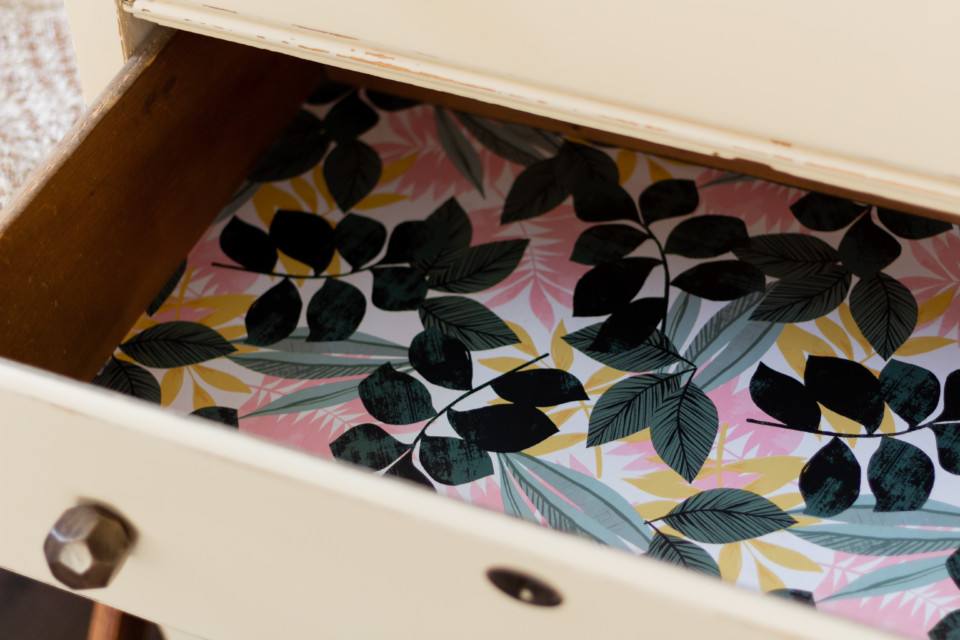
Adding cute paper to the drawers is another way to customize your pieces and can be a fun pop of colour!
Now you can sit back, relax and start enjoying your custom media centre! What was the last piece you upcycled for fun? We hope you enjoyed this tutorial on how to upcycle a dresser
Tell us about it in our Facebook group Paint It Beautiful


