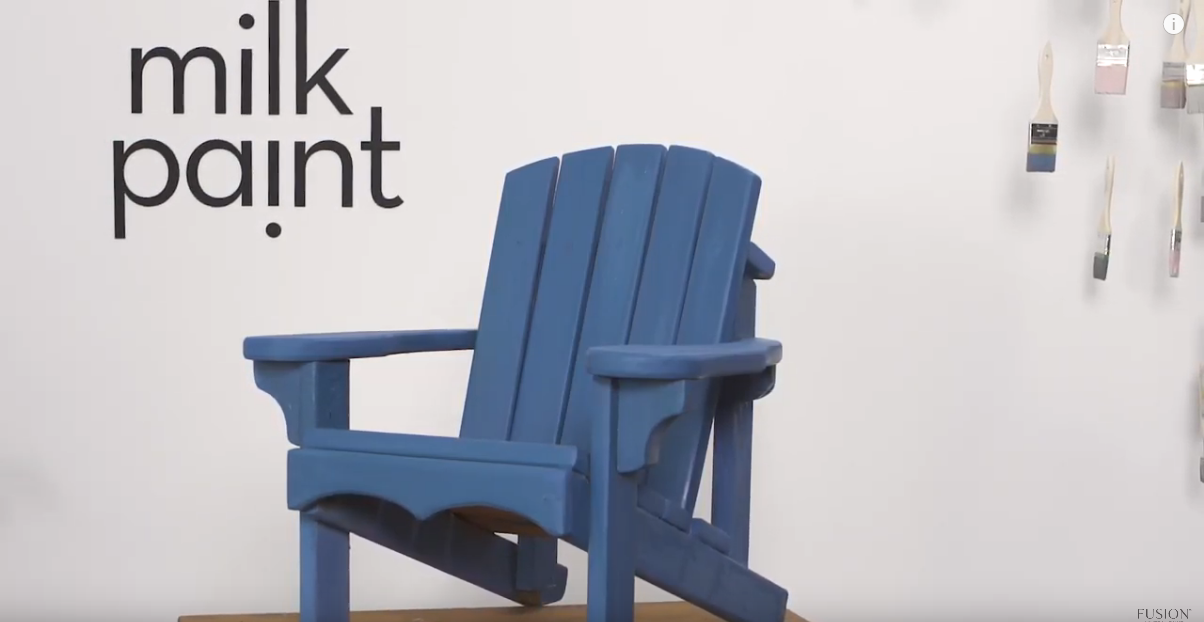
Are you looking to spruce up your outdoor space with a fresh coat of paint? Milk paint might be just what you need. Unlike traditional paints, milk paint is made from natural materials and is perfect for giving raw wood a beautiful, long-lasting finish. In this step-by-step guide, we’ll show you how to use milk paint to transform your cottage dock, poolside, or any other exterior project.
Prepping the Surface
Before you start painting, it’s important to properly prepare the surface. Raw bare wood is the best surface for milk paint, as it will cement itself to the wood and never chip or peel. To get started, give your wood a light sanding to remove any roughness or imperfections. Once your wood is smooth, you’re ready to start painting.
Going Bold with Colour
One of the great things about milk paint is that it comes in a range of vibrant colours. For this project, we’re using a muted blue-green called “Poolside,” which captures the ever-changing colours of a sunlit pool on a summer afternoon. It’s both calm and playful and is sure to make a statement in your outdoor space.
Using any brush you like, be liberal with your paint and cover the wood completely. As the paint dries, you may notice that the colour becomes lighter and chunkier. Don’t worry, this is normal and we’ll address it in the next step.
Finishing the Project in Your Outdoor Space
To protect your project and keep it looking its best, it’s important to add a top coat. We recommend using hemp oil, as it’s very easy and forgiving to work with. Simply apply the hemp oil liberally and remove the excess with a lint-free rag. This will revive the true vibrancy of the colour and ensure that your milk paint never chips or peels.
For a super smooth finish, give the surface a final light sanding. And that’s it – your outdoor space has been transformed with Milk Paint by Fusion! Whether you’re looking to add some colour to your cottage dock or create a playful poolside vibe, milk paint is a perfect choice.
Check out other Milk Paint Outdoor Space Updates:


