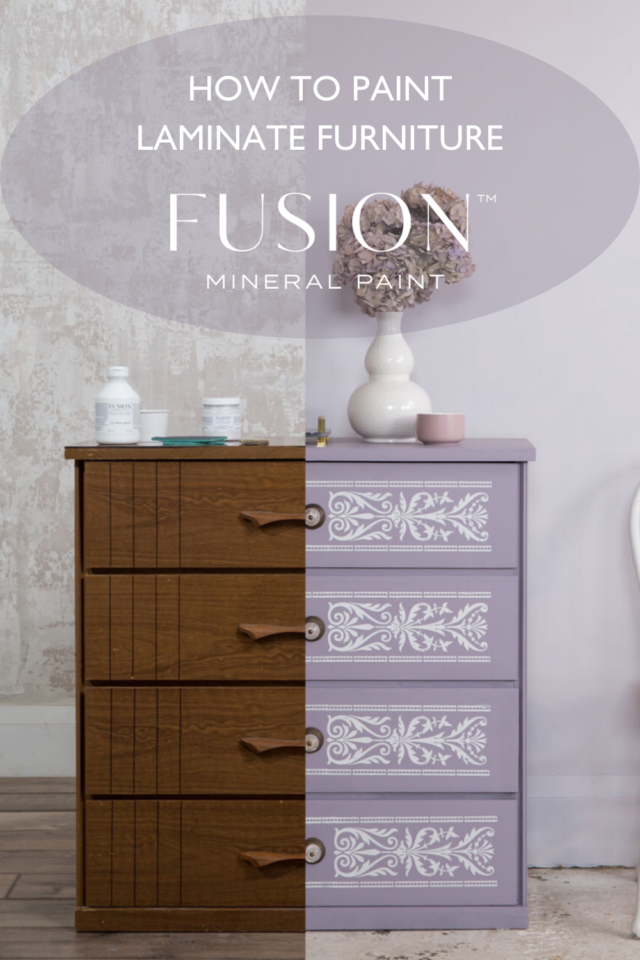
Laminate can be difficult to paint and that’s where Fusions Ultra Grip comes to the rescue. We’ve formulated our Ultra Grip to act as a bonding primer for super slick surfaces. This makes the impossible-to-paint, possible. Follow along step by step to see how to paint laminate furniture.
How to paint Laminate
Supplies for this project:
- Fusion TSP
- Flexible sanding pads
- Ultra Grip
- Good quality brush
- Fusion roller kit
- Divine Lavender (this colour has been retired)
- Wood putty
- Stencil
- Pearl Embossing paste

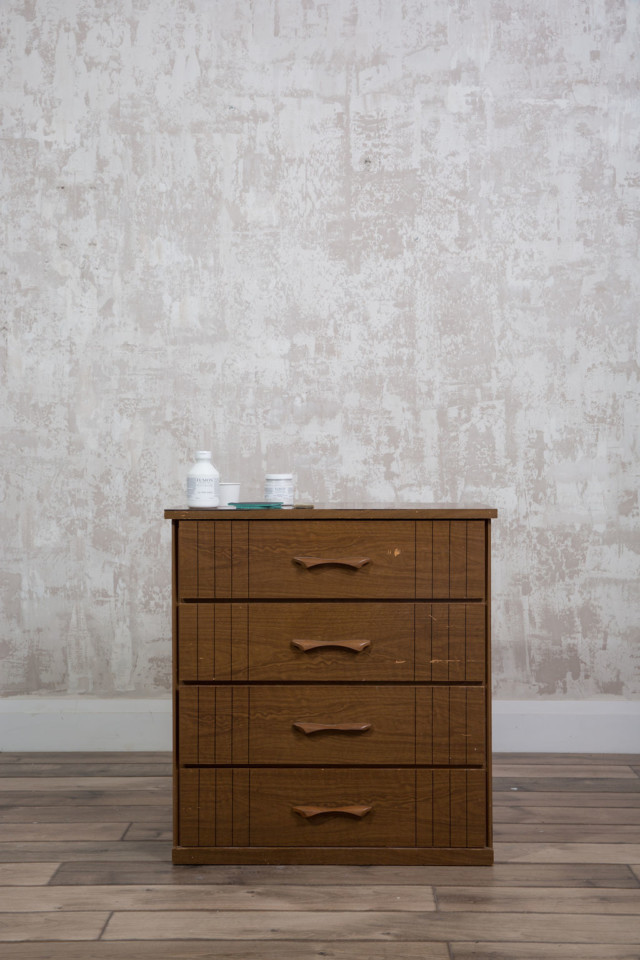
Preparing the laminate furniture.
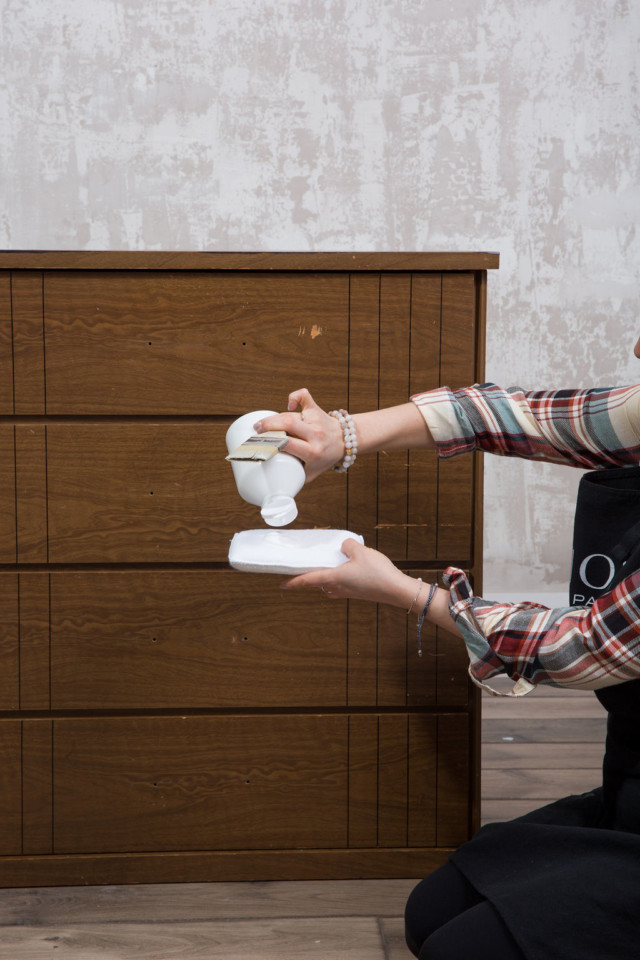
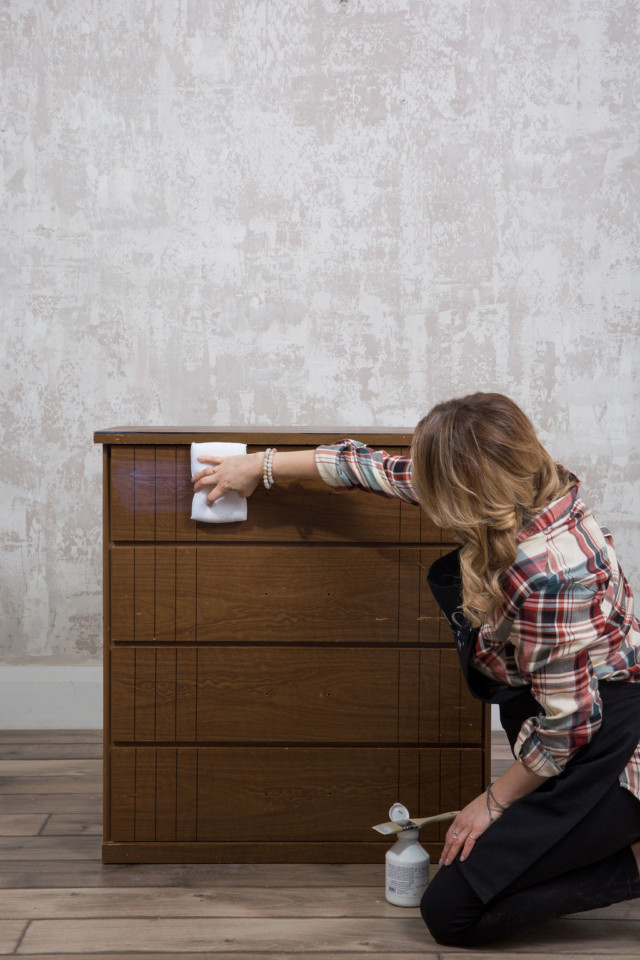
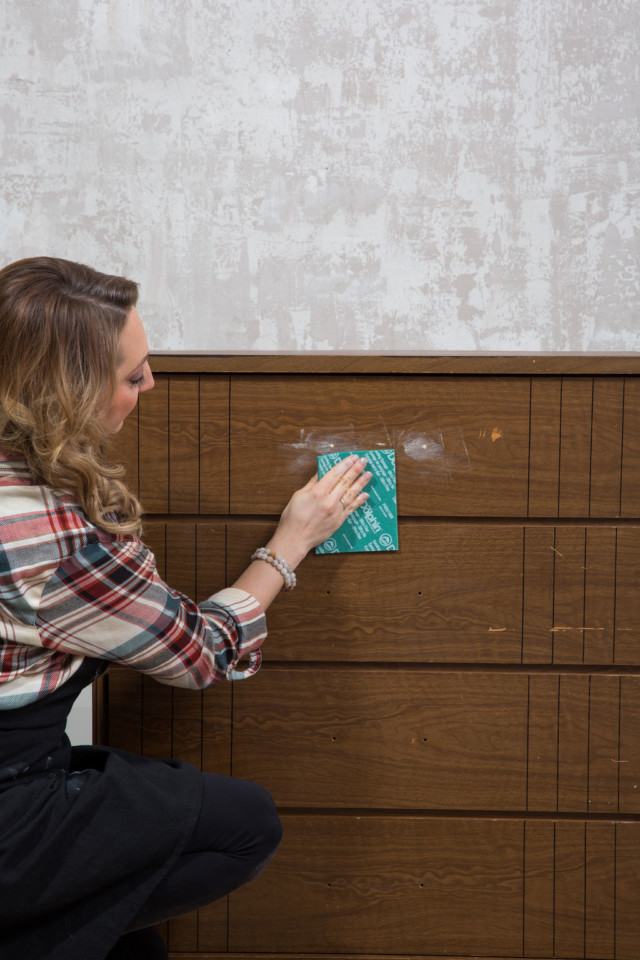
Prep the laminate by first cleaning with TSP and let dry, then scuff sand with 220 flexible sanding sponge and remove the dust. Apply a coat of Ultra Grip to the entire piece using a brush or even an applicator pad and leave for 12 hrs. To find out more about Ultra Grip click here.
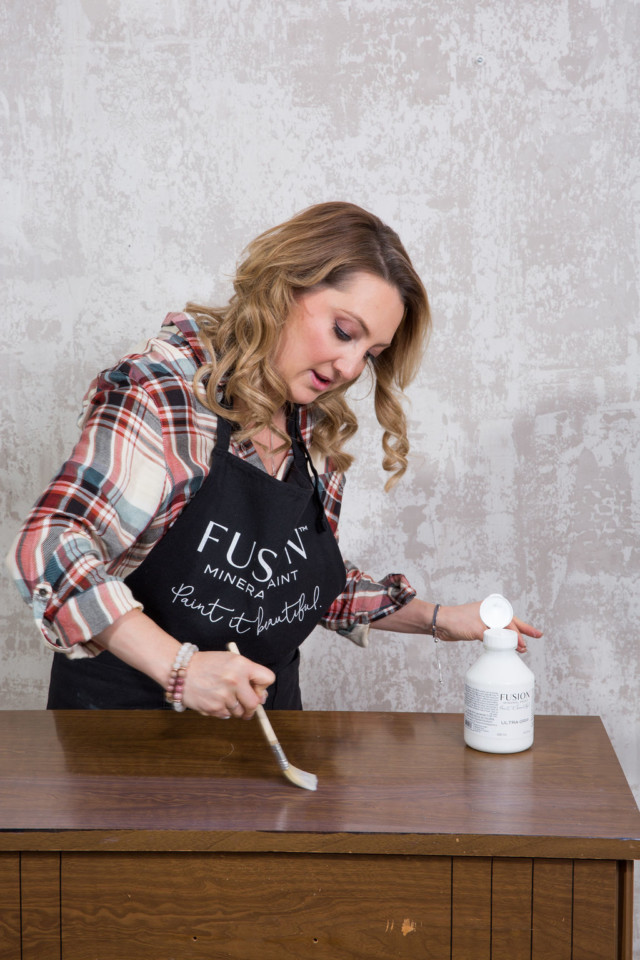
Ultra Grip goes on milky and dries clear, we strongly recommend applying it in thin coats. If applied too thick it can hold texture and you will see brush strokes. As an alternative to brushing you can use a wipe-on pad to apply smooth even coats of Ultra Grip.
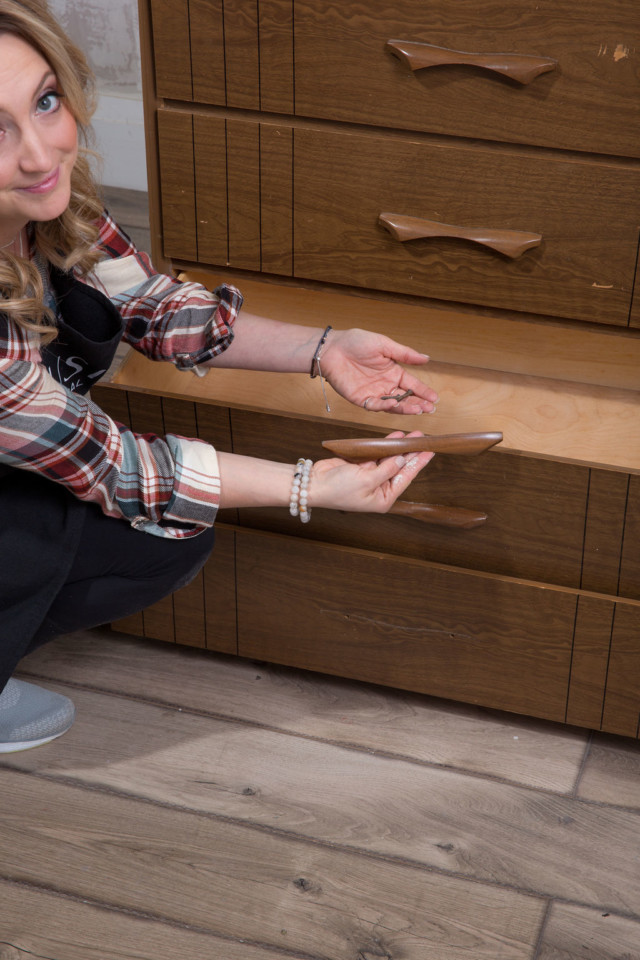
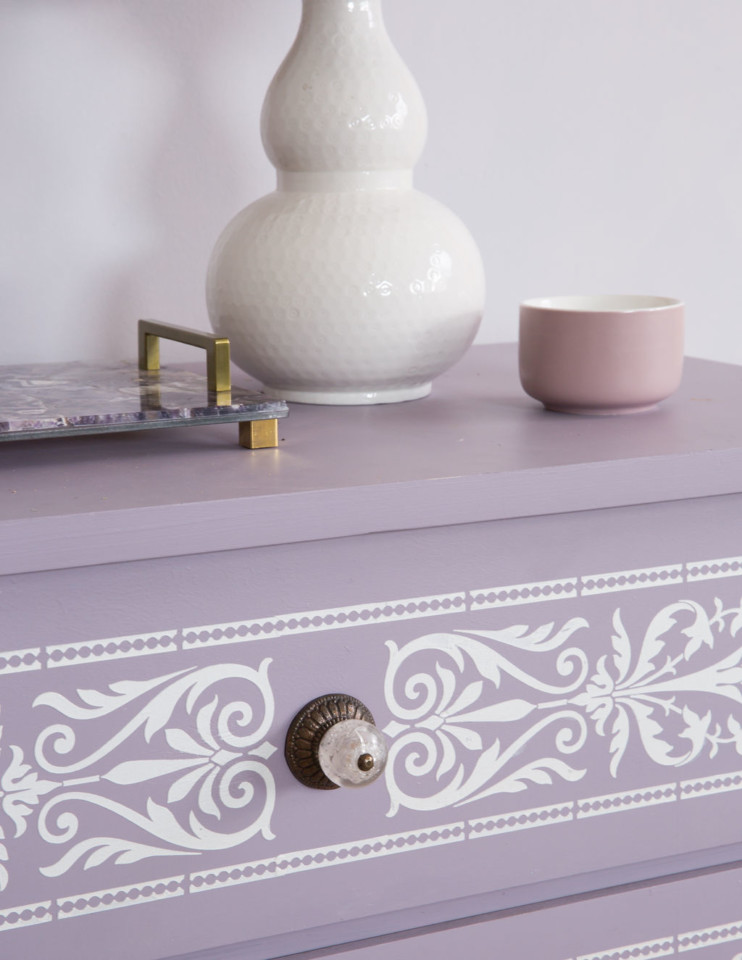
Updating old hardware
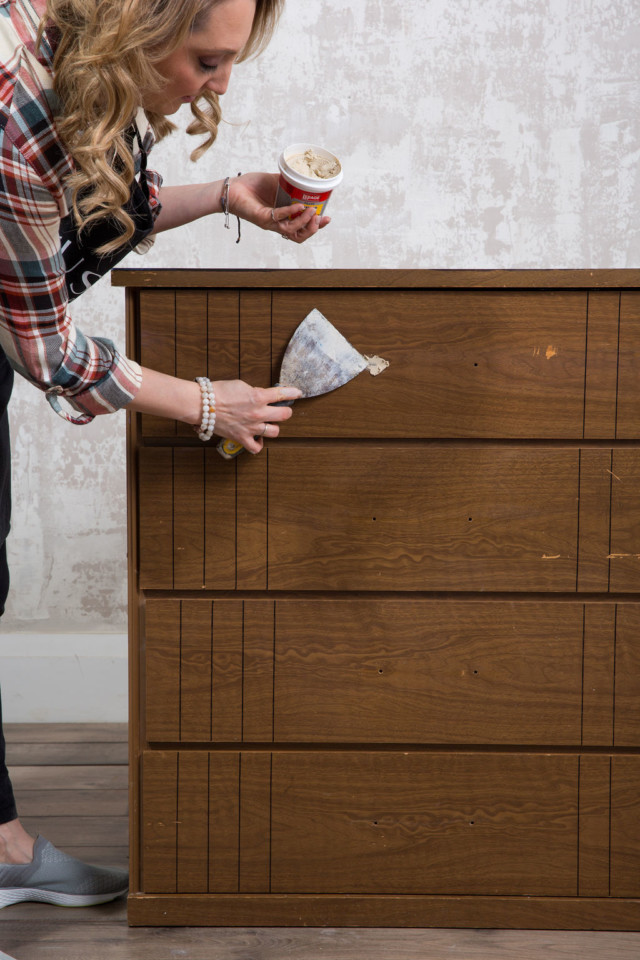
Remove the old hardware and use the wood putty to fill the old holes and then sand smooth and remove the dust.
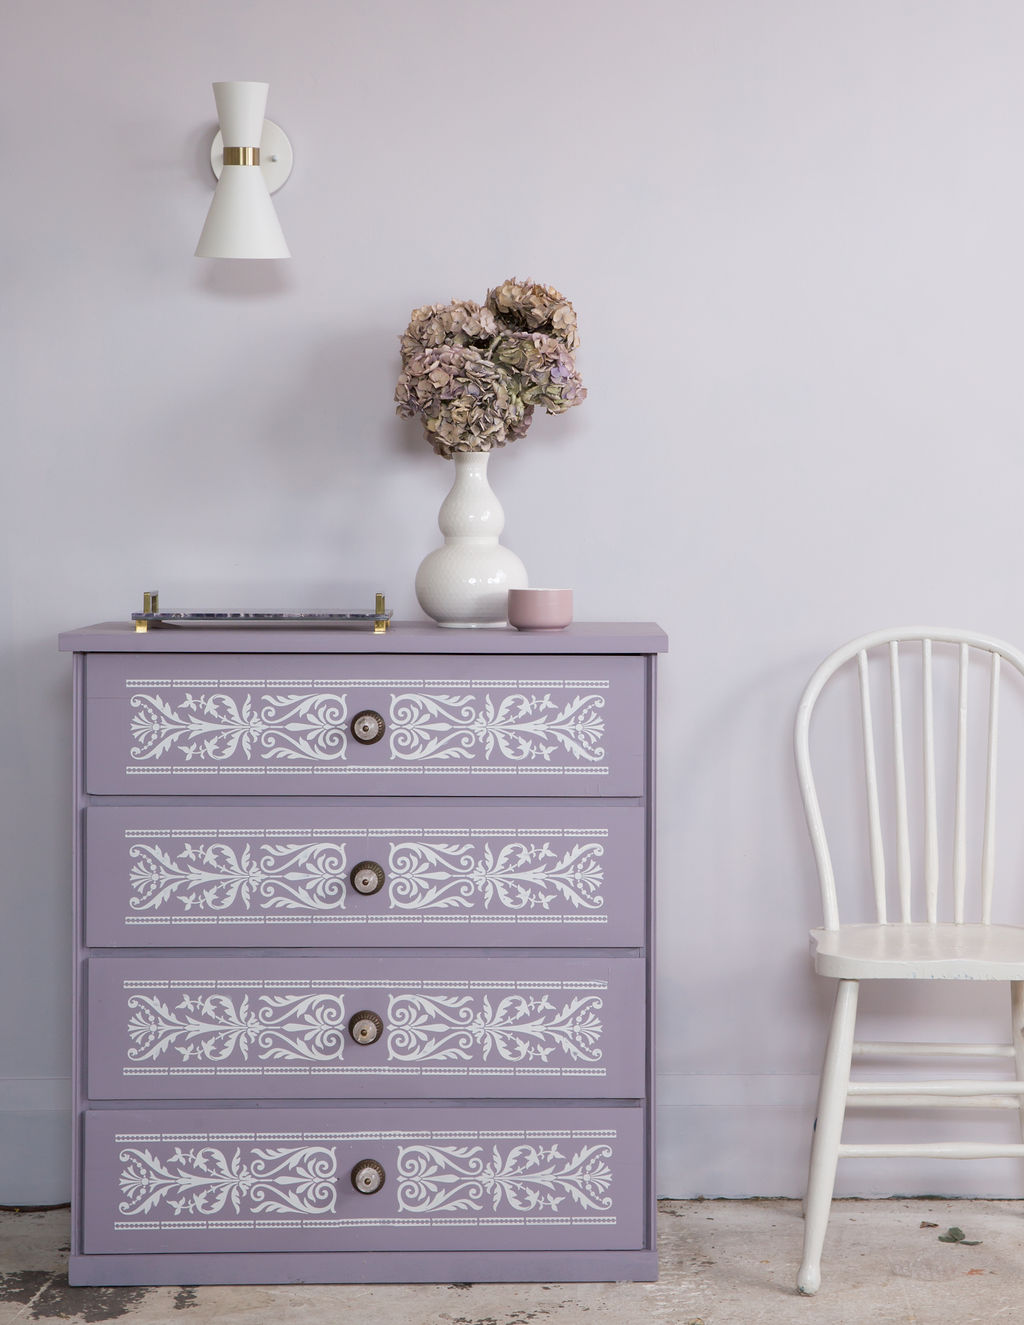
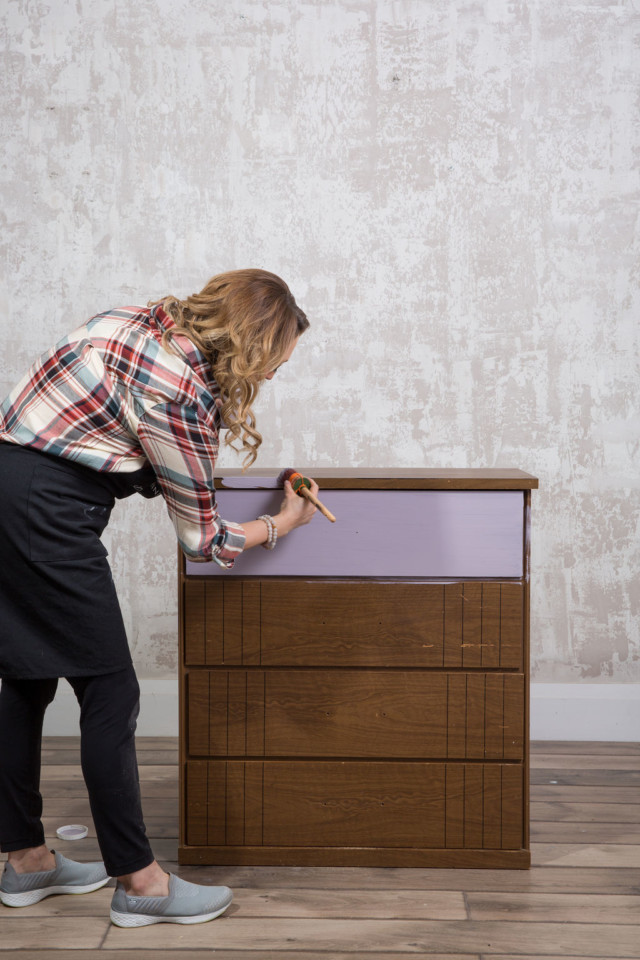
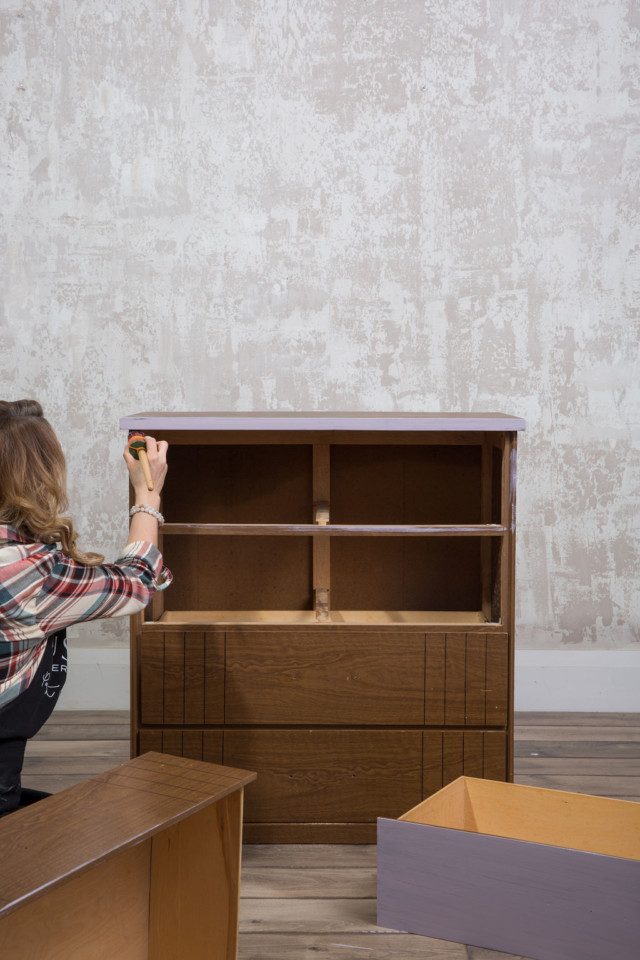
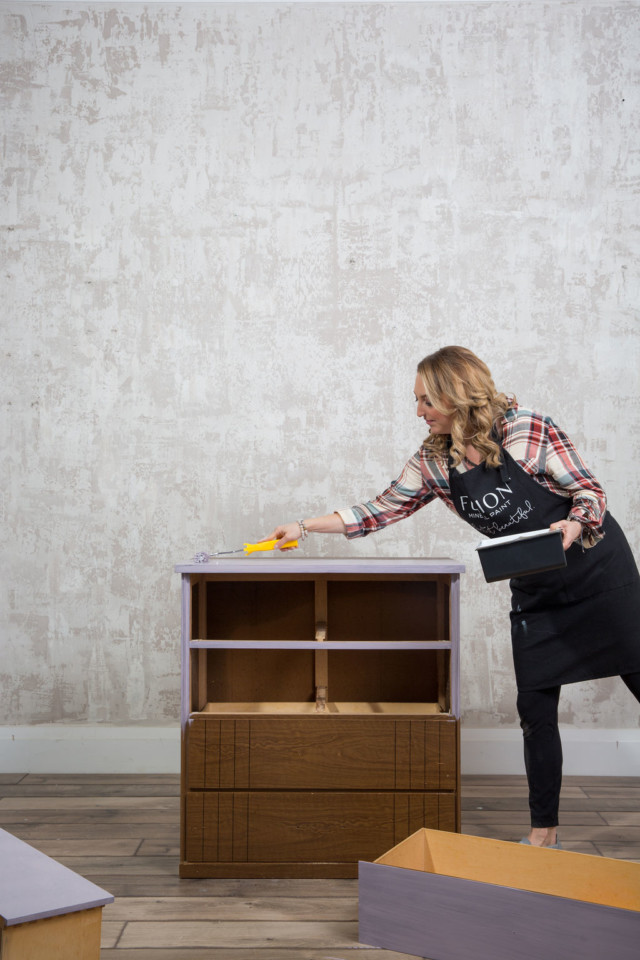
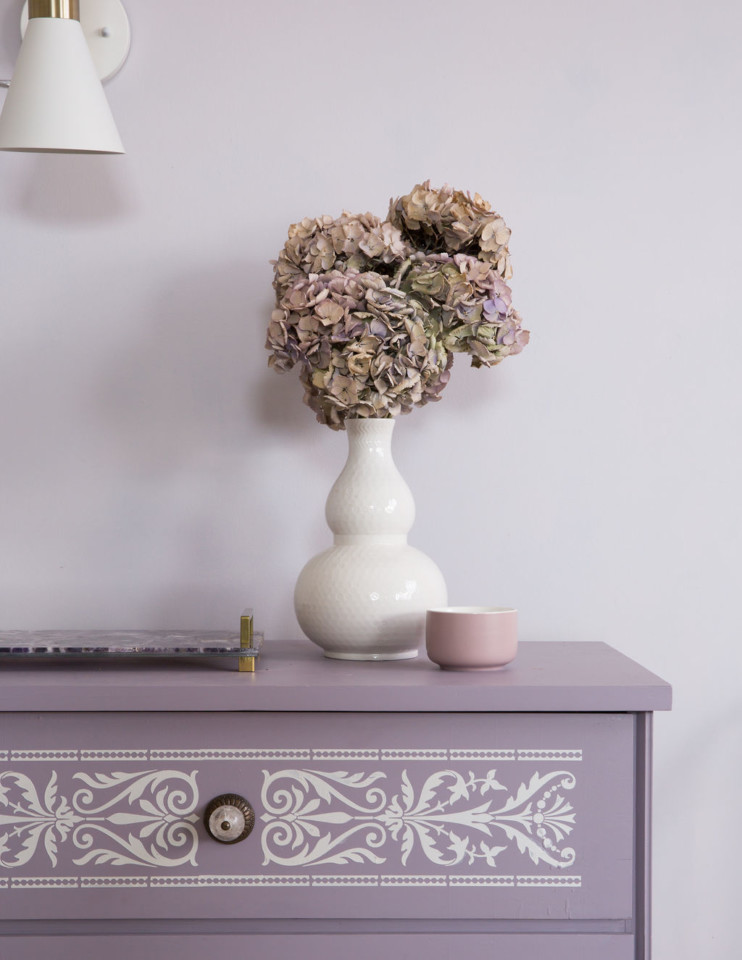
Painting the dresser
Apply 2 coats of paint using a brush and a roller for the larger flat surfaces.
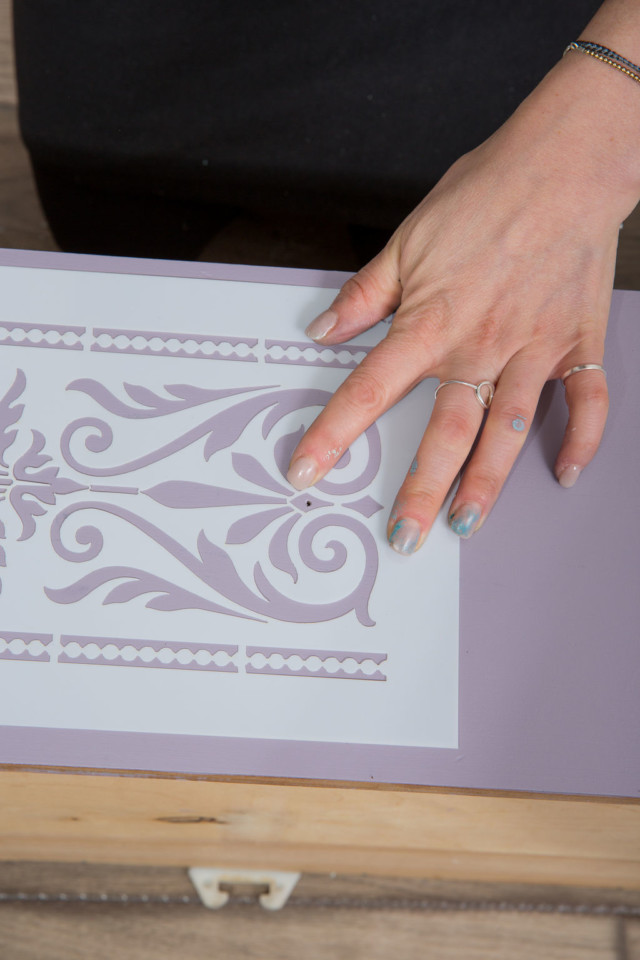
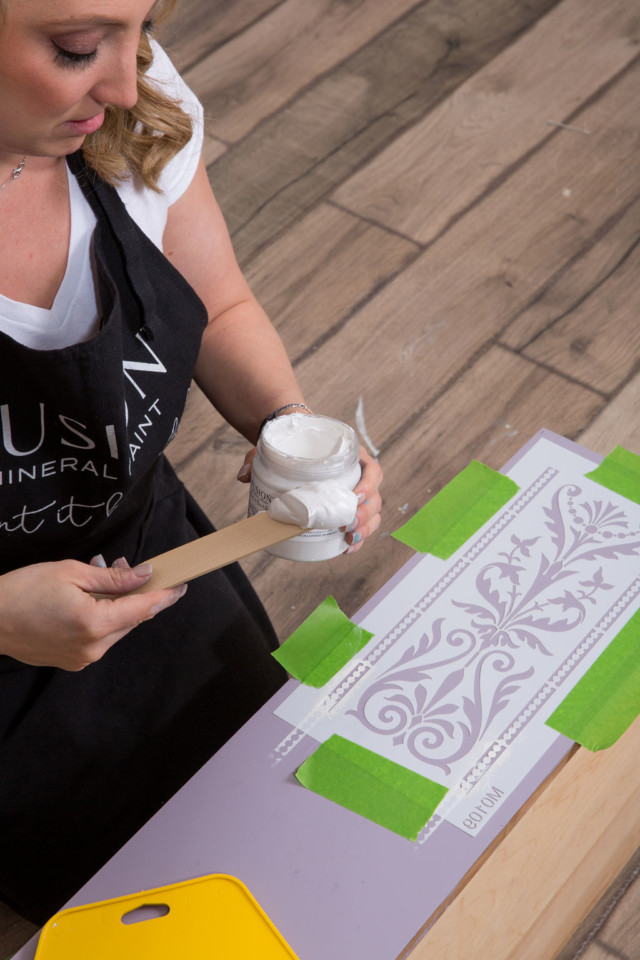
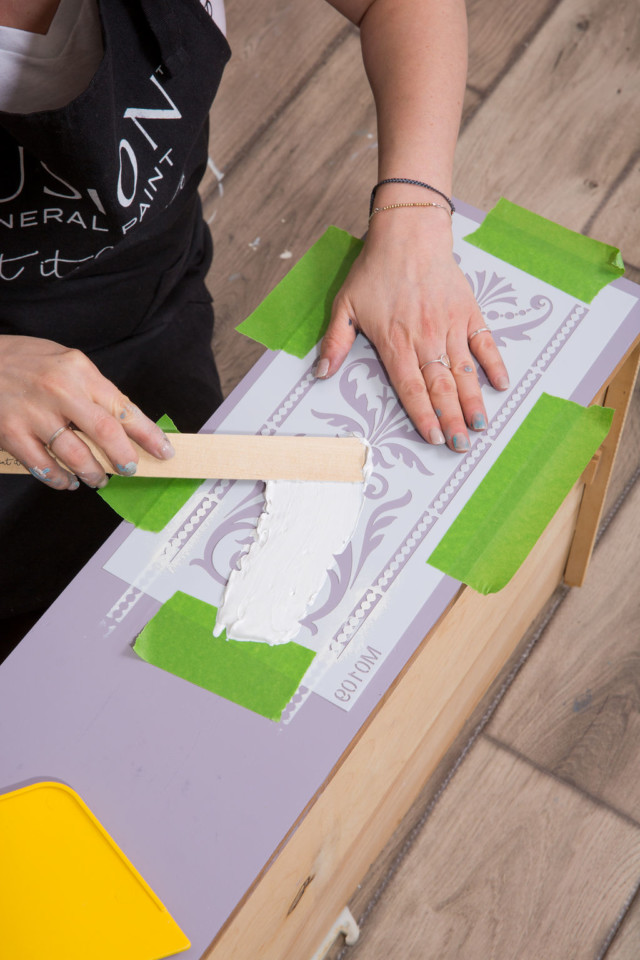
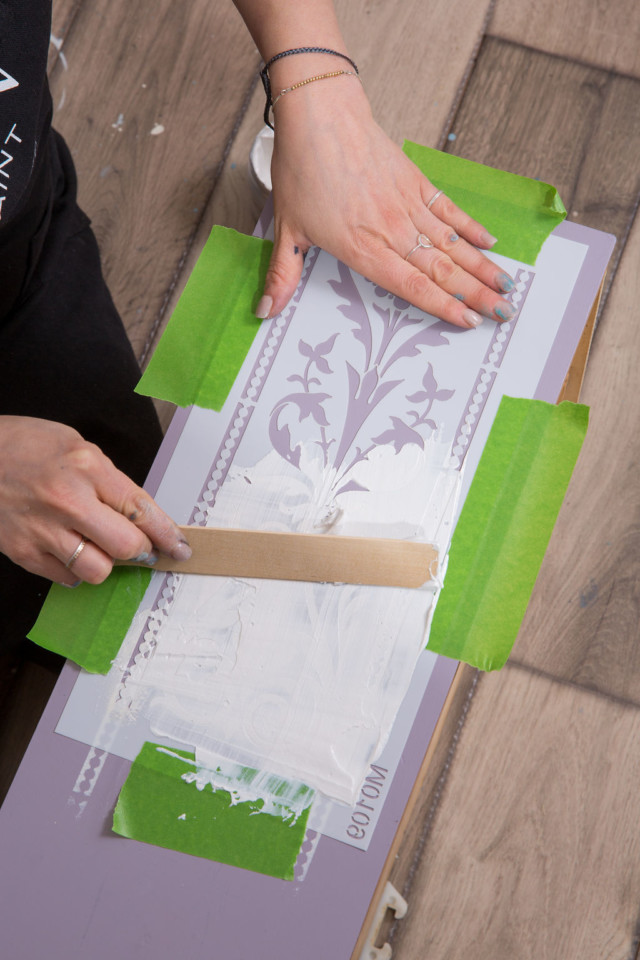
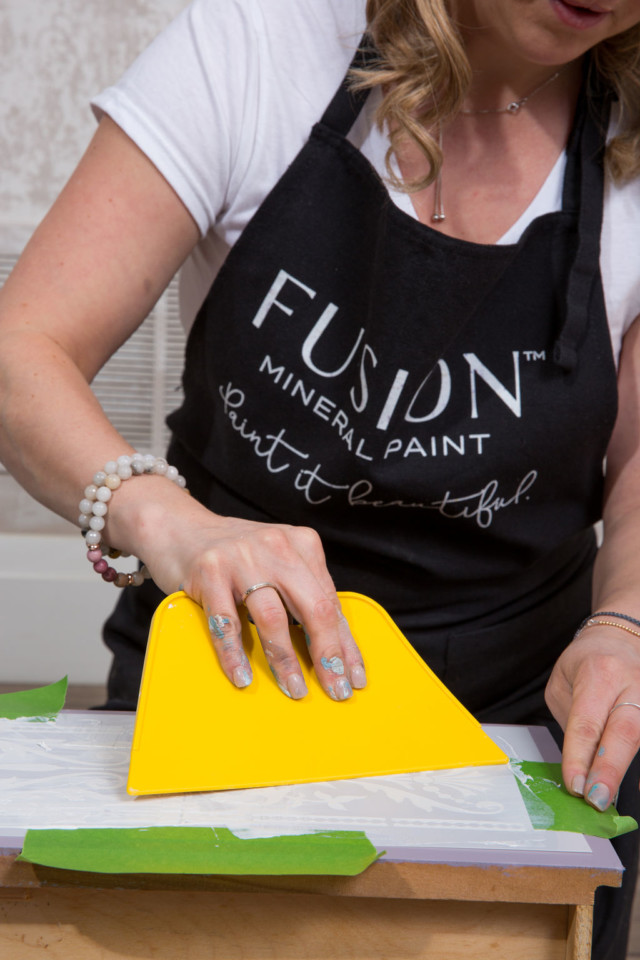
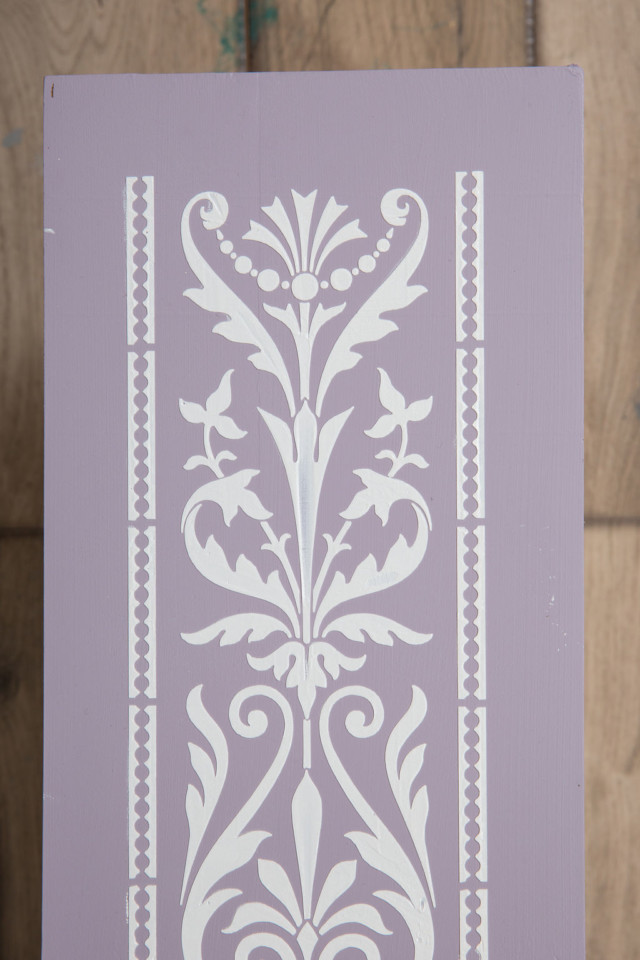
Raised stencilling
Place and tape your stencil securely, and then apply our Pearl Embossing paste with a paint stick or spatula. Afterwards, spread it out over the stencil and remove the excess. For more stencil tutorials click here
*Did you know? Our Pearl Smooth Embossing Paste can be tinted using any of the colours from the Fusion Mineral Paint range.
Remove the stencil and allow it to dry overnight, next, add your new hardware and you are done, and thanks to Ultra Grip, making the impossible-to-paint, possible.

Additionally, have you joined our Facebook group Paint it Beautiful?
Pin this to your Pinterest board for later