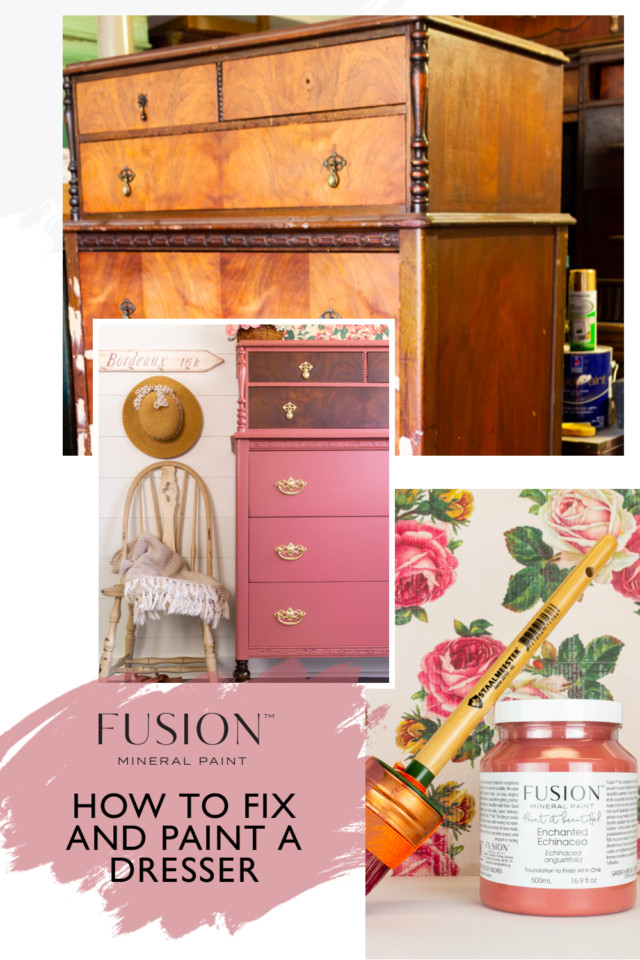
Last week we showed you how to paint and restore a veneer dresser by removing sections of the veneer prior to painting. This week we’re going to show you how to fix and paint a dresser without removing the veneer. There were lots of gauges and scratches on the surface of this damaged one, but the veneer itself was not terrible. The great thing about Fusion Mineral Paint is that you can use it to paint over a multitude of surfaces from wood to melamine and even plastic. The key is proper prep and using the proper tools. Then your actual paint job becomes the fun part!
How to fix and paint a dresser – featuring Enchanted Echinacea
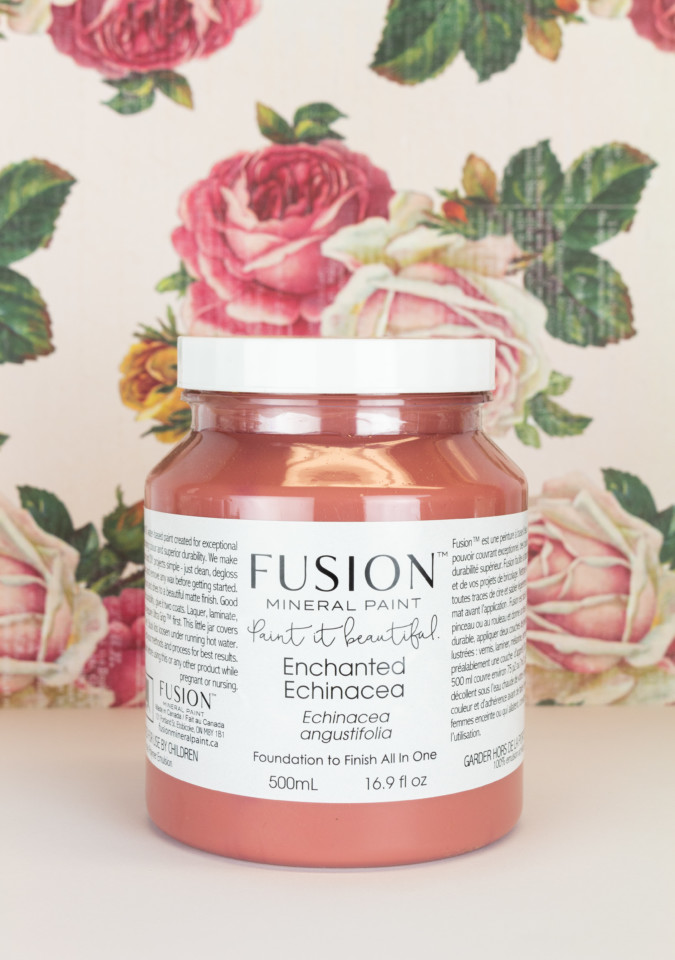
Please Note: Enchanted Echinacea is discontinued, BUT we have a custom colour recipe in our Fan Deck. Recipe 51, Dusty Rose, combine equal parts of Cranberry & Prairie Sunset.
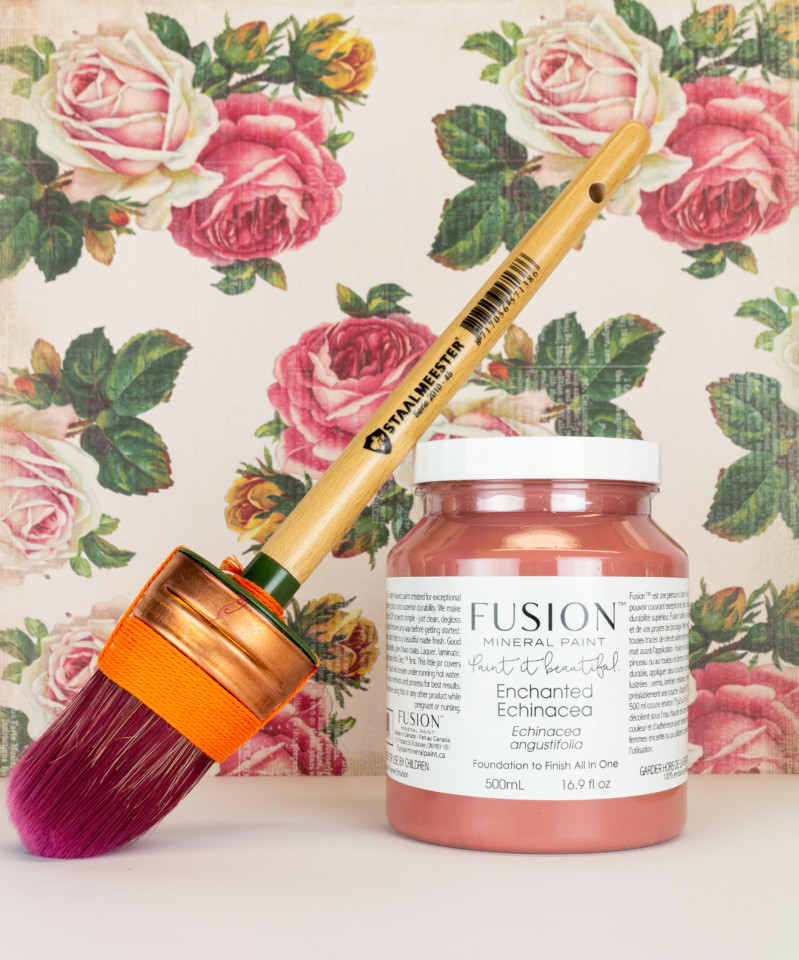
Supplies used:
- Fusion Mineral Paint Enchanted Echinacea (discontinued, see custom recipe above)
- Orbital Sander
- 120-150 grit to sand
- 220 grit to smooth
- Wood filler
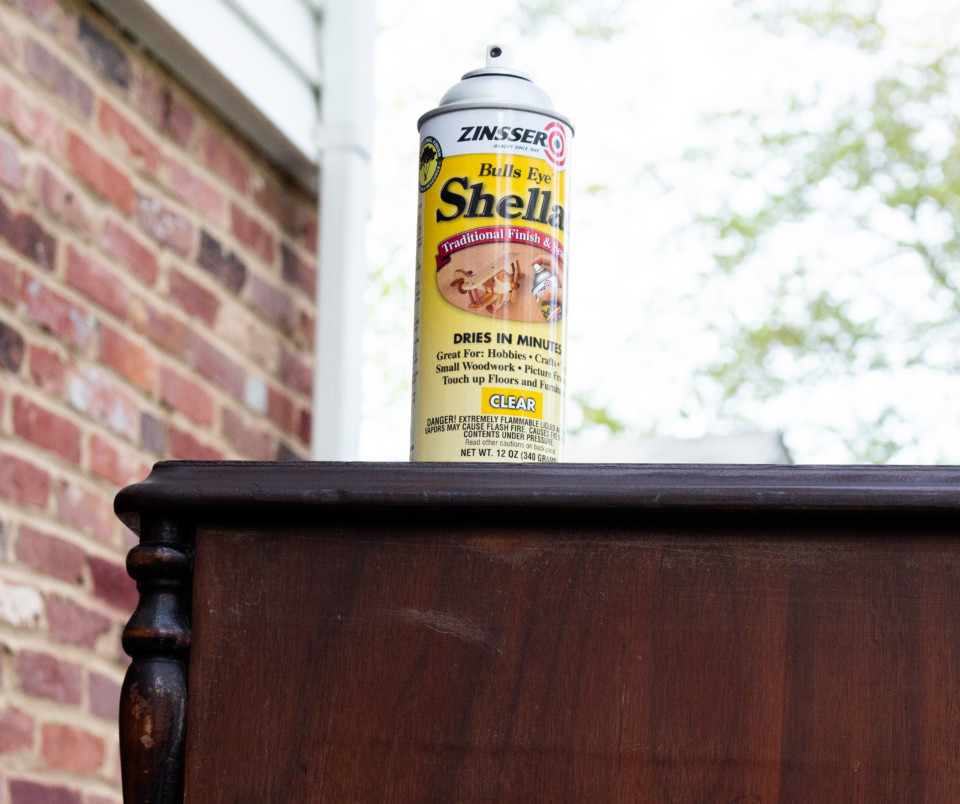
- Zinsser Spray Shellac
- Staalmeester Brushes
- Fusion TSP
STEP 1
PREP
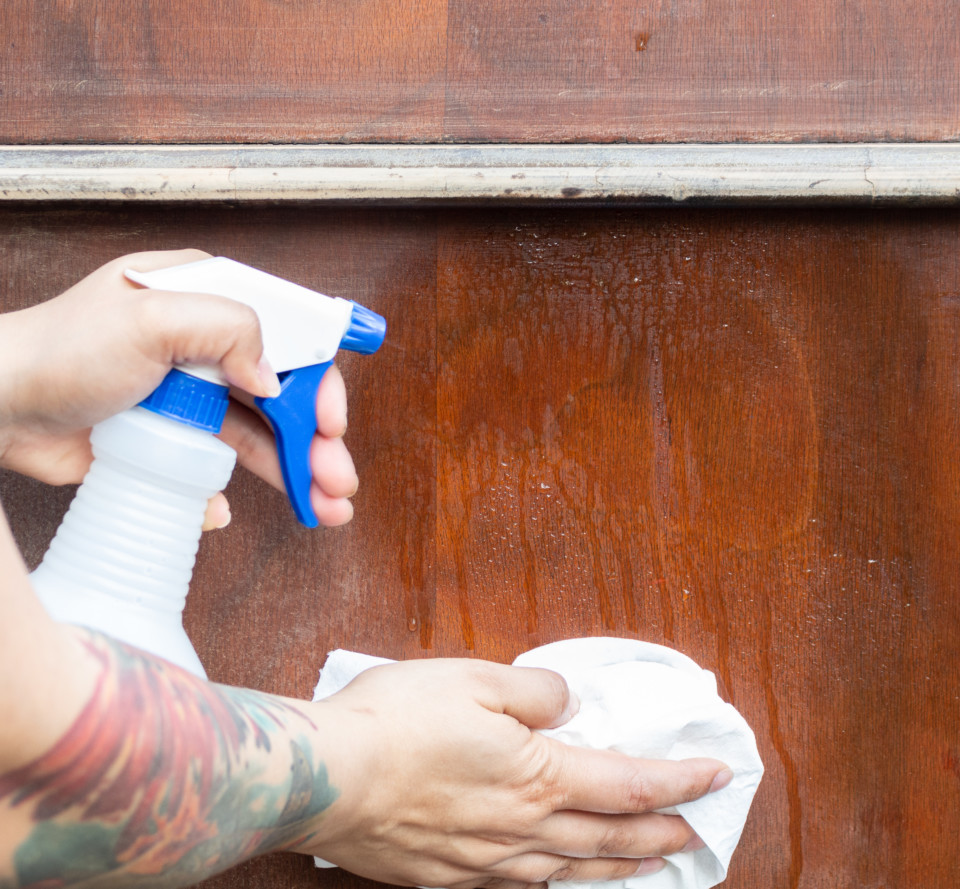
Remove hardware and drawers from the base. This helps you to get into all the nooks and crannies of the surface of the damaged dresser. Give it a thorough cleaning with Fusion TSP, which is designed to remove all the grease, dirt and oil from a surface.
The original finish was gouged and scratched so we used Bondo Filler & Resin to fill some of the deep scratches and marks to help repair the damaged surface. This provides a level surface for painting. It is also important to fill the chipped veneer.
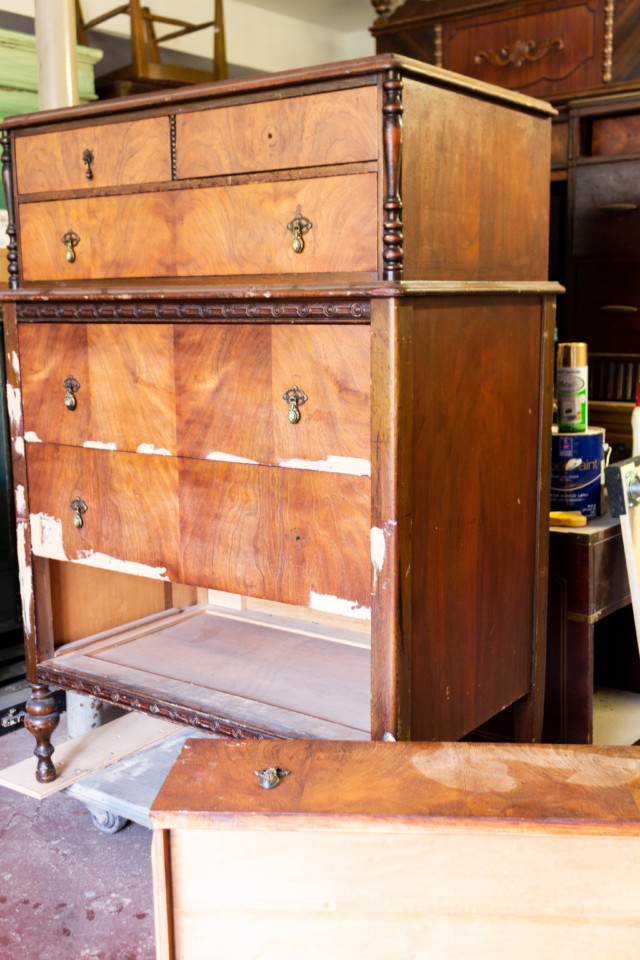
If you have a different wood filler that you prefer to use, by all means, find the product that speaks to you or that you feel the most comfortable working with.
STEP 2
SANDING
The surface of the dresser was sanded with 220 grit to scuff the original finish and level the wood filler. Depending on the damage of a given piece, you have to decide whether or not to use sandpaper or an orbital sander. Ours really needed to be levelled, so we used an orbital sander.
Then clean the residue from sanding with a damp cloth.
STEP 3
PRIMING
We applied three light coats of Zinsser Bin Shellac to prevent bleed-through. The original finish was a mahogany veneer and was sure to bleed. If you’re not sure what bleed-through is, we recommend reading our post about the causes of bleed-through under the paint and how to prevent it.
After the priming, it was lightly sanded again with 220 grit.
STEP 4
PAINTING
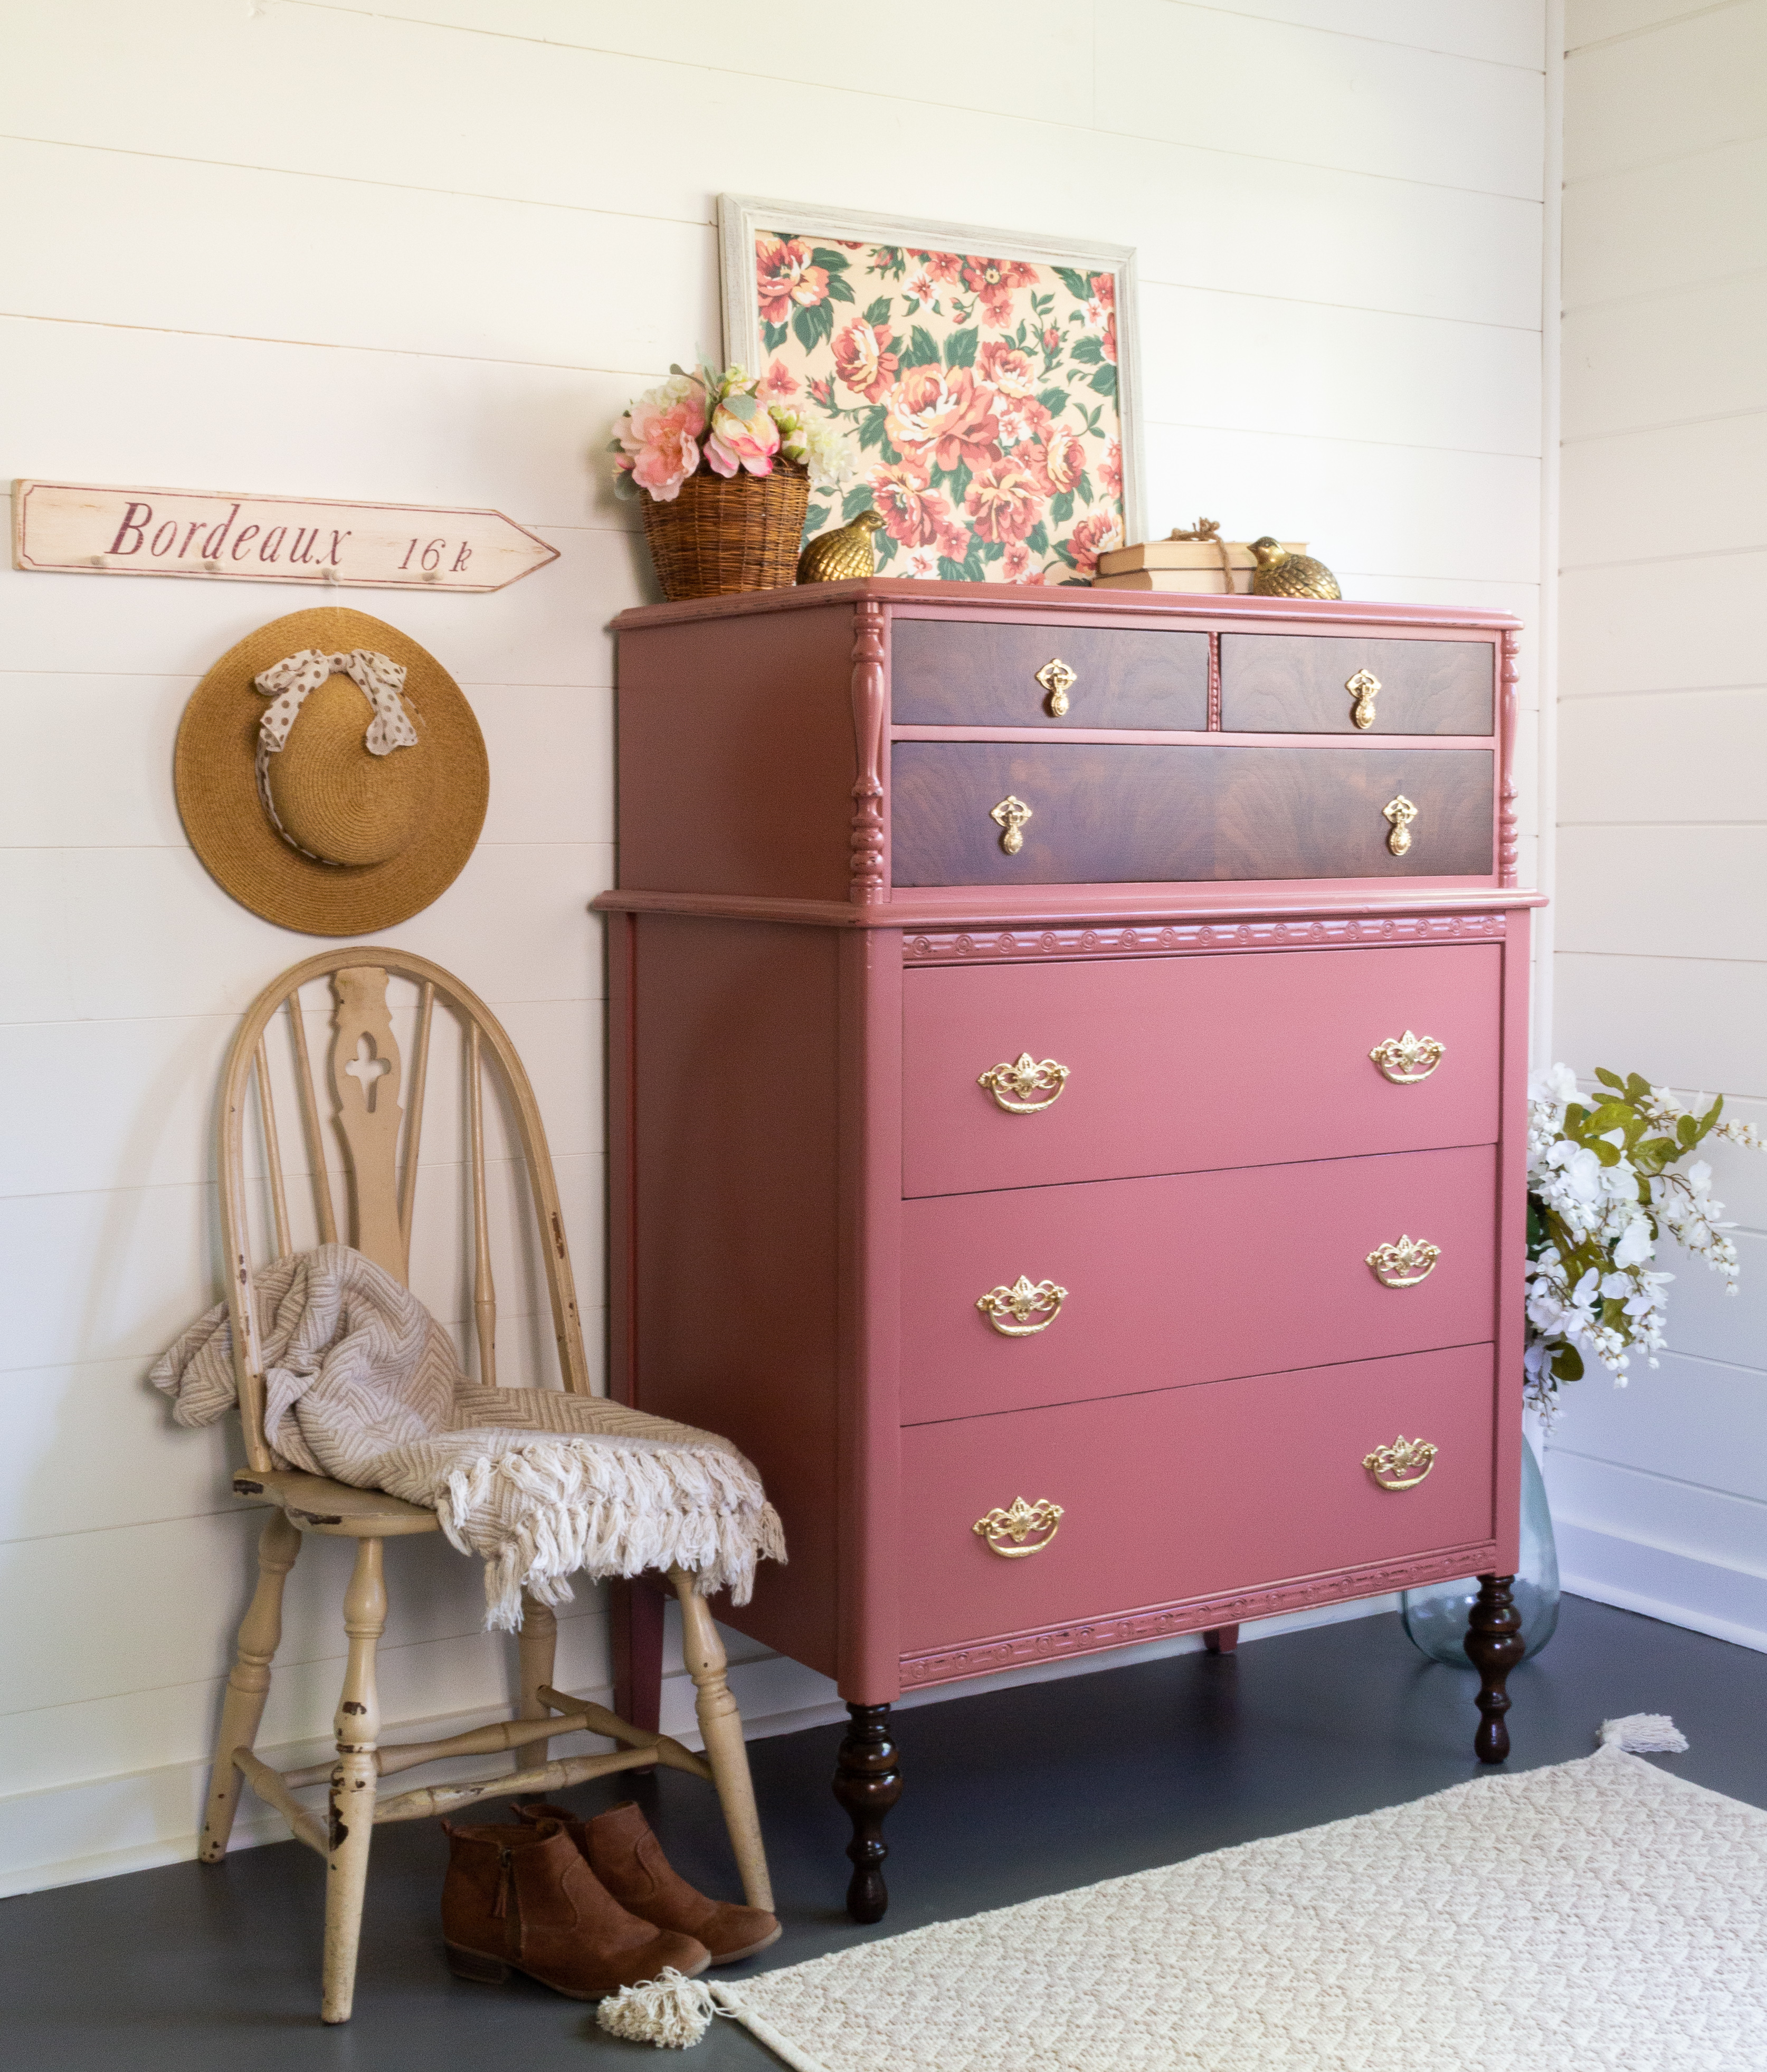
We applied 2 coats of Enchanted Echinacea and we used the Staalmeester Oval brush for spindles and detailing. Whatever brush you choose is up to you but we recommend the Staalmeester Flat Ultimate ONE synthetic, which is our CEO and Creator Jennylyn Pringle’s favourite brush for a brush stroke-free finish.
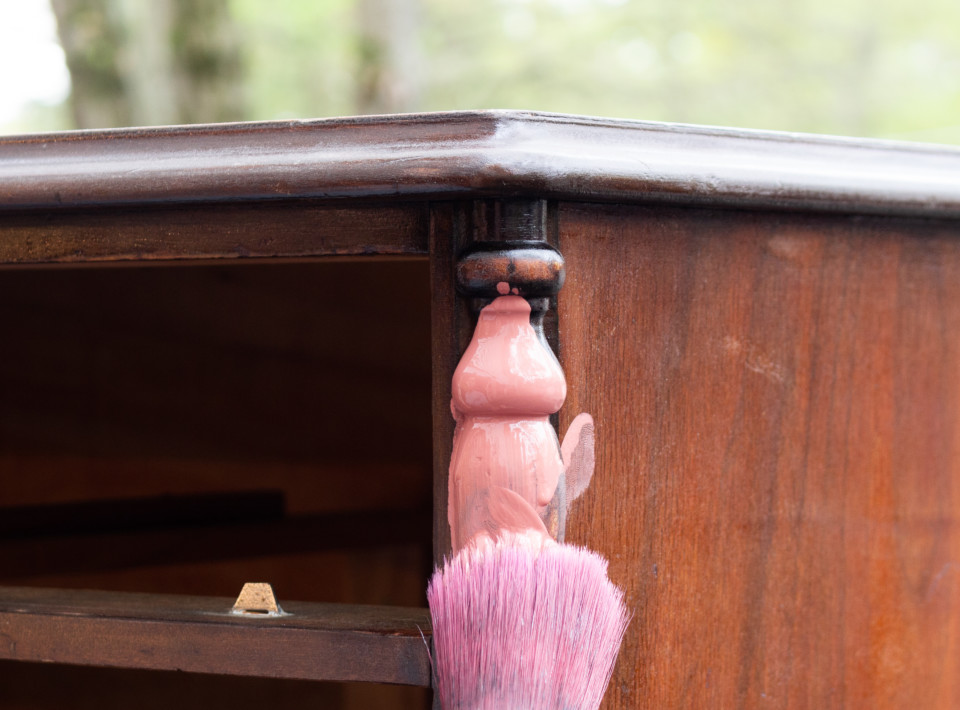
We lightly sanded between paint coats with 320-grit paper for smoothing and then lightly distressed the raised areas with 220-grit paper.
STEP 5
FINISH
The legs were sealed with Shellac for some gloss and then we applied a clear coat of Tough Coat over the surface. Fusion has a built-in top coat so it’s really using your own discretion with whether or not to use a top coat over it.
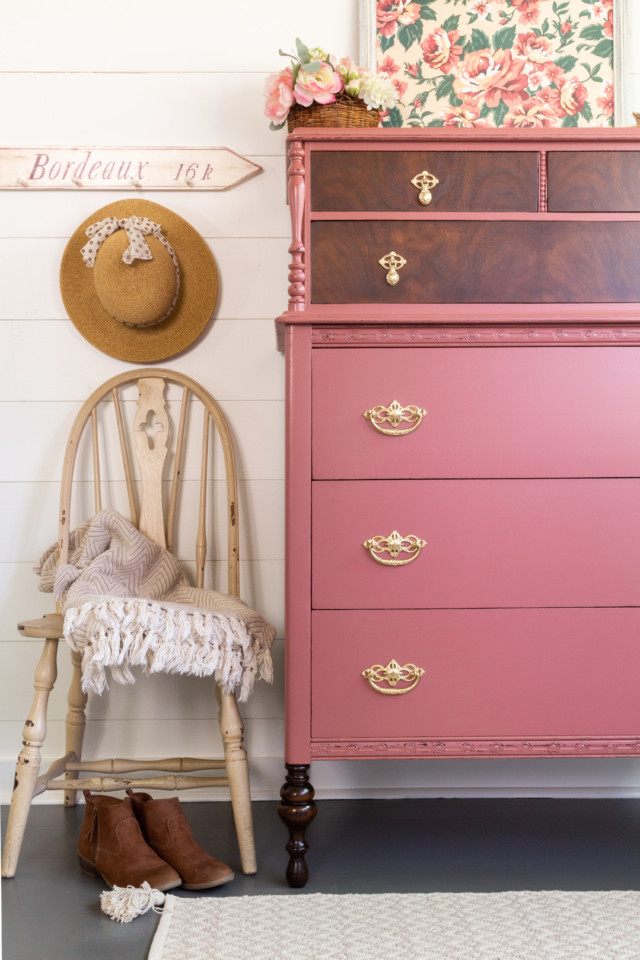
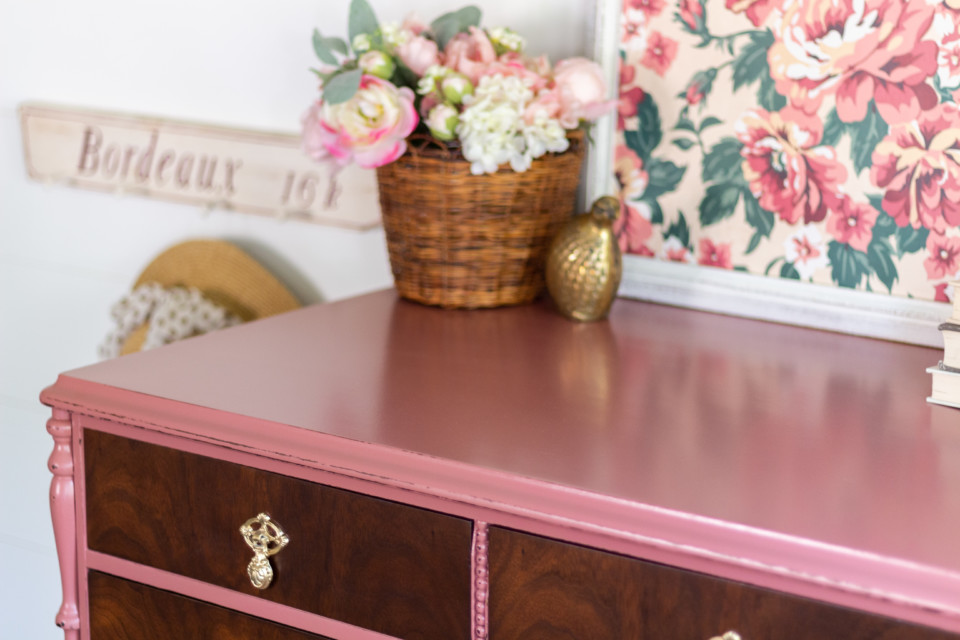
The two-tone look gives it a fresh feeling while still paying homage to the old-world feeling of the shape and style of the dresser.
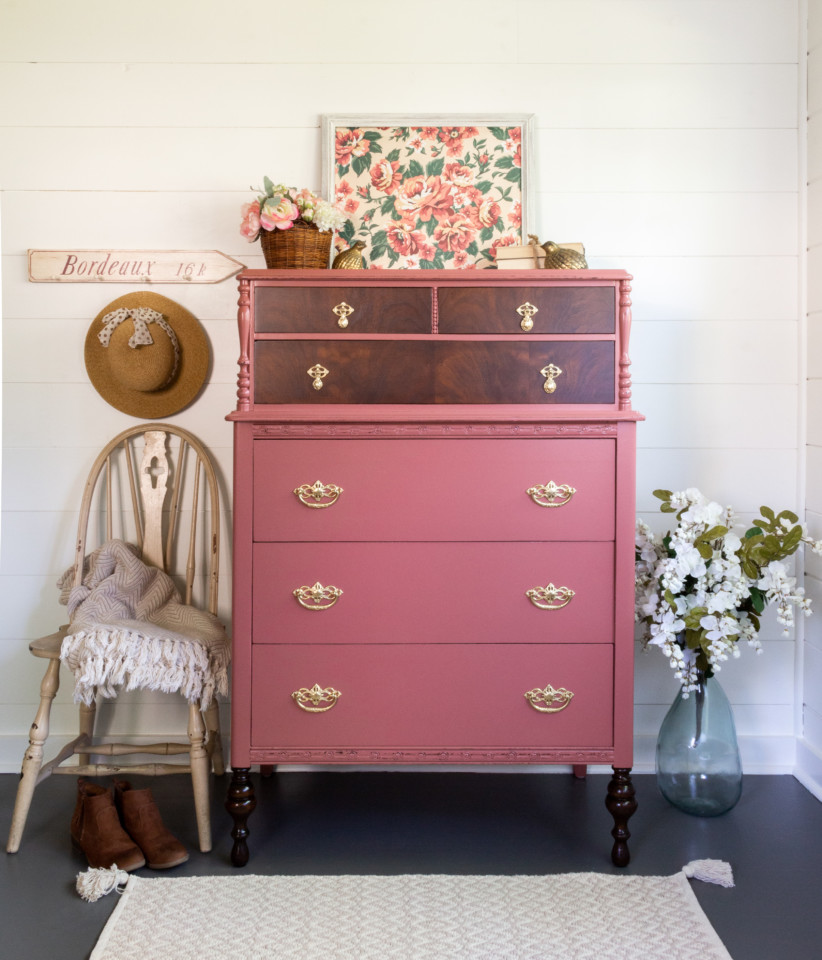
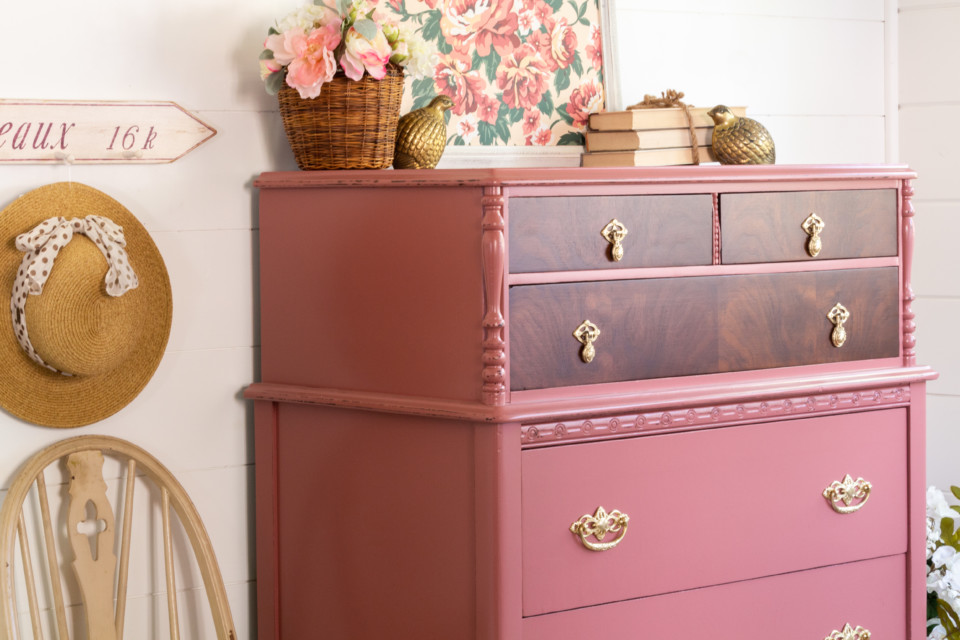
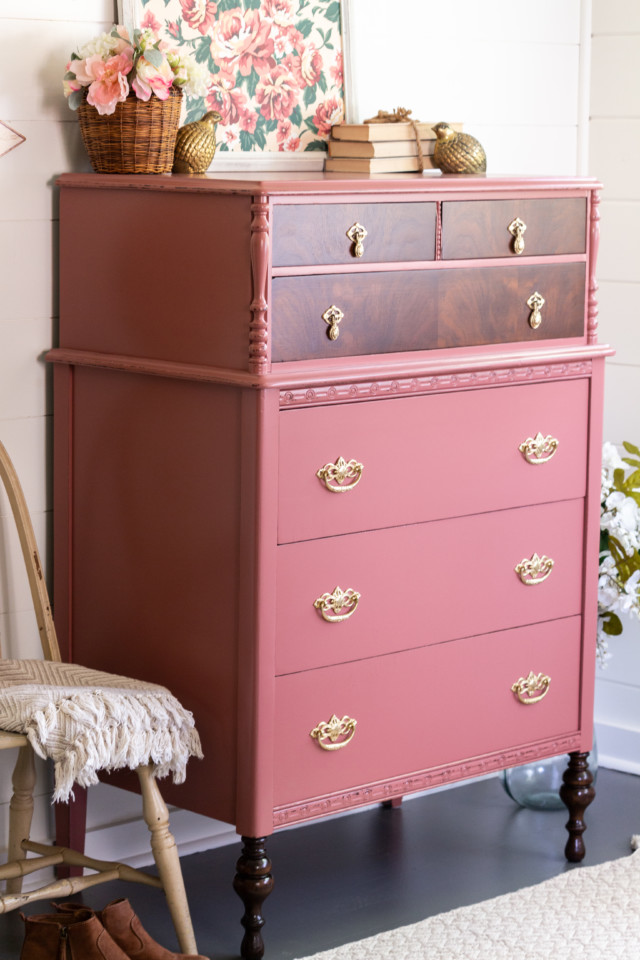
Enchanted Echinacea is proving to be a huge customer favourite. If you’re a fan of Damask, we absolutely recommend giving this one a try.
And don’t forget to share your Enchanted Echinacea projects on social media by using the hashtags:
#EnchantedEchinacea
#FusionEnchantedEchinacea
PIN IT FOR LATER!


One Response