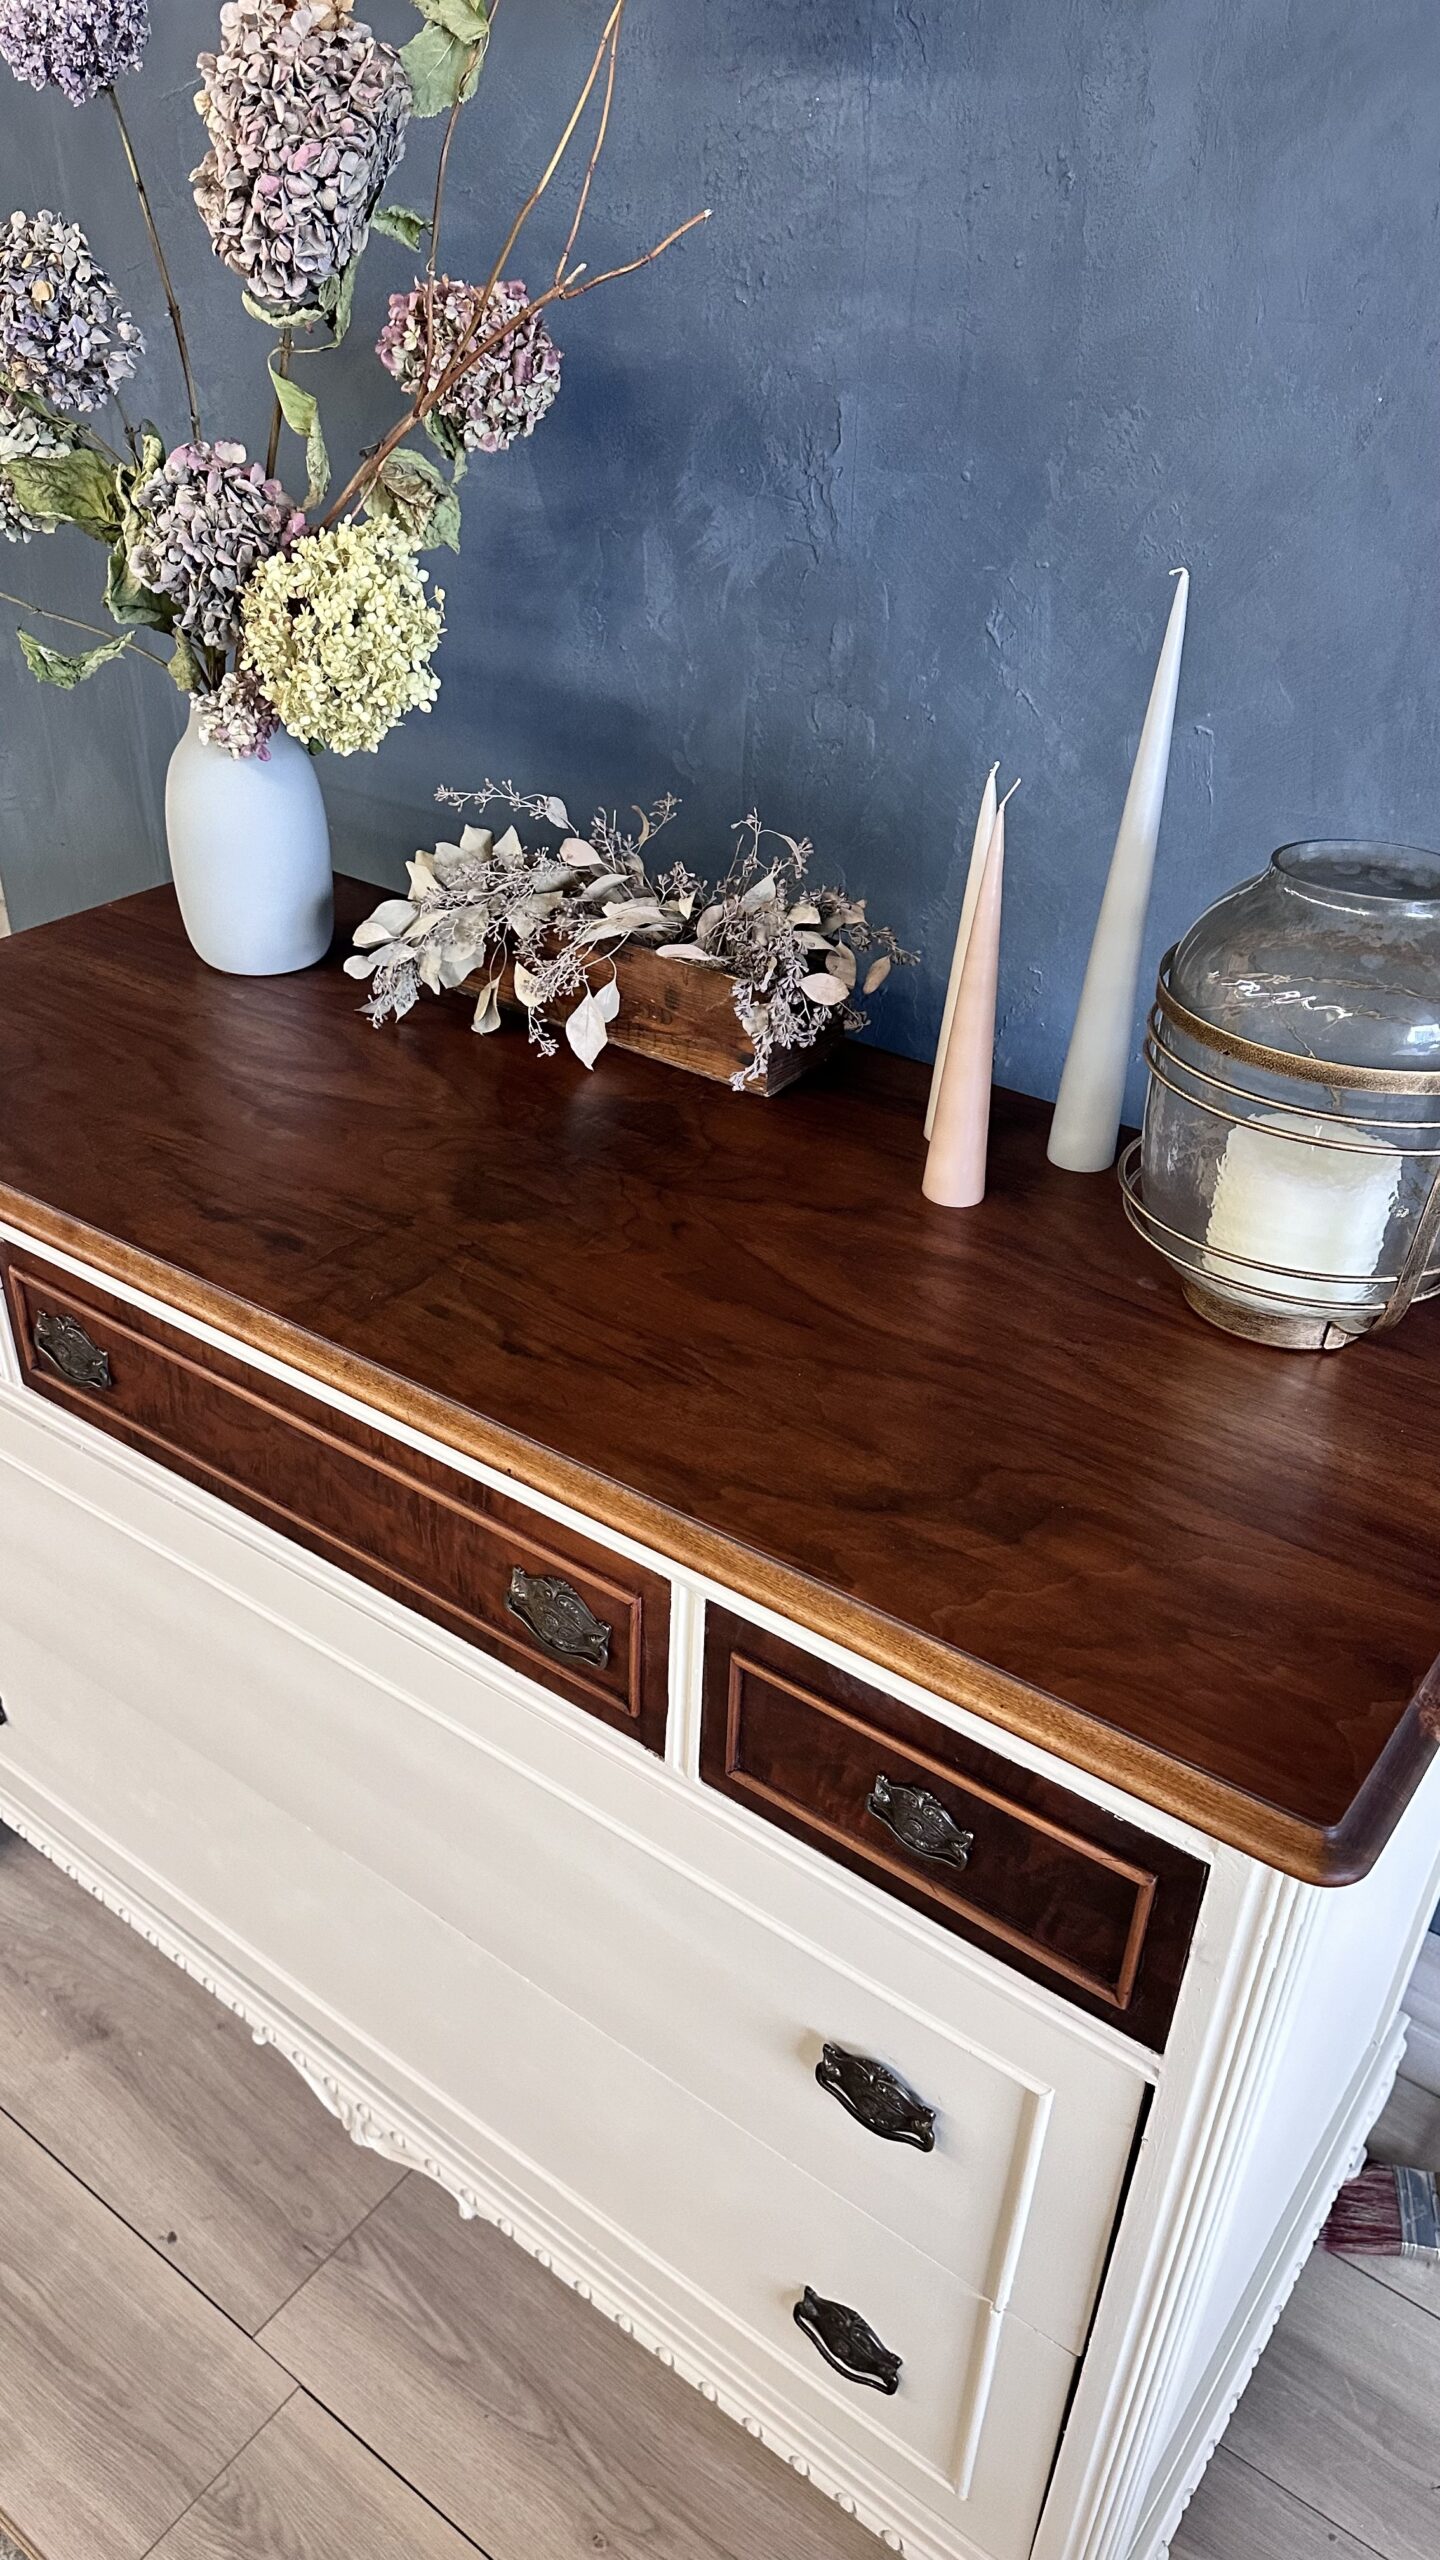
Are you ready to give your old furniture a stunning new look? Introducing Fusion Mineral Paint’s new Stain and Finishing Oil called Heartwood. This pretty tone has slightly purplish undertones, a unique shade you are bound to fall in love with. Follow these steps to achieve a professional finish and you too can transform a worn-out dresser into a beautiful centrepiece.
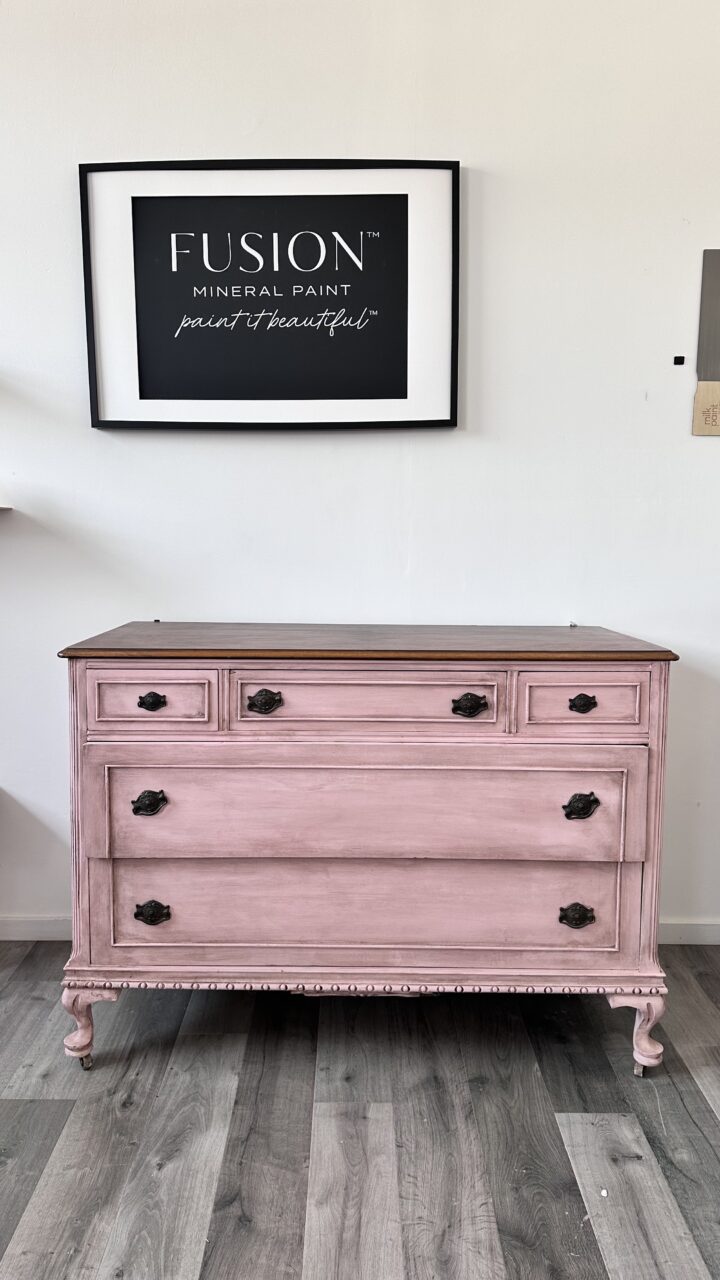
Here’s the before:
List of Supplies used in this project:
- TSP
- Odourless Solvent
- Sanding Sponge/block
- QCS surface remover
- Scraper
- Chateau Fusion™ Mineral Paint
- Staalmeester round brush
- Staalmeester angle spalter small
- Staalmeester roller
- Heartwood Stain and Finishing Oil
Transforming the Dresser
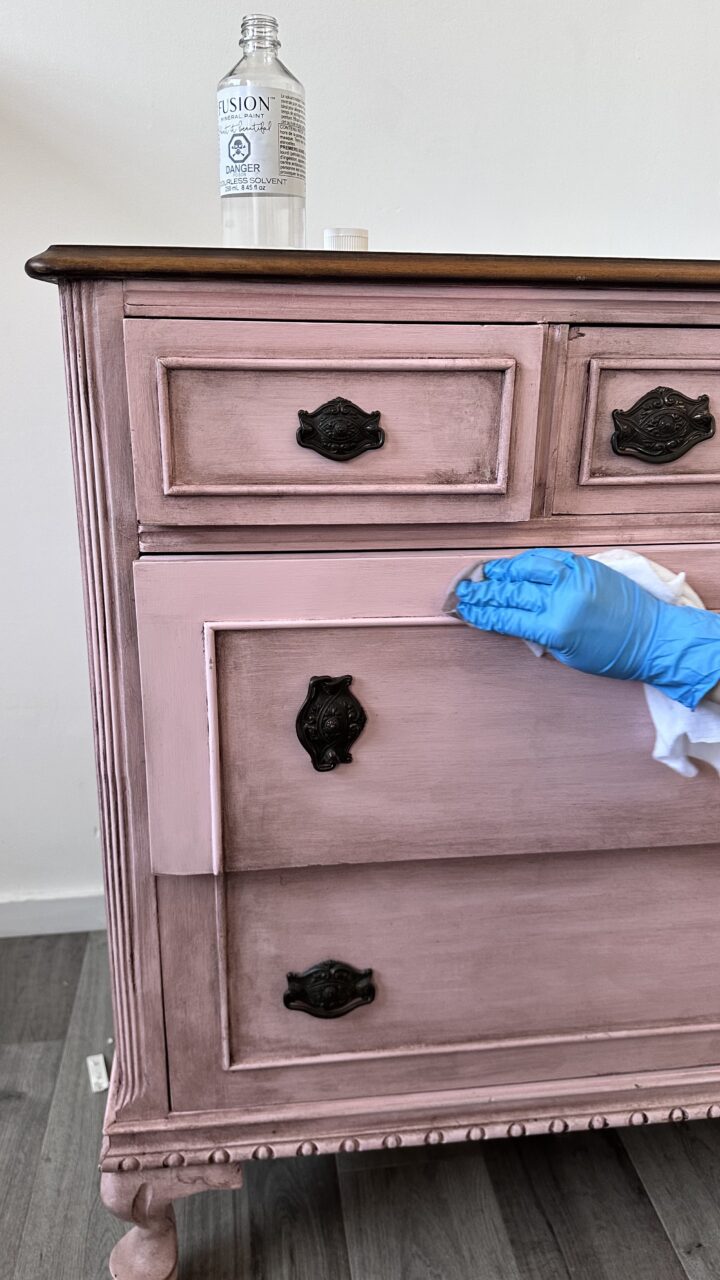
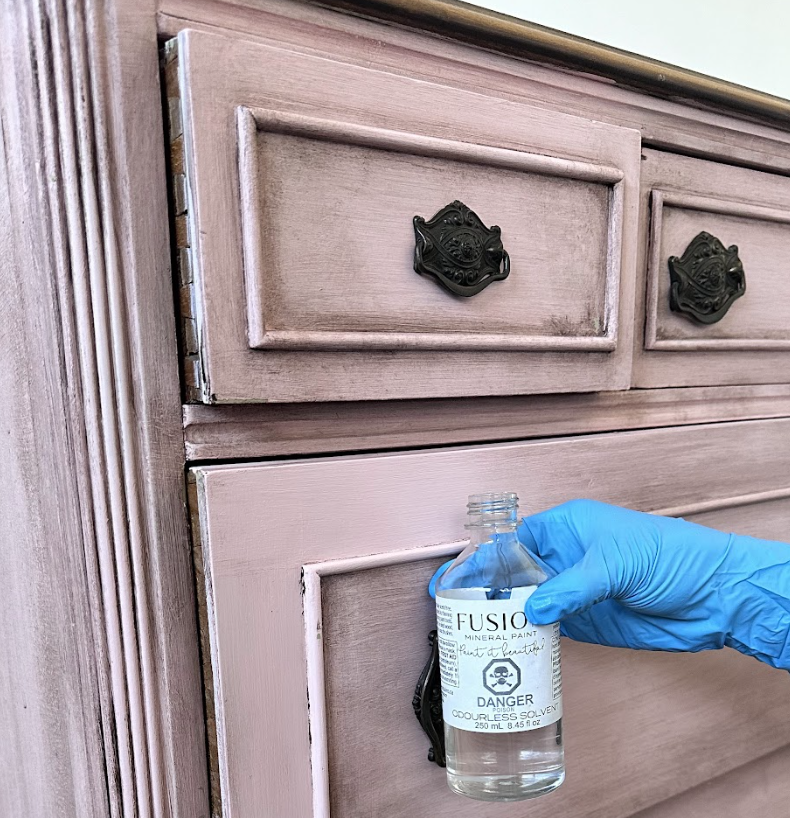
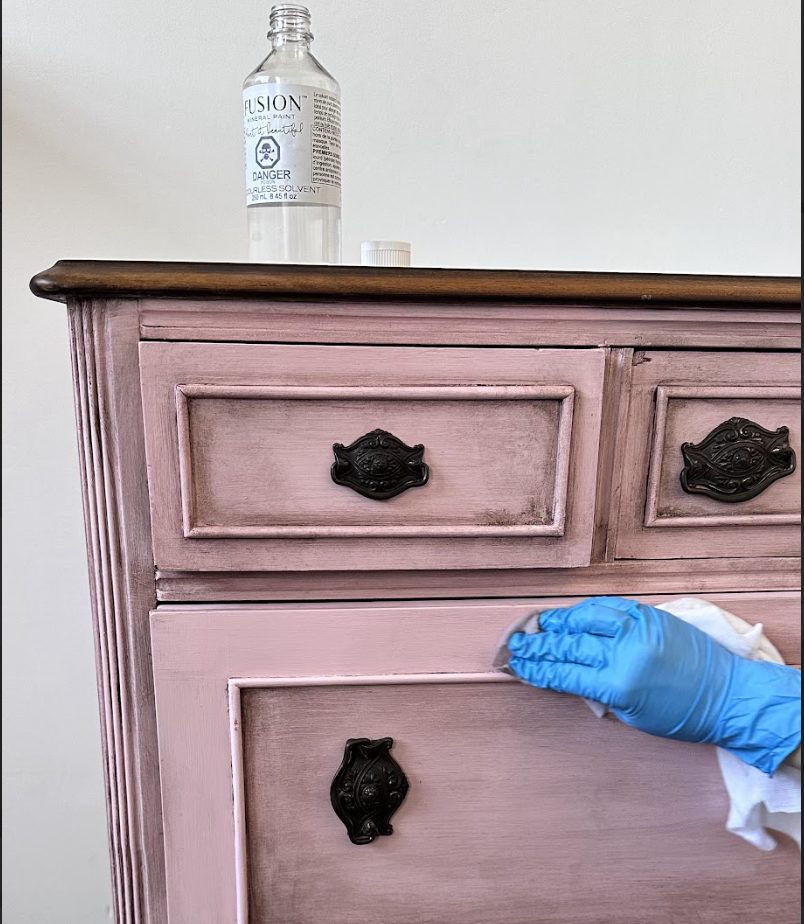
Jennylyn painted this dresser 8 years ago and thought it was time for an update! First, we removed the tinted wax using Fusion’s Odourless Solvent and cleaned it with TSP Alternative.
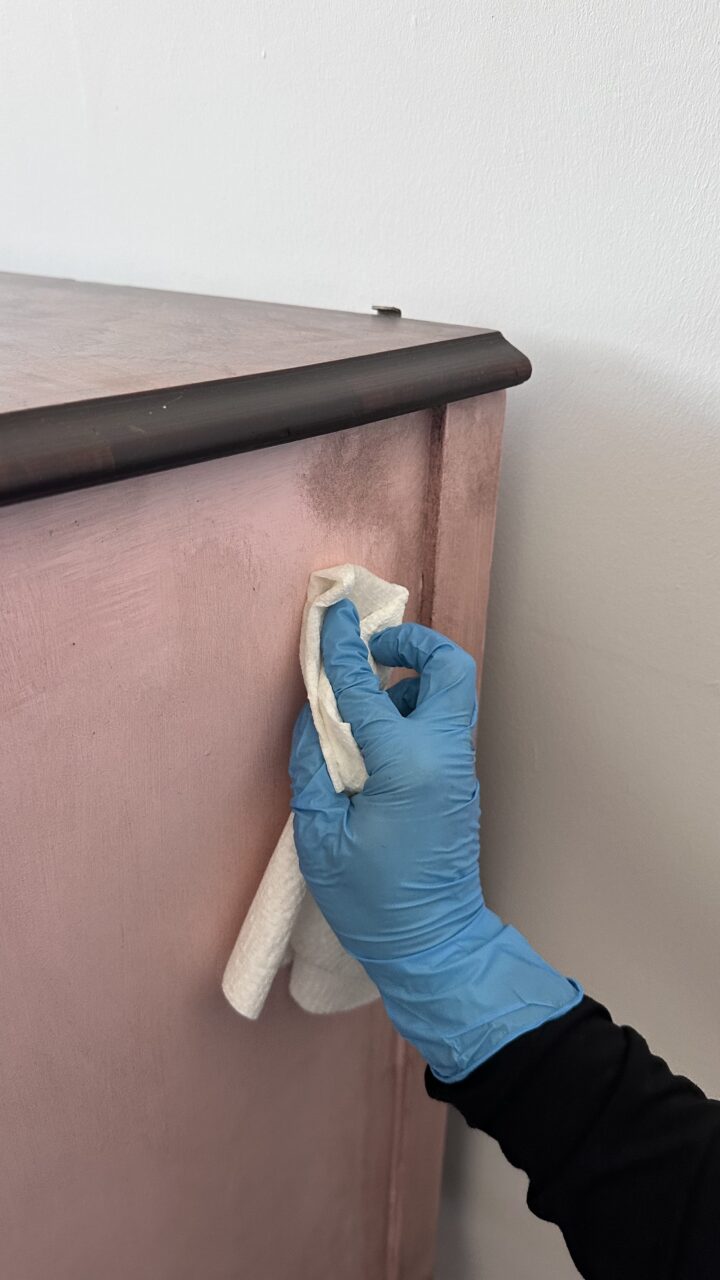
We then stripped the old paint from the top of the dresser and drawers using QCS Surface Remover. After letting it sit for 15 minutes, the paint bubbled up and was easy to scrape off.
How to Remove Wax From Your Furniture
If your furniture has wax, it must be removed before staining or painting. You can identify wax by doing a simple fingernail test; scratch a small section to see if any wax comes off. Use Fusion Odourless Solvent to remove the wax: saturate a rag with the solvent, wipe the wax off, and let it sit for a few minutes. Wipe again and repeat until all wax is removed. Clean the piece down with TSP Alternative afterwards.

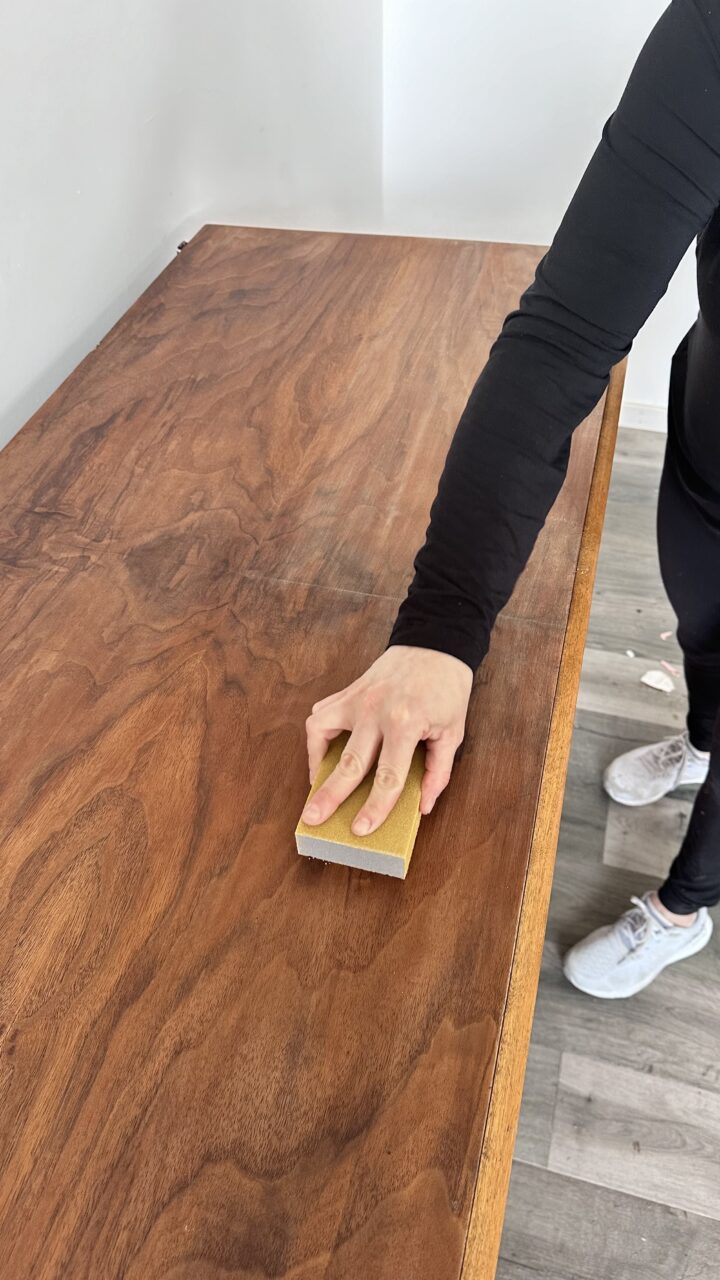
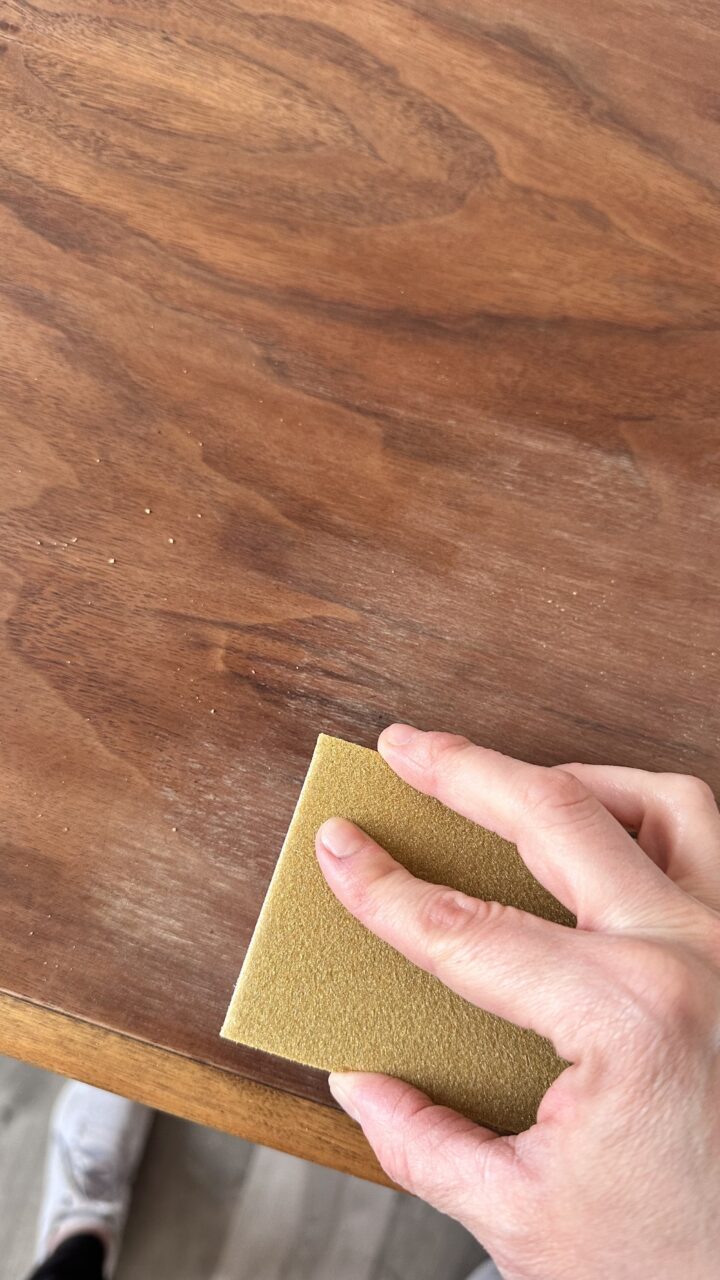
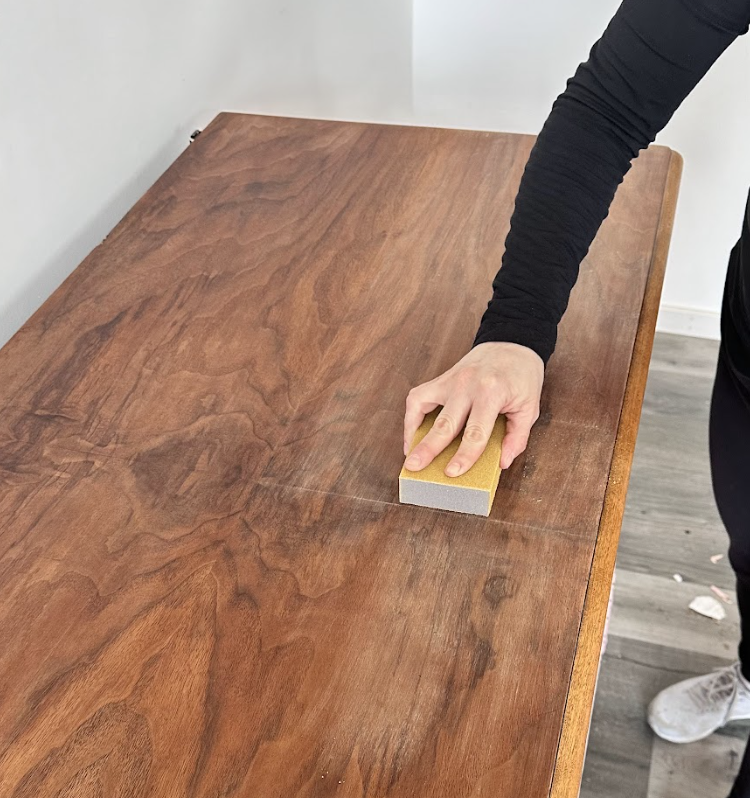
Next, we prepped for staining by sanding the surface evenly. We sanded using 120 grit all over the surface in the direction of the wood.
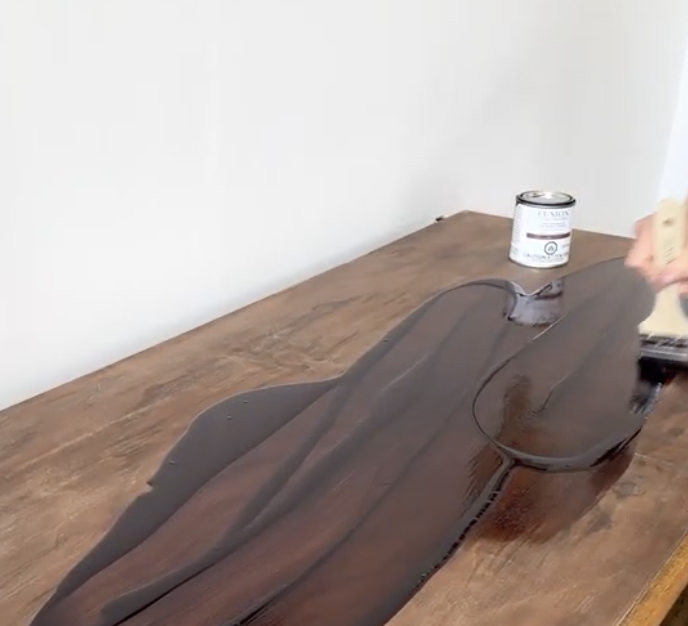
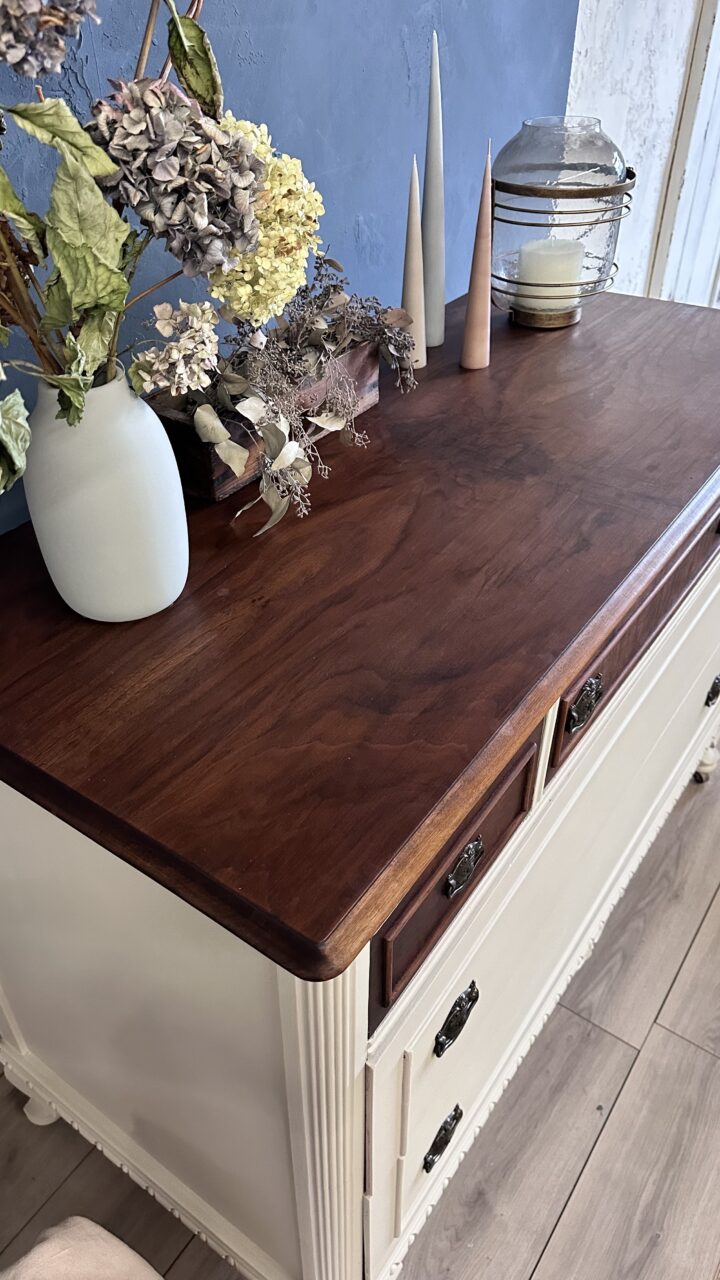
After sanding we applied Fusion Mineral Paint’s new Heartwood stain and finishing oil, letting it sit for 15 minutes, before wiping off the excess.
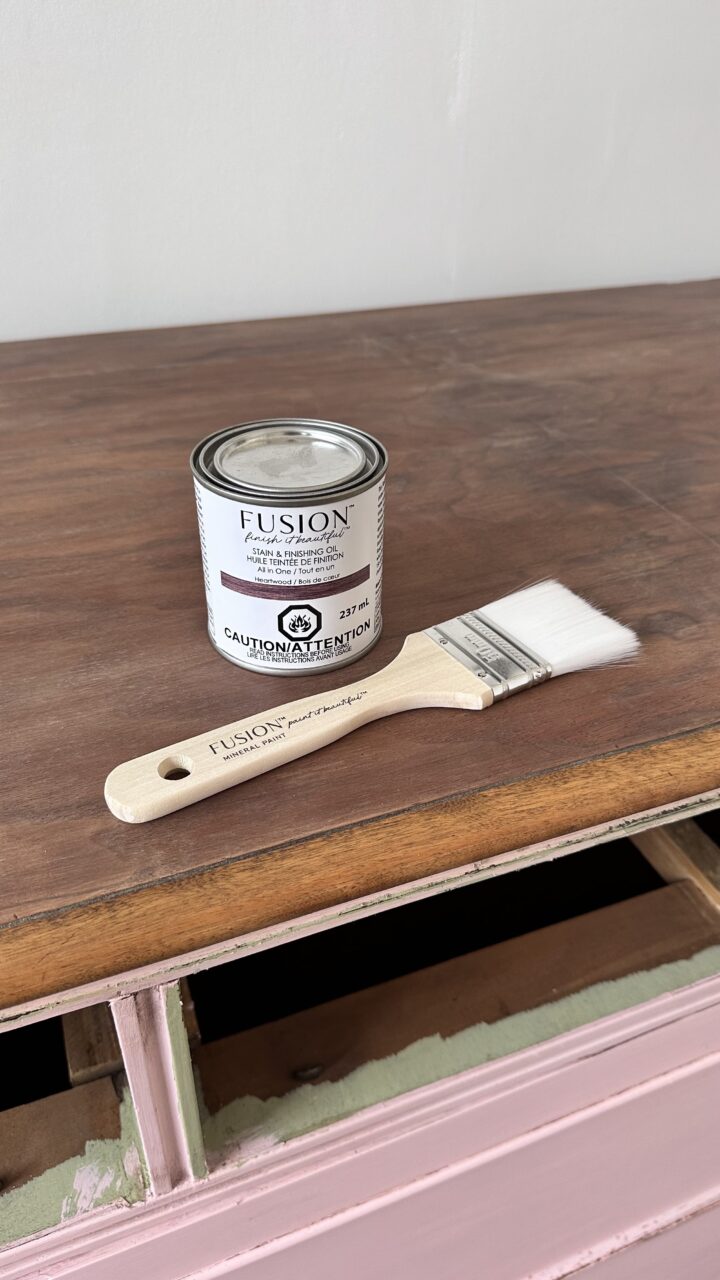
How to use Stain and Finishing Oil
Step 1: Clean Your Wood
Start by cleaning your wood with a TSP alternative to remove any grime and dirt. This ensures that the wood surface is ready to absorb the stain properly. Cleaning before sanding ensures you do not push contaminants into the wood.
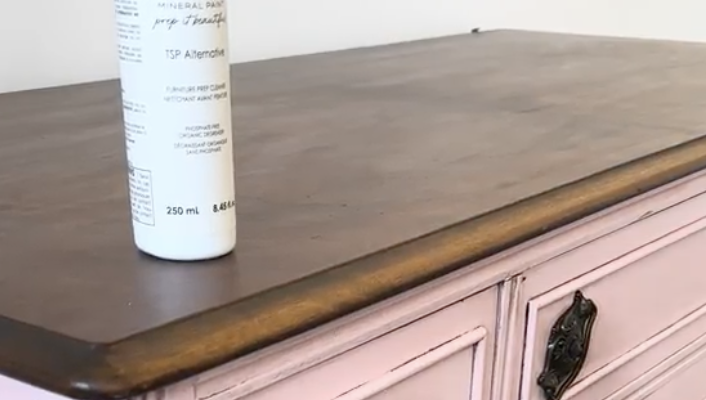
Step 2: Sand the Surface
Lightly sand your piece using a medium grit sanding sponge. Make sure not to use sandpaper over 180 grit, as anything higher can close the pores of the wood, preventing the stain from penetrating evenly. An even and consistent sanding is crucial to avoid patches and ensure the stain takes uniformly. To illustrate this, we purposely didn’t sand the edge of our dresser, showing the difference in stain absorption.
Step 3: Apply the Stain
When applying the stain, use a lower-quality brush that you won’t mind discarding afterwards, or one that you can clean thoroughly. Dip your brush into the stain or pour it directly onto the wood. It’s okay to have excess stain on the surface; let it soak in for about 15 minutes. After this, wipe off the excess with an applicator sponge using consistent even pressure in long strokes across the surface. For a deeper colour, apply additional coats as needed. Remember, Fusion Stain and Finishing Oil is both a stain and a topcoat, providing exceptional durability without needing an additional topcoat. If you would like to add another coat of protection but don’t want to deepen the colour add a coat of our ‘Natural’ SFO. With each coat of SFO added you will increase the sheen. It’s perfect for high-traffic areas like tabletops, kitchen cabinets, and flooring.
How to Prep the correct way for Stain and Finishing Oil
Choosing the Right Paint Brush
Selecting the right paint brush is essential for achieving the best results. Here are our recommendations:
- Round Brush: Great for beginners, versatile for multiple surfaces and detail, especially on round tables or chair legs.
- Small Angled Brushes: Ideal for cleaning up detail, reaching small areas, and getting into corners.
- Wide Flat Brushes: Perfect for wide surfaces. For larger coverage areas, consider using a roller.
- Rollers: For large flat surfaces
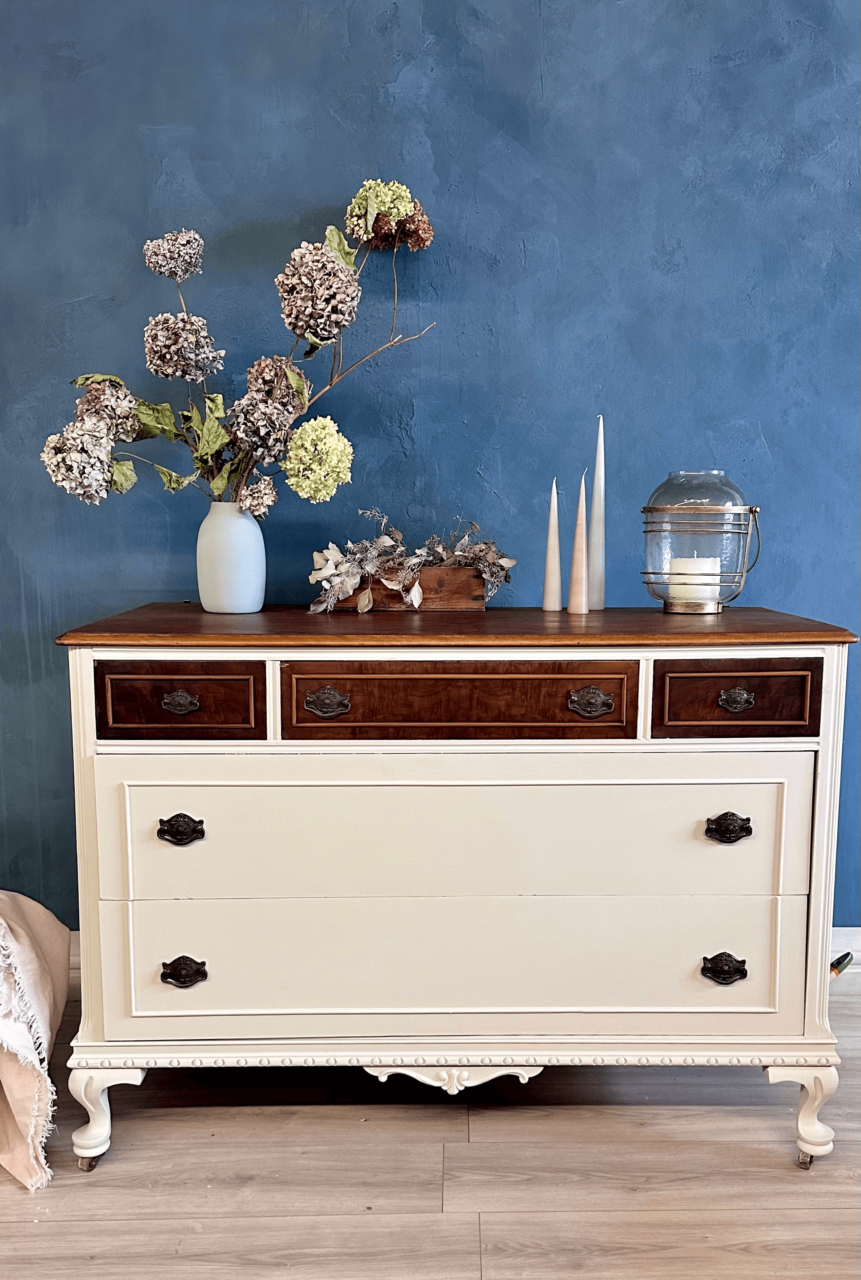
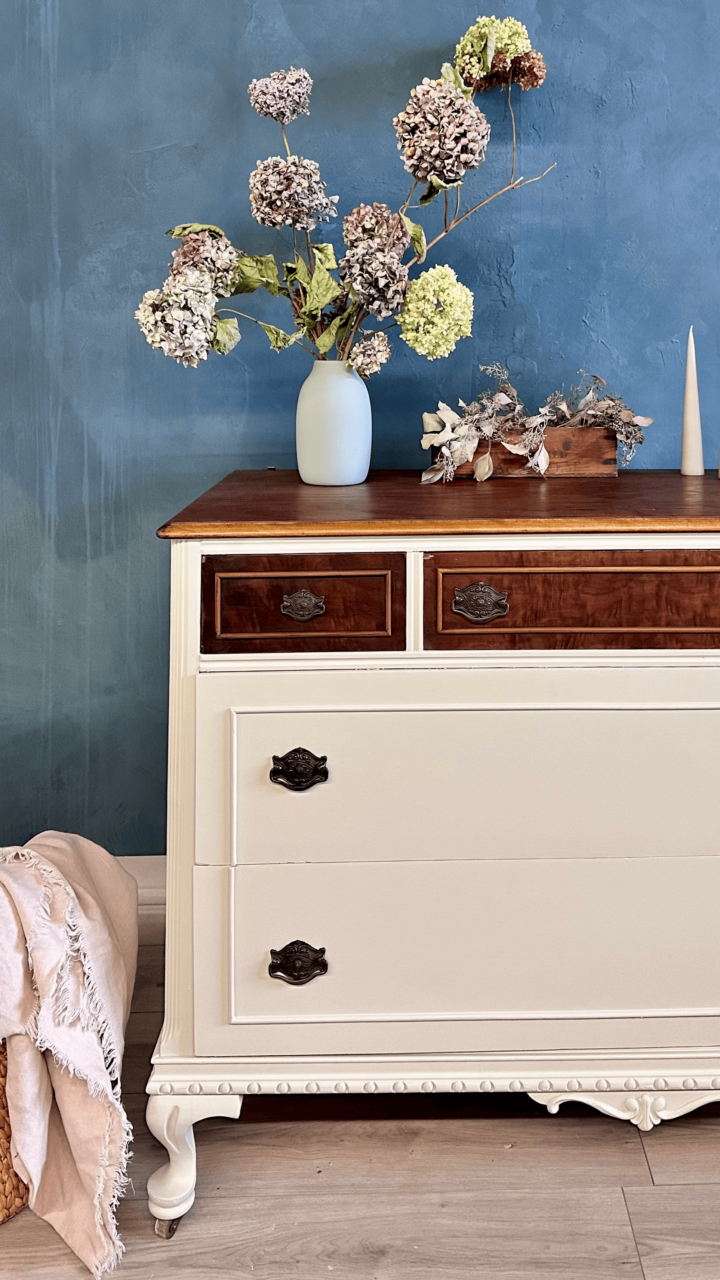
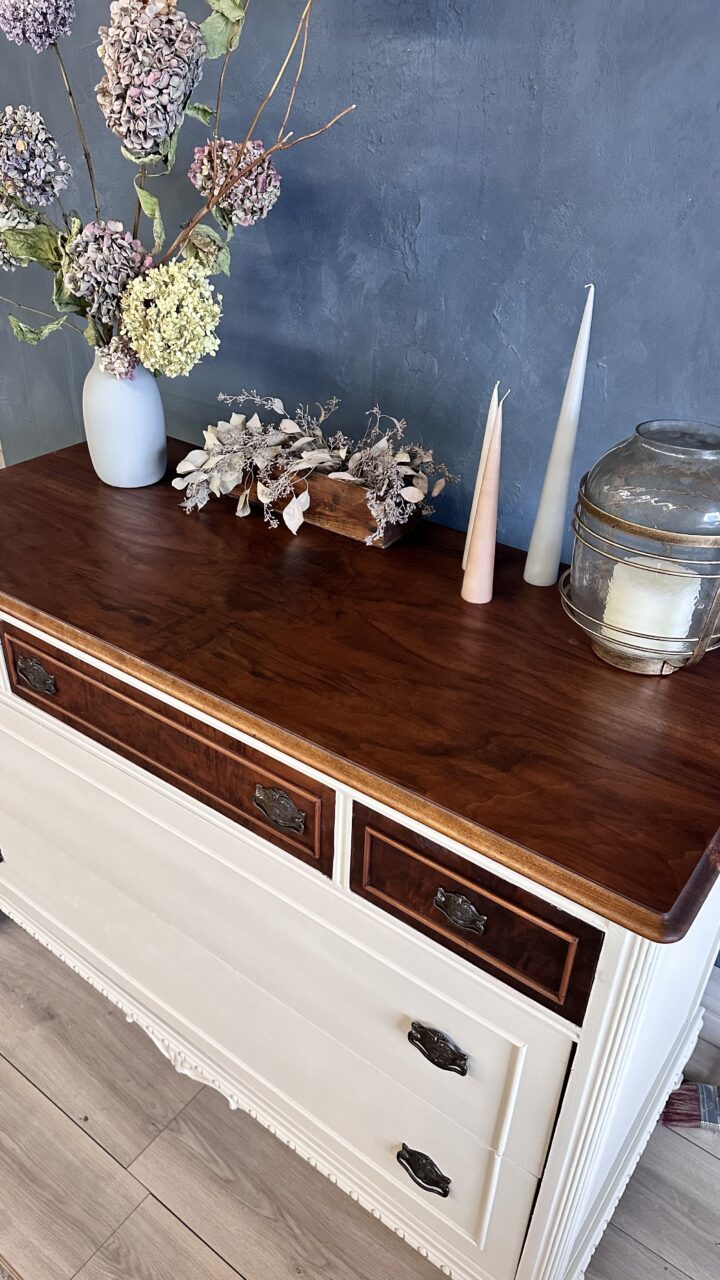
The final result was a stunning transformation, showcasing the beauty and durability of Fusion Mineral Paint’s Heartwood Stain and Finishing Oil. This makeover not only revitalized the dresser but also highlighted the natural beauty of the wood.
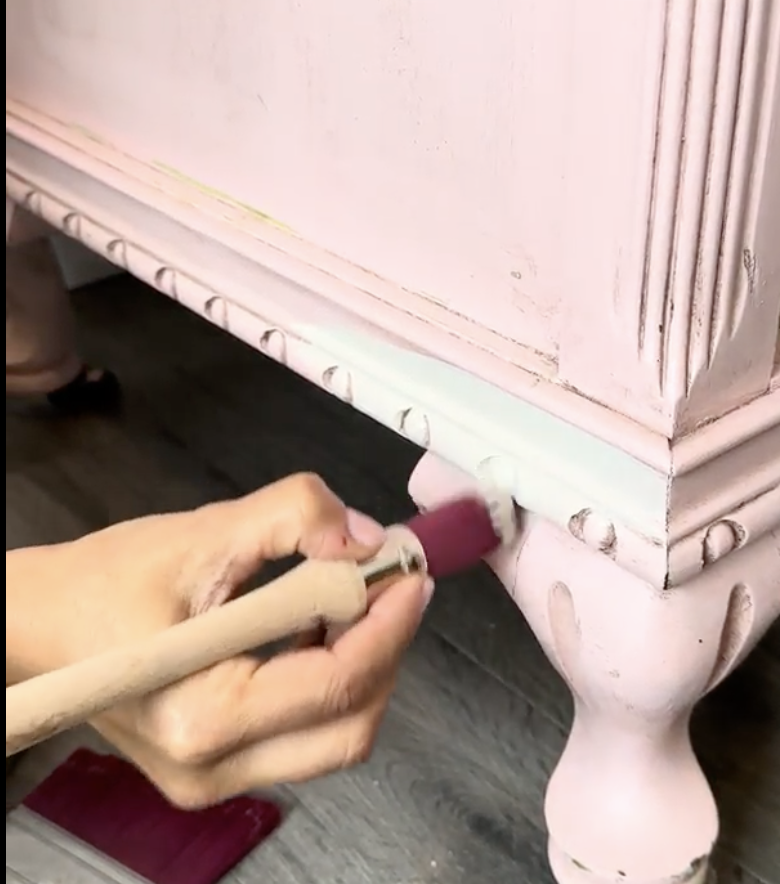
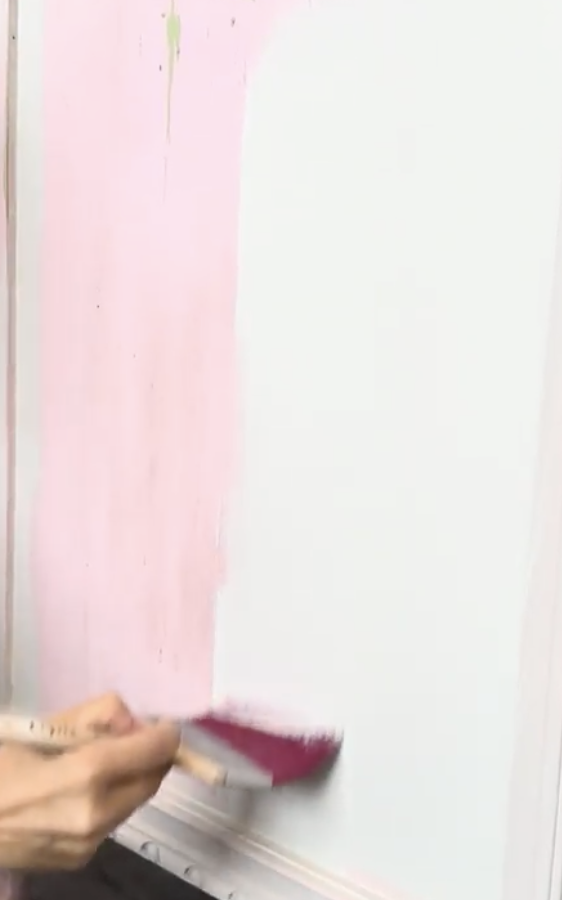
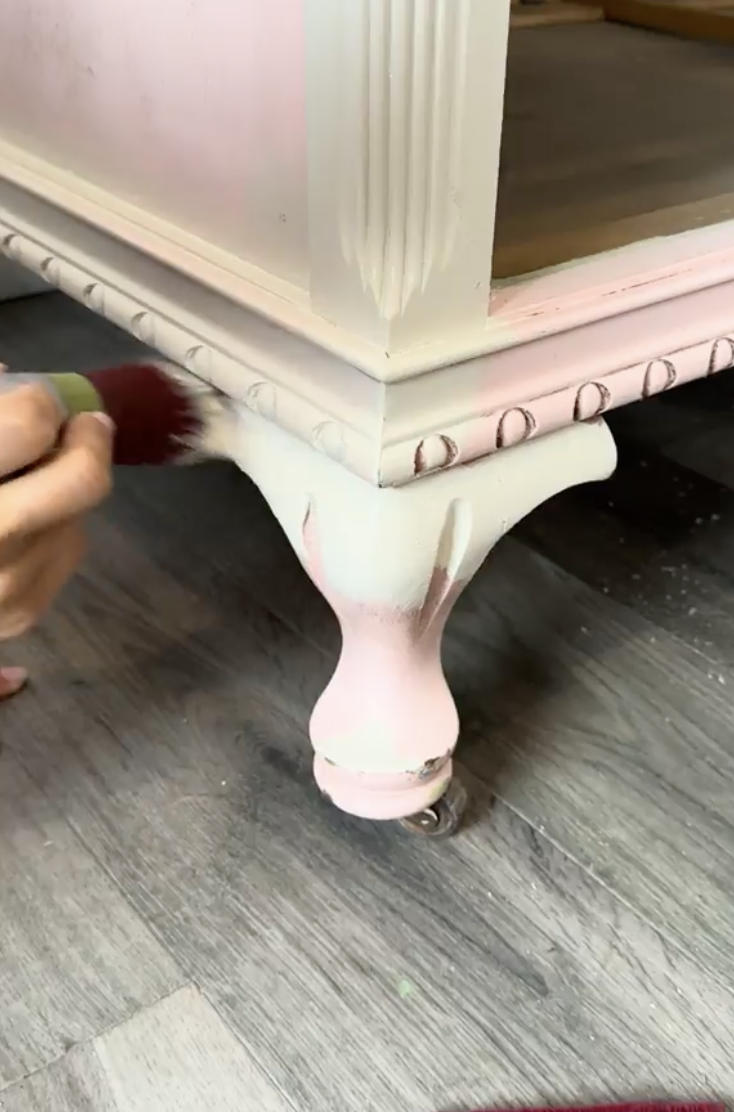
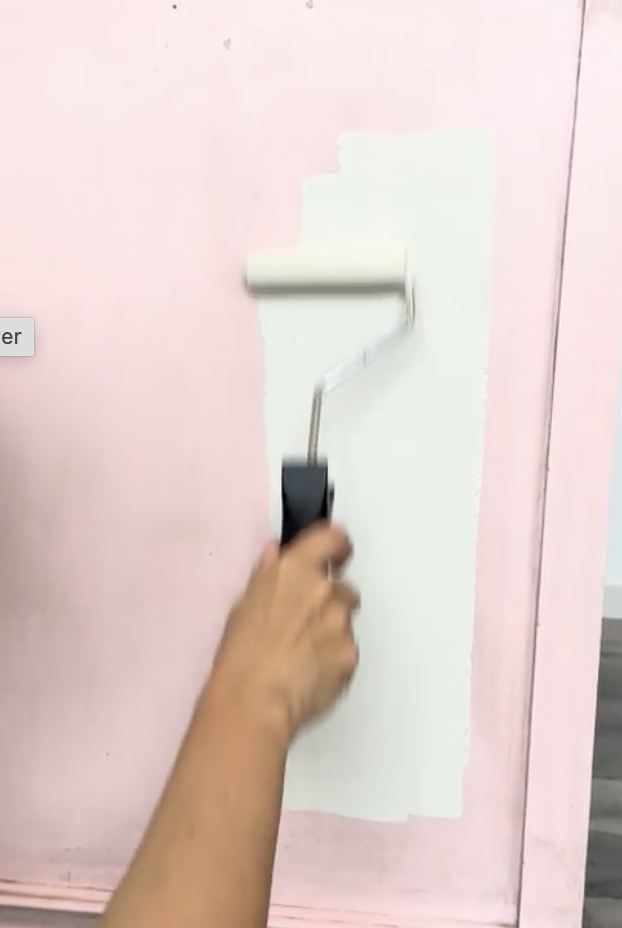
We painted the bottom of the dresser using the colour Chateau with a Staalmeester roller for large areas and a round brush for legs and details. Two coats gave full coverage.
See the full makeover reel here!

By following these steps, you too can achieve a beautiful, durable finish on your furniture, making it look as good as new.


