






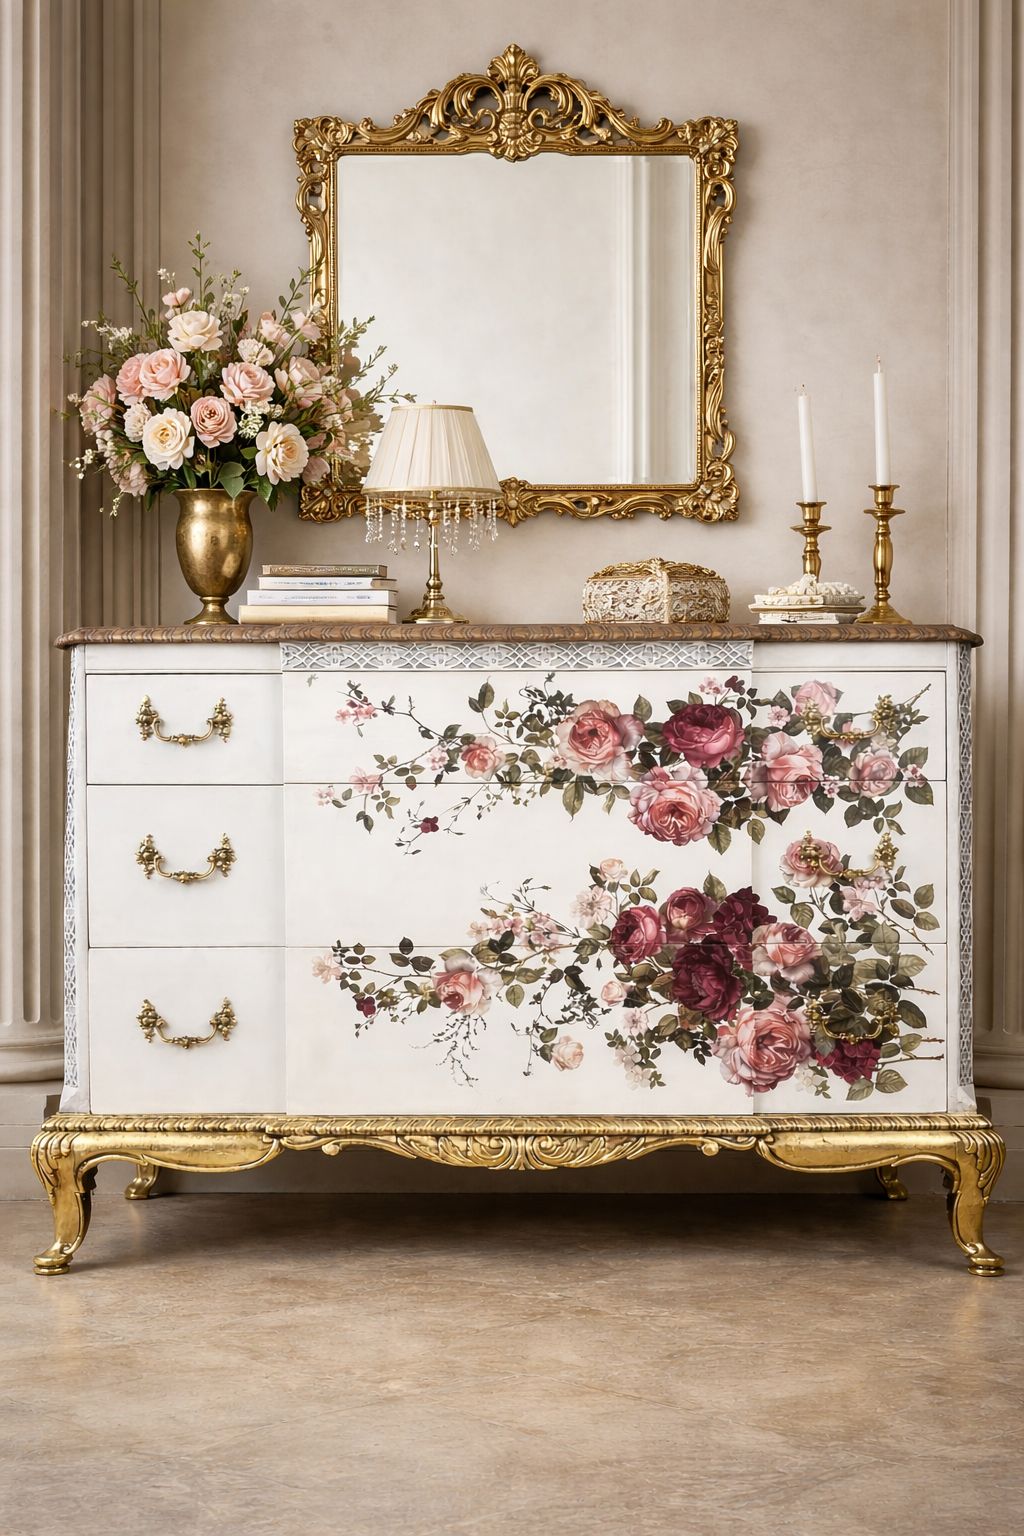
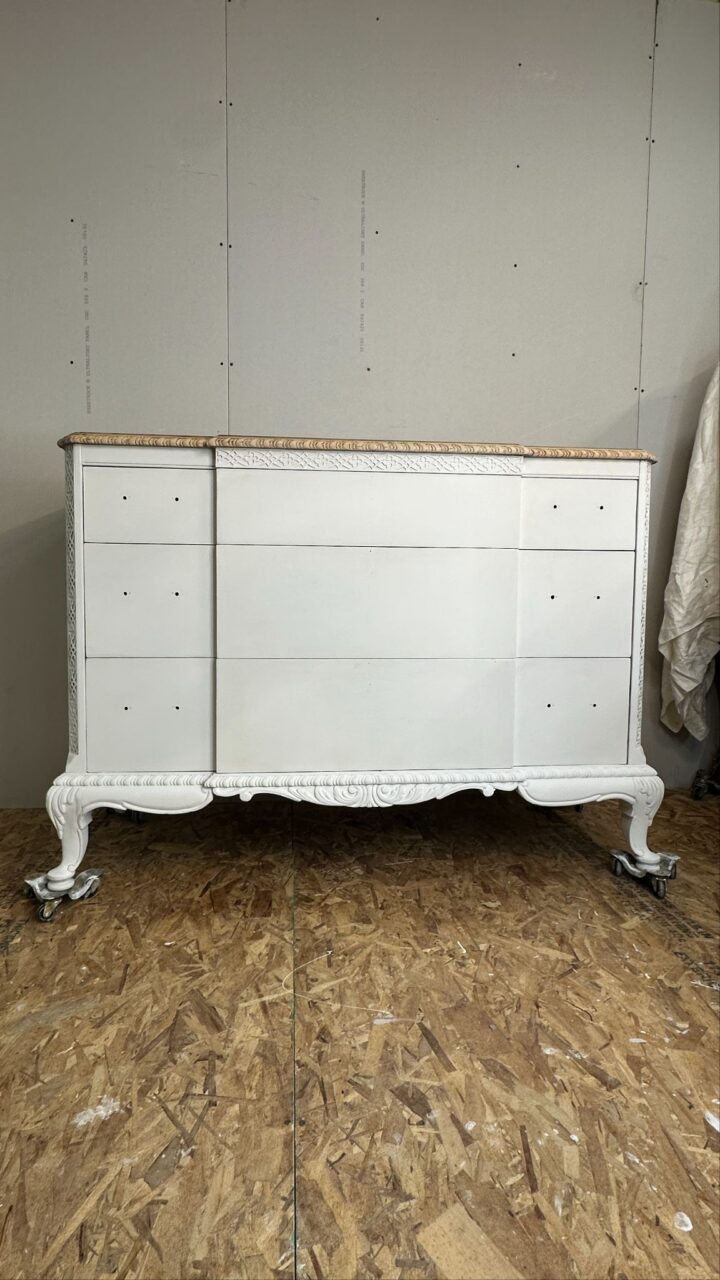
There is something so rewarding about taking a piece that has already had one makeover and giving it a completely fresh new direction. This floral dresser makeover with Alchemy, had been updated before, but it never sold, so it was the perfect candidate for a full refresh with soft chalky texture, beautiful floral details, warm wood tones, gold leaf accents, and just the right amount of depth and drama.
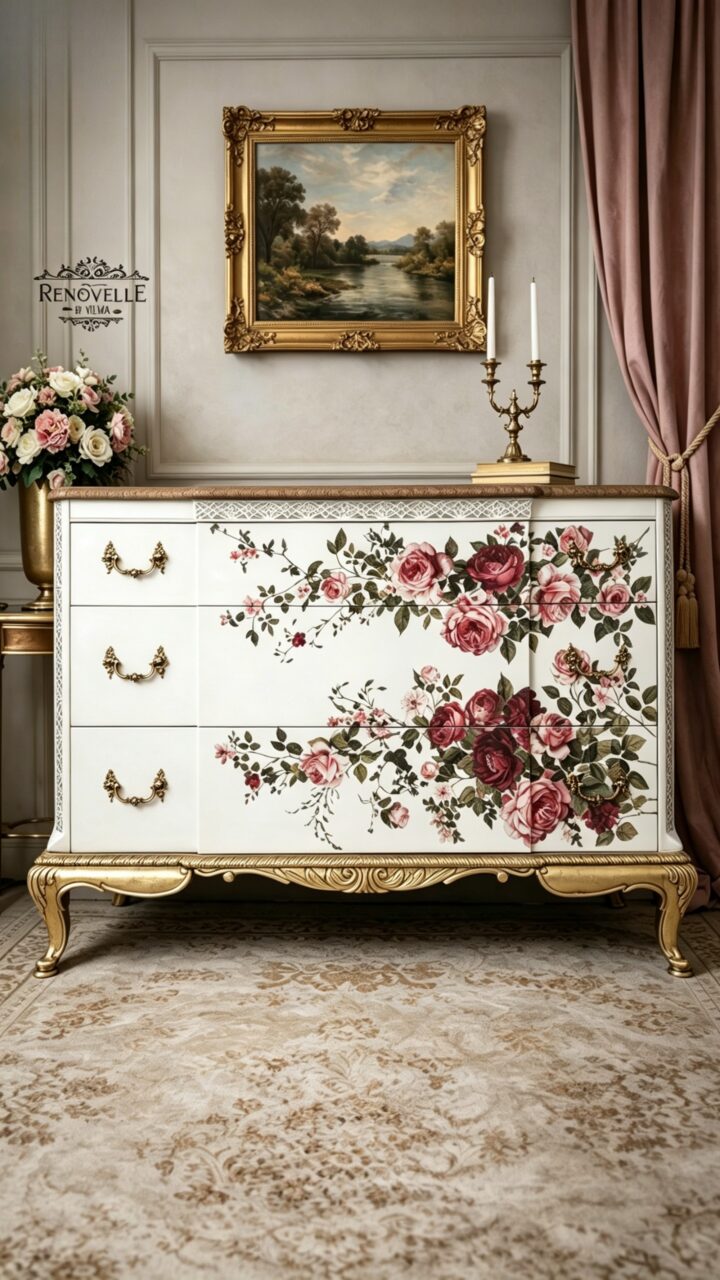
This makeover combines several beautiful finishing techniques, including Alchemy Limestone Chalk Paint in Birch, Fusion Mineral Paint in Algonquin, Stain & Finishing Oil, Black Glaze, Ultra Guard, gold leaf, and a Redesign With Prima décor transfer. The result is a romantic, layered piece full of character.
Supply List
For this project, we used:
- Fusion TSP Alternative for cleaning
- 120 grit sandpaper
- Spalter Brush 2”
- Alchemy Chalk Paint Brush
- Alchemy Limestone Chalk Paint in Birch
- Fusion Mineral Paint in Algonquin
- Ultra Guard in Satin
- Stain & Finishing Oil in Light Oak and Cappuccino
- Black Glaze
- Applicator Pad
- Sponge
- Synthetic brush
- Redesign With Prima décor transfer
- Gold leaf
- Adhesive spray
- Clean towels or lint-free cloths
The Before:
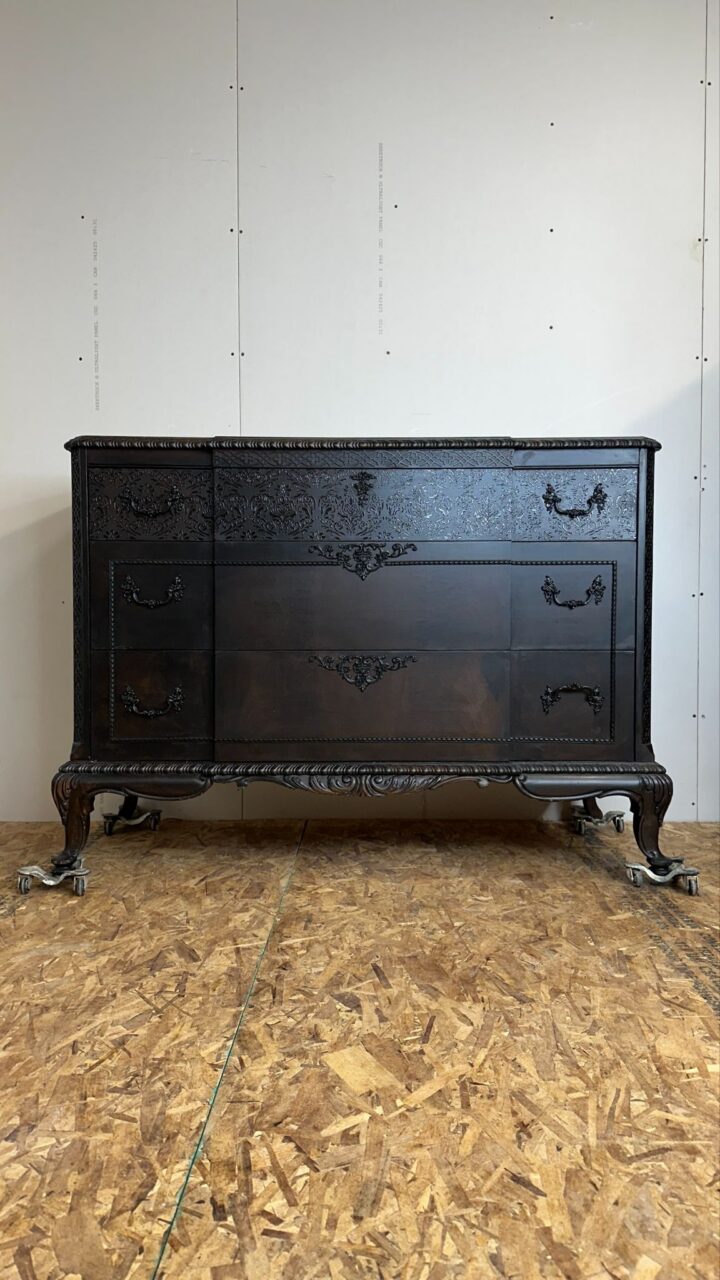
Step 1: Removing the Previous Details
This dresser had already been updated once before, so the first step was removing the old decorative elements from the original makeover. The moulds and stencilling paste on the first drawer were taken off to create a cleaner surface and give the piece a fresh start.
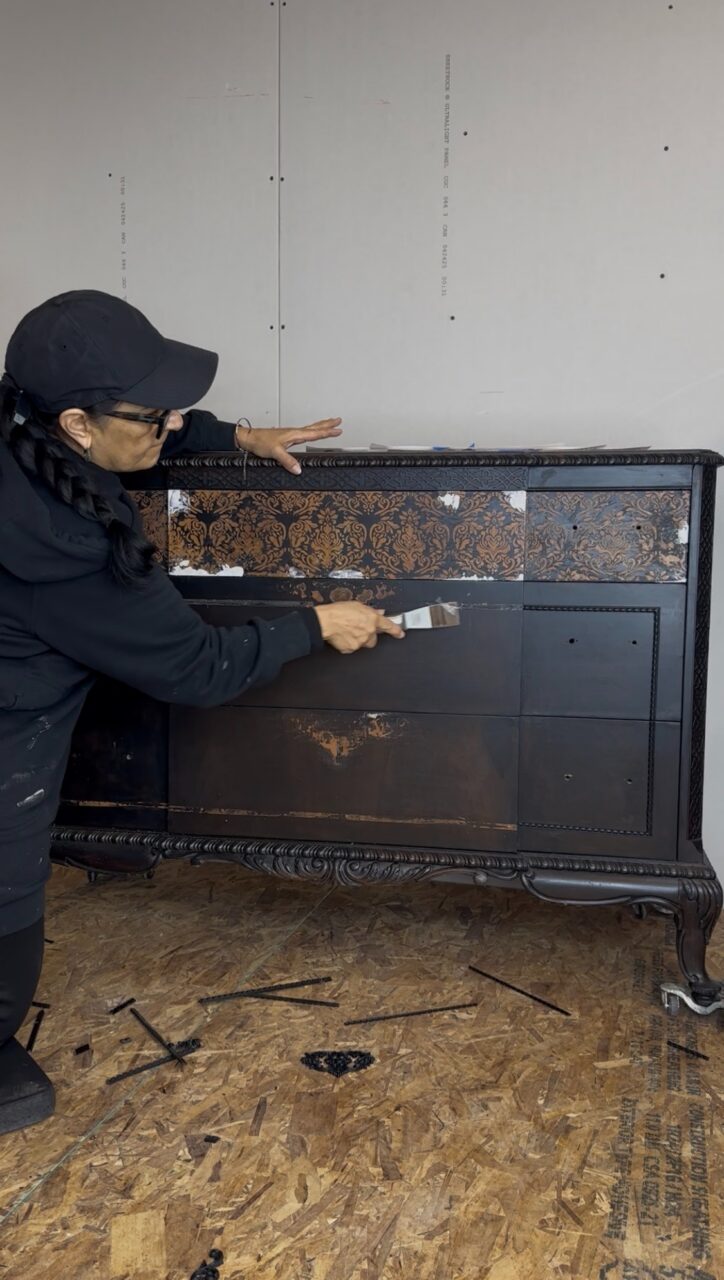
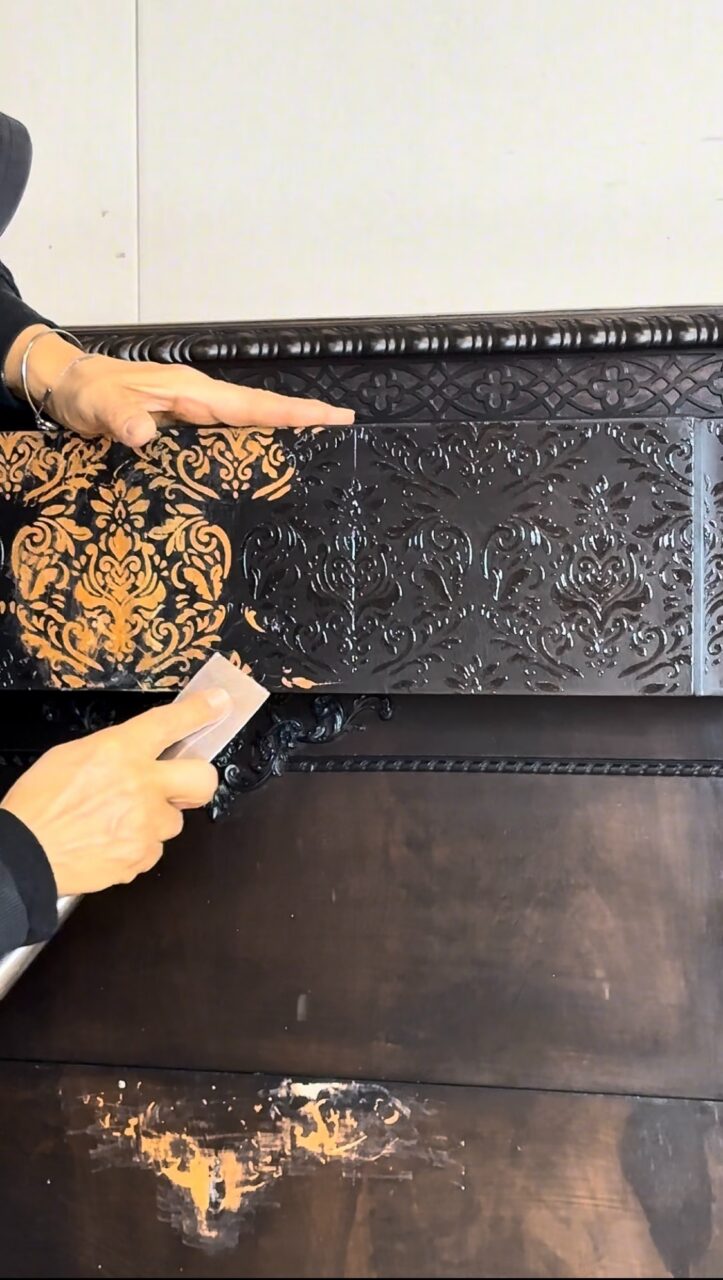
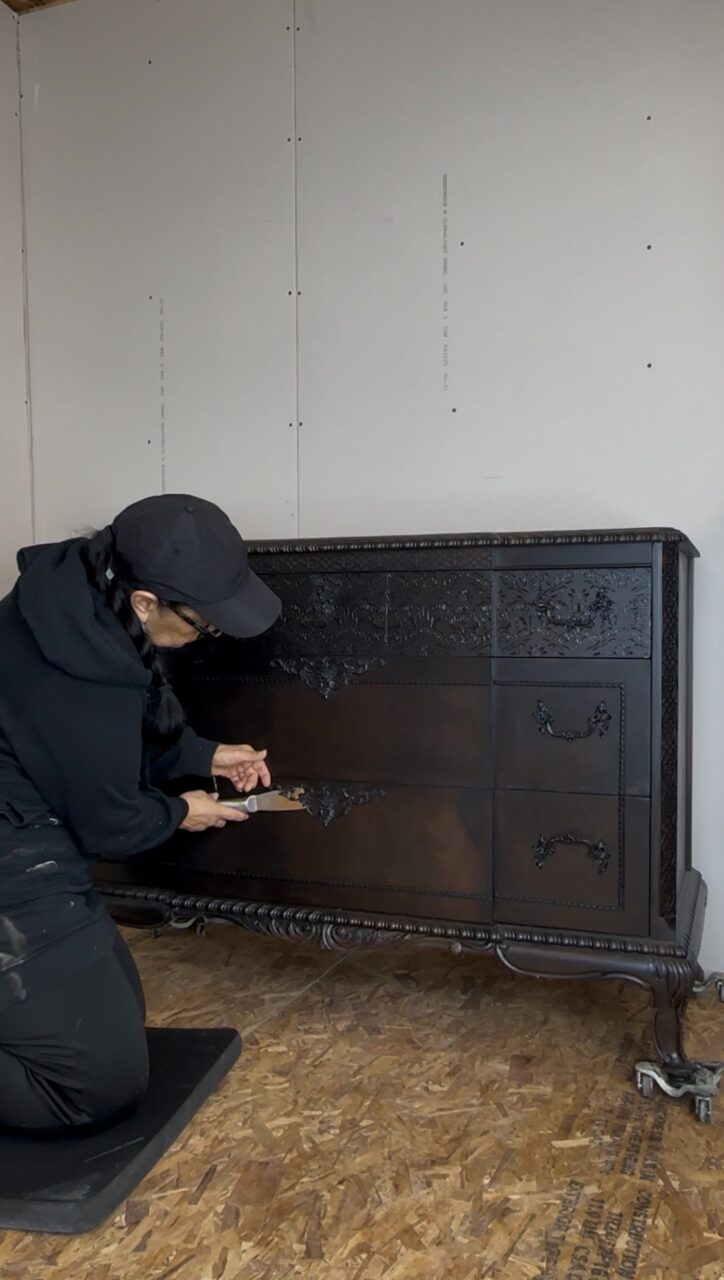
This is such a great reminder that furniture can evolve. Just because a piece has already been painted or decorated does not mean it cannot be transformed again. With the right prep, you can completely change the style and give it a whole new life.
Step 2: Prep and Cleaning
Proper prep is always the foundation of a beautiful and durable finish.
The dresser was lightly sanded using 120 grit sandpaper to smooth the surface and remove any remaining texture from the previous design. After sanding, all dust was thoroughly cleaned away.
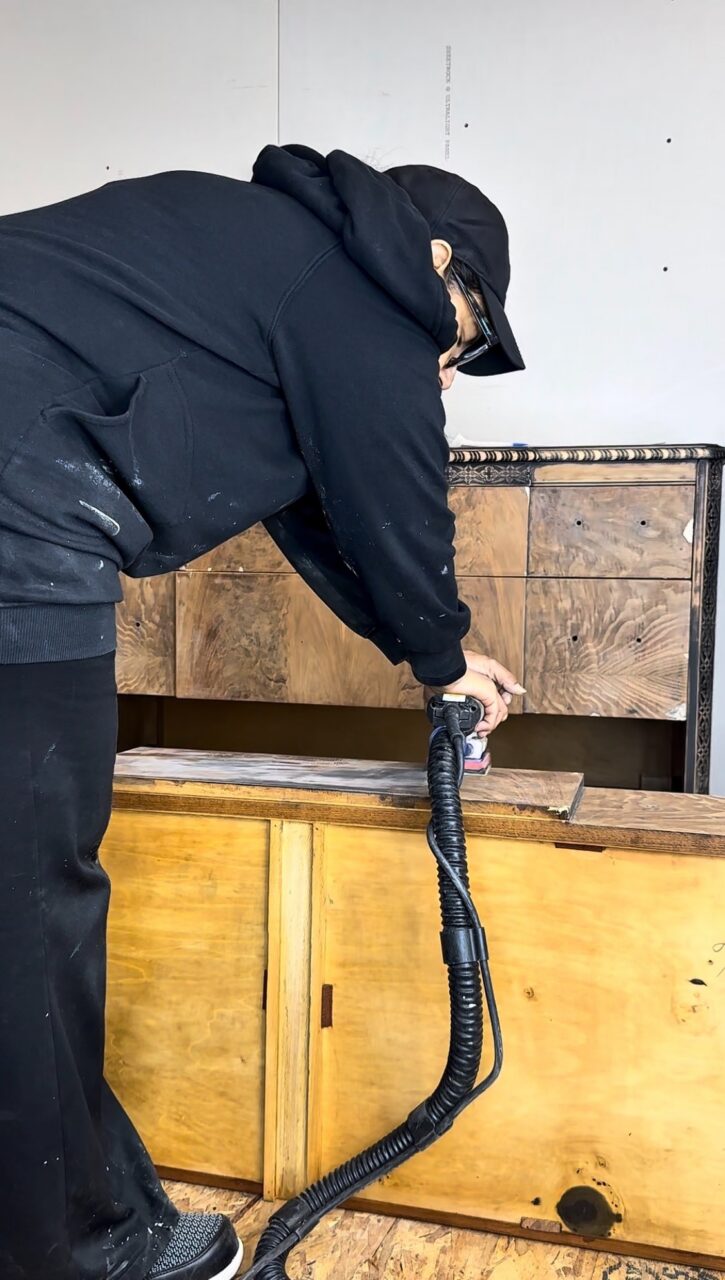
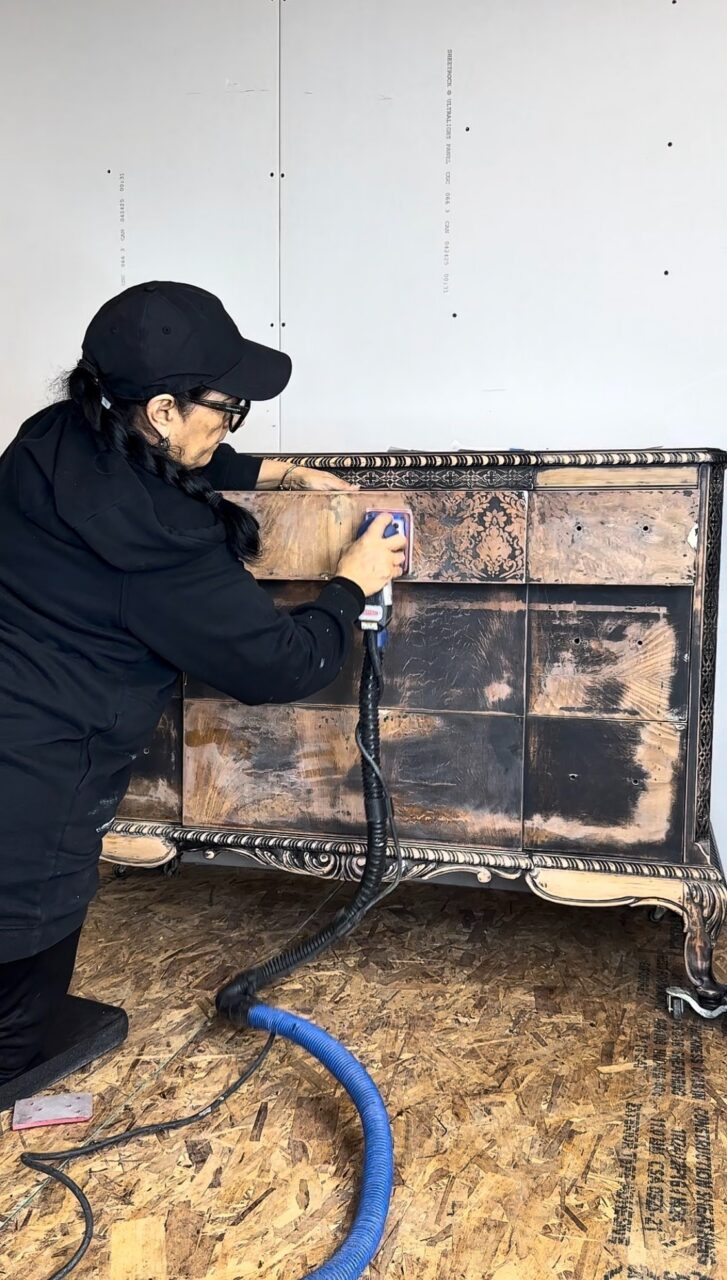
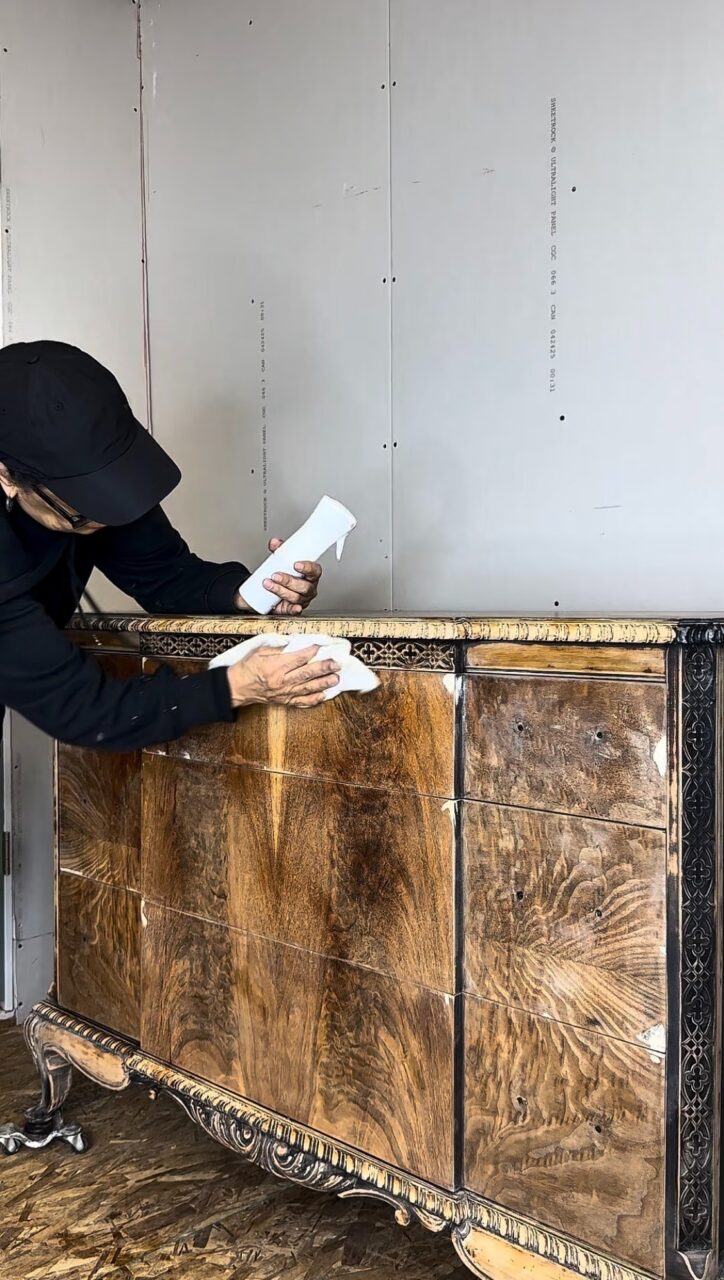
Cleaning is so important before painting because dust, oils, wax, and residue can all interfere with adhesion. A clean surface helps your paint grip beautifully and gives you a smoother final finish.
Step 3: Painting with Alchemy Limestone Chalk Paint in Birch
For the body of the dresser, Alchemy Limestone Chalk Paint in Birch was used to create a soft, chalky, romantic base.
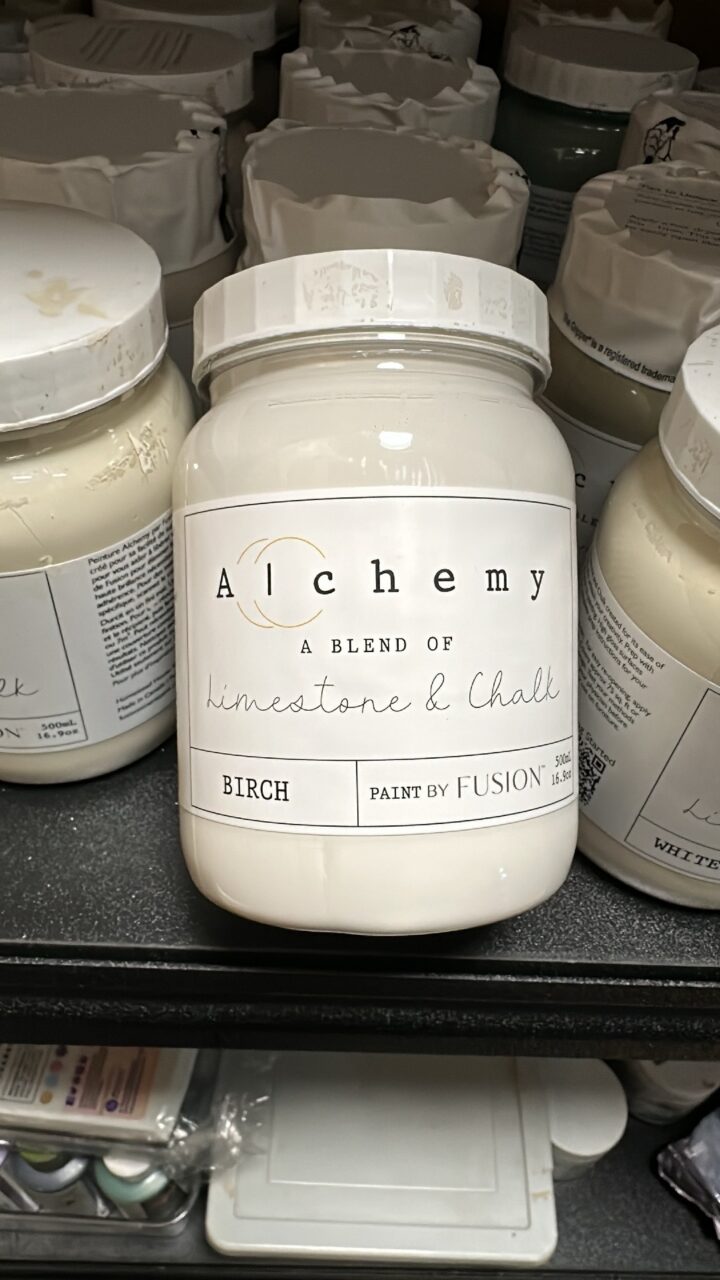
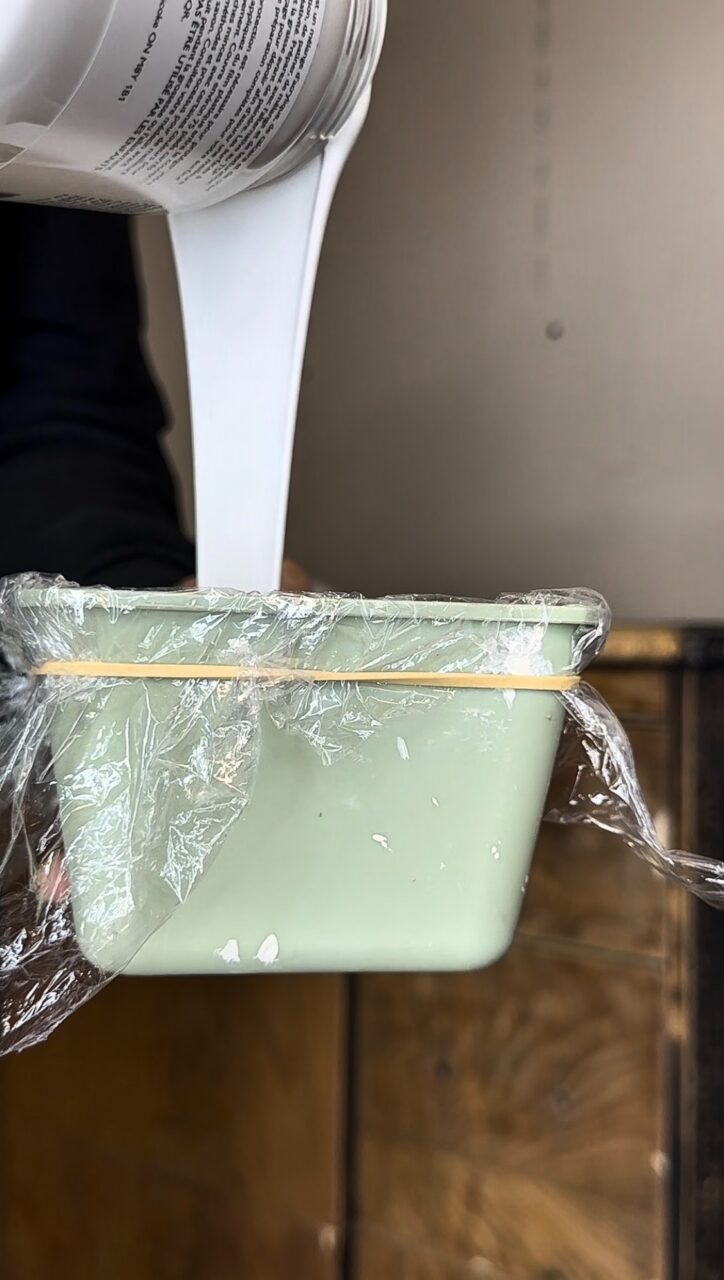
The first coat was applied while alternating between brushes and misting the surface with water throughout the process. This helped keep the paint moving and created a softer, more blended look.
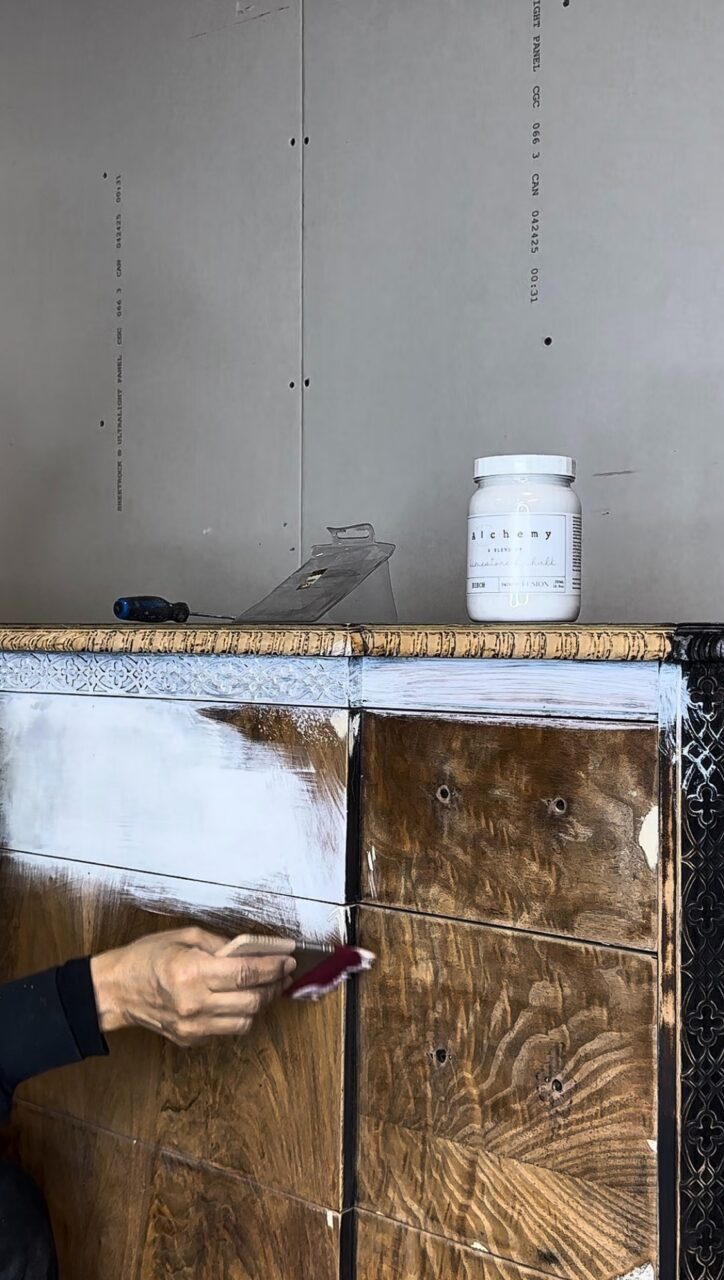
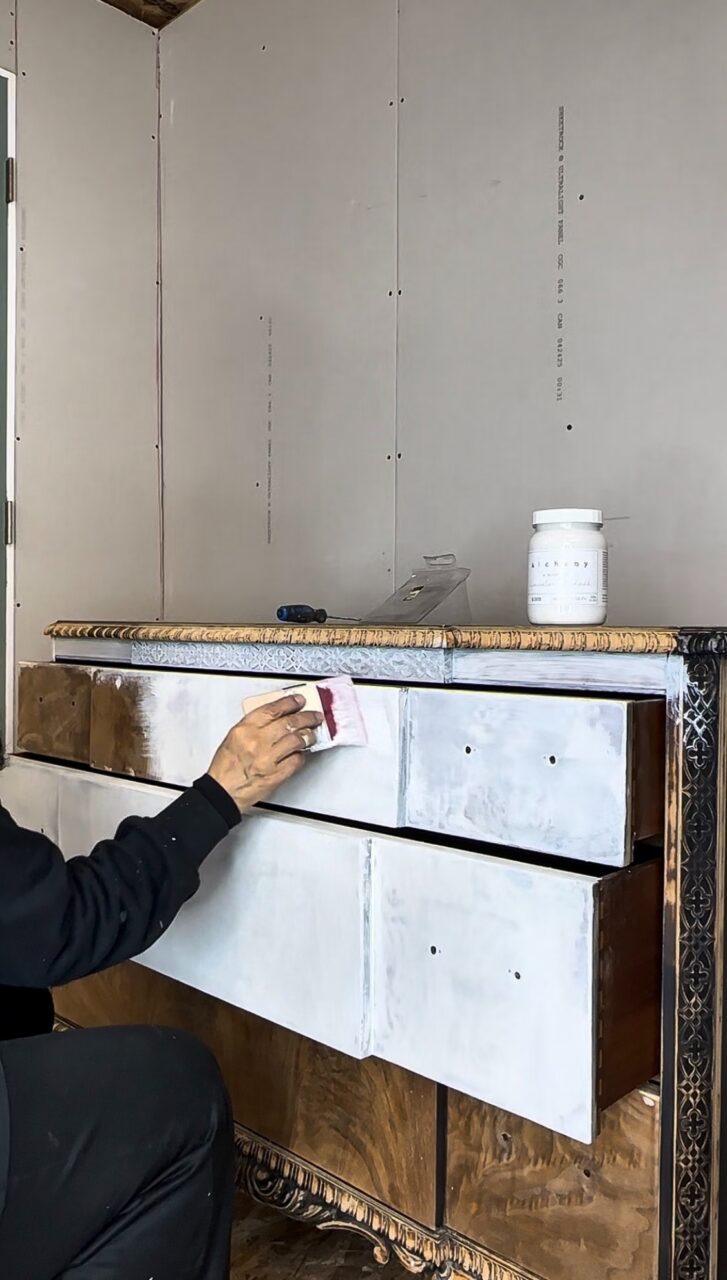
A second coat was then applied for fuller coverage.
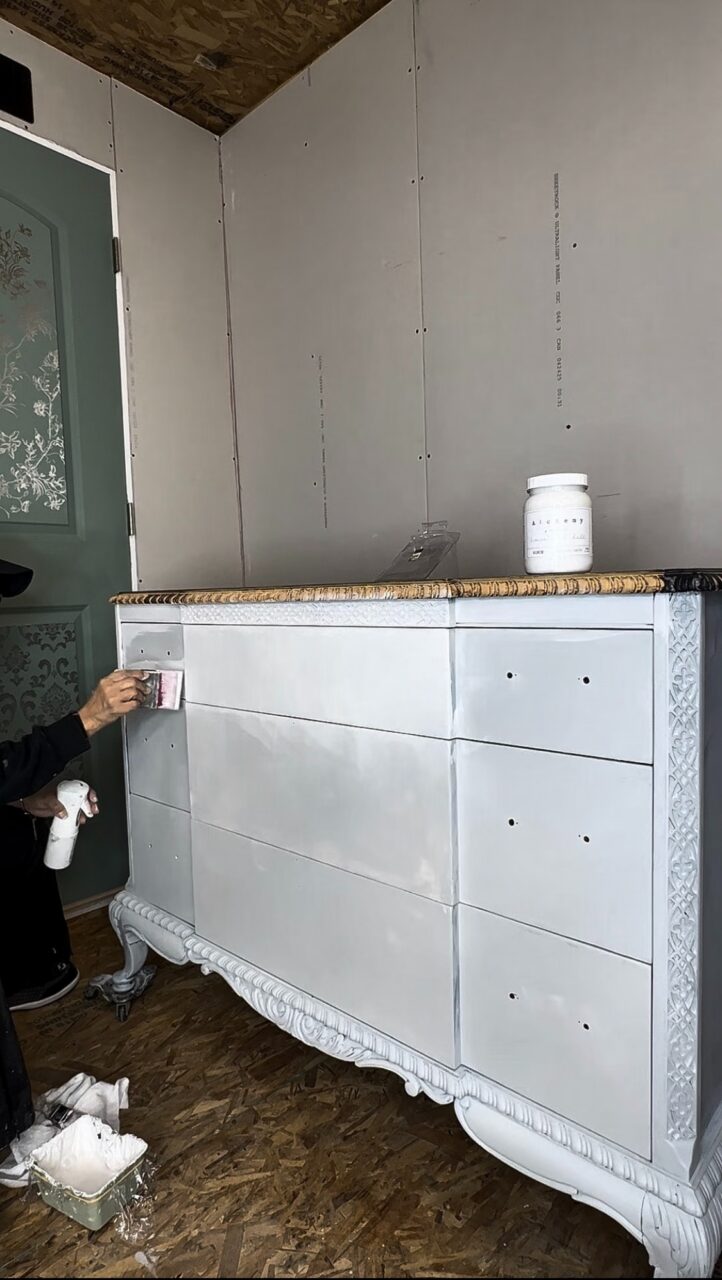
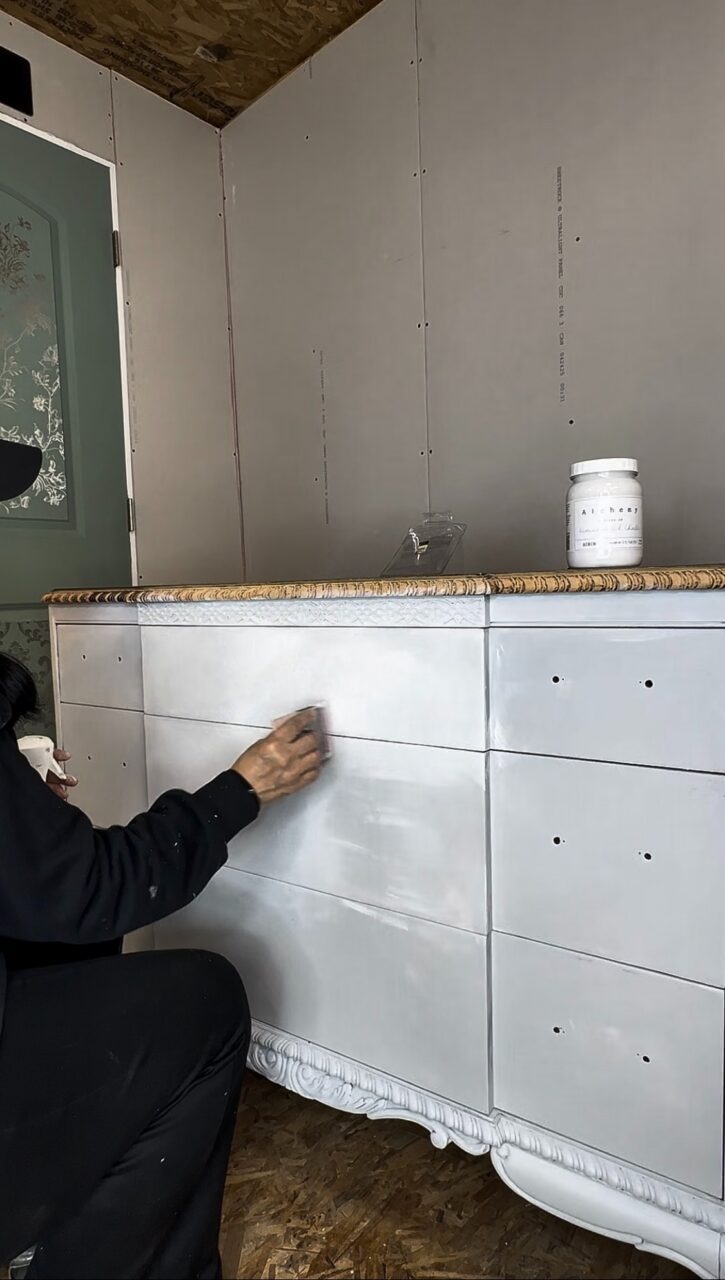
For the third layer, less paint was used and the surface was lightly misted with water again. This created a more organic, textured finish rather than a perfectly flat painted surface. The result was soft, layered, and beautifully aged.
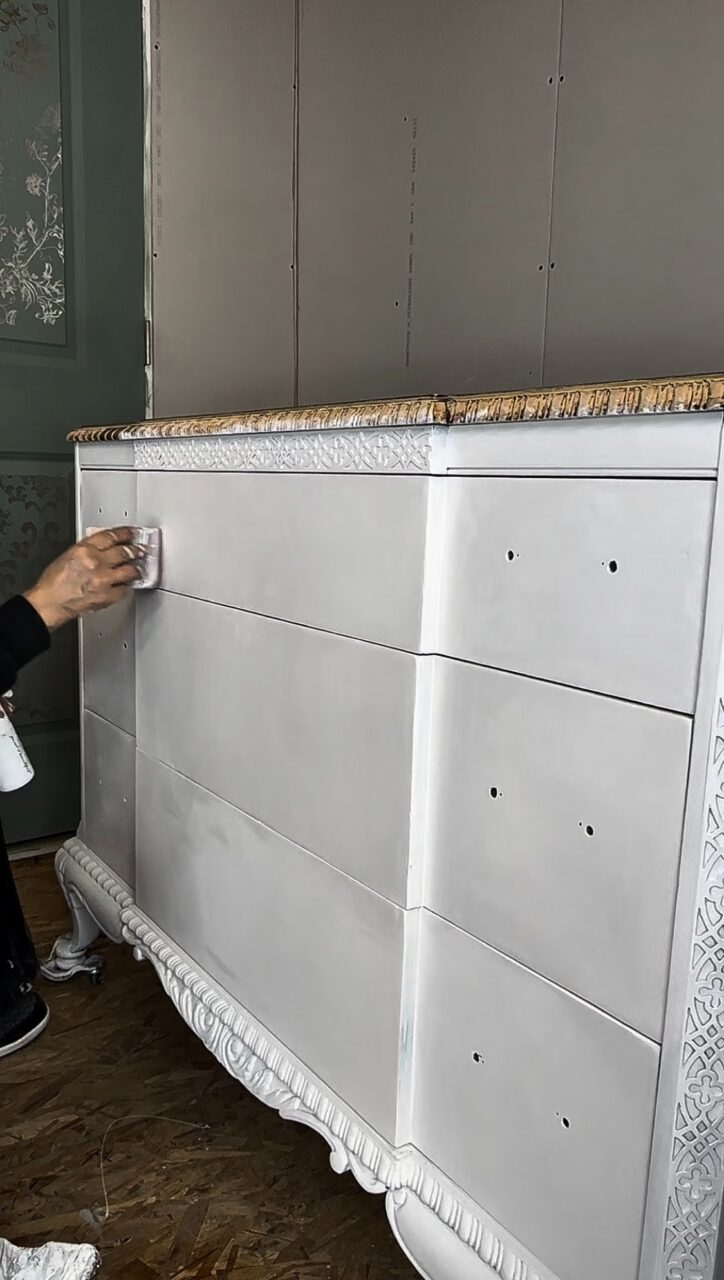
The piece was then left to dry for 48 hours before applying the décor transfer.
Step 4: Applying the Floral Décor Transfer
Once the painted finish had fully dried, the Scarlet Embrace décor transfer from Redesign With Prima was applied.
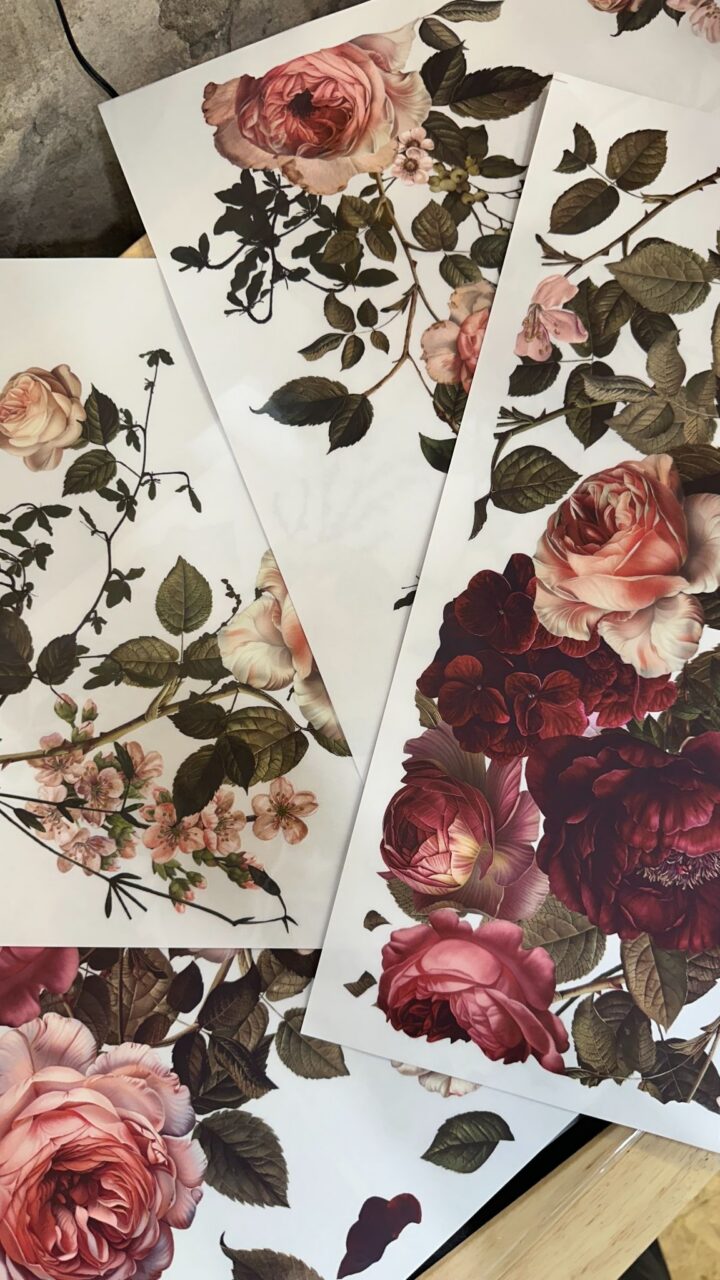
This floral transfer added the perfect romantic detail to the dresser. The soft florals worked beautifully against the chalky Birch finish, giving the piece a vintage-inspired look with a fresh and feminine feel.
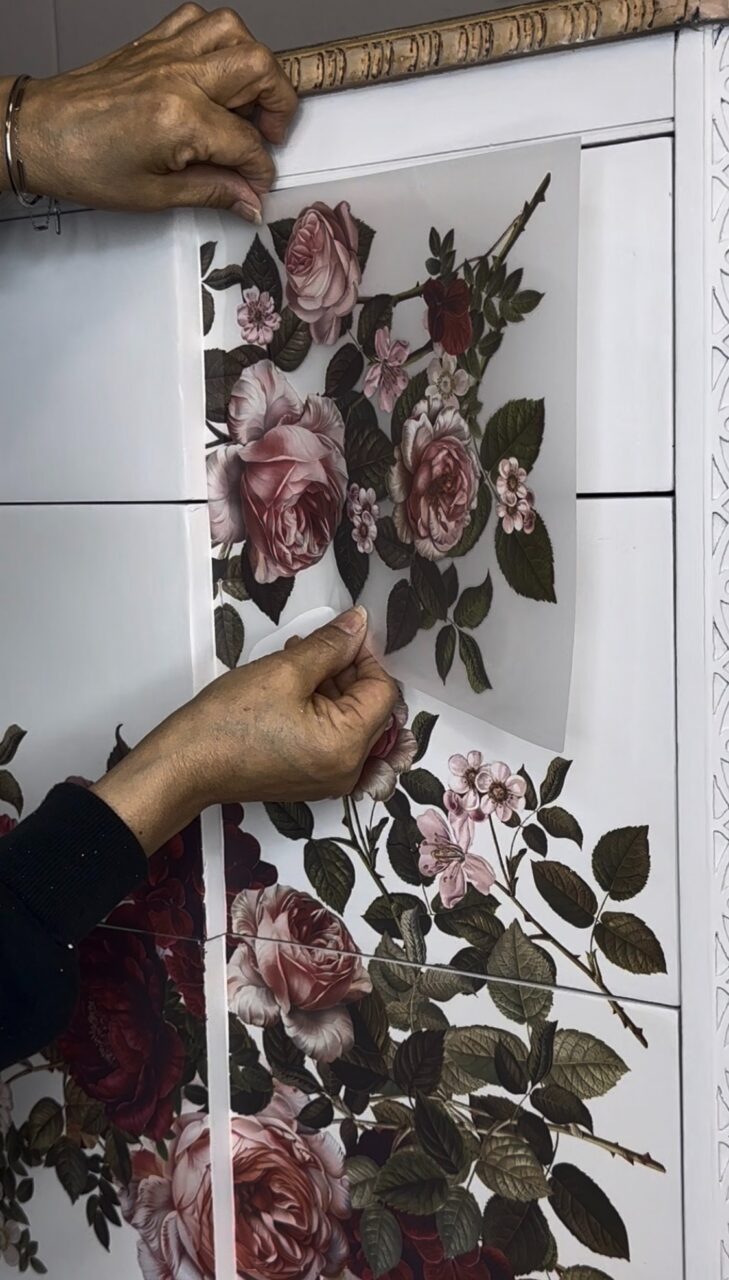
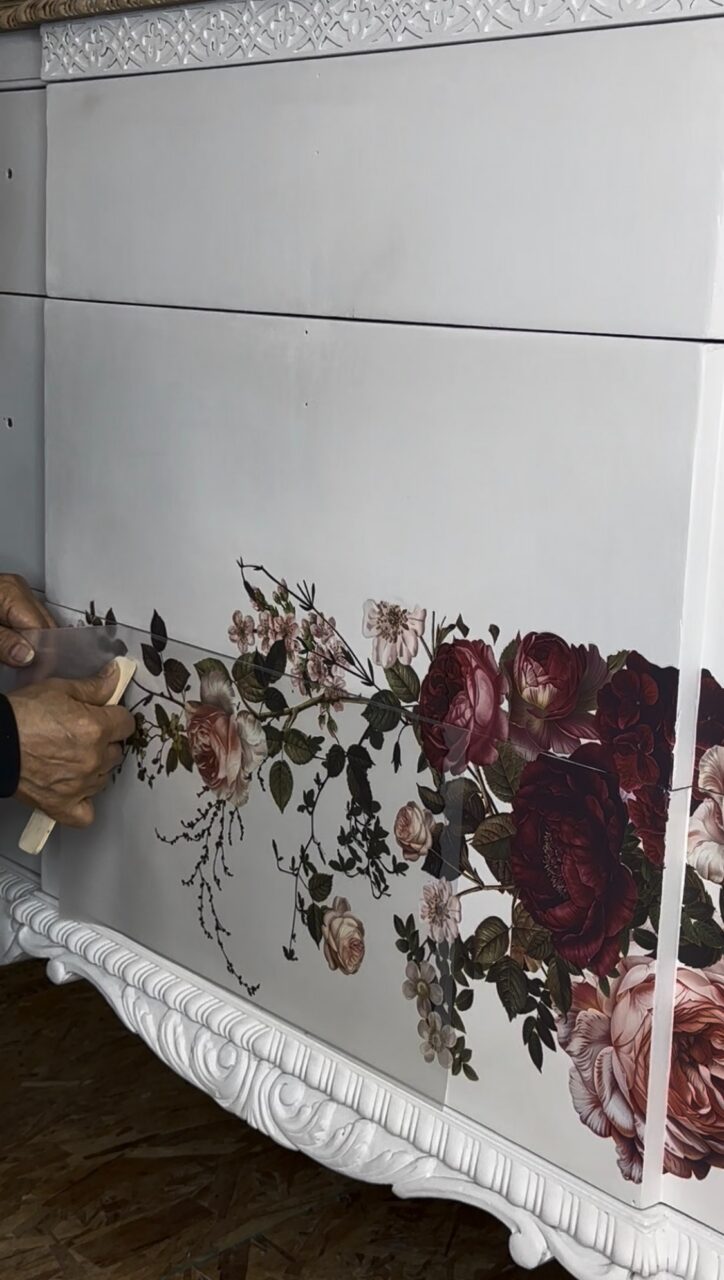
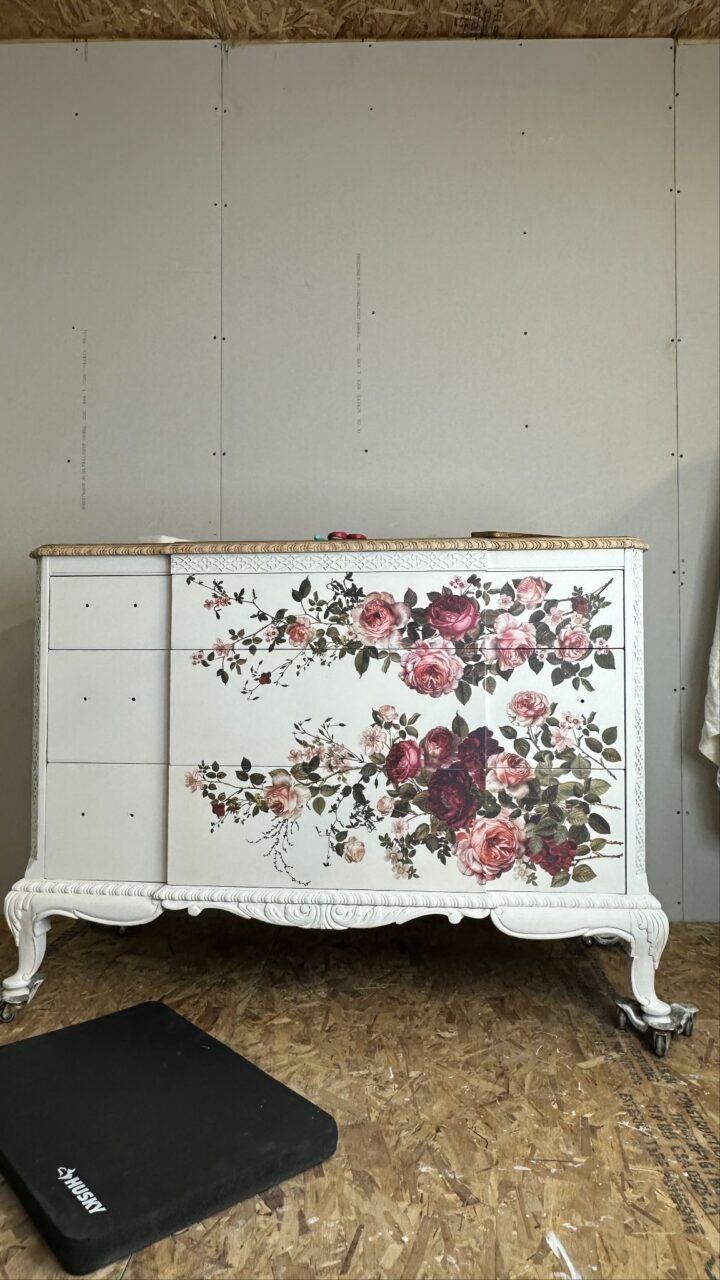
Décor transfers are such a lovely way to add detail without hand-painting. They can completely change the personality of a piece and help create a truly custom finish.
Step 5: Sealing with Ultra Guard in Satin
After the transfer was applied, the entire piece was sealed using Ultra Guard in Satin.
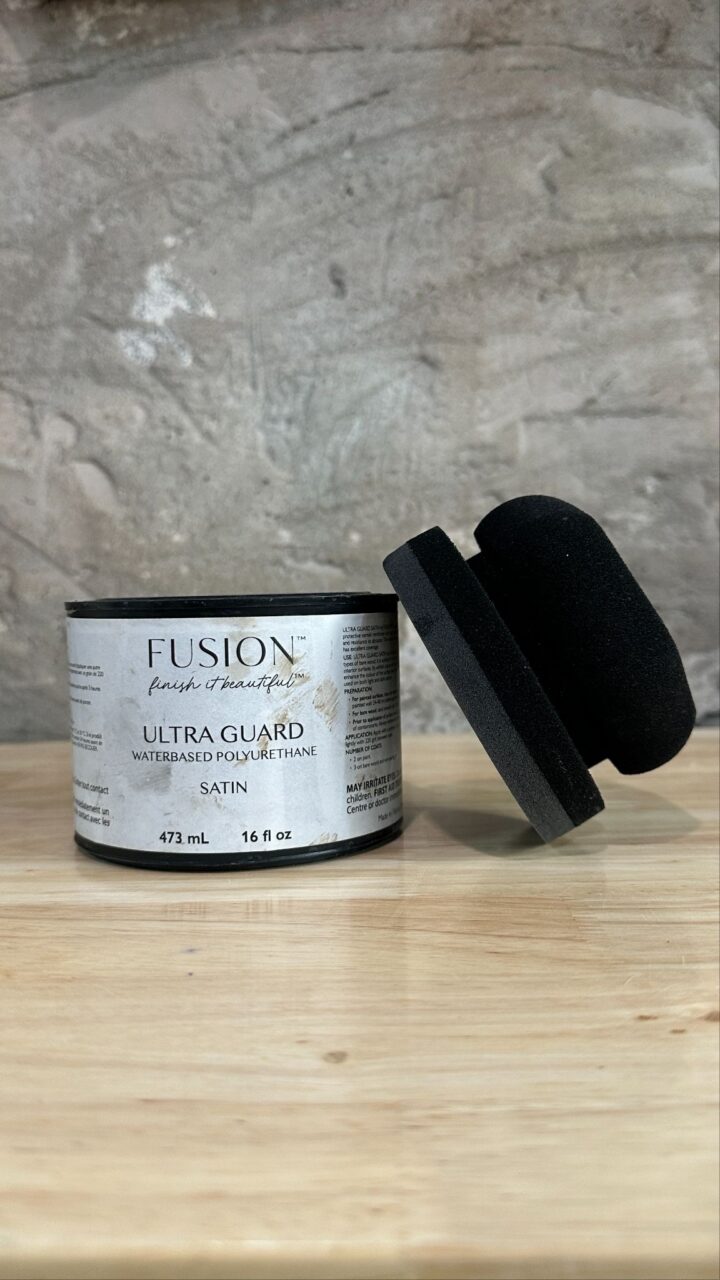
Apply Ultra Guard over the larger areas with a damp sponge, then use a small synthetic brush for the detailed sections. This made it easier to get into the moulding and around the transfer without disturbing the design.
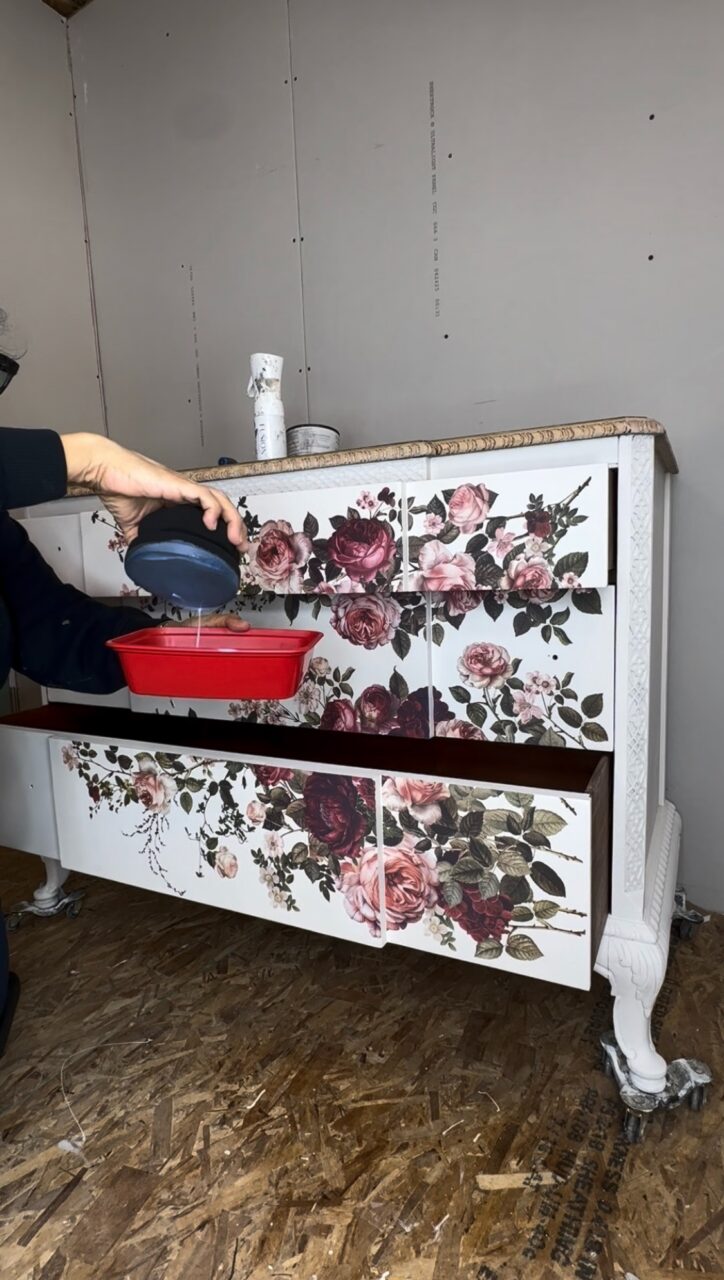
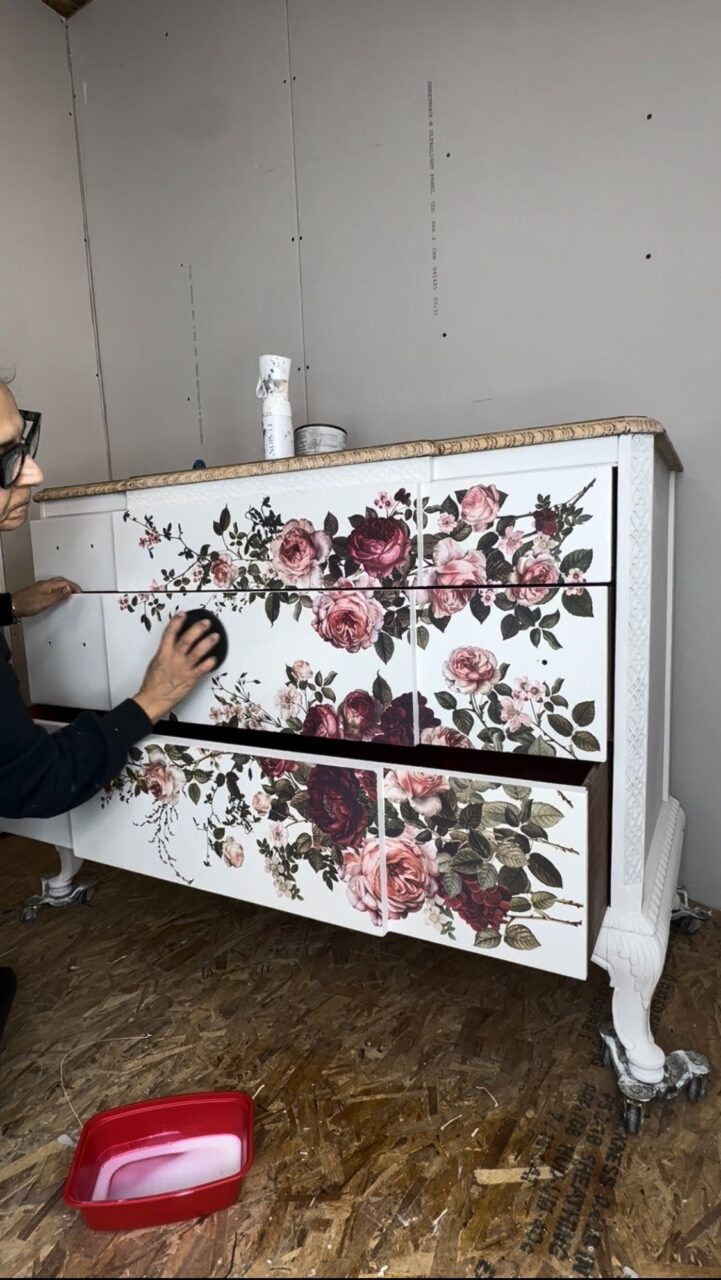
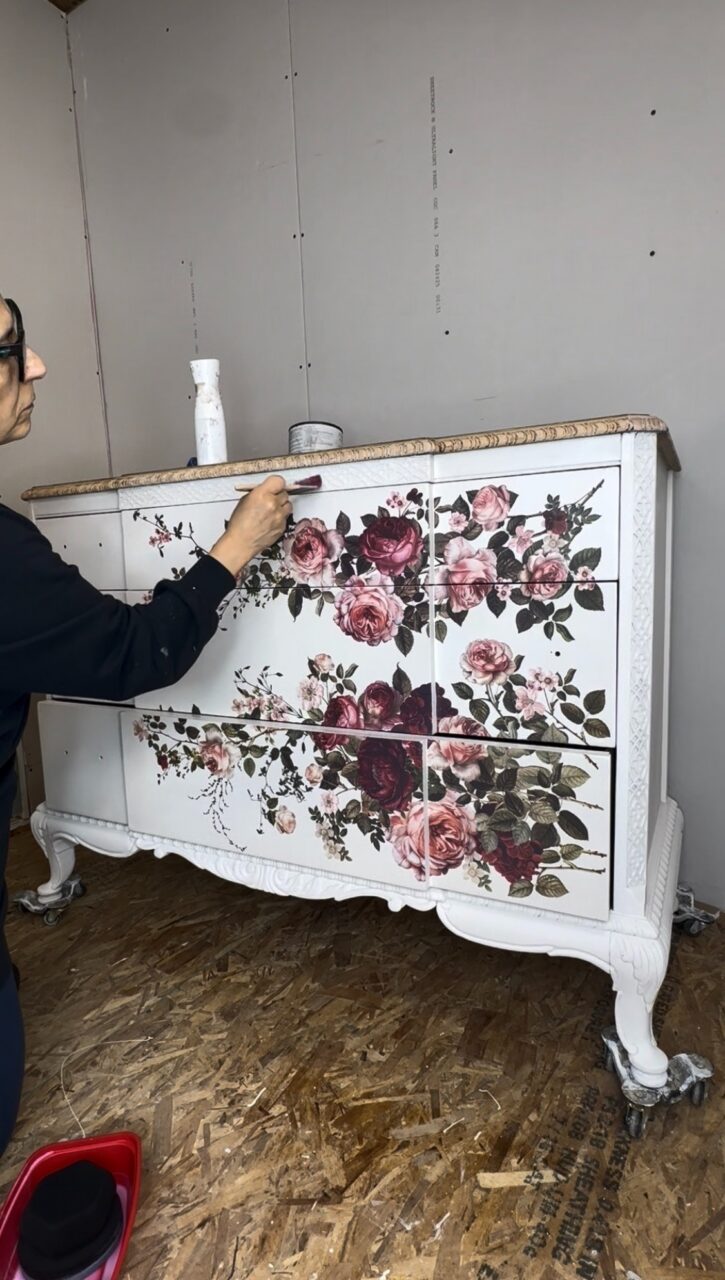
Ultra Guard in Satin added a beautiful protective finish while giving the piece a soft, elegant sheen. It is a great choice when you want added durability, especially on a detailed furniture piece like this.
The dresser was left to dry for 48 hours before moving on to the next decorative step.
Step 6: Adding Gold Leaf to the Base
Applying gold leaf to the bottom of the dresser adds a touch of elegance and a little drama.
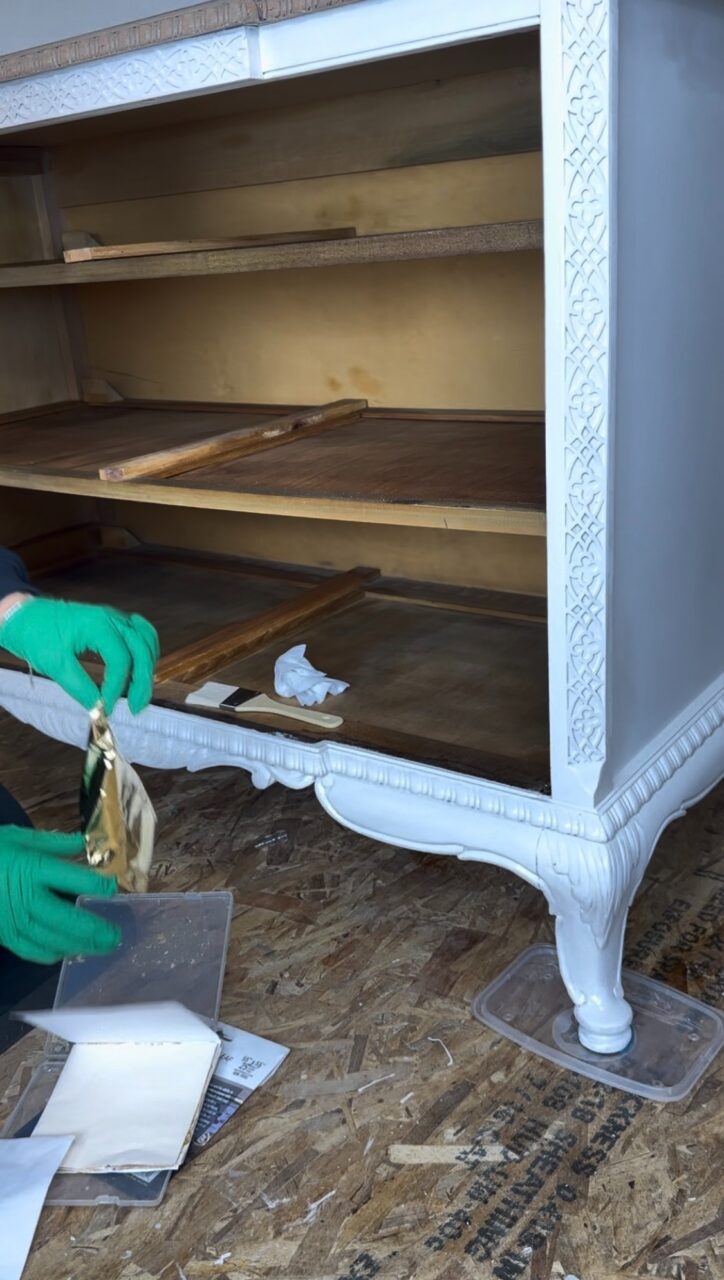
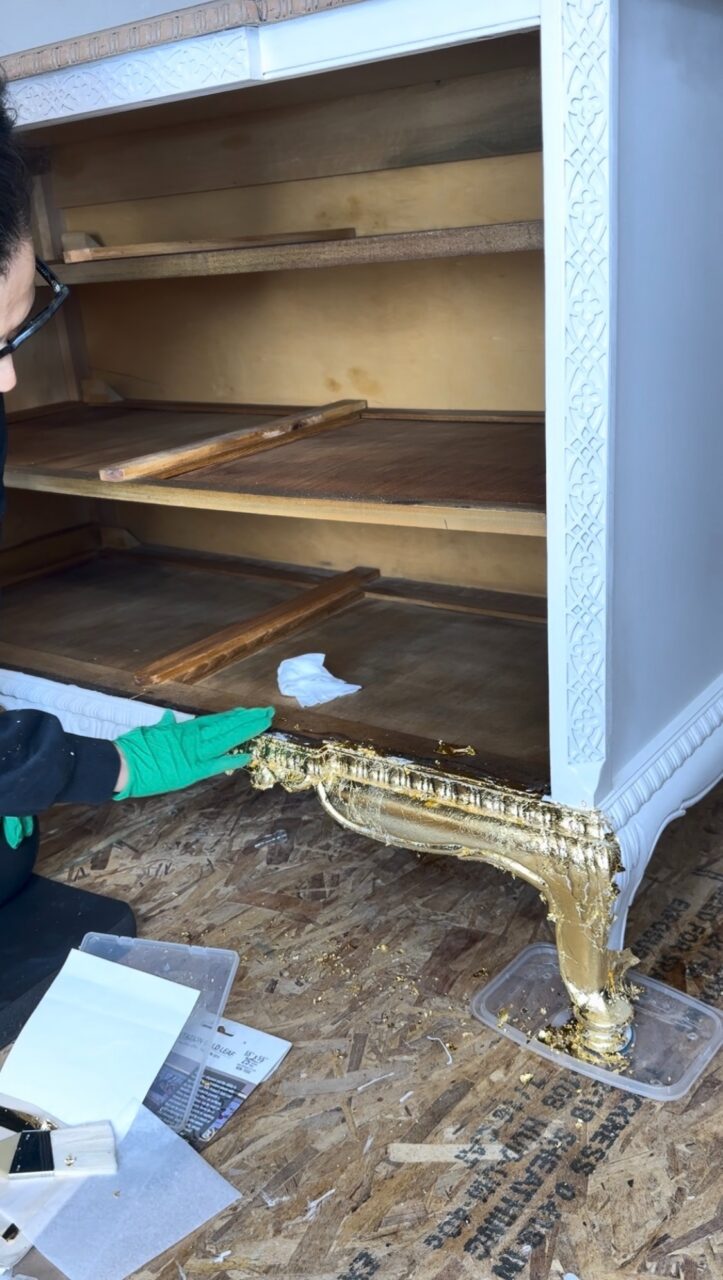
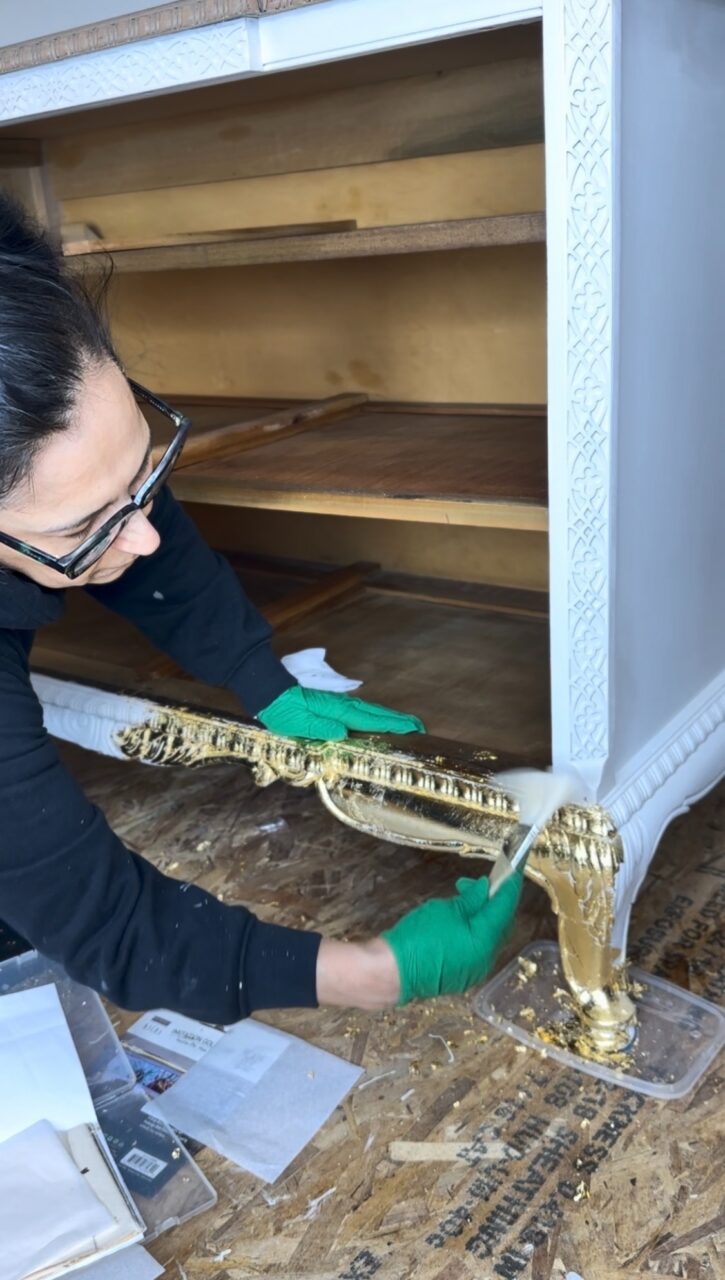
The gold leaf created a beautiful metallic accent that immediately elevated the piece. It added warmth, shimmer, and an antique-inspired detail that worked so well with the floral transfer and soft painted finish.
Step 7: Aging the Gold Leaf with Black Glaze
To soften the brightness of the gold leaf and give it more depth, apply Black Glaze over the gold leaf, then remove the excess with a towel.
This step helped age the gold leaf and made it look more naturally worn and timeworn. Instead of looking too new or shiny, the glaze gave the gold leaf a beautiful antique finish.
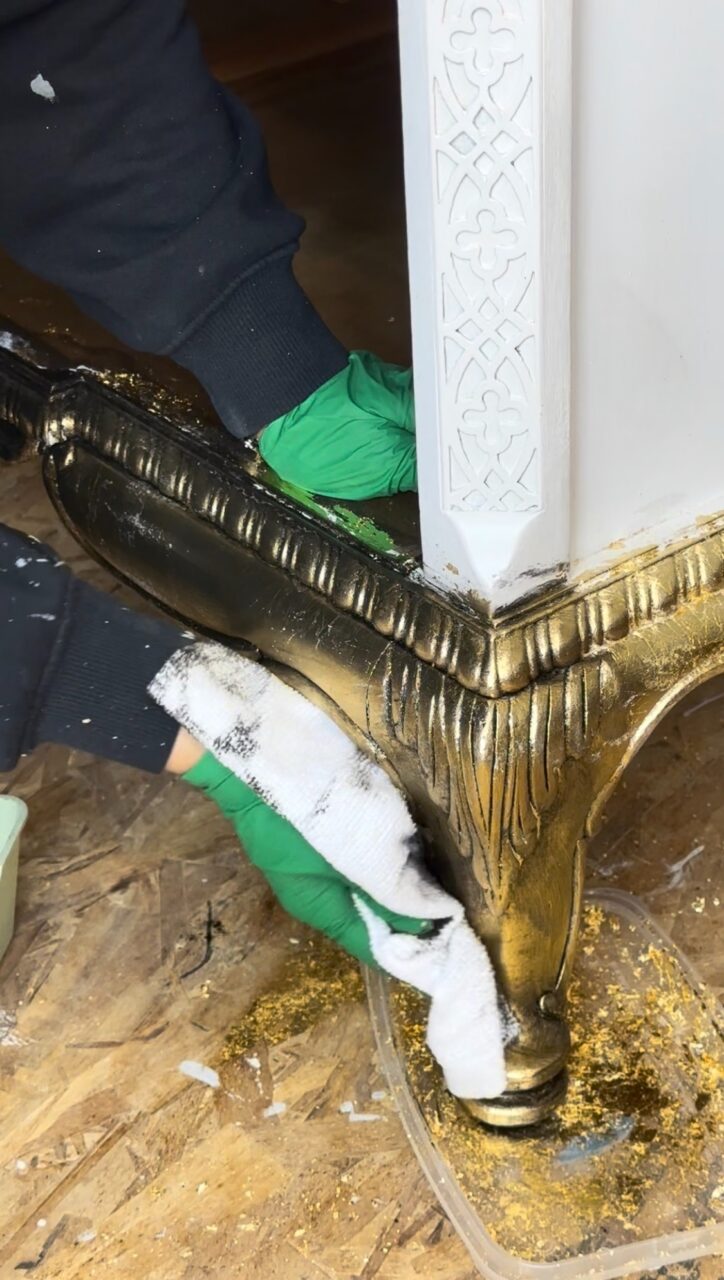
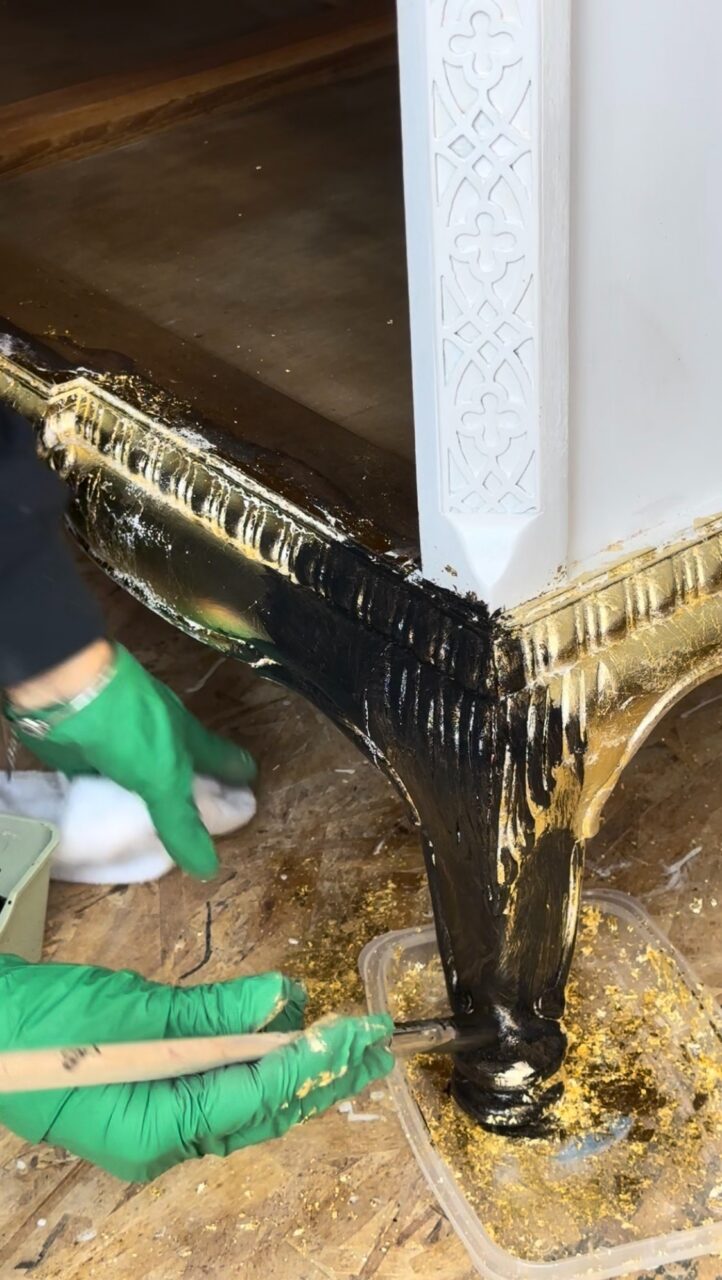
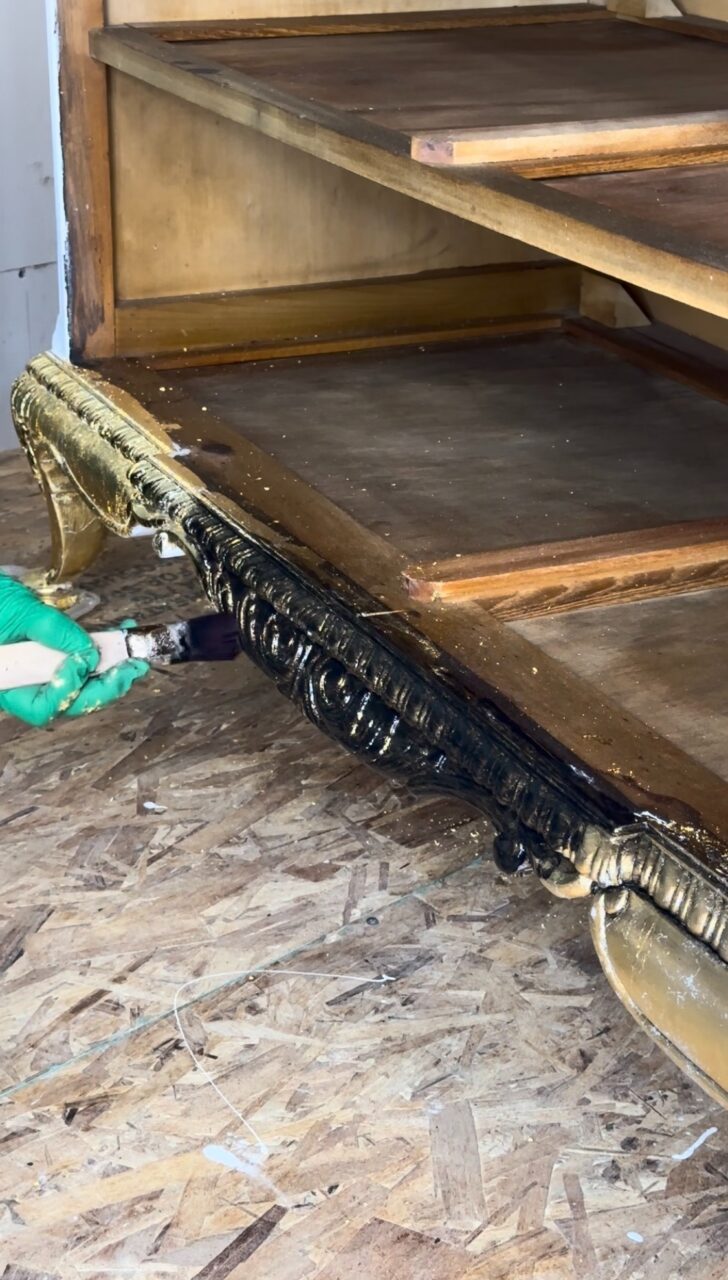
Apply Black Glaze to the moulding details to bring out the dimension and highlight the design. Wipe away the excess glaze, leaving just enough behind to settle into the details and create depth.
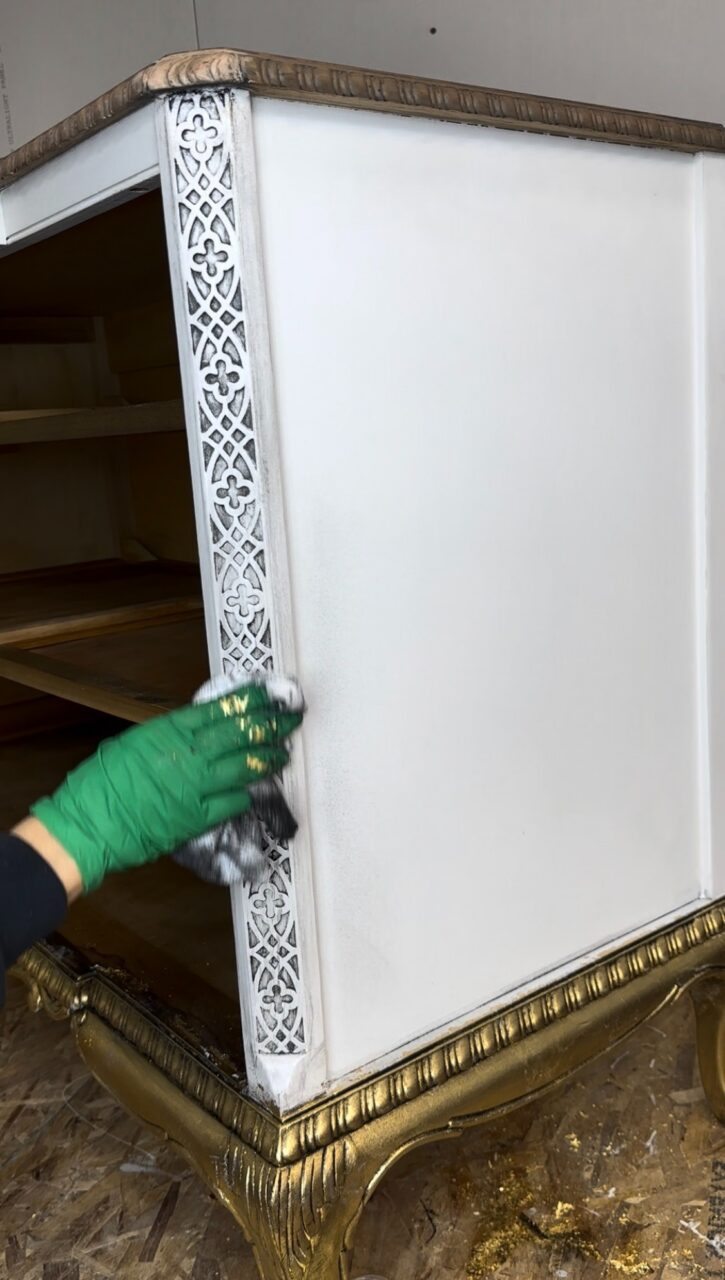
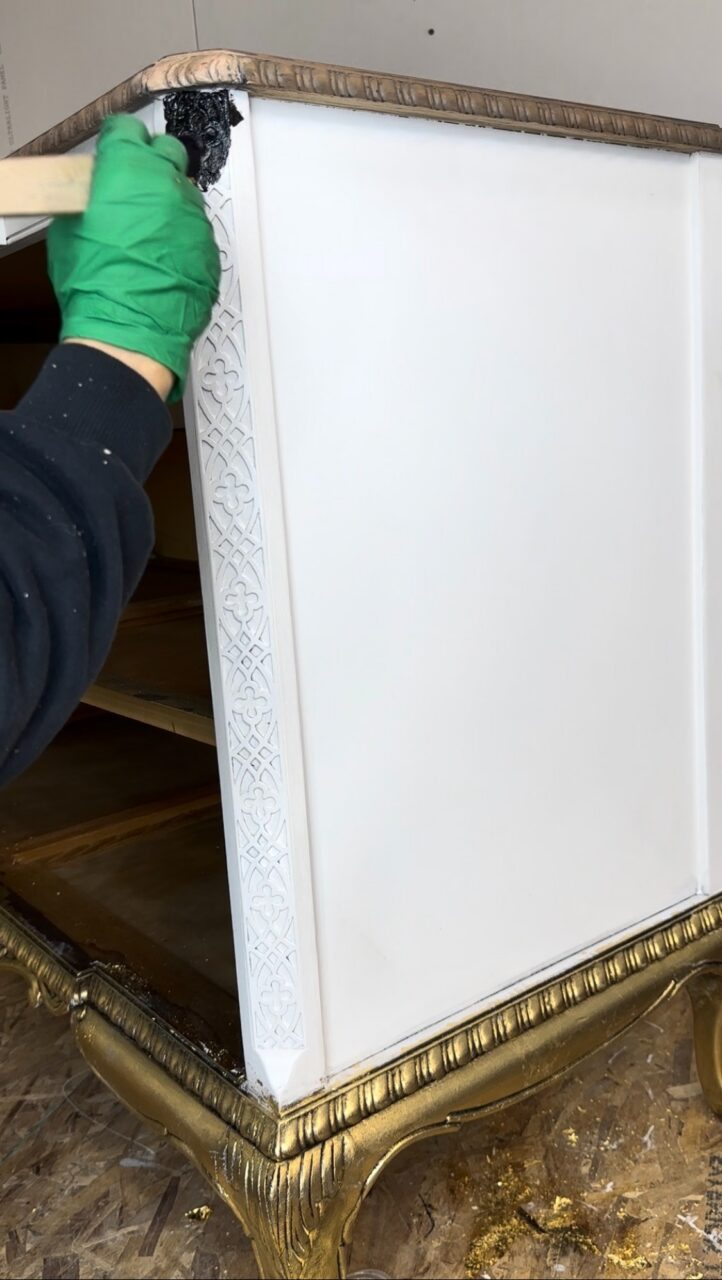
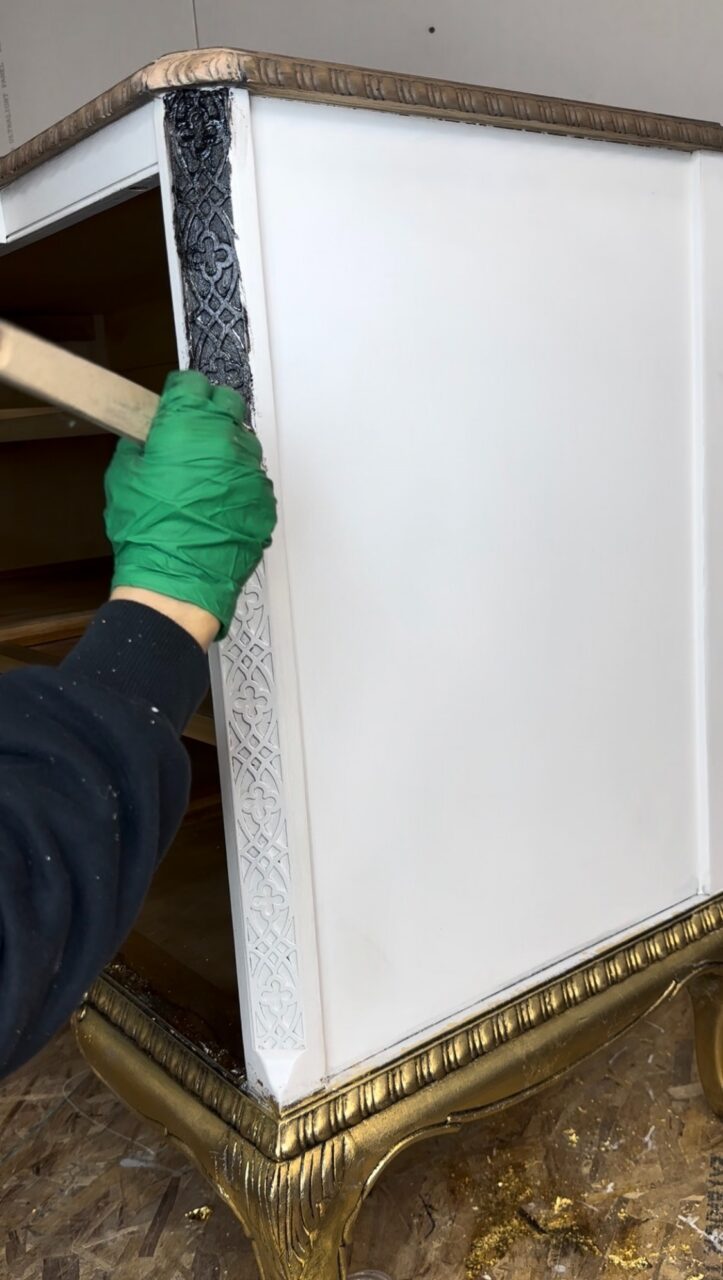
This is one of those simple finishing steps that makes such a big difference. Glaze helps the details stand out and gives the whole piece a more layered, professional look.
Step 8: Creating a Paint Wash on the Top with Algonquin
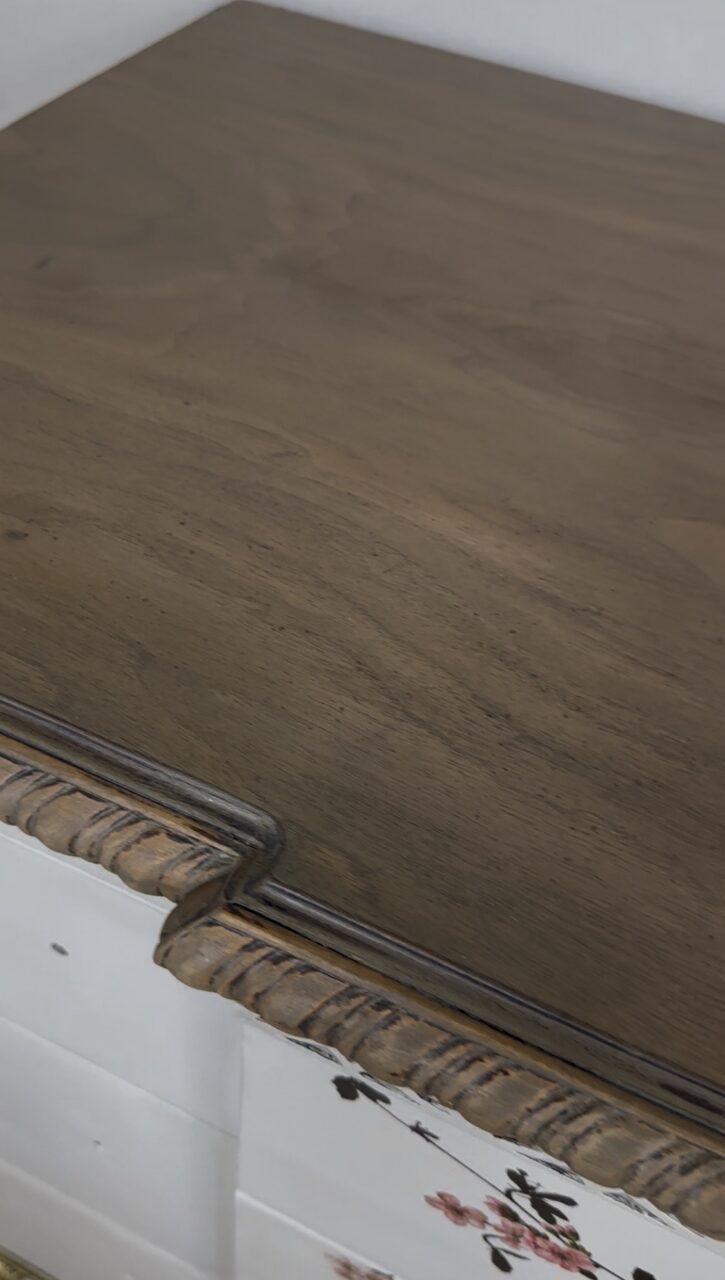
For the top of the dresser, create a soft paint wash using Fusion Mineral Paint in Algonquin.
Mix the wash using approximately 80% water and 20% paint. This dilutes the colour and allowed the wood grain and natural variation of the top to show through.
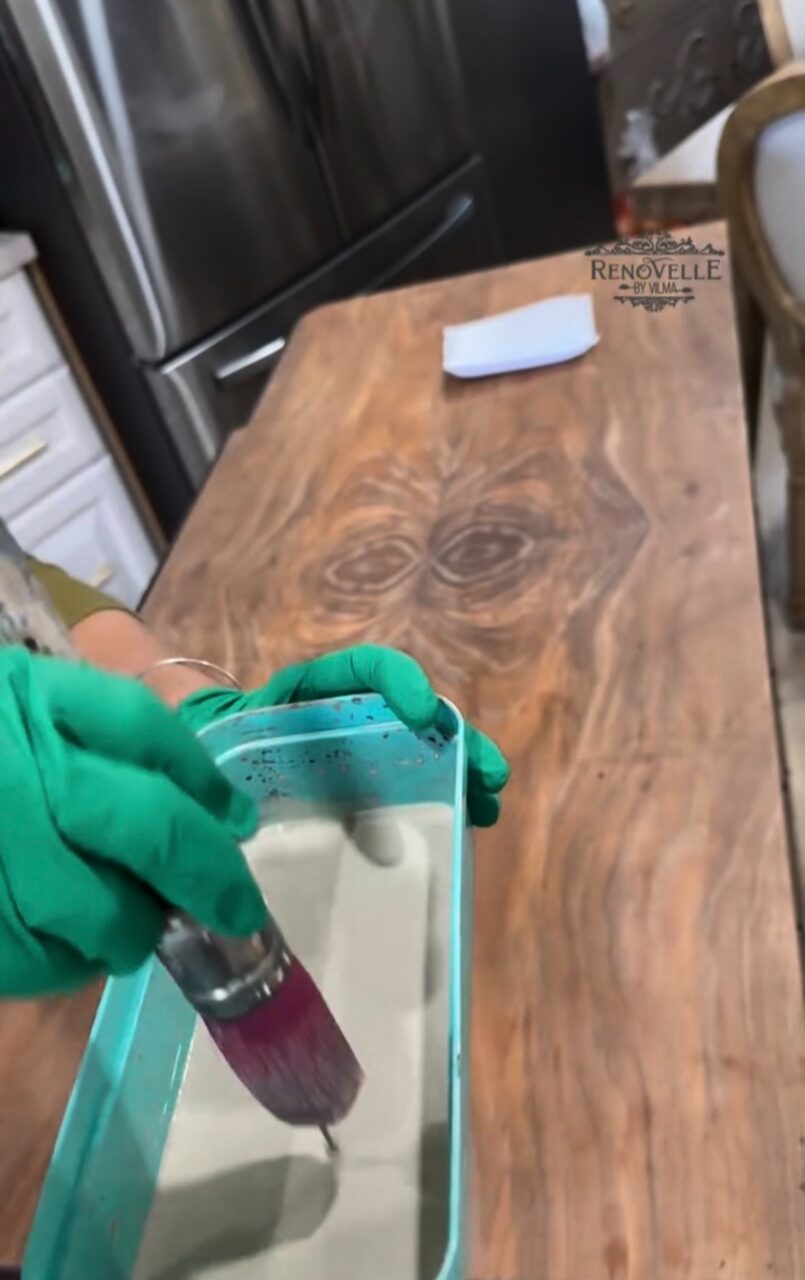
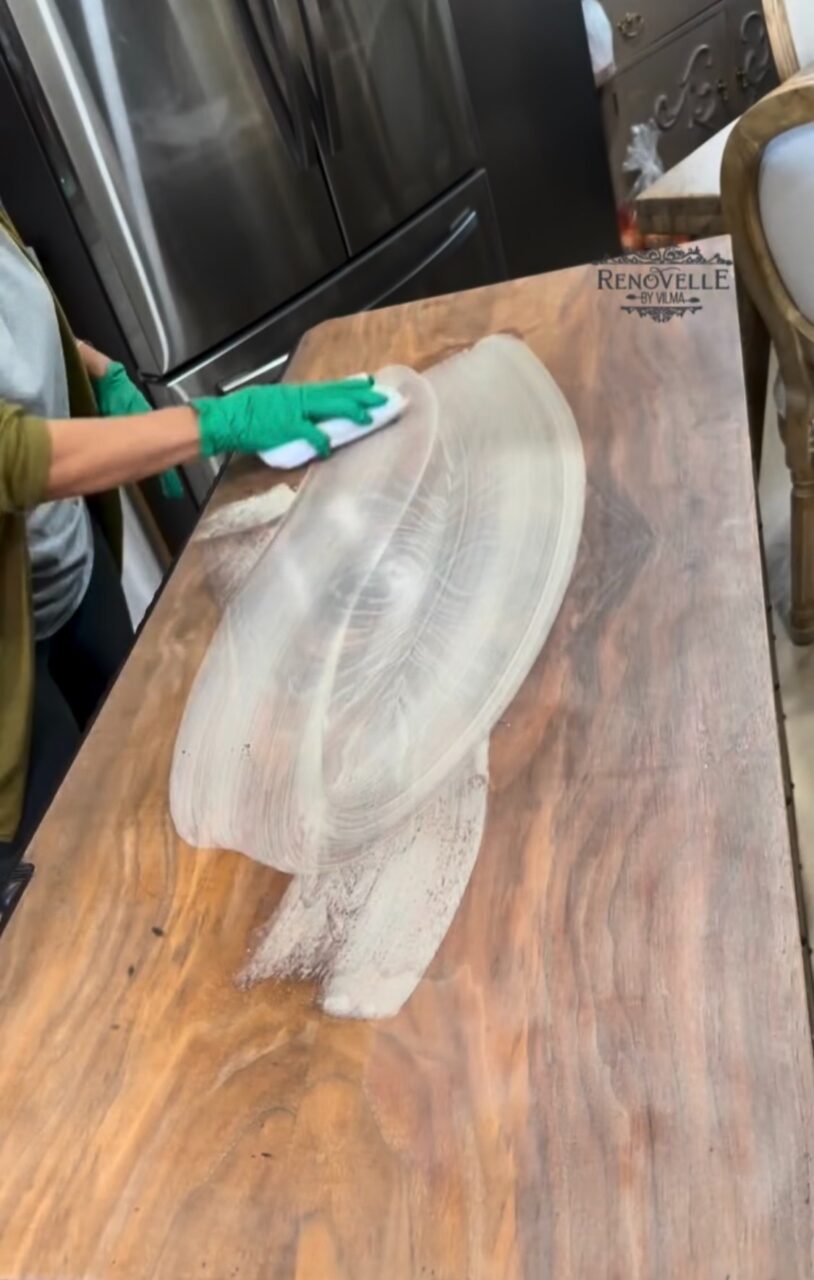
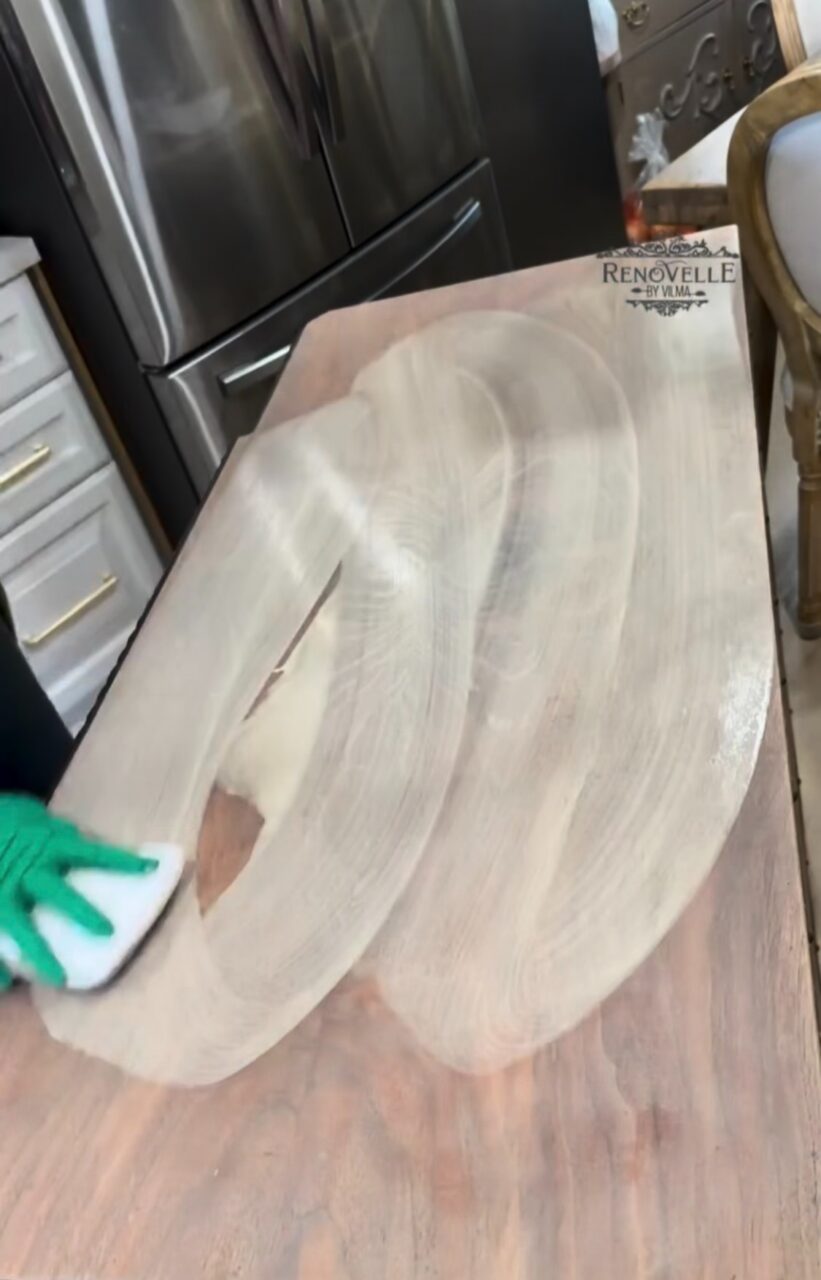
Apply the wash to the surface, then remove the excess to leave behind a soft, muted tone. Algonquin works beautifully for this type of finish because it adds warmth and depth without overpowering the rest of the piece. Algonquin is such a beautiful neutral for this type of finish because it adds warmth and depth without overpowering the rest of the piece.
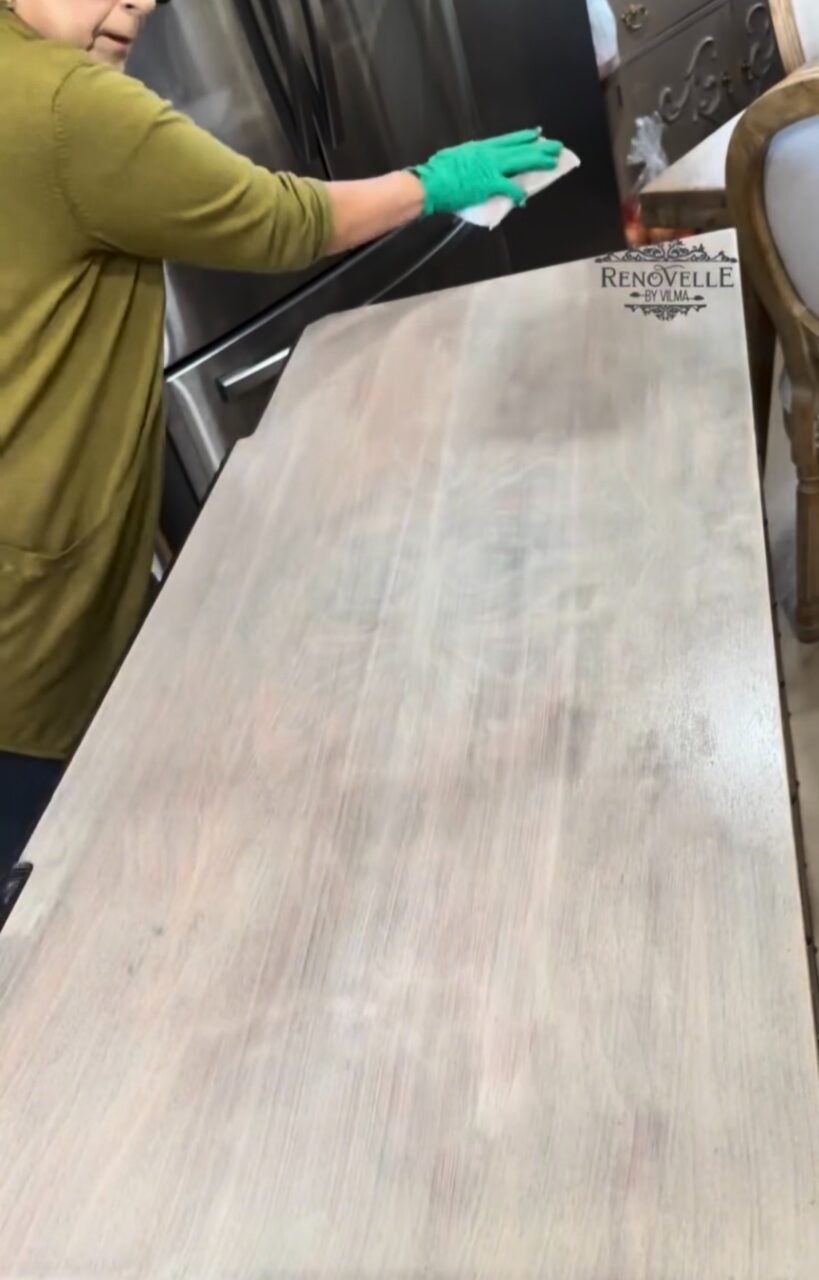
Let the top dry for 48 hours before applying Stain & Finishing Oil.
Step 9: Finishing the Top with Stain & Finishing Oil
To finish the top, apply Stain & Finishing Oil in a custom blend of approximately 80% Light Oak and 20% Cappuccino.
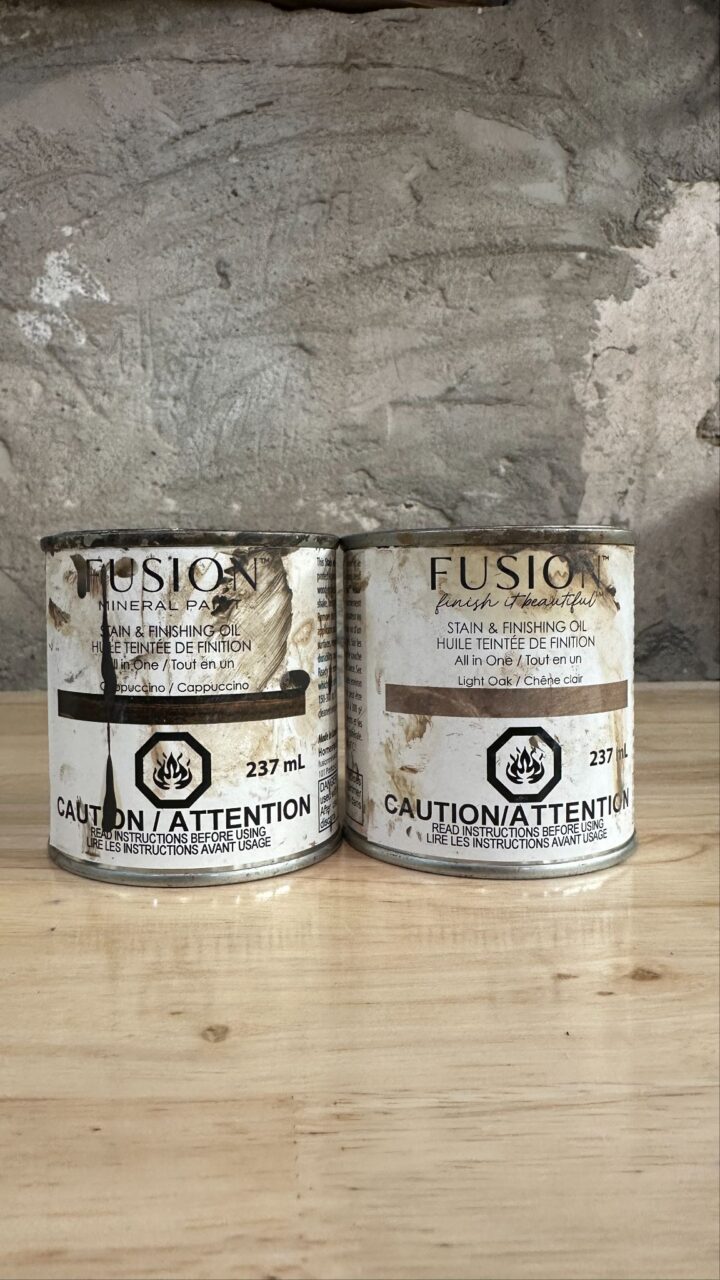
This blend warmed up the washed finish beautifully. Light Oak kept the look soft and natural, while Cappuccino added just enough depth to create a richer, aged effect.
The Stain & Finishing Oil was applied using an Applicator Pad. After about 20 minutes, the excess was removed.
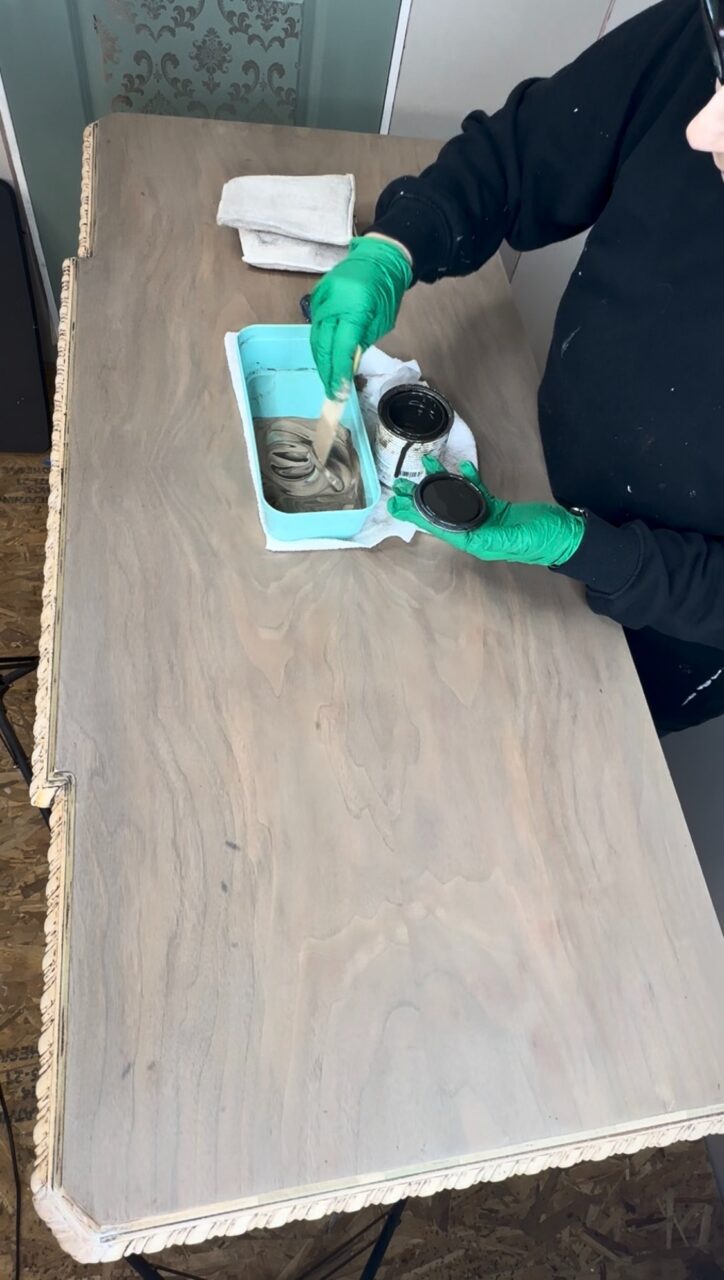
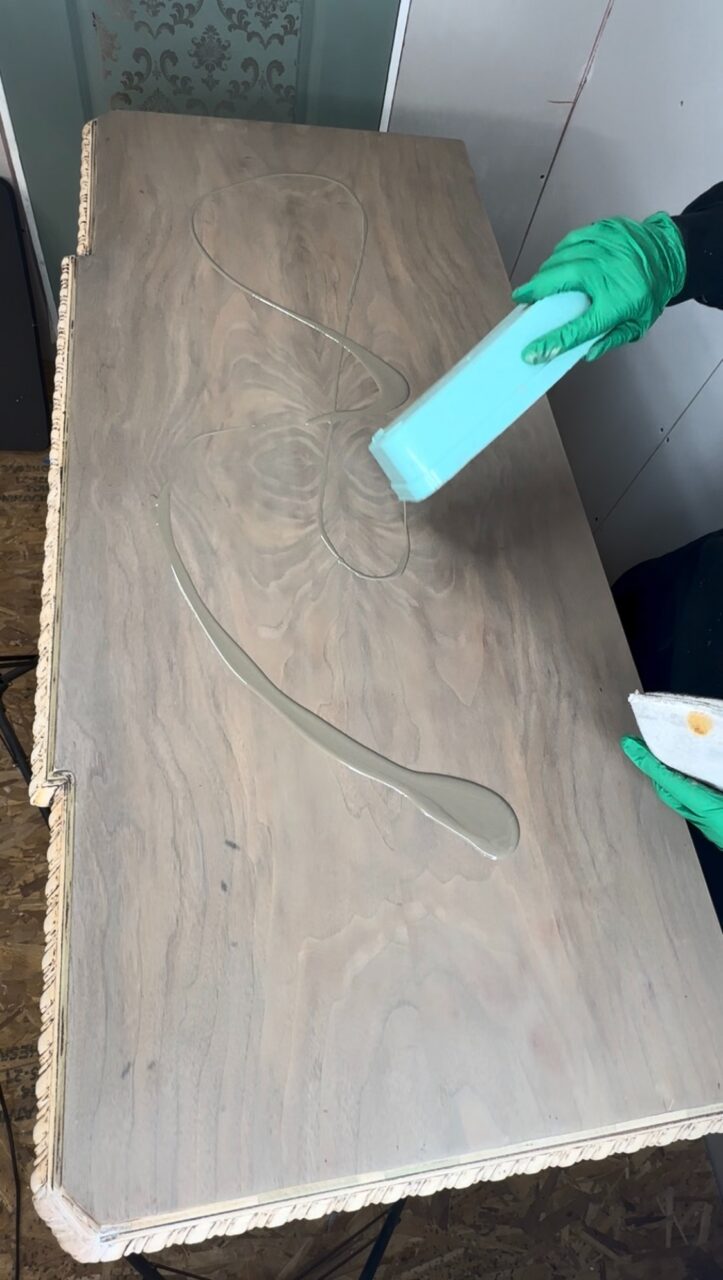
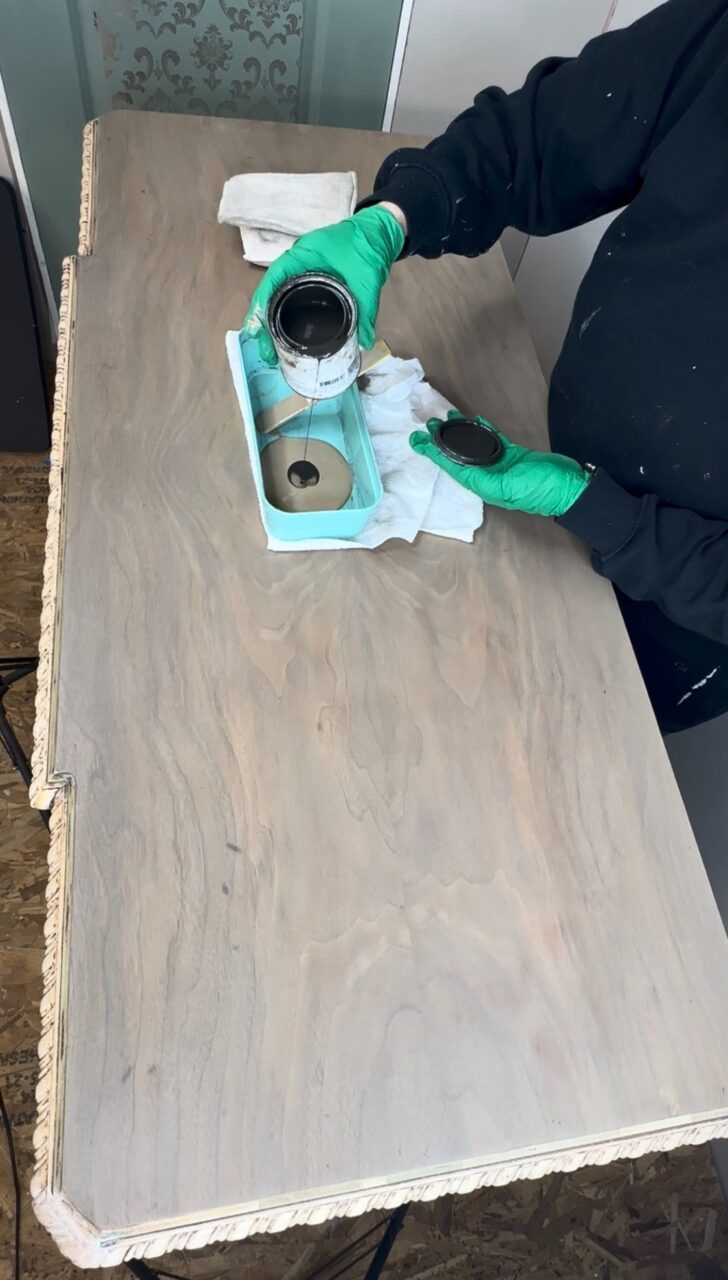
This step is important because Stain & Finishing Oil is designed to penetrate and protect the surface, but any excess sitting on top needs to be wiped away for proper drying and a smooth finish.
The Finished Look
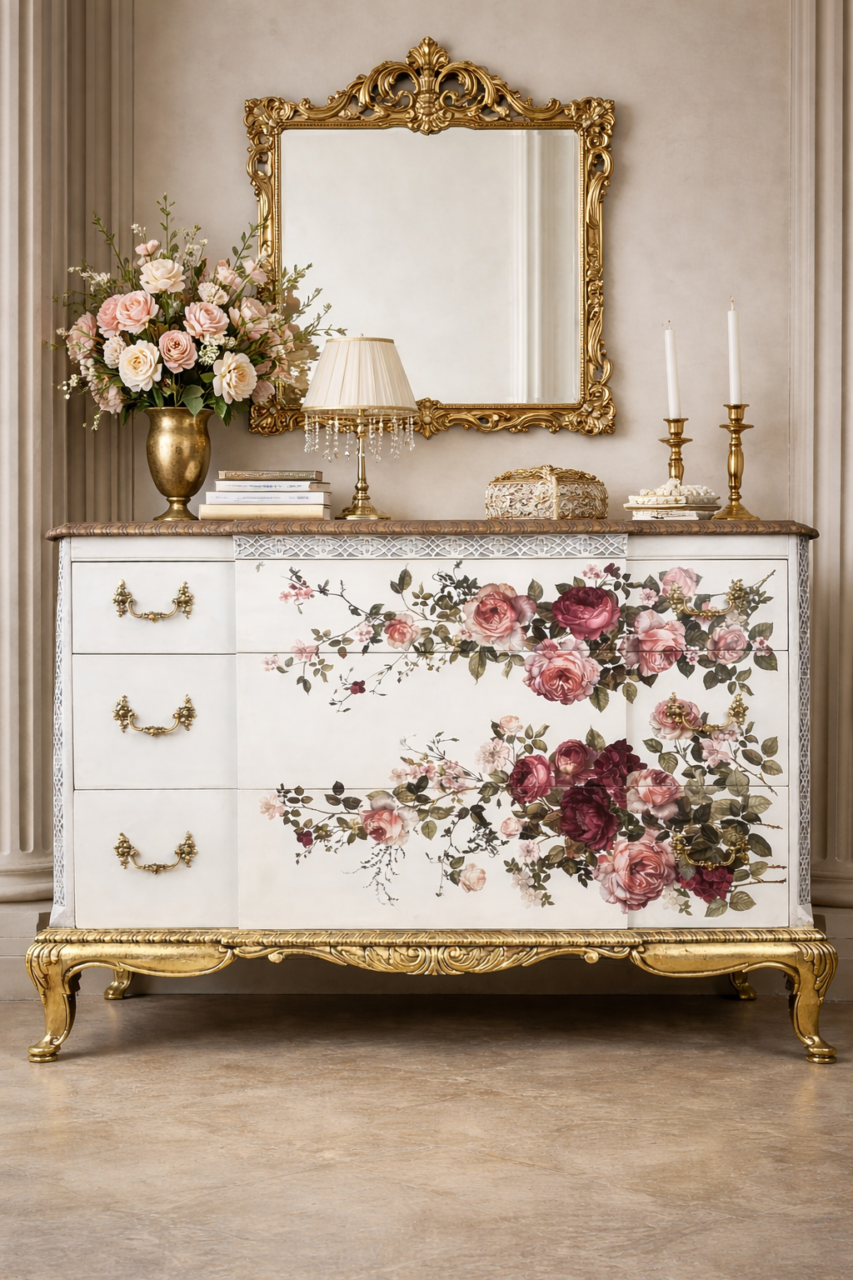
Beautiful layered details bring this floral dresser makeover to life. The soft Birch chalk paint finish, romantic floral transfer, aged gold leaf, Black Glaze accents, Algonquin paint-washed top, and custom Stain & Finishing Oil blend all work together to create a piece that feels elegant, vintage-inspired, and completely one of a kind.
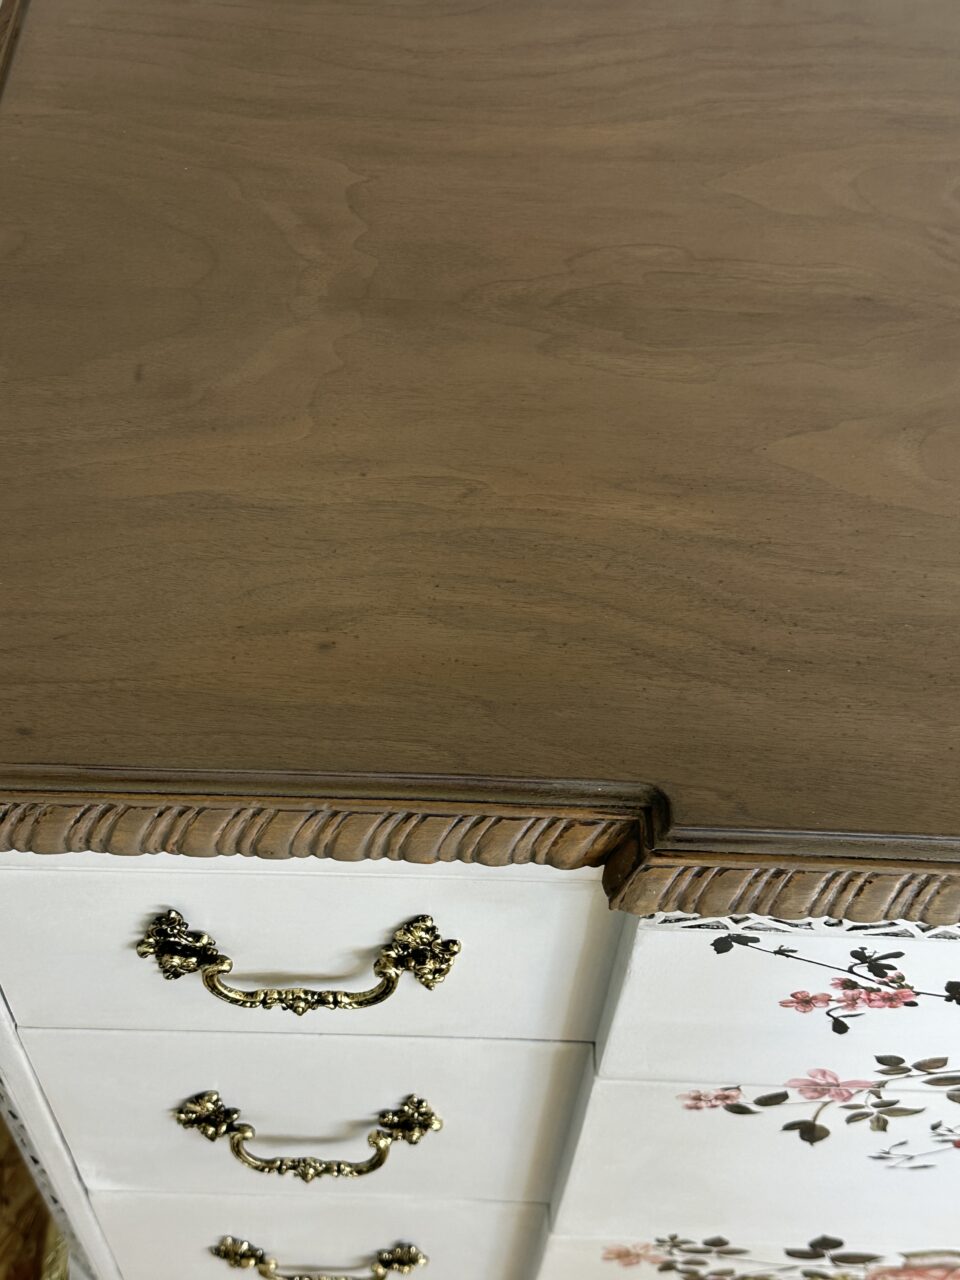
Different Fusion products work beautifully together to create depth, texture, protection, and personality. From chalky painted finishes to warm wood tones and decorative accents, each step adds something special to the final look.
Whether you are refreshing a piece that did not sell, updating an older makeover, or simply wanting to try a more artistic finish, this project is full of inspiration. With good prep, the right products, and a little creativity, you can take a tired piece and truly Paint it Beautiful.