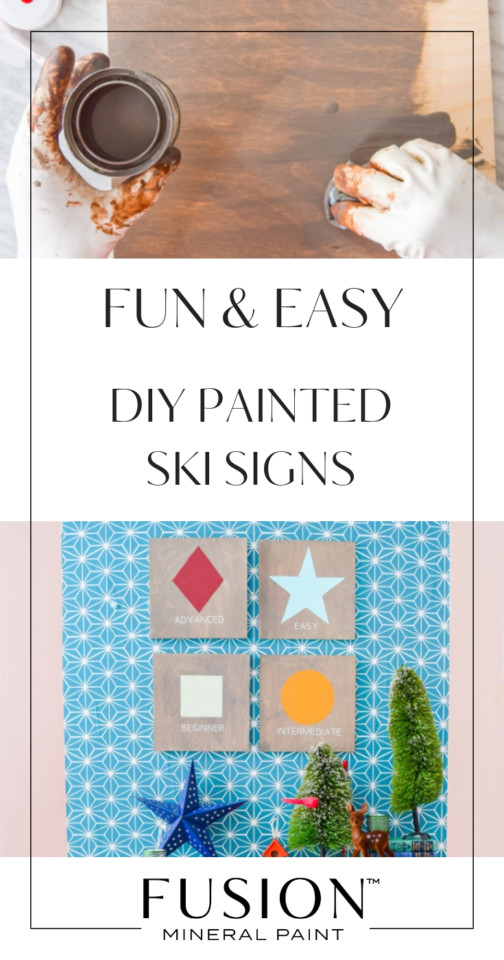
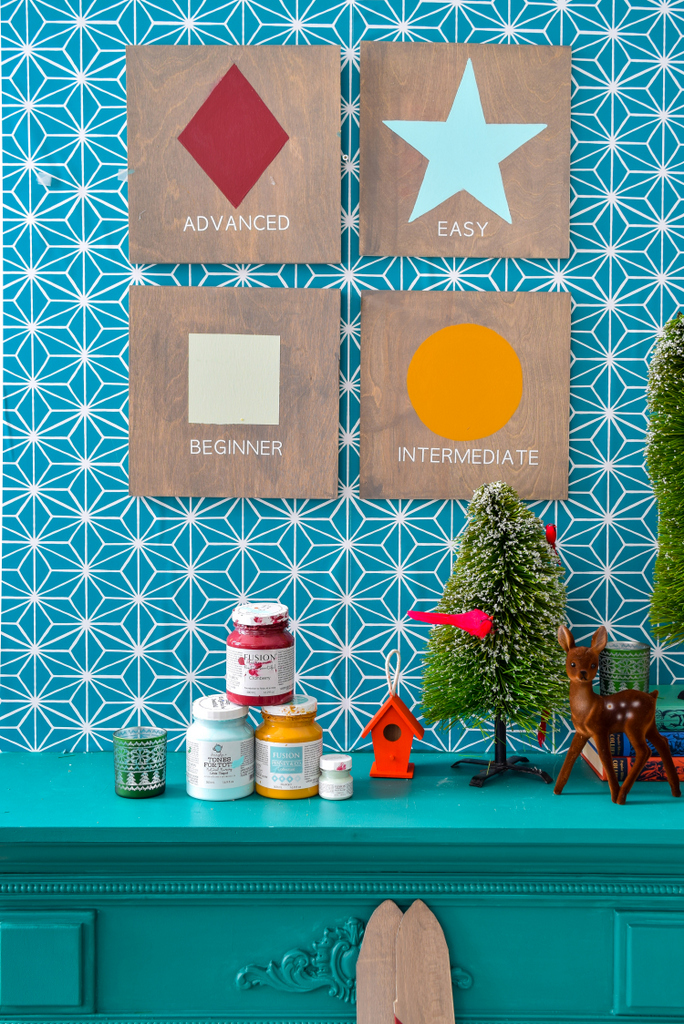
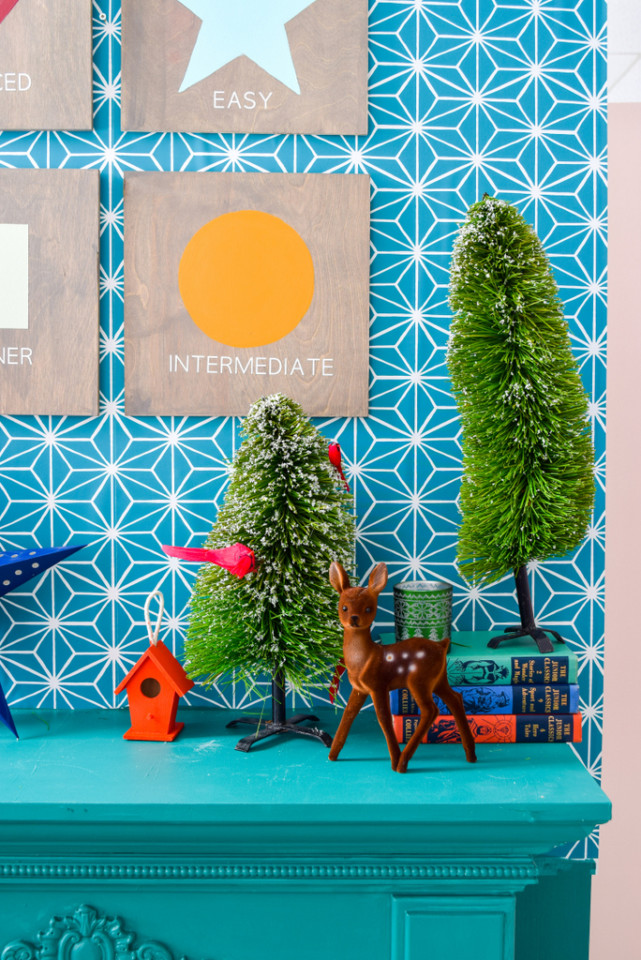
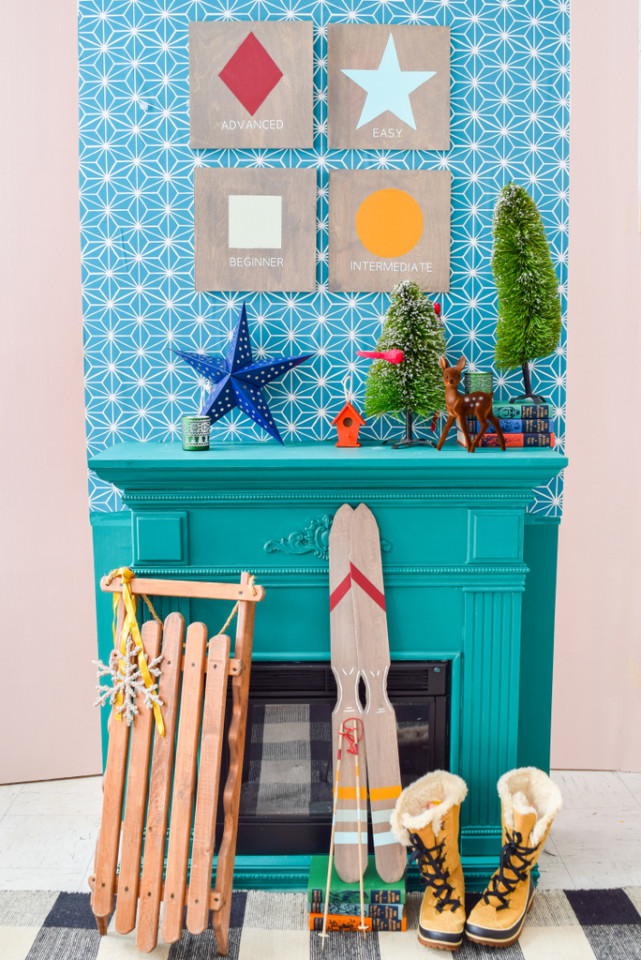
So we created a super fun project, our DIY Painted Ski Signs (How to get the Ski Chalet look!) Creating a room or space in your home to get that ski chalet feel is a great way to re-use some of your Christmas decor like trees, deer, and any other wildlife you may have. The ski chalet life a.k.a apres-ski, is as much a look as it is a feeling and we’ll take all of the coziness and warmth that we can during the cold winter months. While you’re at it, throw in some signs to help keep everyone clear on the slopes.
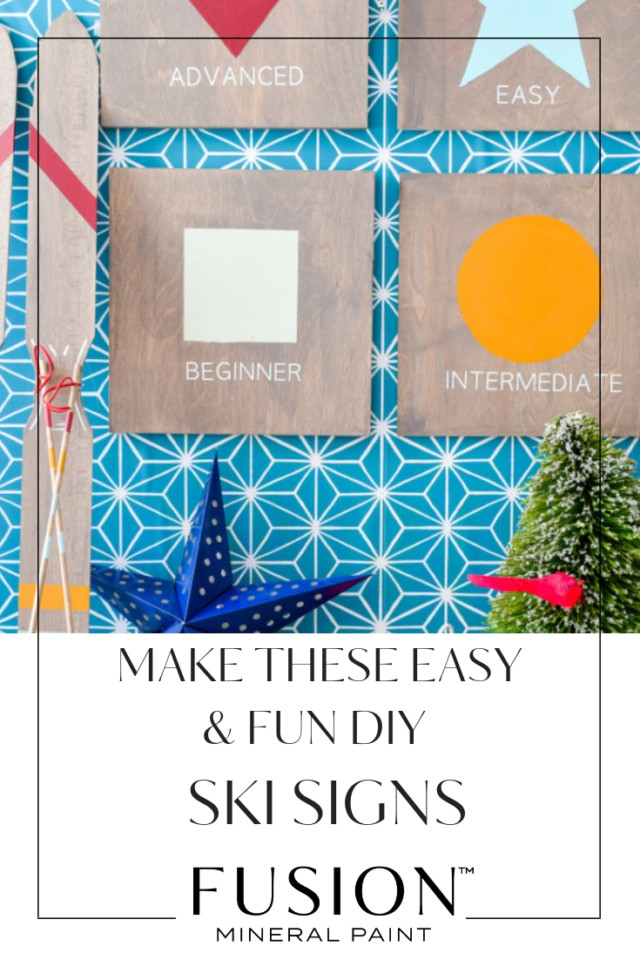
It’s a fun, bright project that can absolutely liven up these cold winter months. We promise you that making these easy DIY painted ski signs (How to get the Ski Chalet look!) is a great way to use up scrap wood and you can paint them to match the colors for your decor. May we also suggest that you can make these DIY painted ski signs for a winter birthday party? It’s a great craft to do!

Inspired by the signage at your local hills, our DIY Painted Ski signs (How to get the Ski Chalet look!) are easy to make using wood scraps other projects, or premade blank wood signs from your craft store. All you need is the Homestead House stains and some paints in your favorite colors. For these we chose shades inspired by the classic HBC (Hudson’s Bay Canada) stripes, albeit in different shades.
DIY Painted Ski Signs (How to get the Ski Chalet look!)
ITEMS NEEDED FOR THIS PROJECT
- Fusion Mineral Paint in a variety of colors of your choice
- Homestead House Stain and Finishing Oil
- A staining rag
- Gloves
- Painter’s tape
- Paintbrush
- Alphabet stencil or cutting machine for words
STEP 1
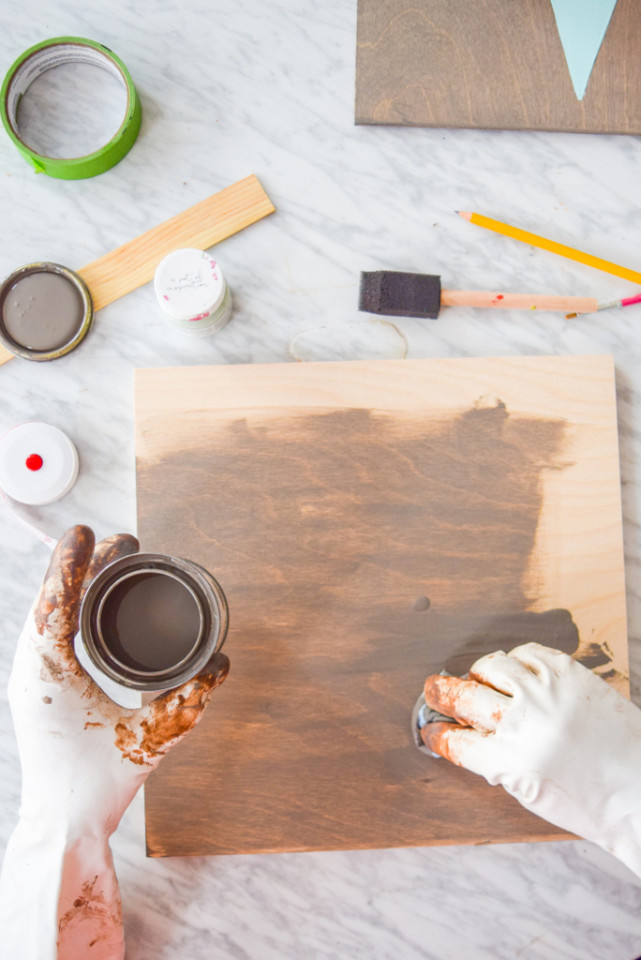
Start by giving whatever surface you’ll use a quick sand, before staining. We used 12 x 12 square pieces of leftover wood from a previous craft project.
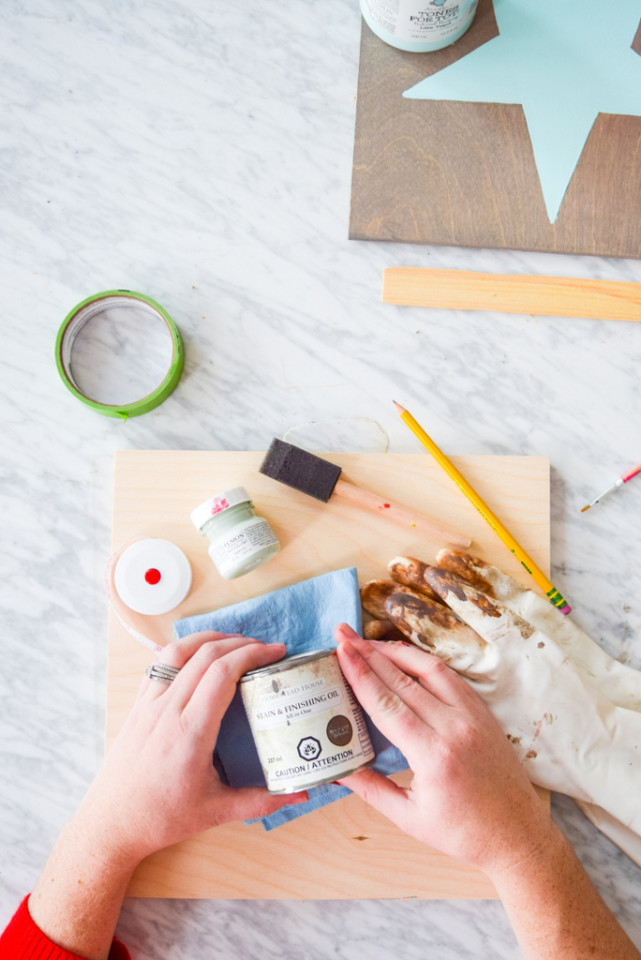
We decided on the color Driftwood for the Stain & Finishing oil to achieve the look of lightly weathered signs and then stained each board on a protected surface. You must allow ample time to dry (at least overnight) before taping each shape, otherwise you will ruin your surface and the stencils and paint will not adhere.

STEP 2
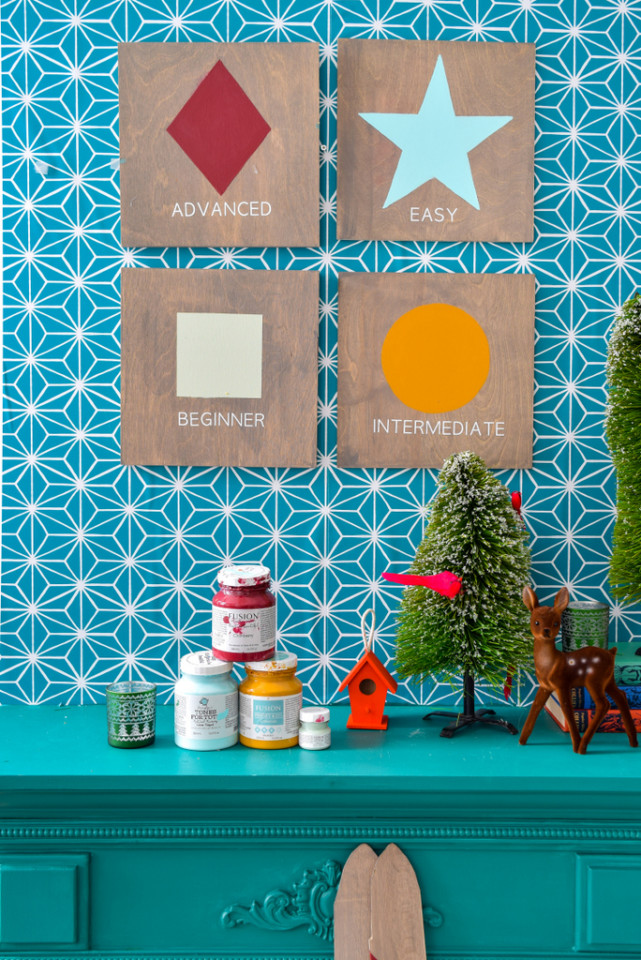
We decided to go for the standard iconography that you would see on different ski hills to indicate how hard it was to ski down a particular hill: the square, diamond, circle and star. It was easy enough to tape those shapes using painter’s tape and a ruler. At the bottom of your square, leave some space for the wording and center the icons in the top 3/4 of the square.
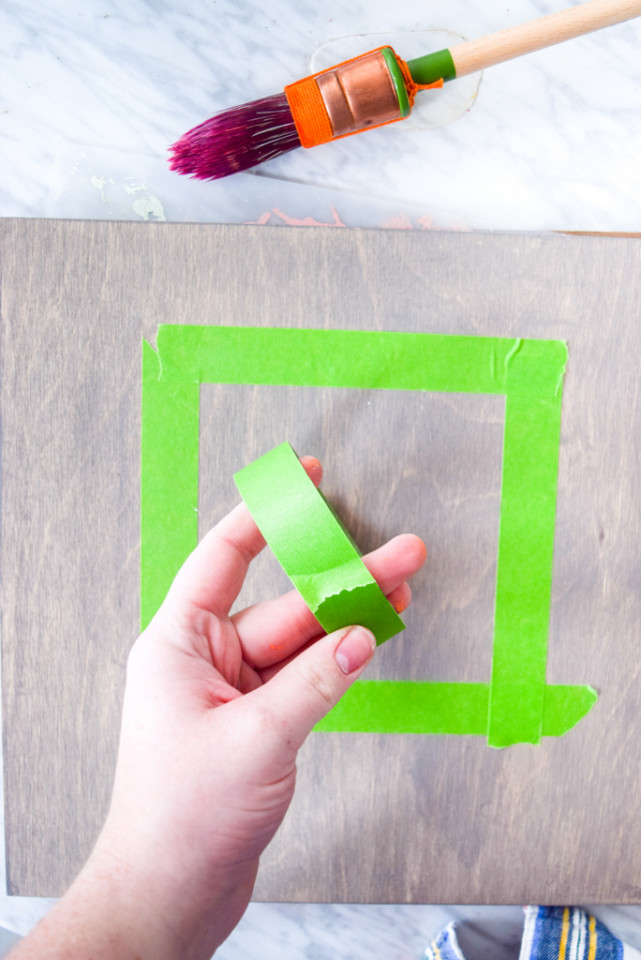
Once taped, paint in the various shapes. For this we used Cranberry, Mustard, Little Teapot and Inglenook.

STEP 3
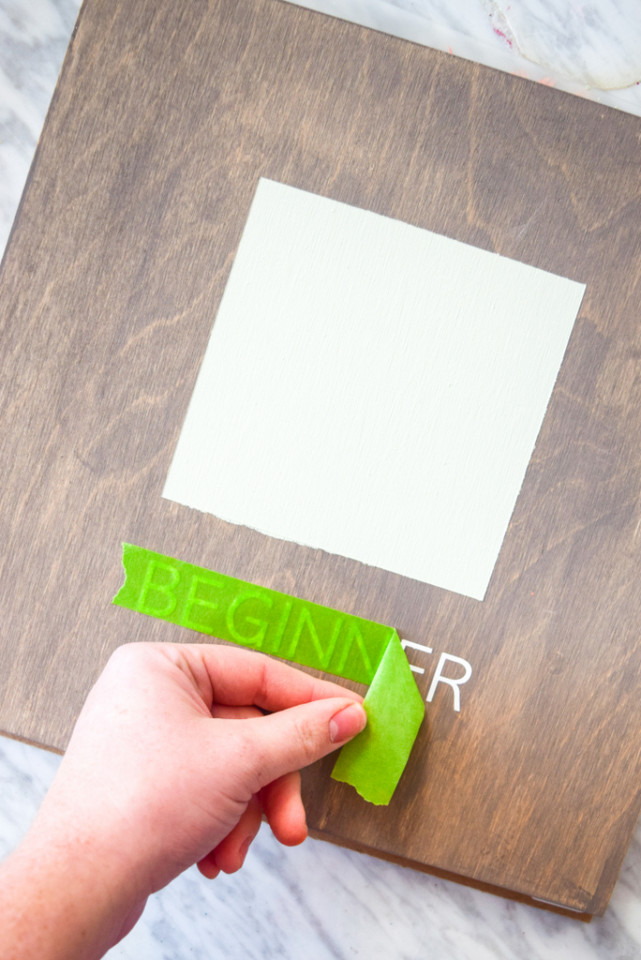
While all the shapes were drying, we used my cutting machine to create the wording for each sign to stick on there, which is a great help if you don’t have great hand lettering skills. You could easily use an alphabet stencil with a foam brush though to create the words, stencil the letters and then paint them or if you’re really good at hand letting, free hand it.
STEP 4
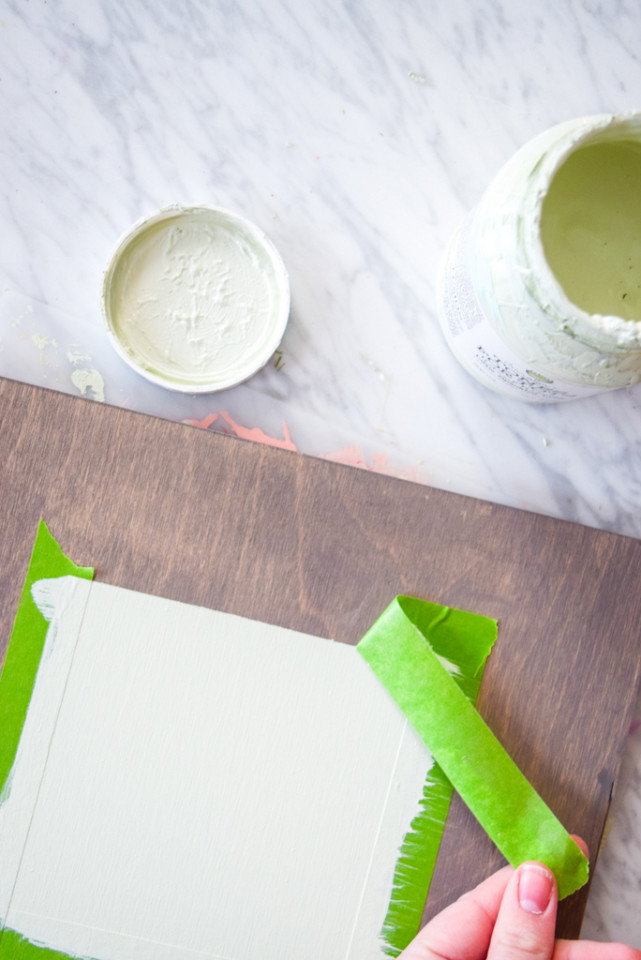
Once everything was dry, we peeled back the tape on the painted shapes, added the wording and used removable velcro squares to affix them to the wall above the mantel.
And you yourself an very fresh looking ski chalet sign montage!
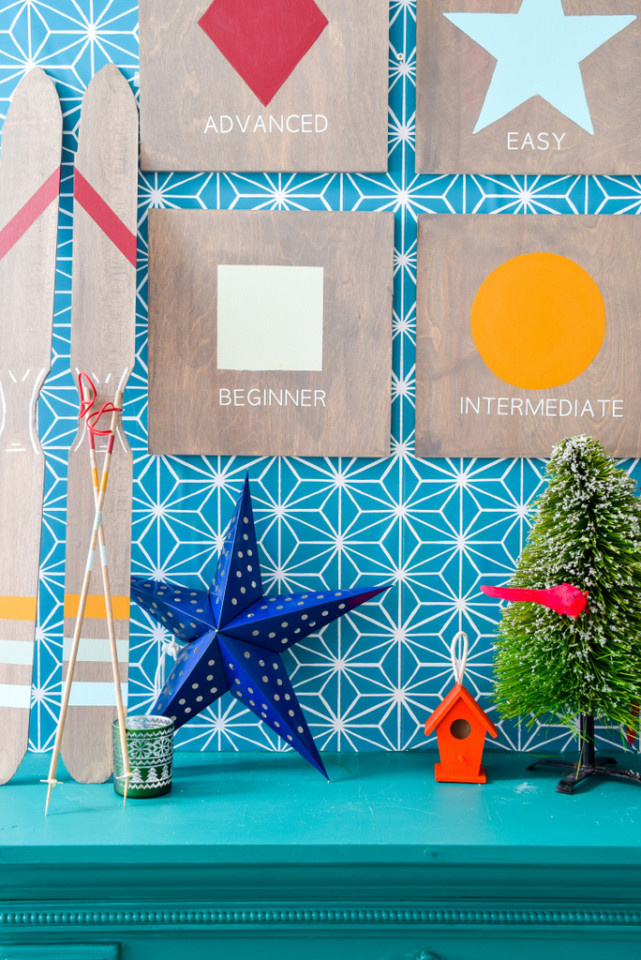
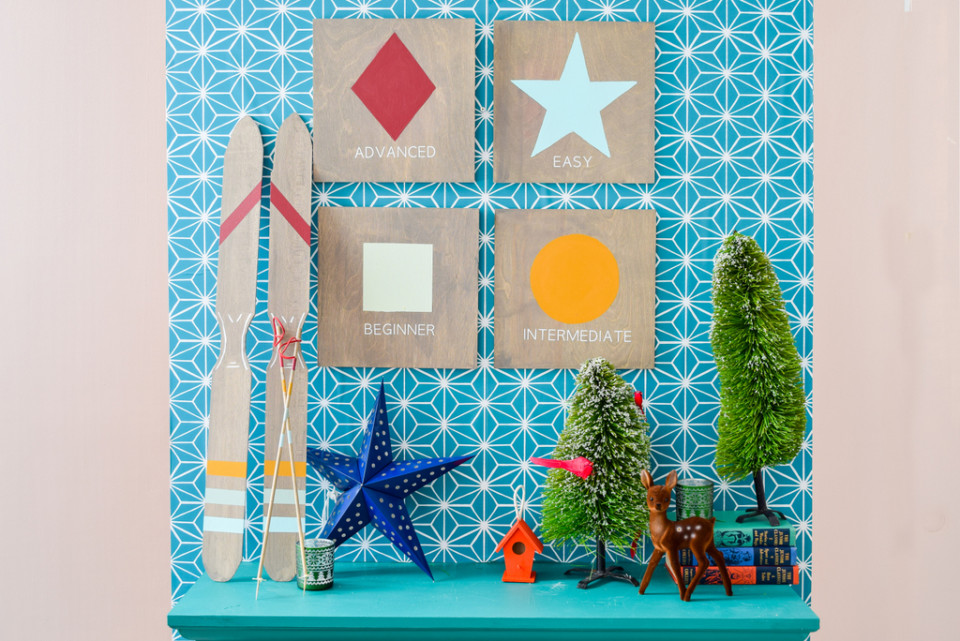
In our next post, we’re going to show you how to make those ski’s to compliment the whole chalet look. If you make these DIY Painted Ski signs, let us know!
PIN IT FOR LATER!
