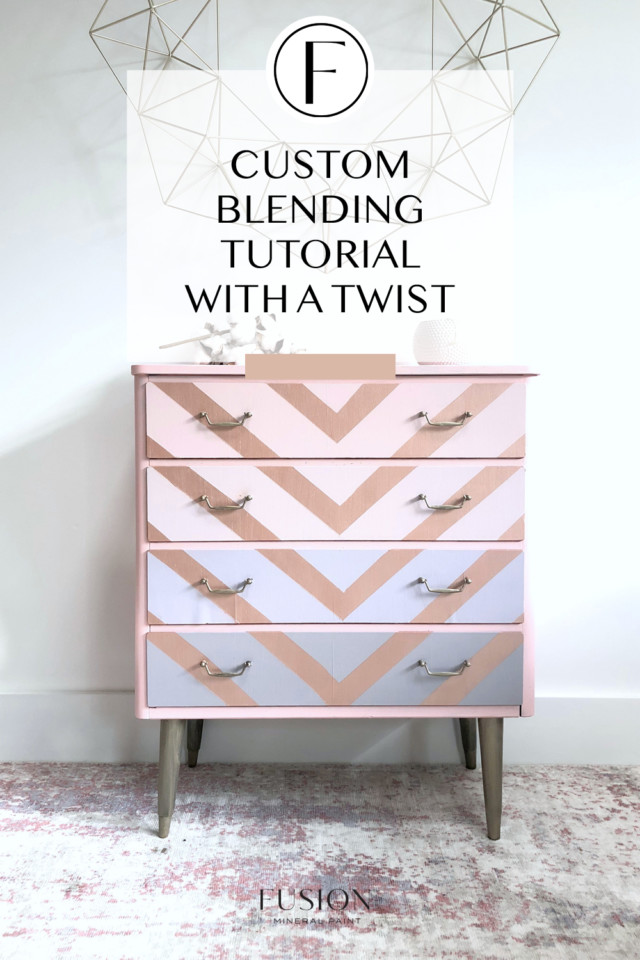
Do you ever see a piece of furniture and imagine it in a certain colour but can’t seem to find the perfect one? That’s where custom colour blending paint comes into play. Today we are teaching you how to take one colour from our wide range of colours and transform it into a range of beautiful colours – this Custom Blending Tutorial With A Twist makes blending your own beautiful colours a piece of cake. And to top it off, Jennylyn also wanted to play around with creating beautiful geometric lines using a simple taping technique.
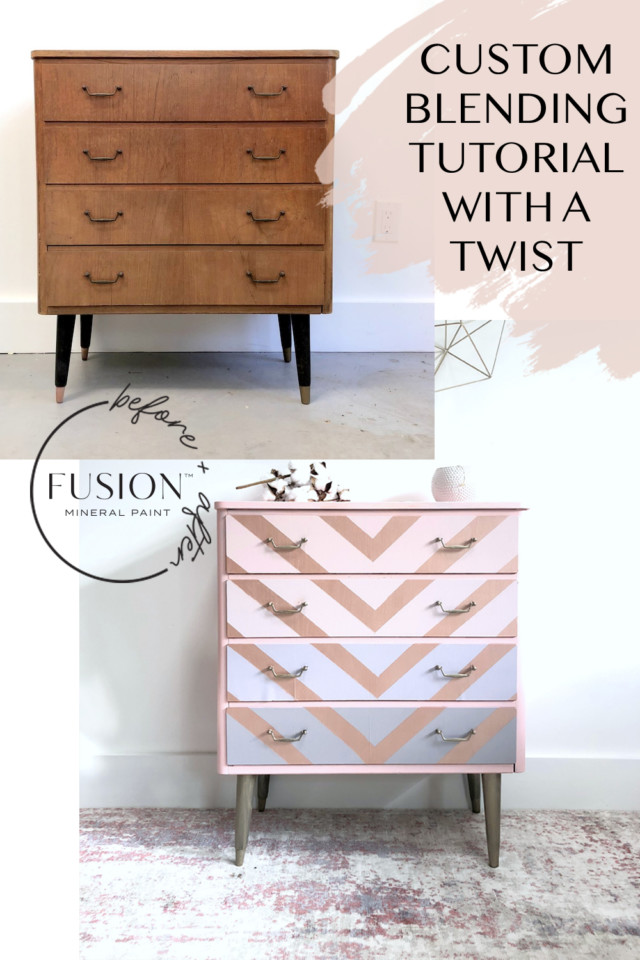
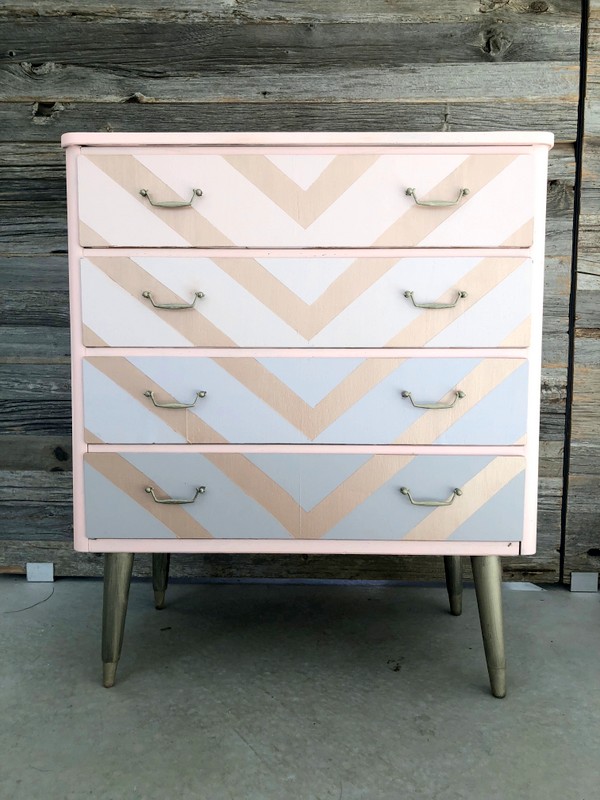
We had this Mid Century Modern dresser that had seen better days (CURB find! YAY!) and we wanted to give it a modern refresh by having every drawer be a different colour. The catch? We wanted to create a look as if all the drawers blended into the next. In order to create that type of look, we had to create custom colours for each drawer. And with Fusion Mineral Paint it is super easy to do! Follow along as we teach you simple tricks for how to create unique colours using just a pint and a tester!
What you’ll need to custom blend for this unique piece:
- Fusion Mineral Paint in English Rose (discontinued, we recommend Damask instead), Little Lamb, Champness, Midnight Blue
- Fusion Mineral Paint Metallic paint
- Fusion TSP
- Paintbrush and tray
- Painter’s tape (buy good quality stuff! The cheap stuff comes off too easily!)
- Solid clean surface to blend colours (to test out before fully committing to the colour)
STEP 1 for custom blending
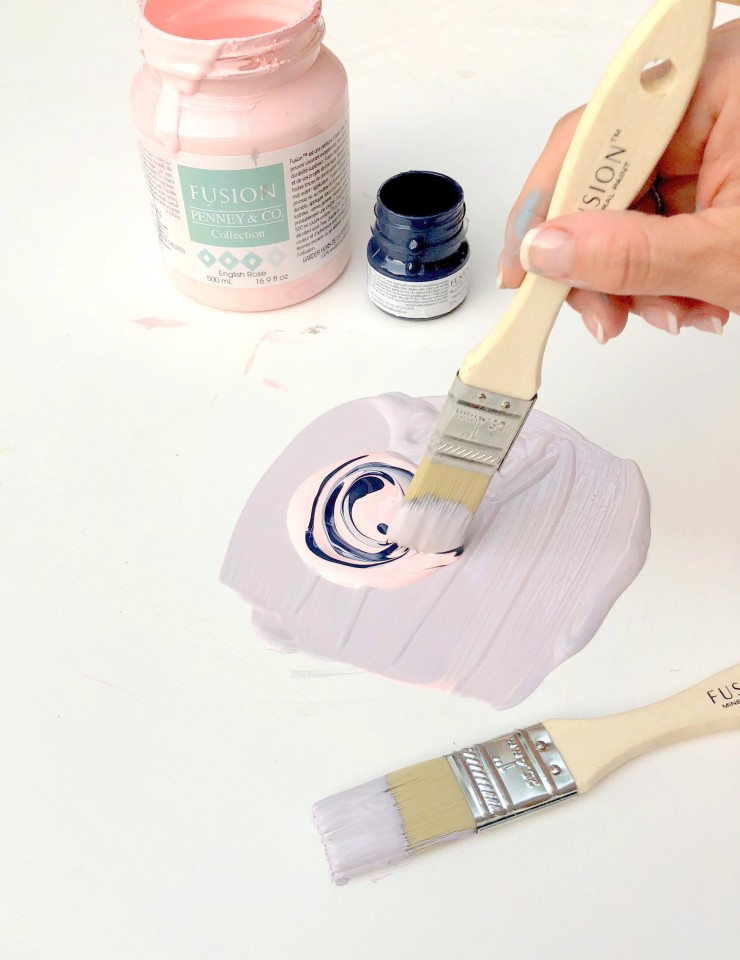
The first thing we did was test out different paint colour blends to make sure we wound up with the gradient look we wanted. We used English Rose (discontinued, we recommend Damask instead) as the base for every shade and then just changed the paint we added to English Rose for each drawer.
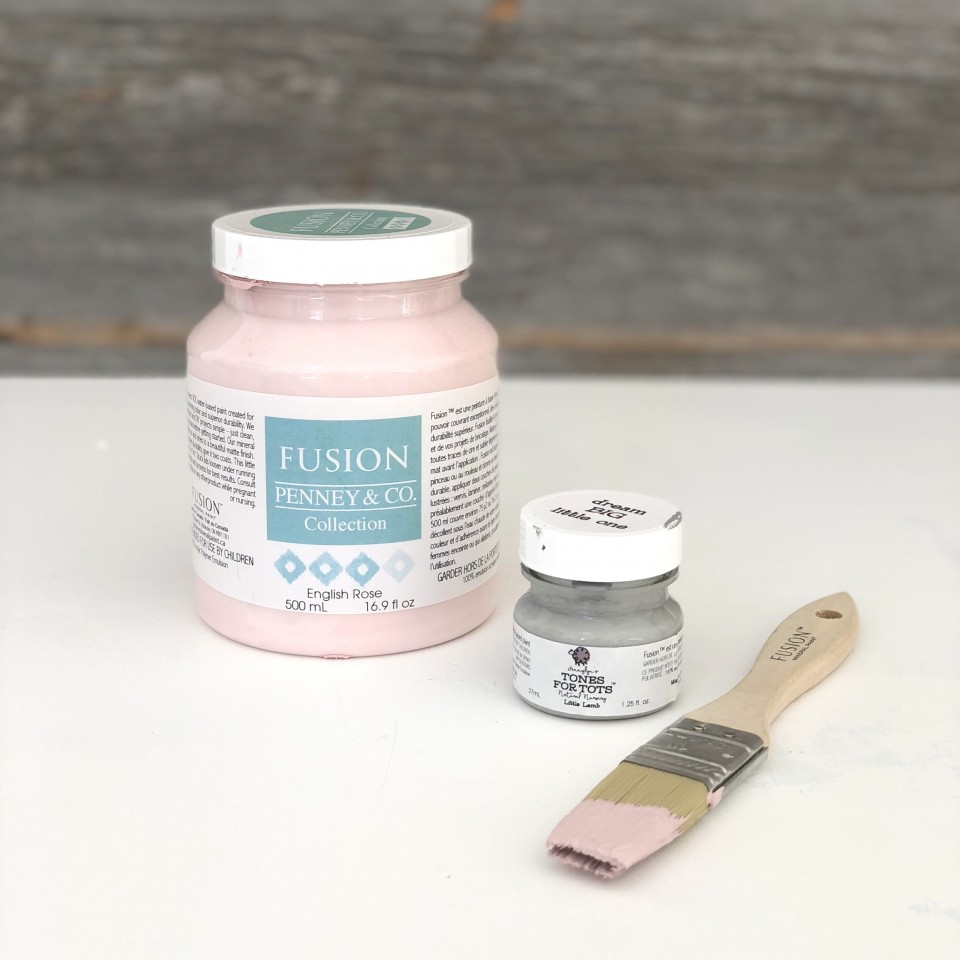
So one drawer had 1 pint of English Rose and 1 tester pot of Little Lamb.
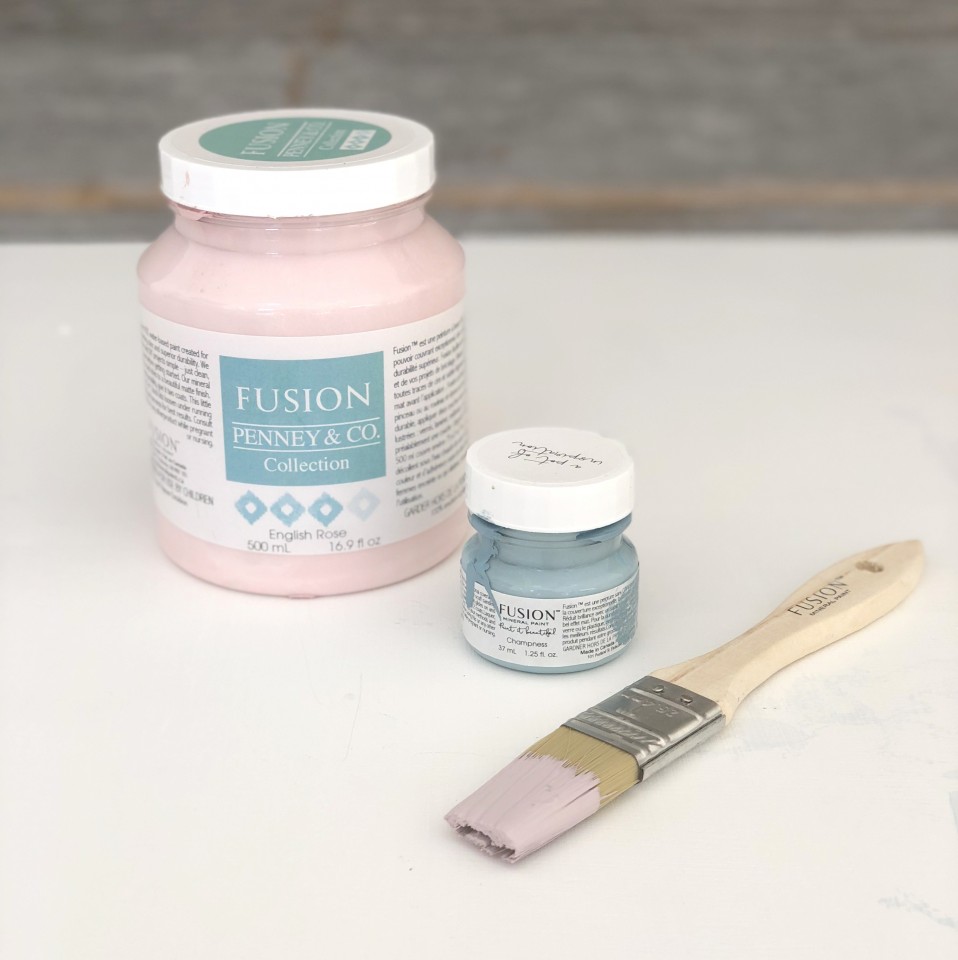
The next had English Rose and Champness.
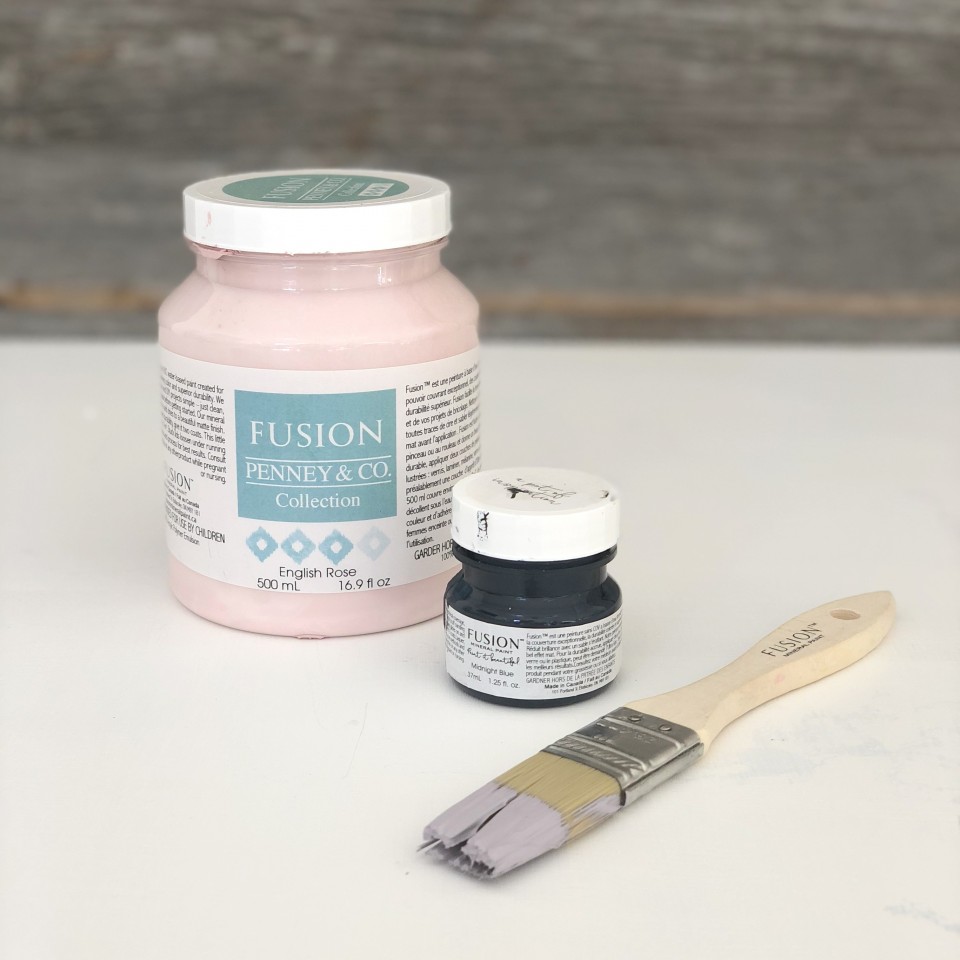
The one after that had English Rose and Midnight Blue.
Then the darkest one we mixed three colours. English Rose, Little Lamb and then added a touch of Ash.
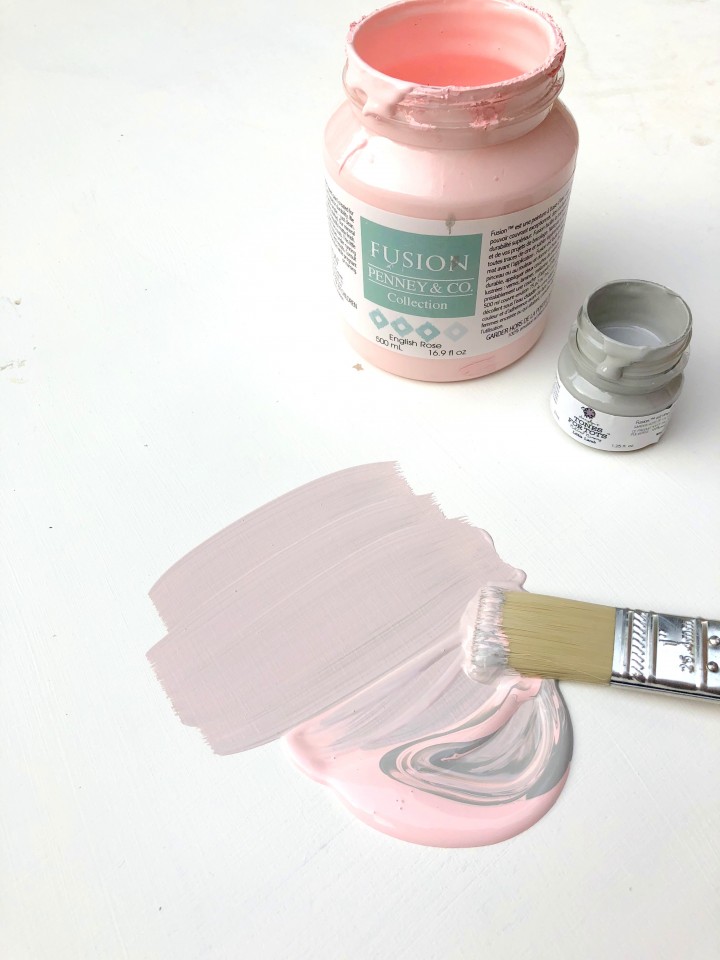
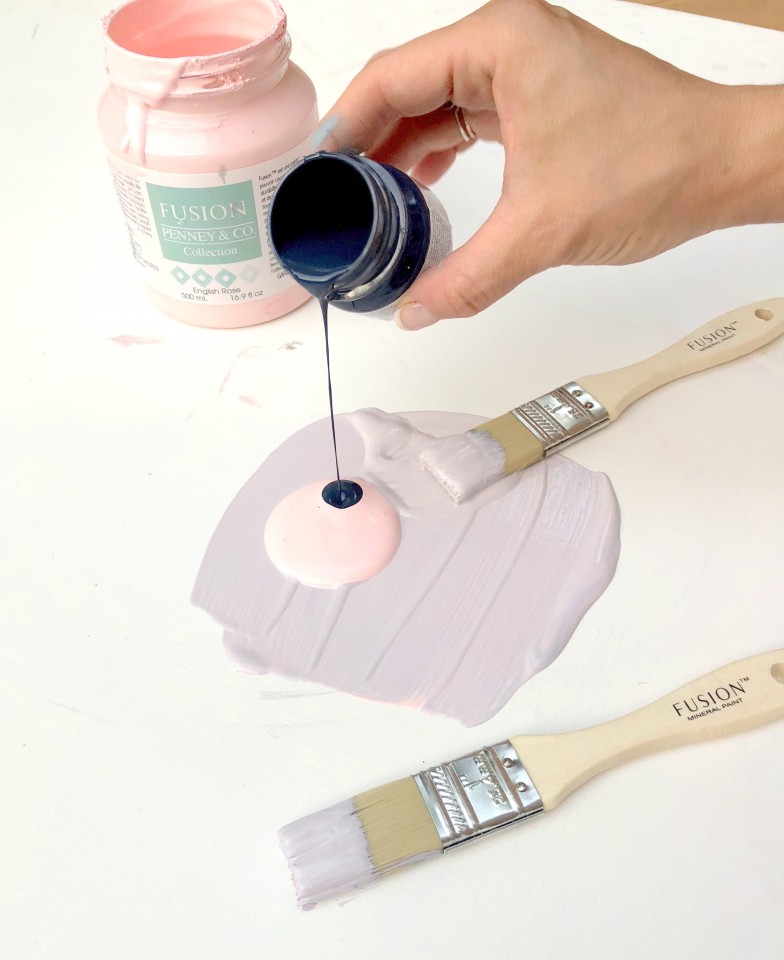
Custom blending is so fun! We could do this all day. Making new unique beautiful colours is so easy.
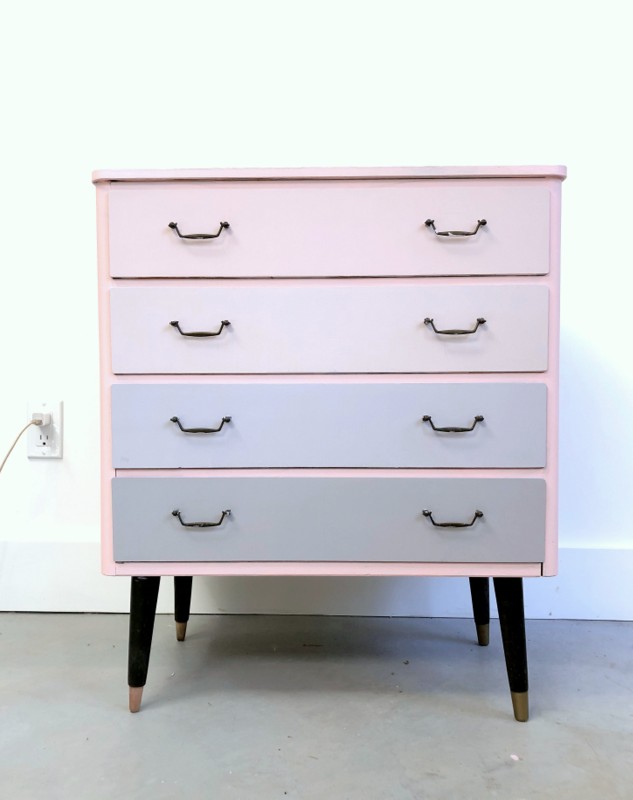
This was the result. Four gorgeous new colour blend paint colours!
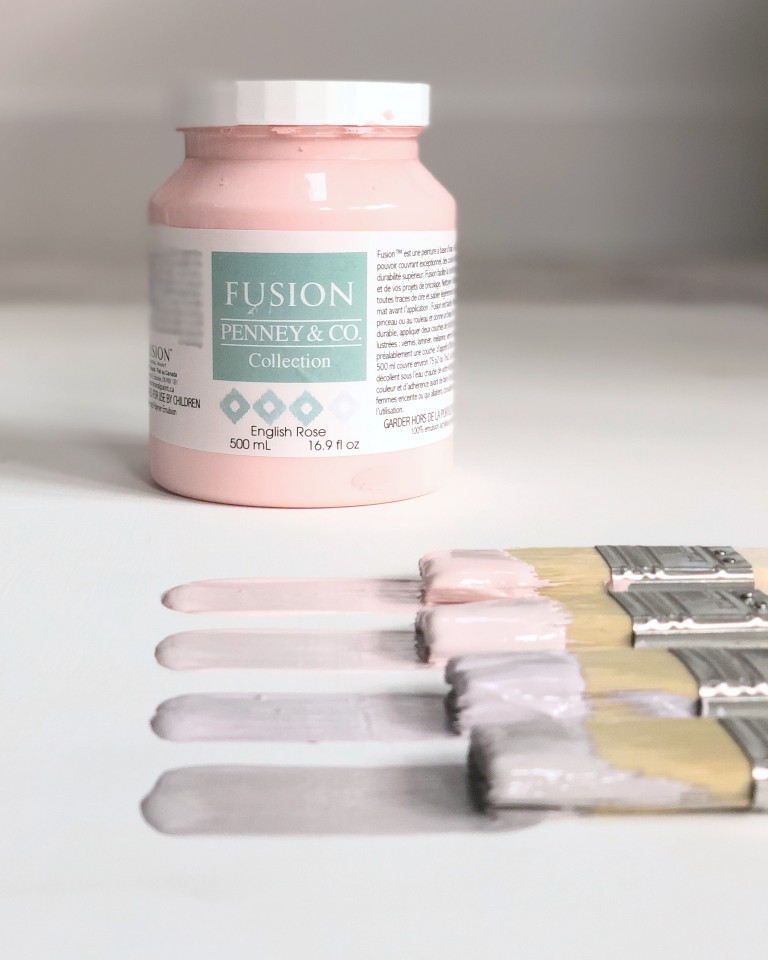
All of these colors started with English Rose!
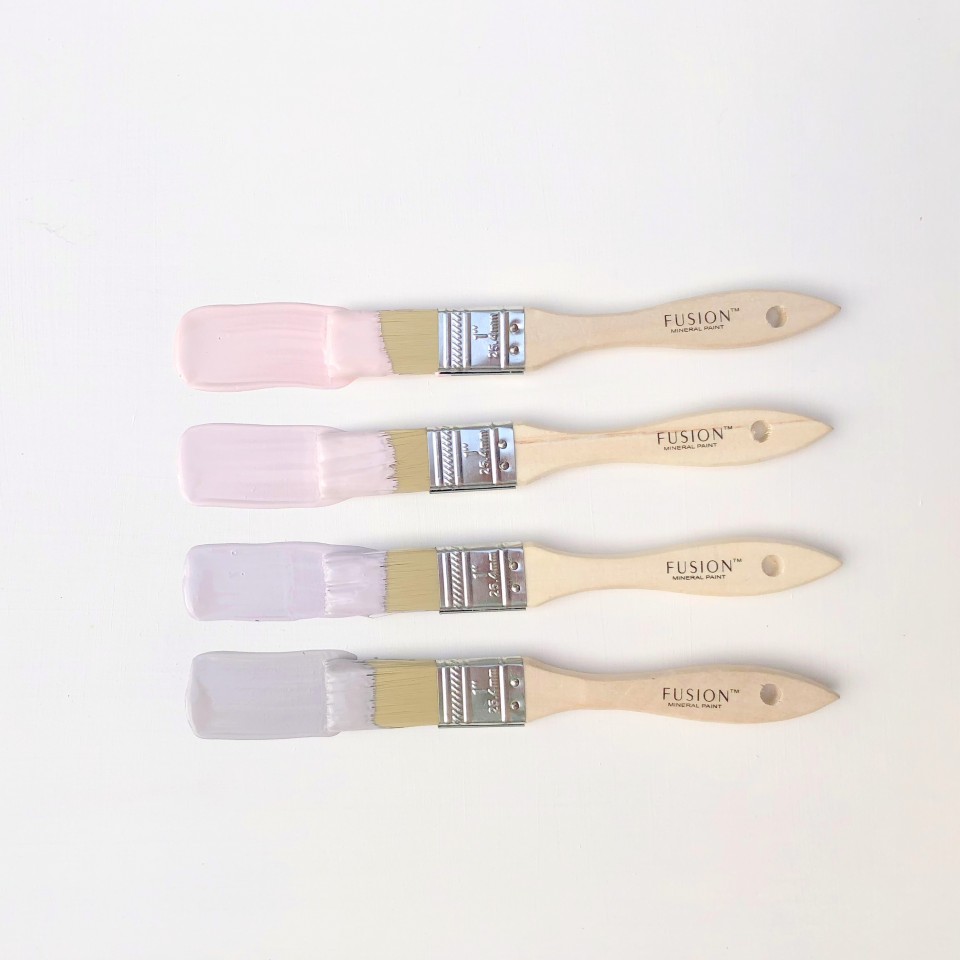
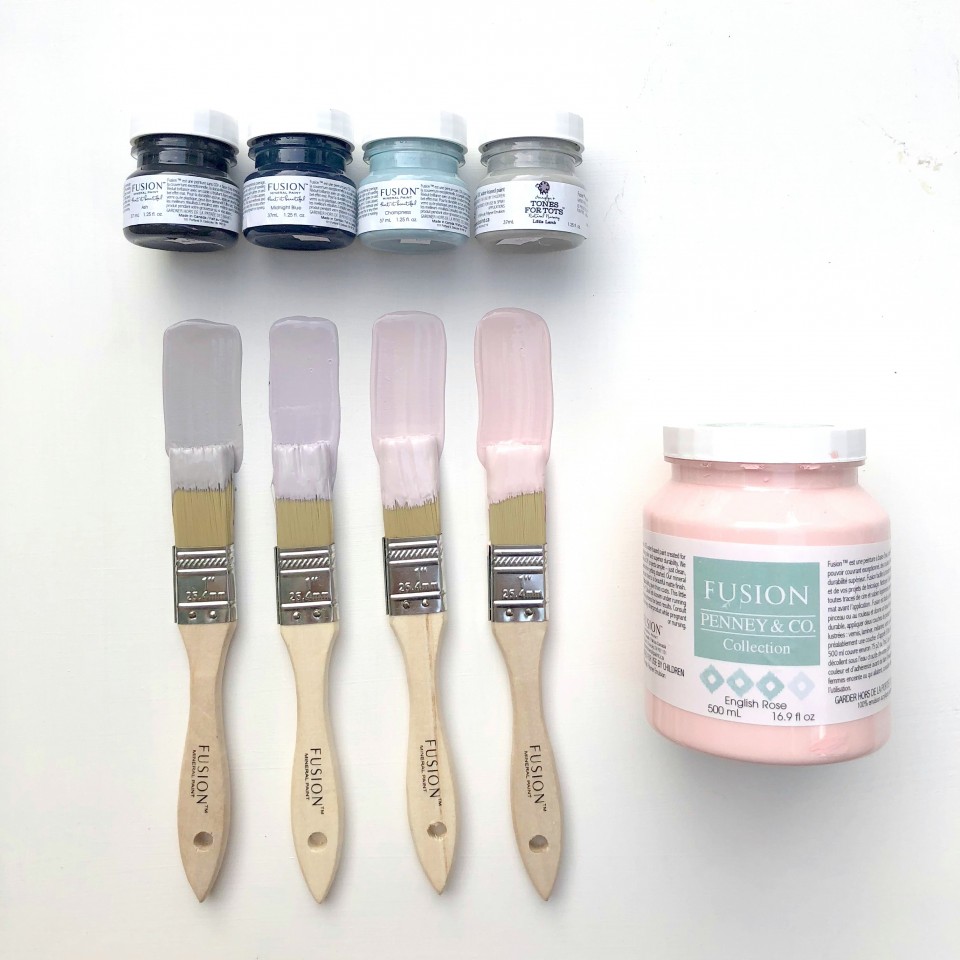
We also played around with a ton of different colours, all mixed with Fusion English Rose and painted the resulting colours onto small wooden sticks. This is a very helpful way for you to decide what colours you’d like to use on a colour blend dresser, as you can see the different shades side by side and choose the ones that you feel would complement the look you’re going for.
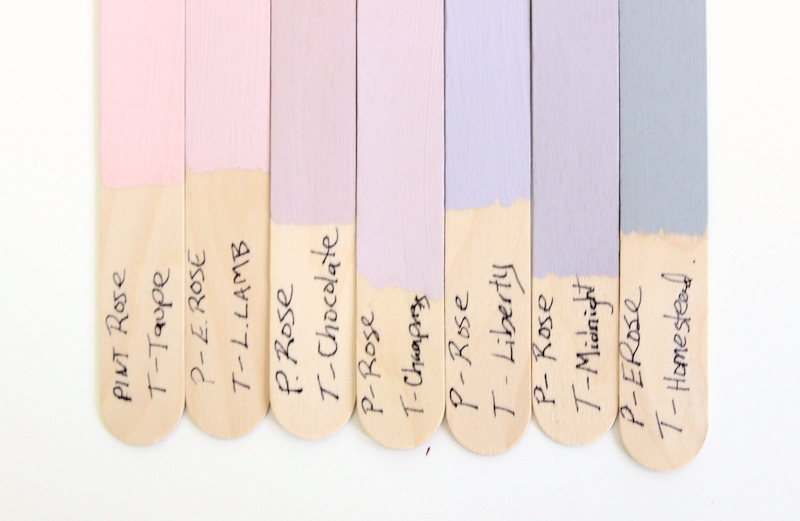
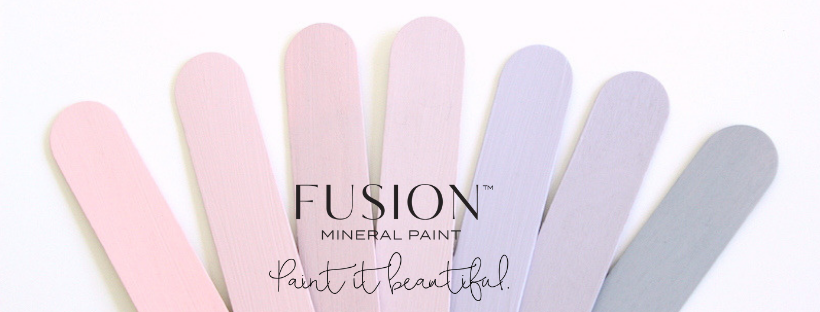
STEP 2 for creating your custom blend furniture piece – PREP
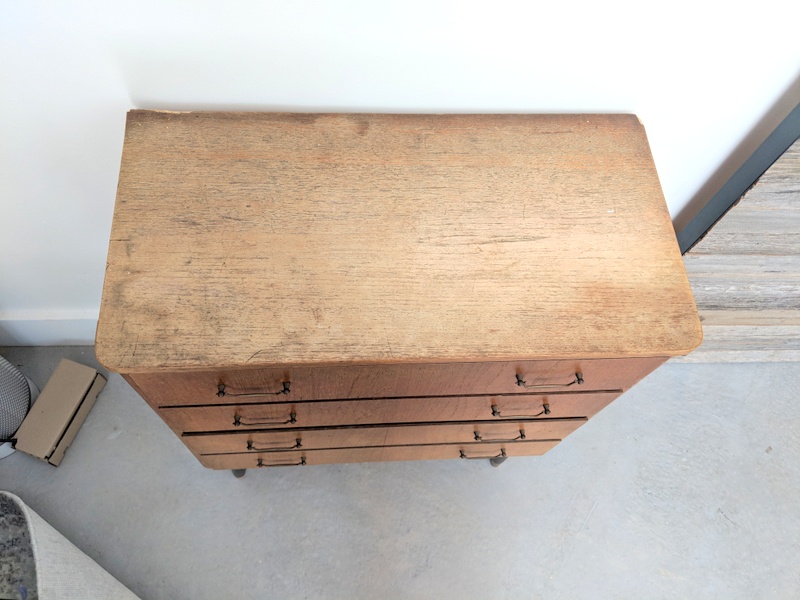
We prepped our surface by giving the dresser a good clean with Fusion TSP and made sure to lightly sand any areas that needed some extra smoothing. It’s always important to prep your surface before painting as your results will only be as good as how well you prep.
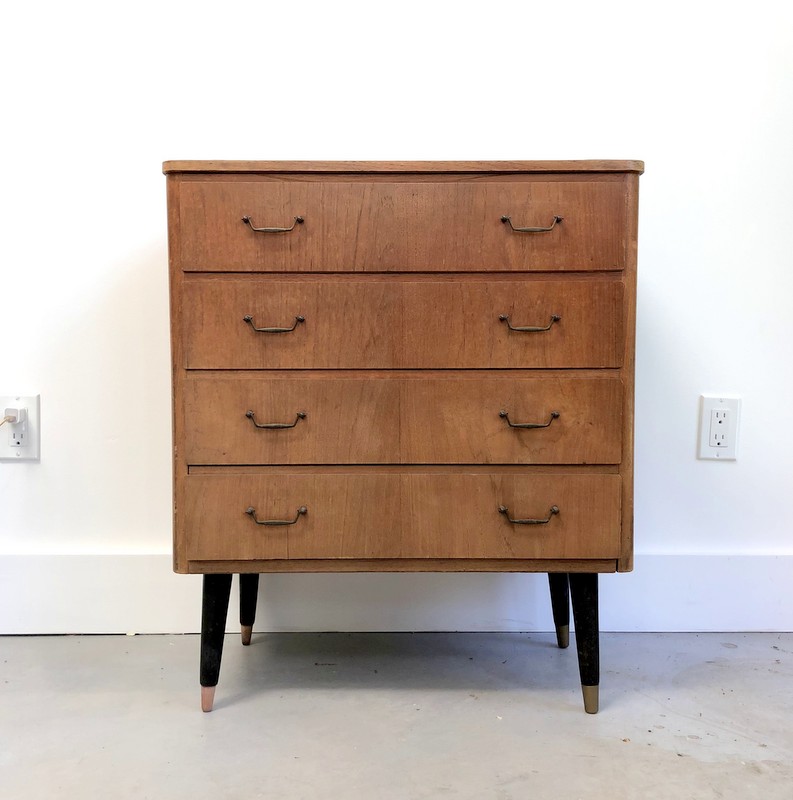
Our dresser beforehand was in really rough shape. So prep, in this case, was really important.
STEP 3
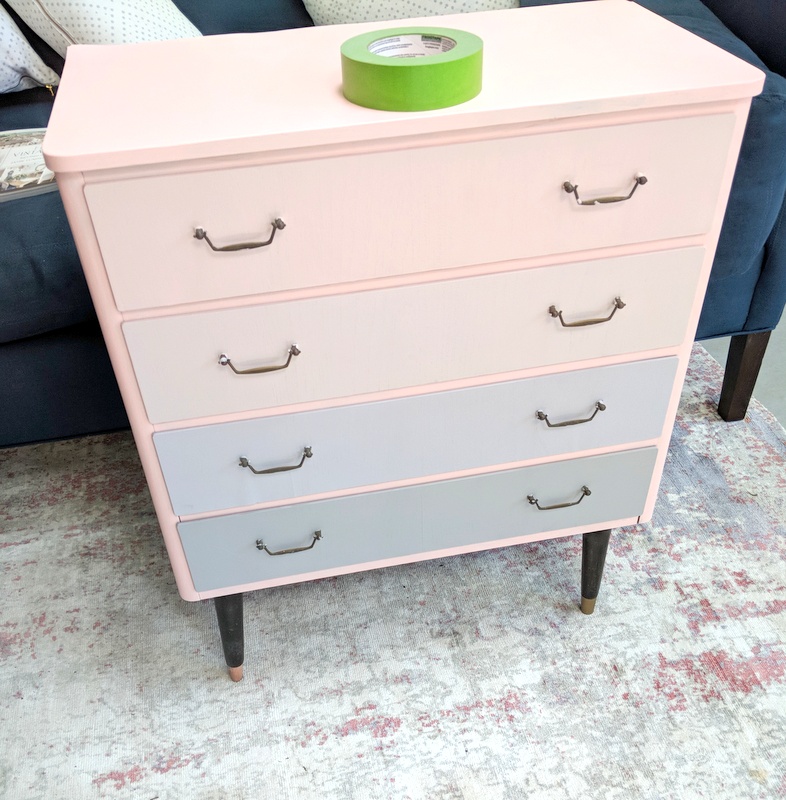
We painted the outside of the dresser first all over, using only English Rose. Then we painted each drawer front with a different shade of our chosen custom colour blends from lightest at the top, to darkest at the bottom. We then let them properly dry. Fusion is dry to the touch within approximately 2 hours.
STEP 4
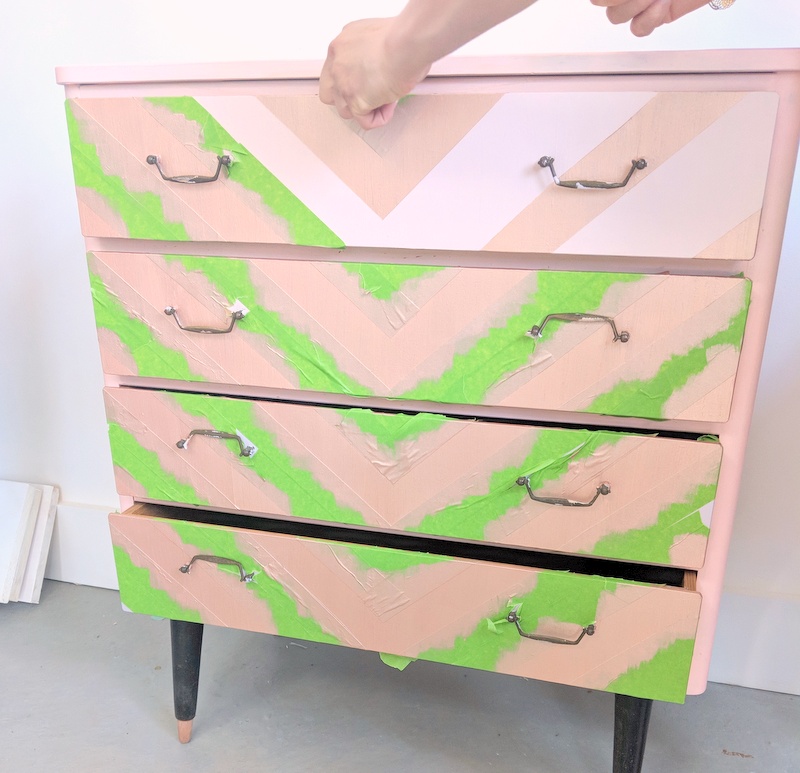
We then taped the front of the drawers in a V shaped pattern. It’s important for projects like this to use good painter’s tape, as they are not all created equally. In this case, it was especially important as we were covering up all of the drawer fronts that we had just painted and needed to make sure there was no bleed-through. We wanted crisp, clean lines.
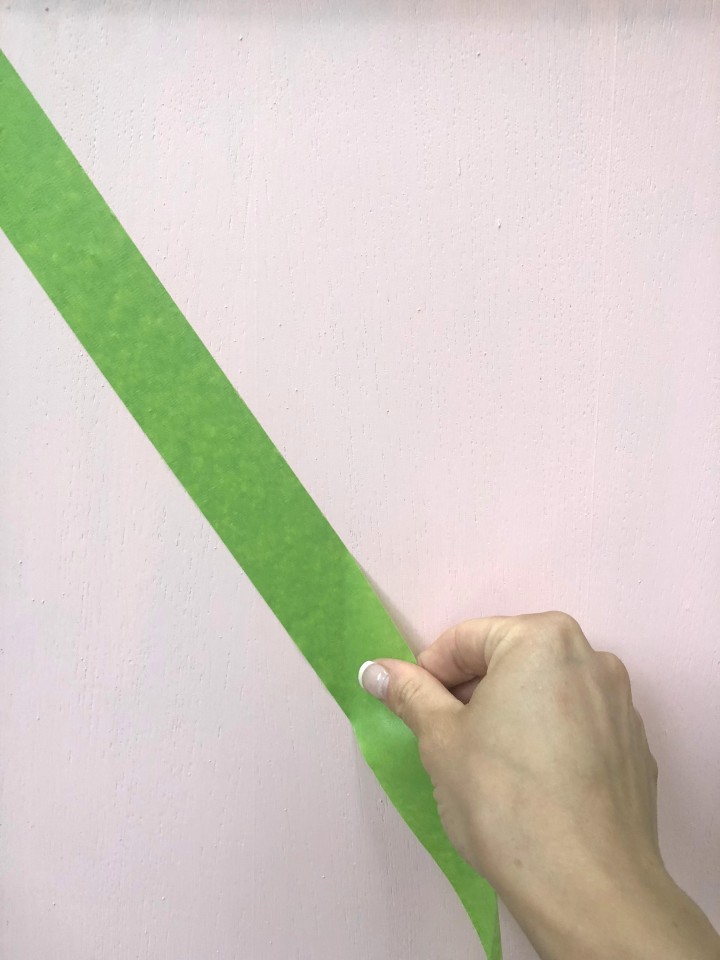
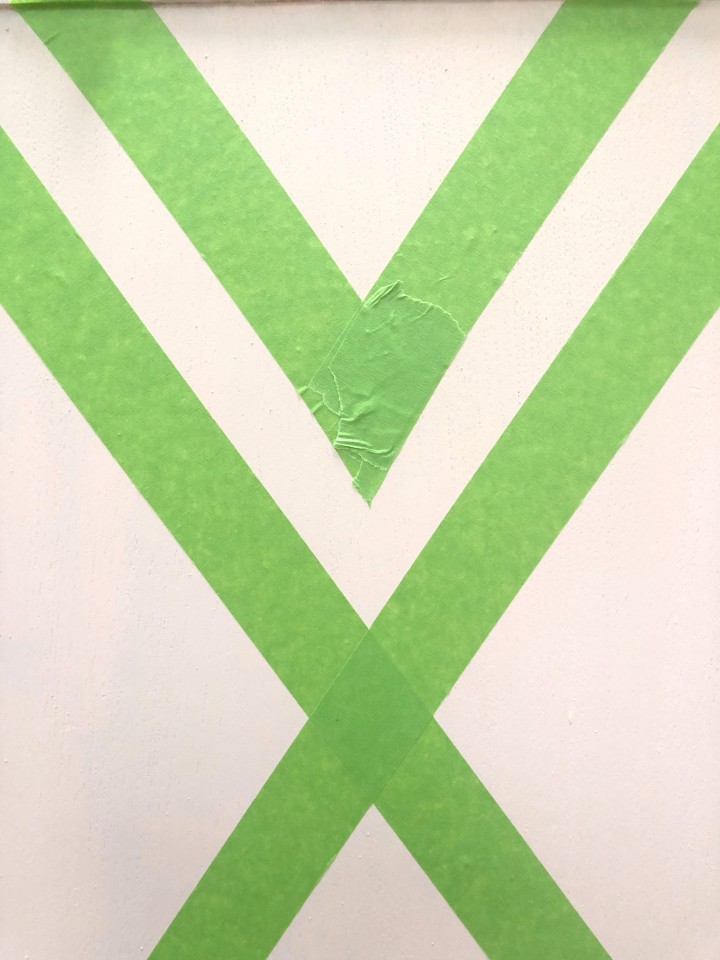
Using our Rose Gold Metallic paint, we painted the exposed areas for a nice contrasting colour.
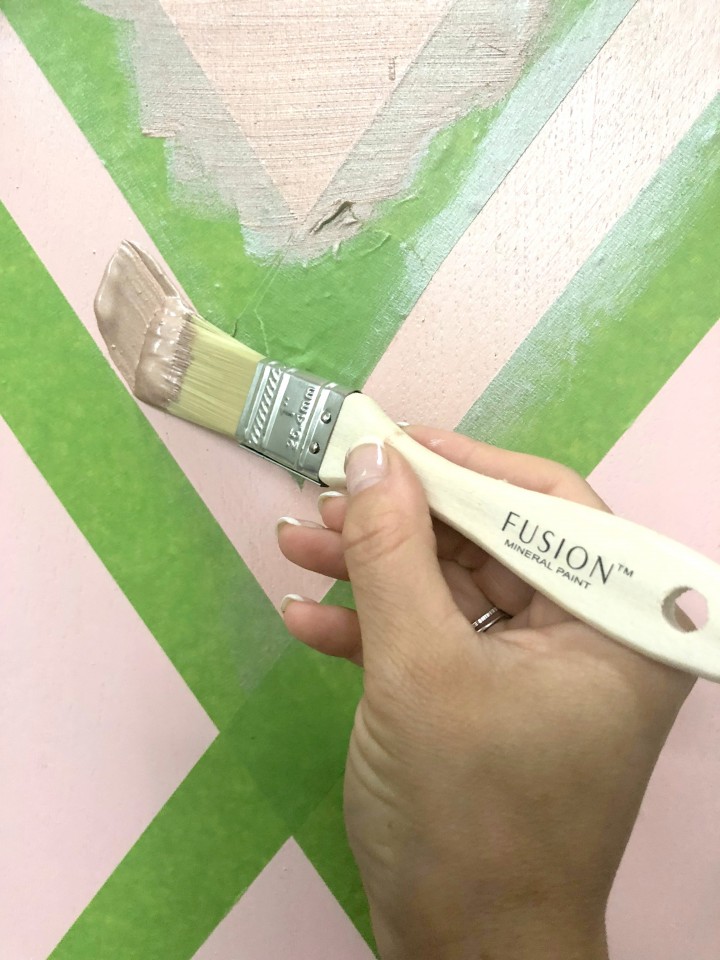
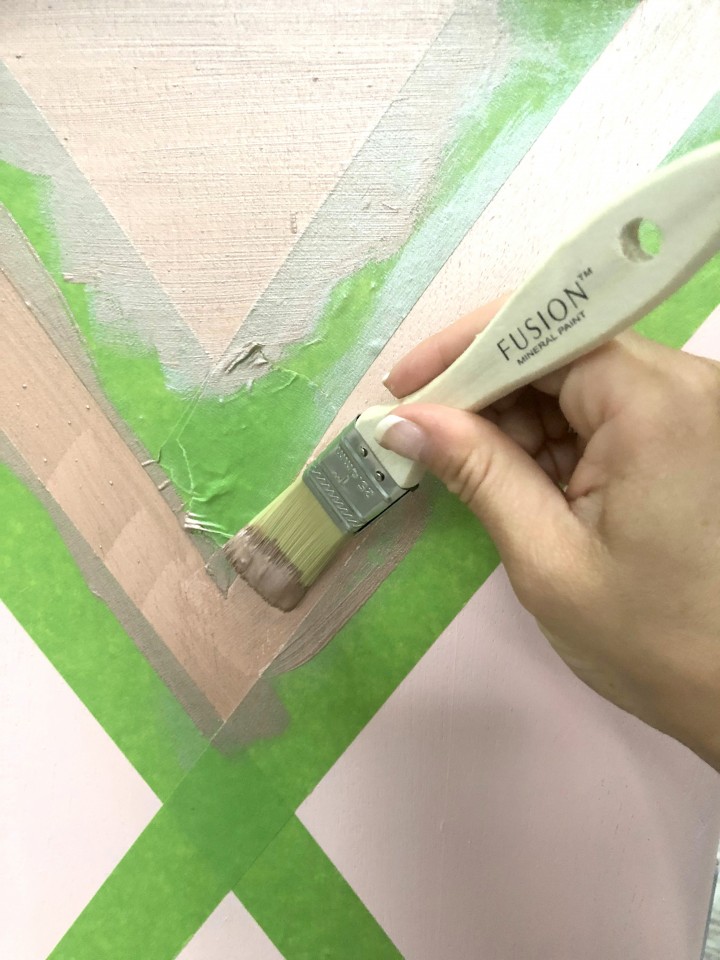
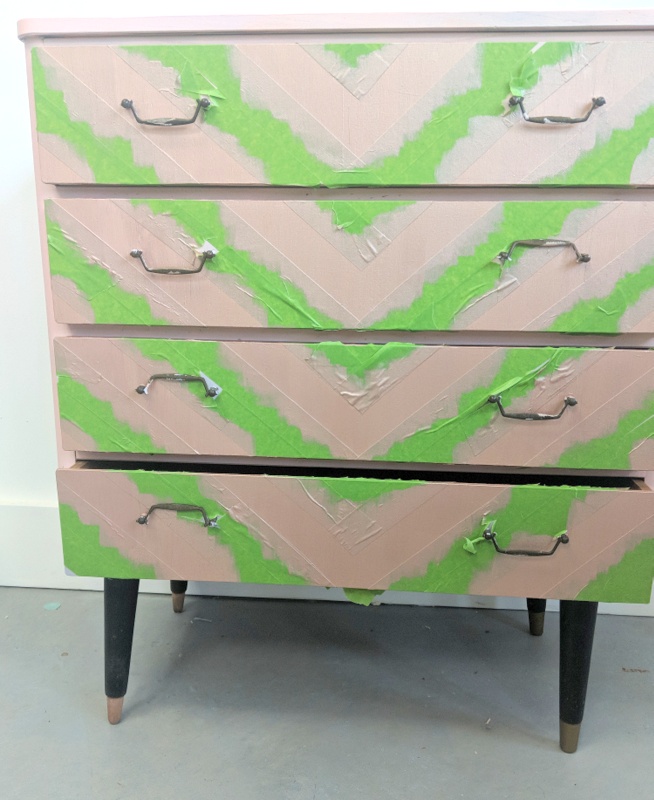
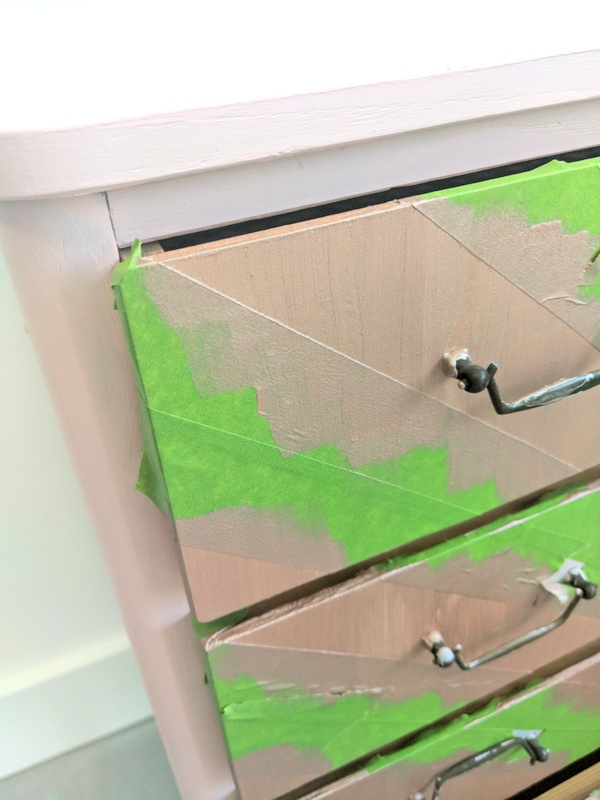
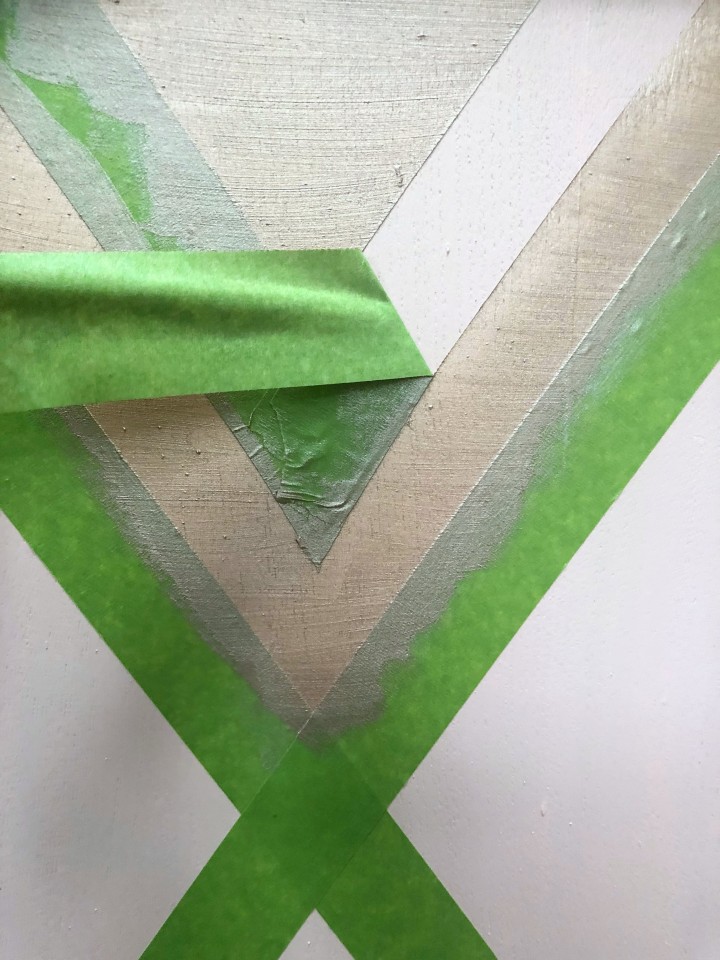
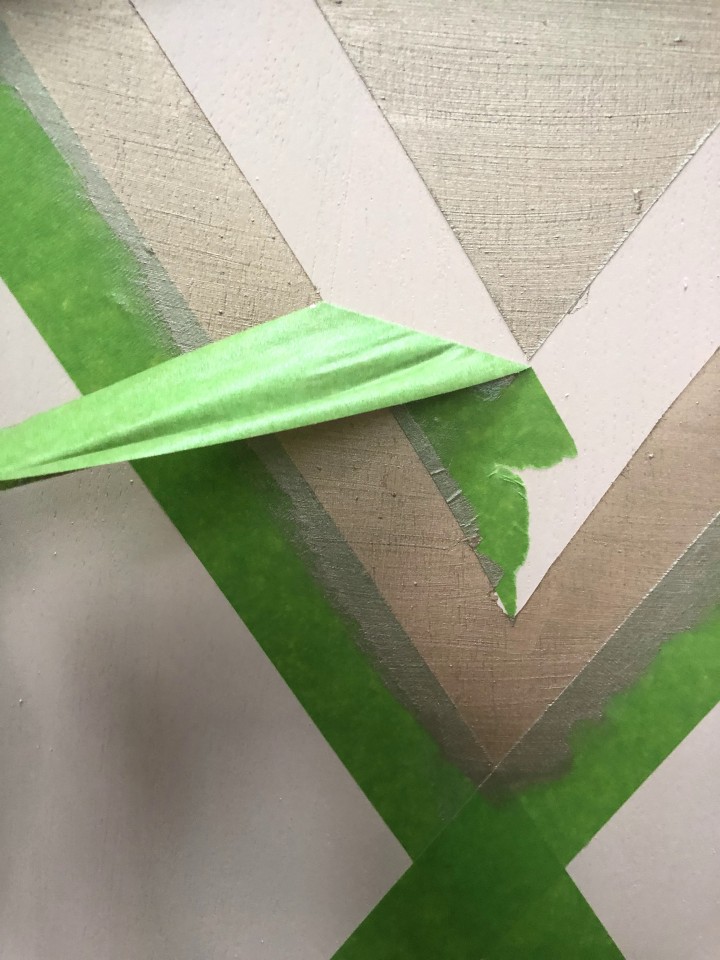
TIP: Do not let your paint fully dry with this step. If you do, you risk the tape getting stuck to the dresser and pulling off your paint underneath. So after you are done painting and are happy with the colour depth and number of coats, gently remove the painter’s tape from the front of the dresser.
We then carefully painted the handles using our Metallic Gold paint. While we here at Fusion are experienced enough to be able to do this freehand, if you are a novice painter, we do recommend that you either remove the handles prior to painting the dresser (if possible) or tape the base of the handle and surrounding area with painters tape and then paint them.
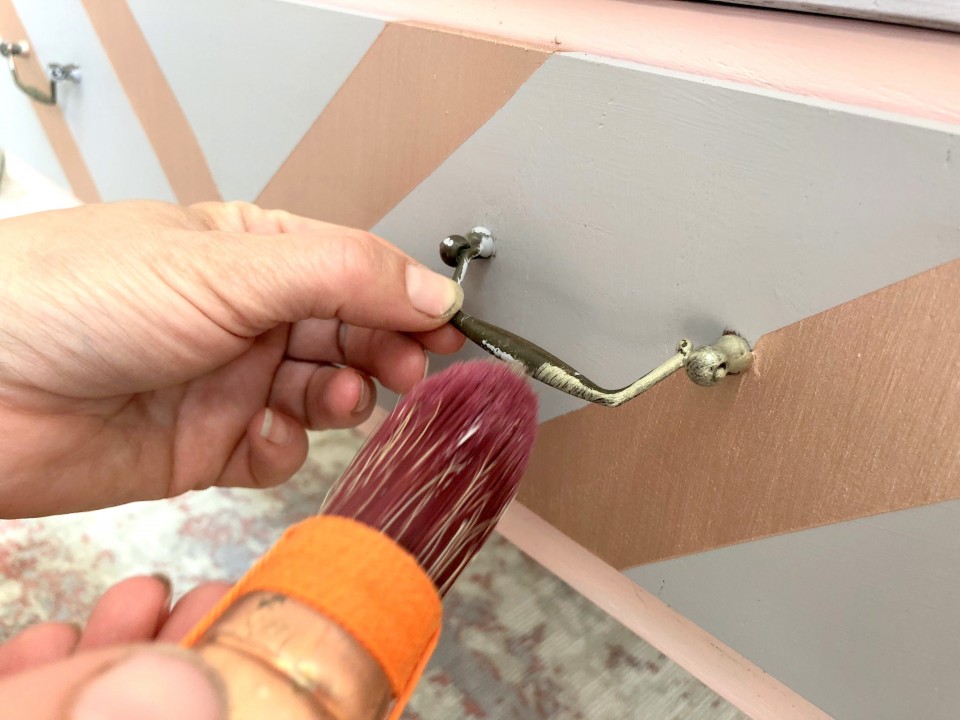
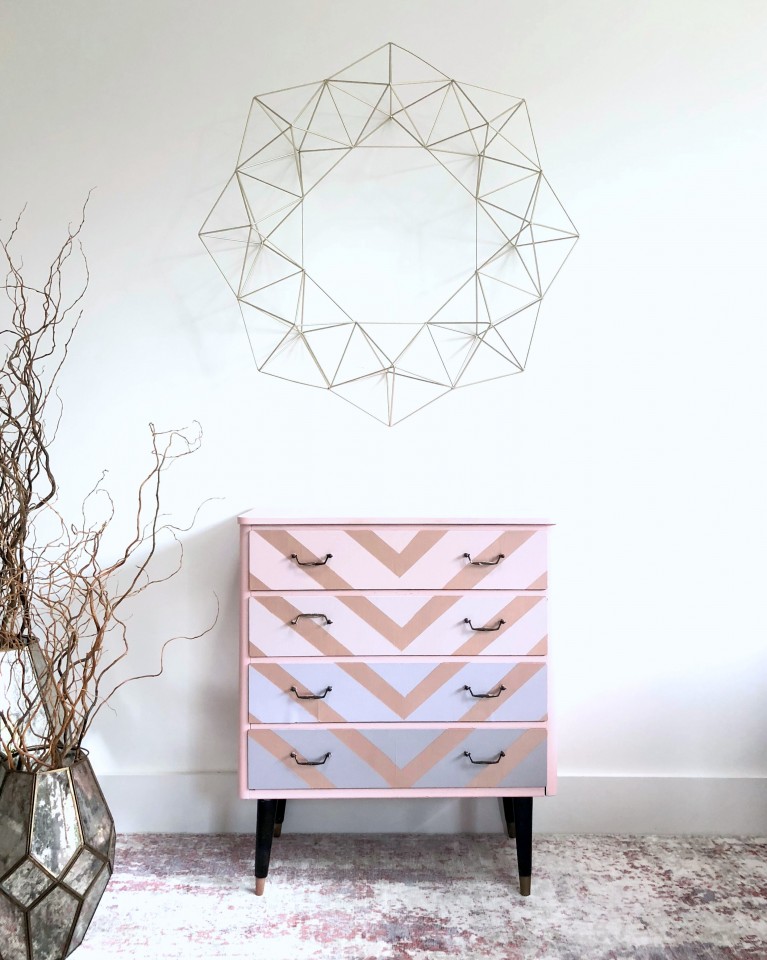
And you’ve got yourself a gorgeous, color-blended MCM dresser!
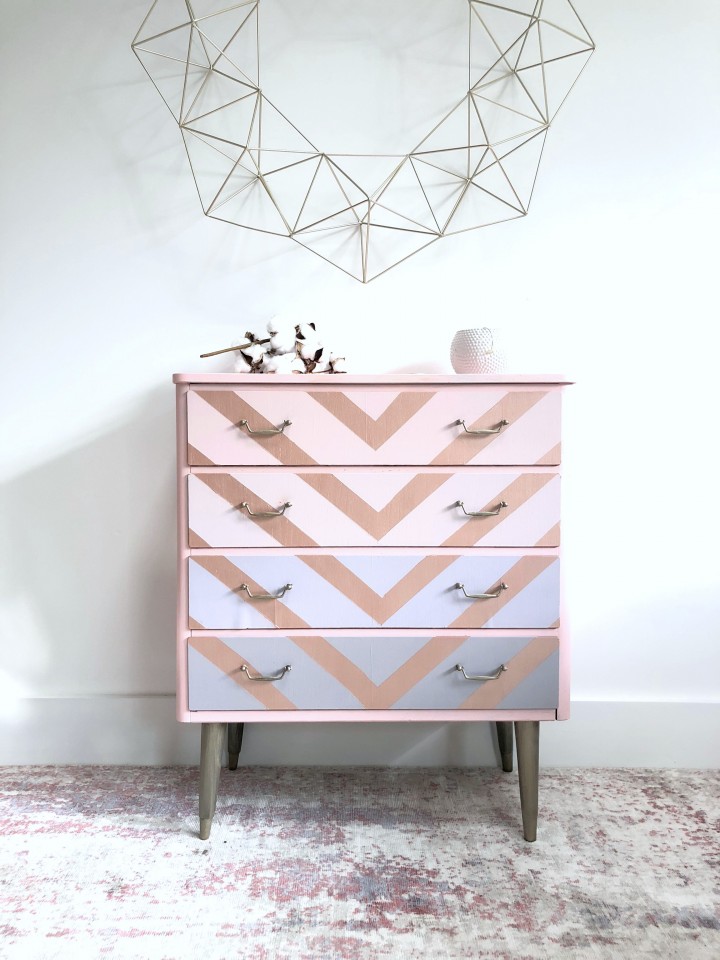
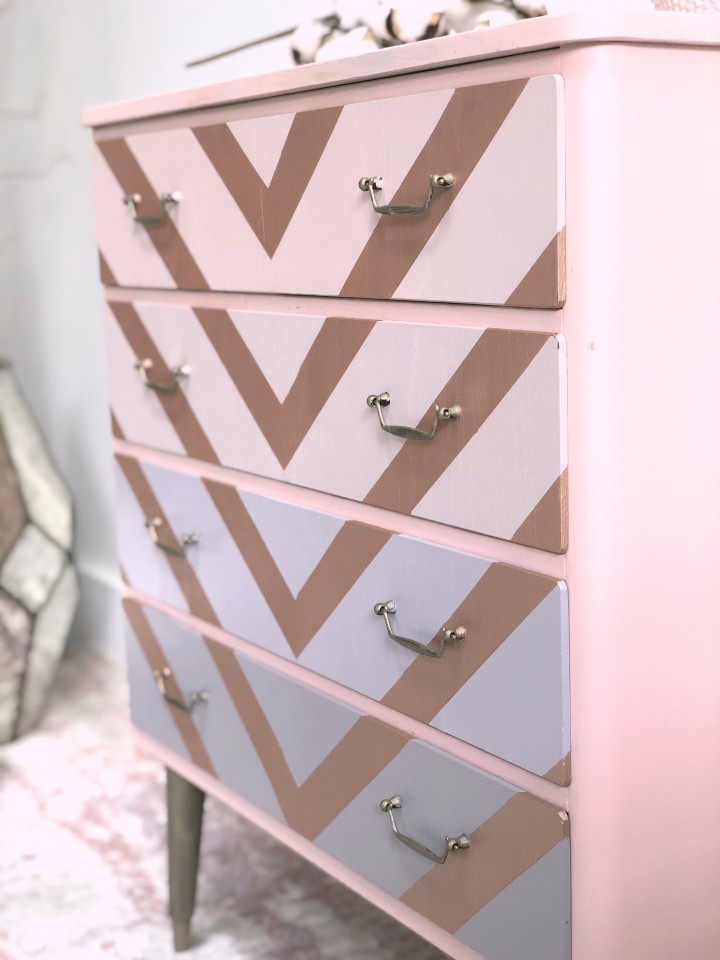
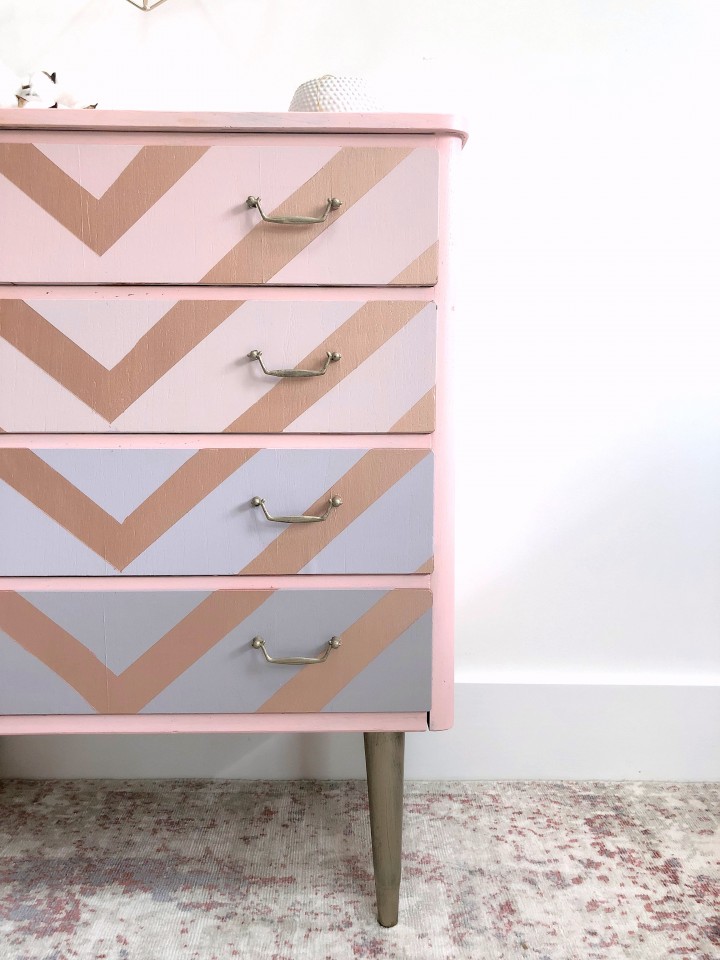
We hope this inspires you to get out there and create your own custom colour blend dresser! And if do paint one, please don’t forget to share it in our Paint it Beautiful Facebook group!
PIN IT for later!
