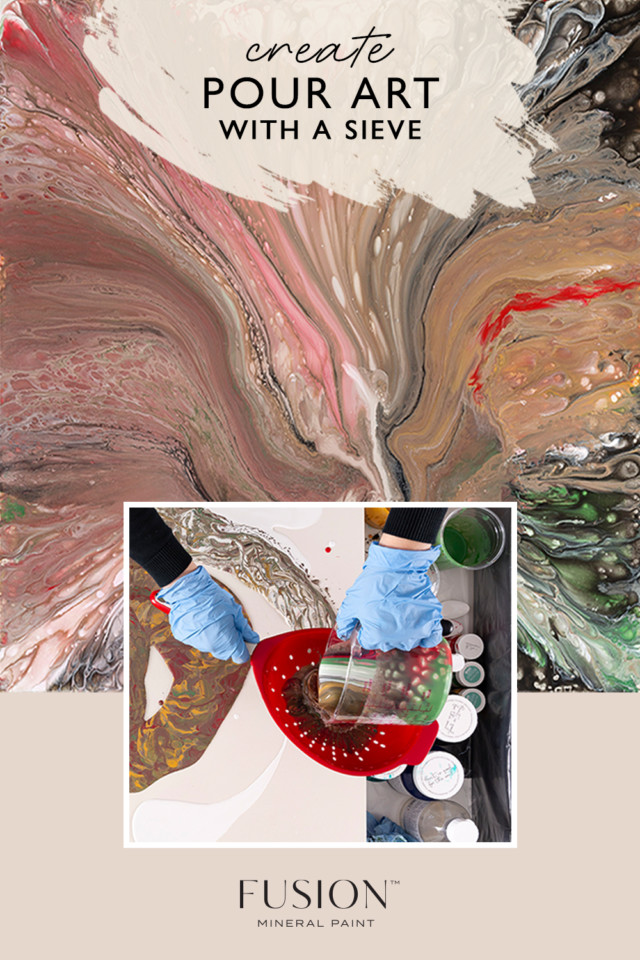
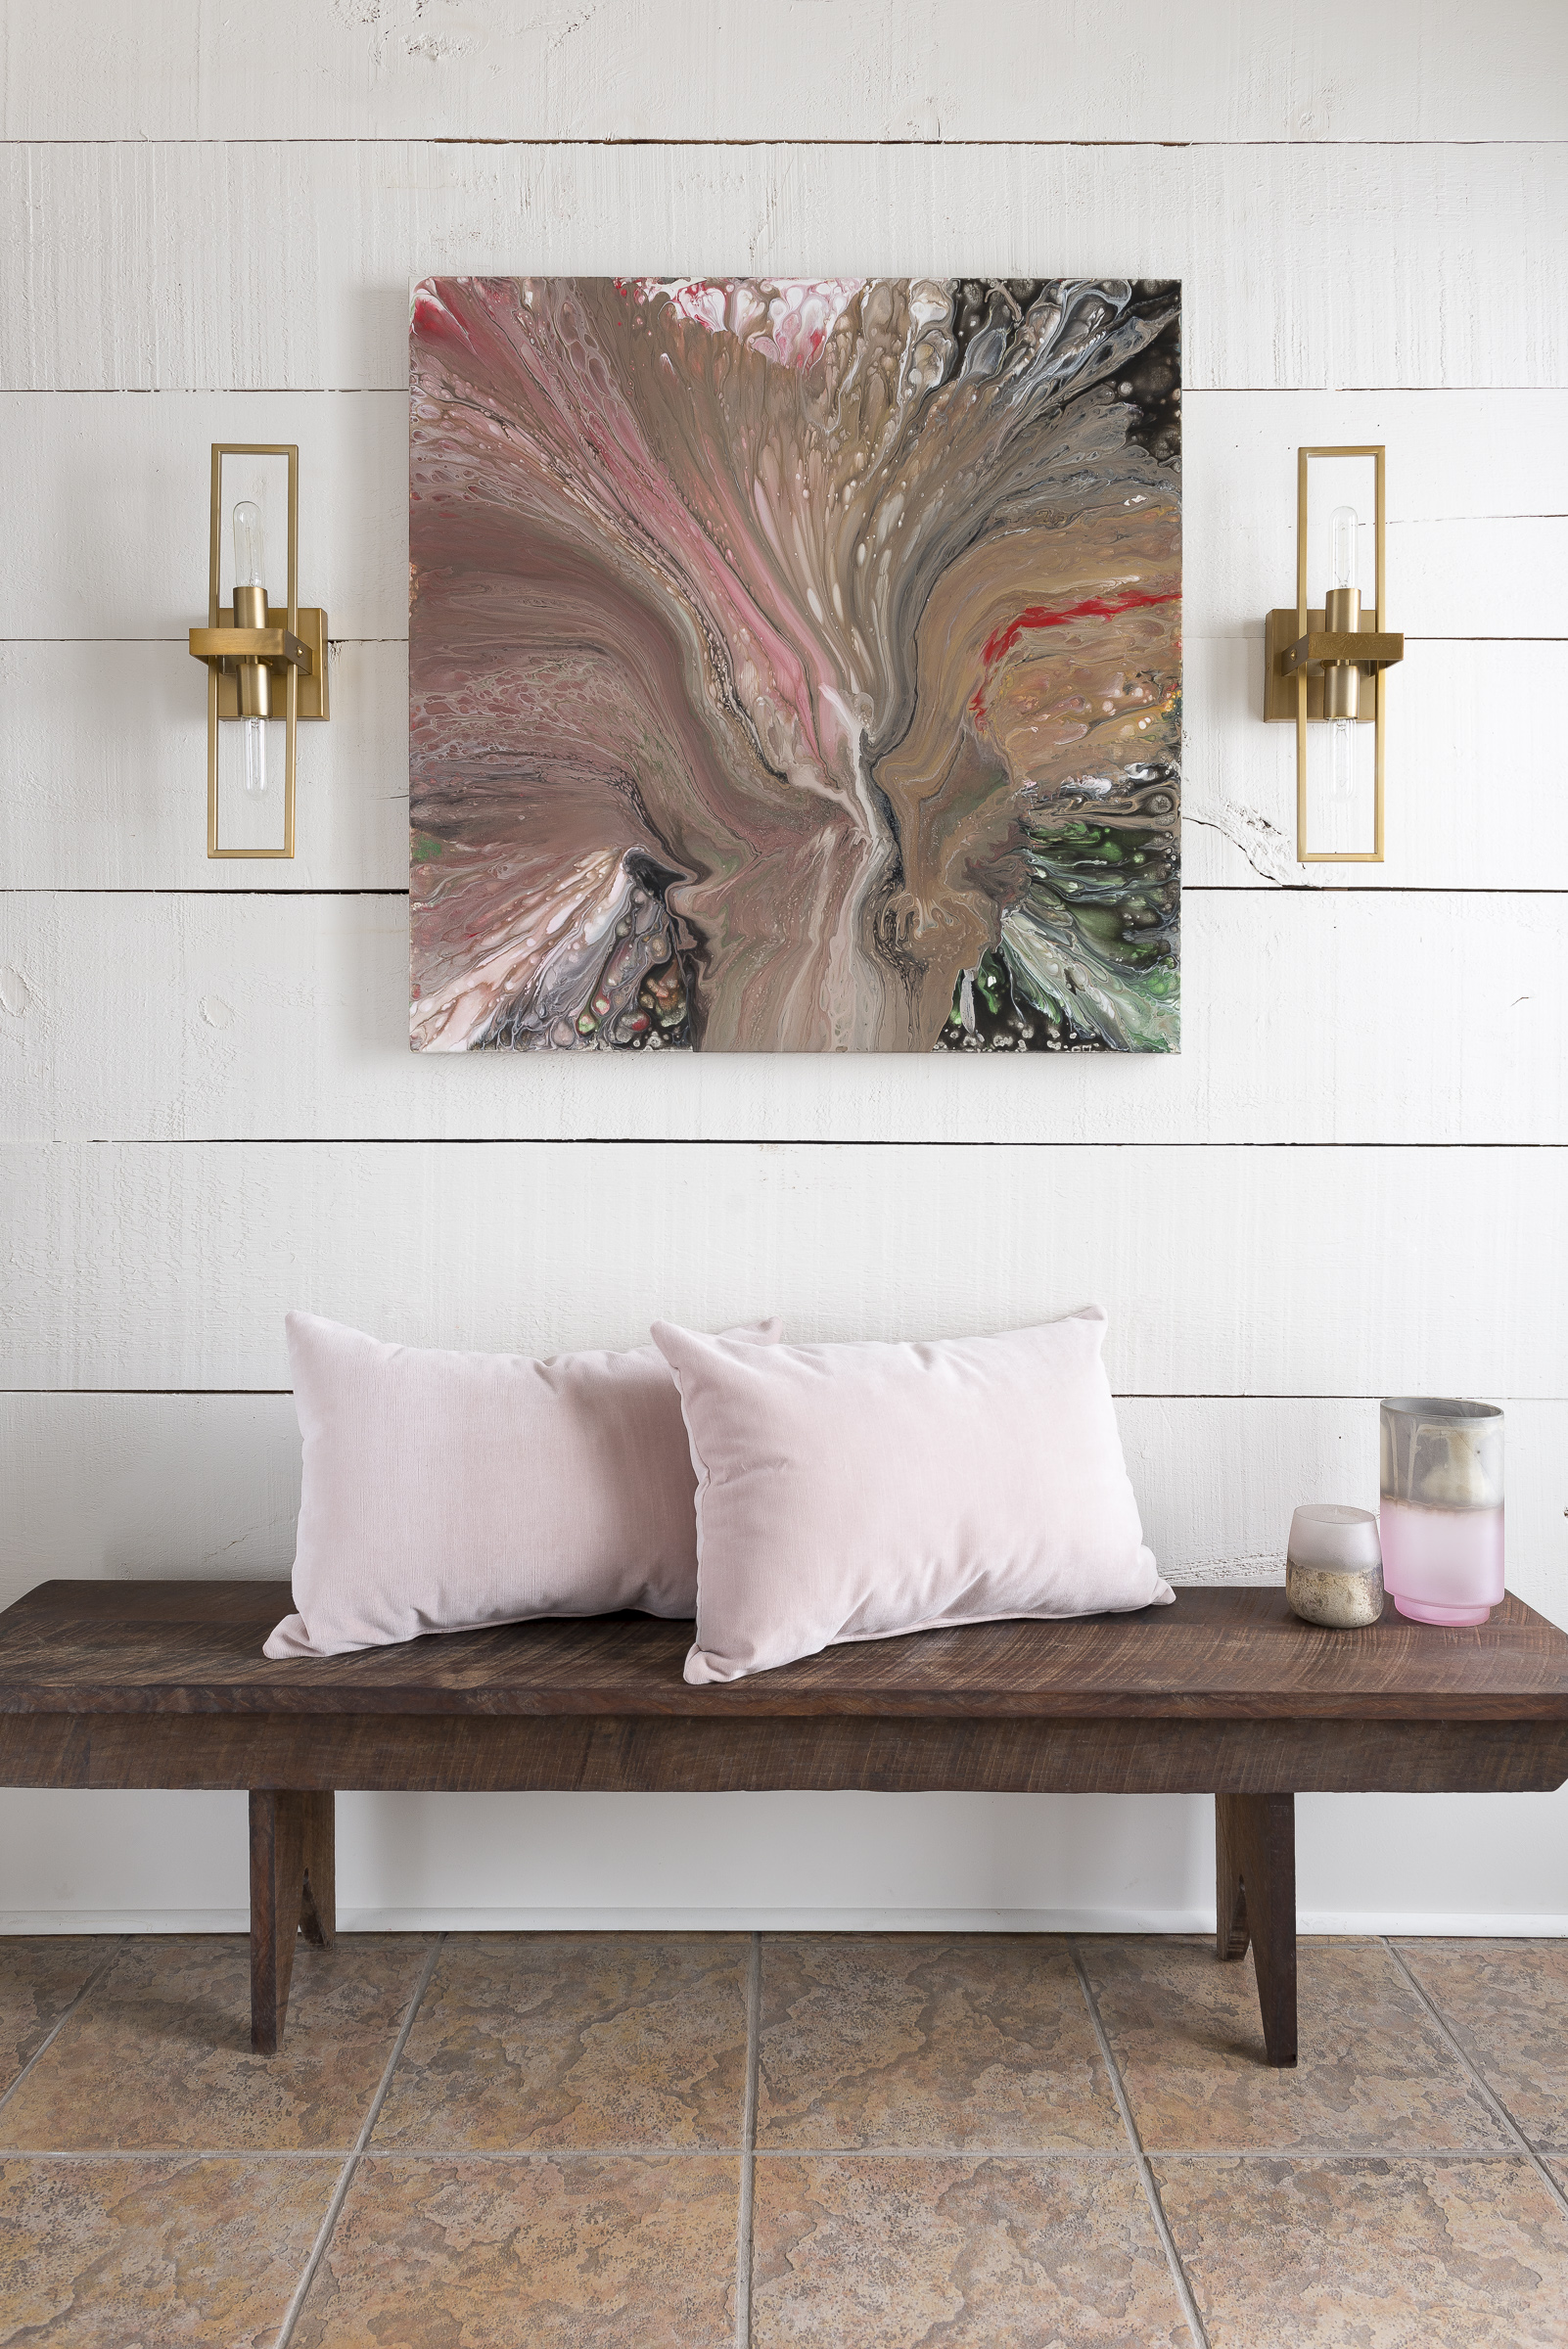
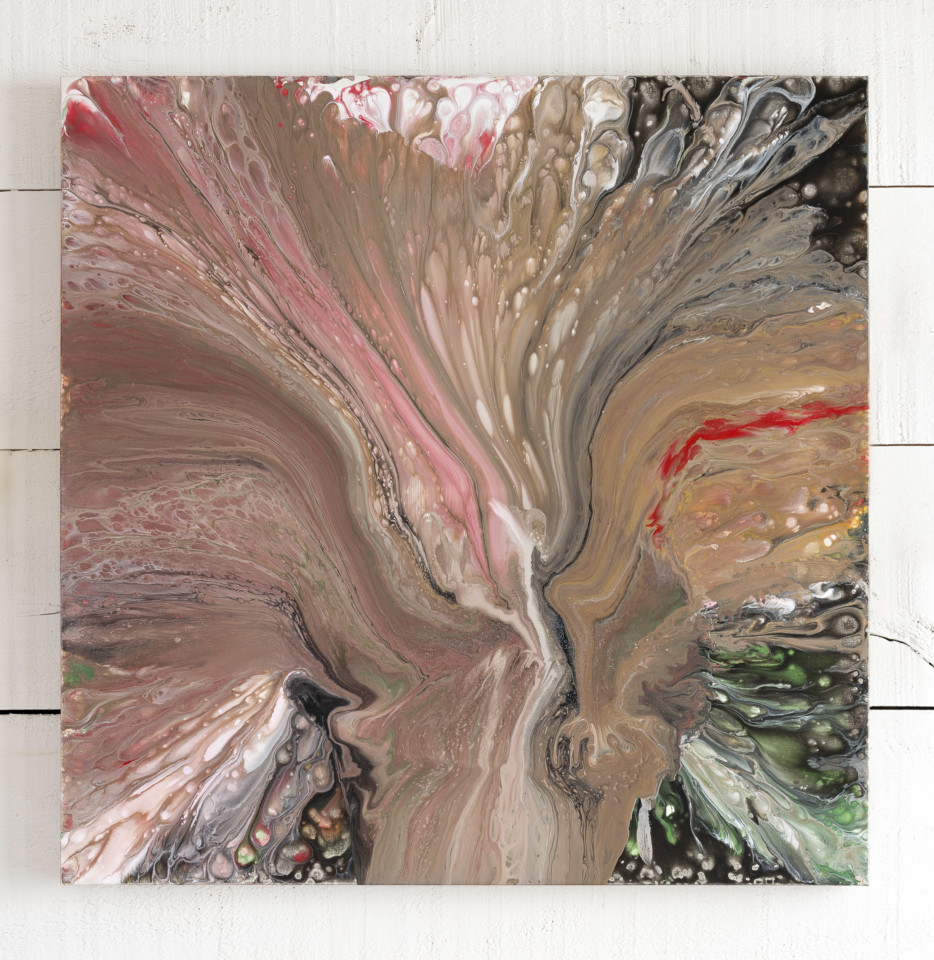
We’ve seen this trend everywhere! And the best part: it’s even easier now than ever to create at home DIY style! Would you like to get creative and make your own pour art? Fusion’s™ Pouring Resin and Cell Enhancer are both non-toxic and simple to use, making this an easy how-to. Follow this tutorial to get a similar look.
SUPPLIES:
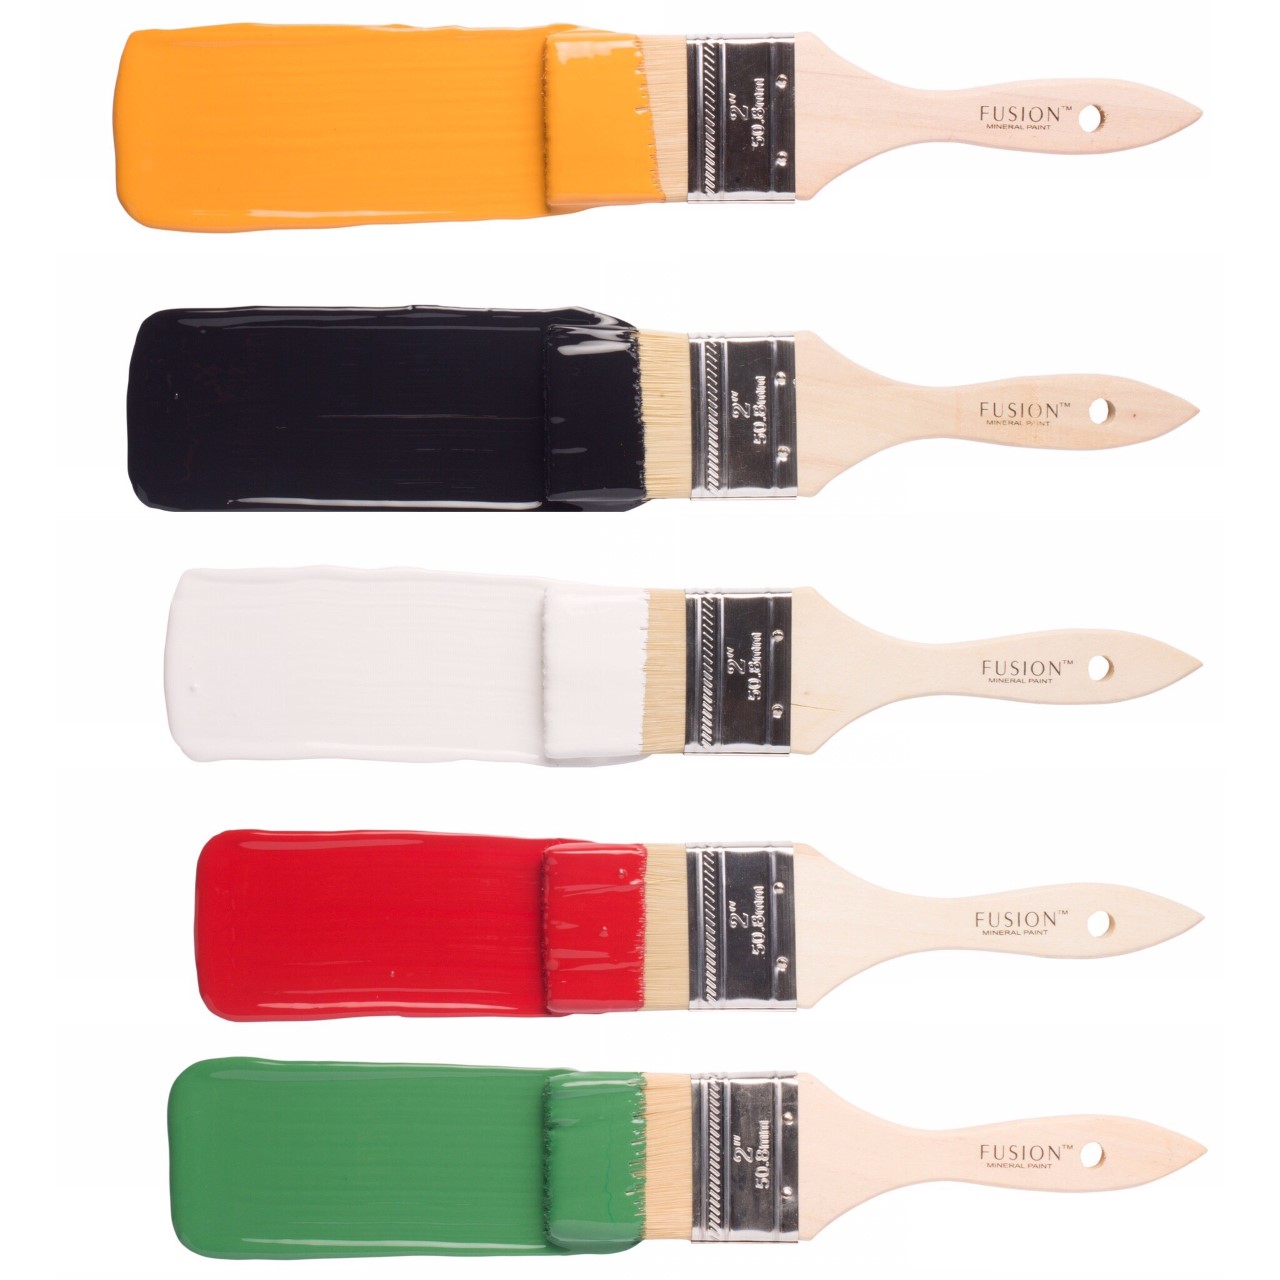
- Fusion Mineral Paint: Mustard, Coal Black, Casement, Fort York Red, Park Bench
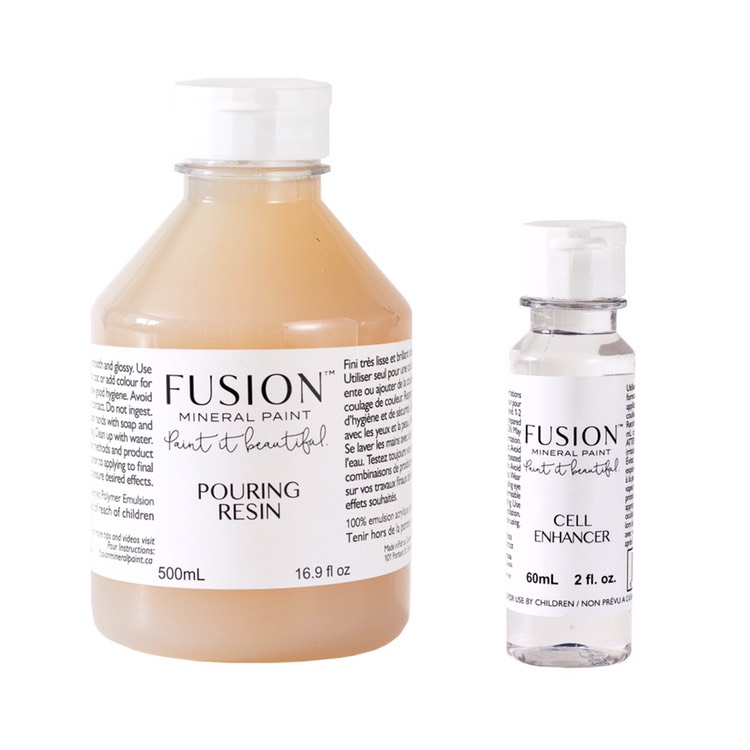
- Pouring Resin
- Cell Enhancer
- Canvas
- Plastic cups
- Plastic spoons
- Stick for spreading
- Plastic cover for your working area
- Measuring cup
- Sieve
- Latex gloves
CREATING POUR ART WITH A SIEVE
STEP 1
PREP YOUR AREA
To begin, prep your area. Creating pour art can be messy, so make sure to cover your area with a plastic sheet. We’ve raised our canvas using plastic cups. In addition, we recommend wearing latex gloves.
STEP 2
PREPARE YOUR COLORS
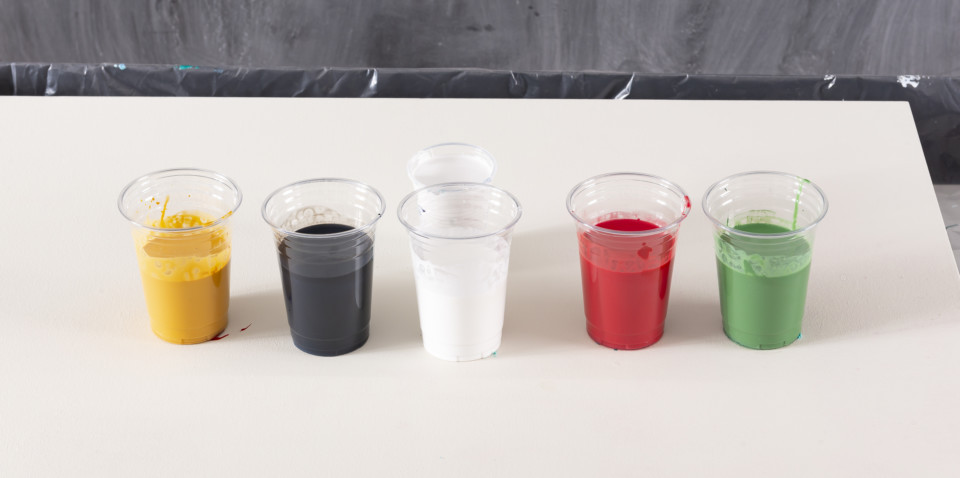
For each colour, pour a cup of Pouring Resin and add just a couple of drops of Cell Enhancer. Cell Enhancer is an option, it adds a really interesting separating effect, however you can experiment without it.
As a rule, the more Pouring Resin you use in the mixture, the more viscous it will be (do not use more than a 10% ratio of paint to your Pouring Resin). You want your mixture to flow easily on your canvas, the more paint you add, the less flow you will get. You only need to add a couple of drops to your Pouring Resin to tint it and get a coloured effect.
STEP 3
COMBINE EACH COLOR
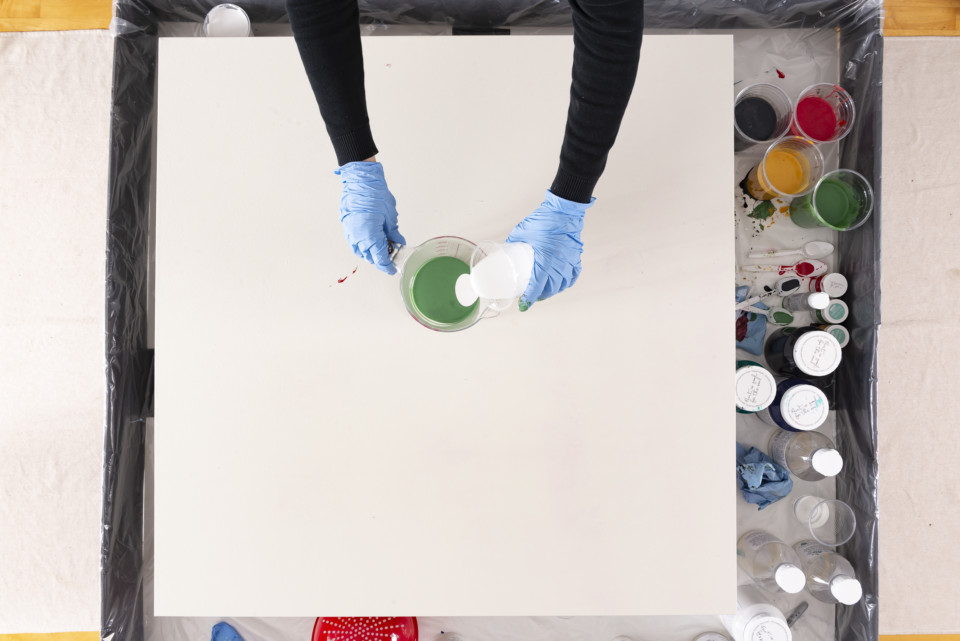
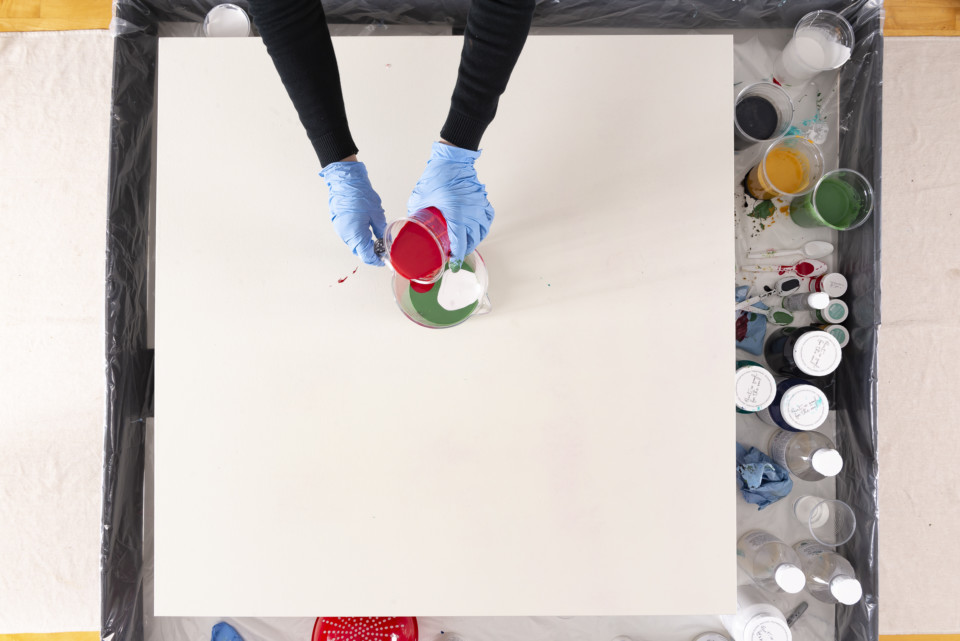
Layer each colour into a large measuring cup being very careful not to mix the colours together. Just pour in one after the next. Do not stir.
STEP 4
POURING
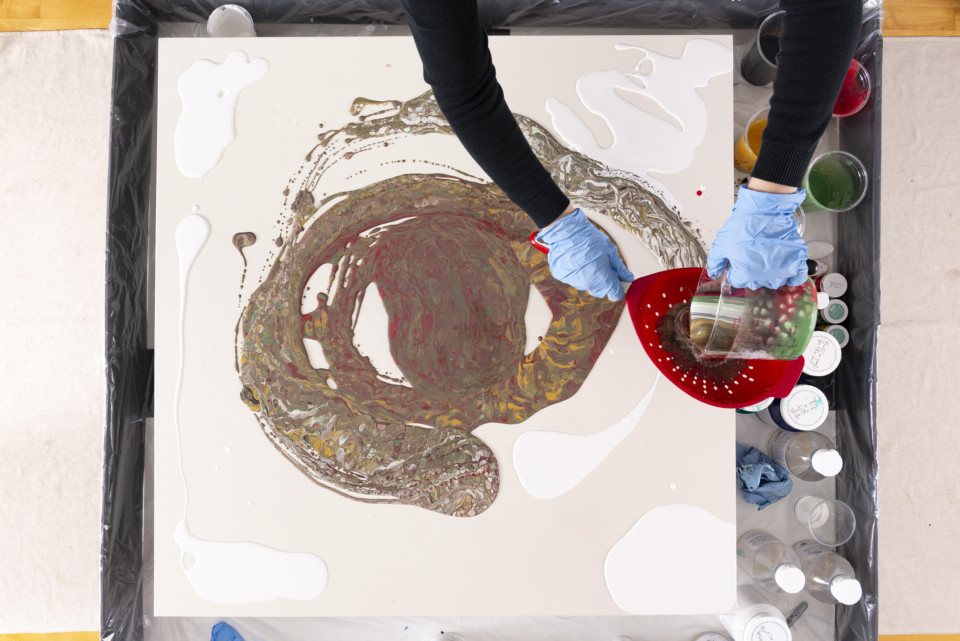
When all the colours have been poured into the large measuring cup, pour it all out through a sieve while moving it around the canvas.
STEP 5
BLENDING
Afterwards, tilt the canvas to pour out excess paint. You will see shapes forming from the paint due to the Cell Enhancer.
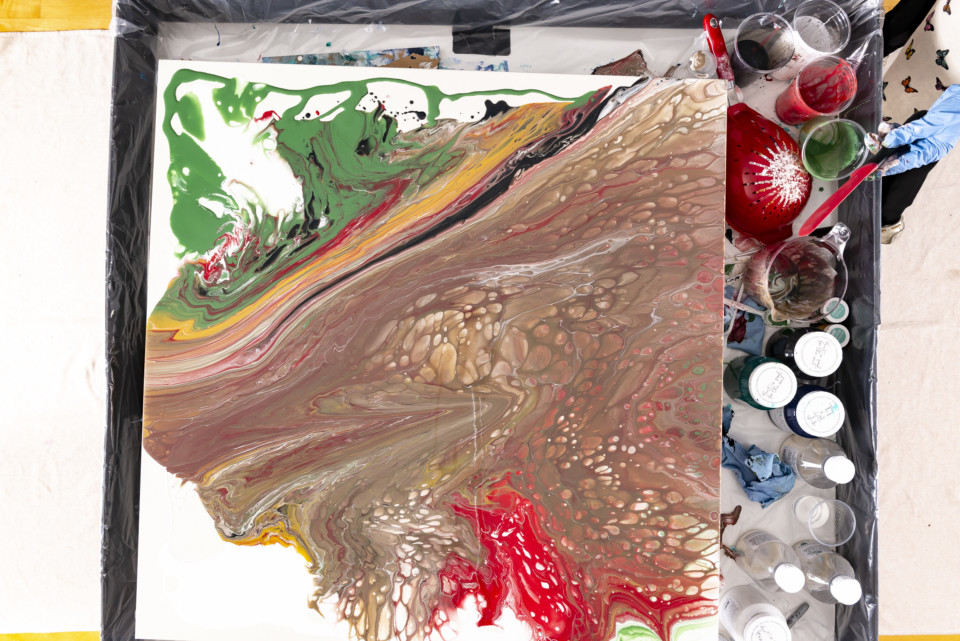
In this case, a cake frosting tool was used to drag from the centre to the edge, forming a starfish pattern.
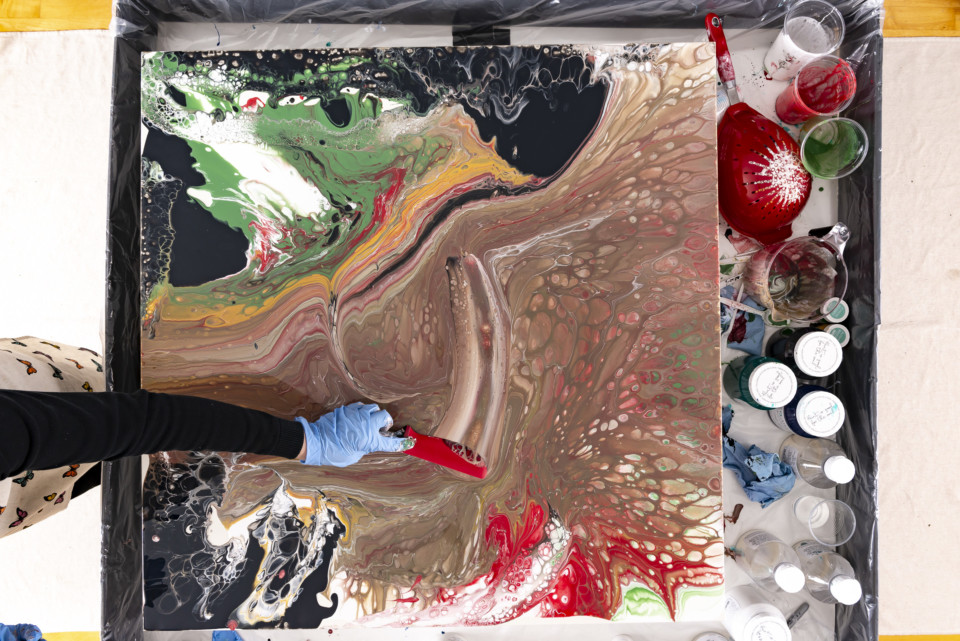
Continue to pour and tilt until you acquire the desired look. For example, you can always add more of a particular colour if you feel it better suits your piece. Be sure to wash your sieve and measuring cup directly after each use, don’t worry clean up is easy with just soap and water!
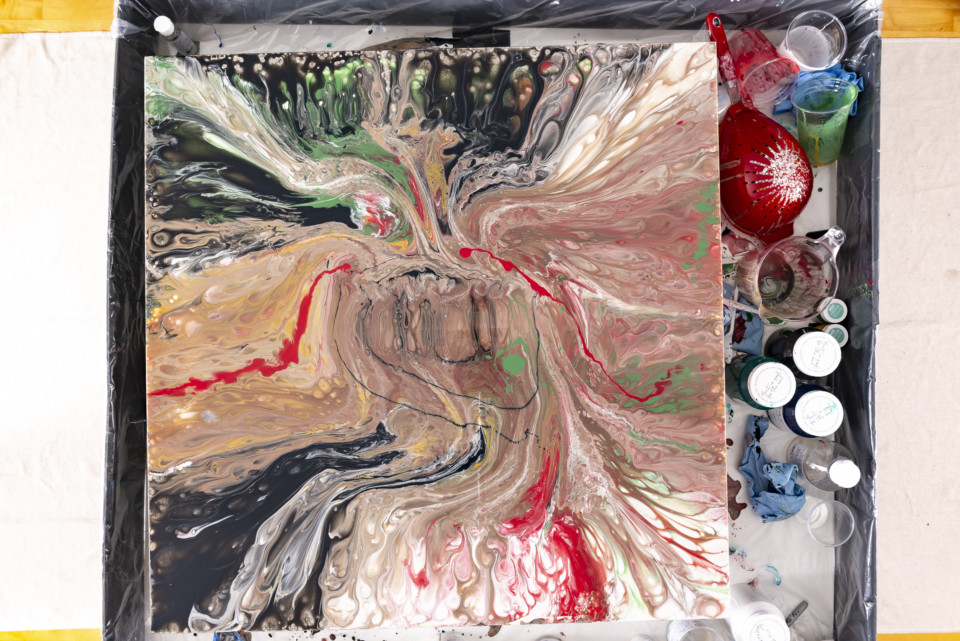
Allow your piece to dry for 24 hours and then it will be ready to display in your space!
That’s it! You’re all done! Once dry, it will have a glossy finish to it that is very durable, much like an epoxy-type resin. All you need to do is find a gorgeous place to hang it, and you’ve got a great conversation piece!
We’d love to see what you create. Feel free to join and share your projects at our community Facebook group Paint It Beautiful!
