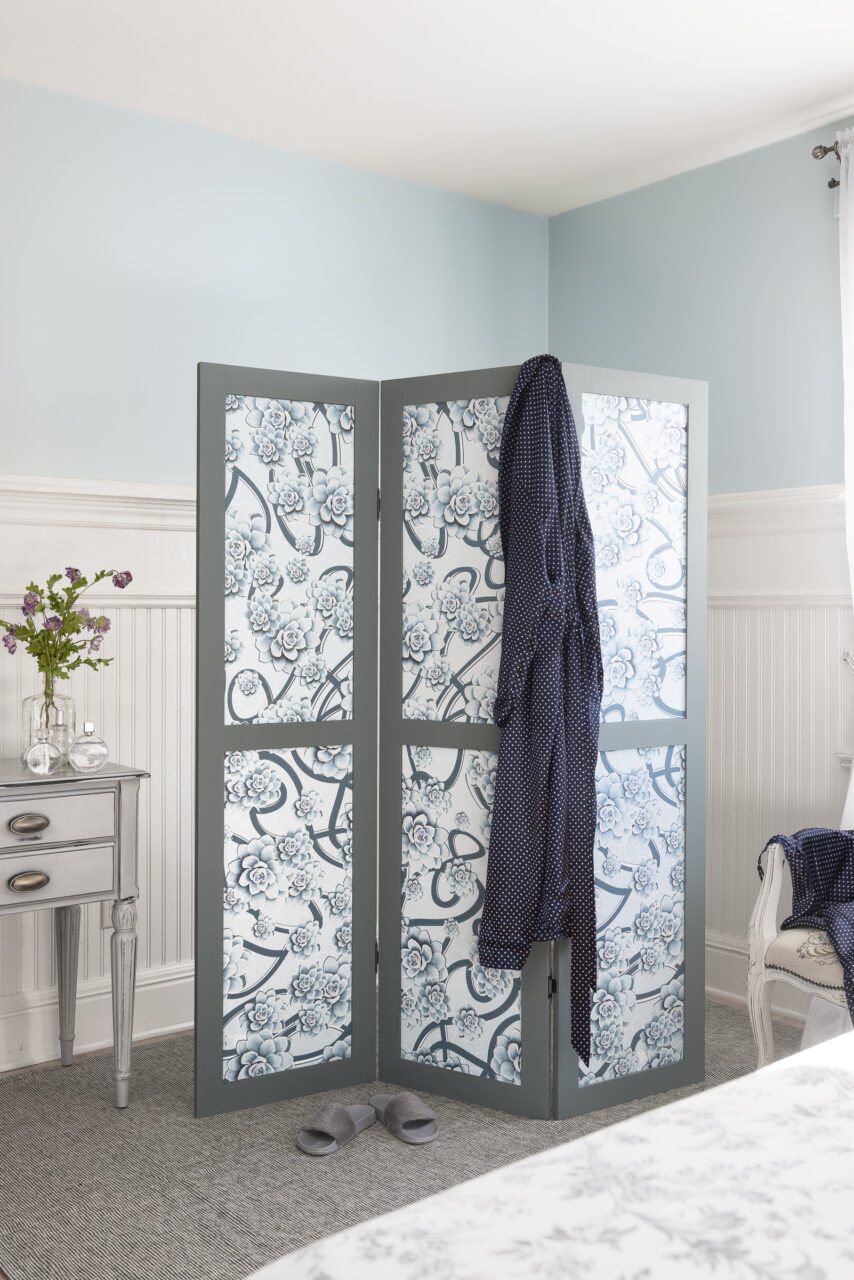
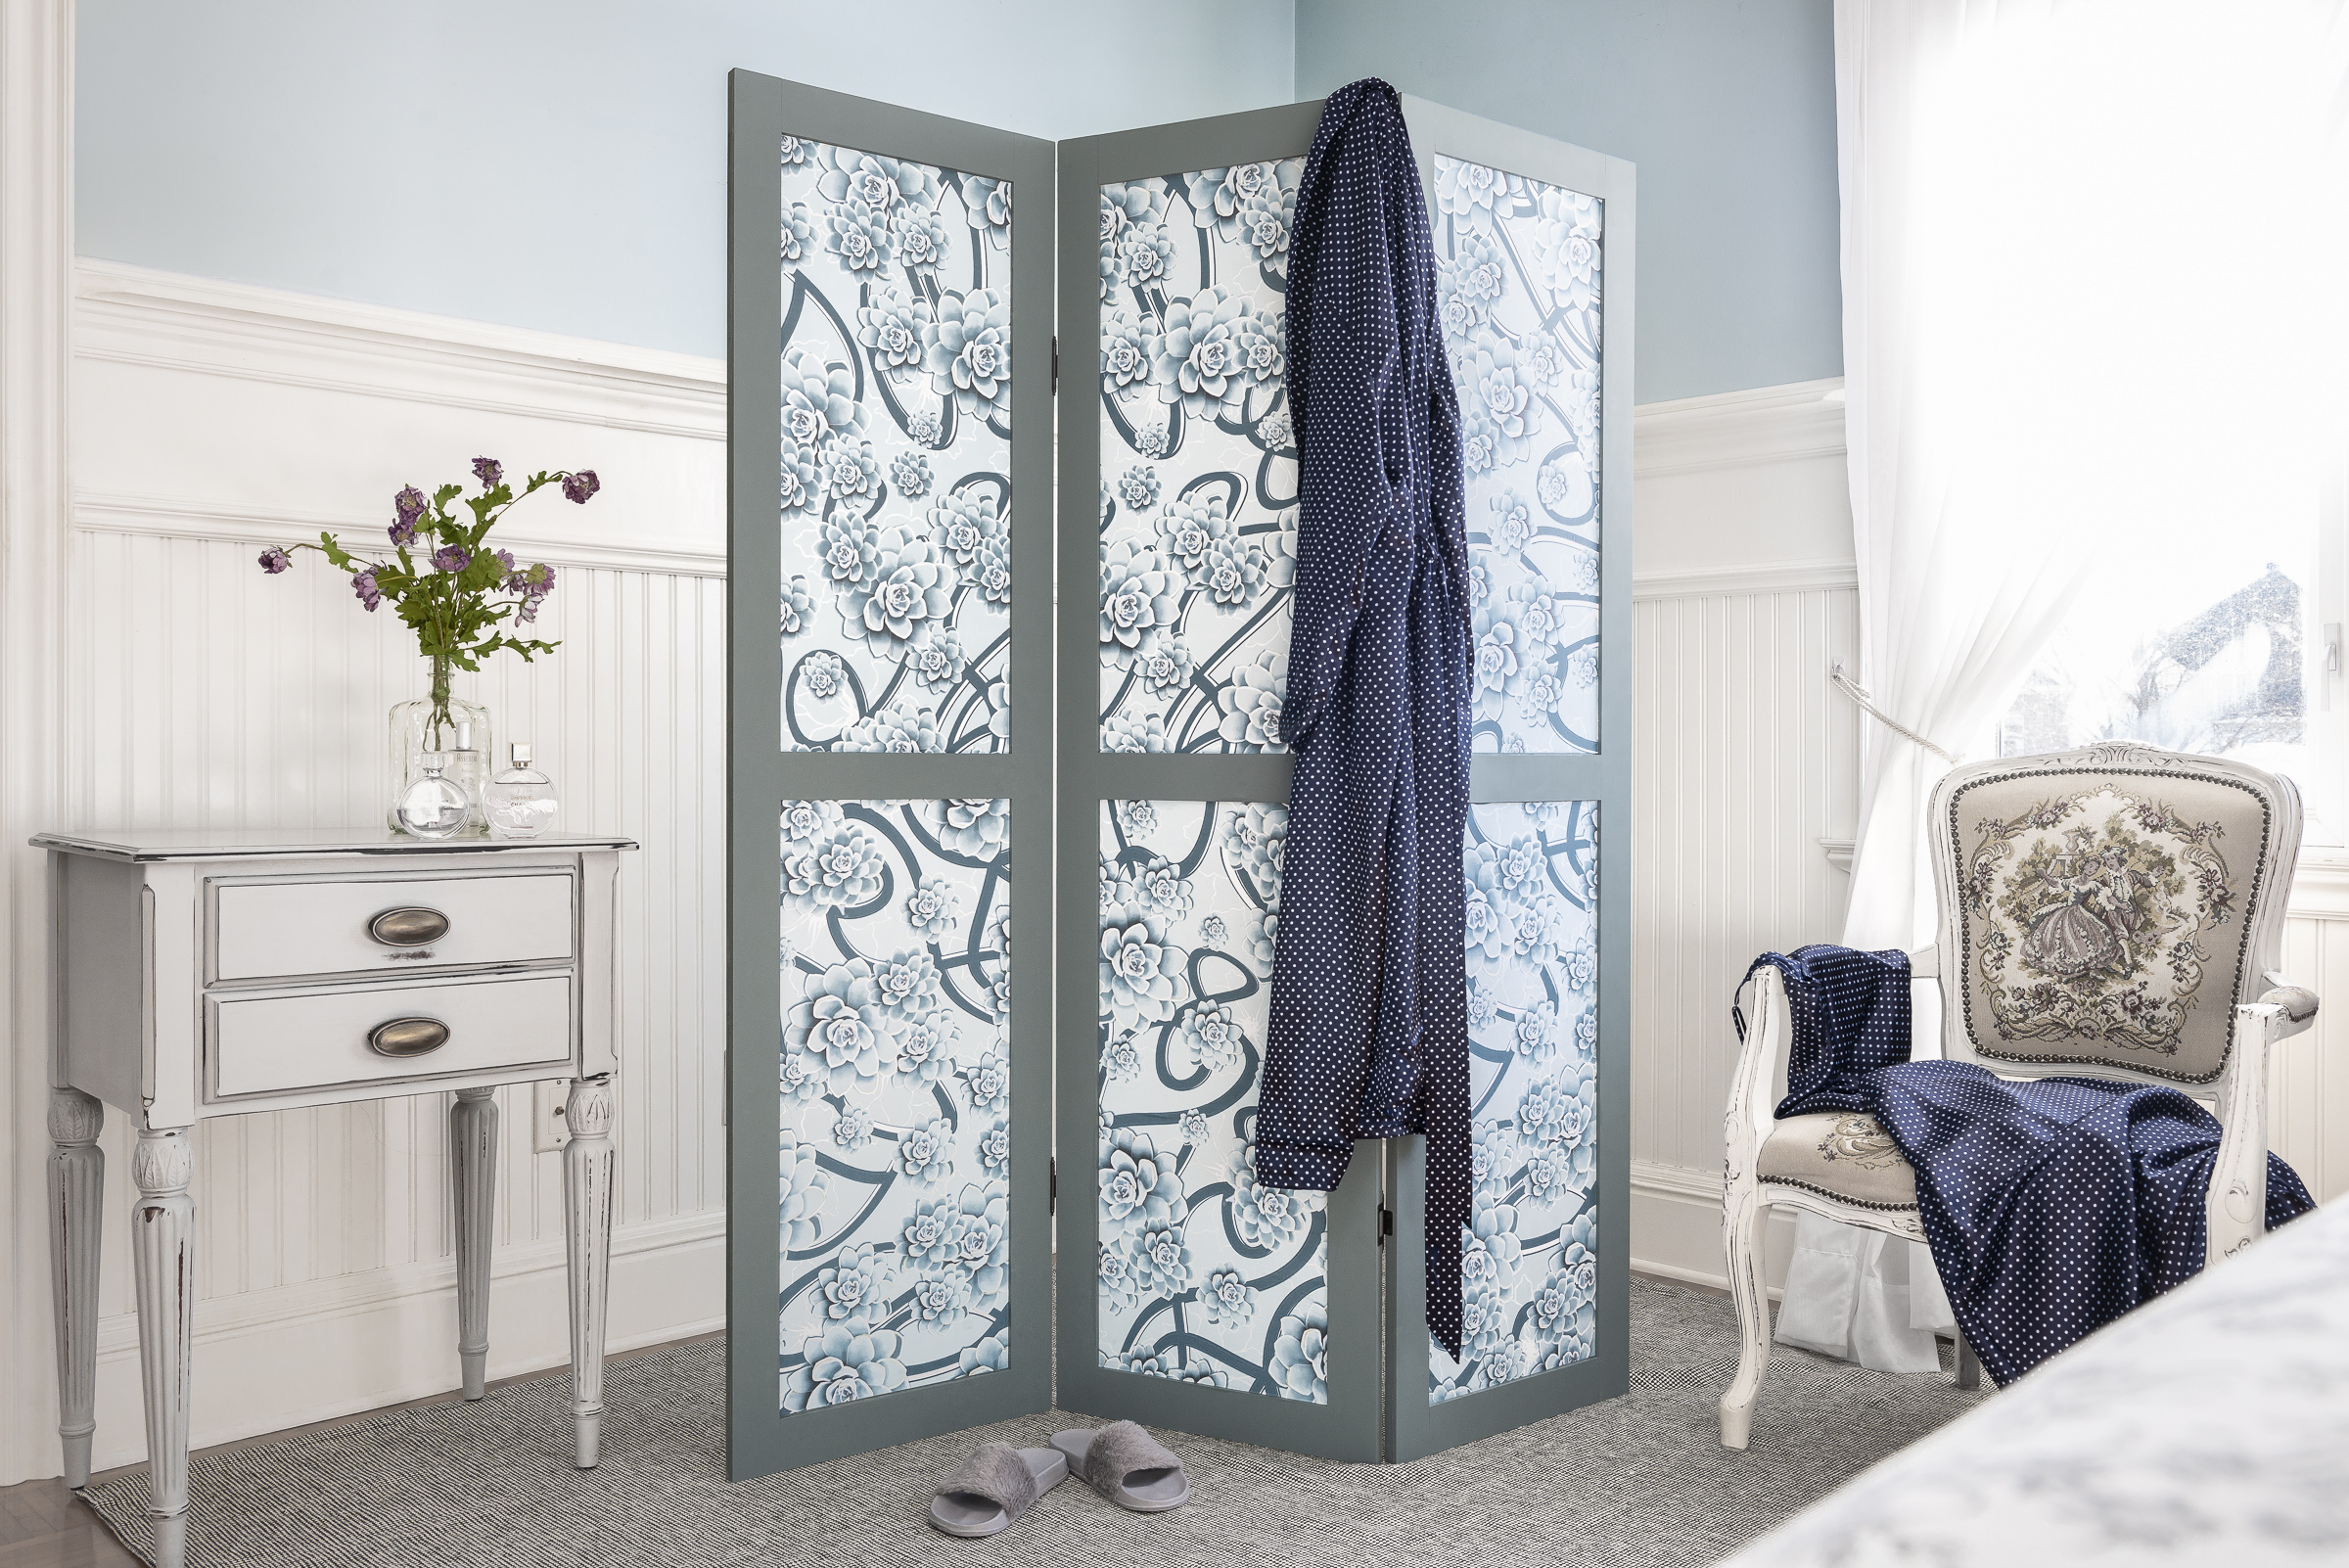
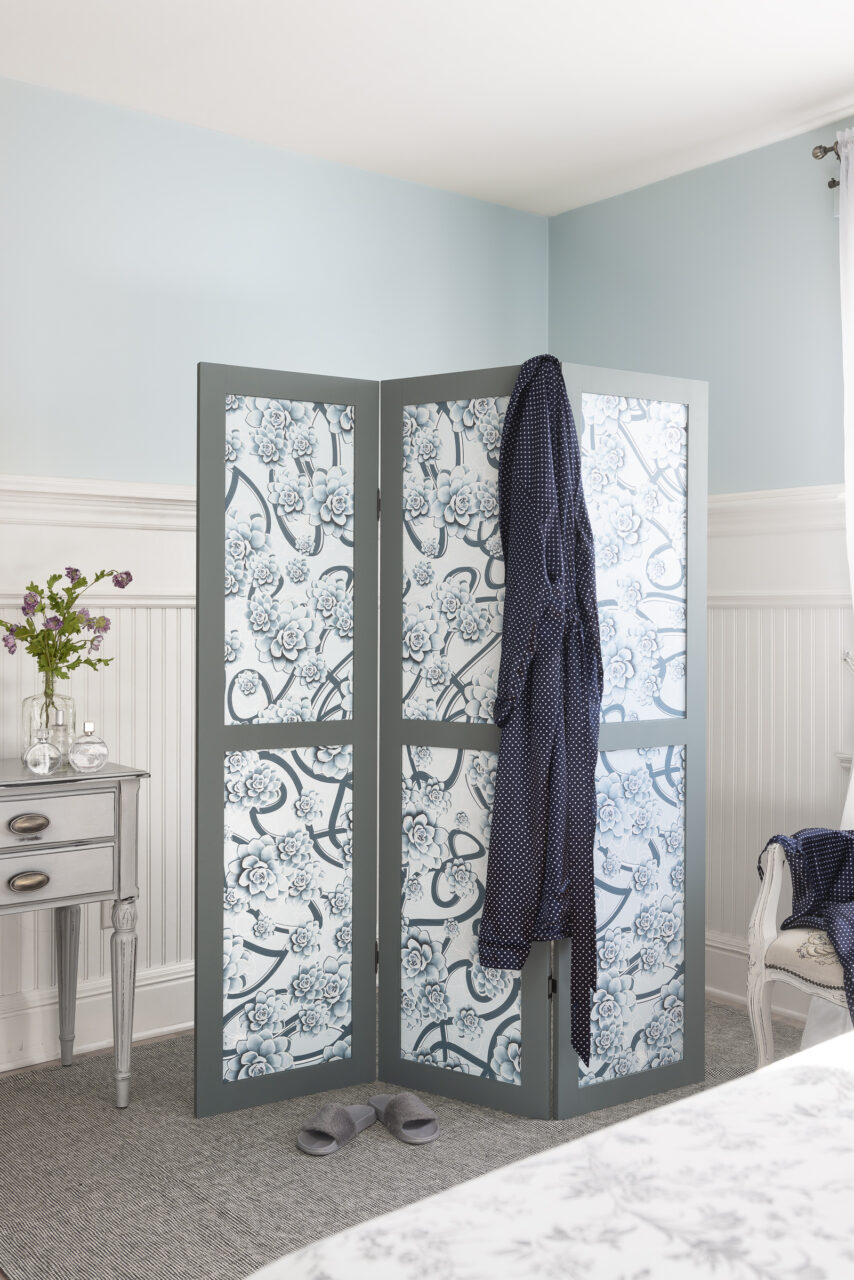
This is a great way to separate a room, maybe to hide a workspace from a living room. It’s inexpensive and easy to do with just a couple of MDF boards, some paint, and decoupage for a unique feature you can create this room divider on a budget. Blue Pine & decoupage & transfer gel were perfect for this privacy screen & decoupage.
MATERIALS USED
- – Three cut pieces – 17-1/2” x 66” MDF wood for panels
- – Six cut pieces – 2-1/2” x 66” MDF wood for picture-framing
- – Nine cut pieces – 2-1/2” x 12-1/2” MDF wood for picture-framing
- – Decoupage paper
- – Fusion decoupage & transfer gel
- – Fusion paint tray & Staalmeester roller brush
- – Chip brushes
- – Staalmeester pointed sash brush
- – Fusion Mineral Paint – Blue Pine (side A)
- – Fusion Mineral Paint – Little Whale (side B)
- – Ruler
- – Exacto knife
- – Wood glue or pin nailer
- – Frog tape
Step 1:
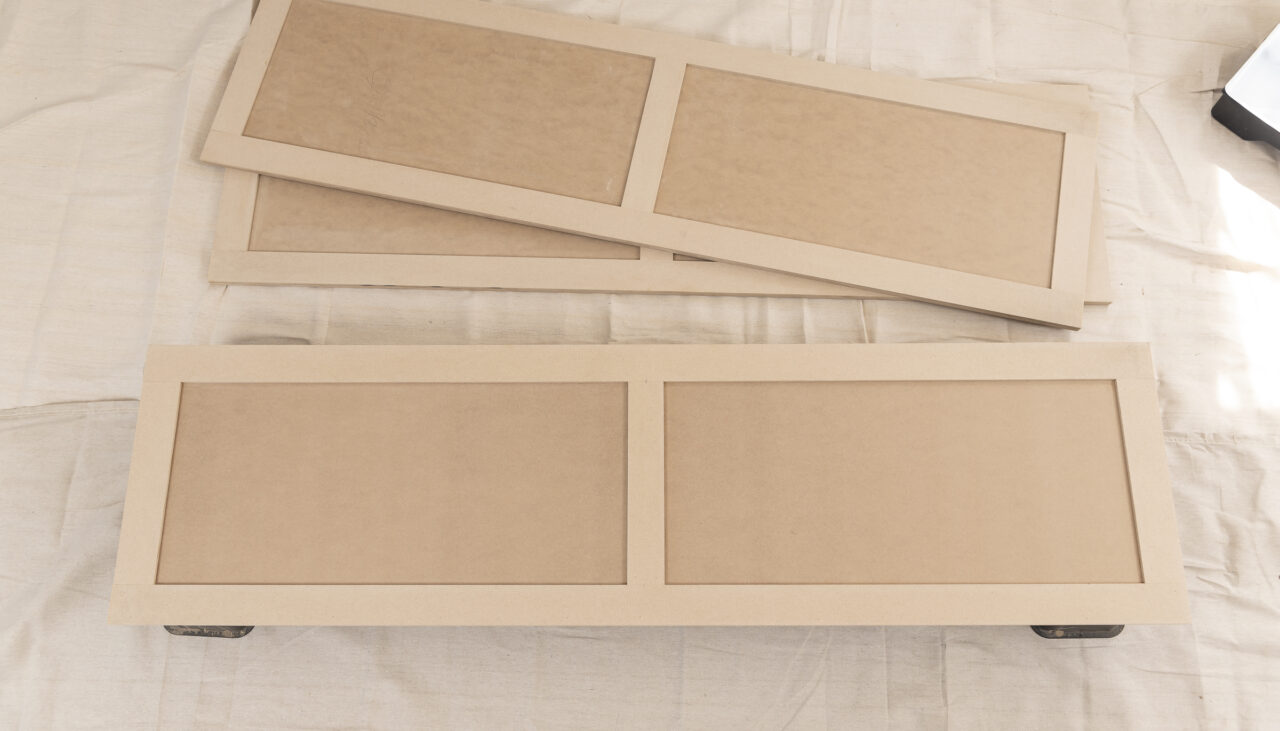
Assemble your privacy screen with all the required materials. To assemble your privacy screen, take one panel and picture-frame the panel using two long boards and three smaller boards. Use wood glue or a pin nailer to assemble. Repeat for the other two panels.

Step 2:
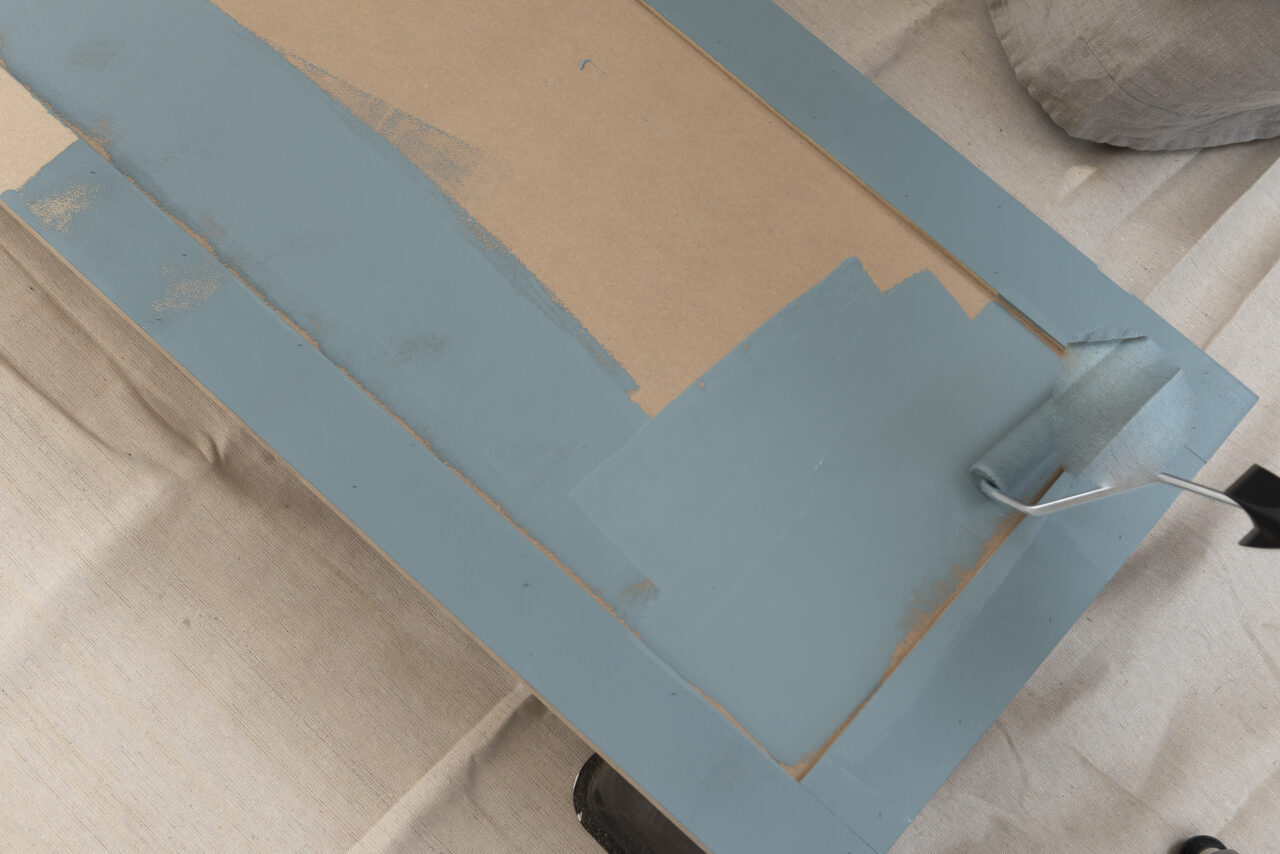
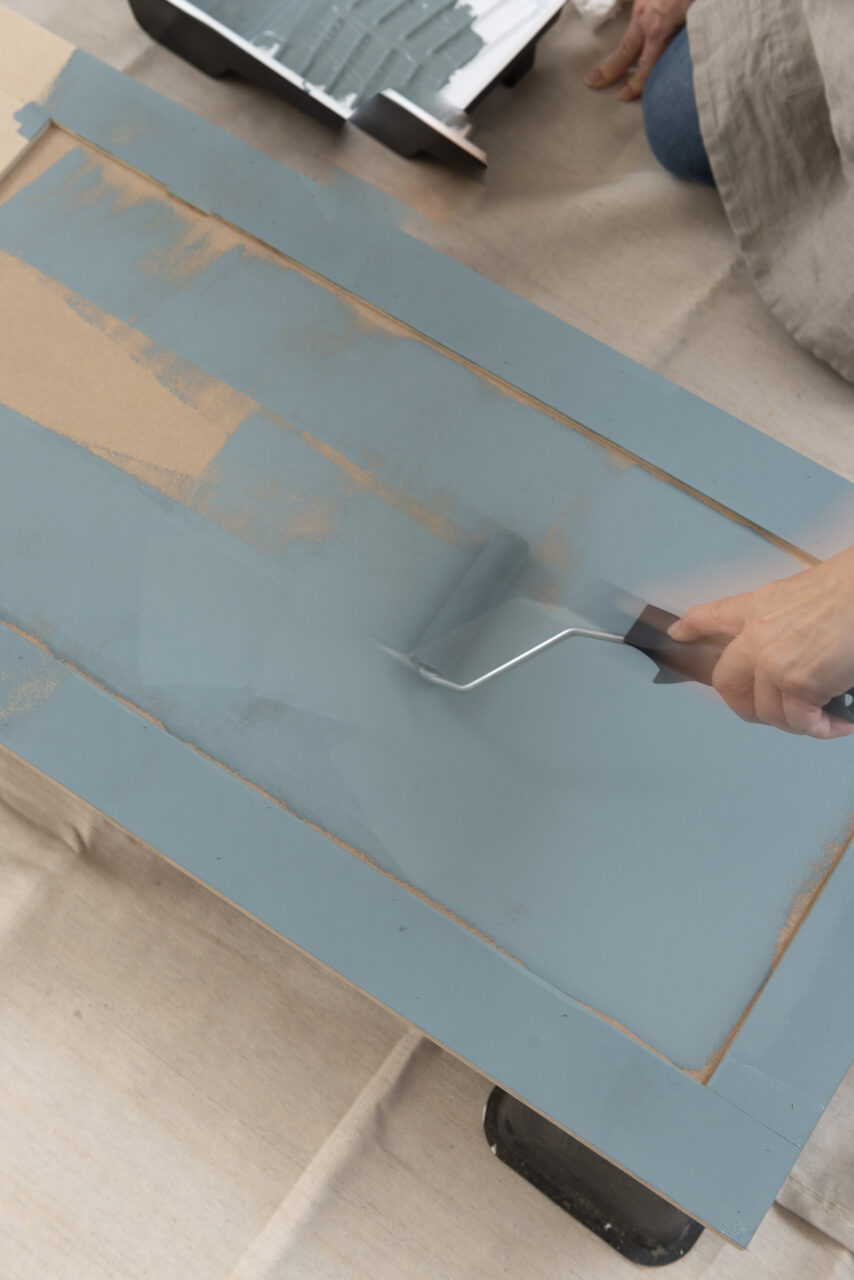
Once assembled, apply Fusion Mineral Paint in the colour Blue Pine (Side A) using the Fusion Paint Tray and Staalmeester Roller. Two coats were applied for even coverage, with the second coat being applied 30 minutes after the first. We also used the Staalmeester pointed sash brush to paint into the crevices where the moulding was nailed. No primer was required however some MDF boards really absorb water-based paints, so you may require a primer to seal up the MDF. Best to test to be sure.

Step 3:
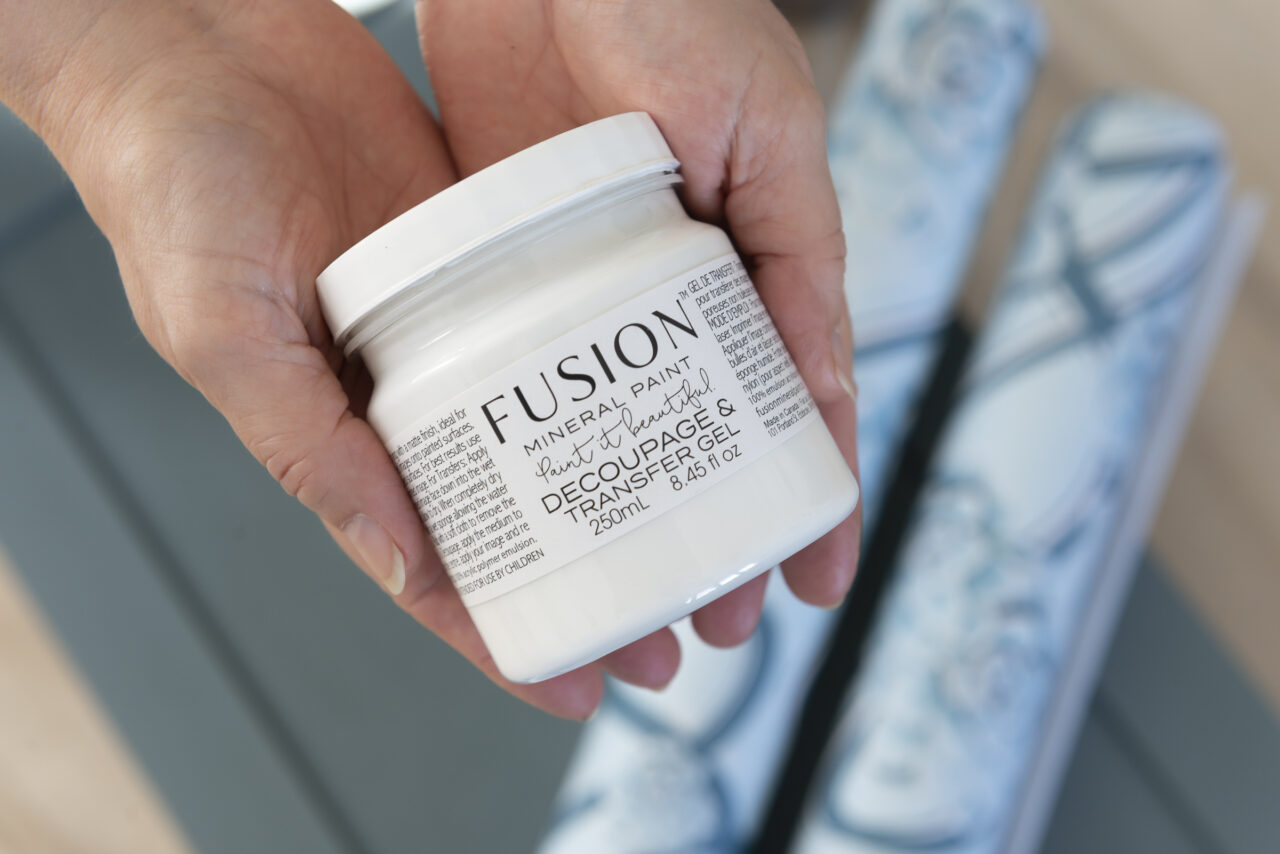
Once our paint dried, we measured out and cut 6 pieces of our decoupage paper. Before laying down the paper on our panels, we applied a generous coat of Fusion Decoupage & Transfer Gel and then laid the découpage paper over the decoupage medium. You can either roll it on or paint it on. To straighten our paper we used a credit card to smooth out any wrinkles. Once we were happy with the placement, we applied a final coat of the Fusion Decoupage & Transfer Gel to seal and protect the paper.



Step 4:
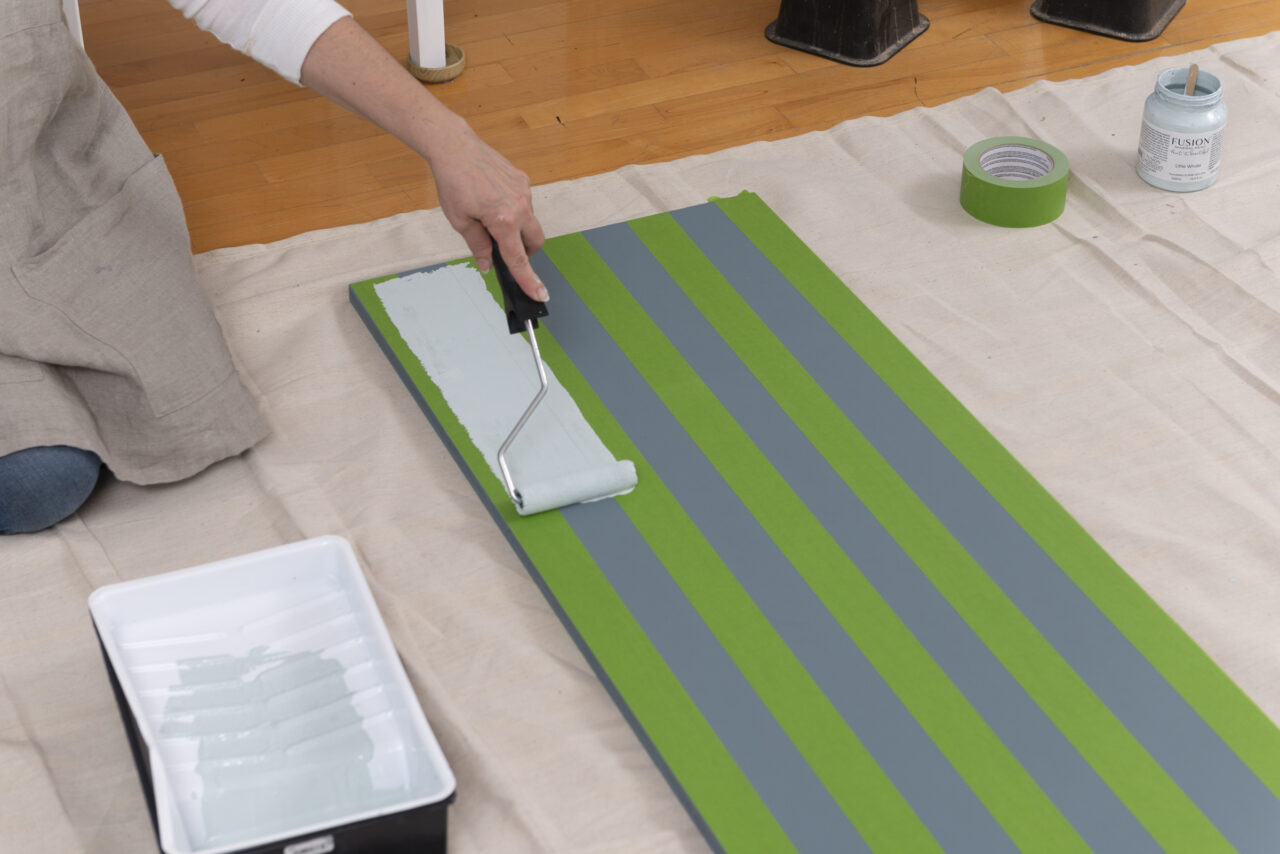
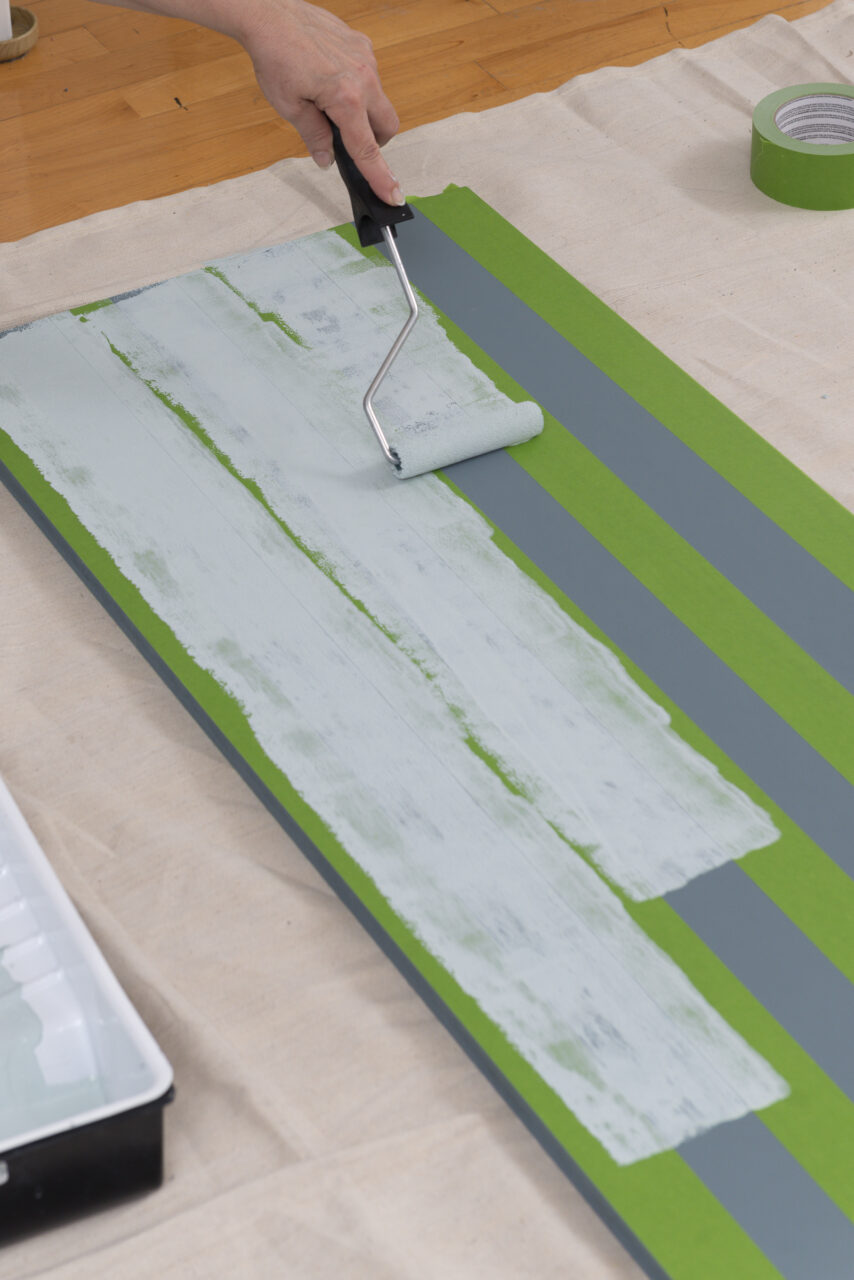
On Side B, we went with a whole different look and added stripes with Frog Tape. Once our tape was measured out, we rolled on two coats of Fusion Mineral Paint in the colour Little Whale. We removed the Frog Tape as soon as the painting was done.



Step 5:
Lastly, assemble the panels together and display where desired – no top coat required on top of Blue Pine & decoupage & transfer gel!
